Tag Archives: shirt

Handwoven Handmade Shirt

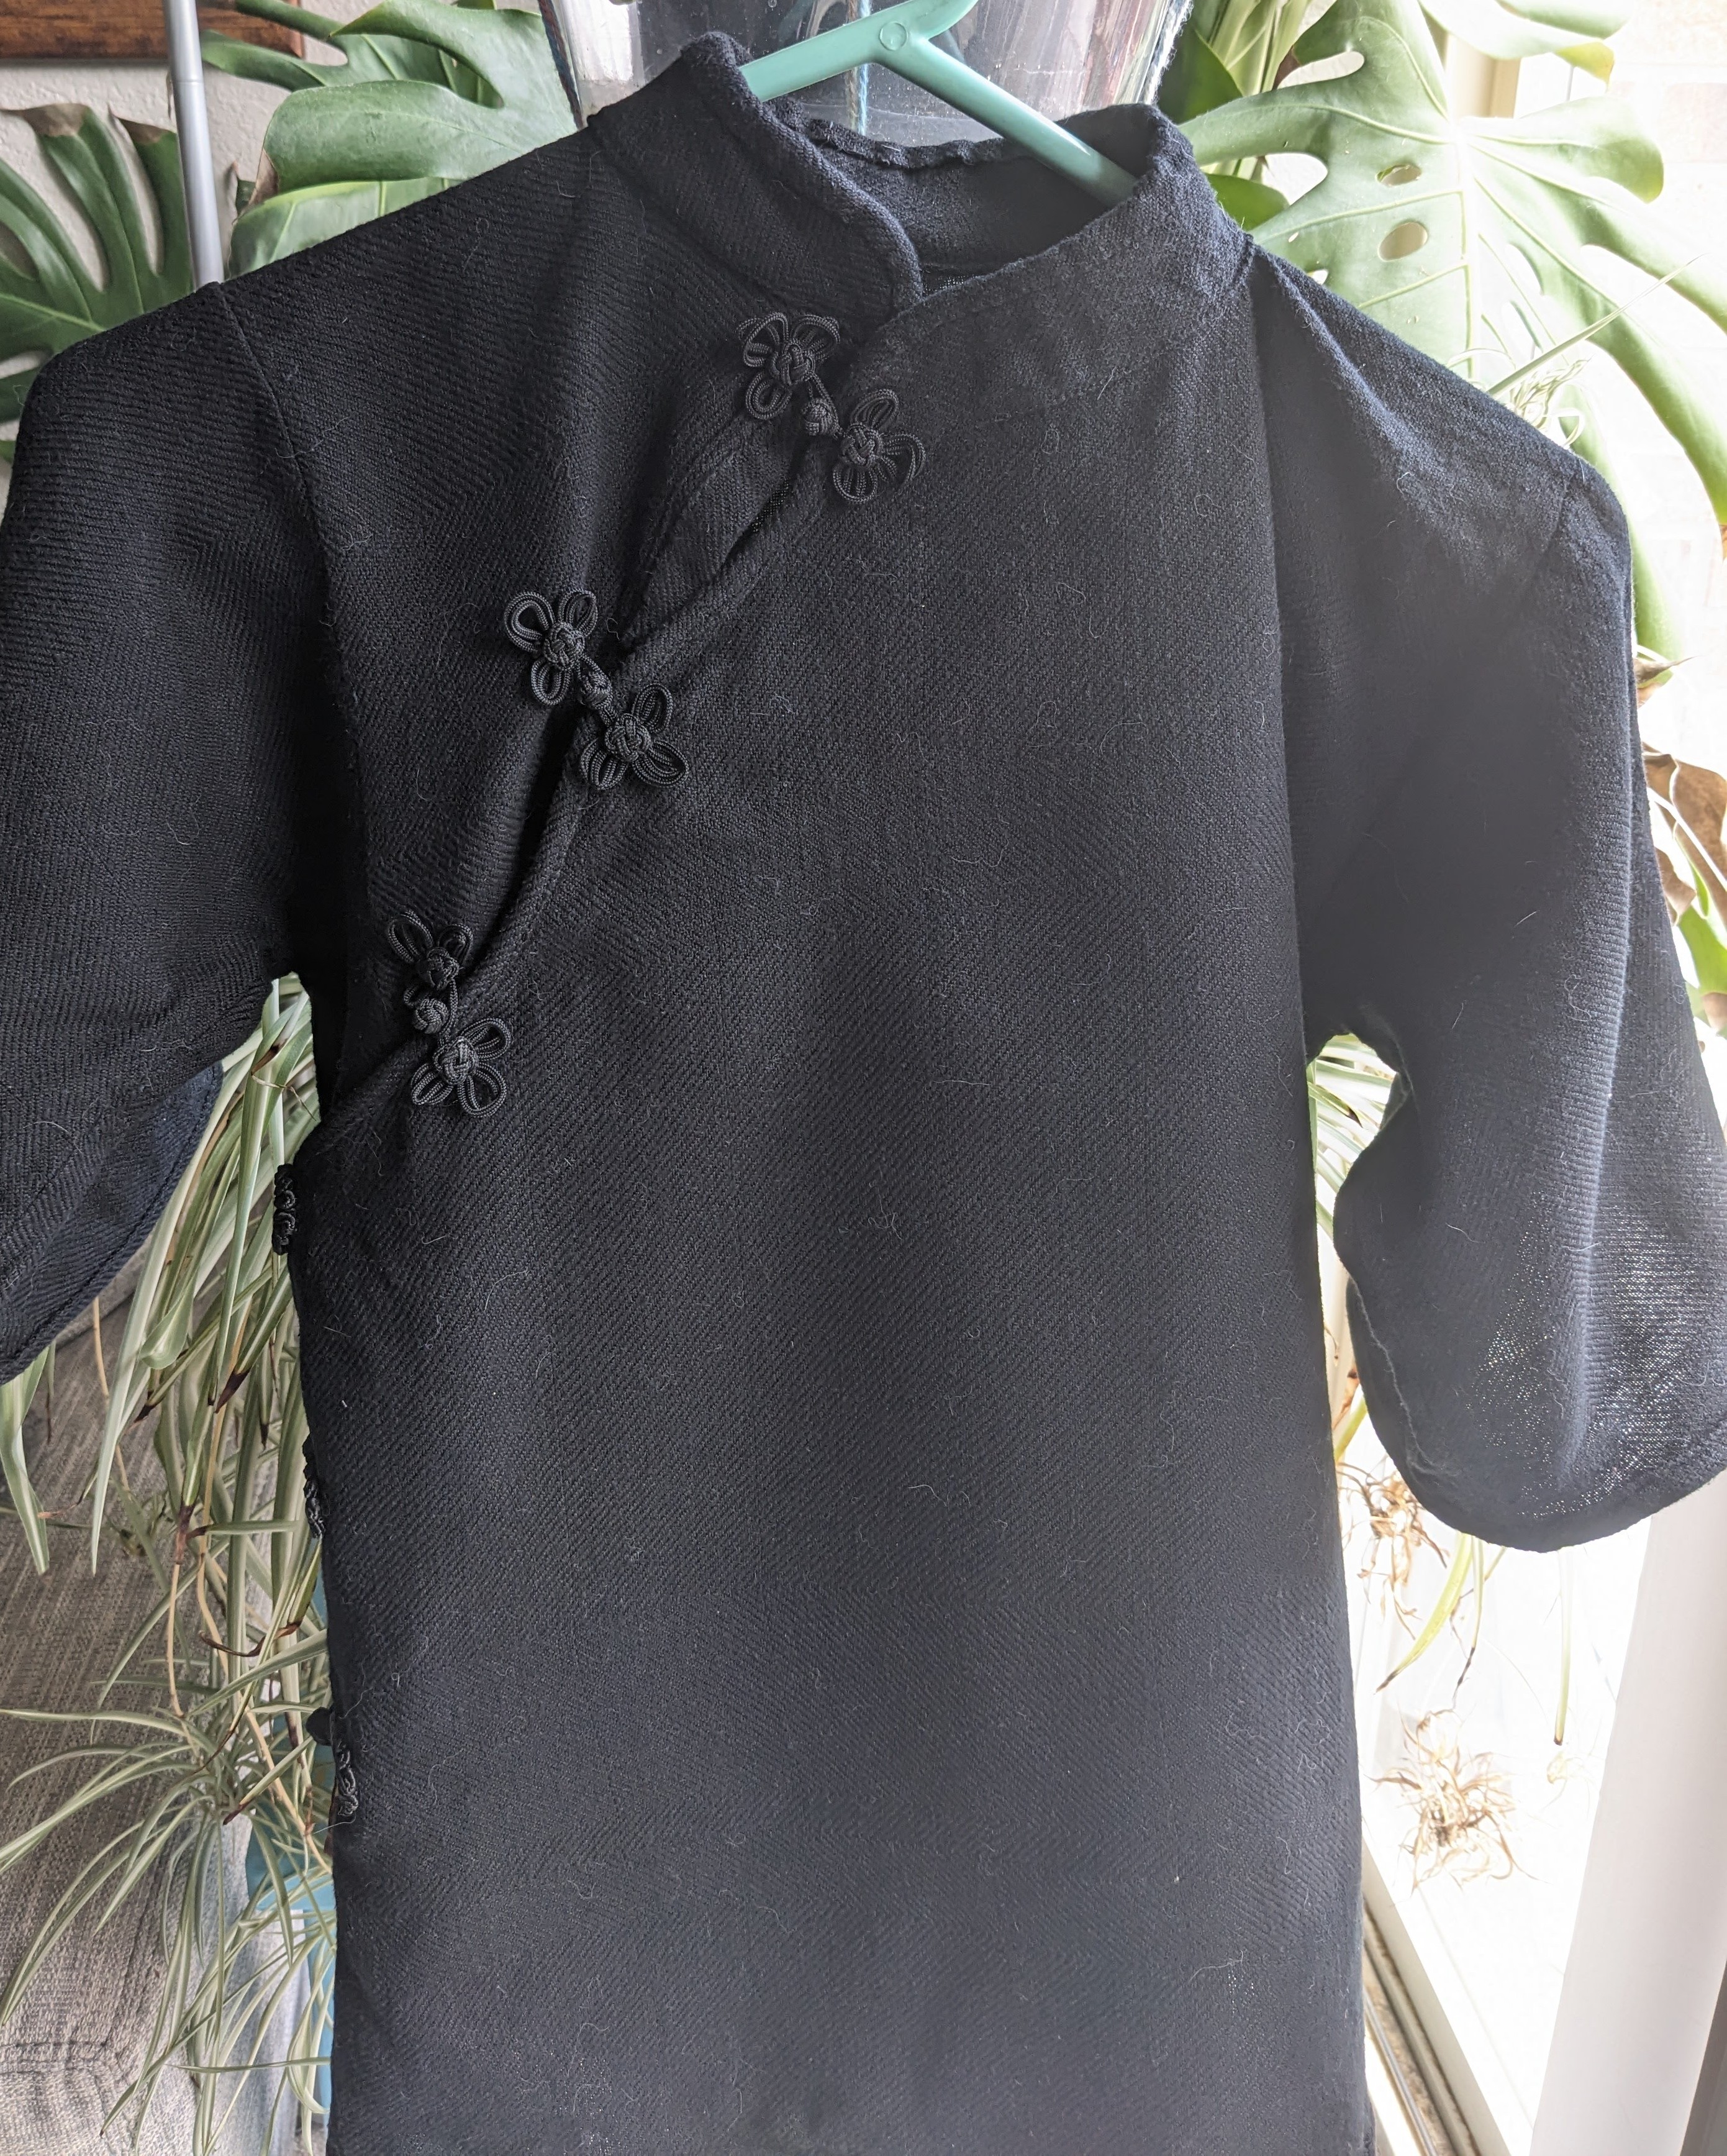
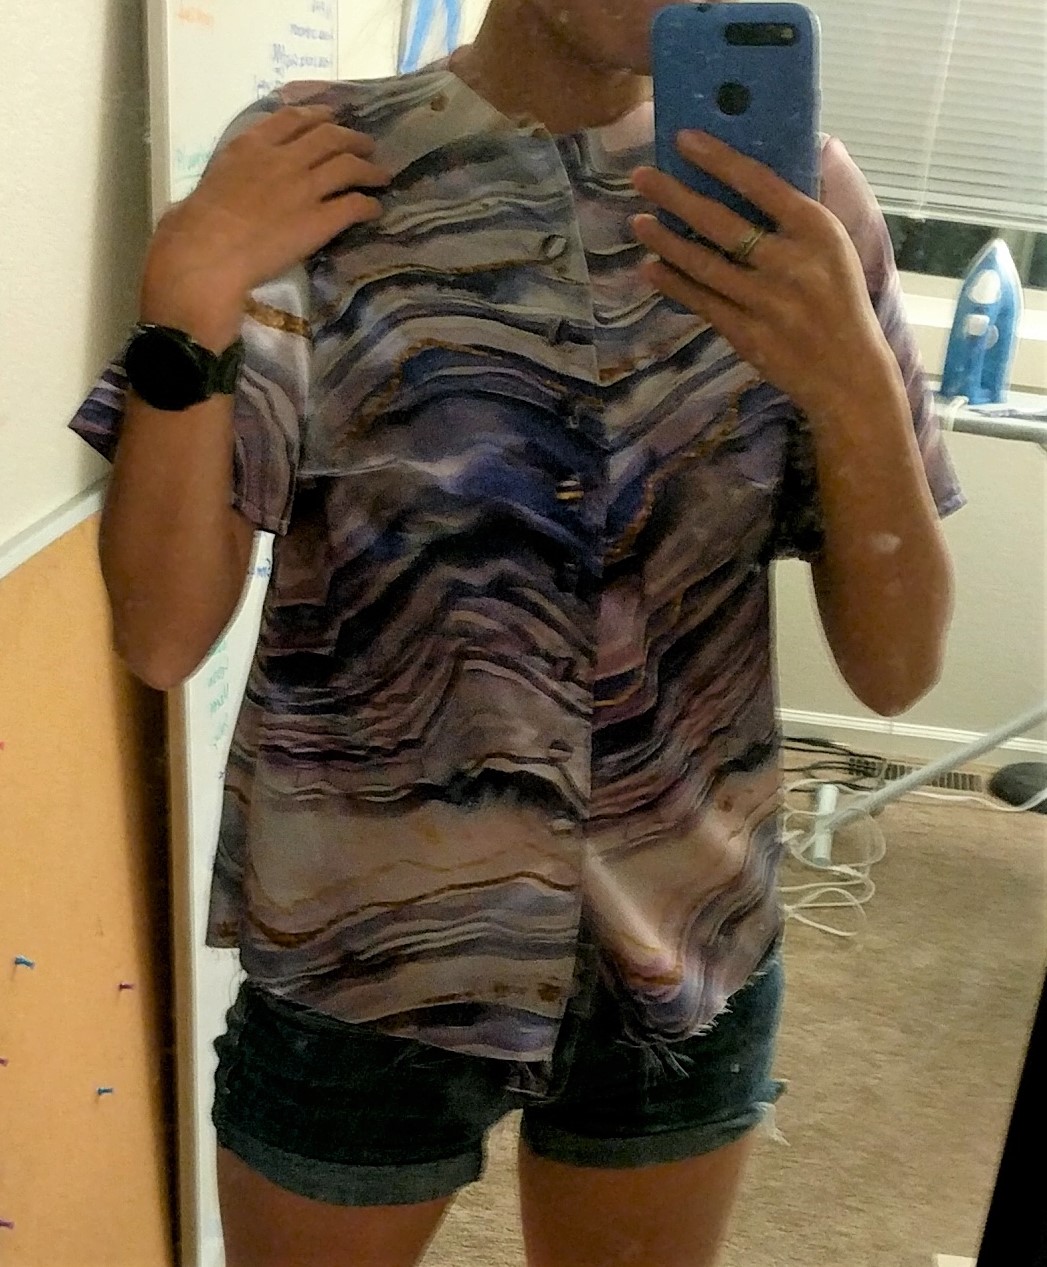
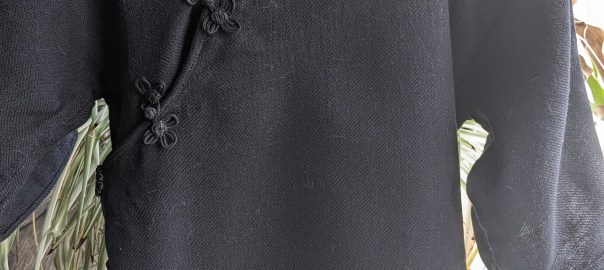
My handwoven handmade shirt! I made this shirt to be a little fancy, breathable, with floofy sleeves and frog buttons. I wanted to experiment with cottolin (cotton and linen blend) and mercerized cotton to see if the sheen of the mercerized cotton was detectable at range. I actually wove a sample, and it was not as shiny as desired, but I decided to move forward anyway.

Measuring the warp was exhausting. I used my mini heddle as a warping paddle and measured four threads at a time. But my goal was 720 threads, and that’s just a lot of time at the warping board (mine is a bunch of PVC so I can change the distances easily). Taking breaks allowed me to do more research and find new ways of construction that also enabled me to use thinner warp, so I didn’t have to do as many warp ends. I realized that I could weave a longer, thinner panel and then sew it together instead of using the full width of my loom.

I watched Claire Yixuan Zhang’s qipao video at least six times while making this – once when I found it for research, a couple times while planning how wide the warp really needed to be and making paper models, before cutting out my mockups, and before taking the scissors to my handwoven. One of the things that really stands out to me about this construction method is the value of keeping as much fabric from the panel in the final product. And being handwoven, this shirt is probably the most expensive piece of clothing I have now.

I finally sleyed the reed, set up the heddles, and wound on my warp. I practiced a new way of dressing the loom with a smaller project right before this, and I’m glad I did. Dressing the loom front to back like this was less stressful and more ergonomic for me, and I think I’ll continue using this method.
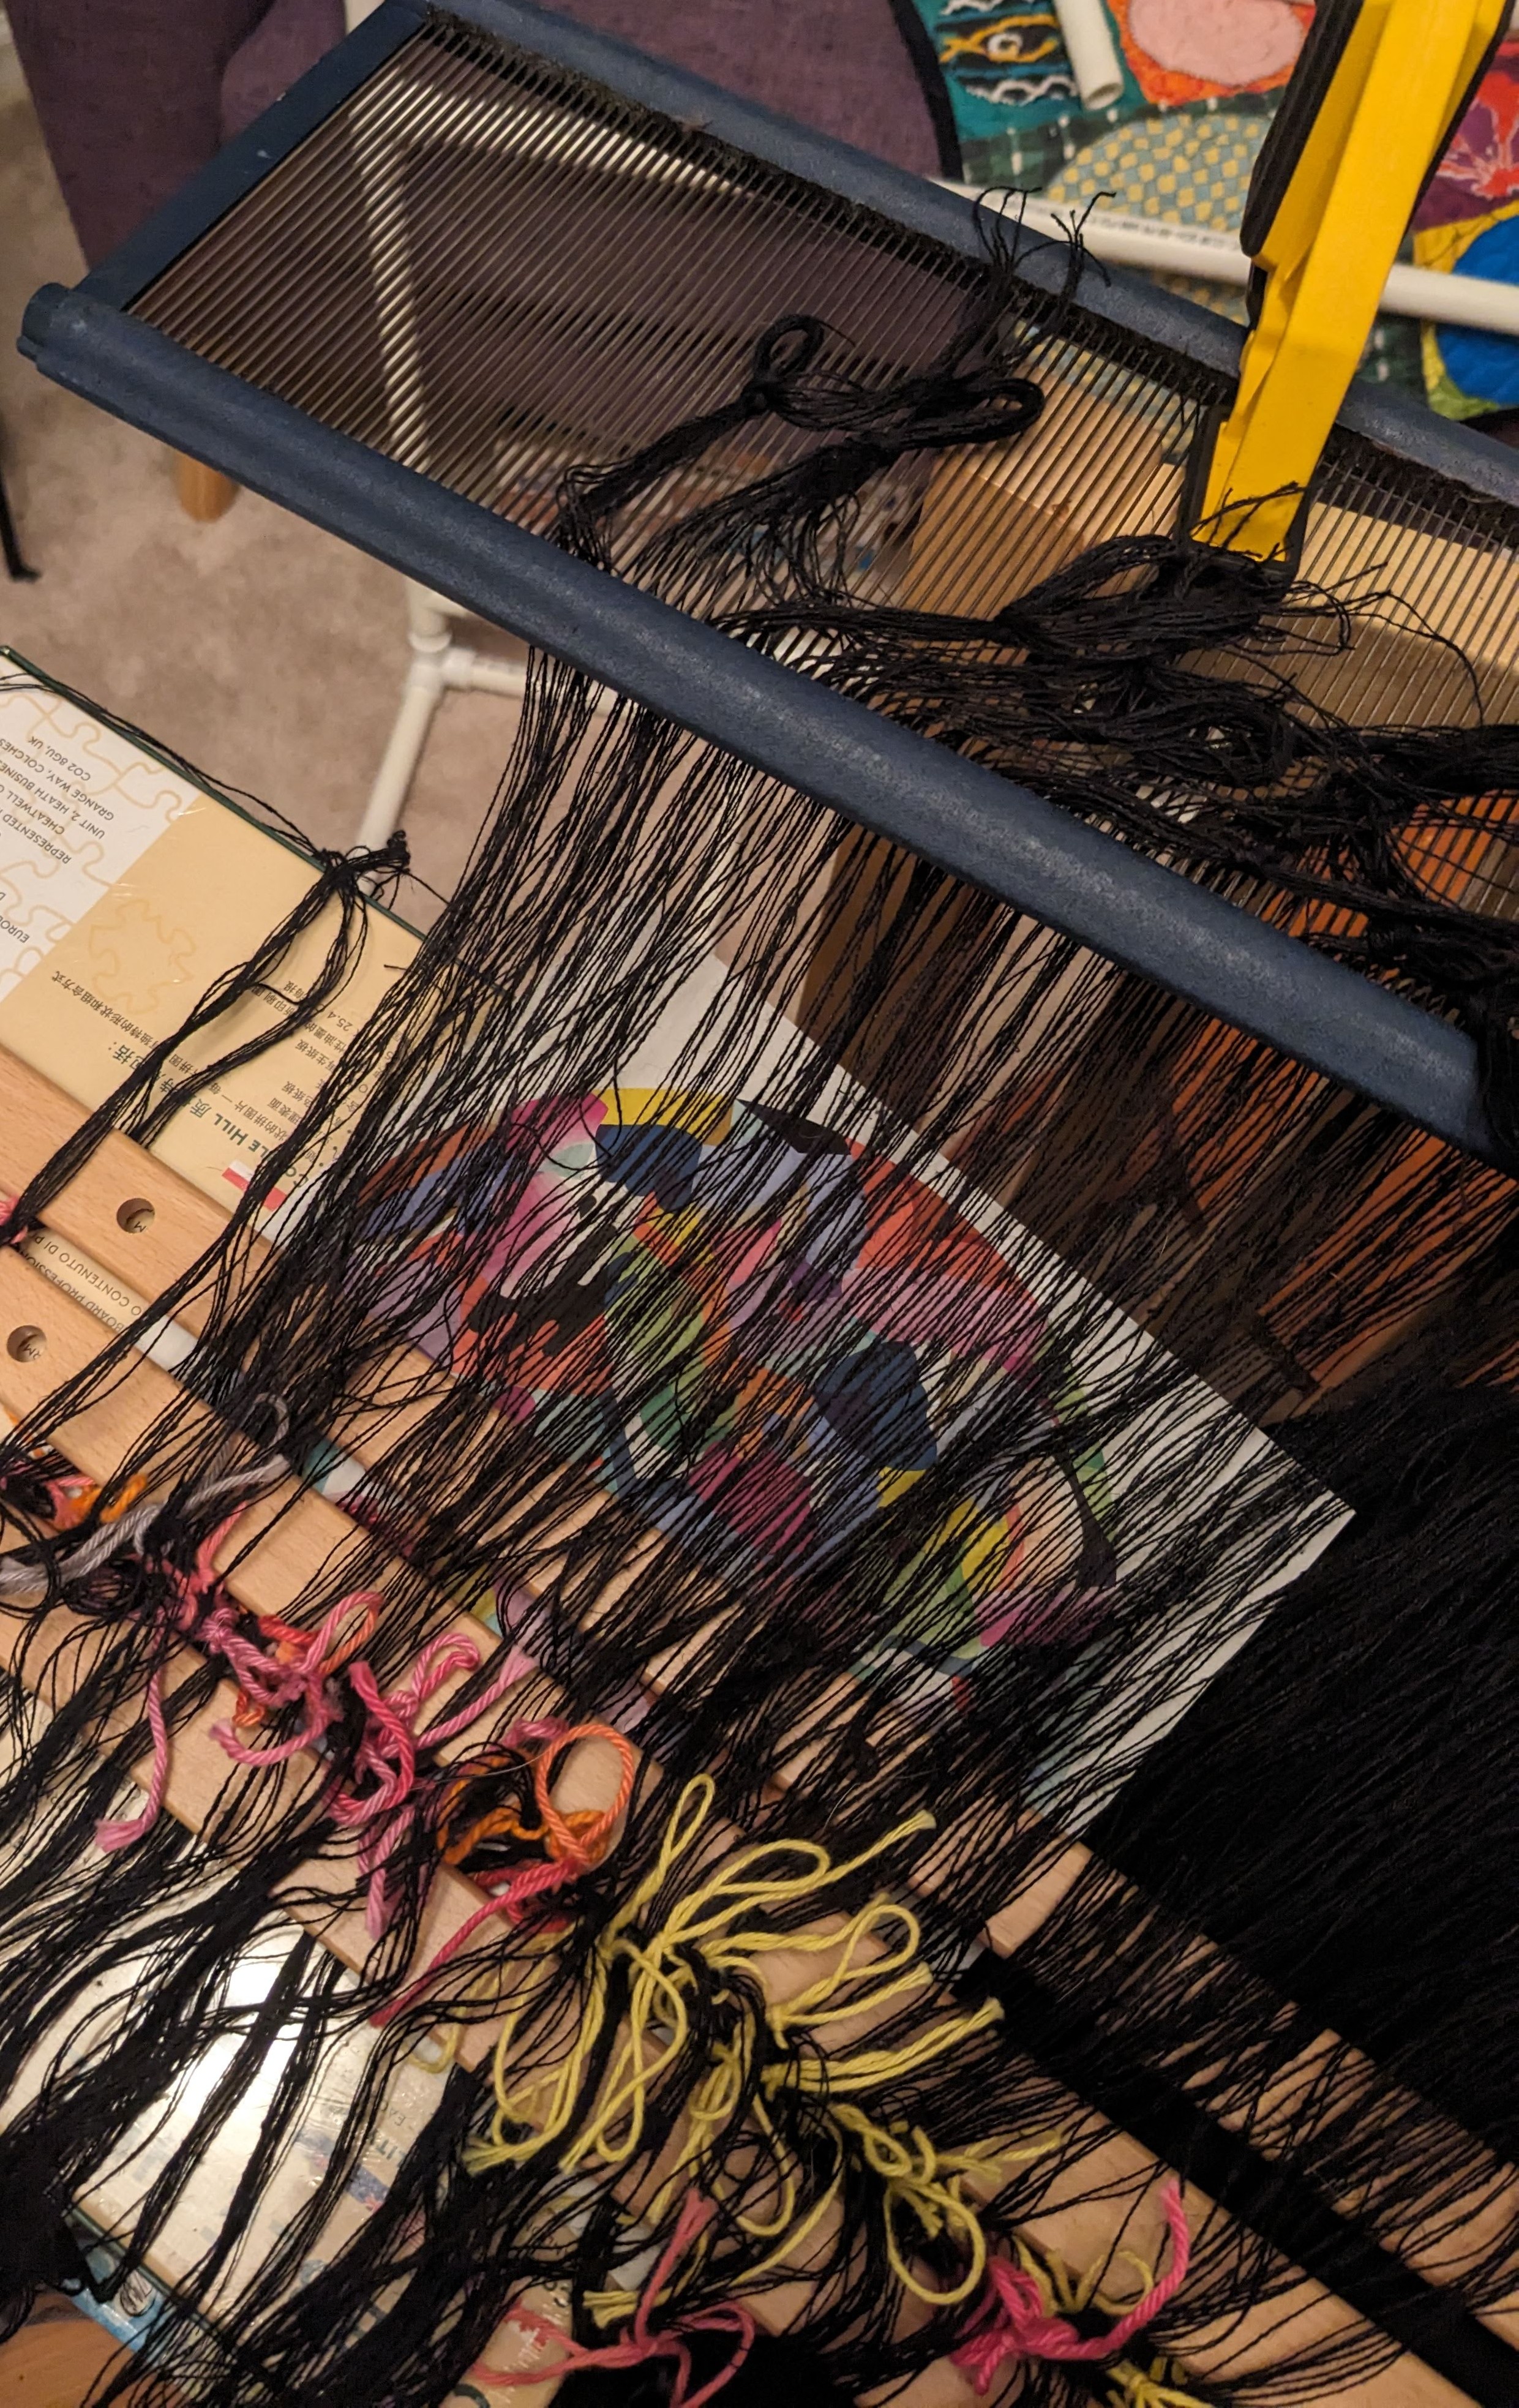
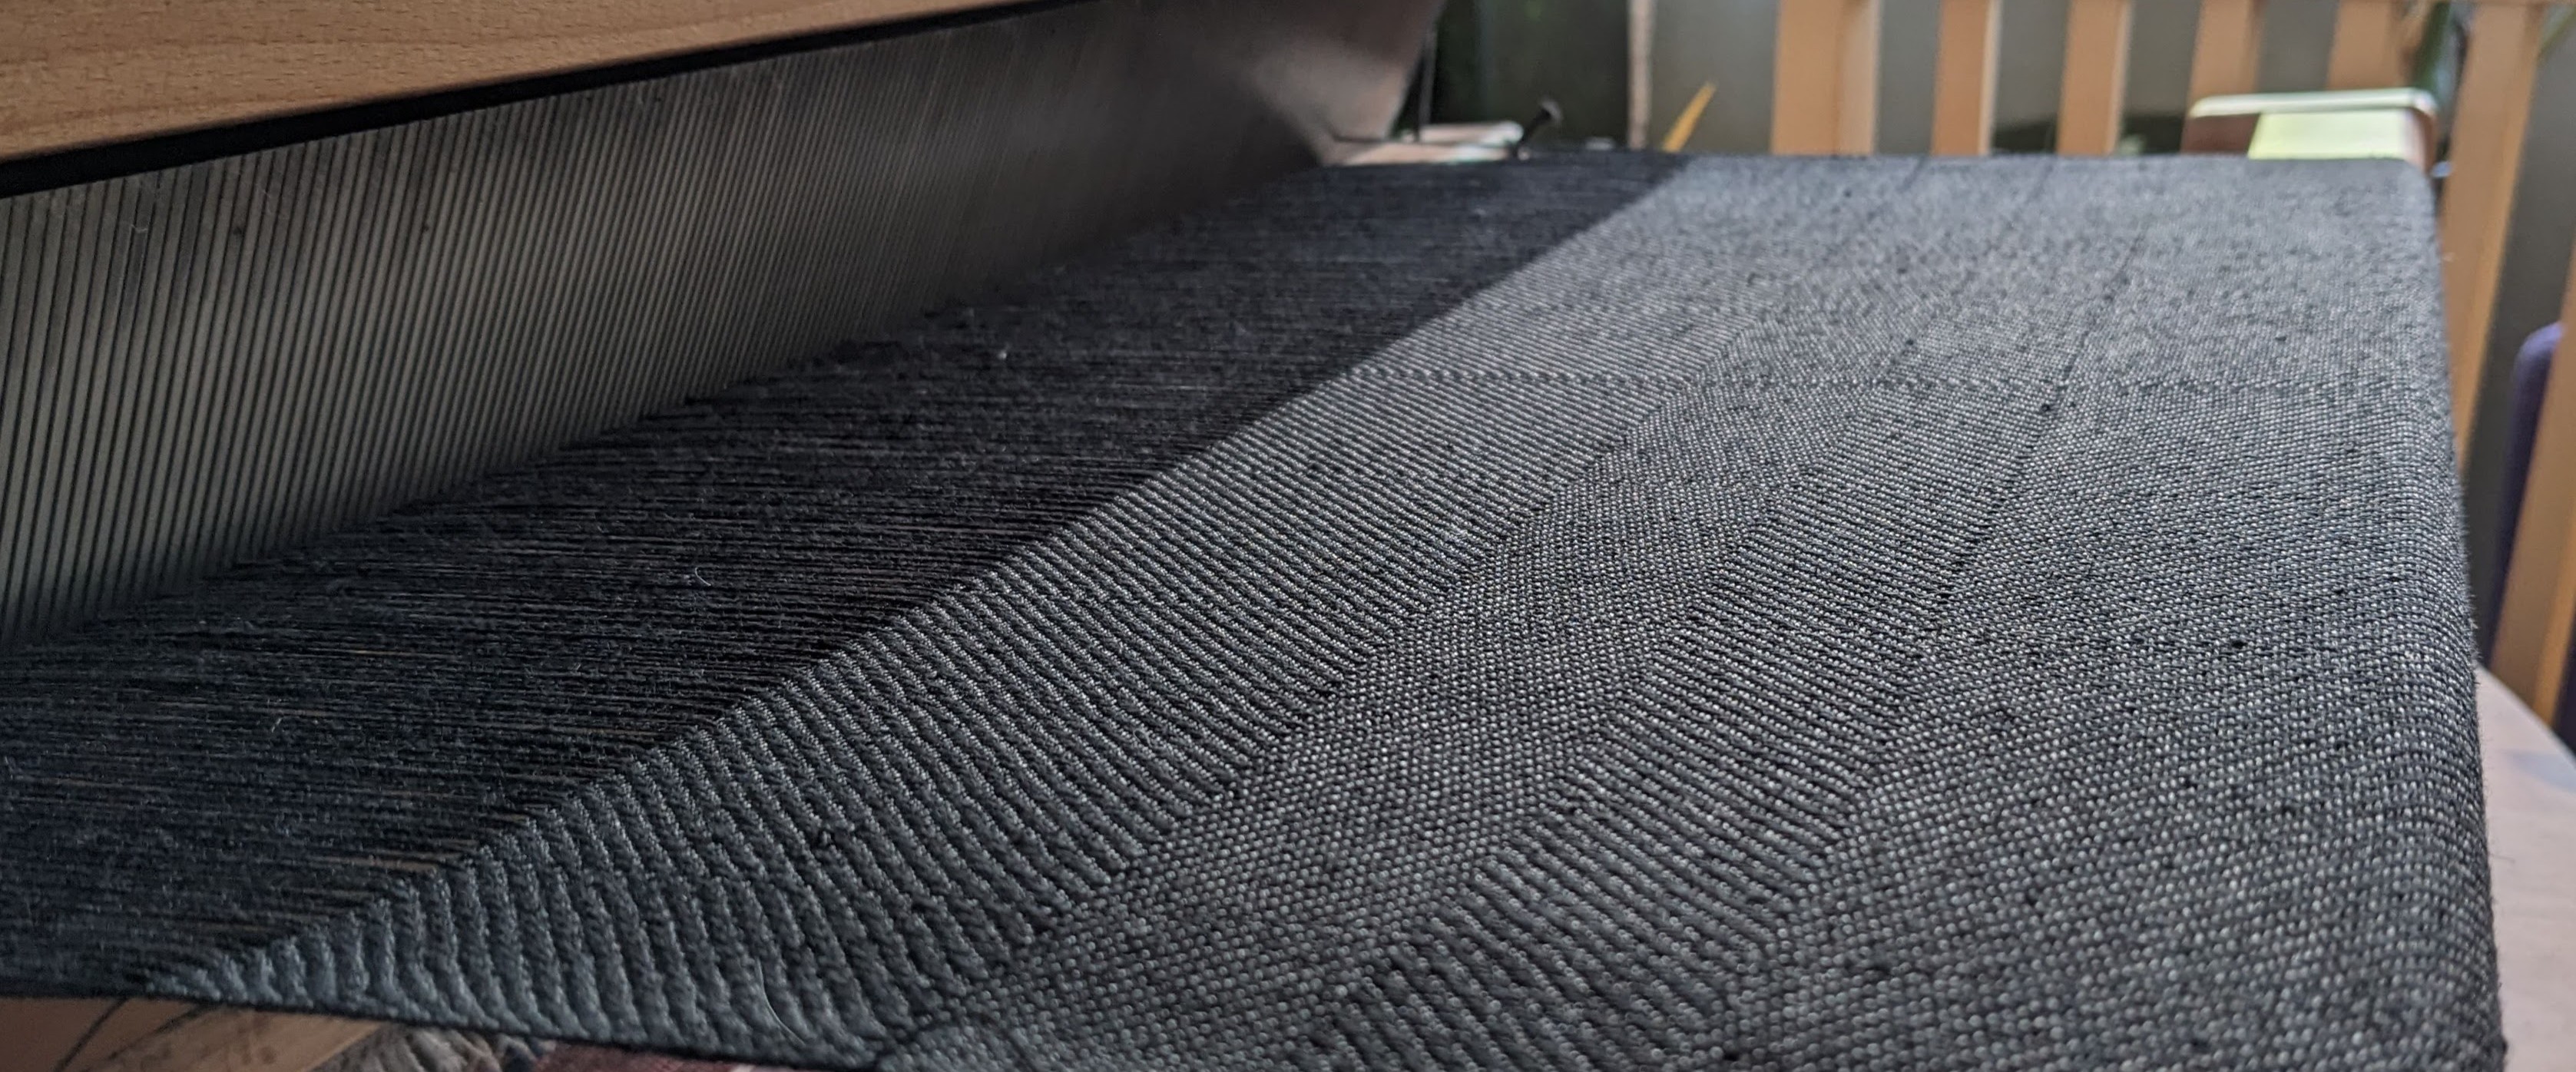
These really obvious stripes happened on both the sample and the final weaving – but only on the loom. I’m still not sure why the twill pattern is so obvious on the loom but not when finished, but I suspect it has to do with the “fuzzing out” of the cottolin during washing and the mercerized cotton (which I used exclusively in the weft) sinking into the structure and becoming less pronounced.

It turns out that weaving all black, simple four shaft twill for, oh, 190 inches is really boring. So in procrastinating on the weaving, I ended up being very responsible and making two mockups with the cutting technique from Claire’s video. The mockups helped me figure out how long and big I wanted the sleeves to be, and what the neckhole should look like. I also learned how to make wheat paste to stabilize the edges of my fabric as I cut into it, which made me much less nervous.
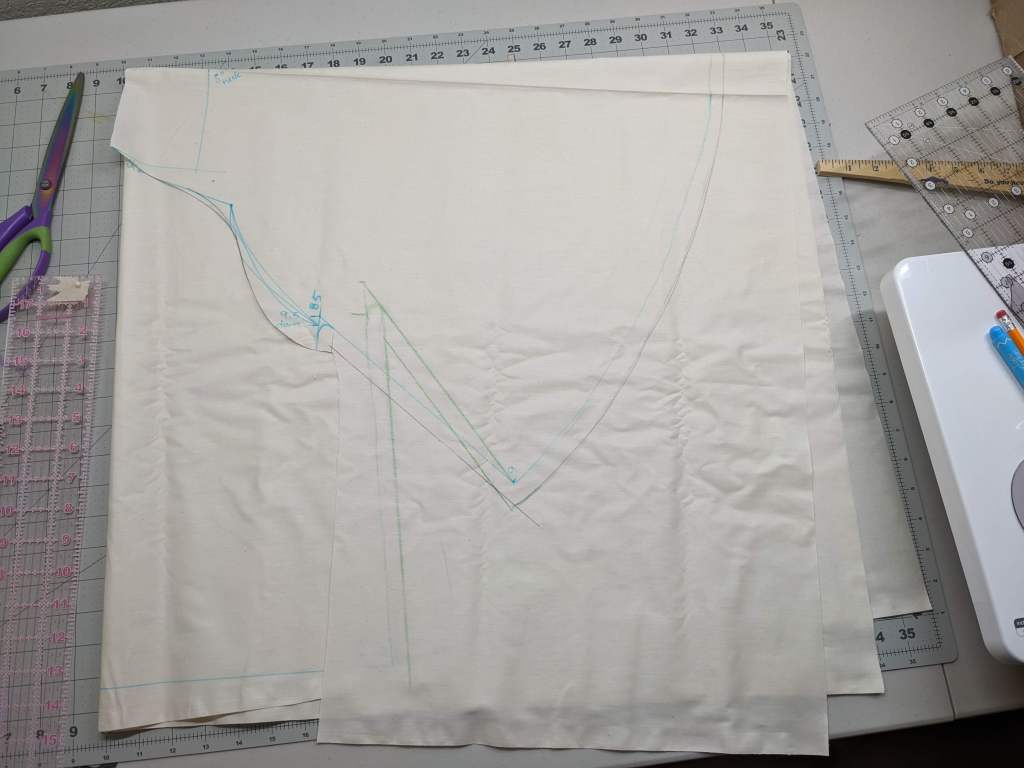
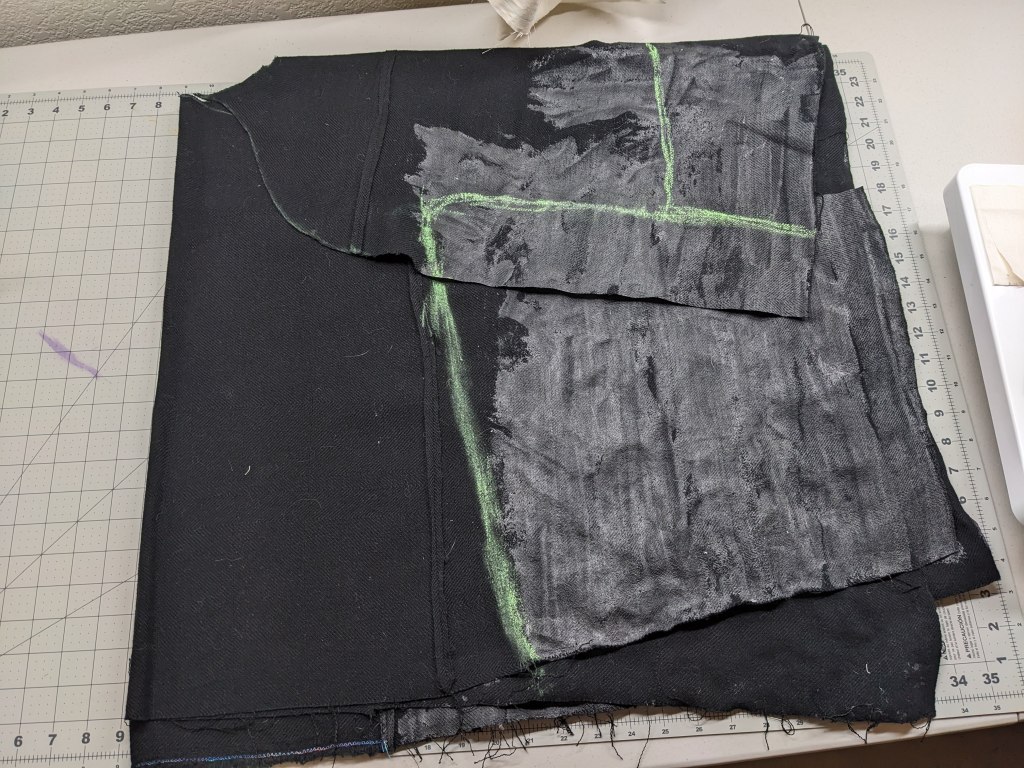
Once I finally finished the panel (left below), I sewed it to be three times the width and one third the length (right) to make an almost-square.
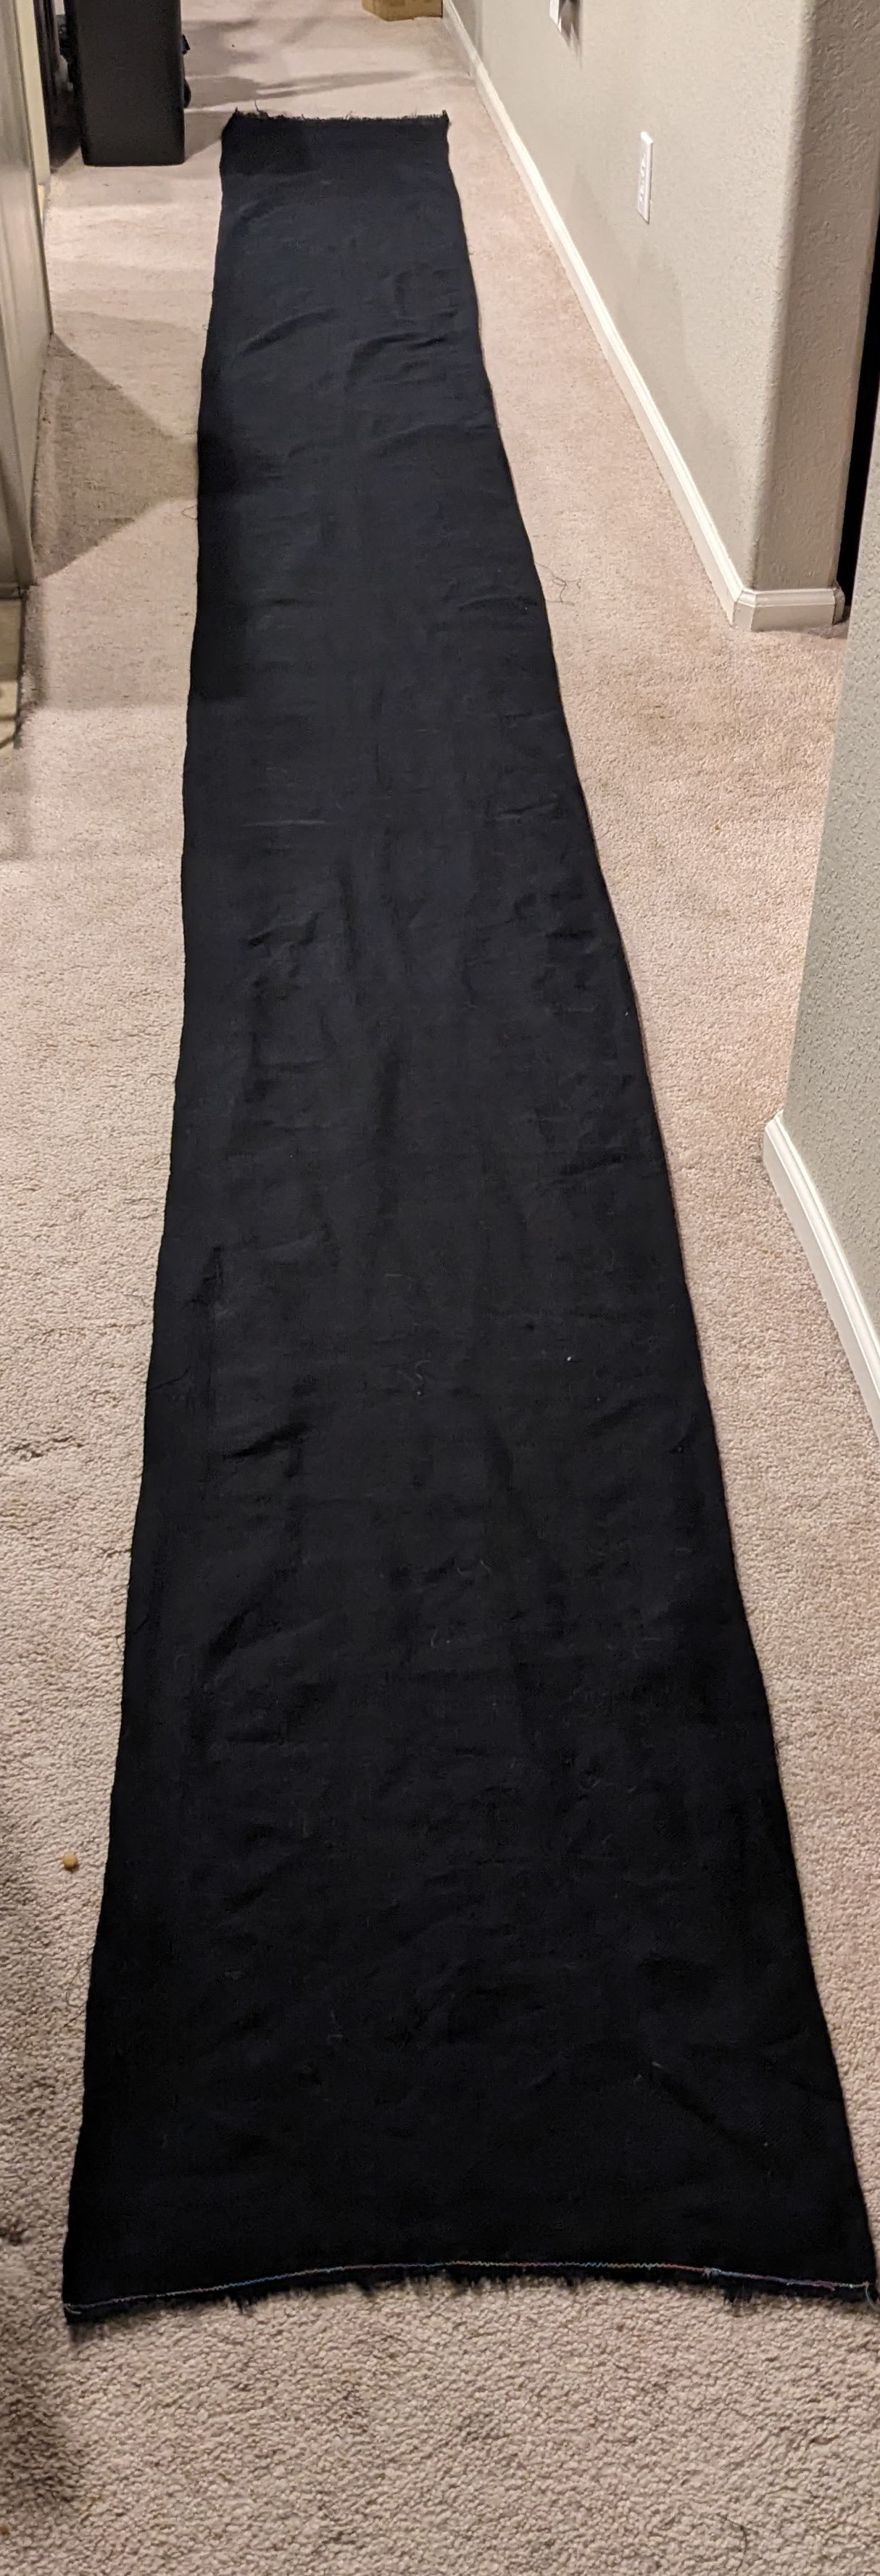
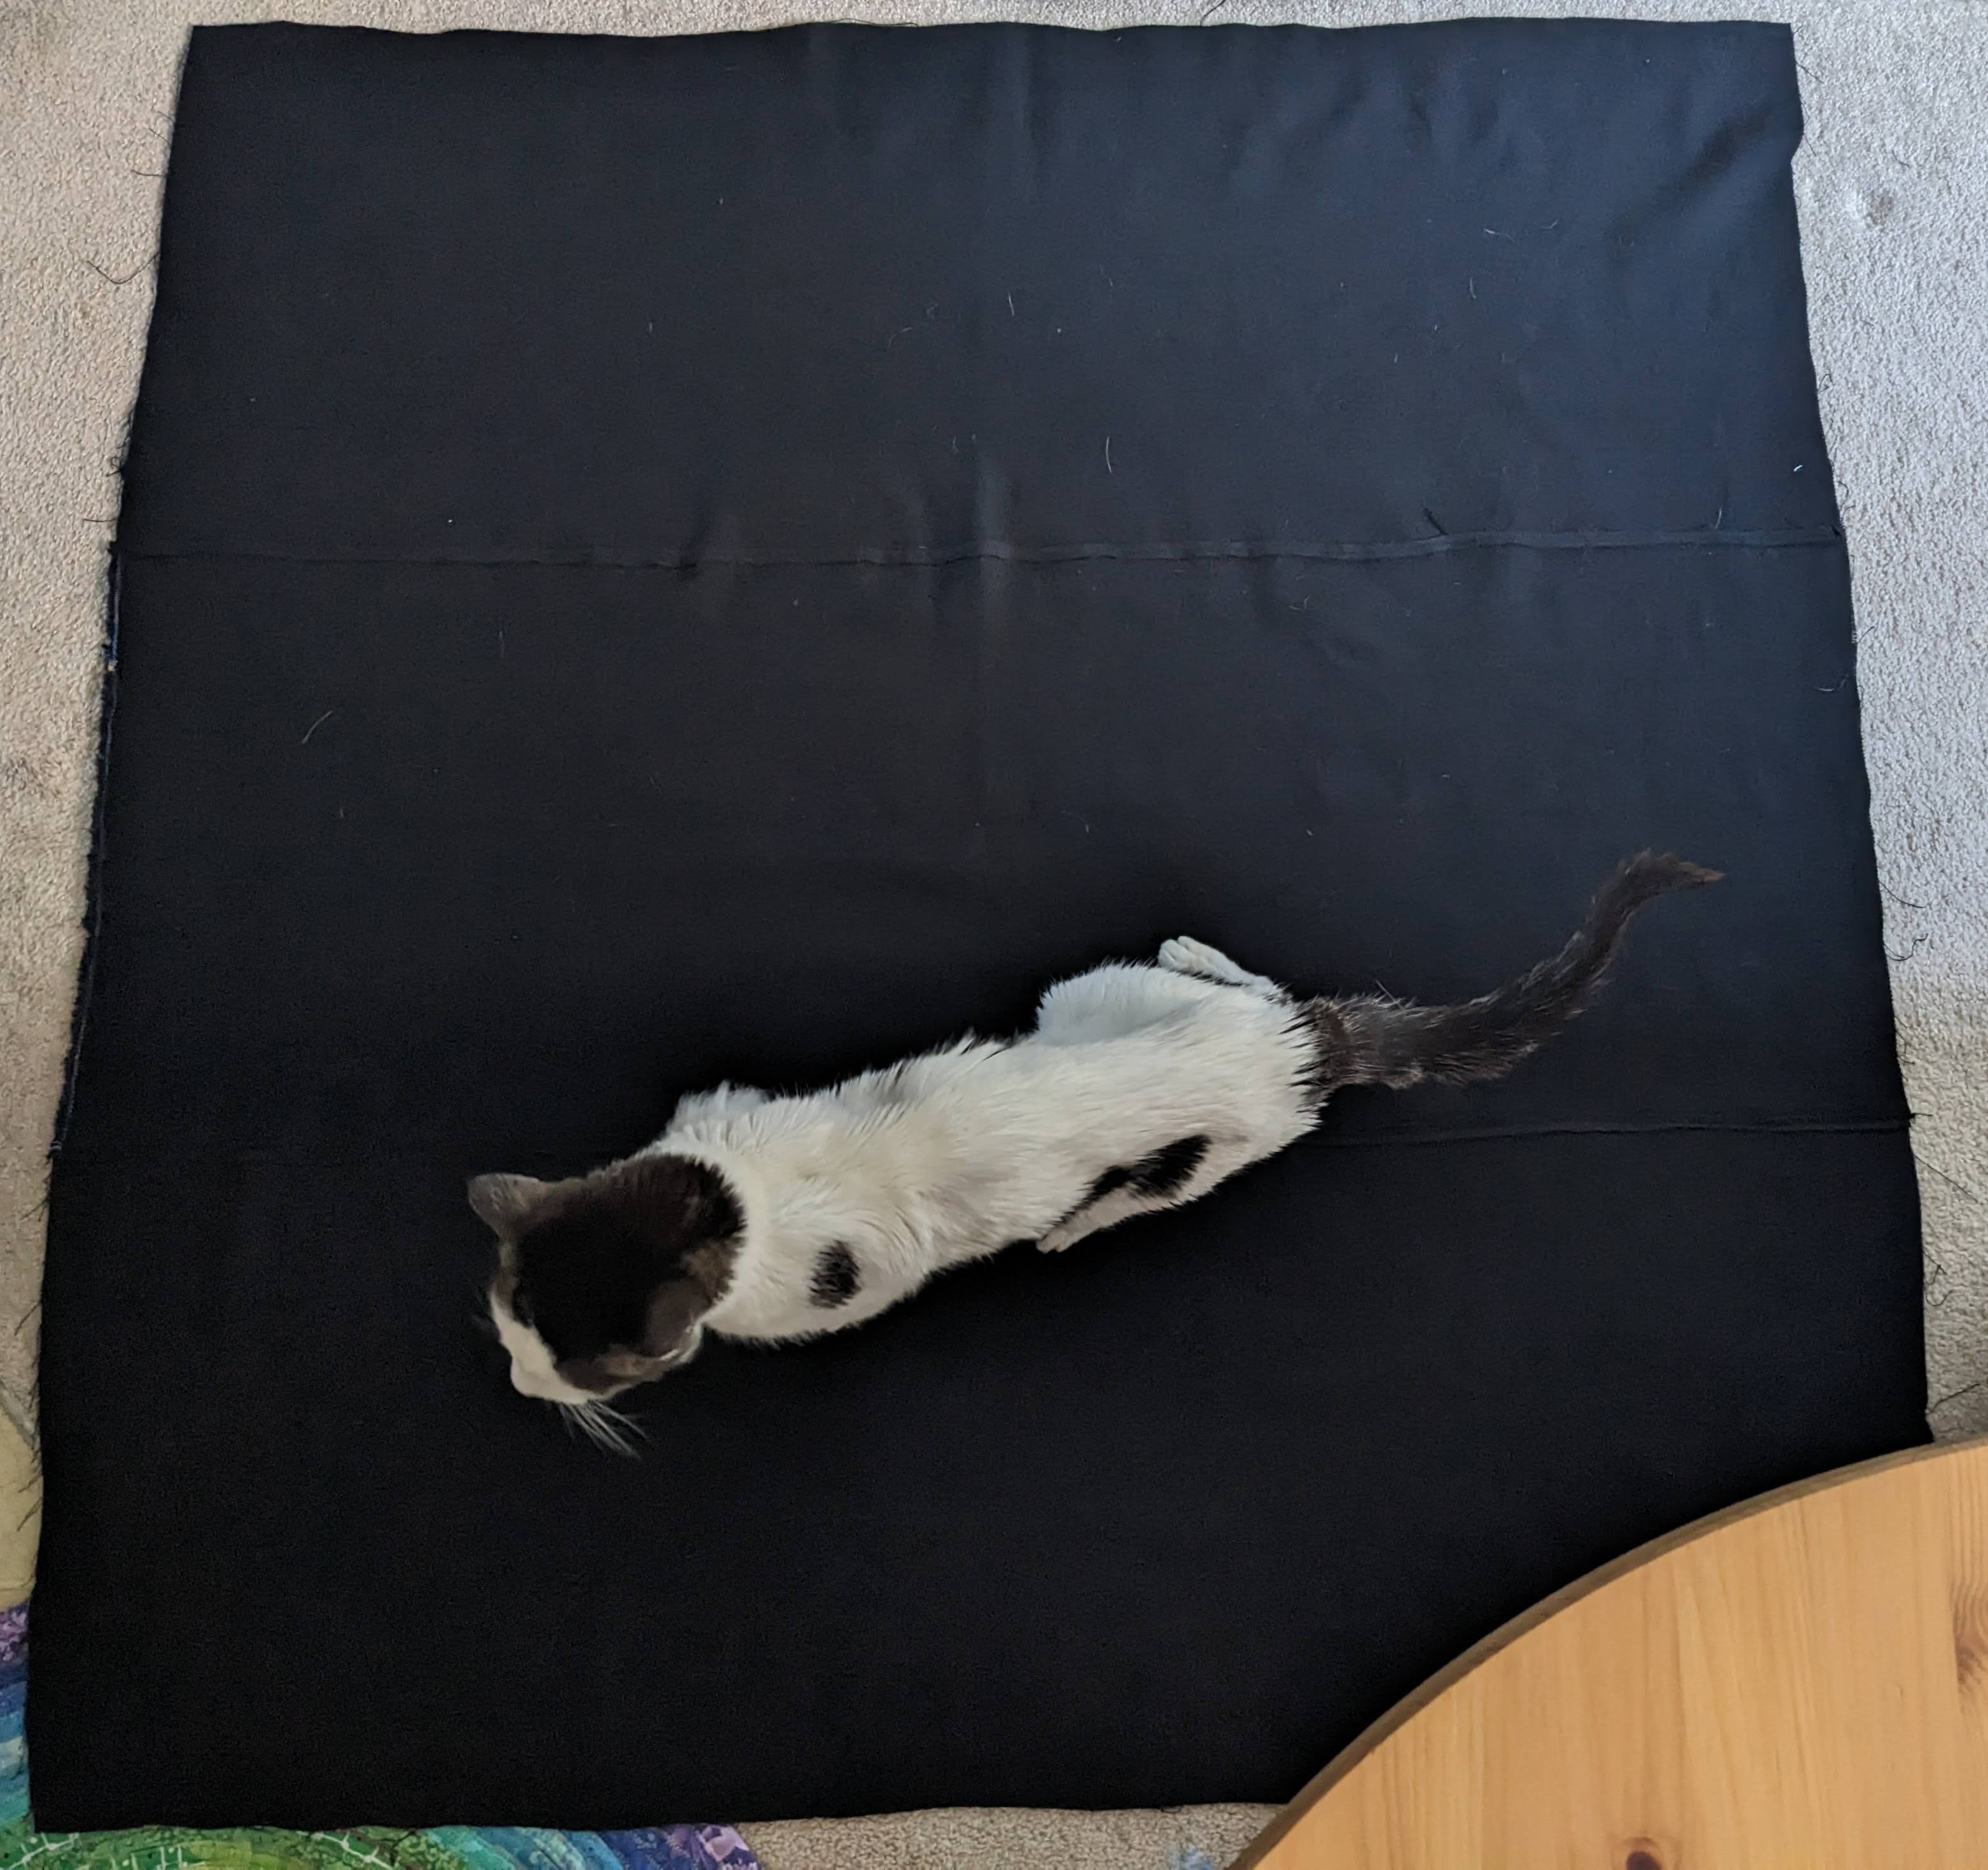
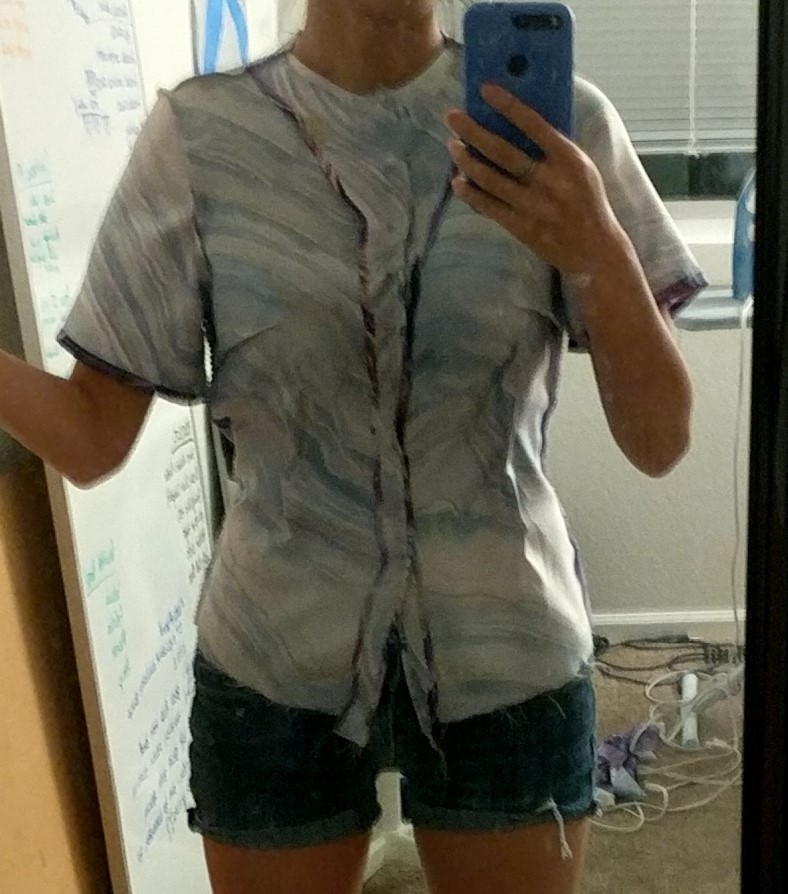
Then I followed my mockup plans and made the final! I accidentally cut out the neckhole from version one, instead of version two, so I had to make some weird pleats around the neckhole on the back. The collar was the part I was most nervous about, but I just took it slow and made a mockup collar to make sure that it fit onto the neck hole.

I ended up using “bias” (read: just strips on the normal grain) tape to seal all the raw edges, including around the sleeves and on the inside side seams. I did this the first time with the sewing machine because I thought it would be faster. But then when I washed it, some of the fabric had not been caught in the tape and came free and slightly unwoven, which I repaired by hand. It probably would have been easier and faster to do all the tape by hand, which I will remember for next time.

I used frog buttons that a friend bought for me in Taiwan (on the front), plus some additional frog buttons from an old shirt (down the side).
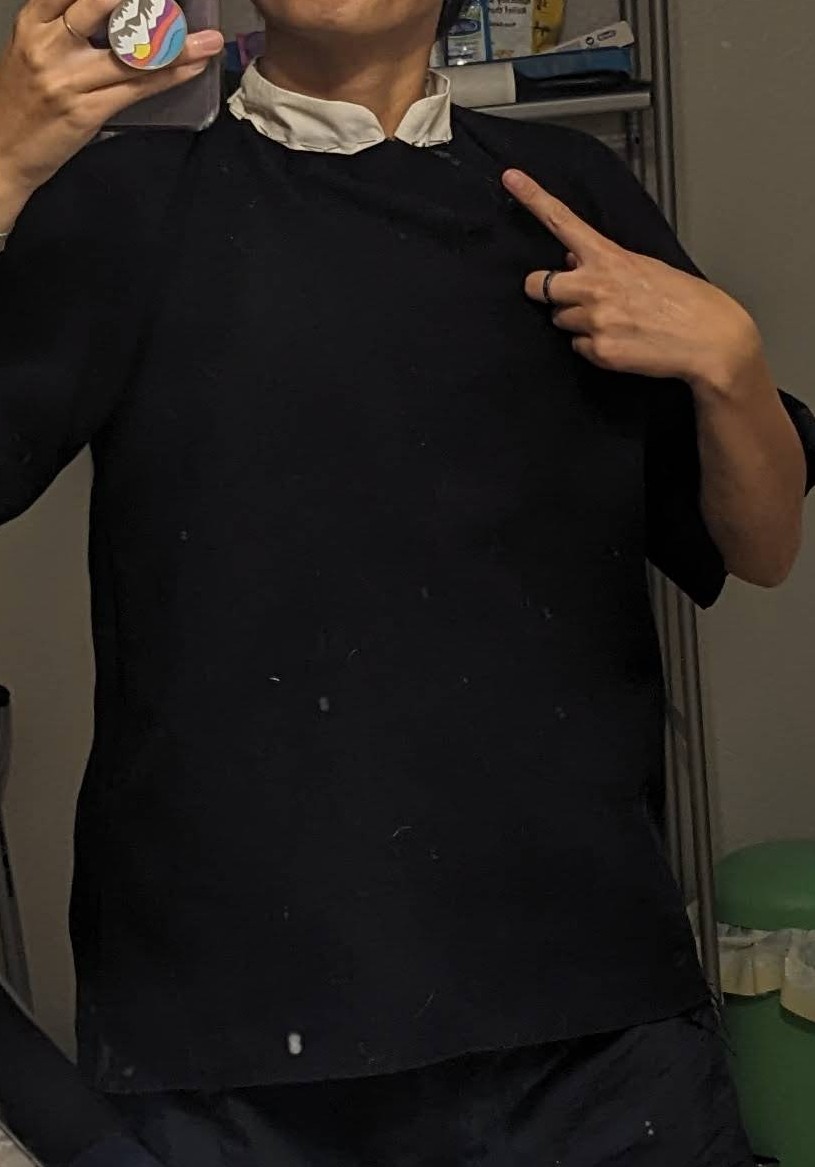
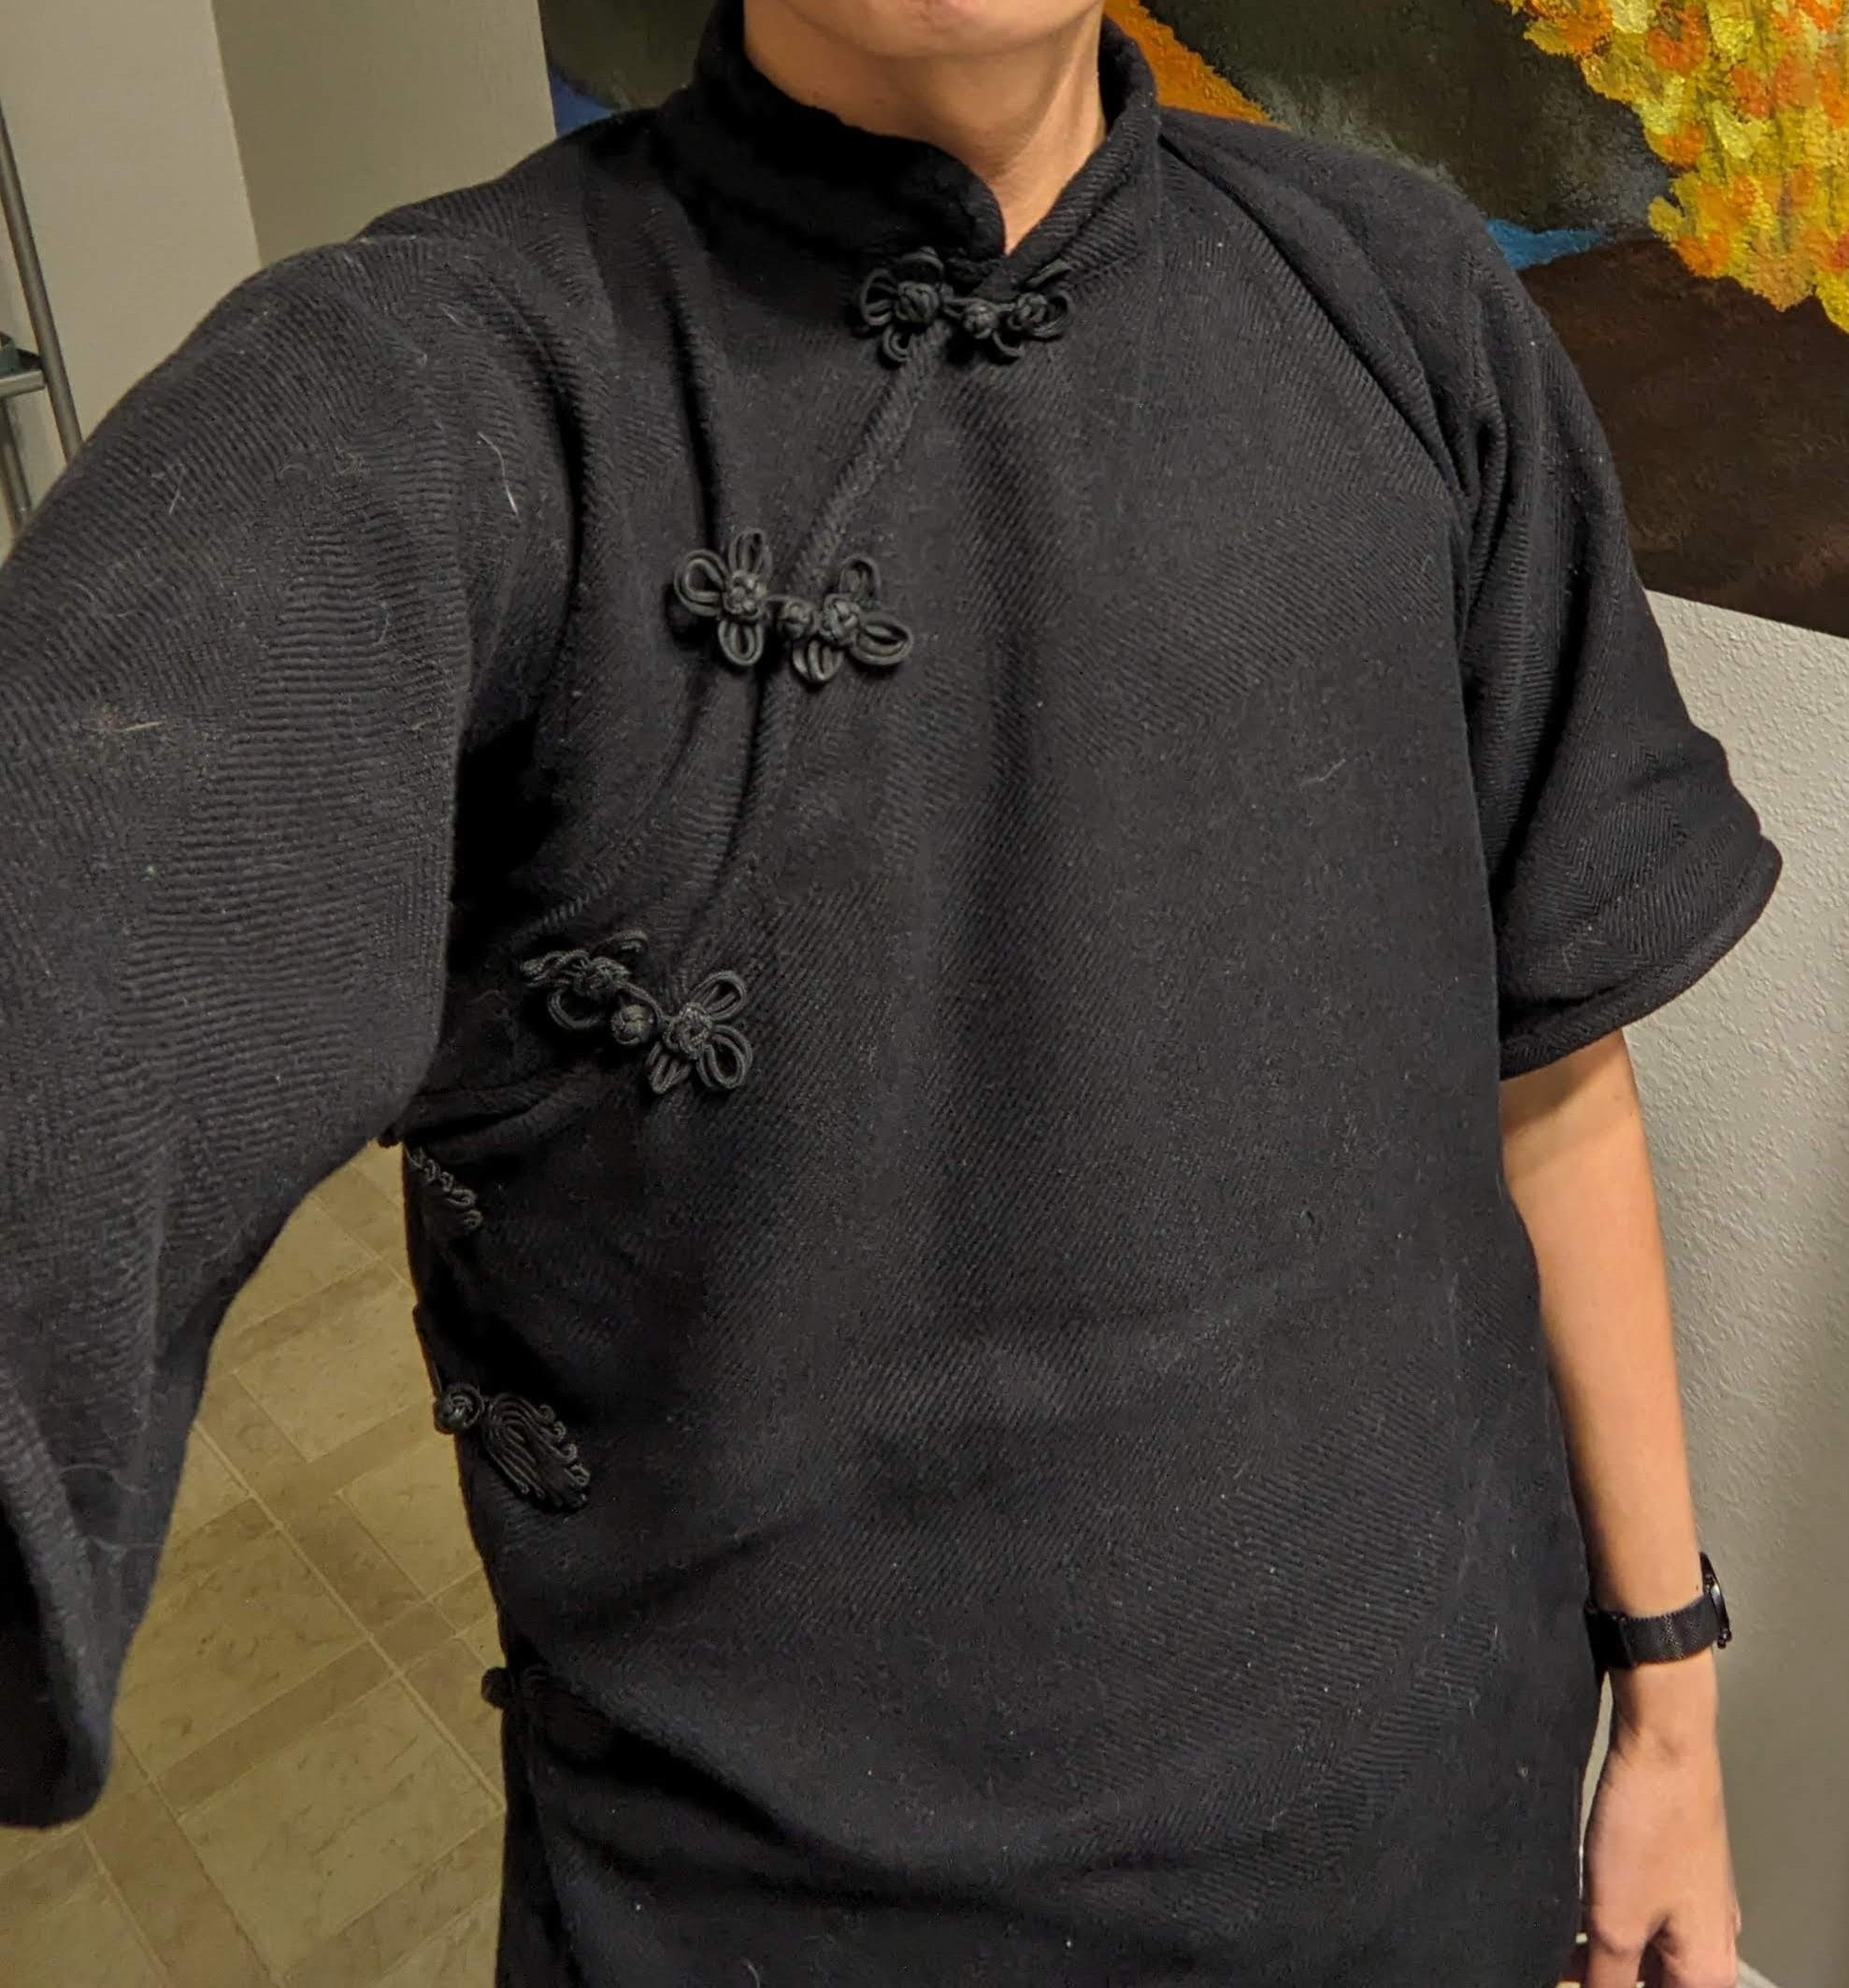
The collar ended up a bit asymmetrical, and I want to address it. One friend said they would lean in an make it even more asymmetrical, and another friend said I could probably add material and make them more even, so we’ll see what I decide. On my second wear, the front overlap wasn’t quite enough when I raised my arms, so I want to add some material so all my skin is covered.

Project completed May 2026.
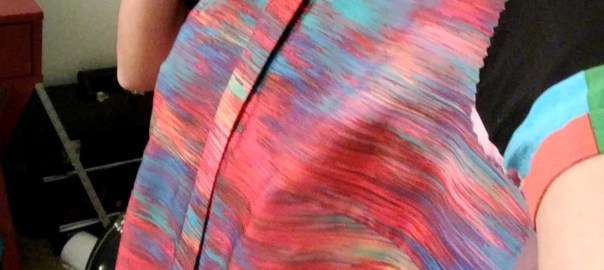
Rainbow Flight Attendant

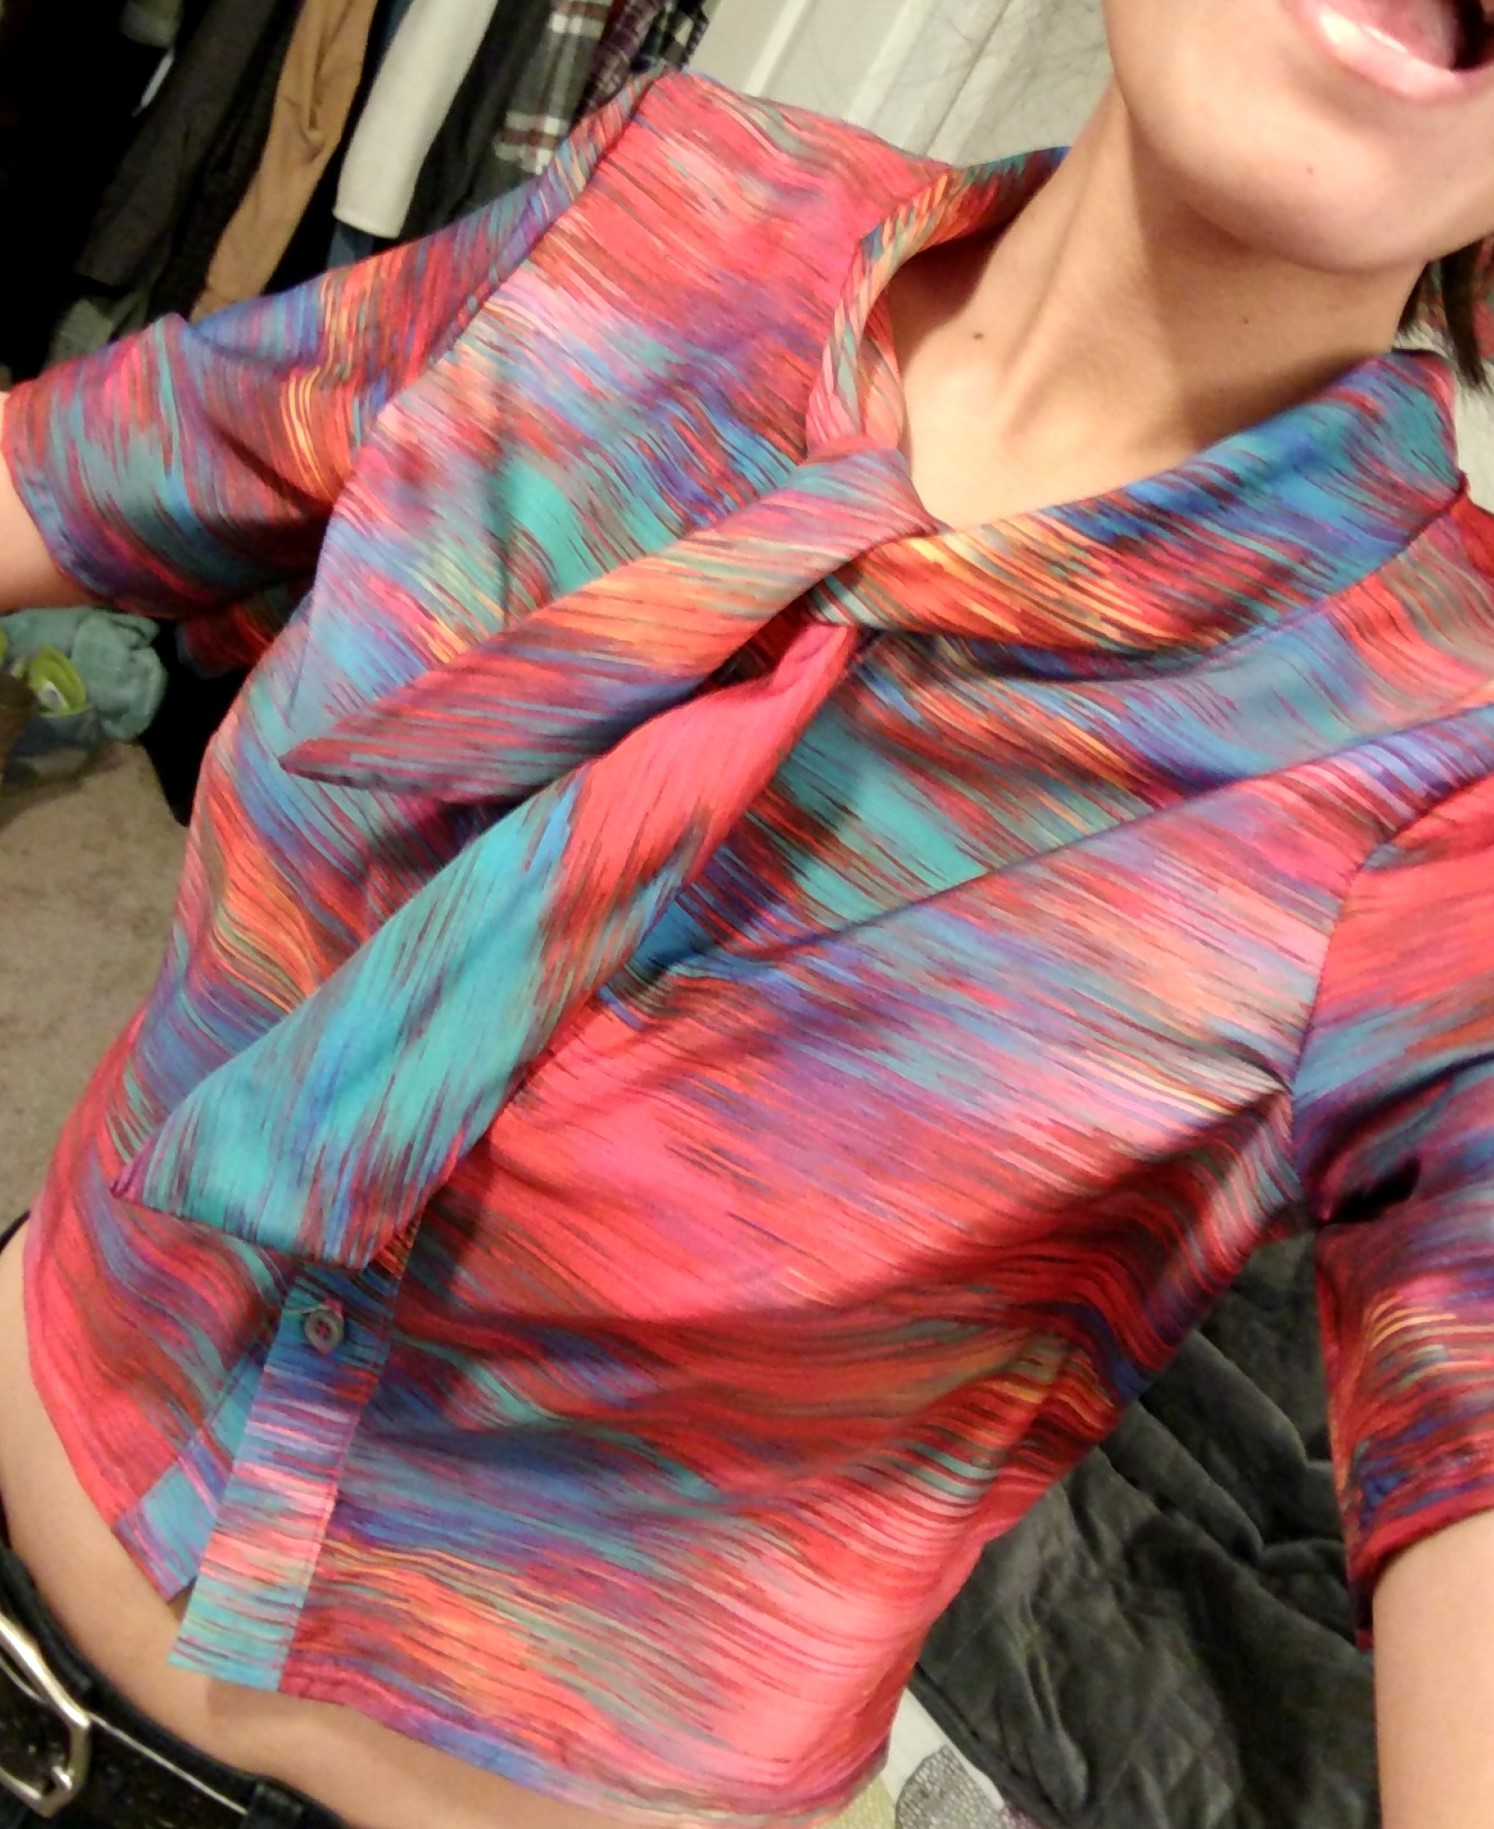
This shirt is based on the bodice of the Lekala S4108 pattern. This was my first shirt, and since I almost exclusively wear button downs, I figured I should just start with a button down. This only used 1 yard of fabric (from Joann), which was really cool. It’s kind of a firm satin? Not as slippery as the purple geode, still a bit flowy.

This, of course, was my first foray into collar making. I cut out the collar according to the pattern, but it ended up being so short that it didn’t wrap all the way around the neck opening. I didn’t have enough fabric to make a new, bigger collar, so I decided to go for a tied collar strip thing (I have another shirt like this so I figured it would work). The improv collar worked great and is the basis for the name since they used to wear those little scarves.

It was also my first time doing sleeves! It’s a bit tricky to sew a sphere-ish thing to a.. 2D/circle thing, but I used a lot of pins. I also skipped some directions which, after consultation with a friend, I should have followed. You’re supposed to “stay stitch” around the sleeve curve so it doesn’t get all out of whack and stretched when you’re sewing, which did happen a bit. But the extra bit of shoulder puff isn’t unwelcome and is pretty subtle.

It was not my first foray into buttonholes, but it was the first time I had to measure and space out my buttonholes. I put the shirt on and marked out where it felt natural for buttons to go, and saw a separation of about 2″ is a good distance. The bottom was just a bit over 2″ after the last button but I decided to not install a button so close to the hem.

I wore this on a date and it absolutely passed my wearability test, but that doesn’t mean I didn’t introduce the piece to my roommate as “am I a flight attendant now?”

Project completed March 18, 2019.

Purple Geode Dress Set

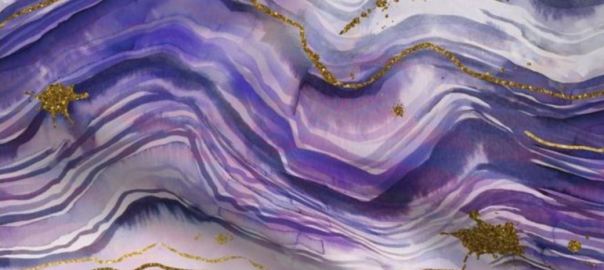
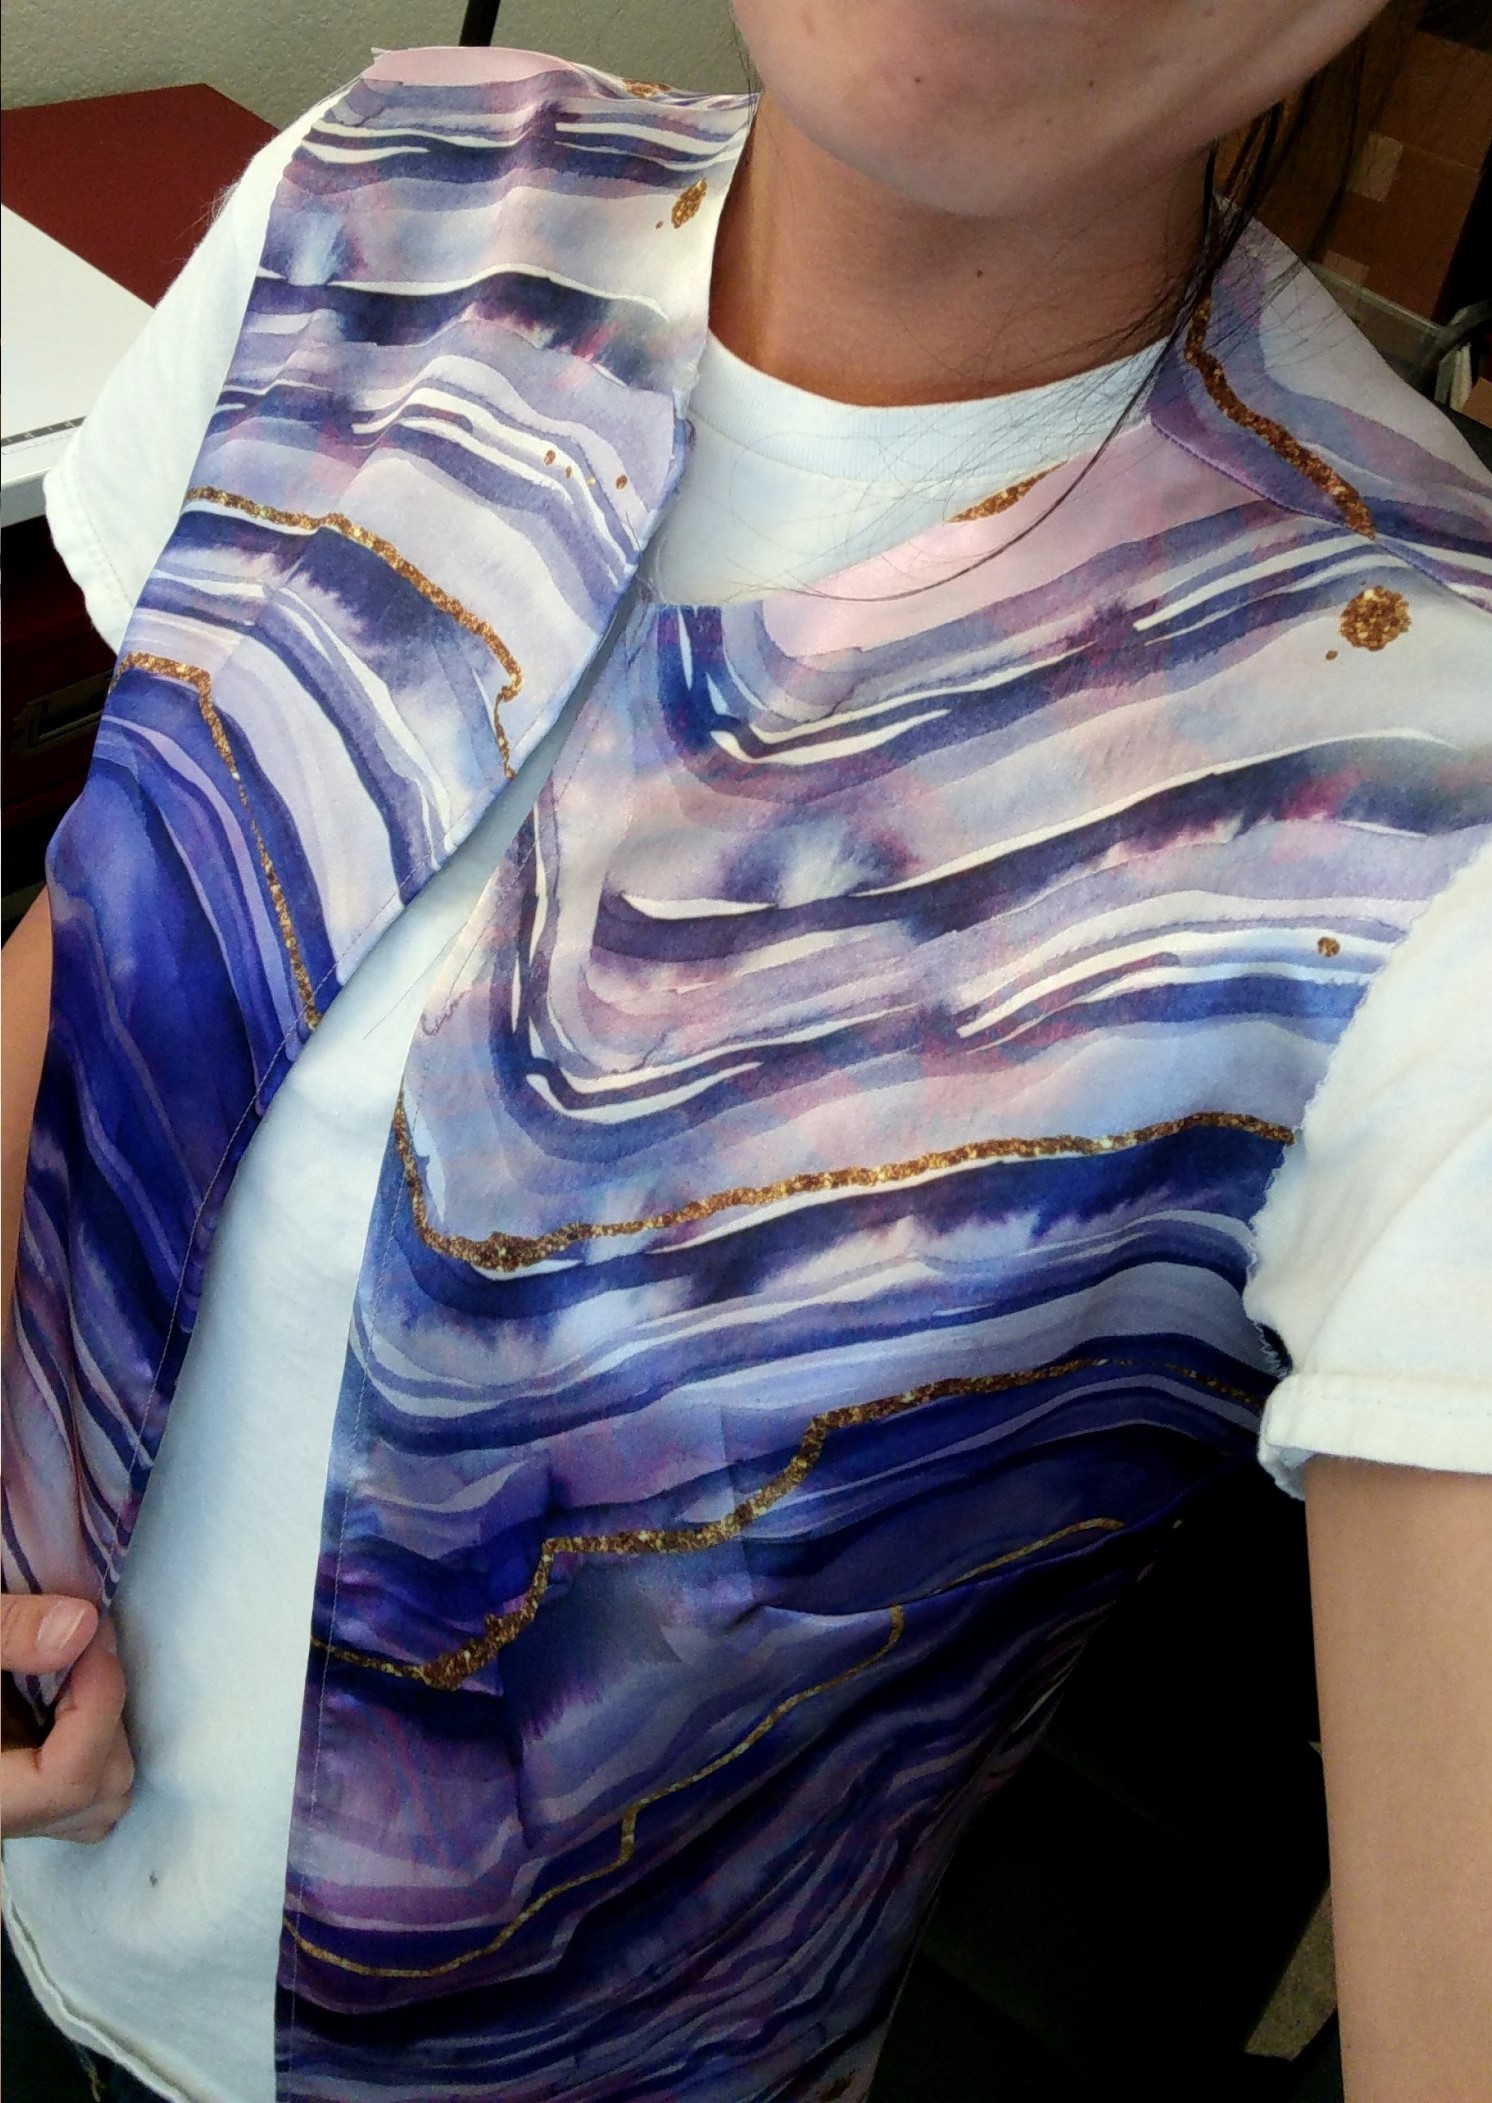
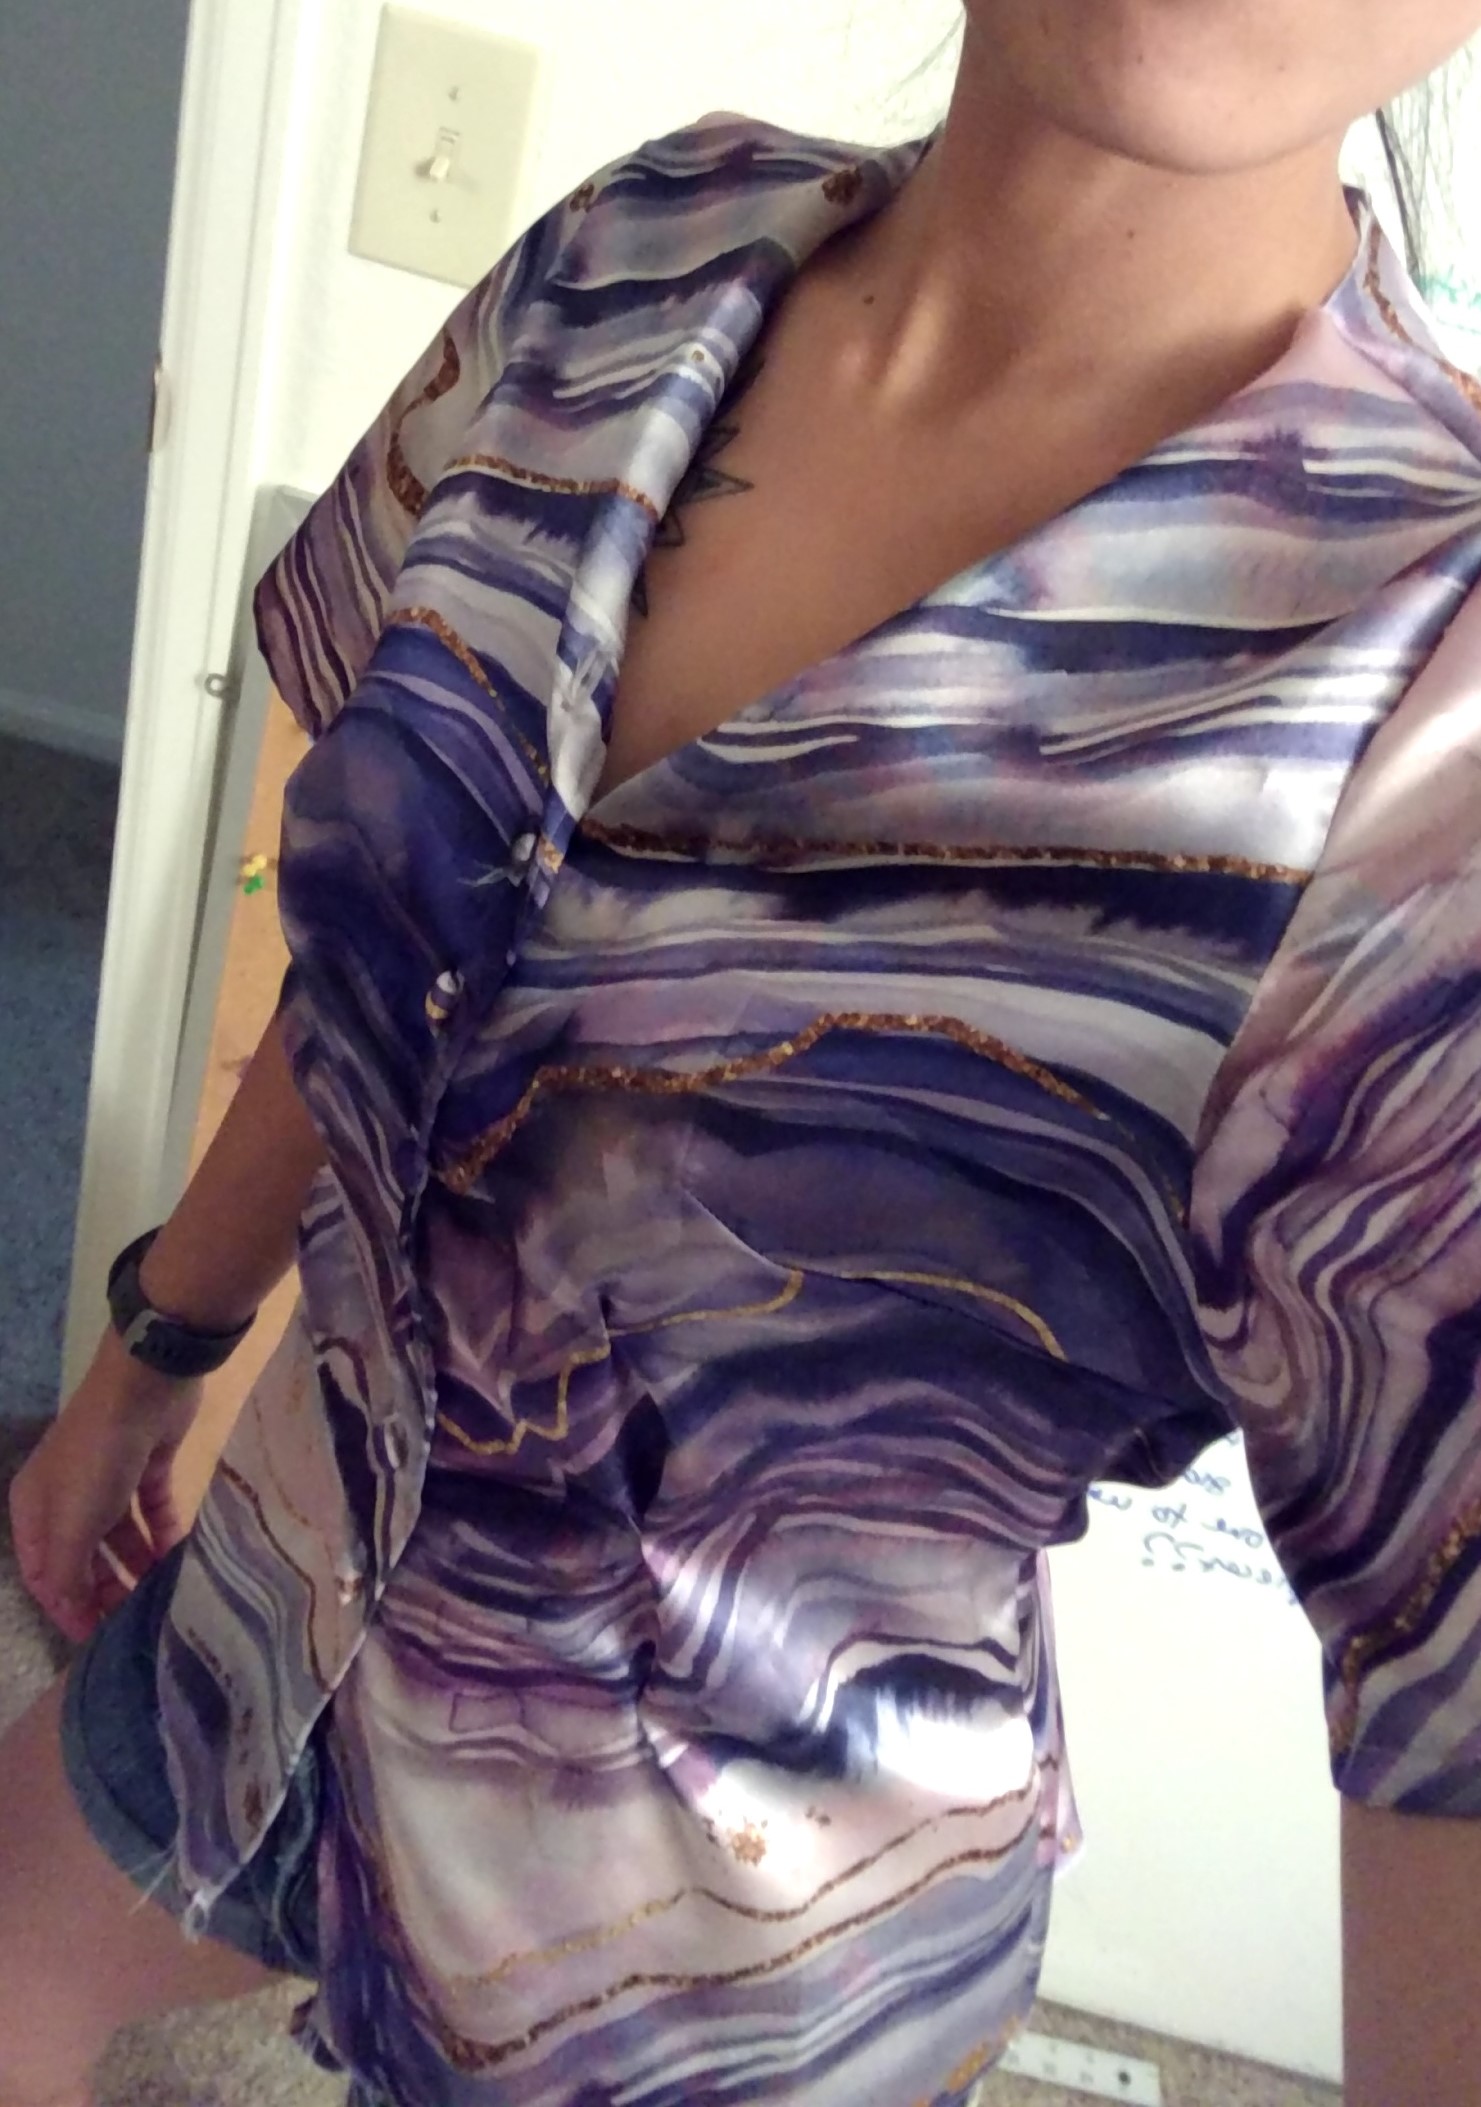
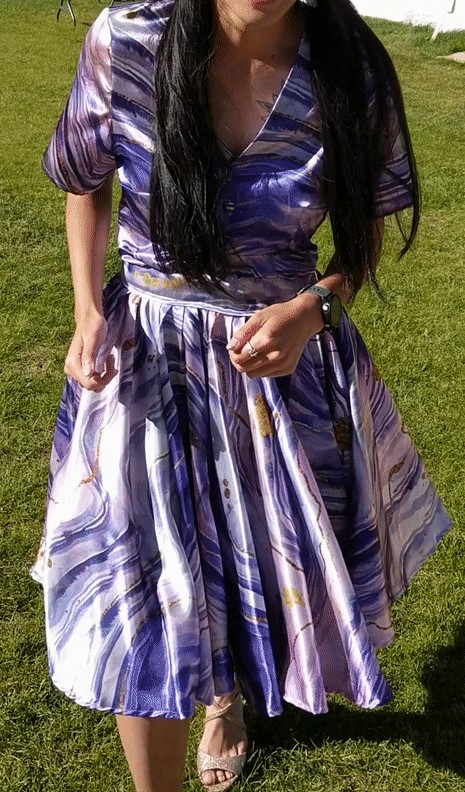
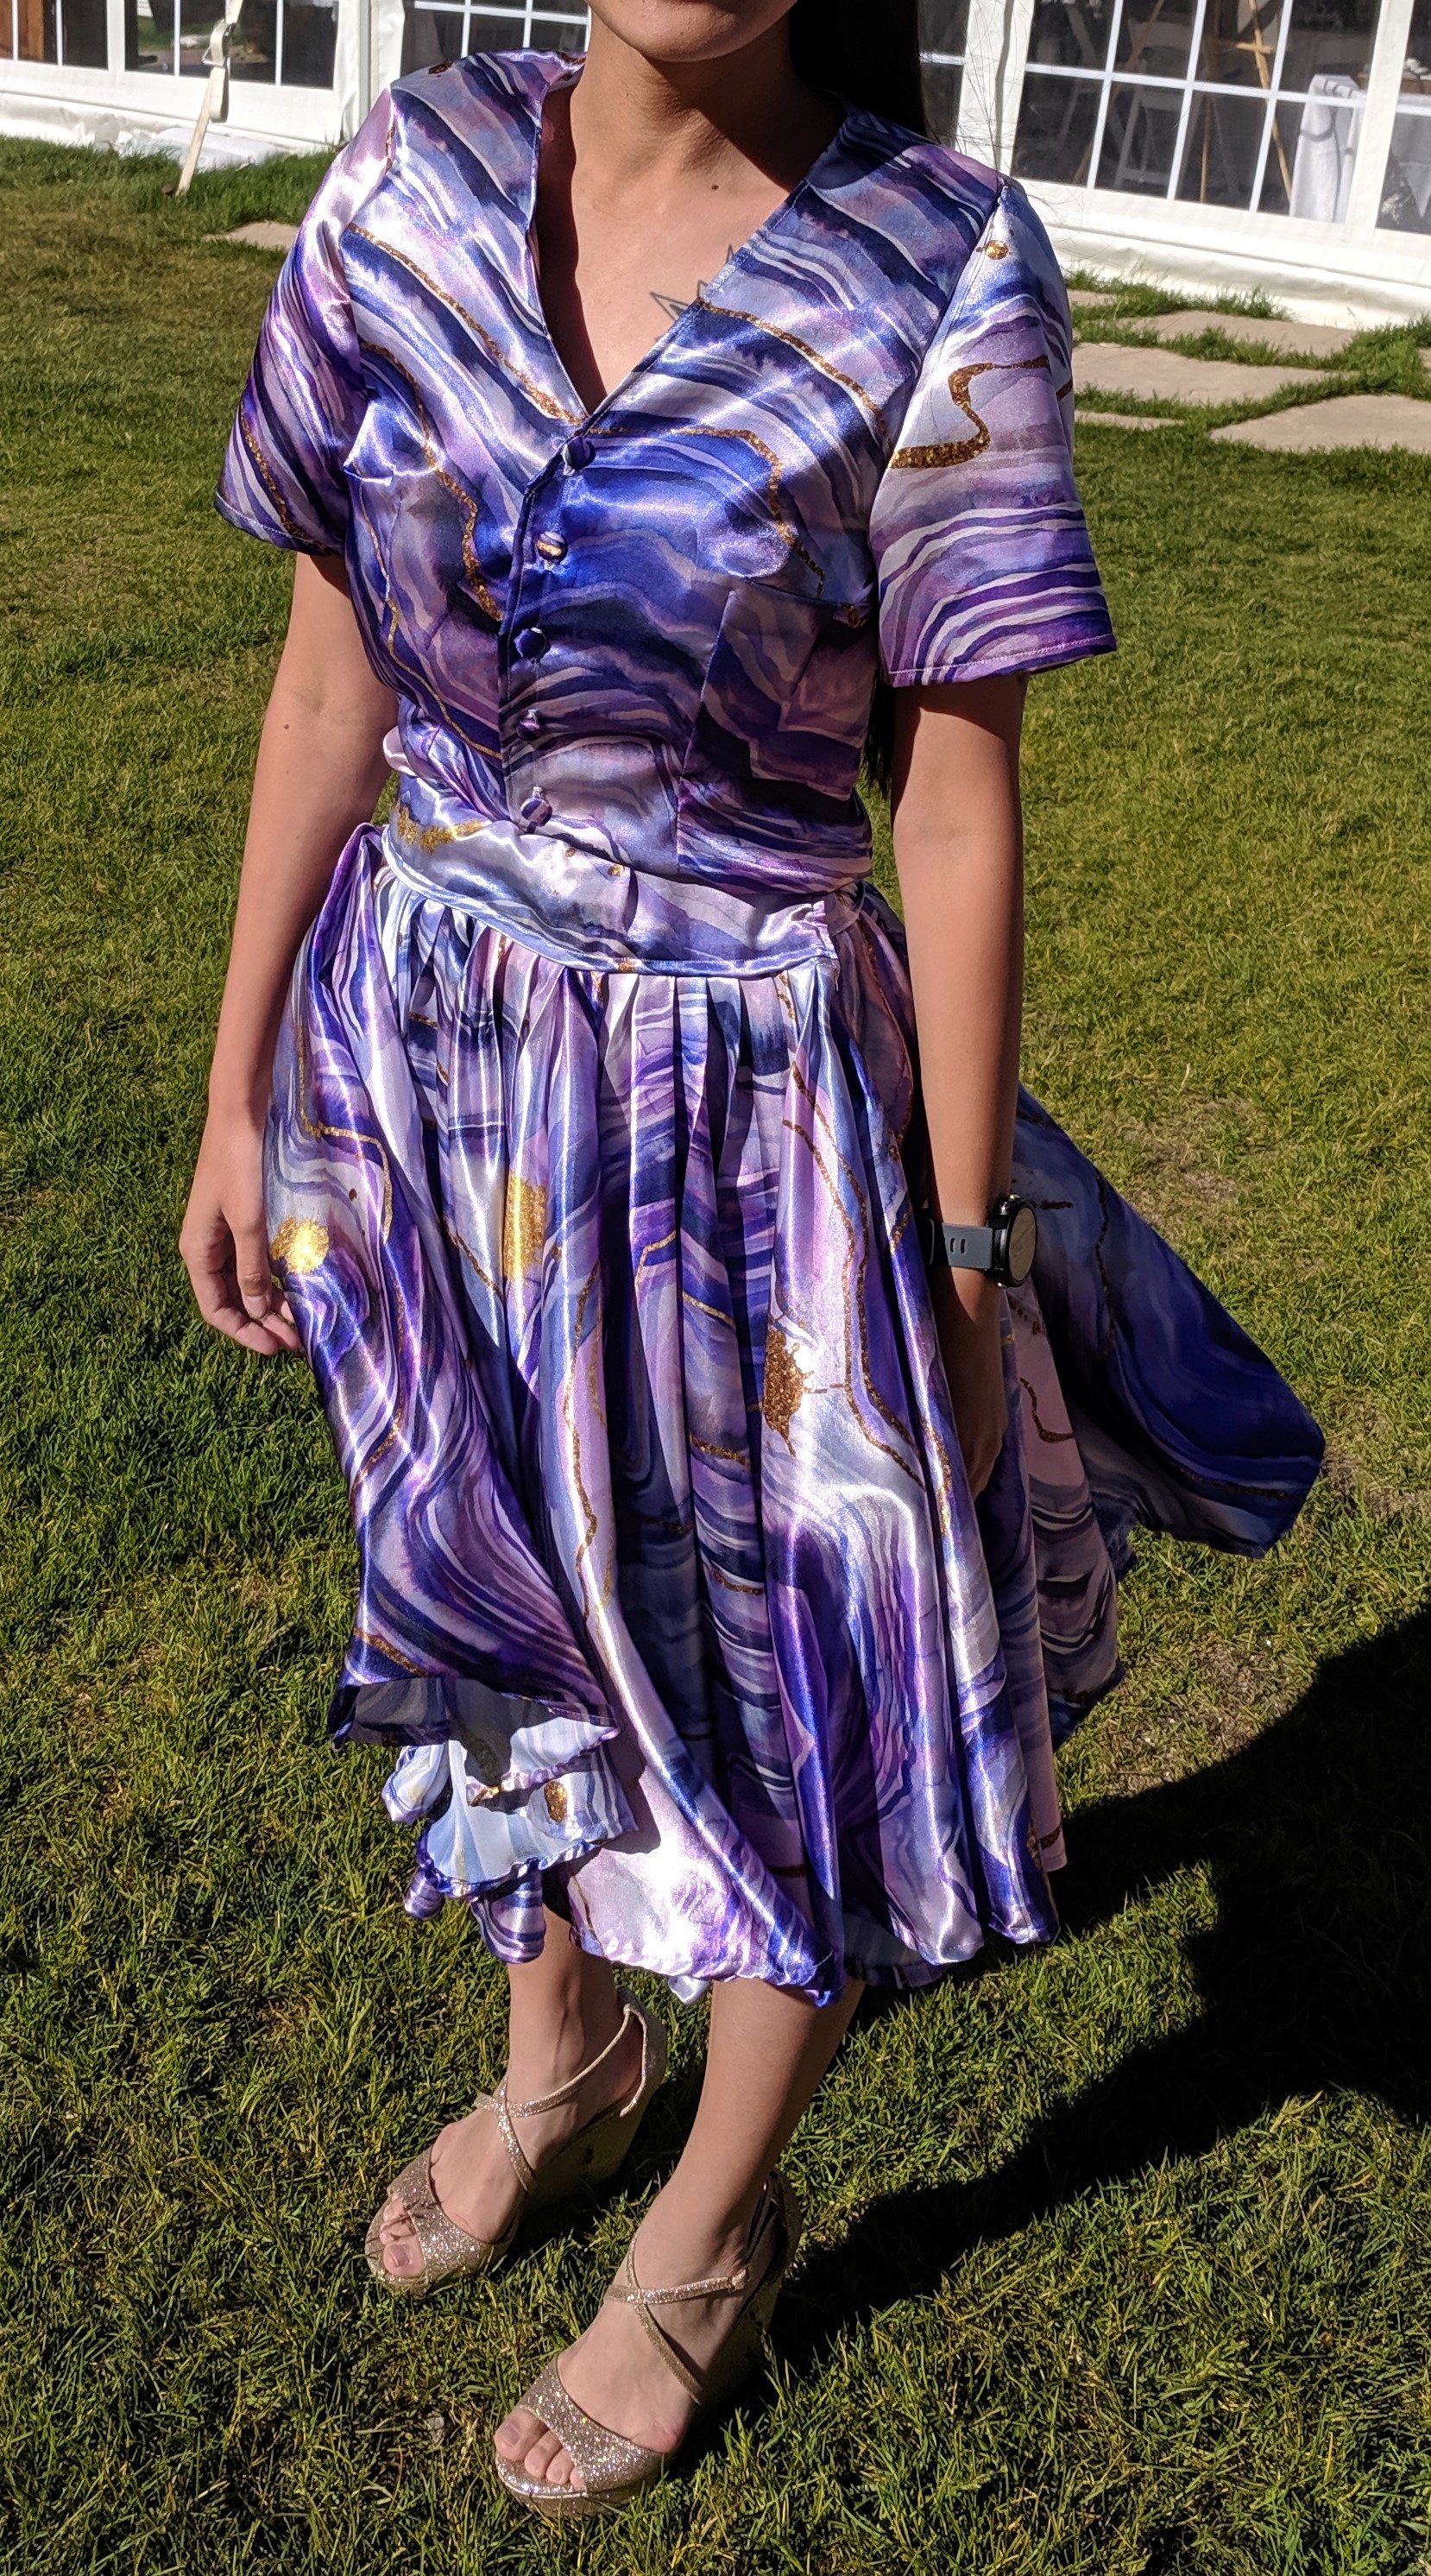
I made this top + skirt for a friend’s wedding. I got the fabric from Spoonflower, a site that takes designs and can print them on many different fabrics. I chose a polyester satin that turned out to be a bit slippery. I used tissue paper to stabilize the fabric and ensure it didn’t fall down the hole in the machine where the needle goes through or stretch out. It worked super well, but was kind of annoying since I had to sandwich each seam in tissue paper, sew, then rip the tissue paper off.

I modified the Lekala #5446 Classical Blouse pattern again, and sewed 3 circle skirts together to get the full volume of the skirt. With the blouse, I constructed the entire thing save for the collar, since I wasn’t sure I wanted to go down that road and have it turn out weird (again). I used buttons that I was able to cover with the same fabric as the shirt (they have a separate back and front, you wrap the fabric around the front, stuff it into the “bowl” of the button, and click the back into place, securing the fabric).

I used improv fitting while the shirt was on my body to create darts that (a) flattered me and (b) ensured there wouldn’t be wrinkles when I tucked the shirt into the skirt. I pin inside out so that I can sew the darts directly, which assumes my body is symmetrical, and no one’s body is, but it’s close enough.

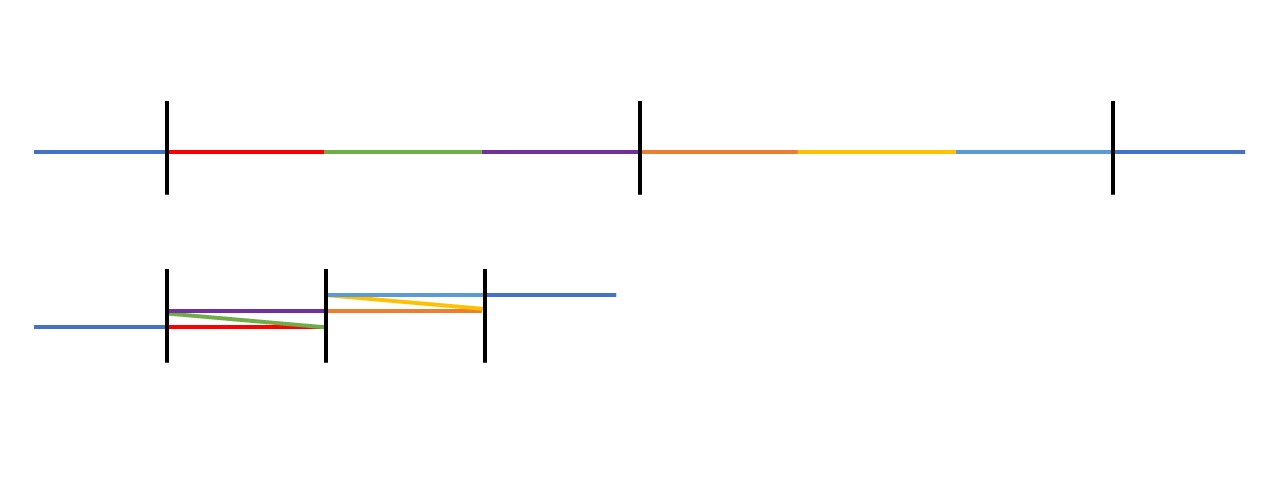
The skirt used about 5 yards of fabric. A basic circle skirt is just that – a circle of fabric with a circle cut out for the waist (more of a doughnut, really). I cut out three doughnuts by folding the fabric in half, and in half again, so I only had to cut out a quarter circle. Then I had three doughnuts, and I cut each one on one side so I could have 3 vertical seams on the finished big doughnut. Now, I had planned to have the inner radius be my waist radius, but I forgot to divide by 3 before I cut out the doughnuts… But it just so happens that knife pleats divide the length by 3, so I added pleats all along the waist to bring it back to the right measurement. This also gave it a bit of poof and volume, which was great!

A hopefully effective way to explain pleats – the red-green-purple section turns out to be the length of just the red section aka 1/3 the length

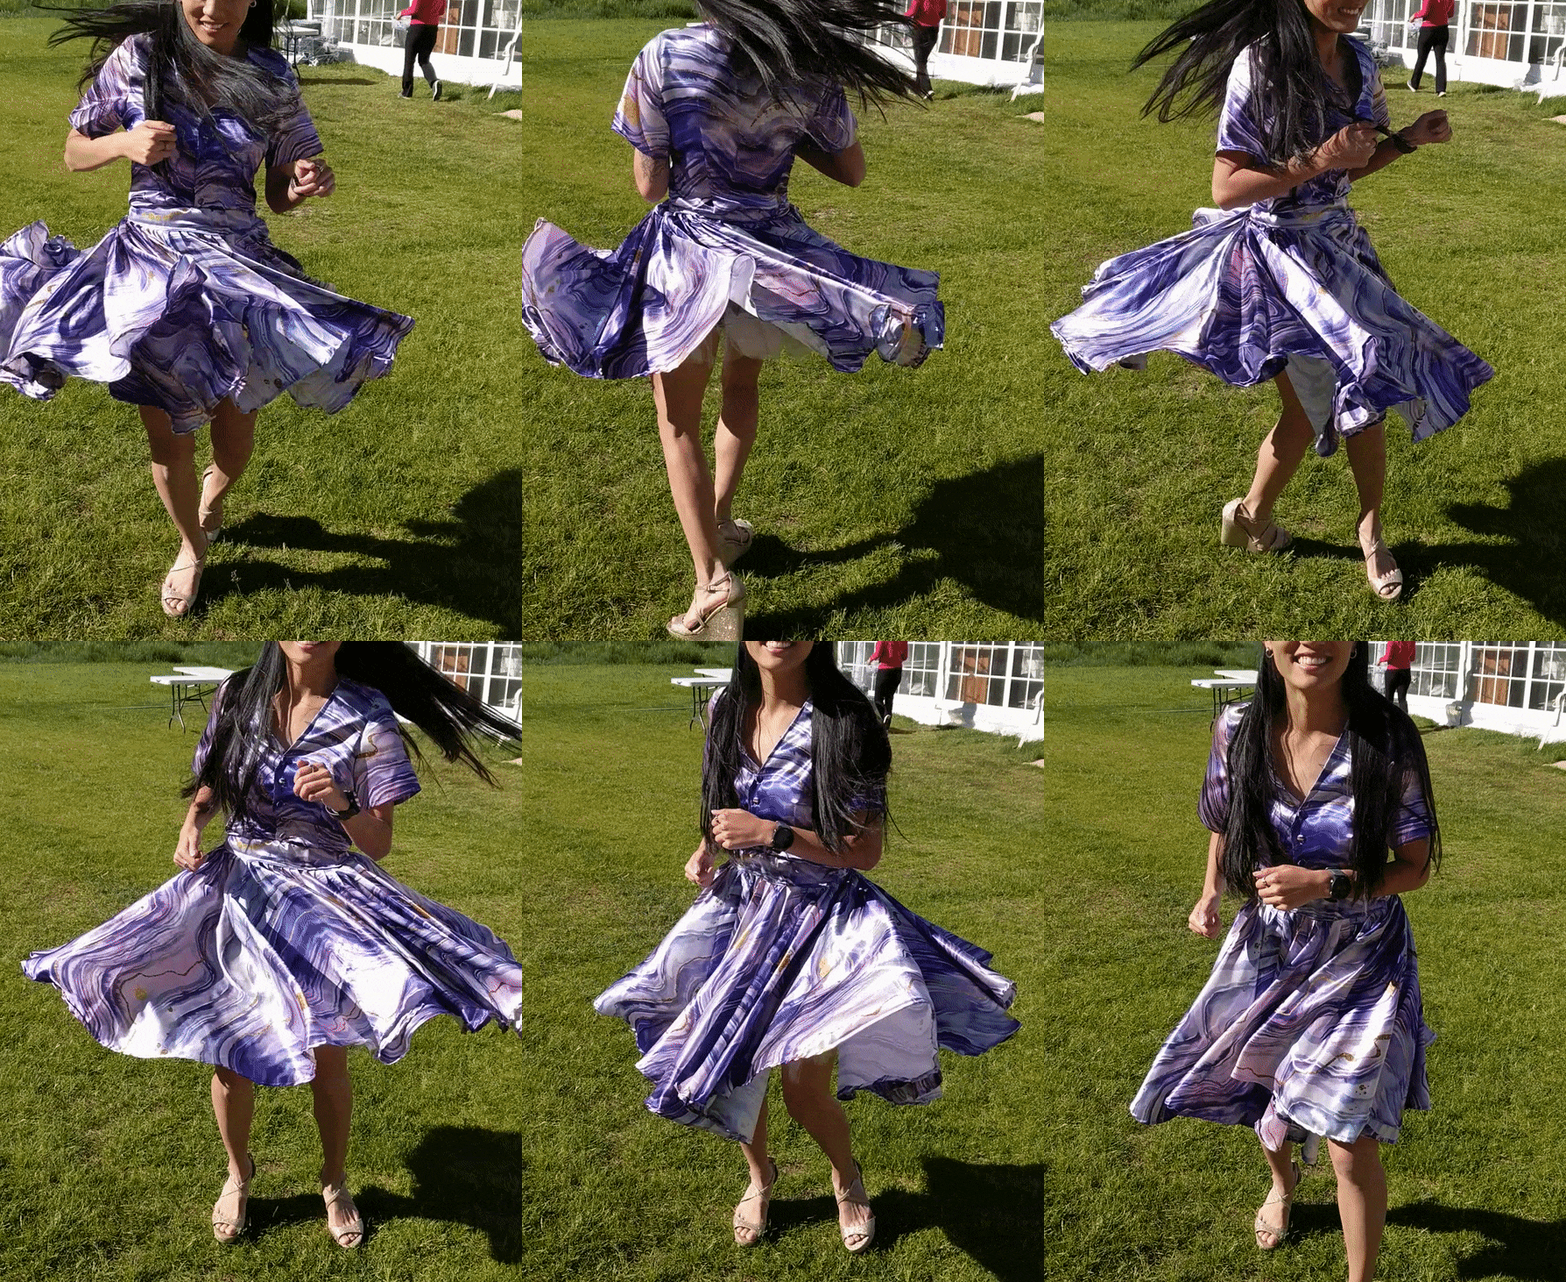
Originally, this project was supposed to be a dress, but I realized that I wanted to wear the skirt separate from the shirt, so I decided to not attach the shirt to the waistband. I installed a zipper with the waistband, and included some elastic after learning from the Skirt of Projects Past. I wore a tulle petticoat underneath to fluff it out even more than the 3 circles and pleats were fluffing it.

The ever important “twirl”

Project completed July 6, 2019.

Of Projects Past

It’s impossible to buy exactly the amount of fabric you need for a project. There will always be scraps, unless you’re making a perfectly rectangular item that uses up all the fabric straight off the bolt. For every other project though, there are bits and pieces of various sizes that aren’t used in the item itself. Or just leftovers because I bought more fabric than necessary.

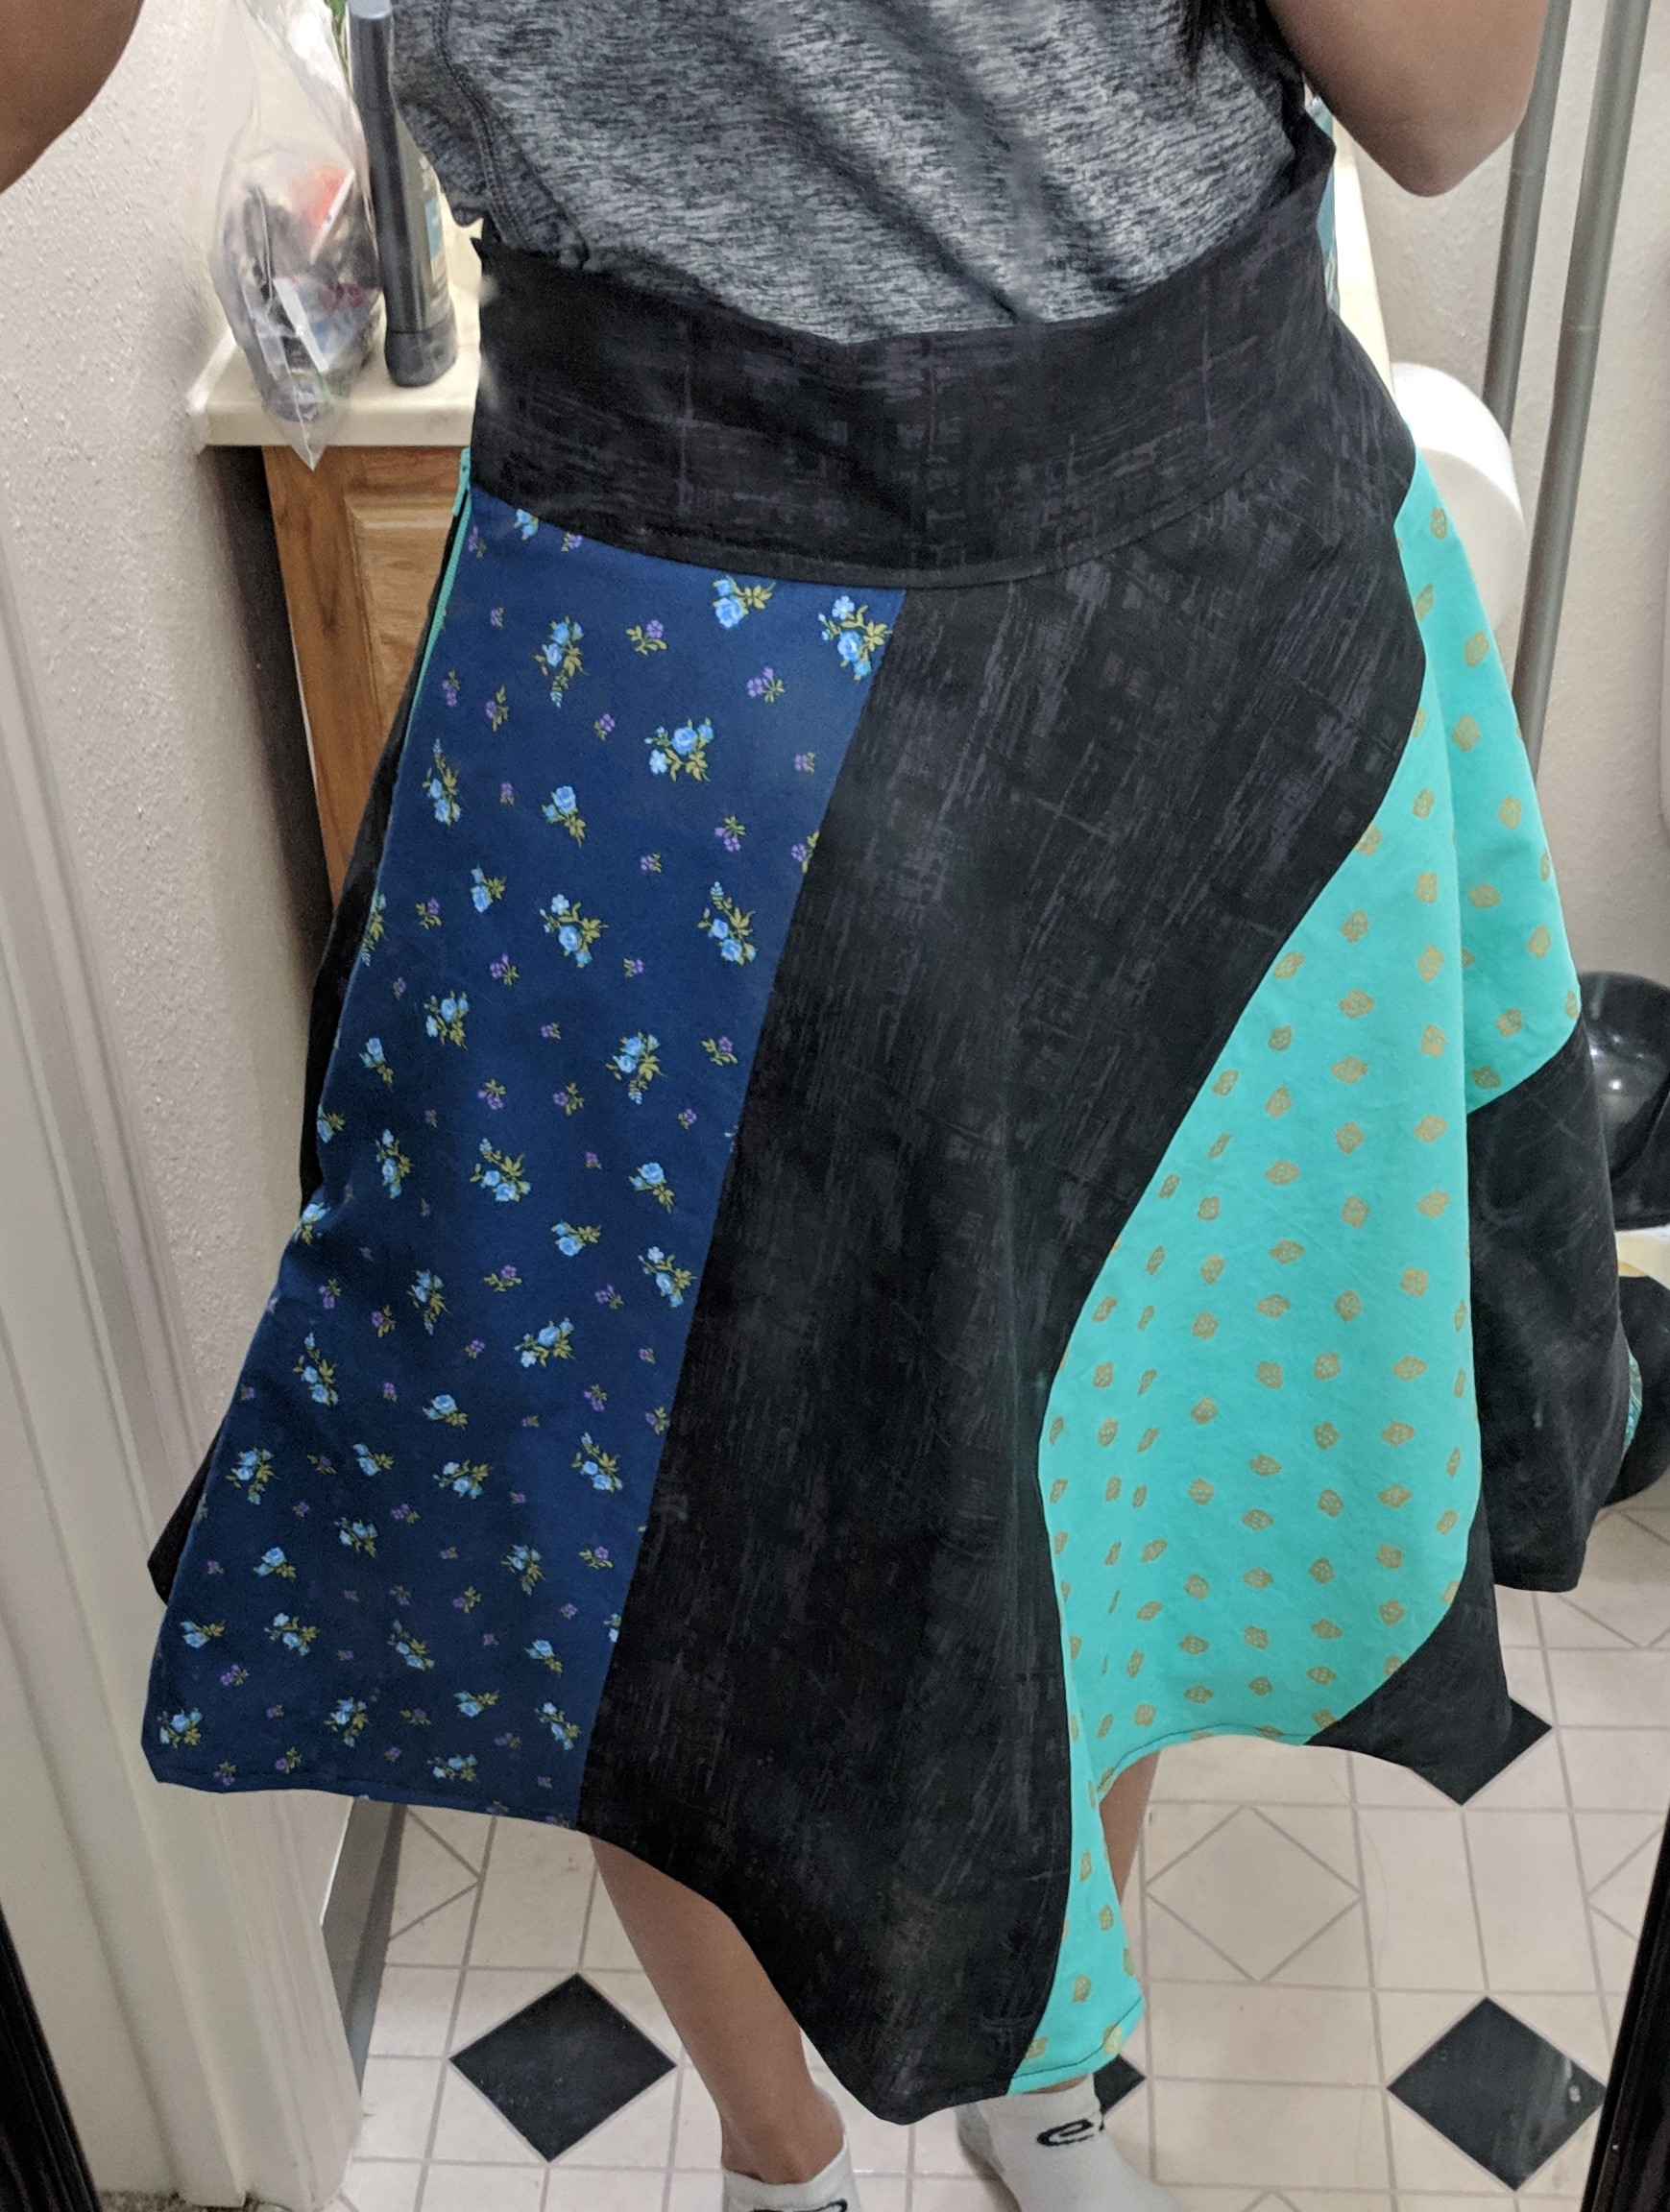
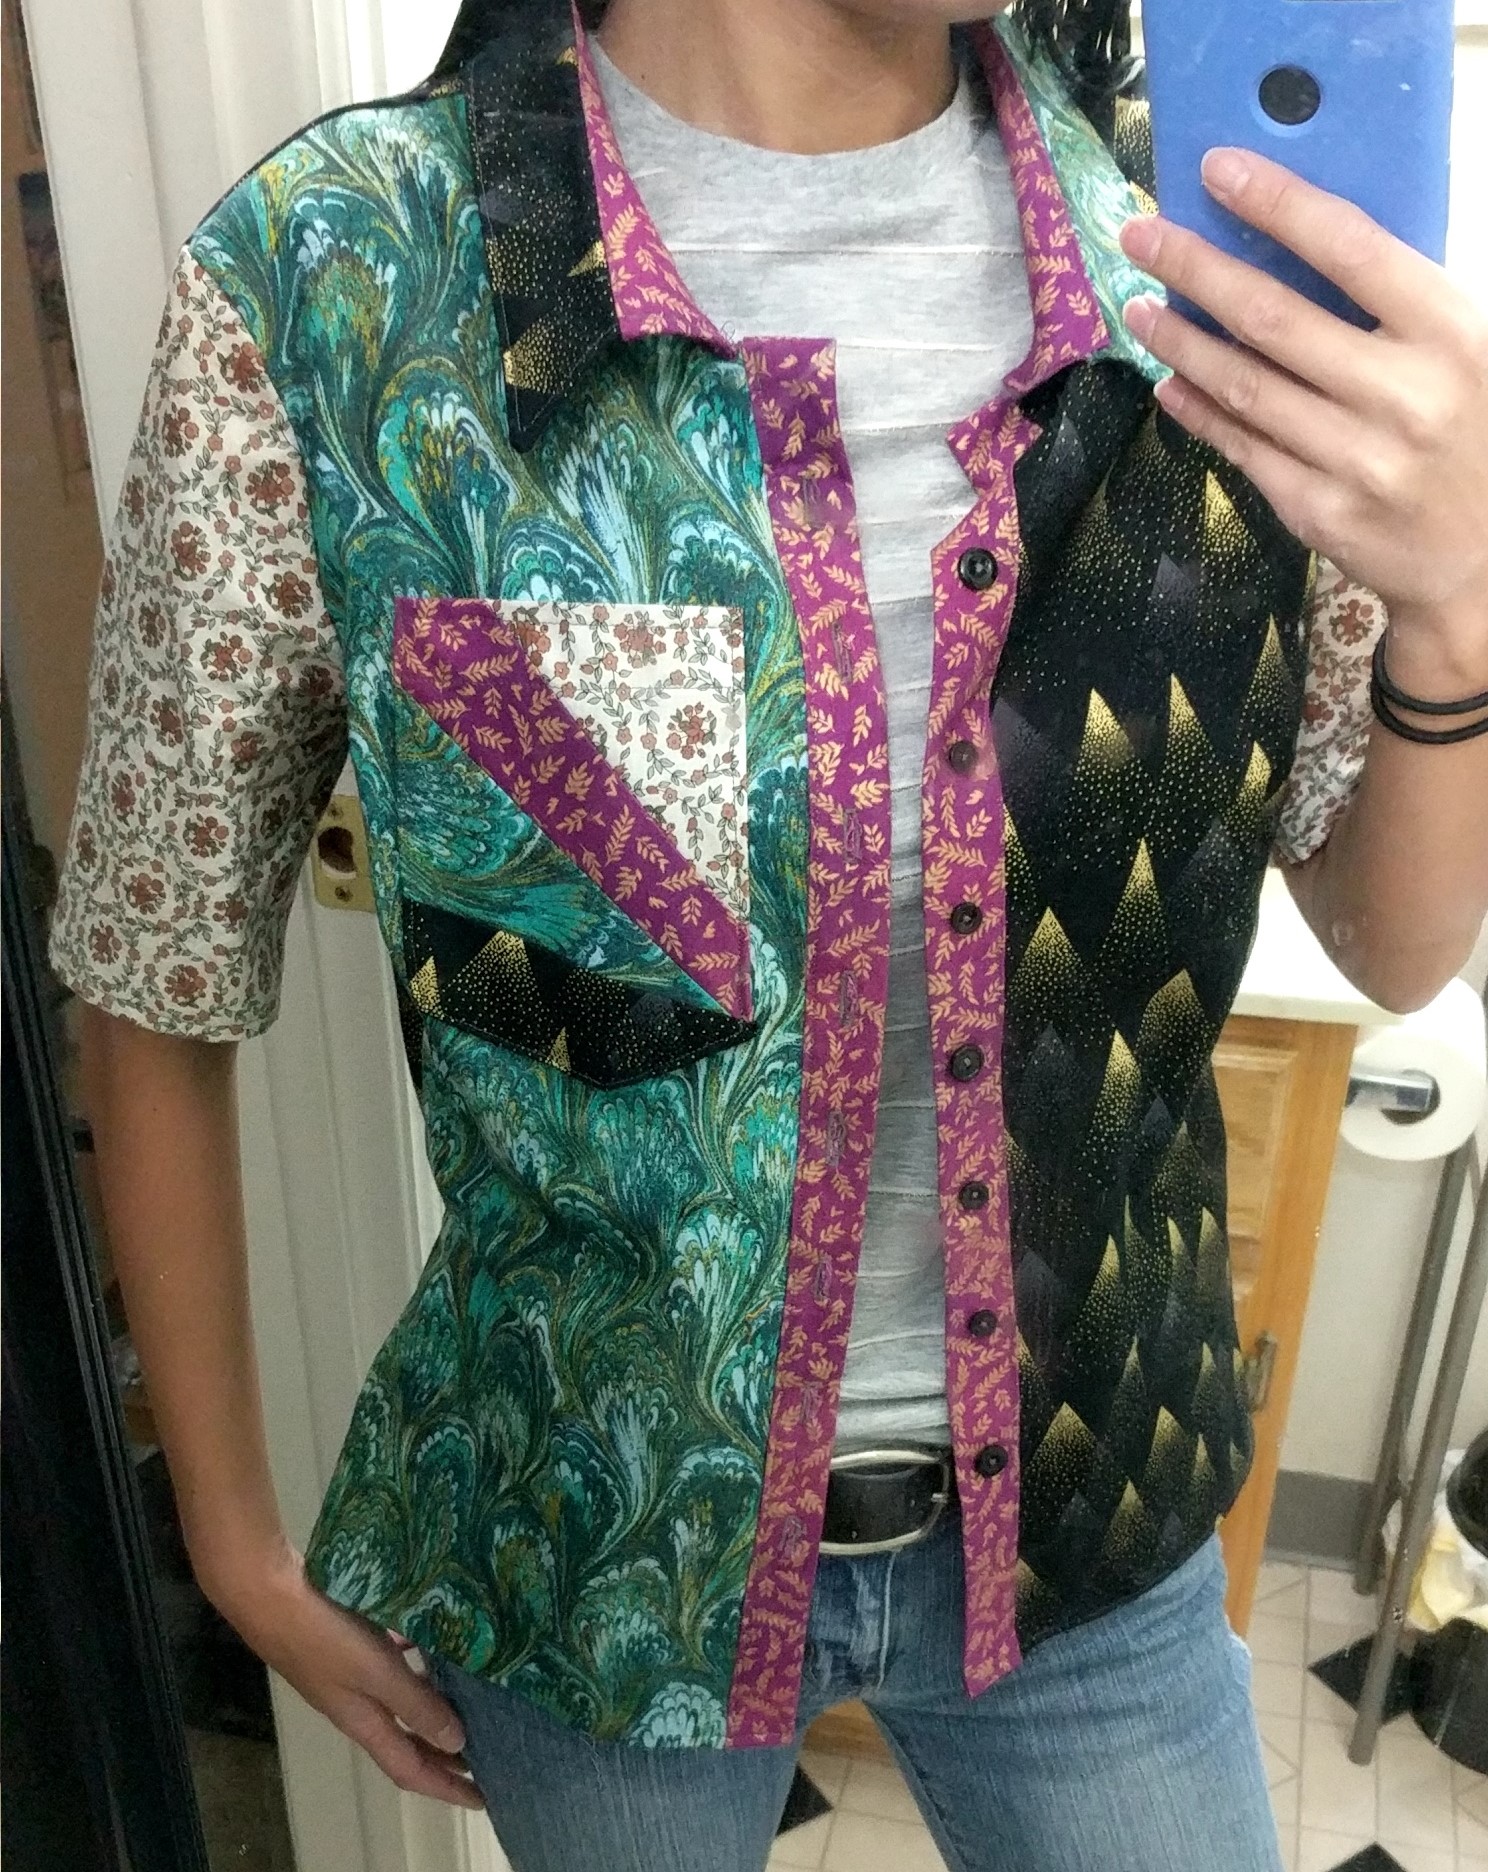
I decided to use some of these old scraps to make two different projects – the Skirt of Projects Past and the Shirt of Projects Past.

I liked (a) not buying new fabric and just recycling and (b) making something super colorful with weird, wonderful patterns. Most of this fabric I bought a year ago to make ties and neck warmers, and they generally have the same size print. And it was all cotton from Joann, so I wasn’t worried about weird shrinkage or anything.

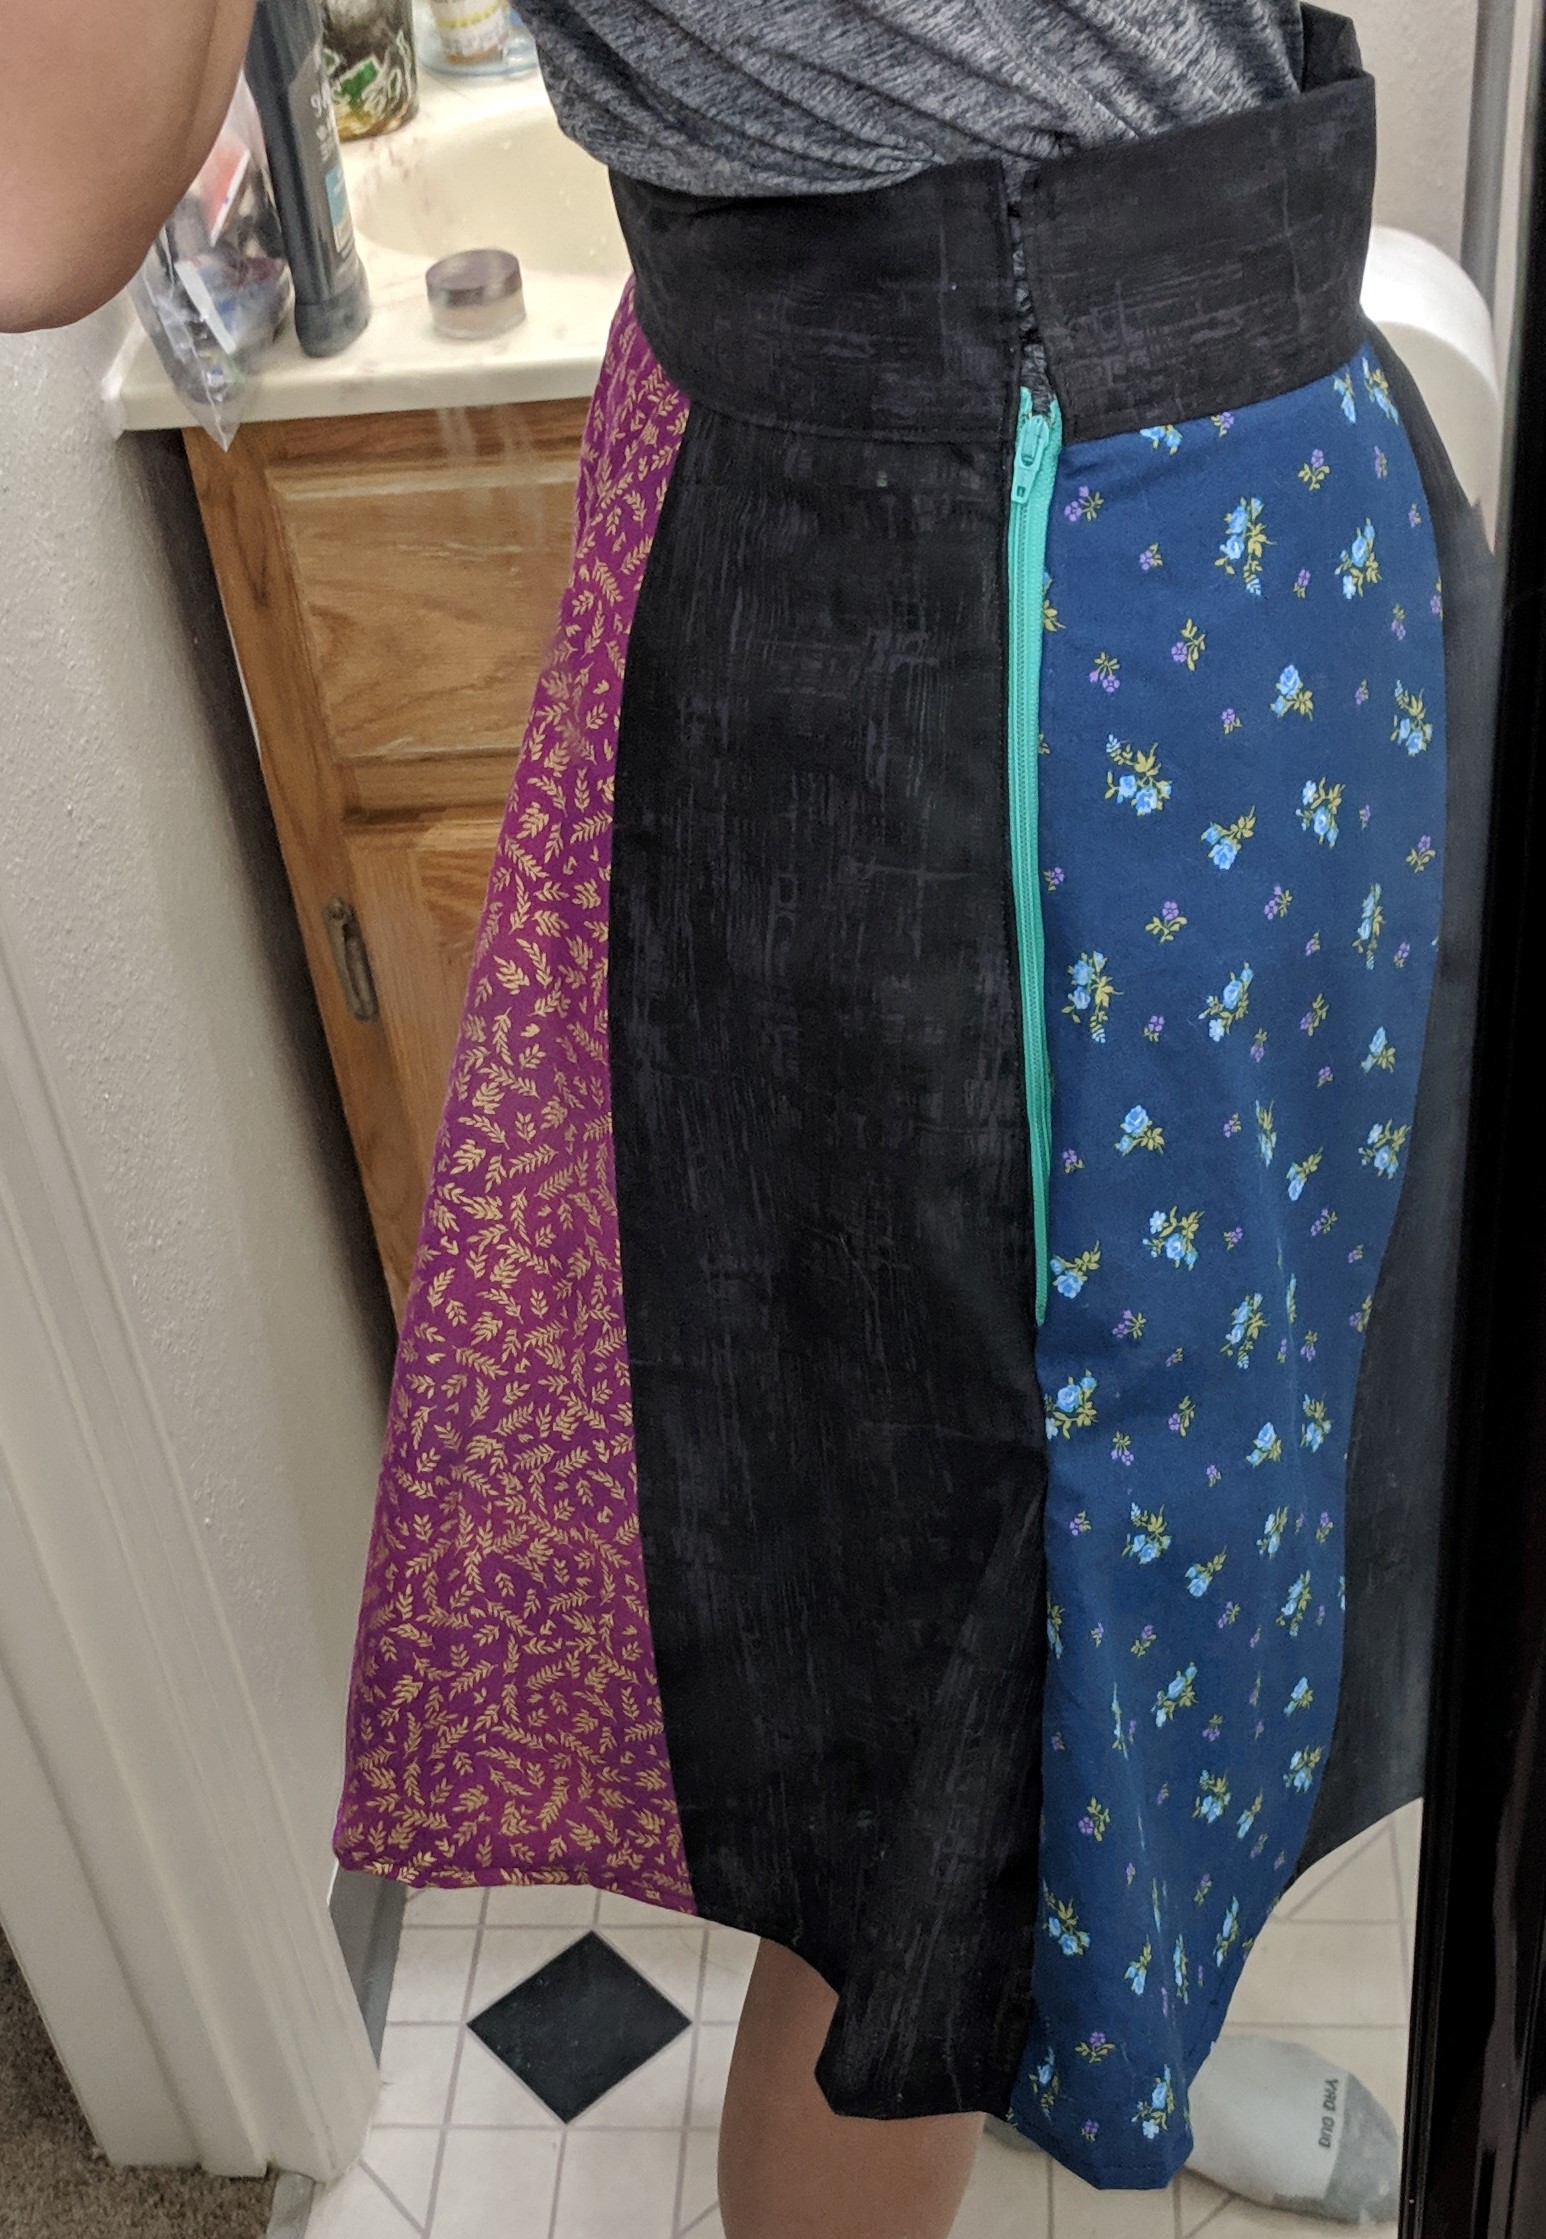
The skirt is made with strips sewn together, alternating print and black (from the Trapper Keeper). Then I cut out approximate semicircles, which created a front and back. I sewed one side together and installed a zipper on the other side. The waistband isn’t as sturdy as I’d like, in projects after this I used elastic inside the waistband just to hold it closer to the body.

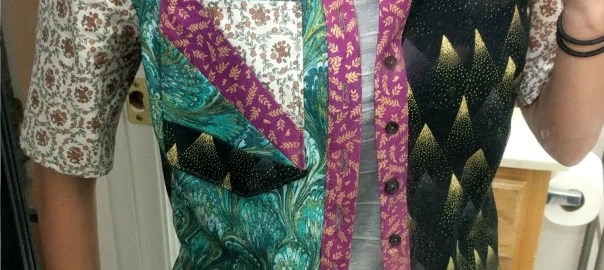
I used a modified Lekala #5446 Classical Blouse pattern for the top. I added a pocket using foundation piecing, adding layer after layer to get a pocket sized piece of fabric. I love the overall look of this top, but the collar opening leaves something to be desired, it’s a bit stiff and falls open strangely when buttoned.

Shirt completed March 30, 2019. Skirt completed Jan 10, 2019.