Tag Archives: c2026

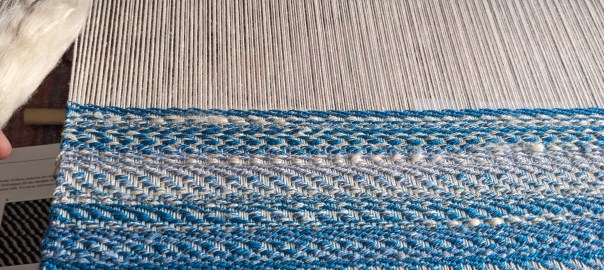
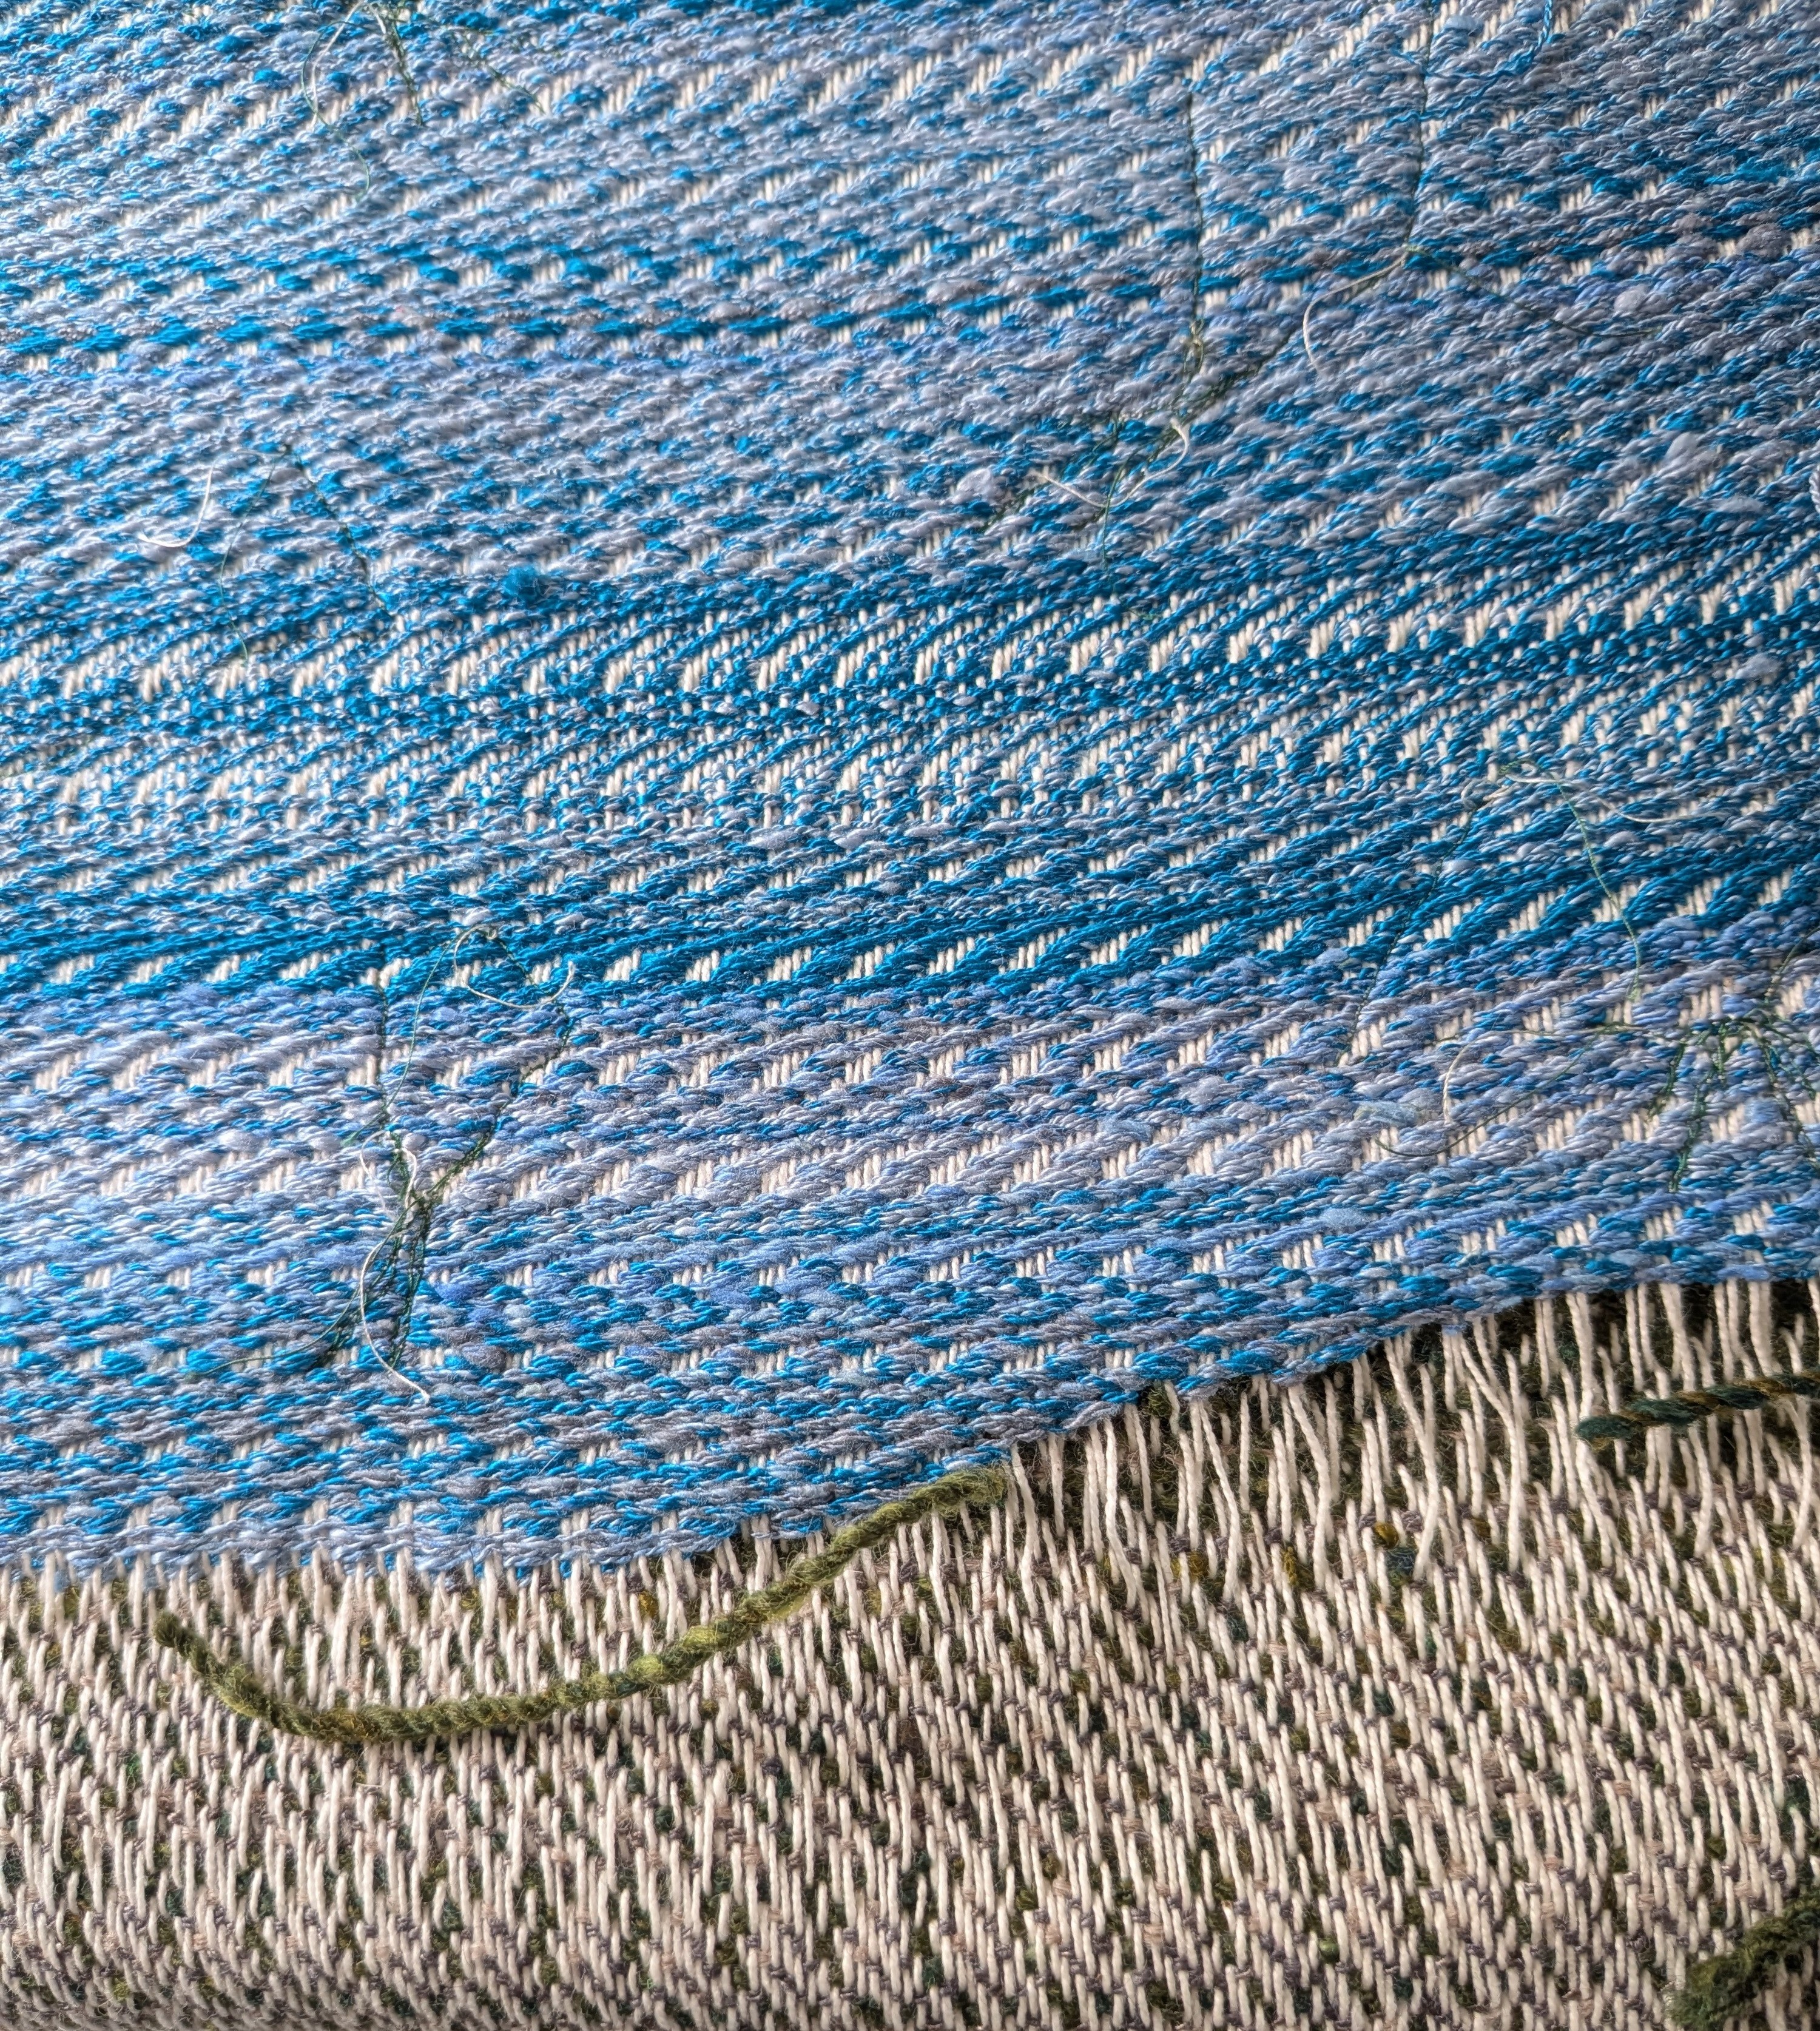
in progress weaving; the bottom has woven weft in varying blue colors, the top has unwoven warp that is white. a fluff of white is shown on the left.

Kite Fest!

This quilt was for a local art project in my town! It’s the first time I’ve ever made something to be shown publicly. The project gave us fabric printed with original prints from our local historic flour mill to make a quilt with 🙂 The prompt was “a day in our town”, and this year I went to our Kite Festival for the first time so I wanted to depict that. I loved seeing community members having a great time in the sun, and there were so many colorful and beautiful kites in the sky. I even had a go at flying a kite for the first time in a long time, and it went okay! 🙂

This year I wanted to make a project that incorporated my handspun, handwoven, and quilting, and this seemed like a great opportunity. I wove my handspun silk as the background and incorporated the flour mill fabrics as appliqued kites on top. Then I added borders and used free motion quilting to introduce just a few more wavy lines in there.

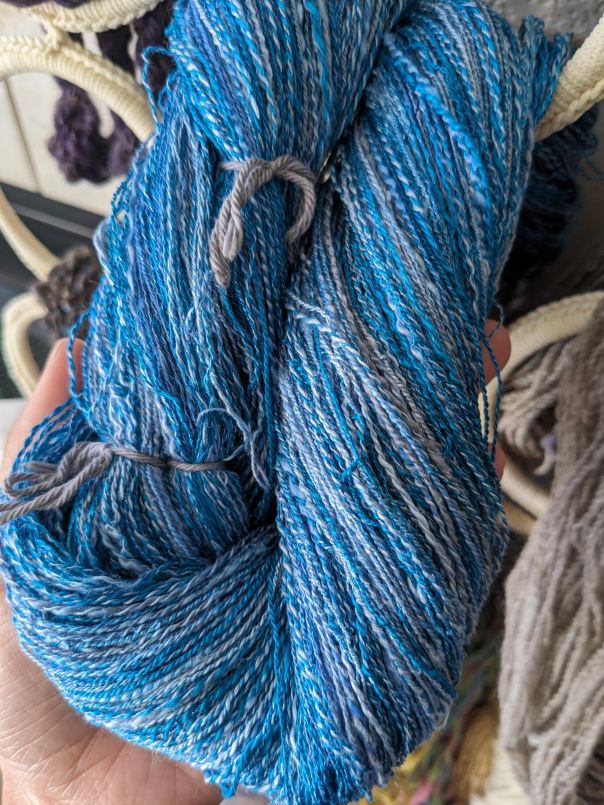
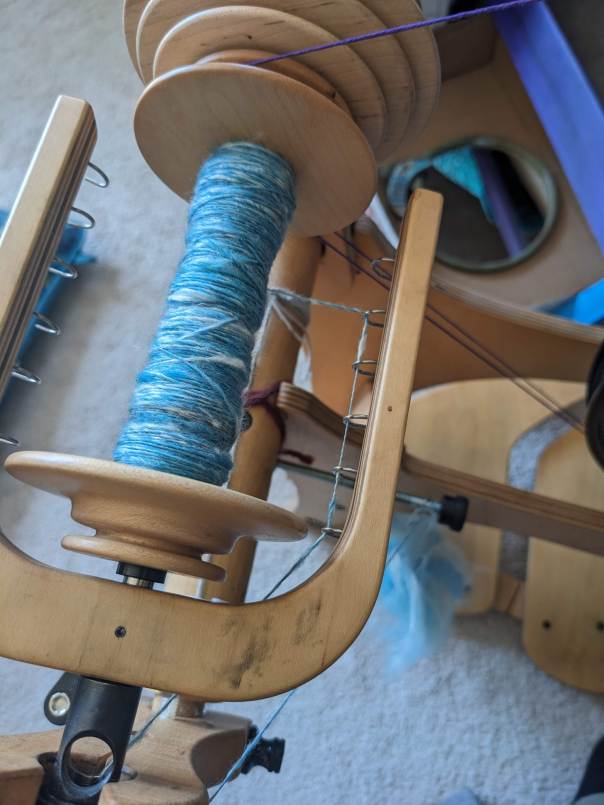
I had bought some silk fiber this summer to try spinning, and I had originally intended to make a sort of abstract sky or ocean project, but this quilt was the perfect place for it! The silk was a joy to spin, so smooth and gentle and easy. I understand why it’s not recommended for beginners, but aspects of it were easier than spinning wool, I was never worried about staple length and my single rarely snapped or flew out of my hand. I used a silk roving/top and hankies; I love the fluffy and irregular texture from the hankies but that shine from the roving is just unbeatable. I ended up buying more silk and I’m spinning it up to do a comparative dye project next year. As I wove the background, I got a bit nervous about running out so I spun up some more blue from a tencel/merino blend I had, incorporating some white mint and gray yak/silk to boost my supplies. I spun these blends as a single to be used as a single, which was my first time doing that. It was strange to not ply the singles after I’d spun them, but I really like the fluffy look this yarn brings to the finished piece.
Then it was time to weave! I used a thin cotton warp I already had in my stock (I only used supplies I already had for this project; my only cost was registering for the project :)). I looked in Carol Strickler’s book for some wavy, flowy patterns that reminded me of faraway clouds and air movements, and really like the undulation of #8. I played around with the repeated rows and the length of the floats, but all the sky is based on #8. I used a satin-ish pattern for the green hill at the bottom to make it very weft faced and kind of bury the white warp underneath. I used some unspun mint fiber to create the fluffy clouds at the top, along with some long floats in the body of the piece.
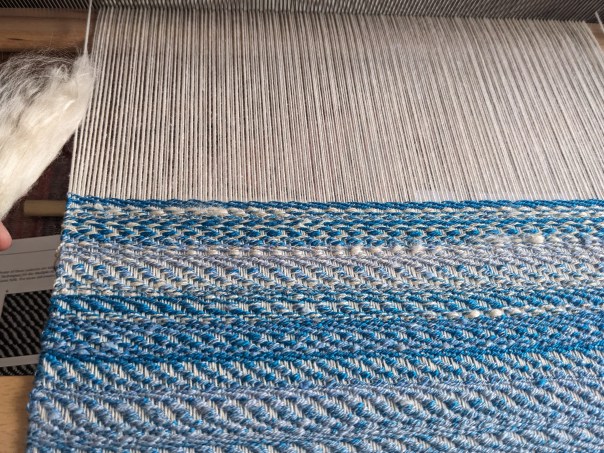
in progress weaving; the bottom has woven weft in varying blue colors, the top has unwoven warp that is white. a fluff of white is shown on the left.
bottom: woven sky; top: unwoven cotton warp; left: fluff of mint fiber; bottom left: Carol Strickler’s book

Once I finished the weaving, I moved on to playing with kite shapes and cutting them out of the flour mill fabric. I wanted to capture the different sizes and shapes that I saw at Kite Fest, and I cut a whole variety to place onto the quilt. I appliqued them with my machine, and then attached the double border. I was originally intending to just have the blue border, but it needed something additional and I really like the second border.
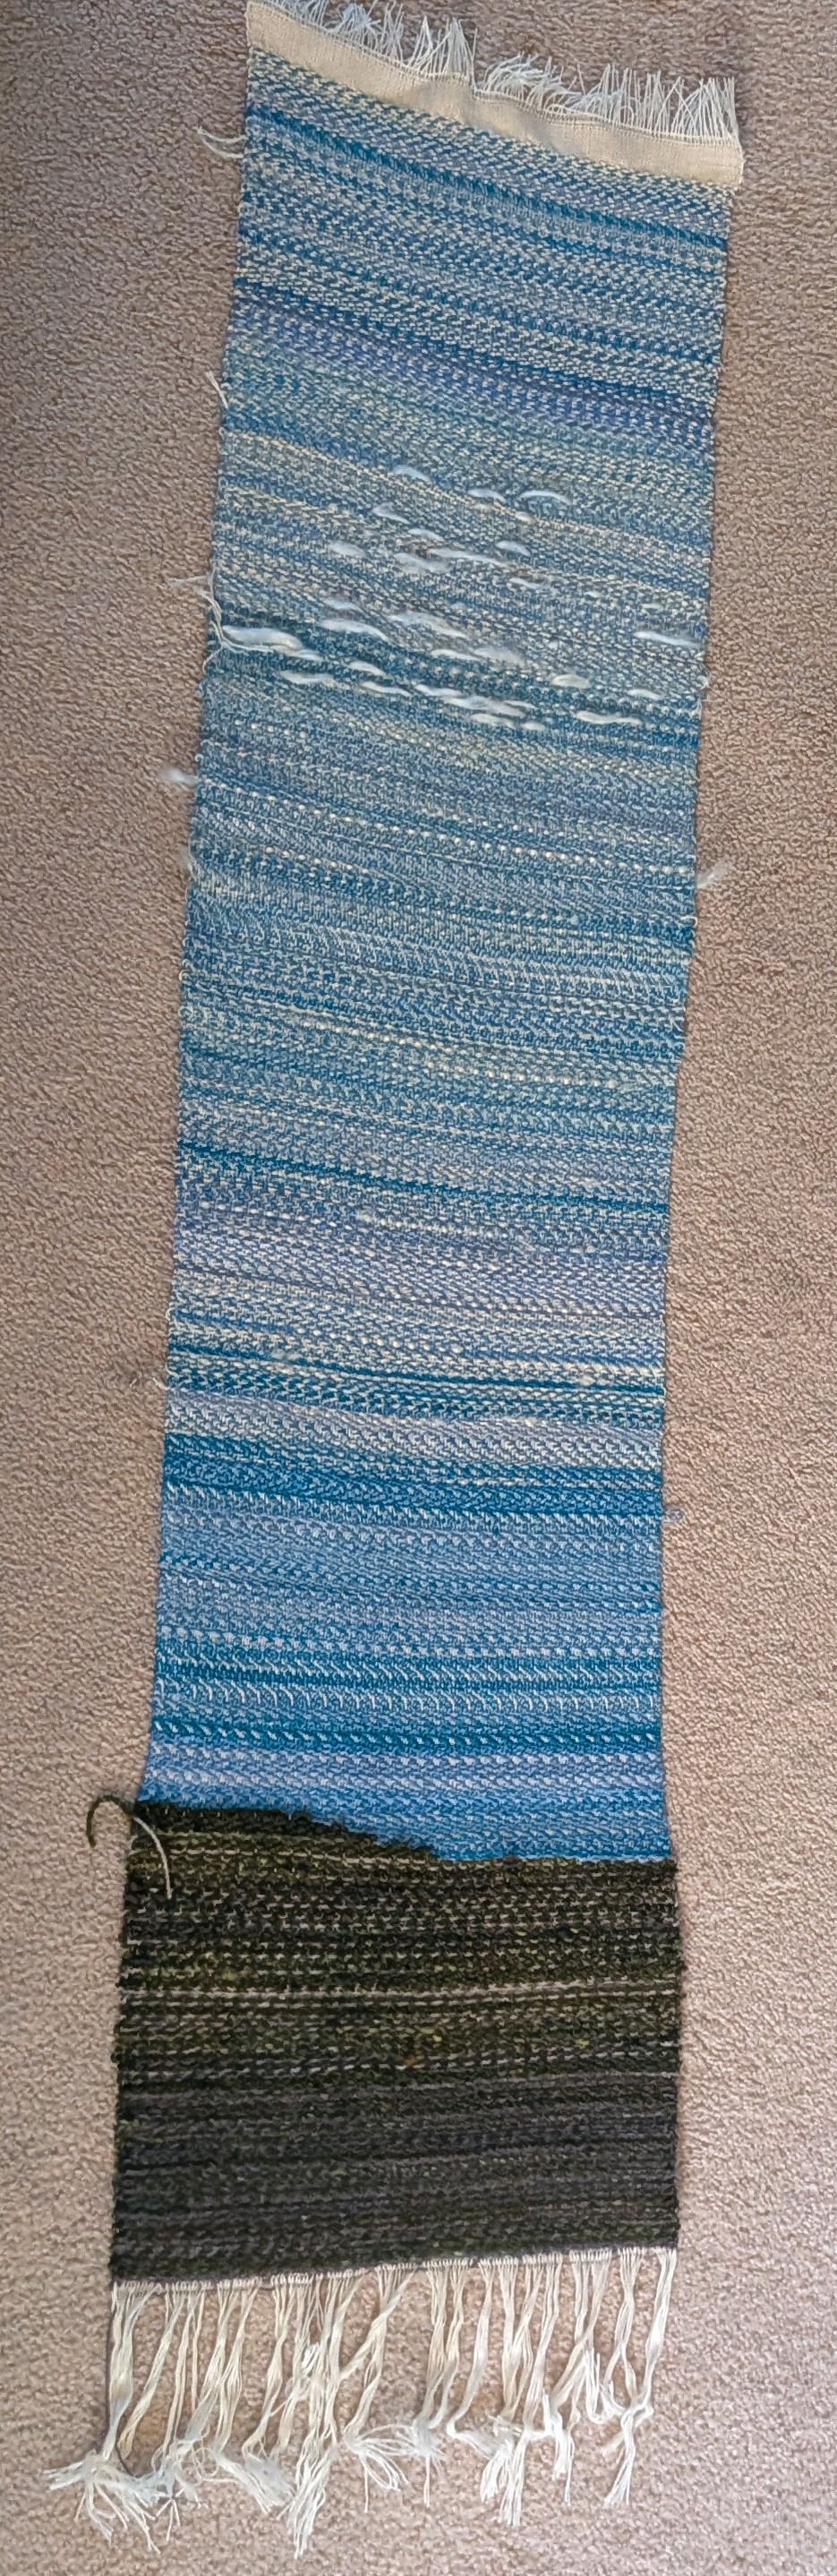
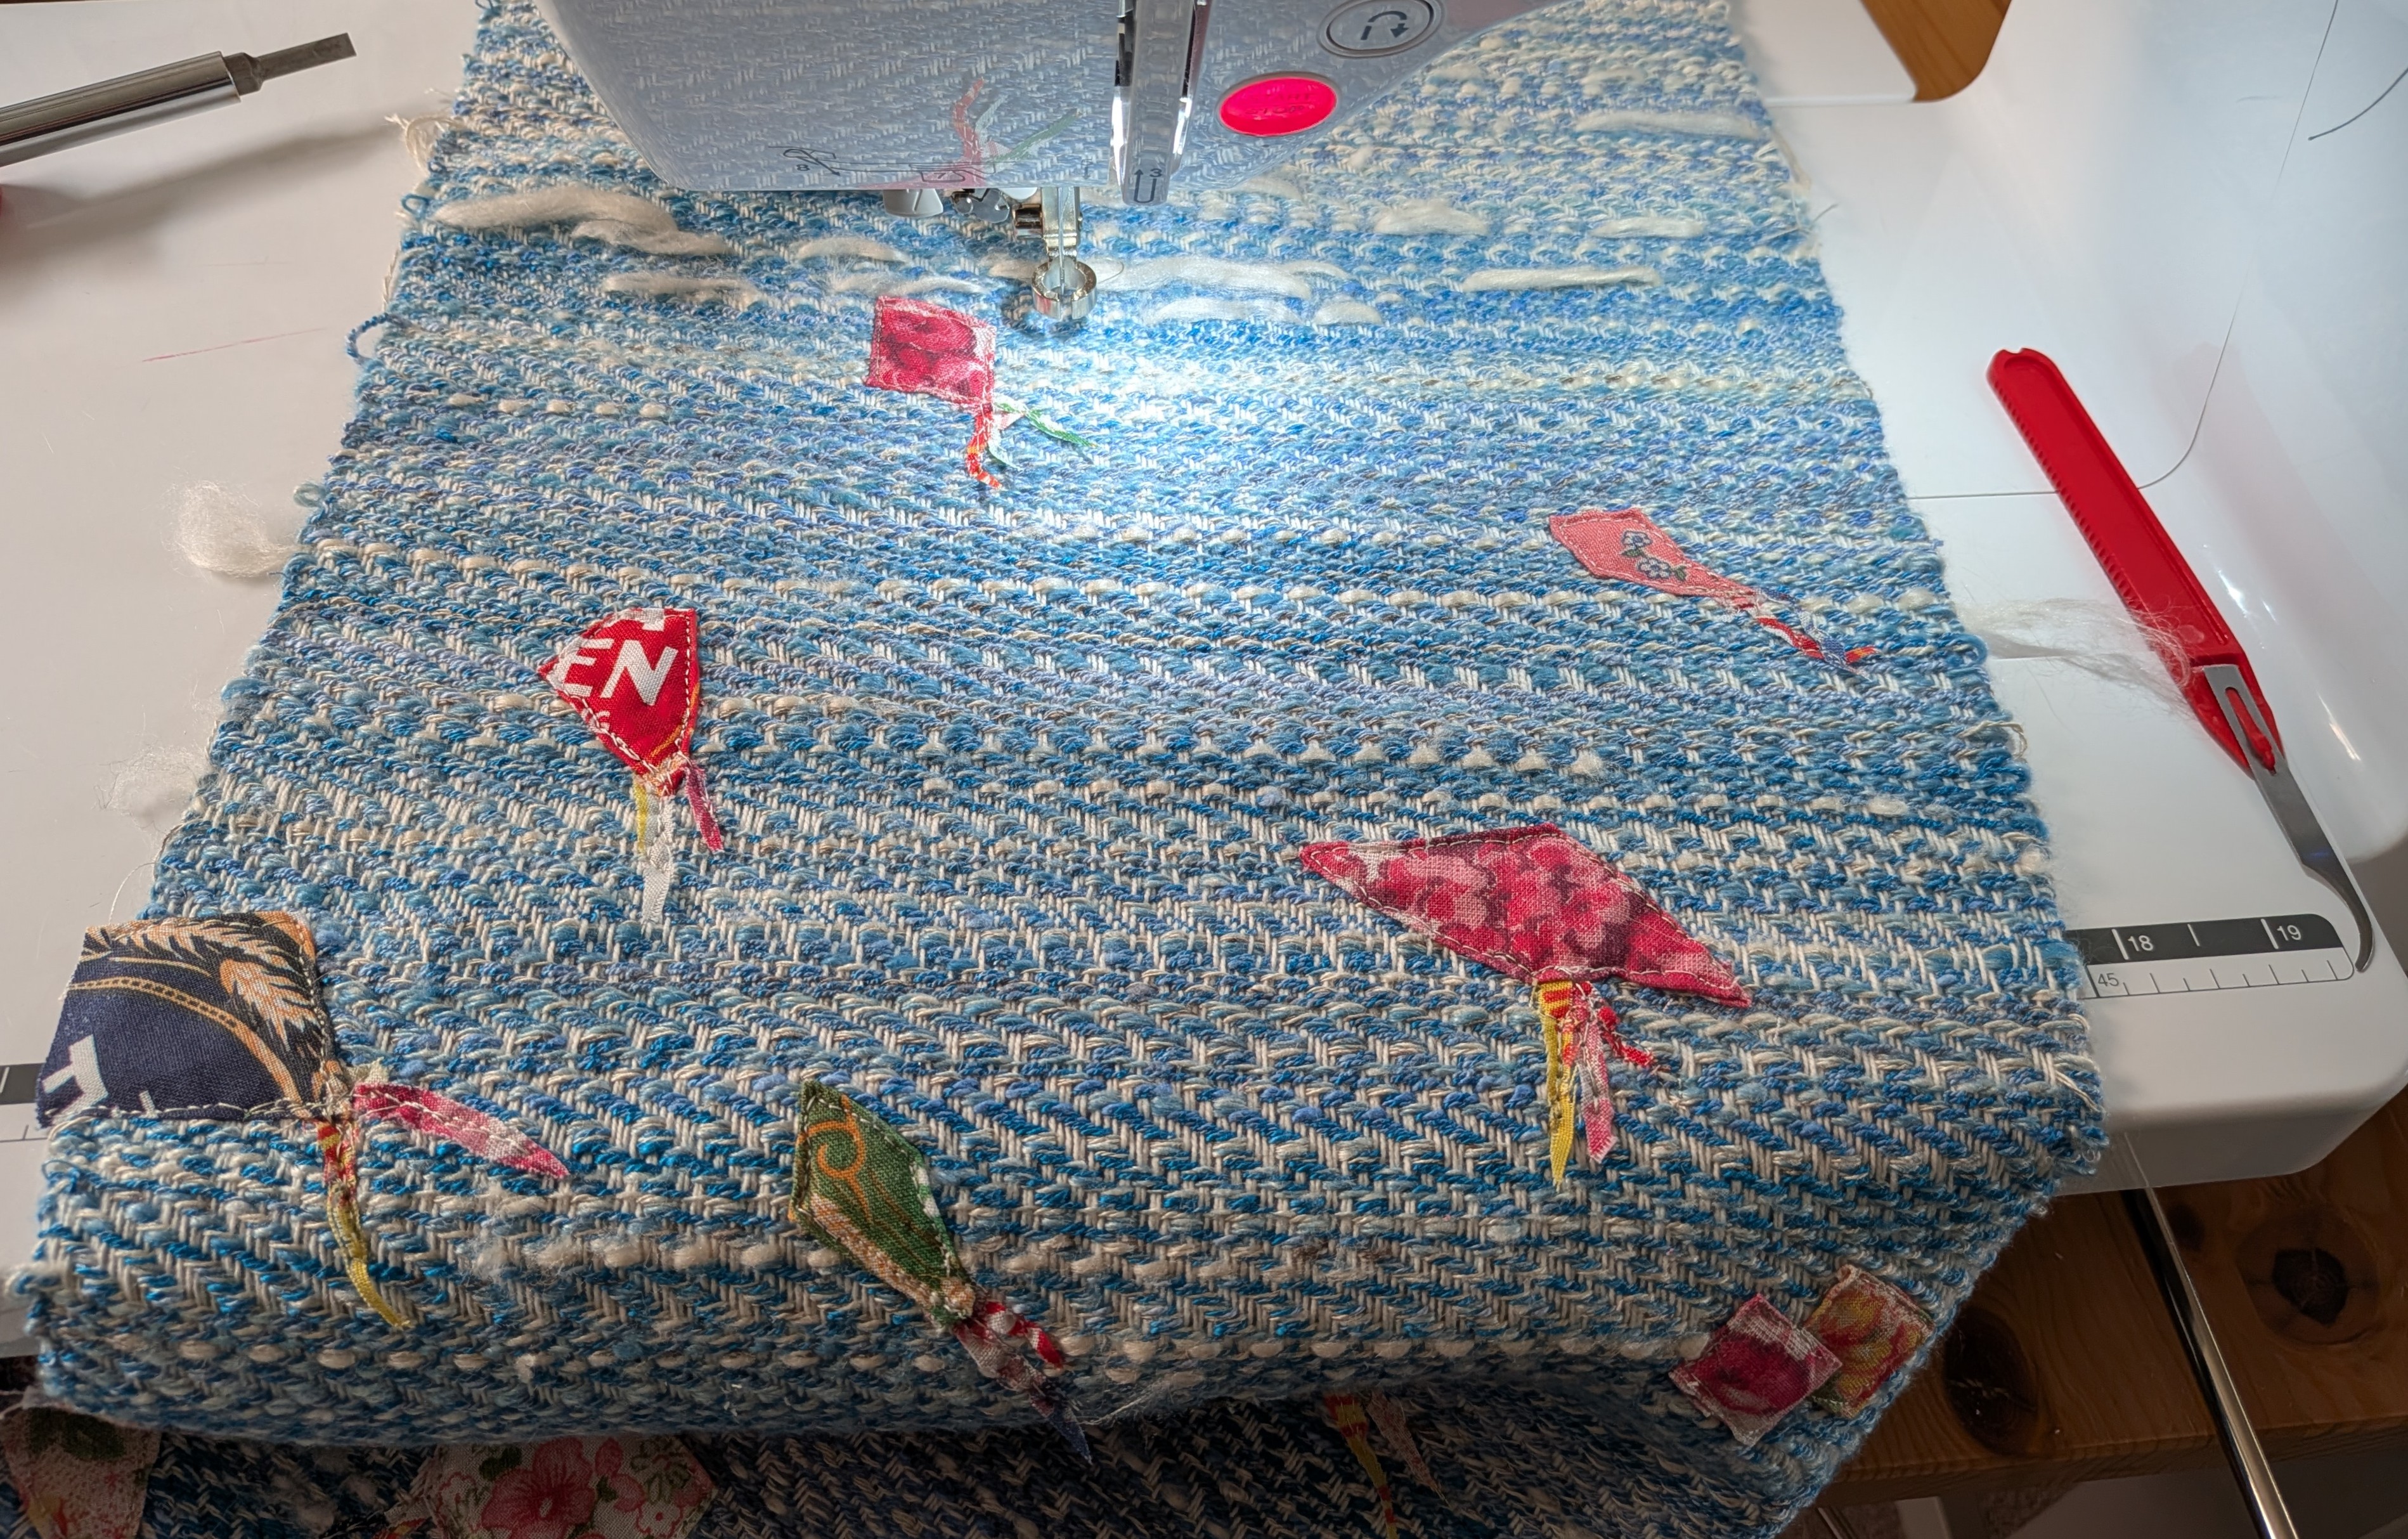
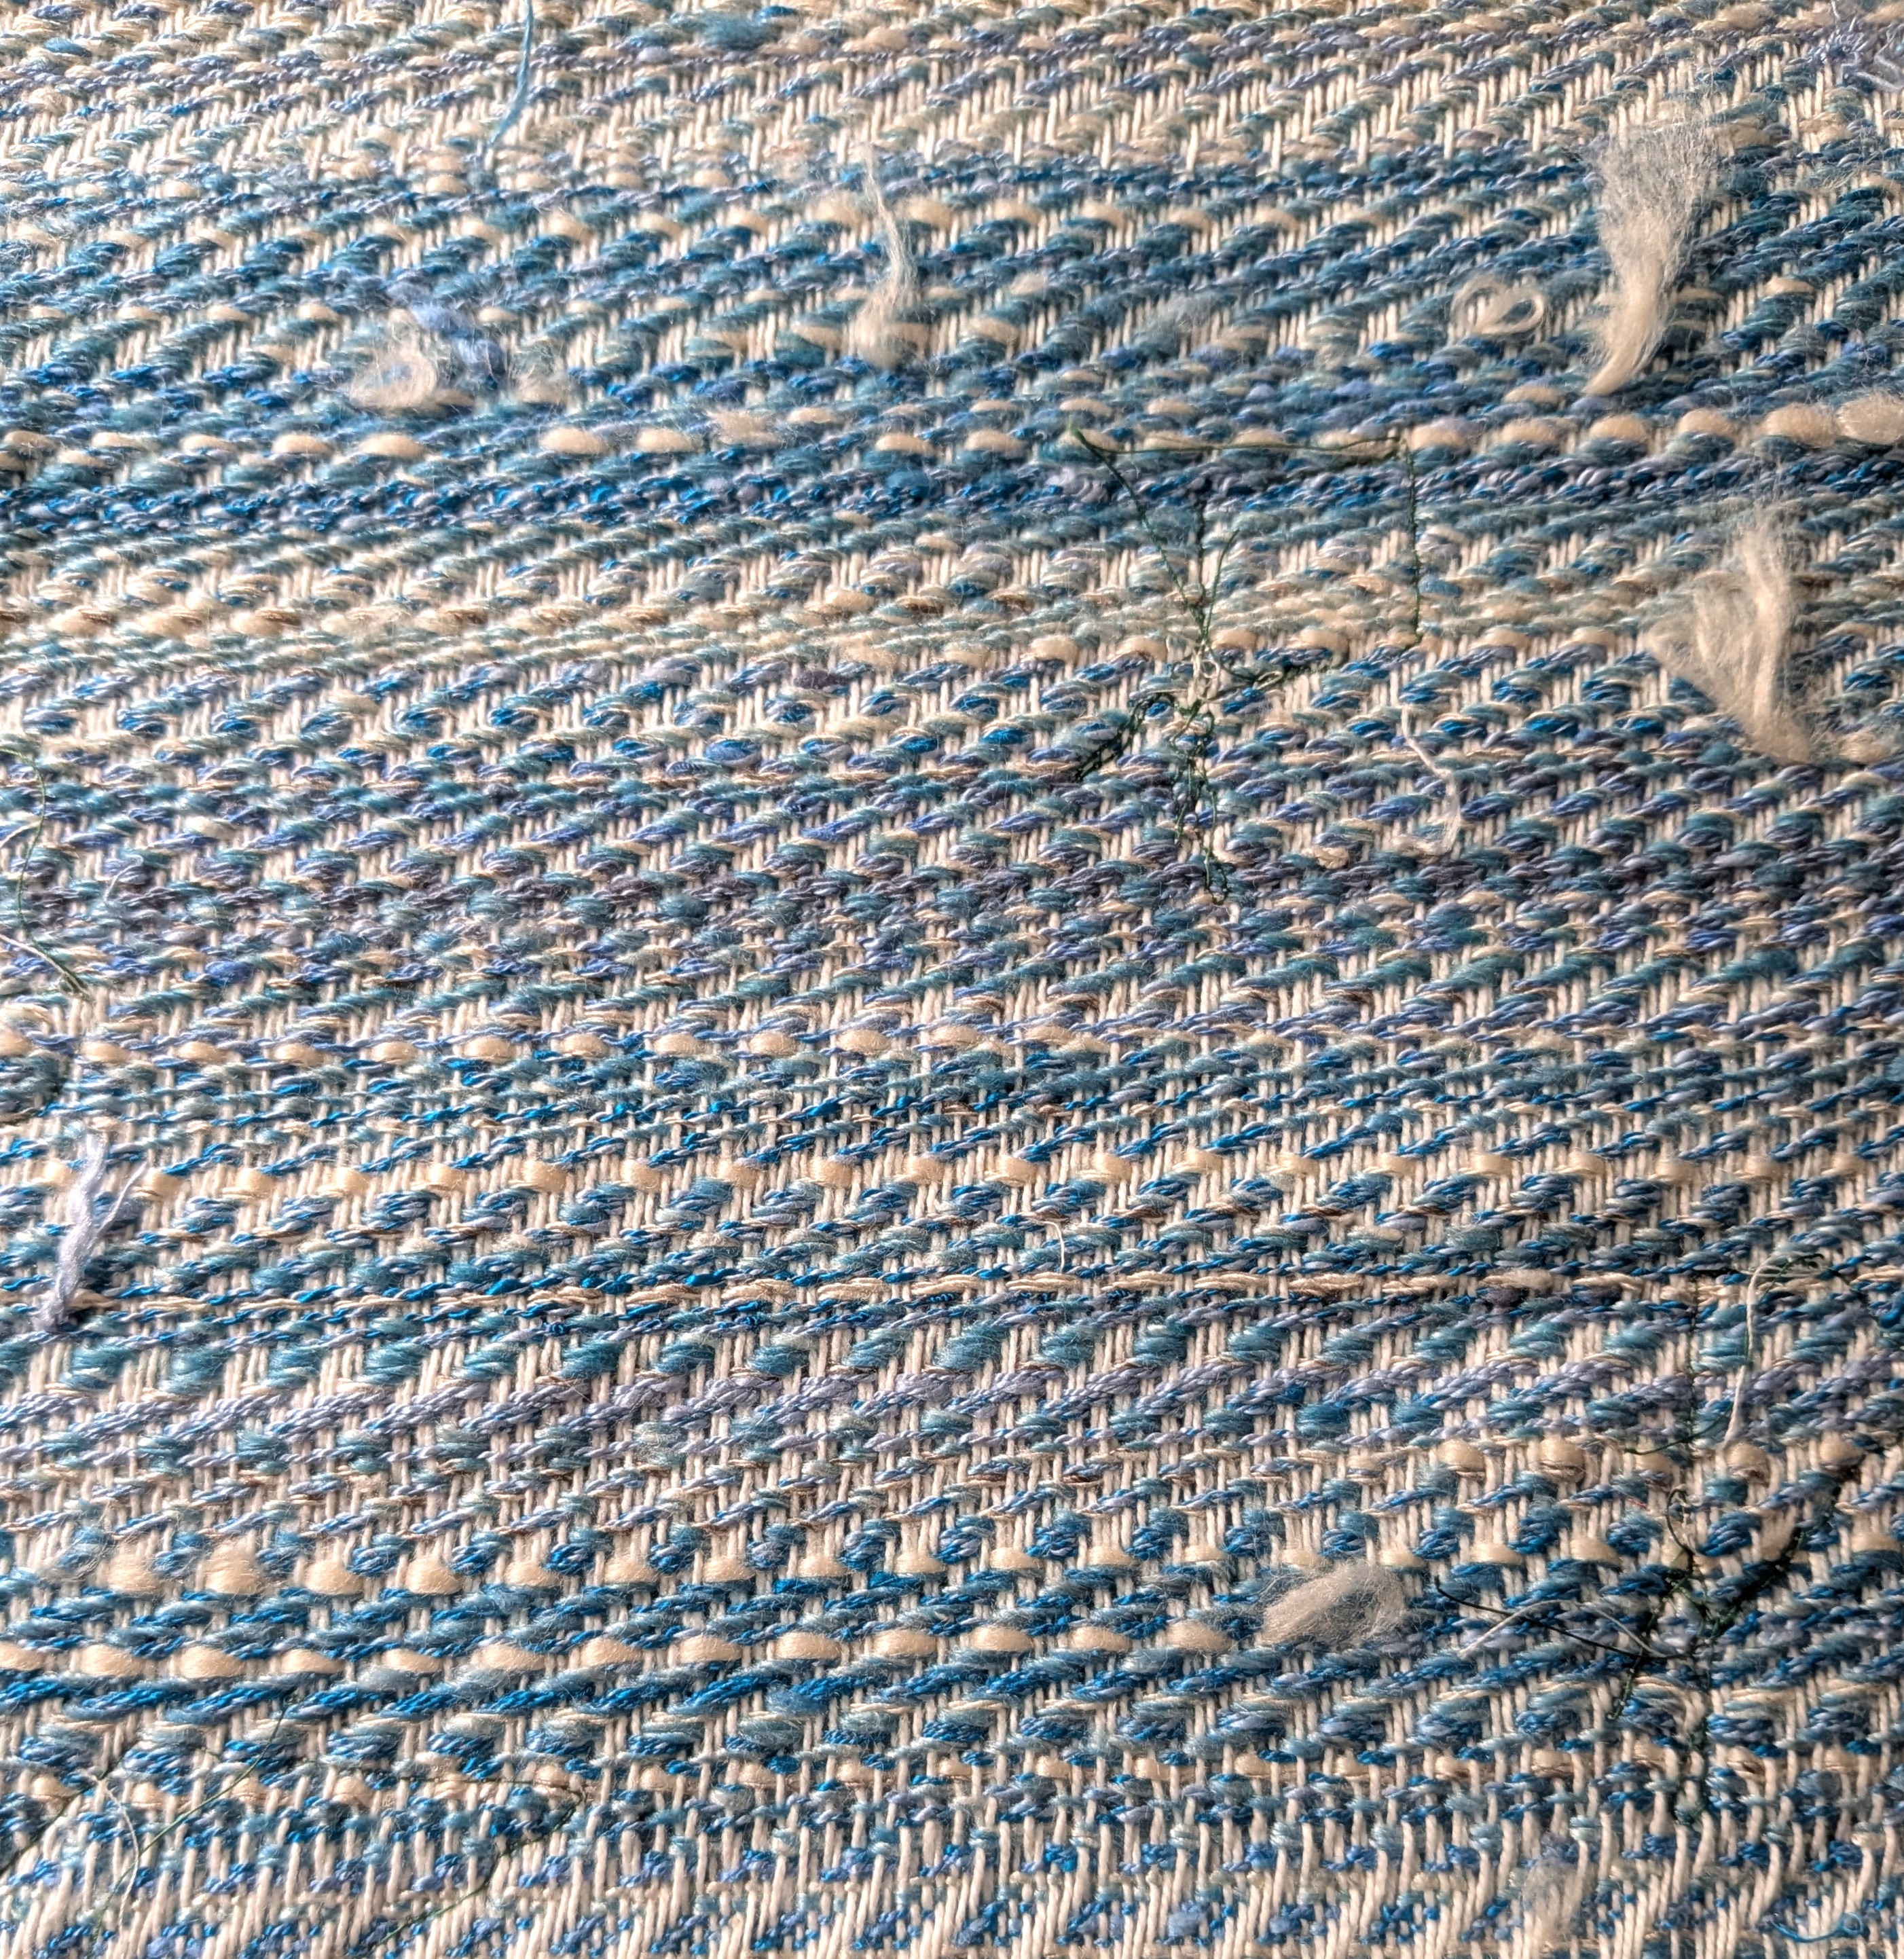
Pictures of the back of the panel after applique below. I do not always tuck in my ends! I also figured there was no need since I’d be quilting it and securing everything afterwards. On the right you can see the warp faced back of the hill.
I pieced together the backing with my scraps from the flour mill fabric and supplemented with some floral fabric from my stash. I used cotton backing and basted with safety pins.
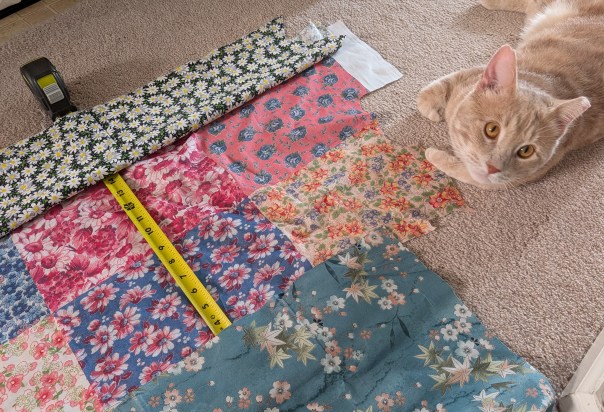
on the left, a bunch of floral fabrics with a measuring tape. a cat on the right looks towards the camera
my friendly helper assisting in measuring the backing; original flour mill fabric in the center under the measuring tape

I doodled a lot of ideas for the quilting, but in the end I wanted to keep the attention on the waves in the weaving and keep the quilting simple. I went with flowy undulating lines and used the same gray-ish thread I used throughout the entire construction and applique processes.
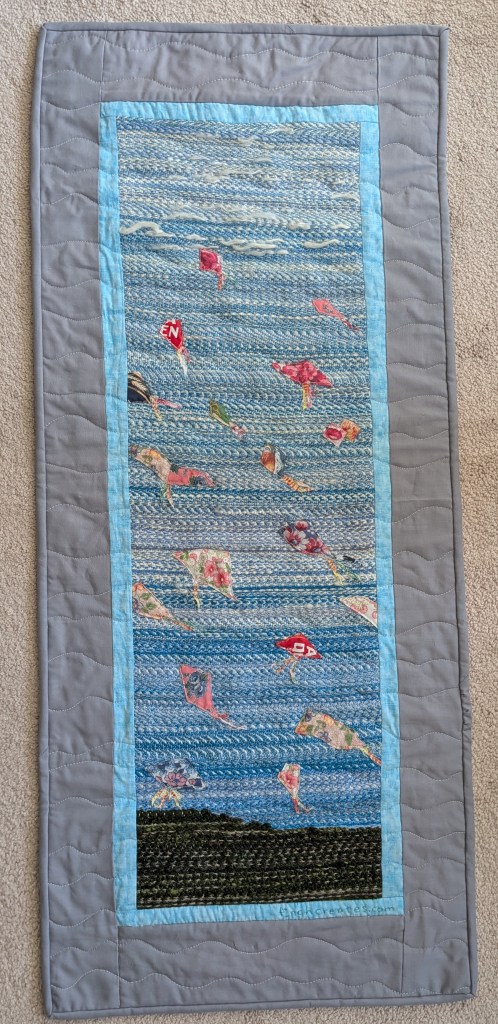
blue quilt with small applique shapes. bordered with light blue and gray
finished kites 🙂

Project completed October 2026.
Handwoven Handmade Shirt

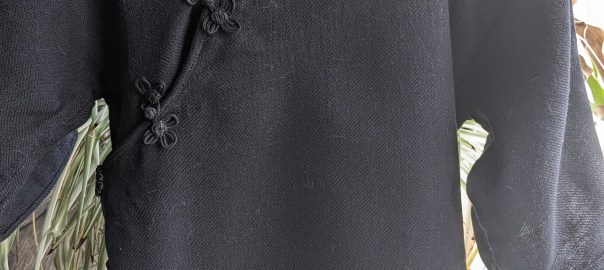
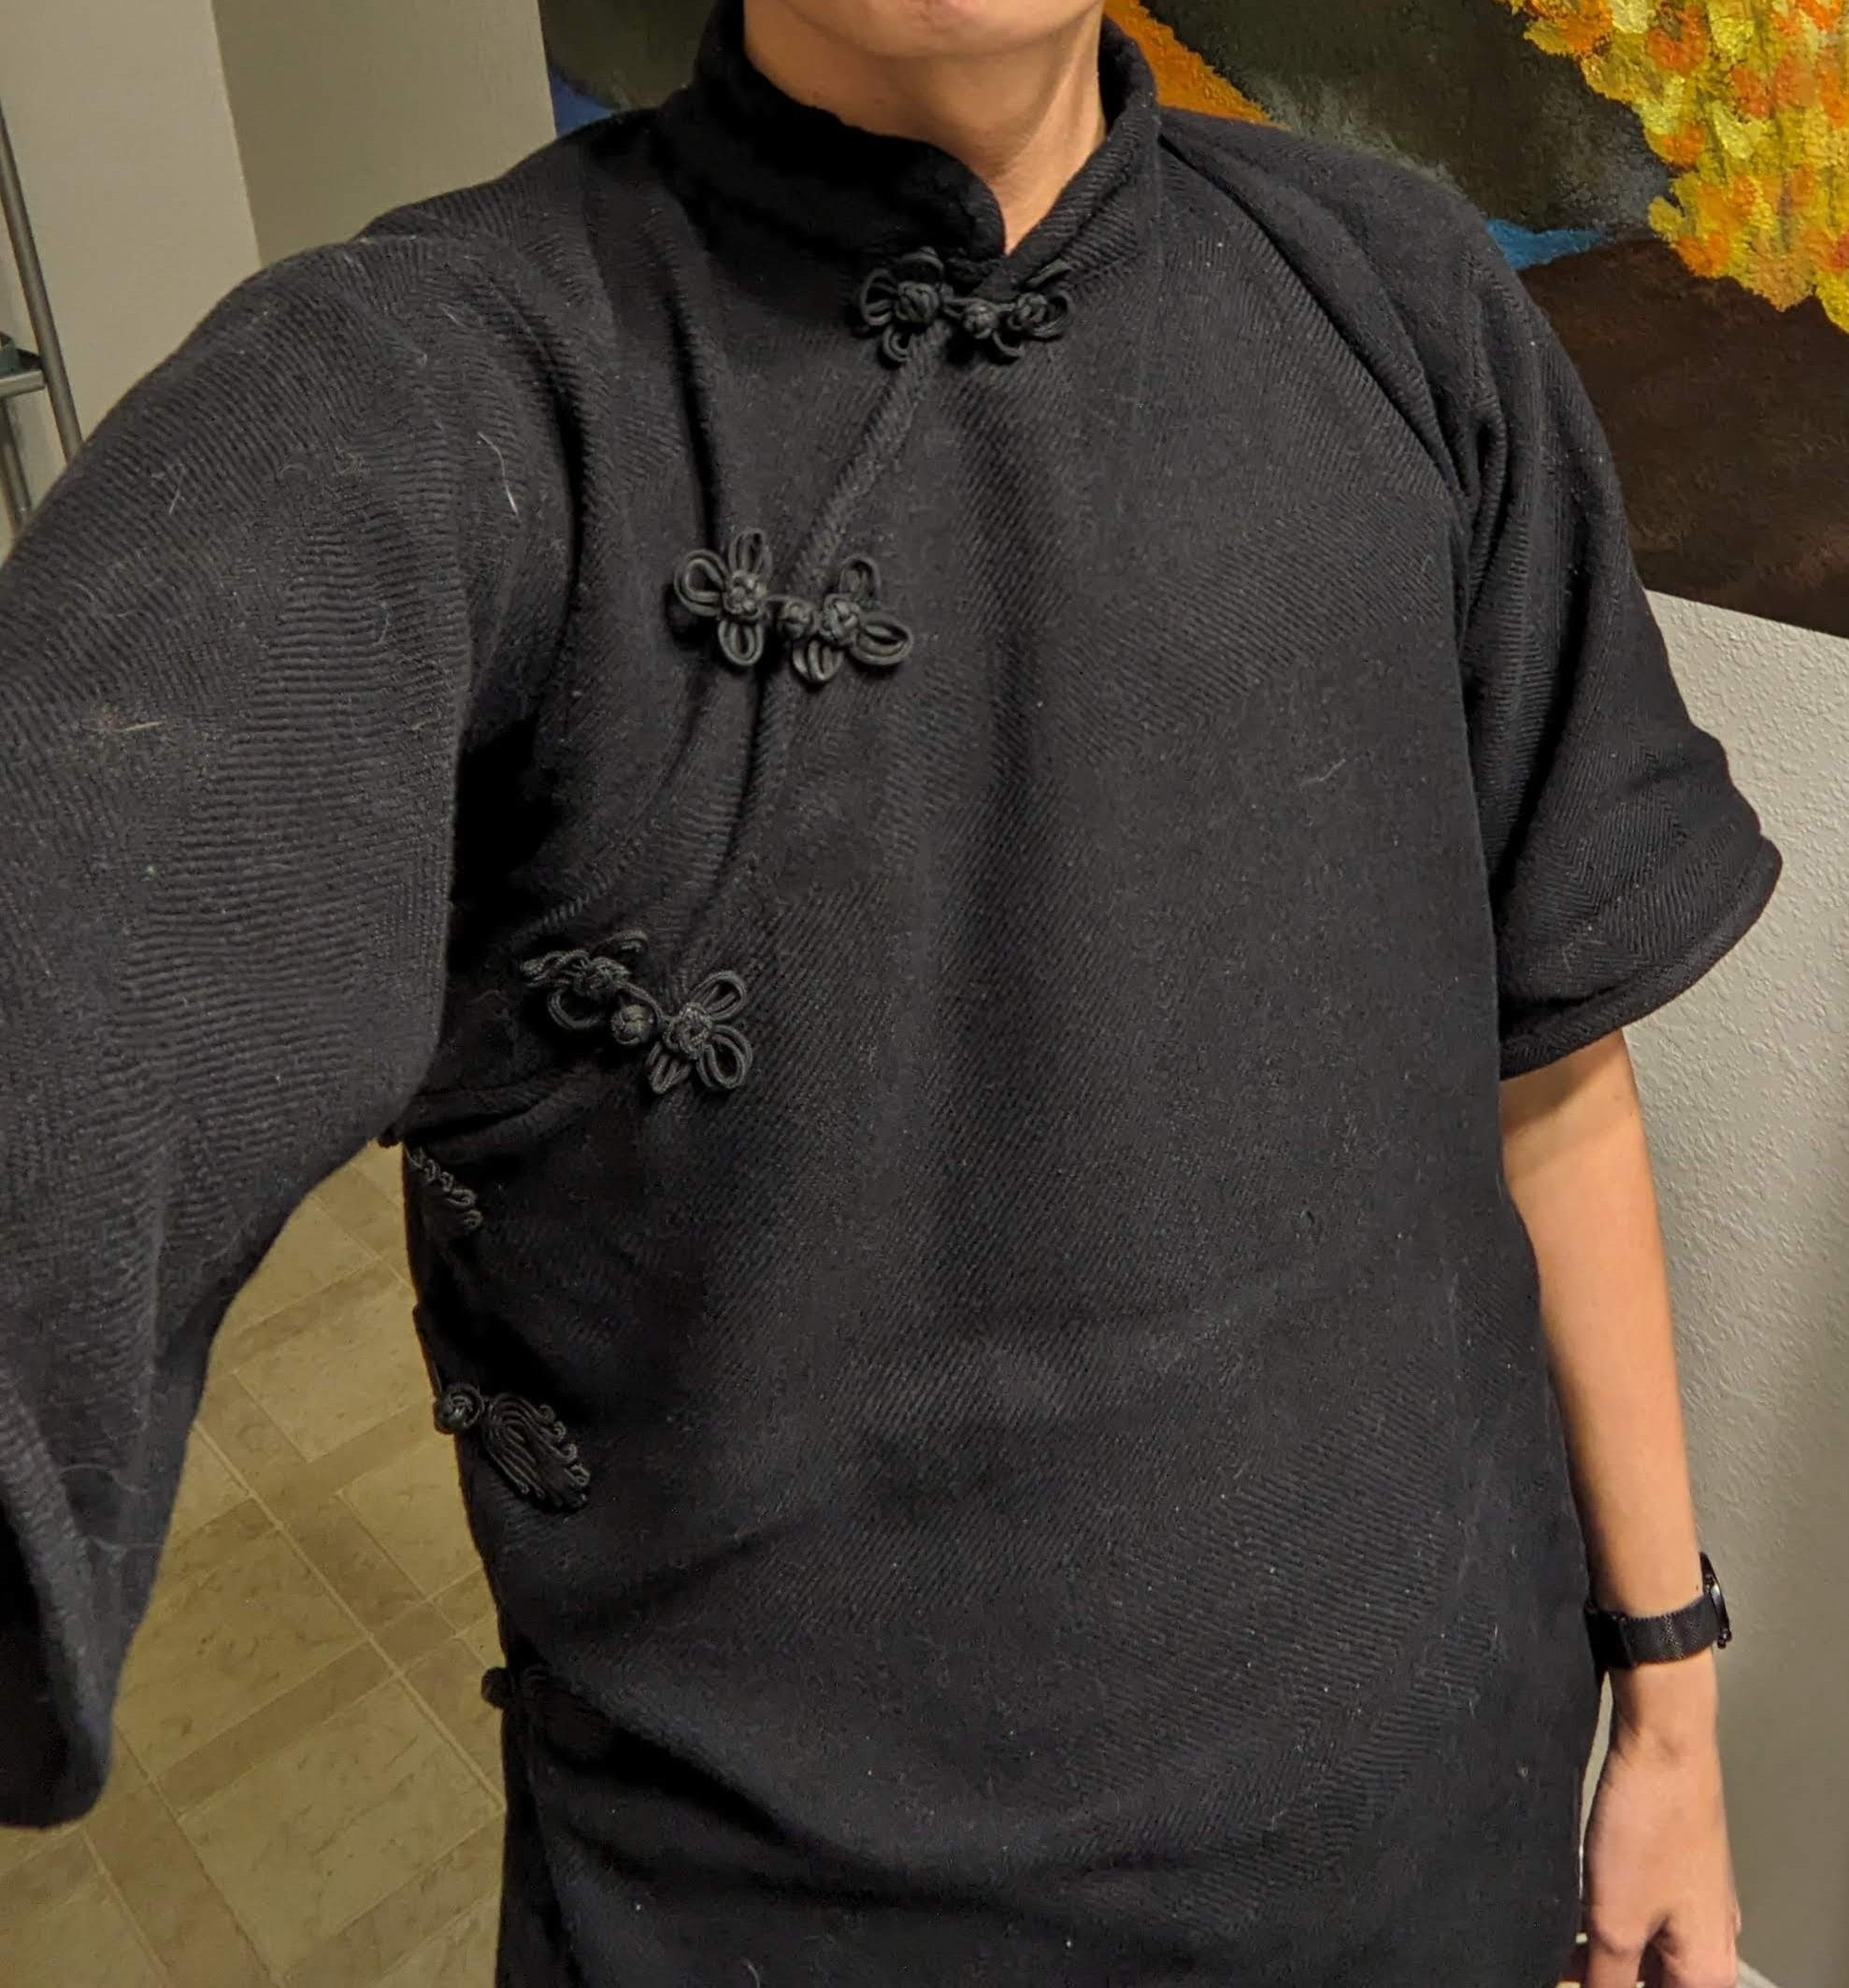
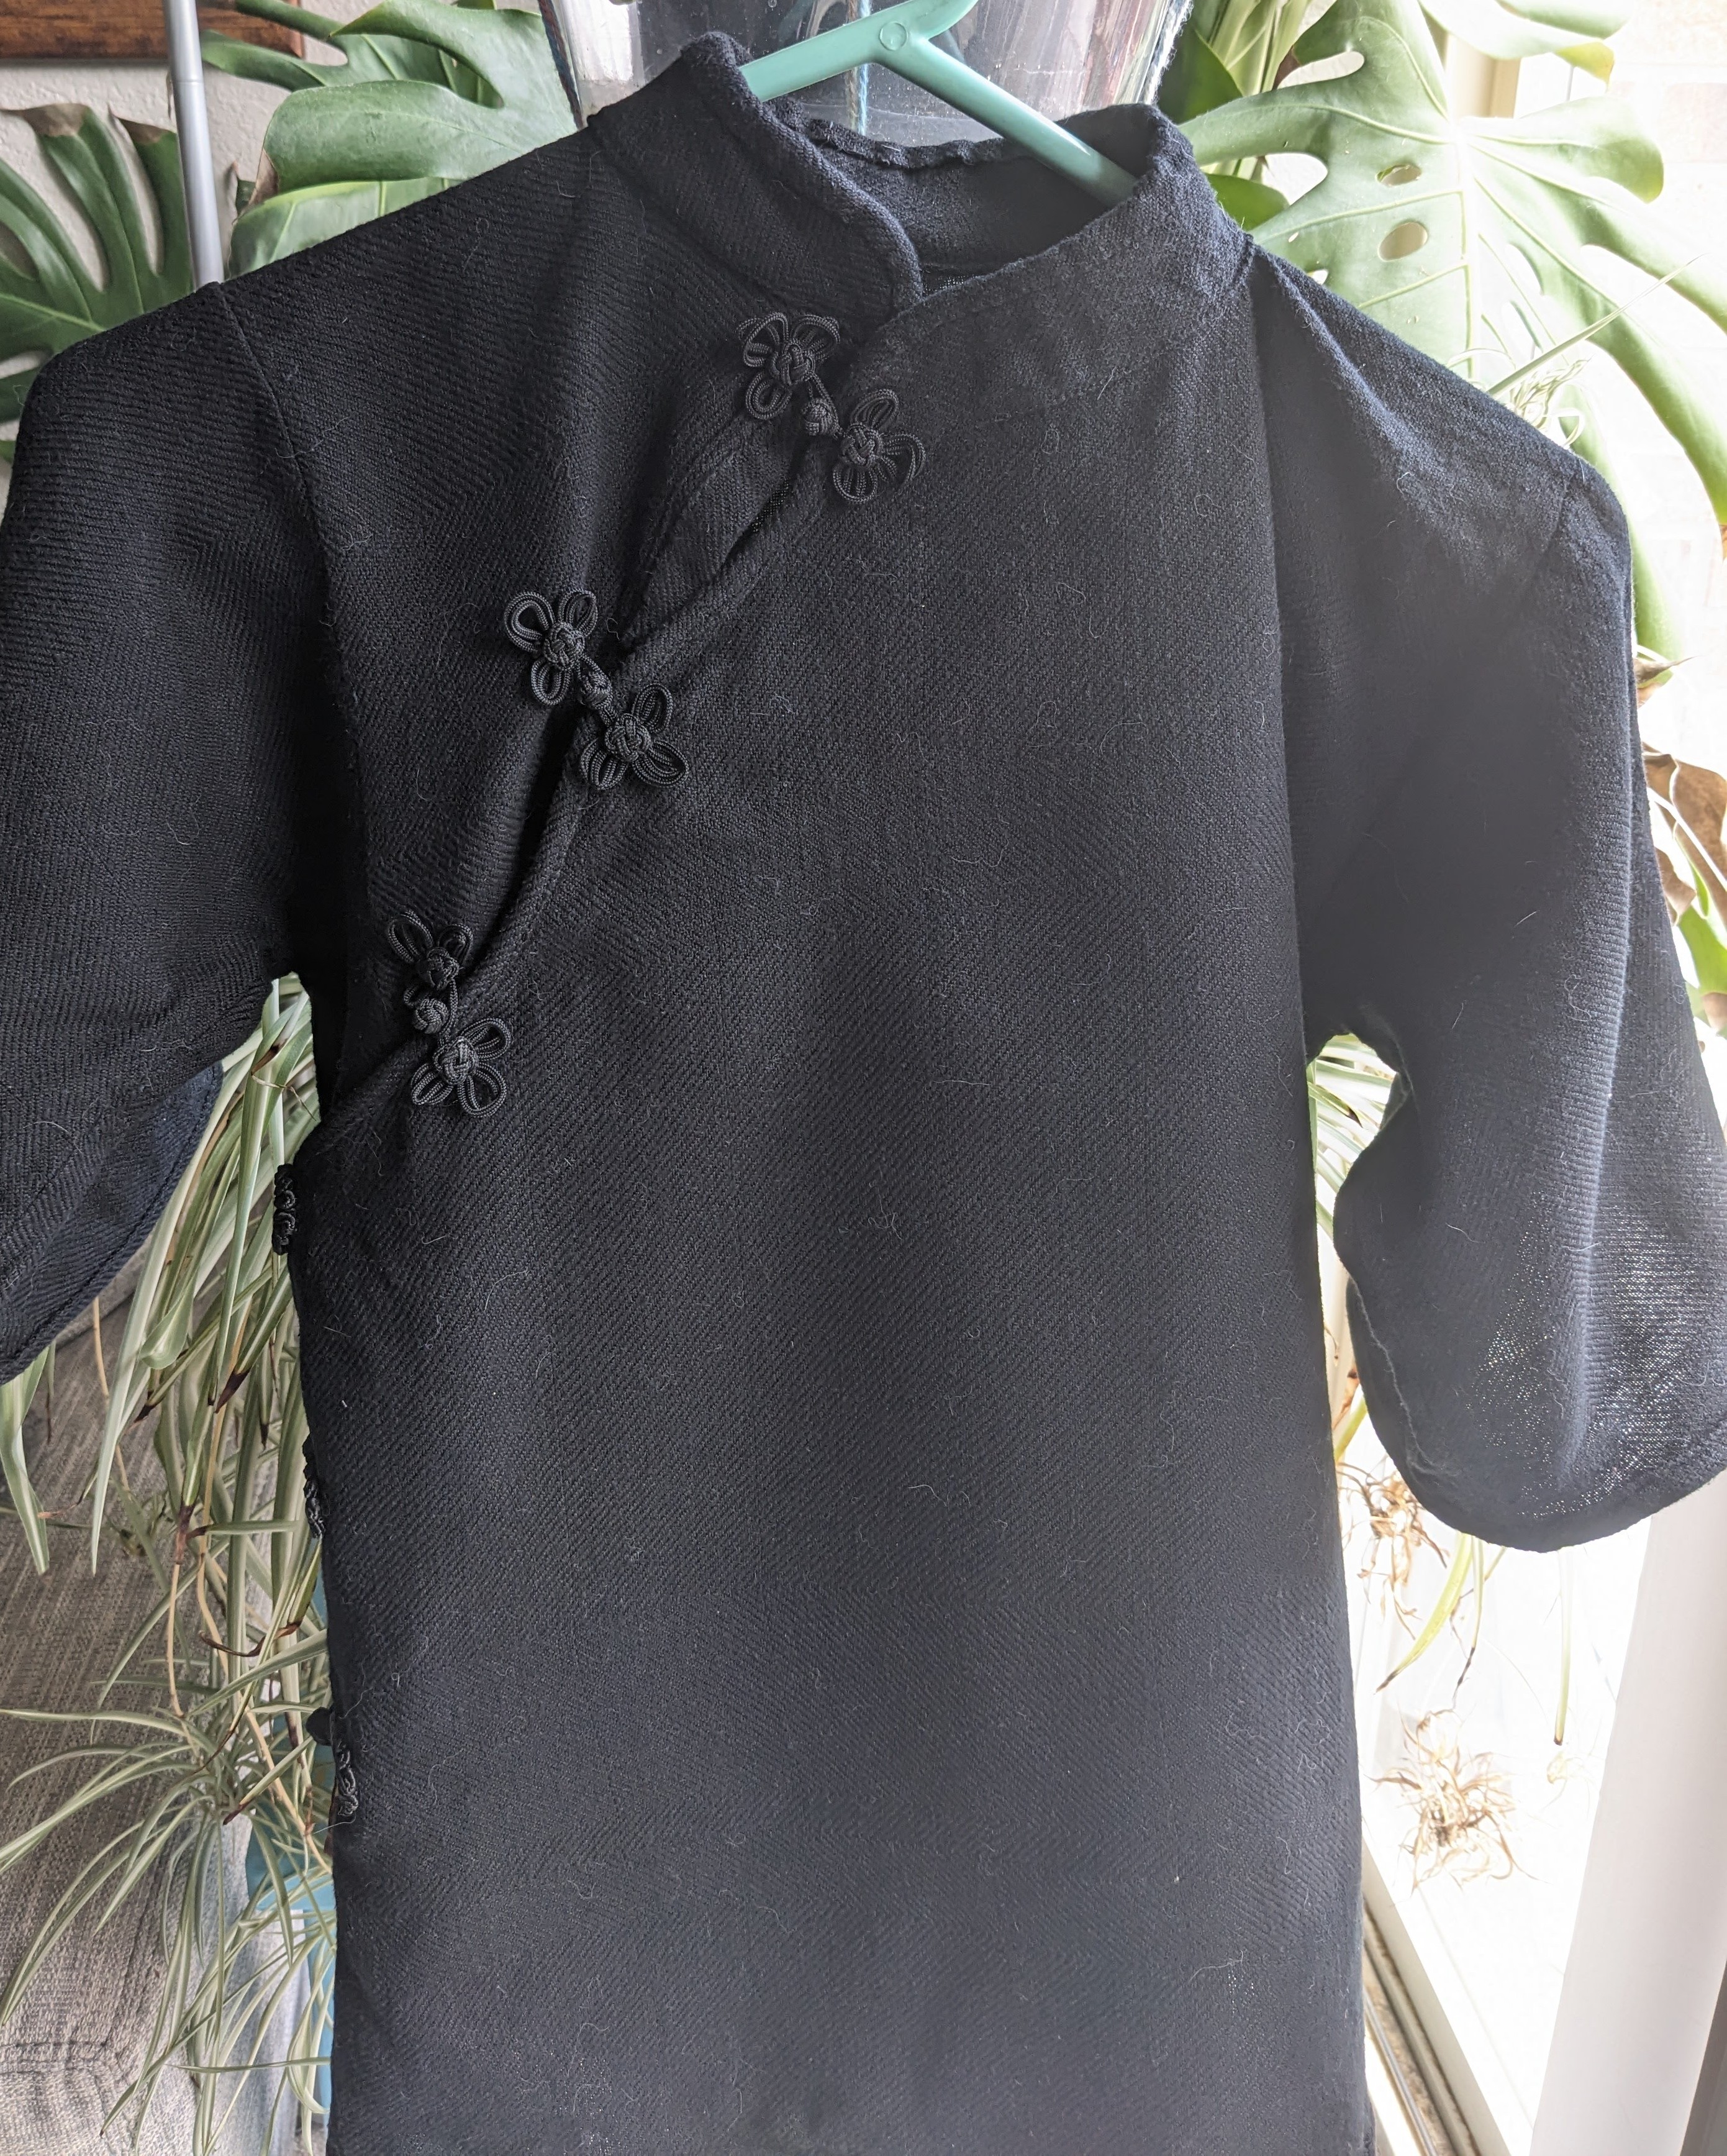
My handwoven handmade shirt! I made this shirt to be a little fancy, breathable, with floofy sleeves and frog buttons. I wanted to experiment with cottolin (cotton and linen blend) and mercerized cotton to see if the sheen of the mercerized cotton was detectable at range. I actually wove a sample, and it was not as shiny as desired, but I decided to move forward anyway.

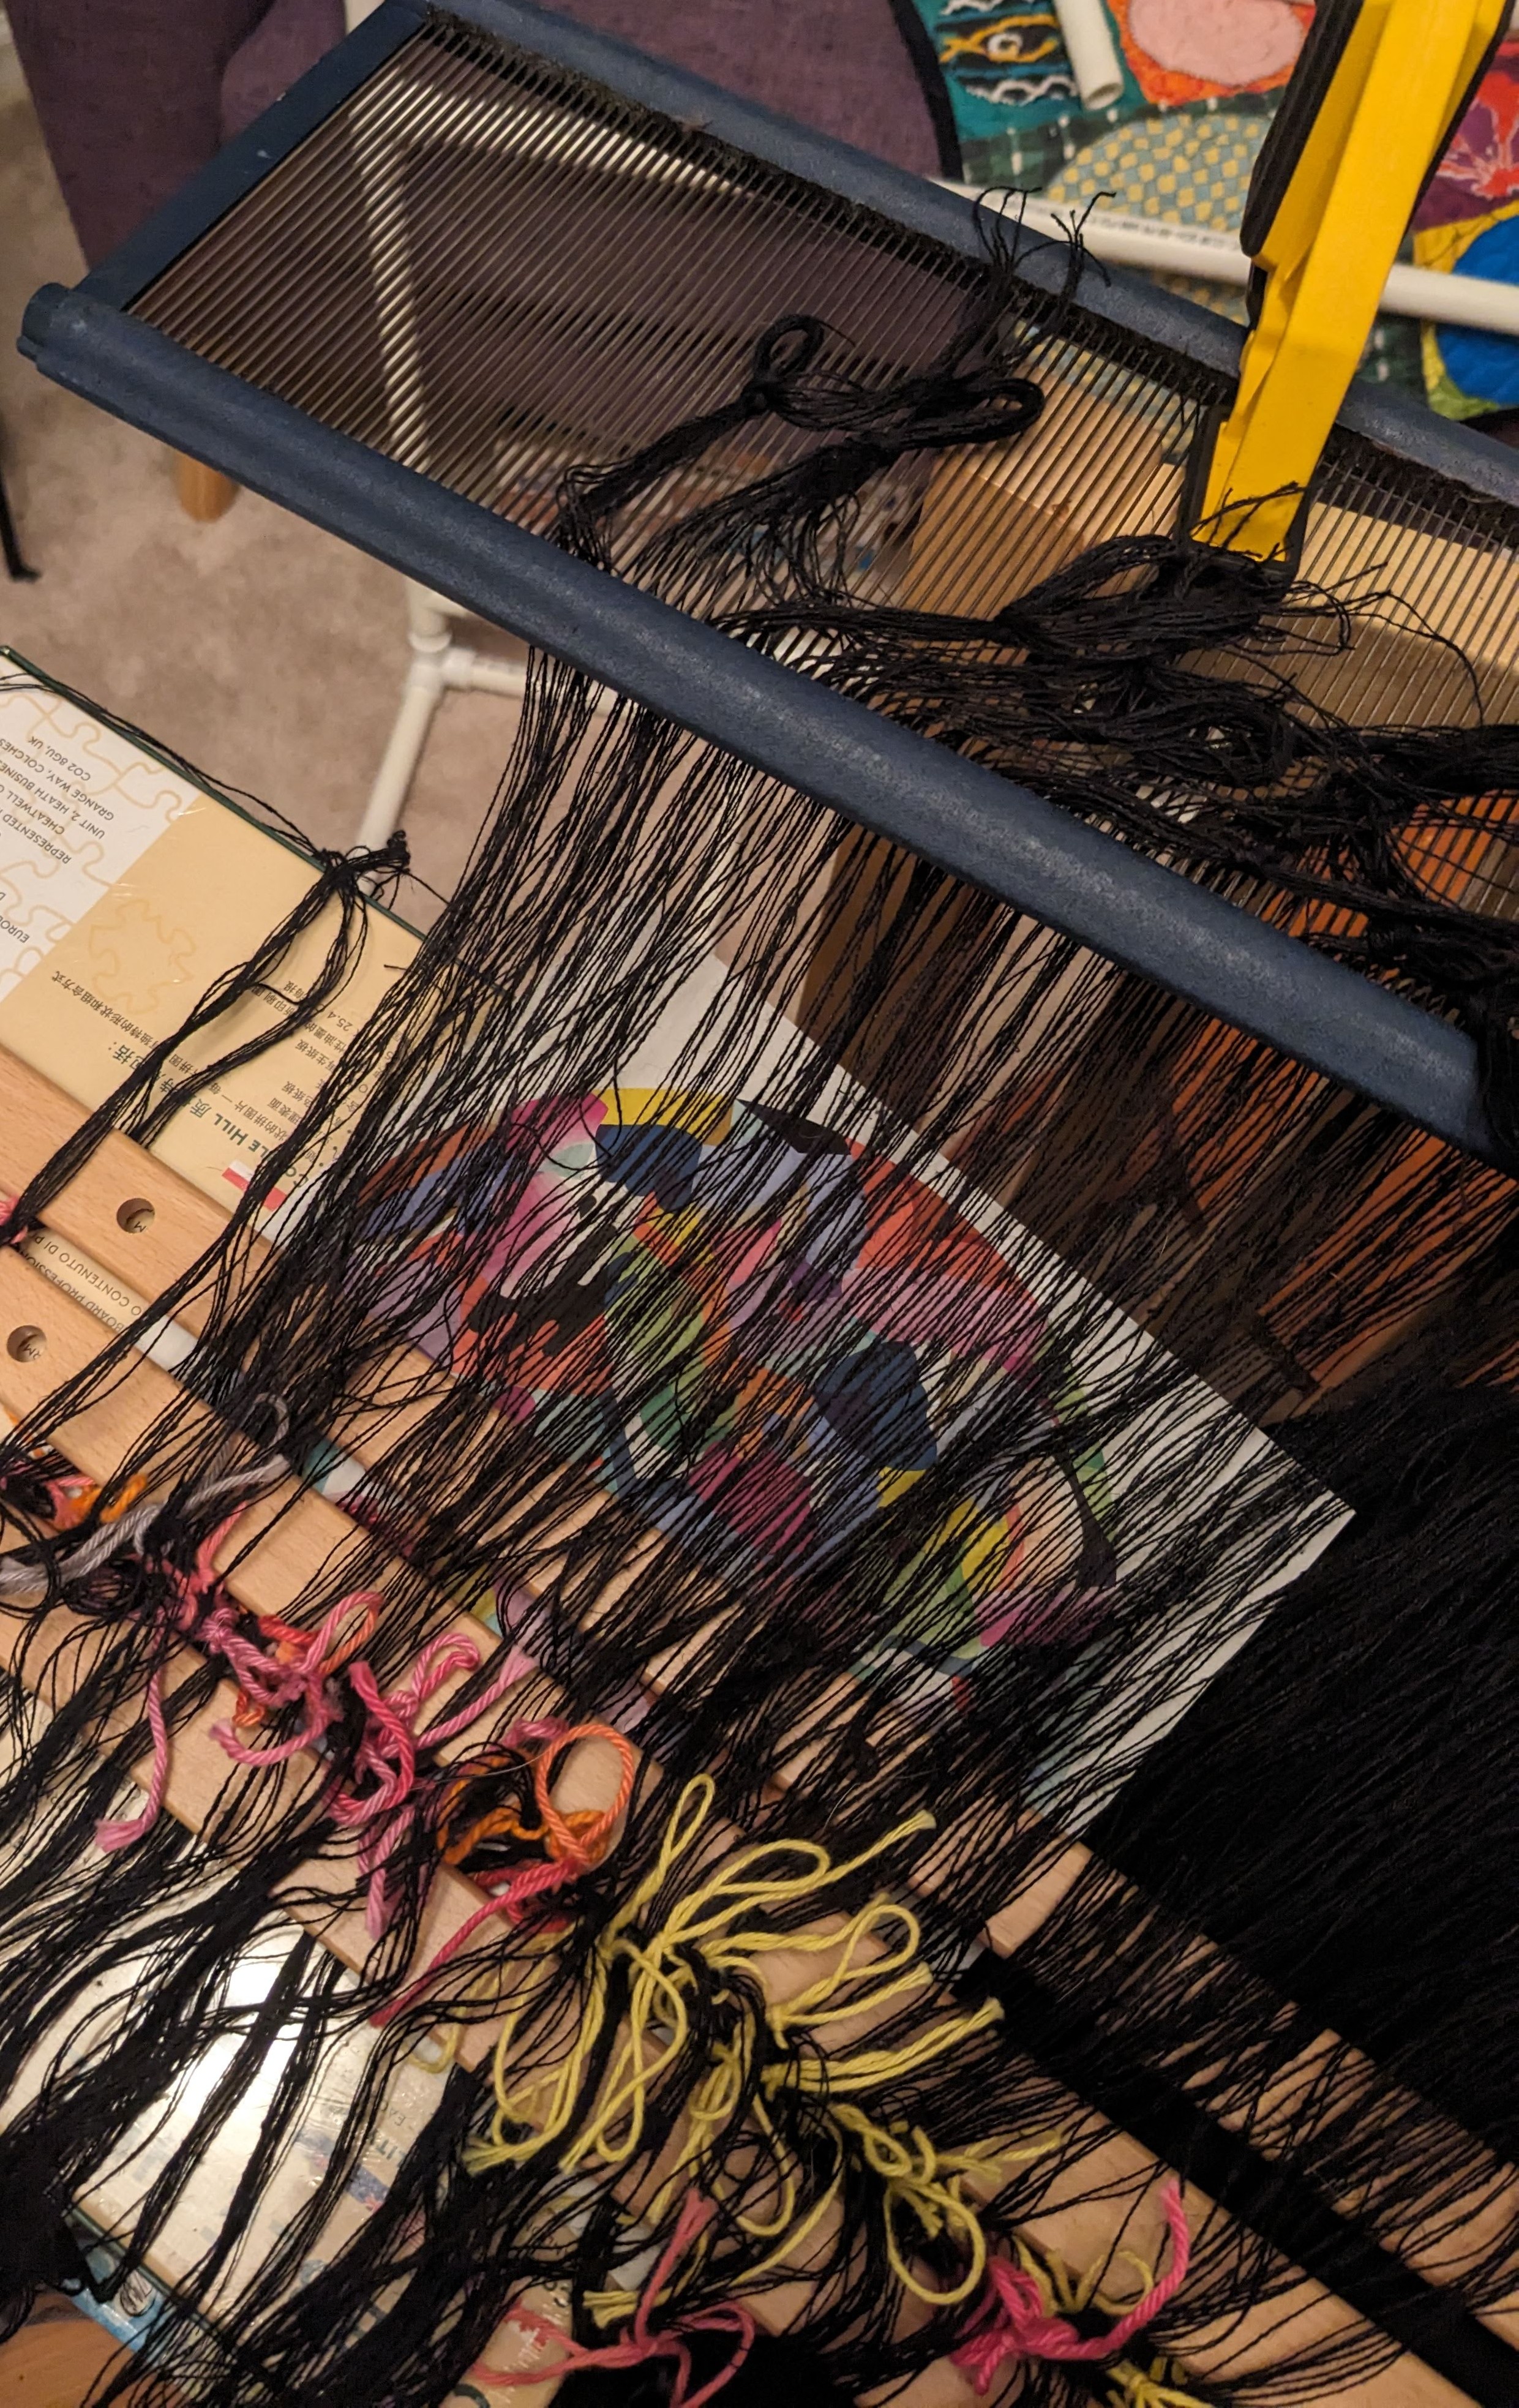
Measuring the warp was exhausting. I used my mini heddle as a warping paddle and measured four threads at a time. But my goal was 720 threads, and that’s just a lot of time at the warping board (mine is a bunch of PVC so I can change the distances easily). Taking breaks allowed me to do more research and find new ways of construction that also enabled me to use thinner warp, so I didn’t have to do as many warp ends. I realized that I could weave a longer, thinner panel and then sew it together instead of using the full width of my loom.

I watched Claire Yixuan Zhang’s qipao video at least six times while making this – once when I found it for research, a couple times while planning how wide the warp really needed to be and making paper models, before cutting out my mockups, and before taking the scissors to my handwoven. One of the things that really stands out to me about this construction method is the value of keeping as much fabric from the panel in the final product. And being handwoven, this shirt is probably the most expensive piece of clothing I have now.

I finally sleyed the reed, set up the heddles, and wound on my warp. I practiced a new way of dressing the loom with a smaller project right before this, and I’m glad I did. Dressing the loom front to back like this was less stressful and more ergonomic for me, and I think I’ll continue using this method.

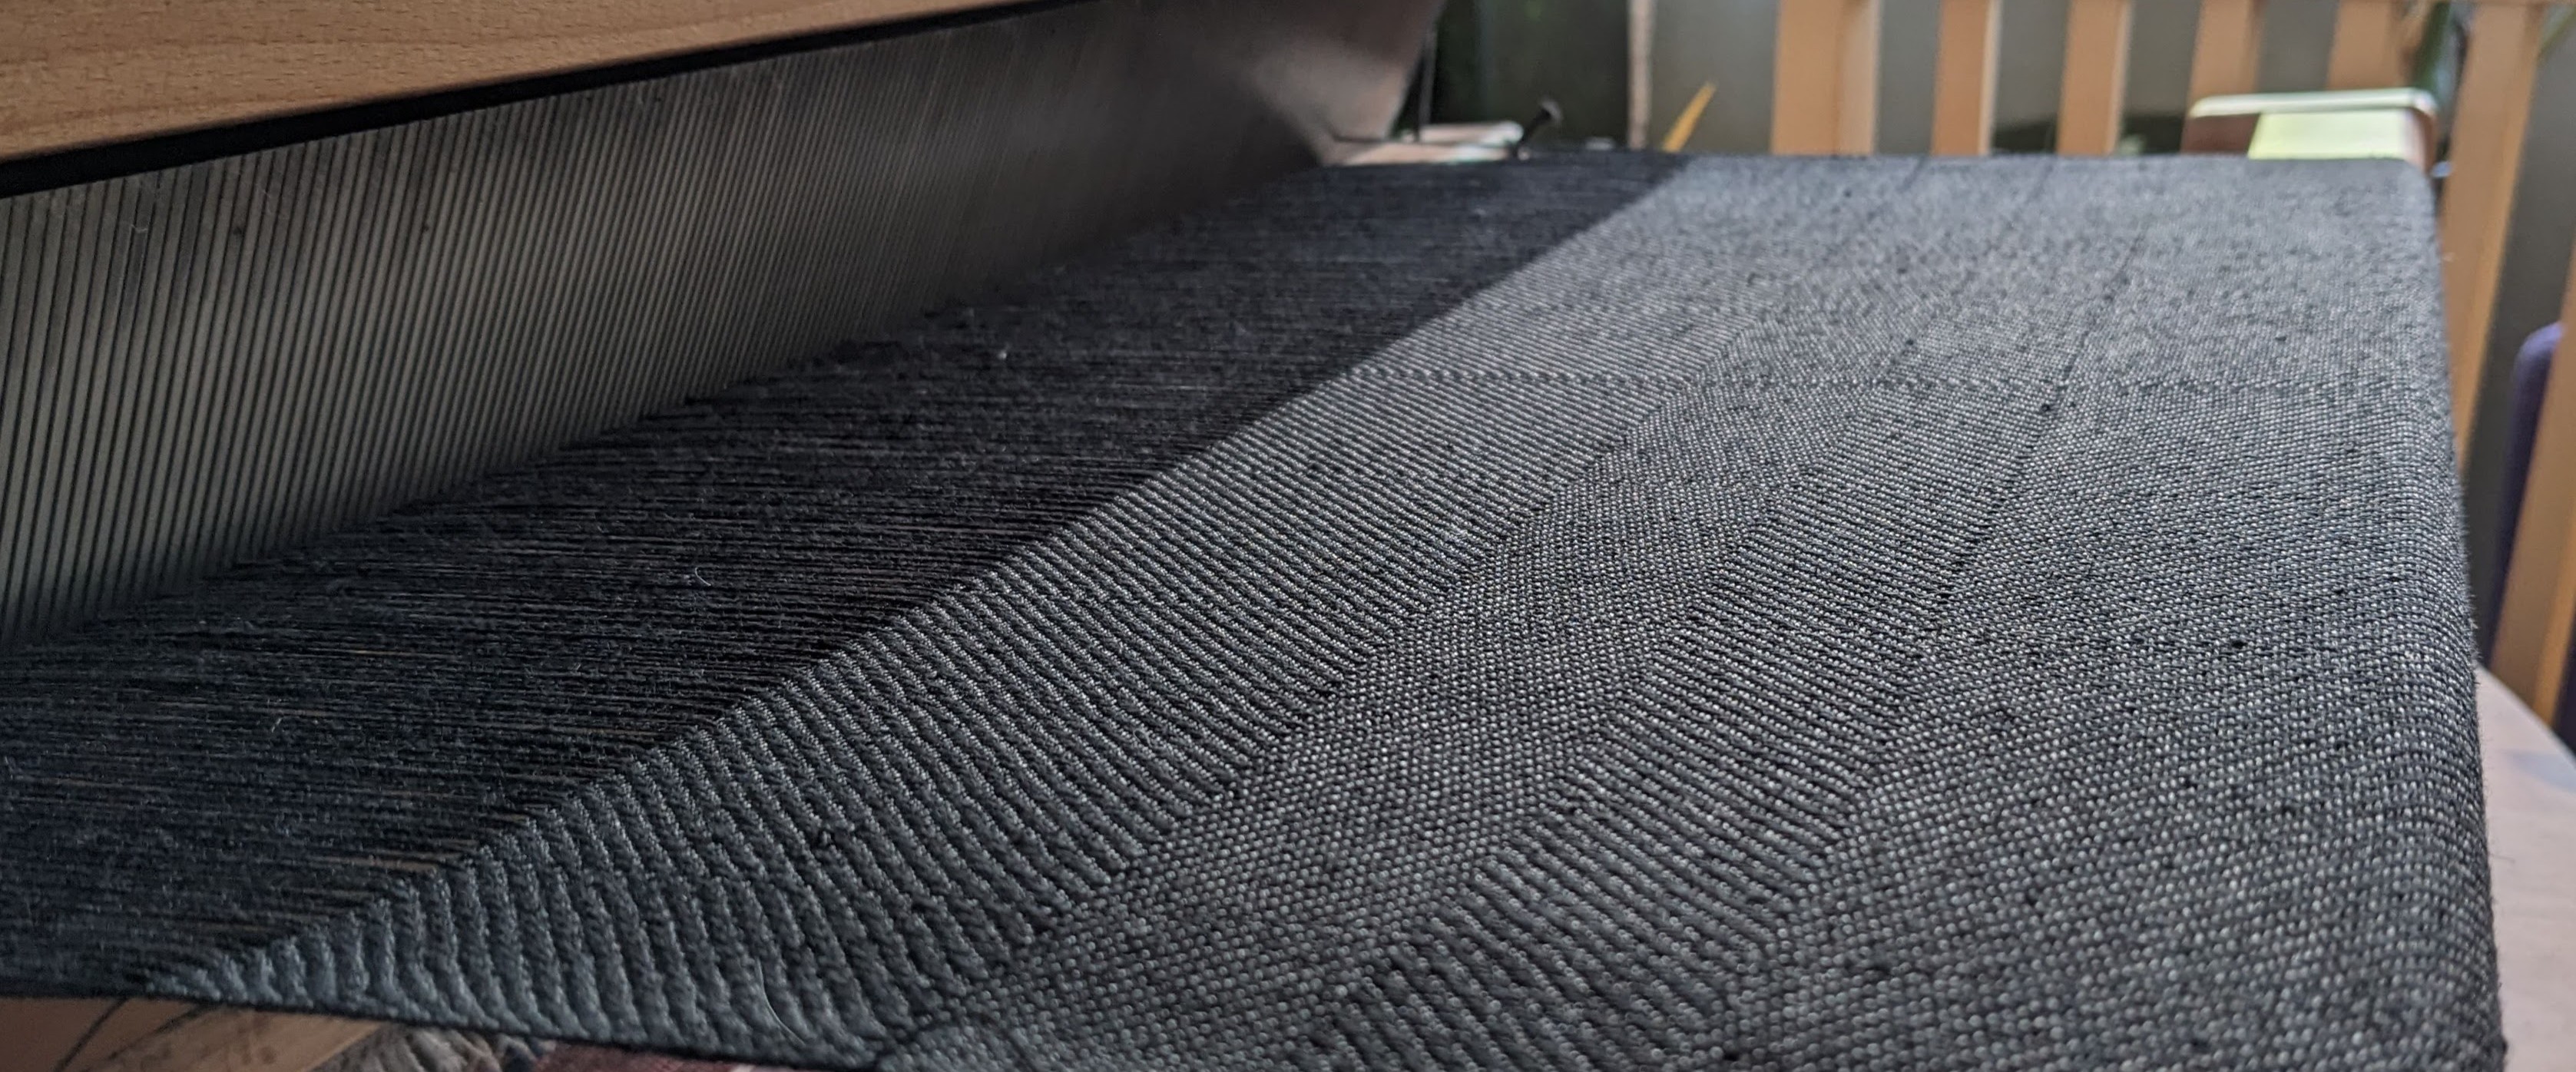
These really obvious stripes happened on both the sample and the final weaving – but only on the loom. I’m still not sure why the twill pattern is so obvious on the loom but not when finished, but I suspect it has to do with the “fuzzing out” of the cottolin during washing and the mercerized cotton (which I used exclusively in the weft) sinking into the structure and becoming less pronounced.

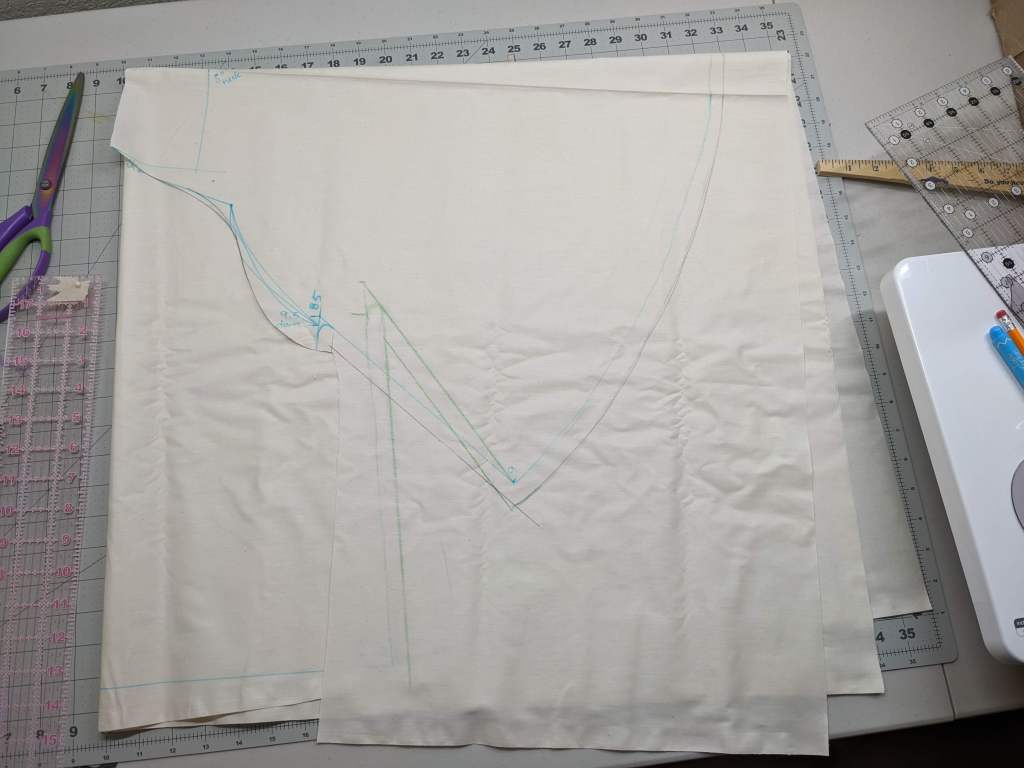
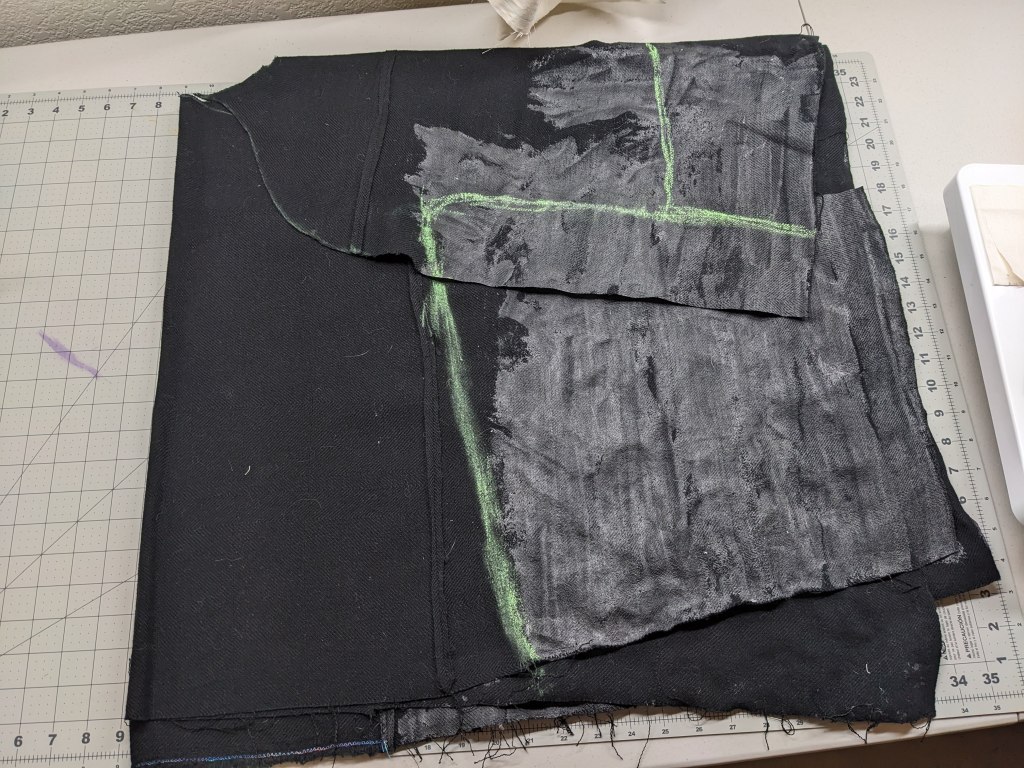
It turns out that weaving all black, simple four shaft twill for, oh, 190 inches is really boring. So in procrastinating on the weaving, I ended up being very responsible and making two mockups with the cutting technique from Claire’s video. The mockups helped me figure out how long and big I wanted the sleeves to be, and what the neckhole should look like. I also learned how to make wheat paste to stabilize the edges of my fabric as I cut into it, which made me much less nervous.

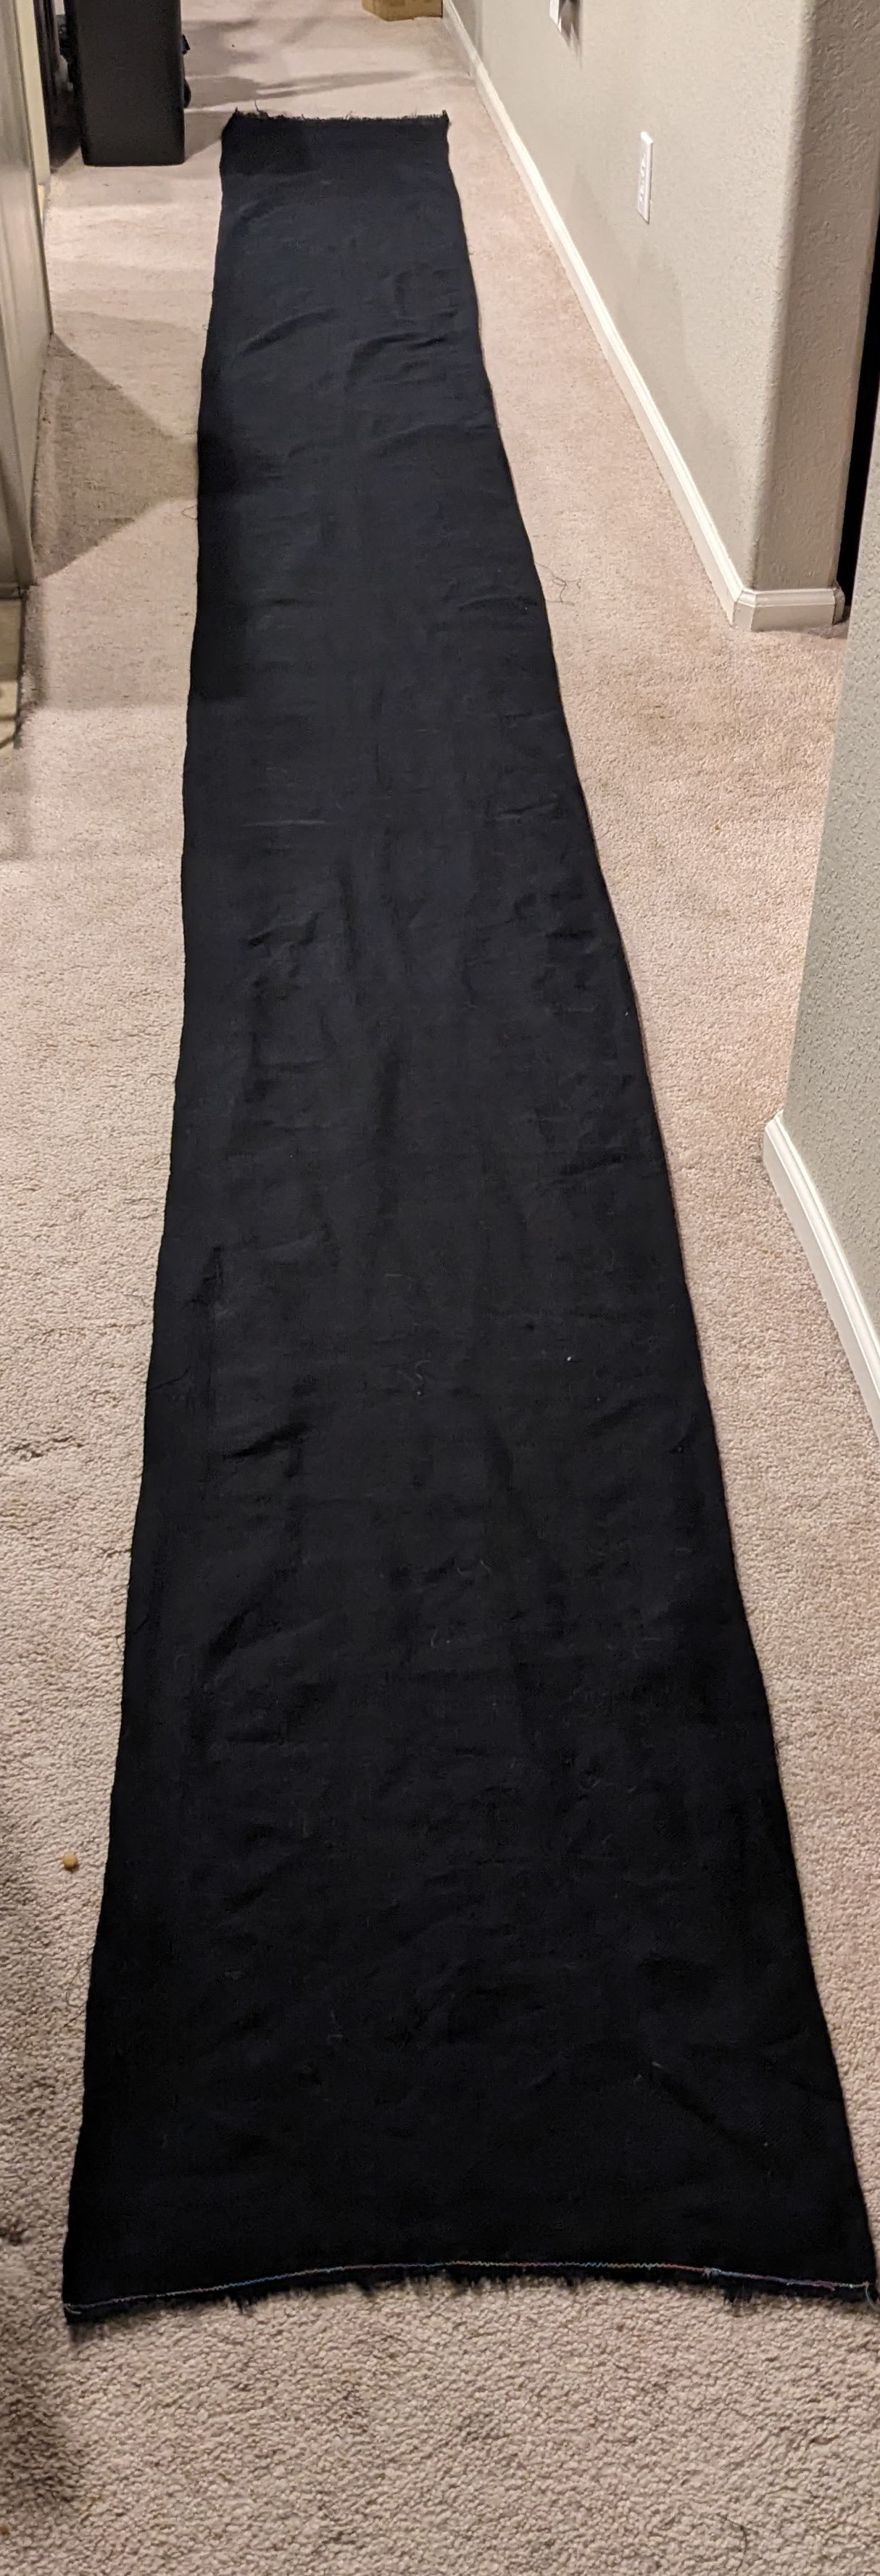
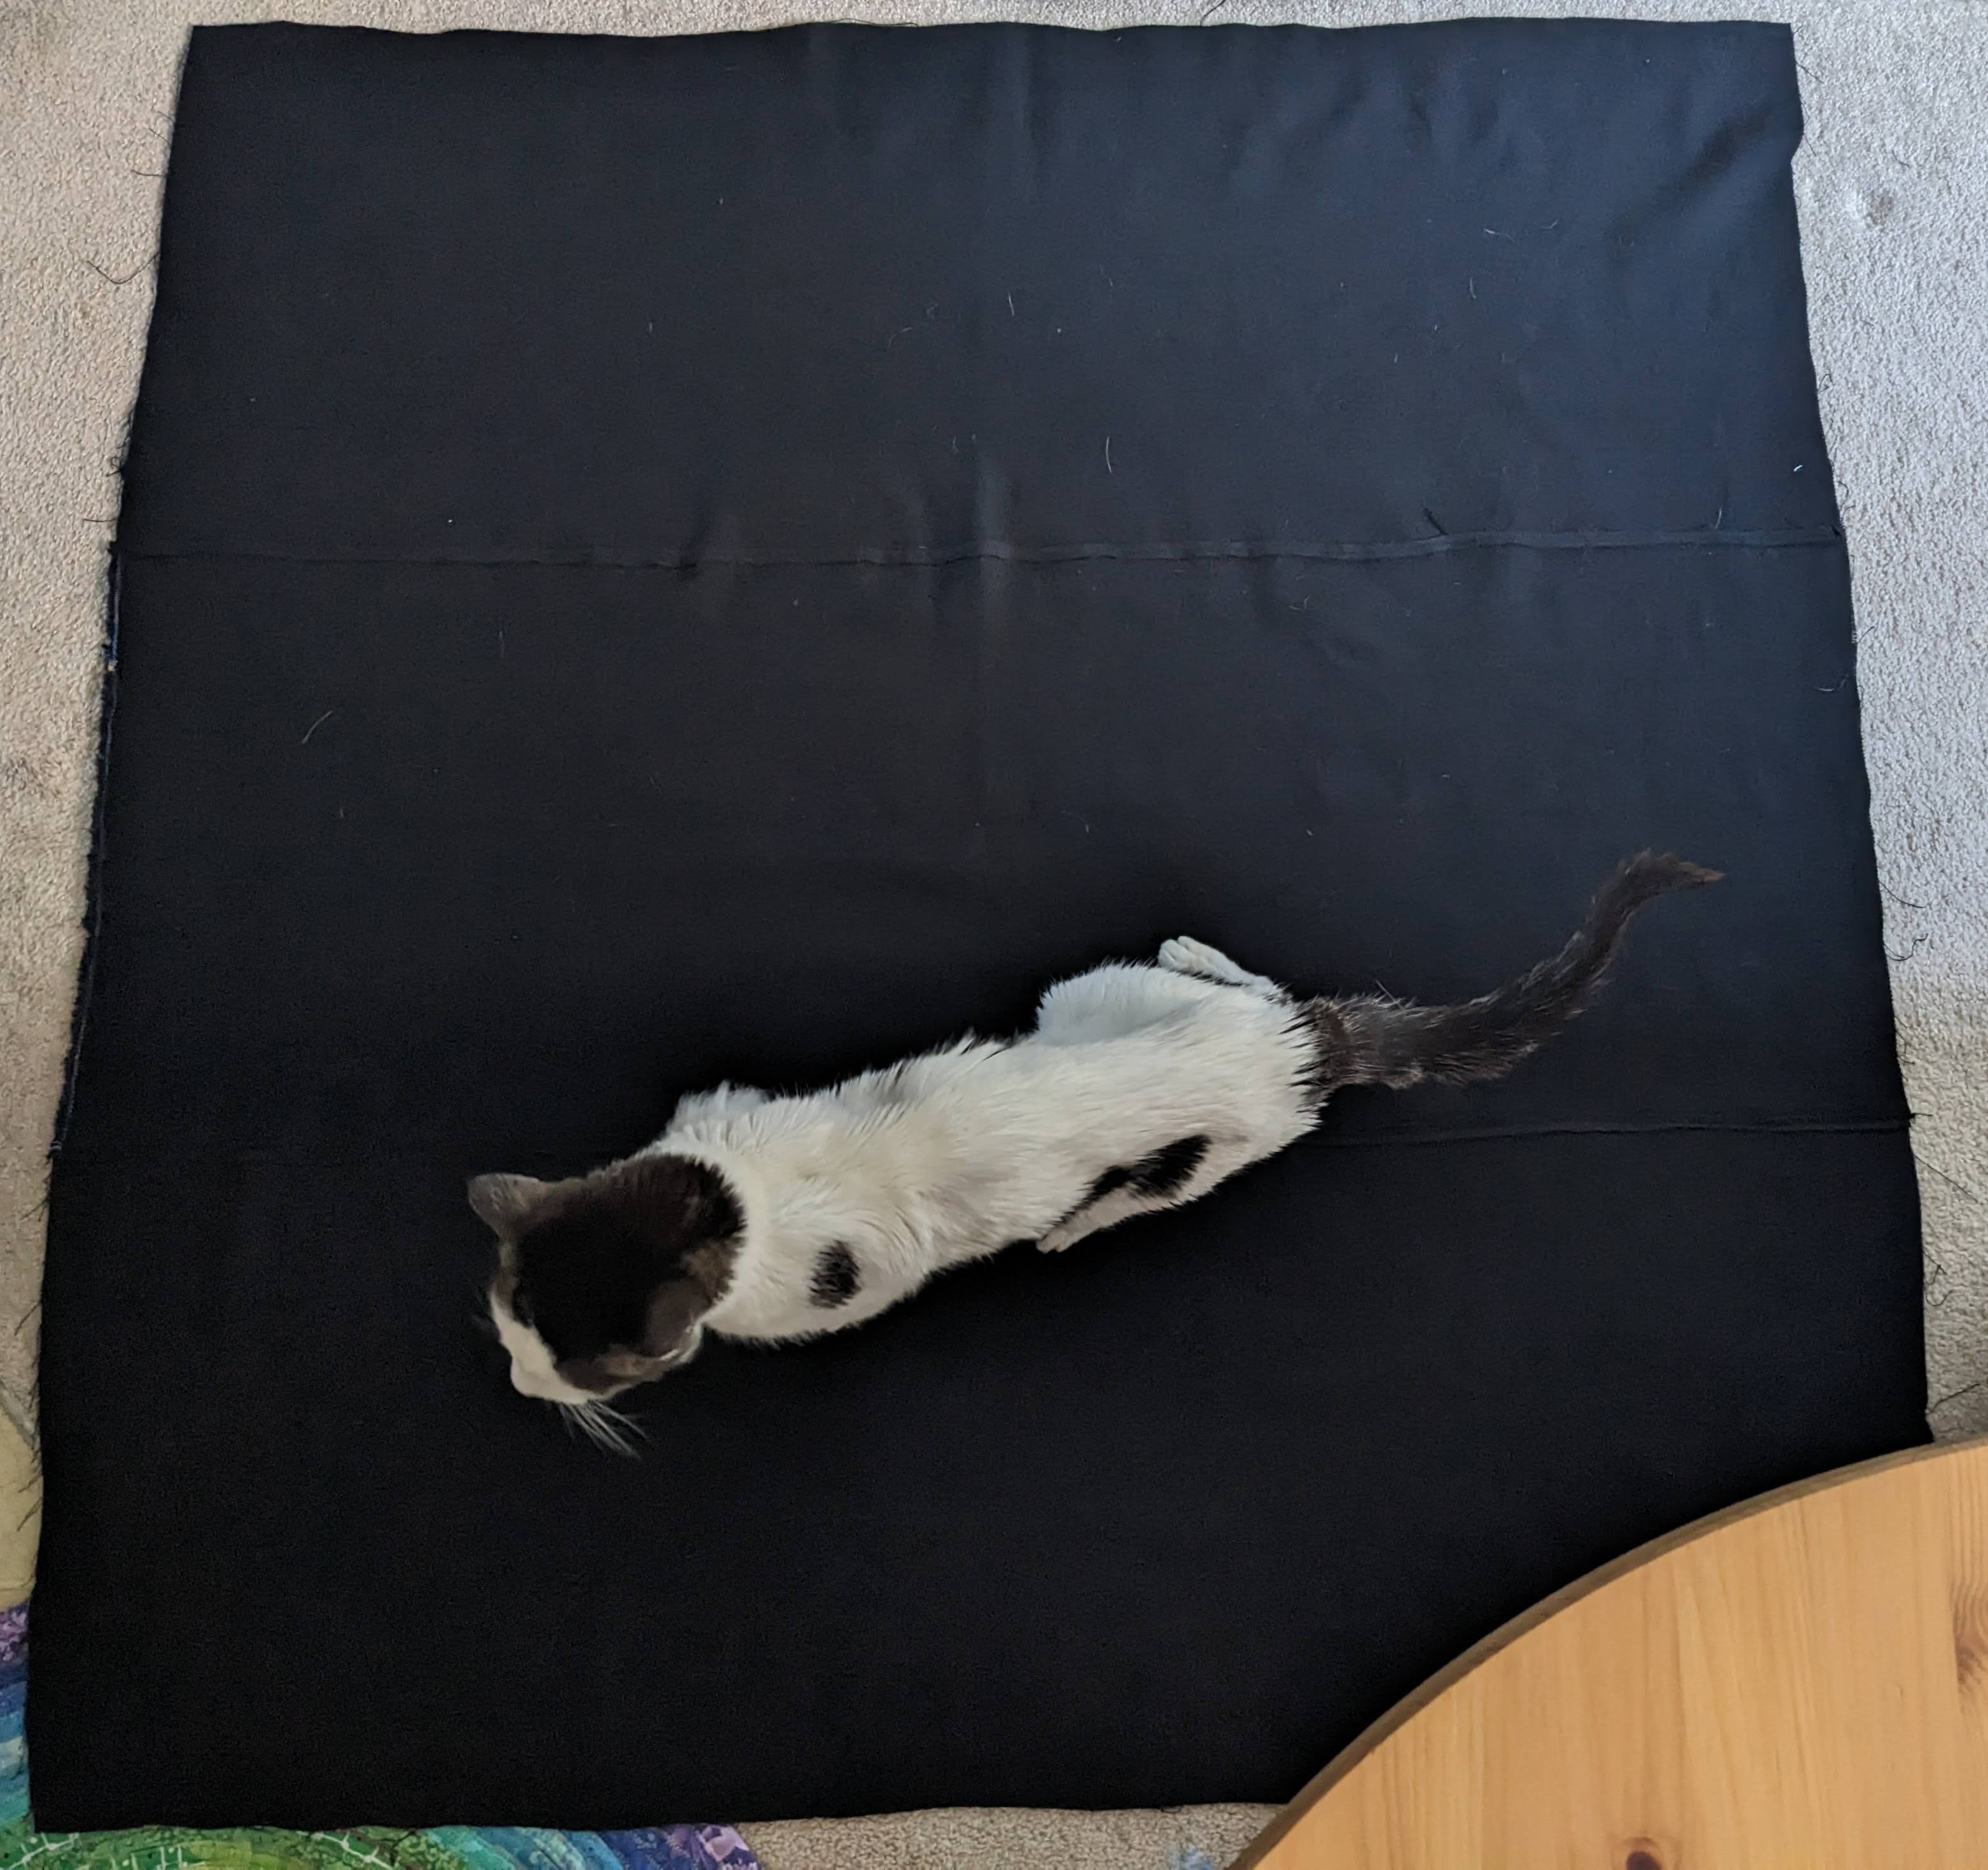
Once I finally finished the panel (left below), I sewed it to be three times the width and one third the length (right) to make an almost-square.

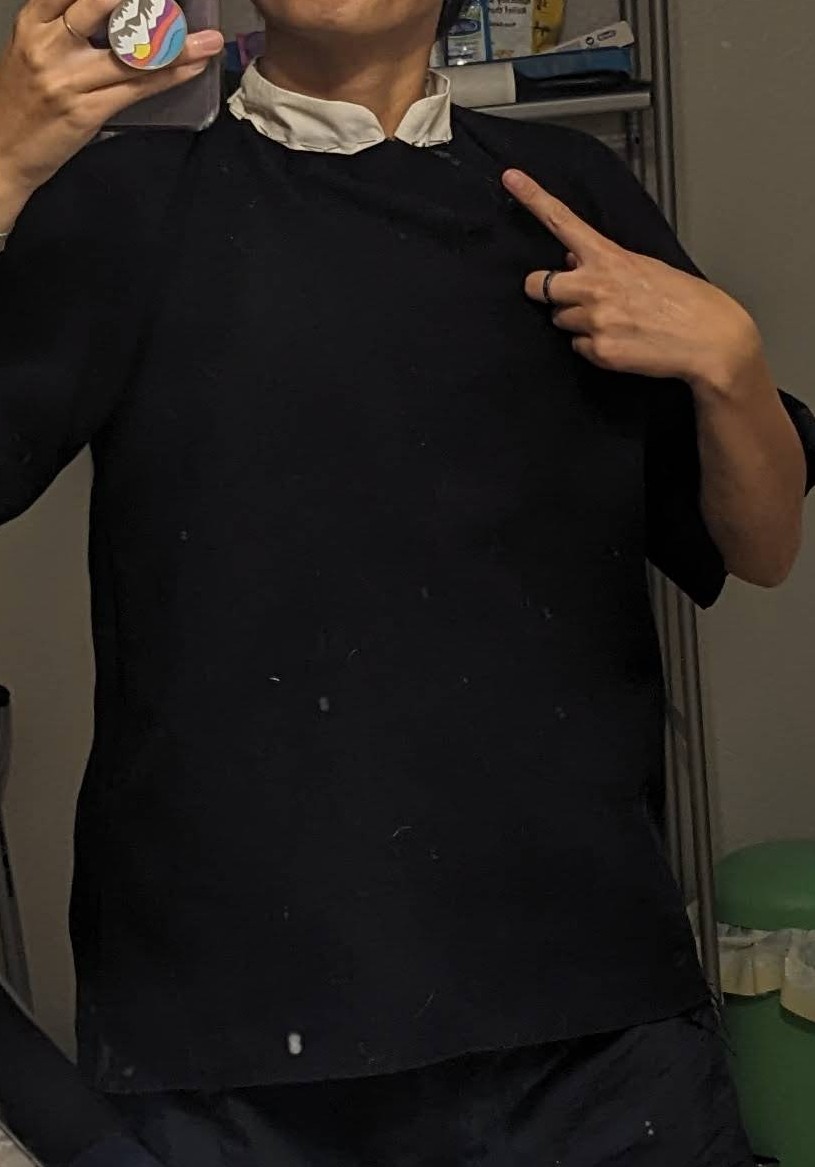
Then I followed my mockup plans and made the final! I accidentally cut out the neckhole from version one, instead of version two, so I had to make some weird pleats around the neckhole on the back. The collar was the part I was most nervous about, but I just took it slow and made a mockup collar to make sure that it fit onto the neck hole.

I ended up using “bias” (read: just strips on the normal grain) tape to seal all the raw edges, including around the sleeves and on the inside side seams. I did this the first time with the sewing machine because I thought it would be faster. But then when I washed it, some of the fabric had not been caught in the tape and came free and slightly unwoven, which I repaired by hand. It probably would have been easier and faster to do all the tape by hand, which I will remember for next time.

I used frog buttons that a friend bought for me in Taiwan (on the front), plus some additional frog buttons from an old shirt (down the side).

The collar ended up a bit asymmetrical, and I want to address it. One friend said they would lean in an make it even more asymmetrical, and another friend said I could probably add material and make them more even, so we’ll see what I decide. On my second wear, the front overlap wasn’t quite enough when I raised my arms, so I want to add some material so all my skin is covered.

Project completed May 2026.