Tag Archives: four shaft weaving

Handwoven Handmade Shirt

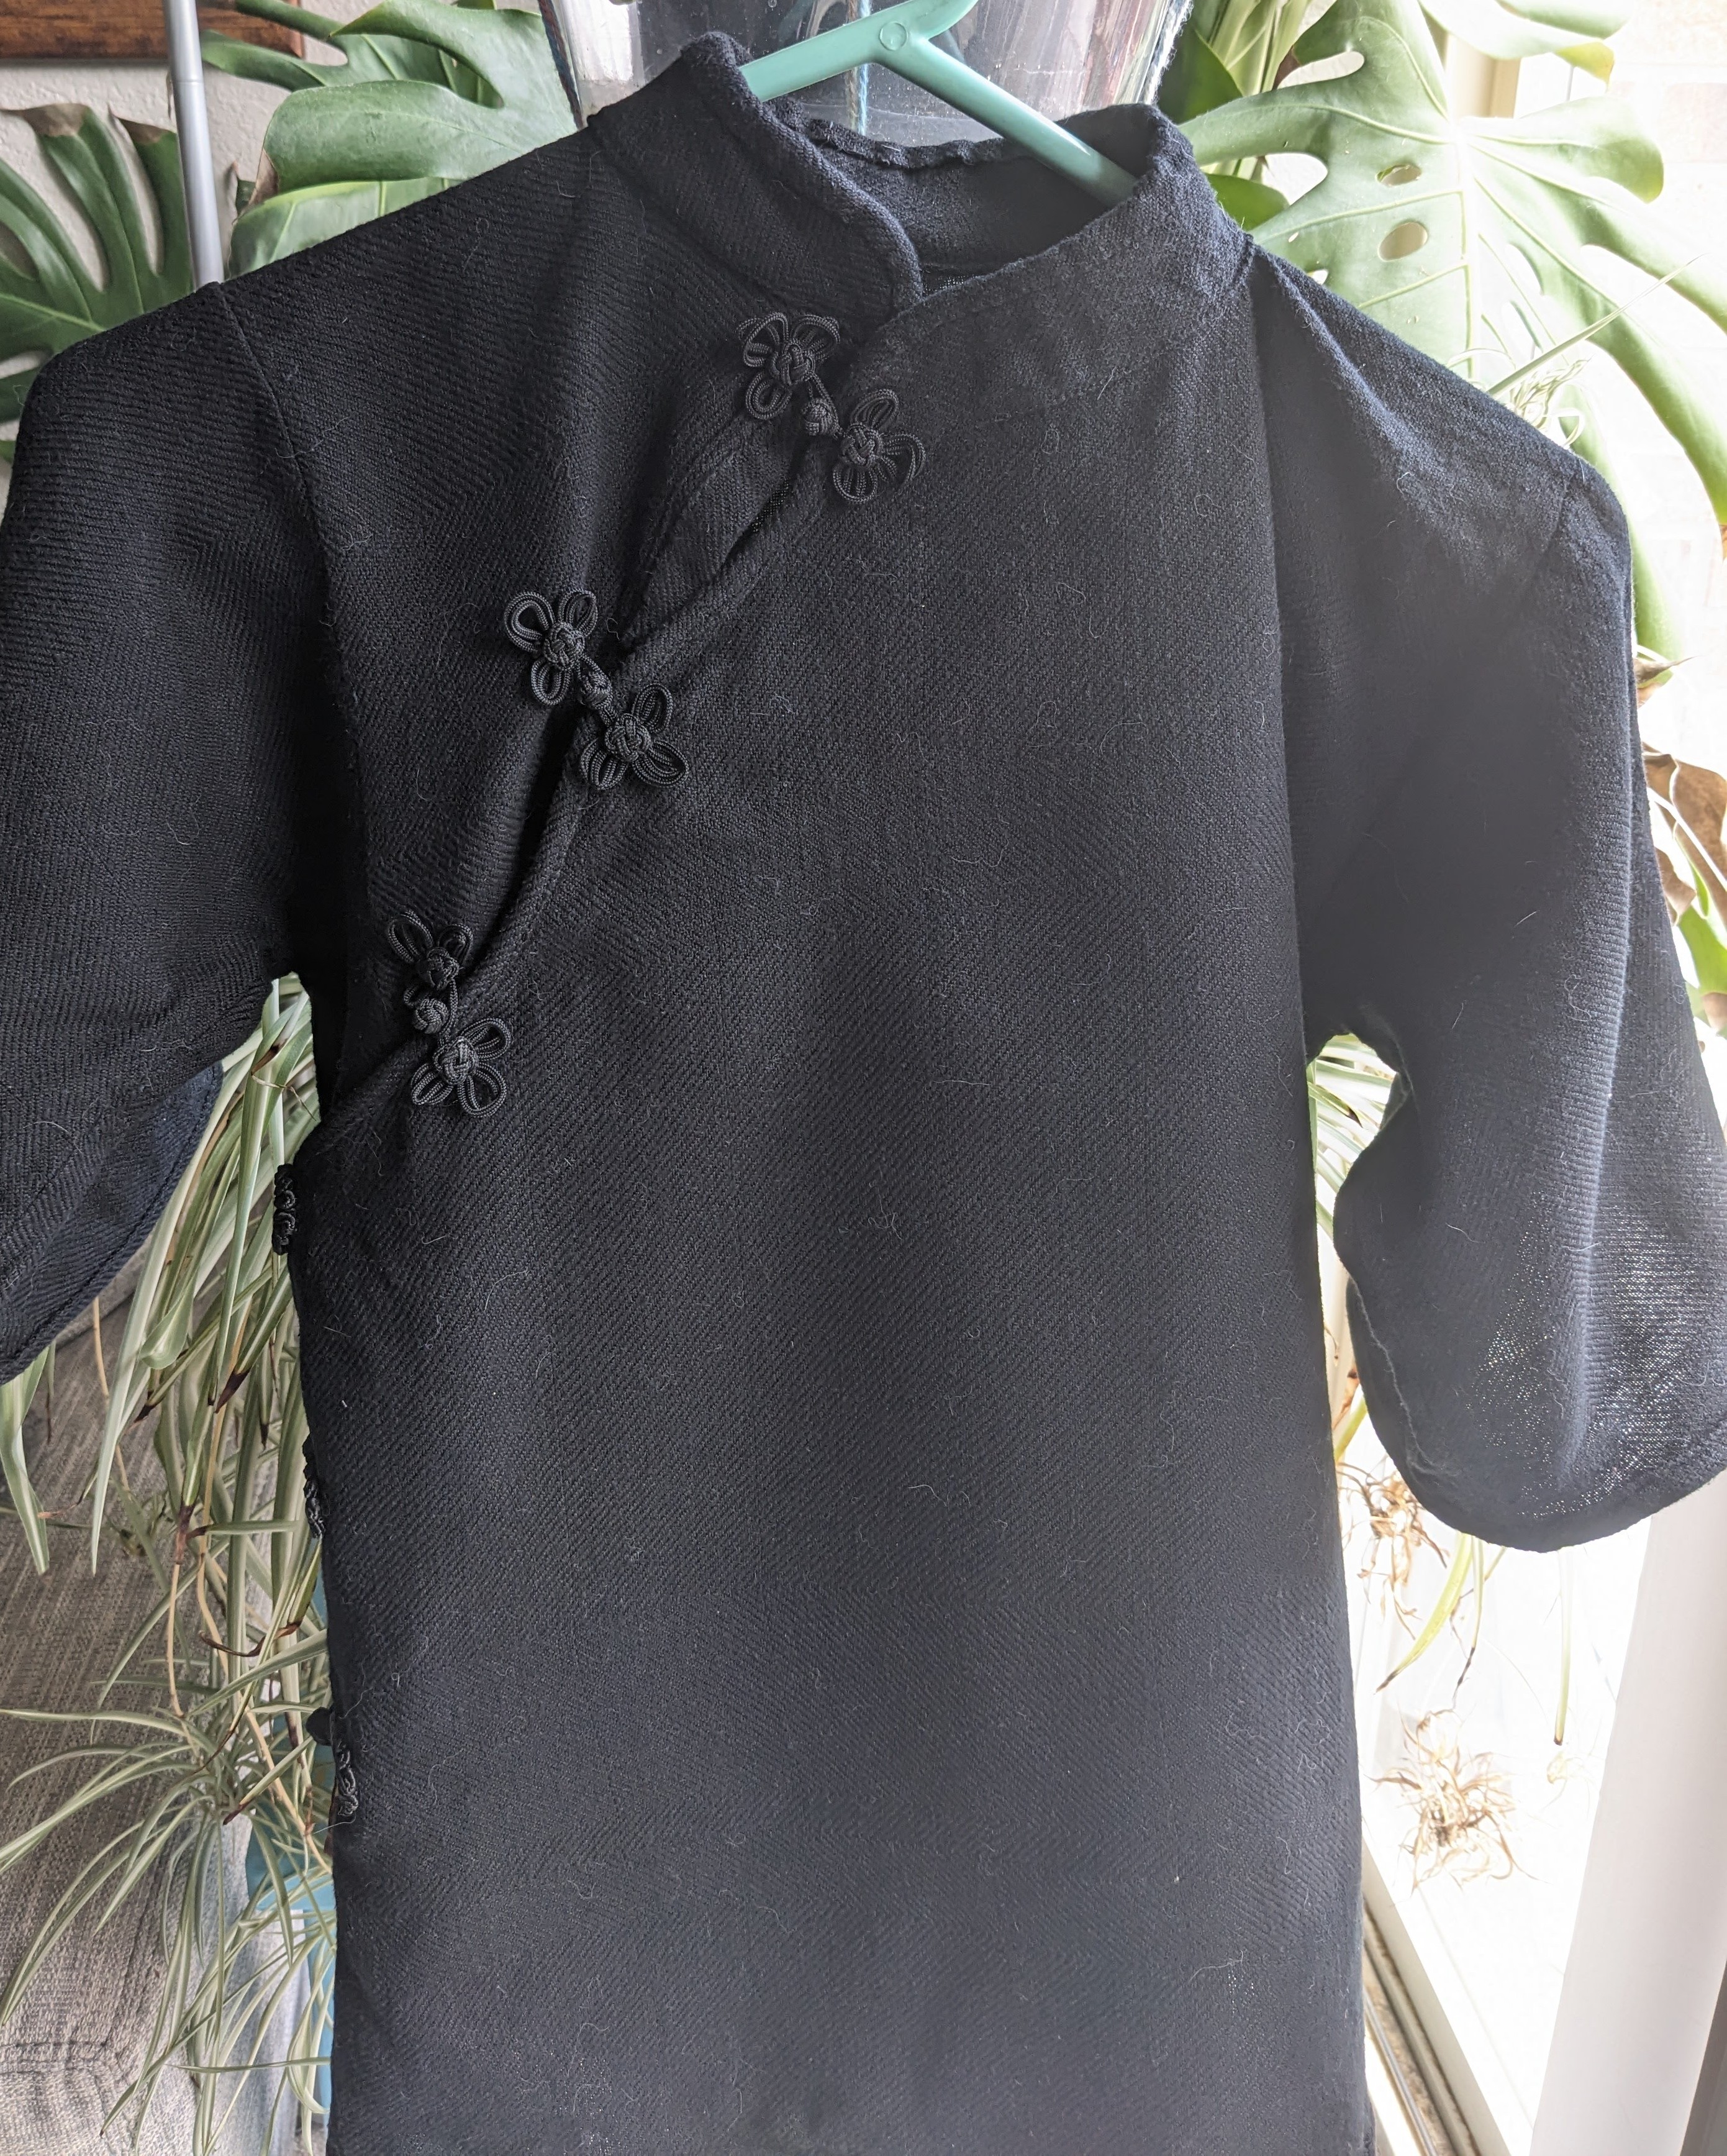
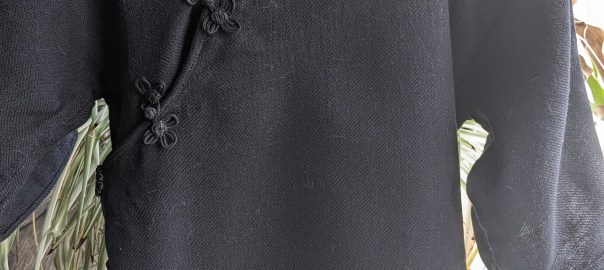
My handwoven handmade shirt! I made this shirt to be a little fancy, breathable, with floofy sleeves and frog buttons. I wanted to experiment with cottolin (cotton and linen blend) and mercerized cotton to see if the sheen of the mercerized cotton was detectable at range. I actually wove a sample, and it was not as shiny as desired, but I decided to move forward anyway.

Measuring the warp was exhausting. I used my mini heddle as a warping paddle and measured four threads at a time. But my goal was 720 threads, and that’s just a lot of time at the warping board (mine is a bunch of PVC so I can change the distances easily). Taking breaks allowed me to do more research and find new ways of construction that also enabled me to use thinner warp, so I didn’t have to do as many warp ends. I realized that I could weave a longer, thinner panel and then sew it together instead of using the full width of my loom.

I watched Claire Yixuan Zhang’s qipao video at least six times while making this – once when I found it for research, a couple times while planning how wide the warp really needed to be and making paper models, before cutting out my mockups, and before taking the scissors to my handwoven. One of the things that really stands out to me about this construction method is the value of keeping as much fabric from the panel in the final product. And being handwoven, this shirt is probably the most expensive piece of clothing I have now.

I finally sleyed the reed, set up the heddles, and wound on my warp. I practiced a new way of dressing the loom with a smaller project right before this, and I’m glad I did. Dressing the loom front to back like this was less stressful and more ergonomic for me, and I think I’ll continue using this method.
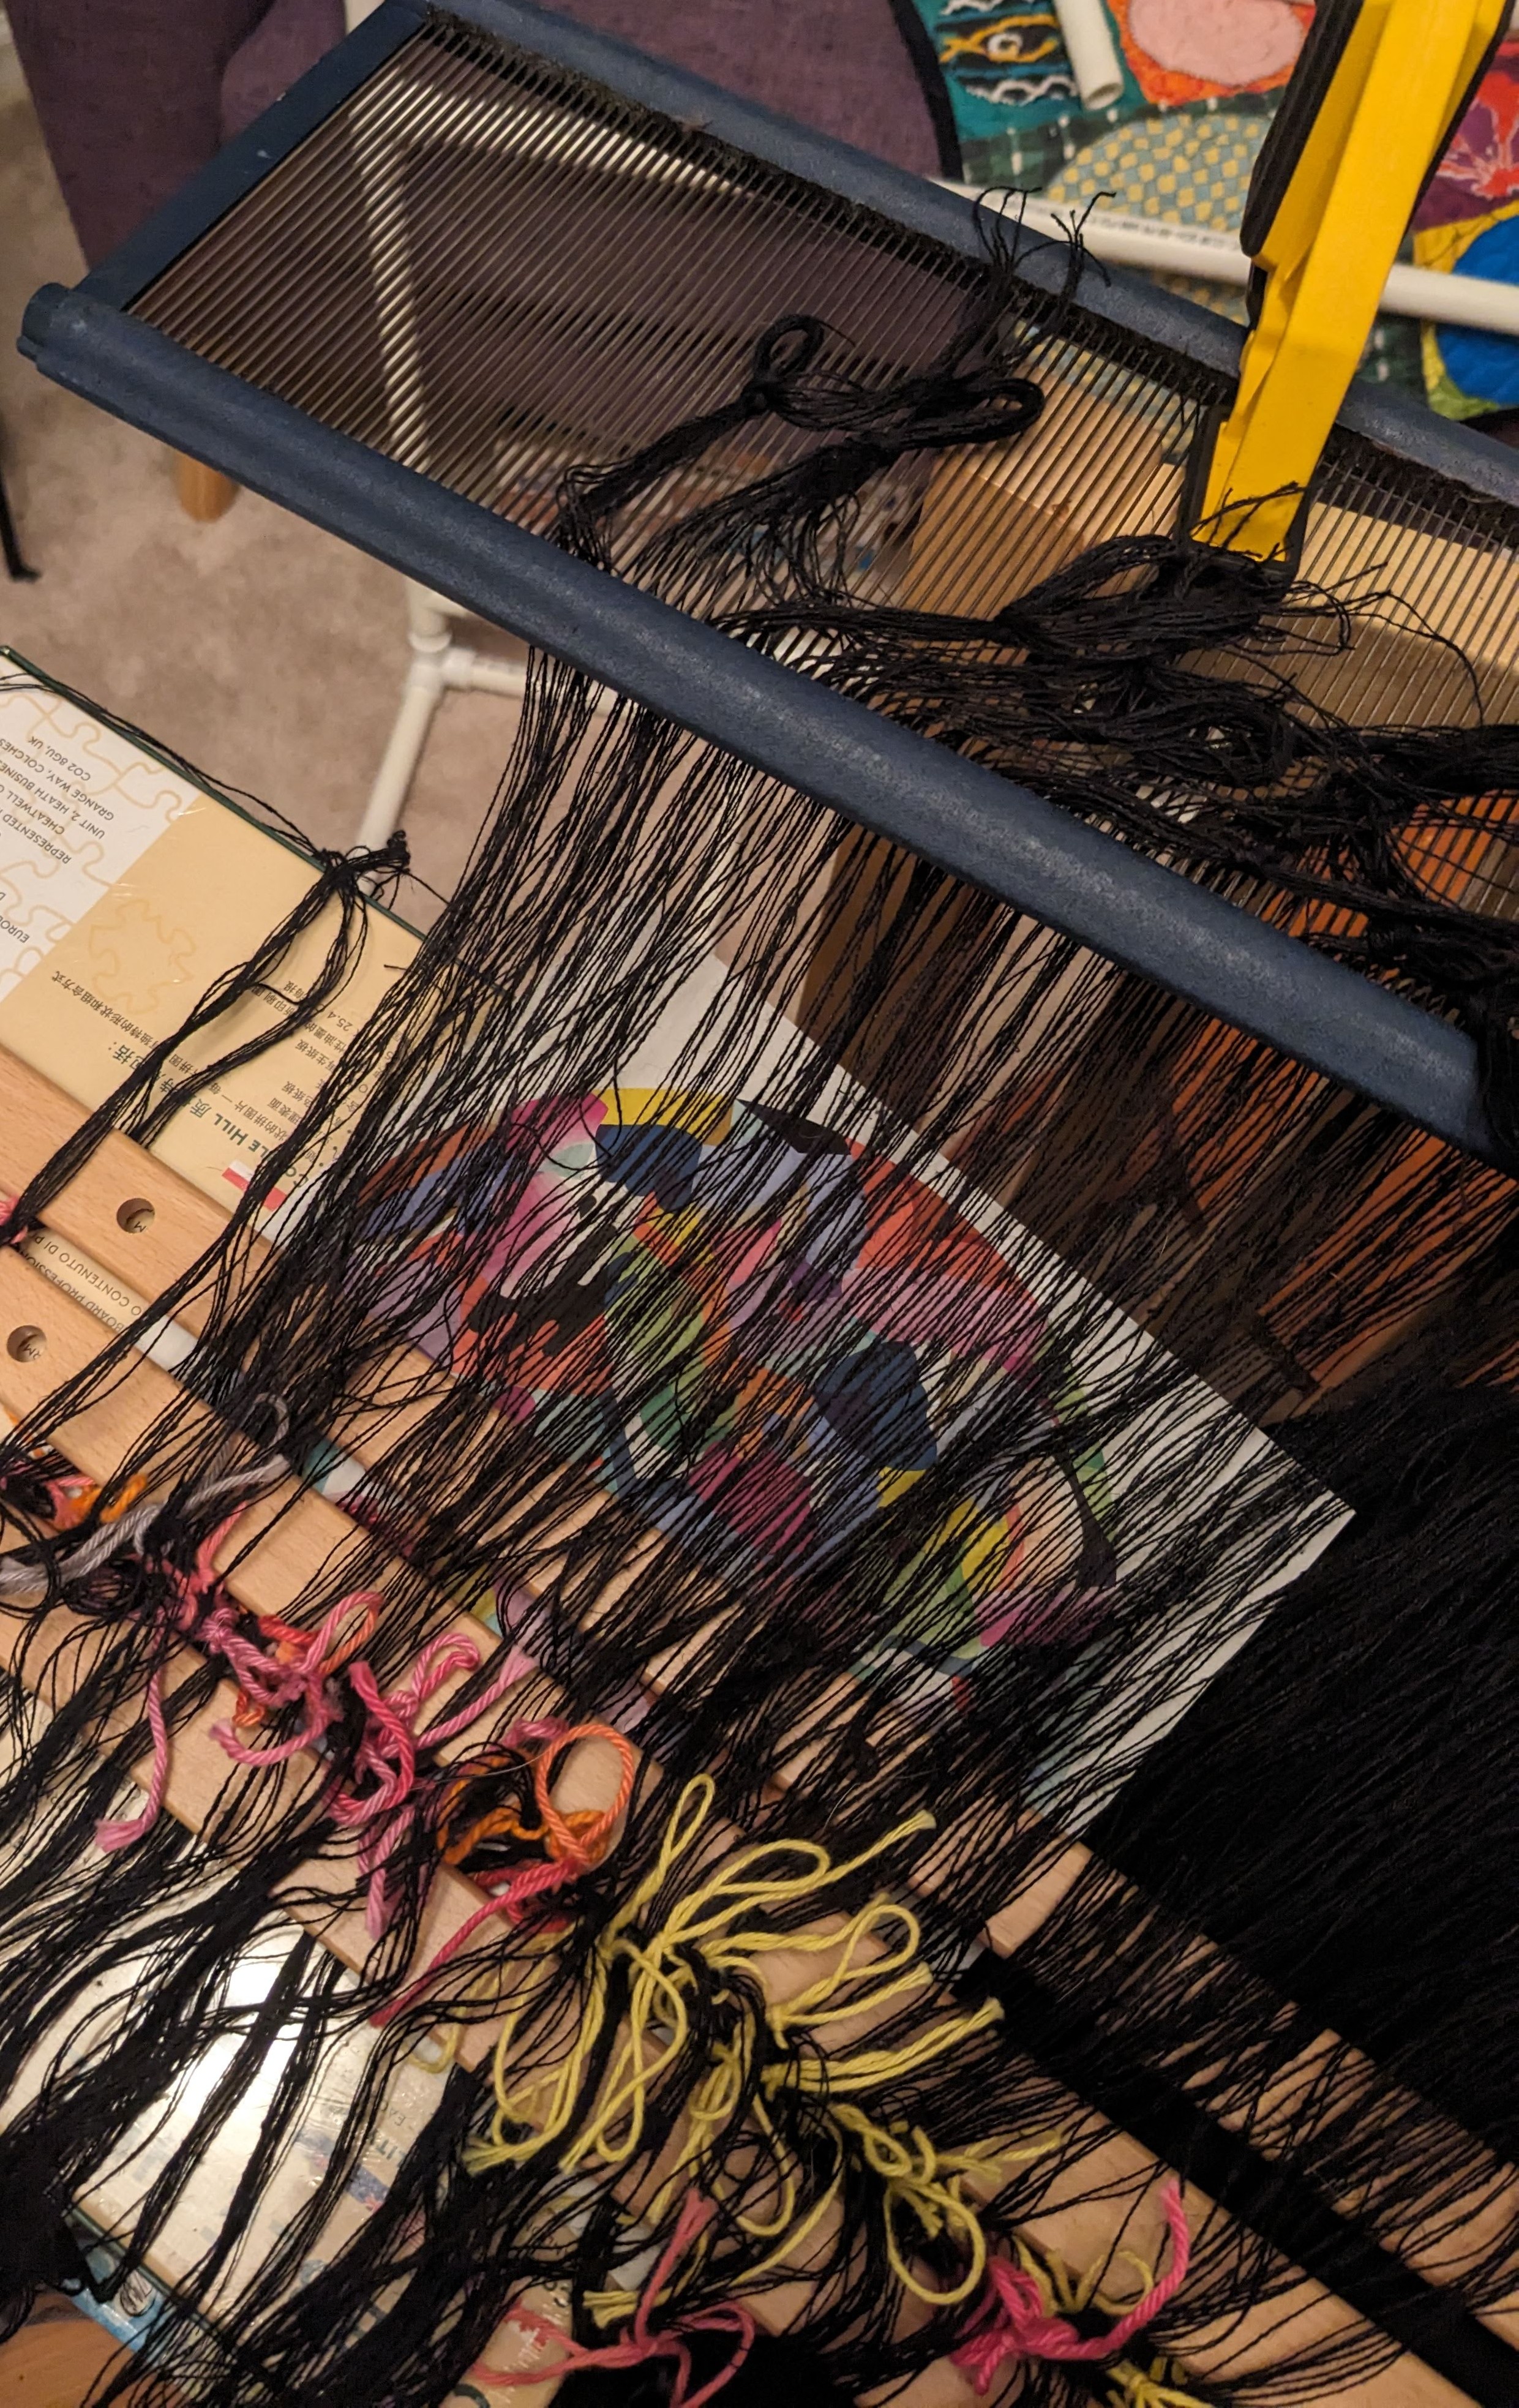
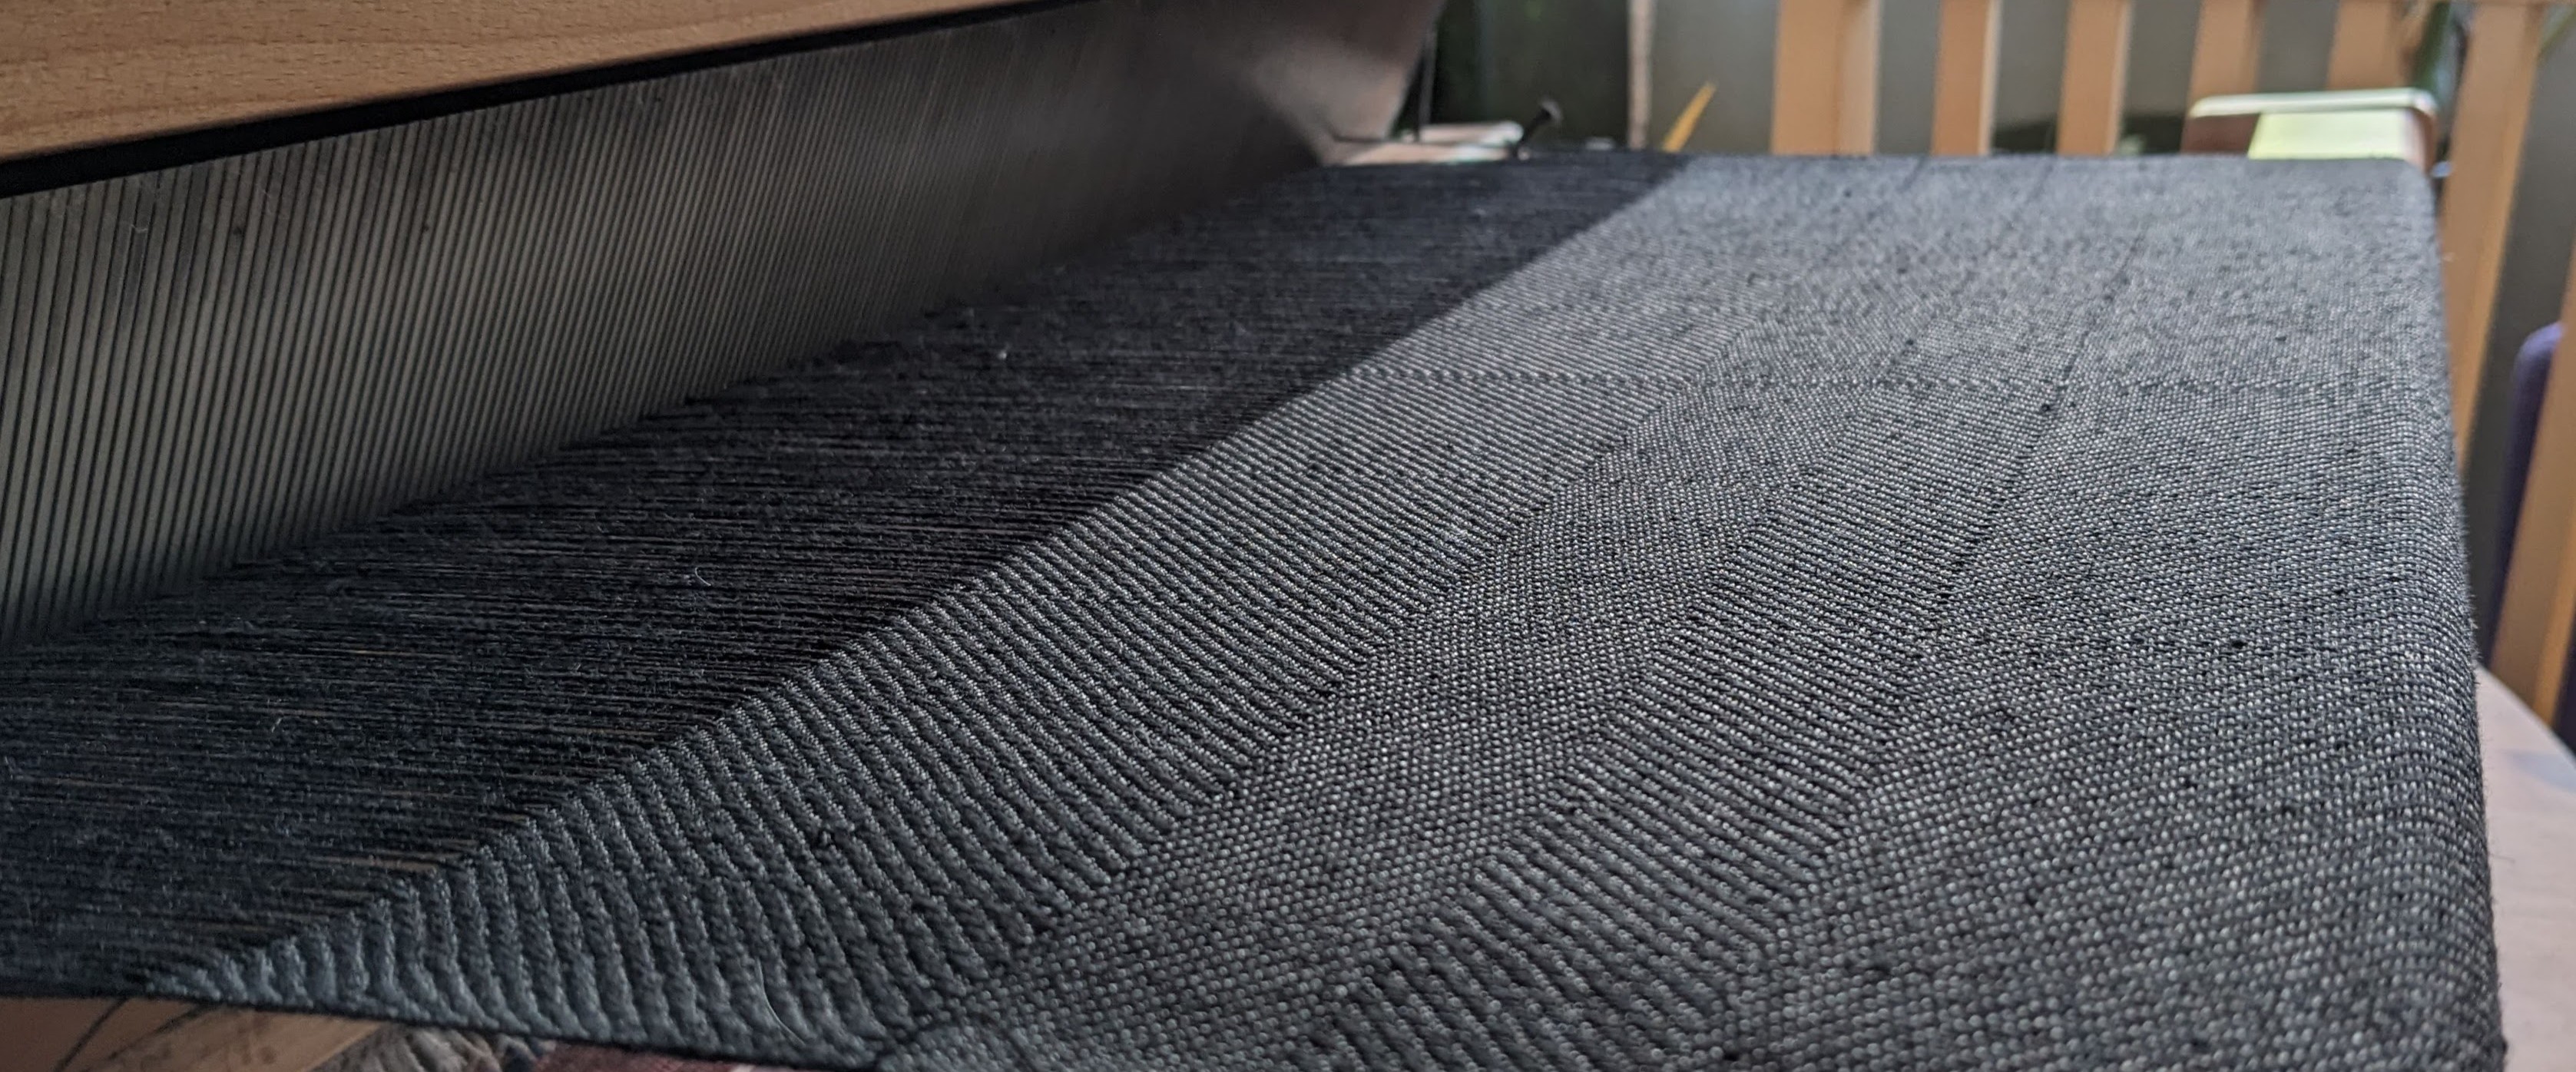
These really obvious stripes happened on both the sample and the final weaving – but only on the loom. I’m still not sure why the twill pattern is so obvious on the loom but not when finished, but I suspect it has to do with the “fuzzing out” of the cottolin during washing and the mercerized cotton (which I used exclusively in the weft) sinking into the structure and becoming less pronounced.

It turns out that weaving all black, simple four shaft twill for, oh, 190 inches is really boring. So in procrastinating on the weaving, I ended up being very responsible and making two mockups with the cutting technique from Claire’s video. The mockups helped me figure out how long and big I wanted the sleeves to be, and what the neckhole should look like. I also learned how to make wheat paste to stabilize the edges of my fabric as I cut into it, which made me much less nervous.
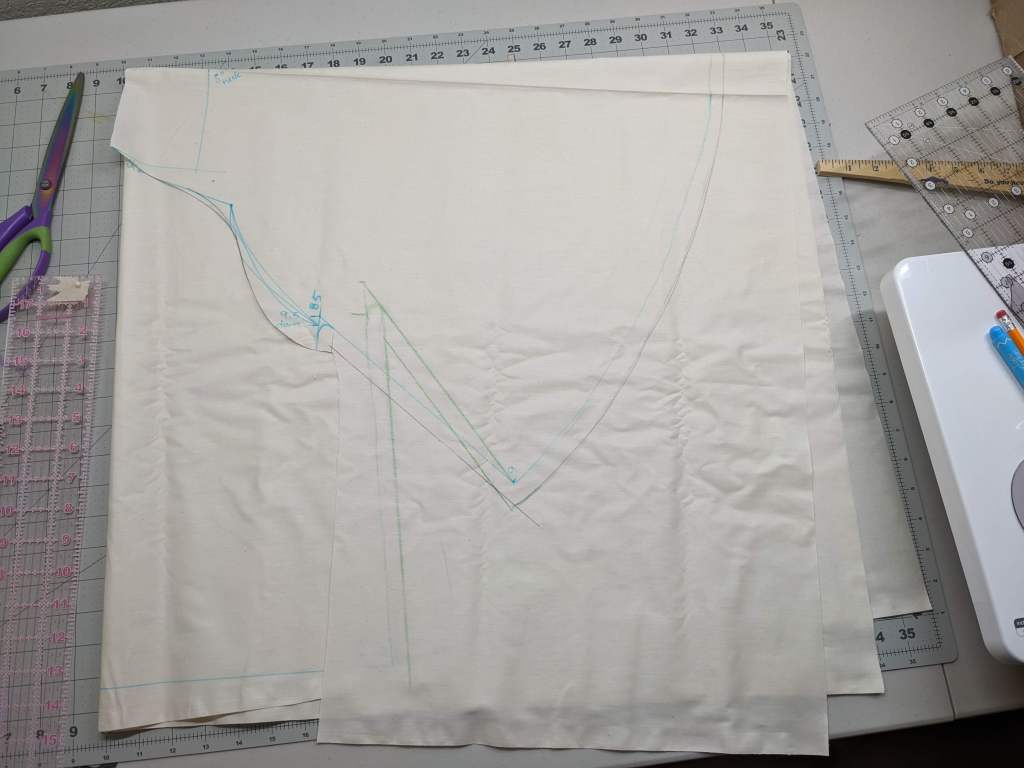
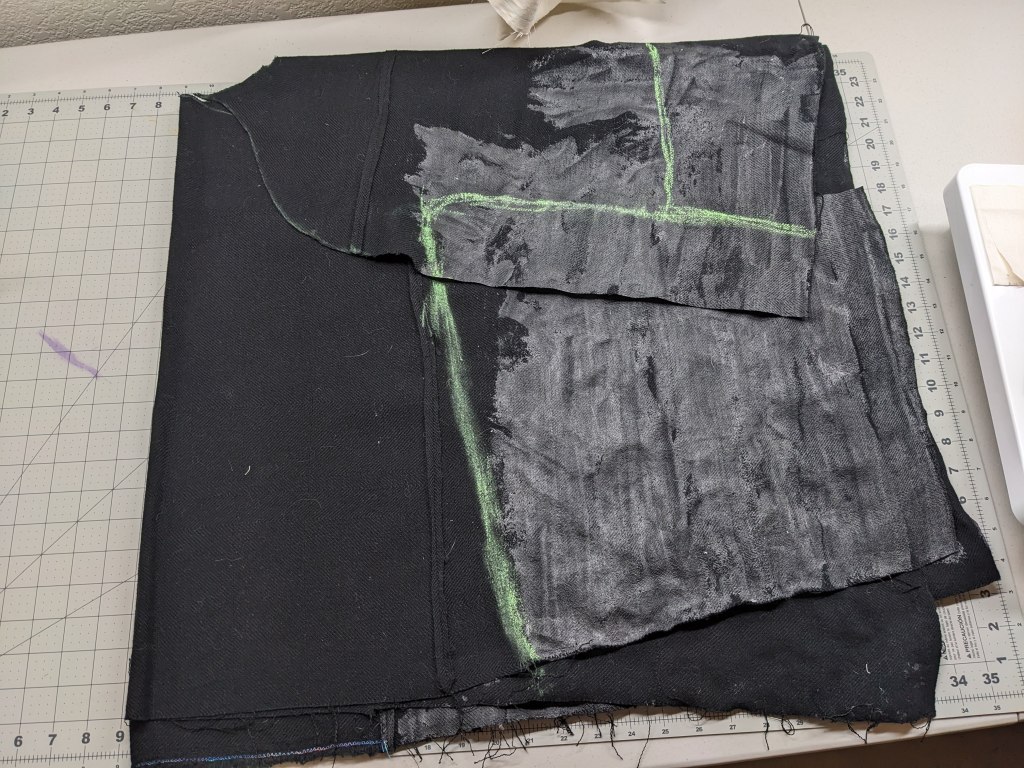
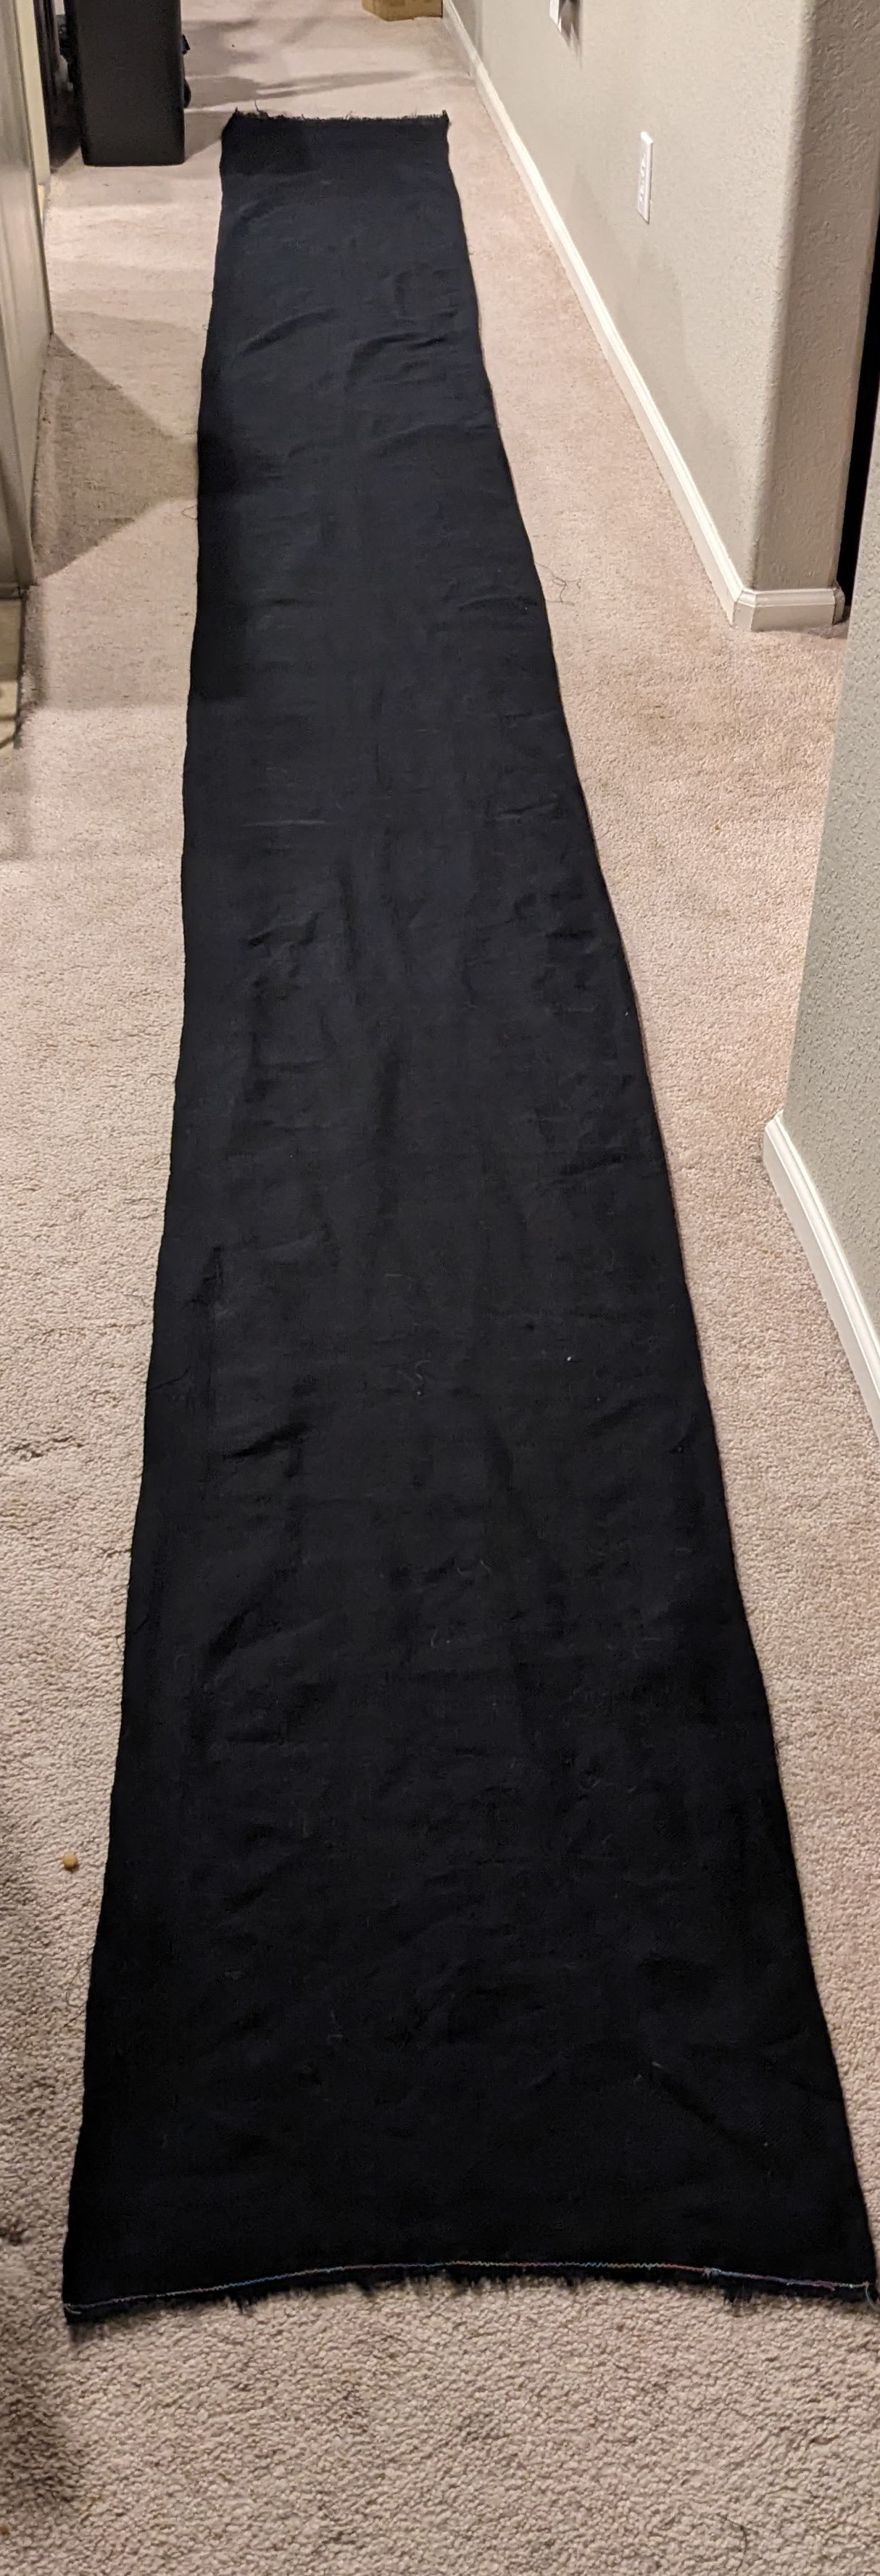
Once I finally finished the panel (left below), I sewed it to be three times the width and one third the length (right) to make an almost-square.
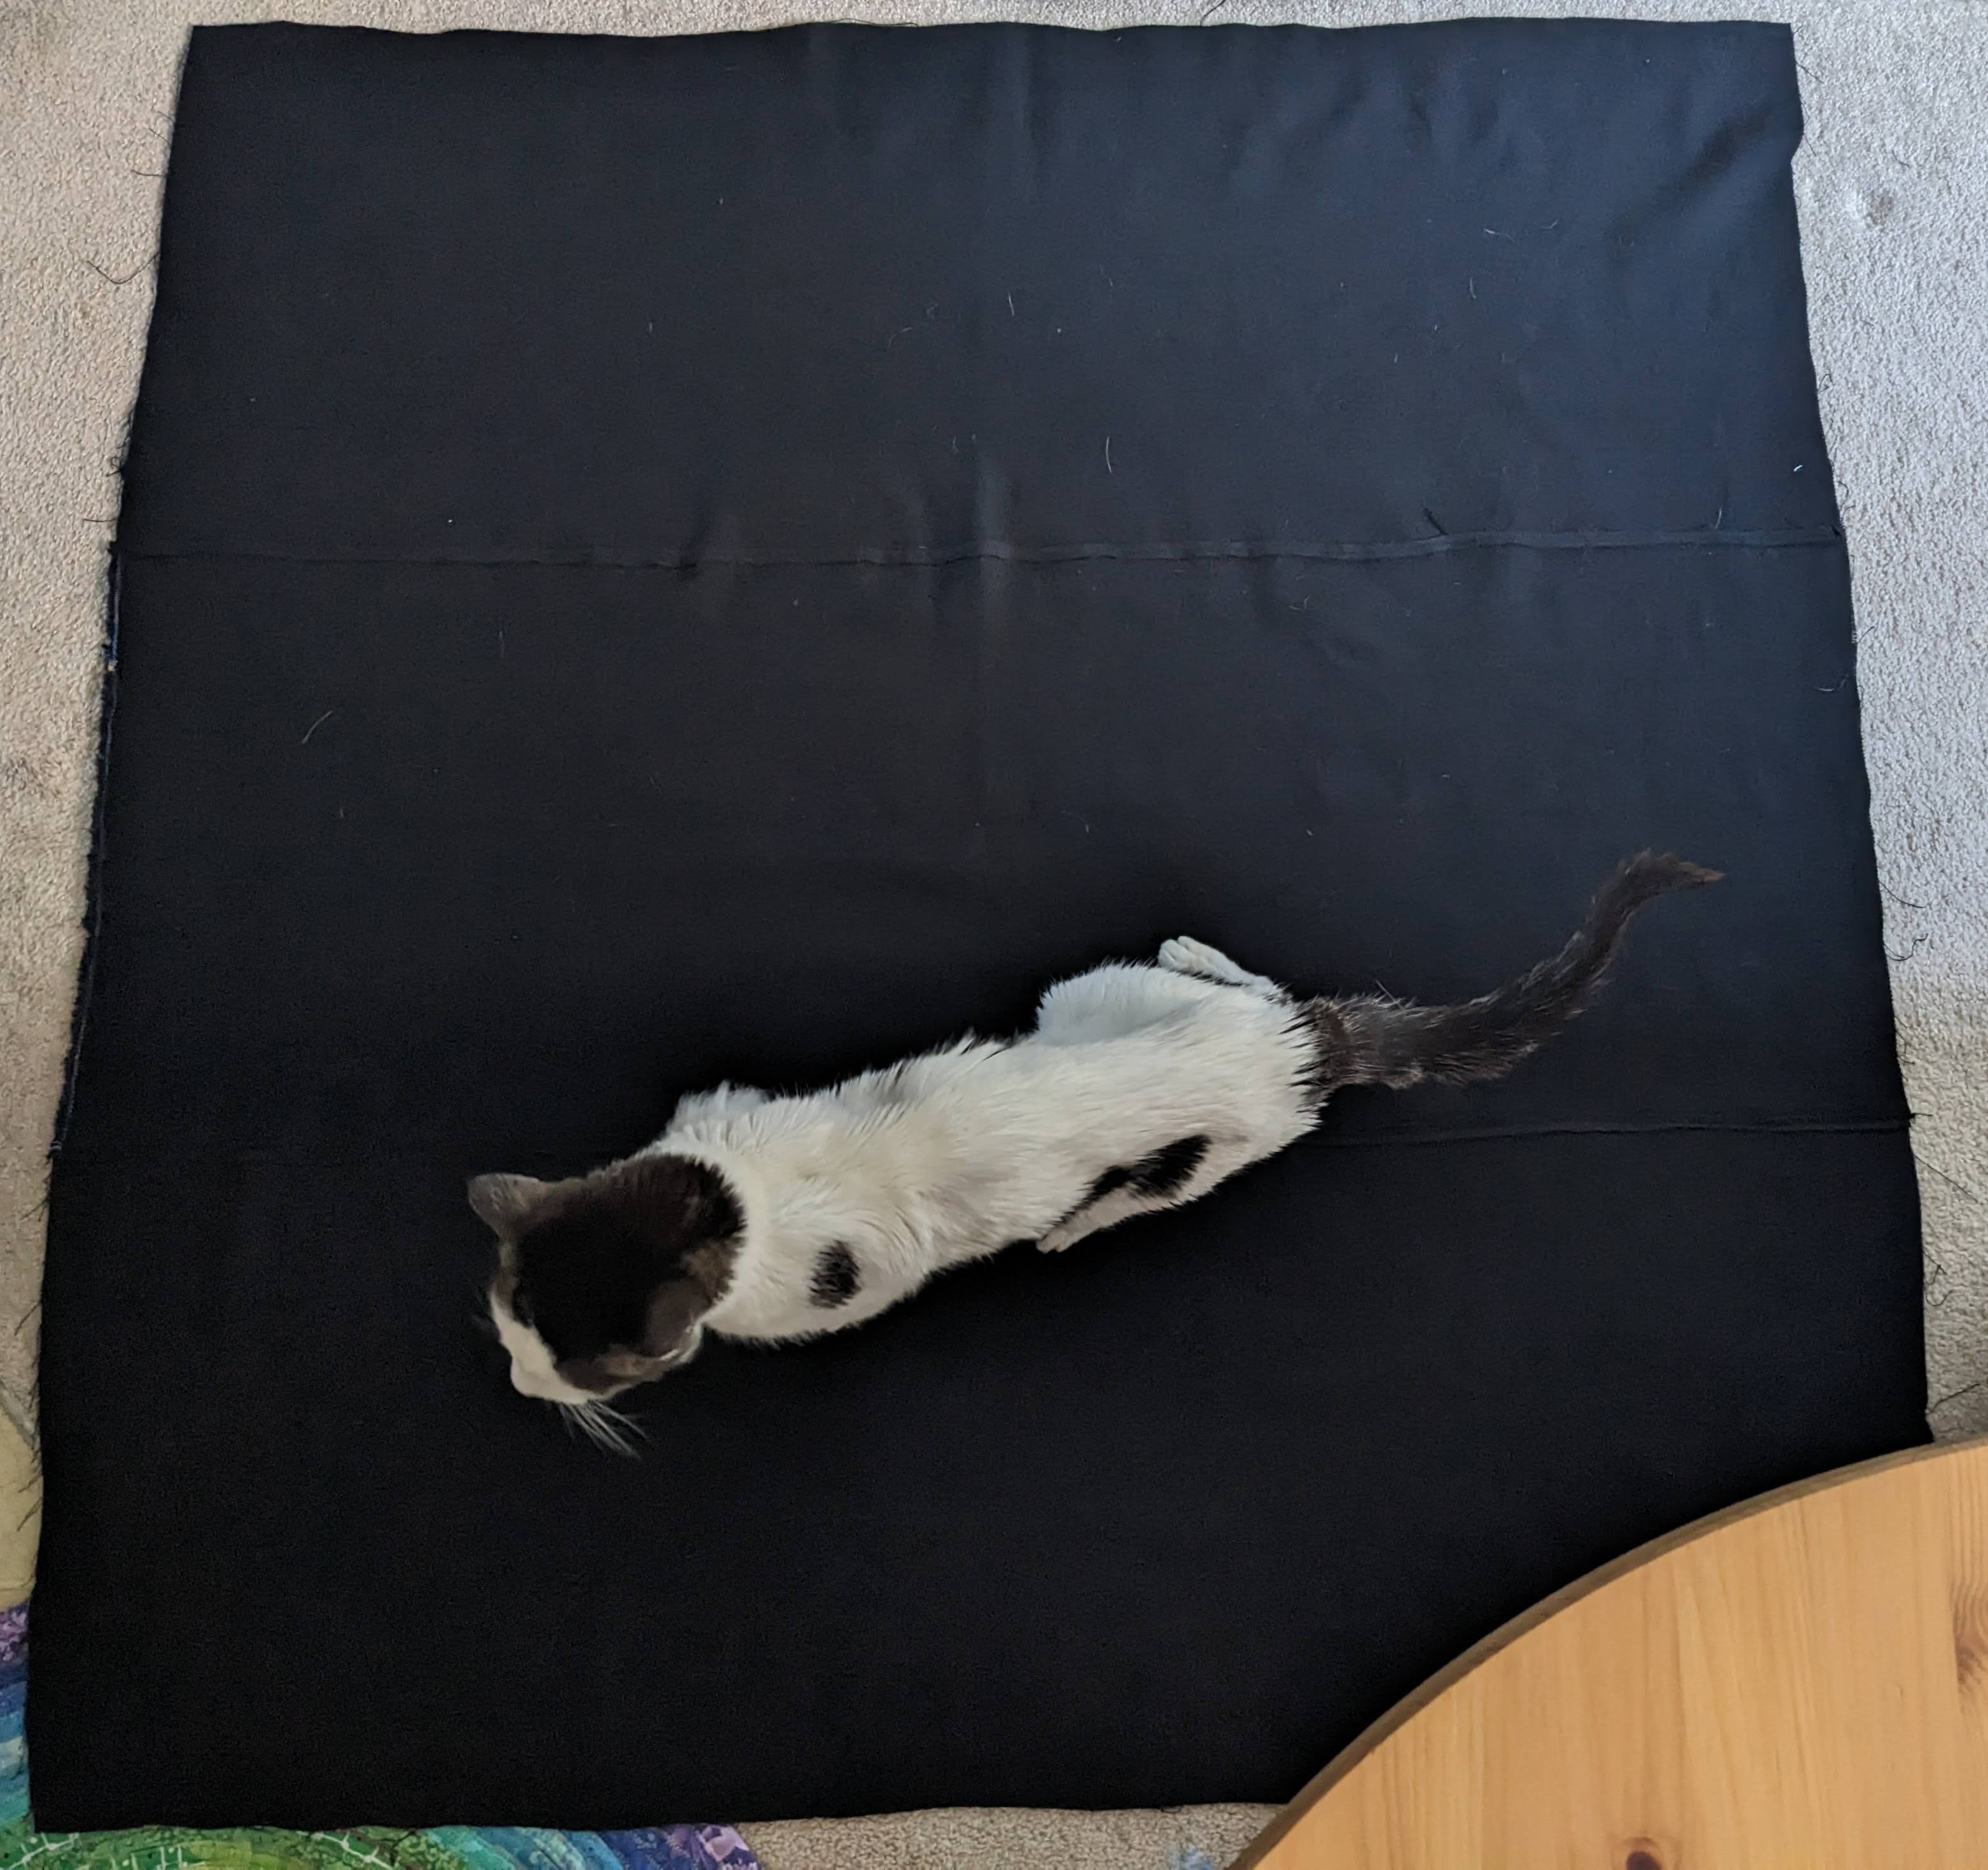
Then I followed my mockup plans and made the final! I accidentally cut out the neckhole from version one, instead of version two, so I had to make some weird pleats around the neckhole on the back. The collar was the part I was most nervous about, but I just took it slow and made a mockup collar to make sure that it fit onto the neck hole.

I ended up using “bias” (read: just strips on the normal grain) tape to seal all the raw edges, including around the sleeves and on the inside side seams. I did this the first time with the sewing machine because I thought it would be faster. But then when I washed it, some of the fabric had not been caught in the tape and came free and slightly unwoven, which I repaired by hand. It probably would have been easier and faster to do all the tape by hand, which I will remember for next time.

I used frog buttons that a friend bought for me in Taiwan (on the front), plus some additional frog buttons from an old shirt (down the side).
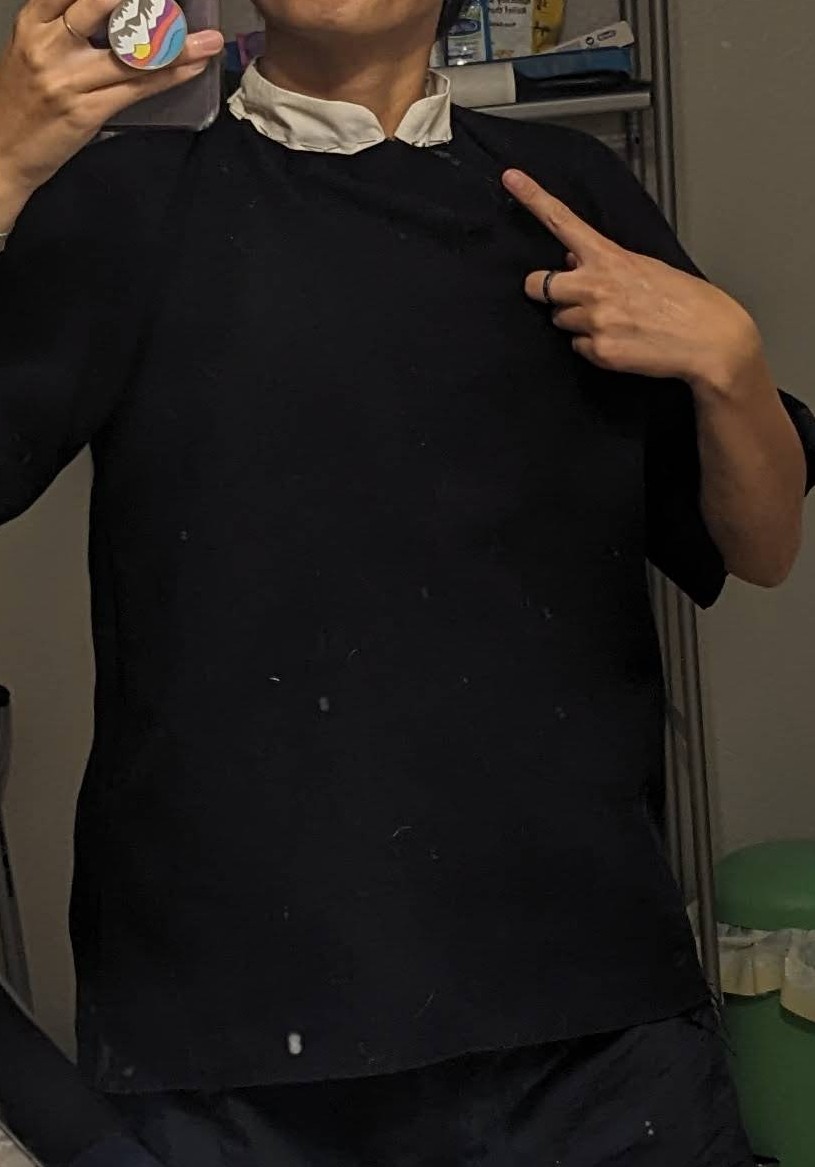
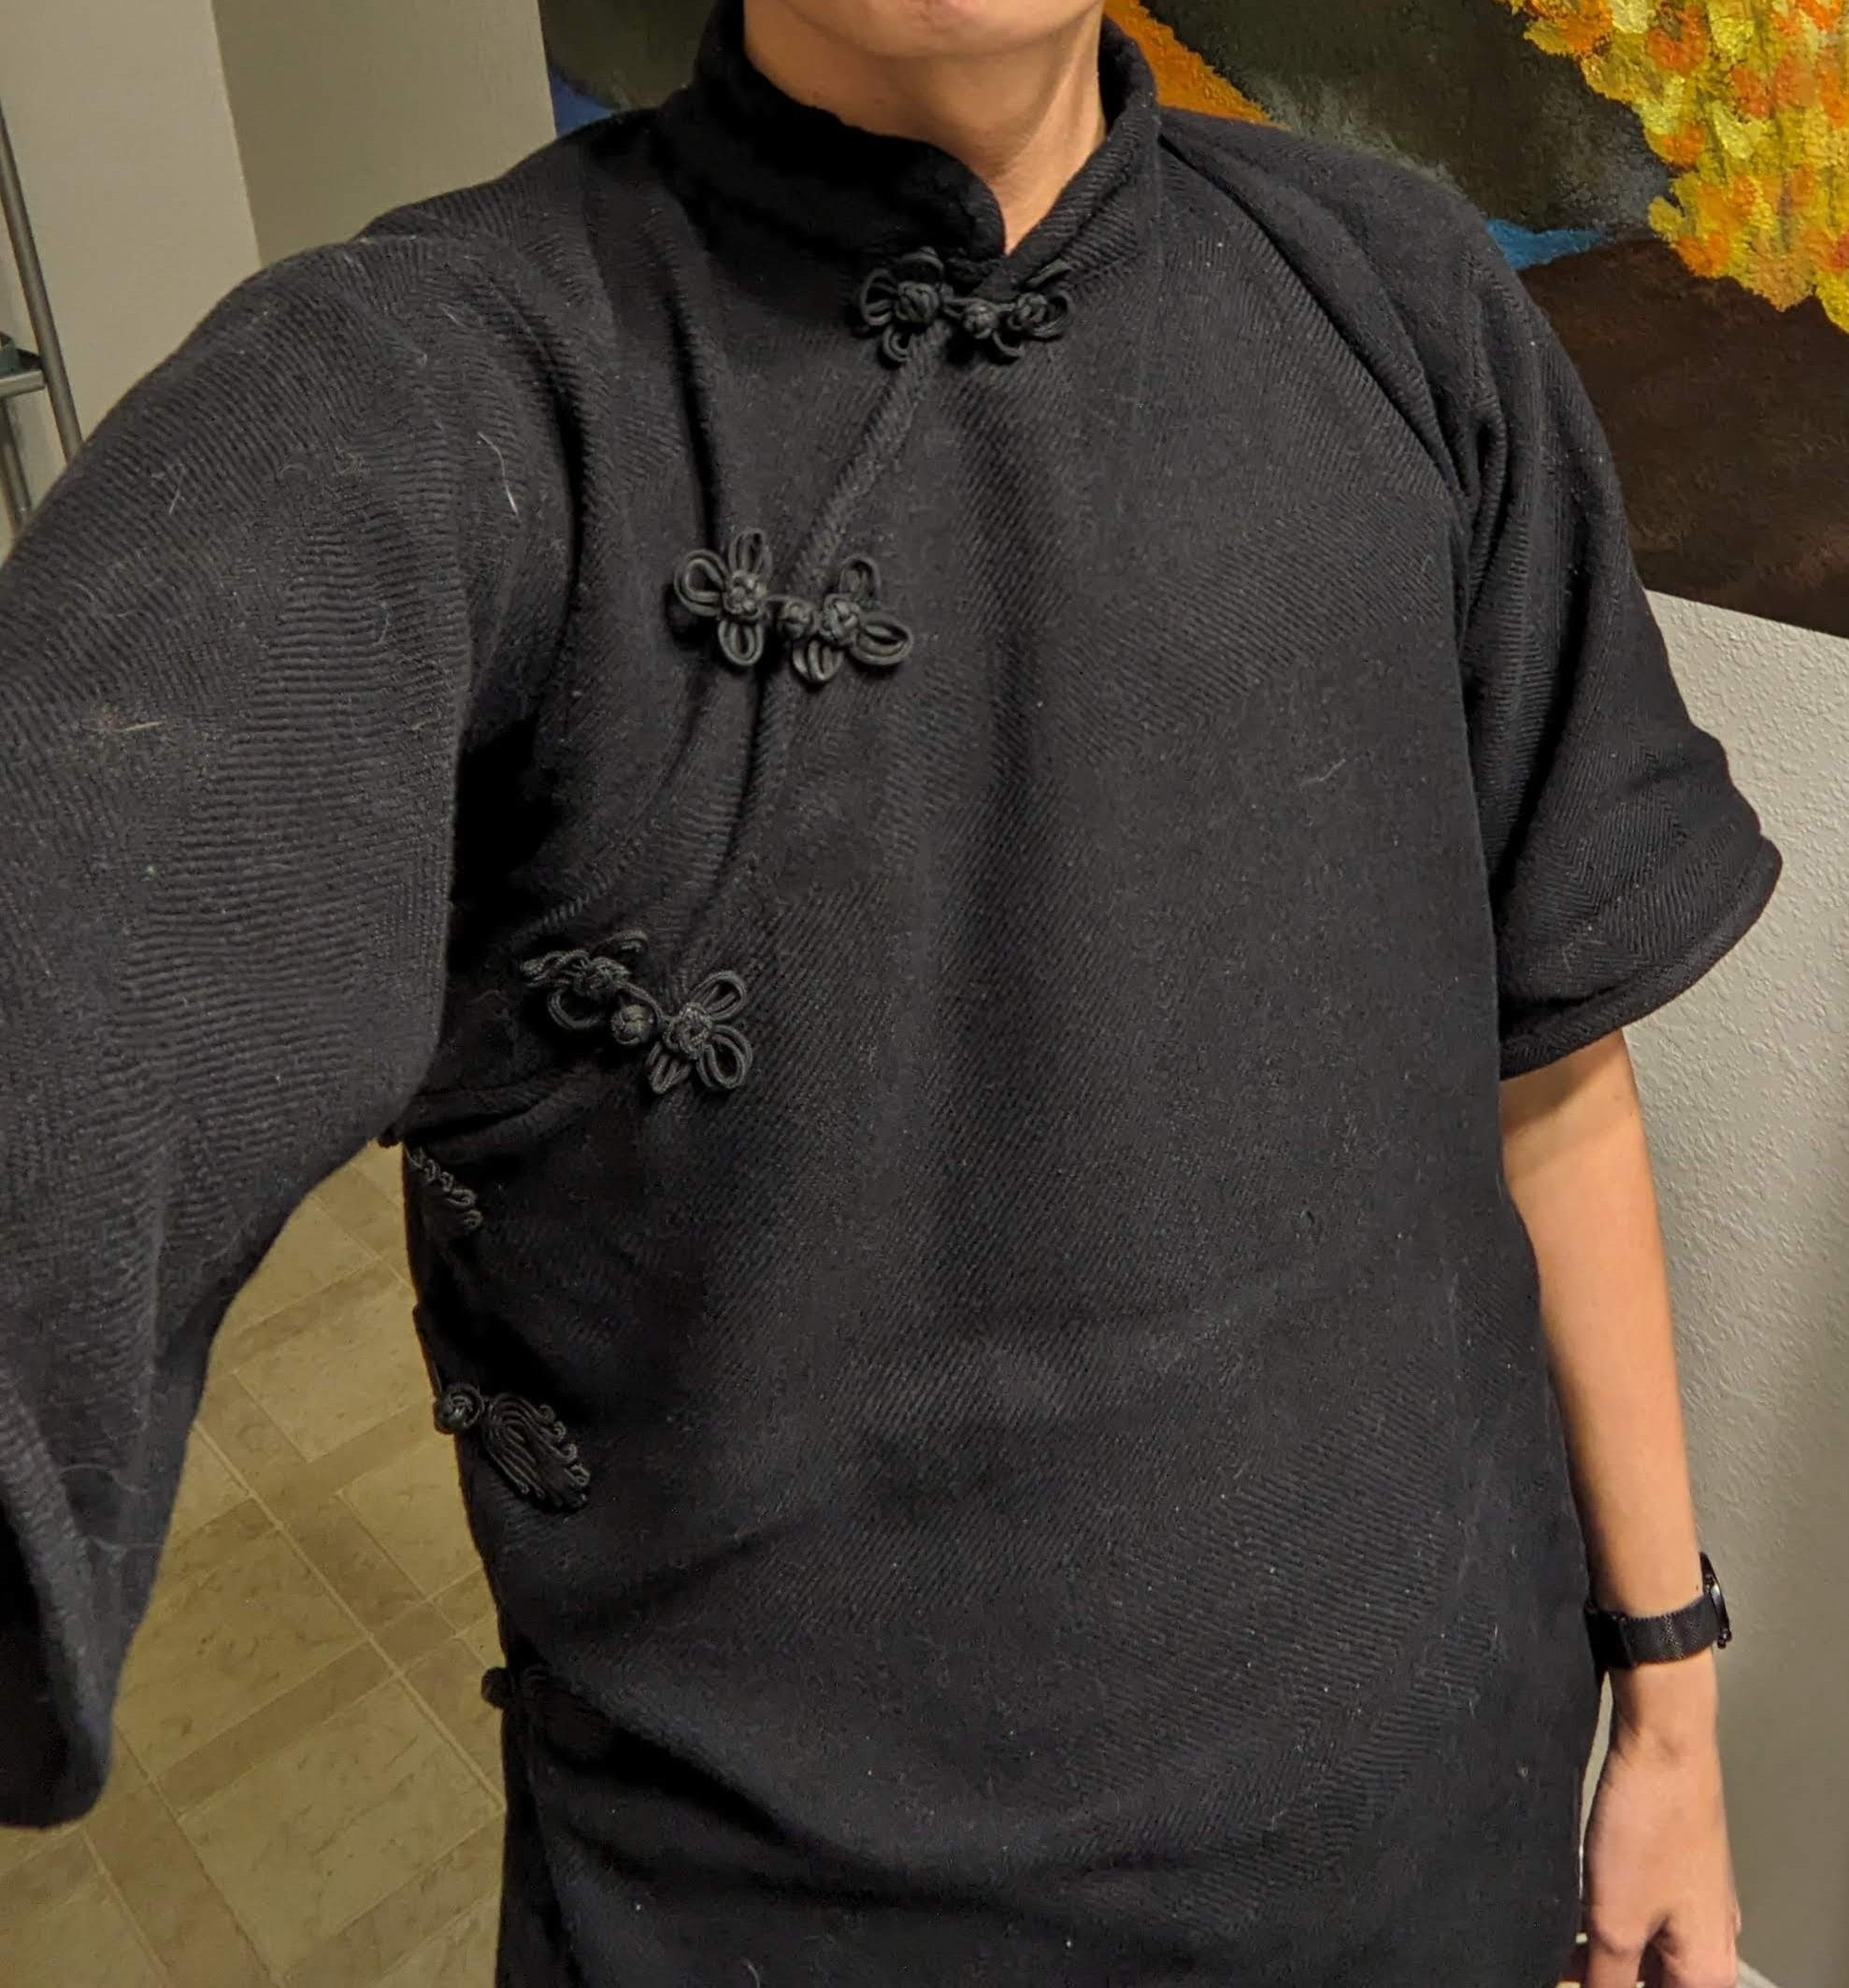
The collar ended up a bit asymmetrical, and I want to address it. One friend said they would lean in an make it even more asymmetrical, and another friend said I could probably add material and make them more even, so we’ll see what I decide. On my second wear, the front overlap wasn’t quite enough when I raised my arms, so I want to add some material so all my skin is covered.

Project completed May 2026.
More Twill Towels :)

Now that I’ve given all my end-of-year gifts, I can post my work over the past many months! This year I got into weaving and doing dish towels felt approachable and they’re a classic weaver’s project. I’ve posted some that I already worked on here, and then started getting ideas…

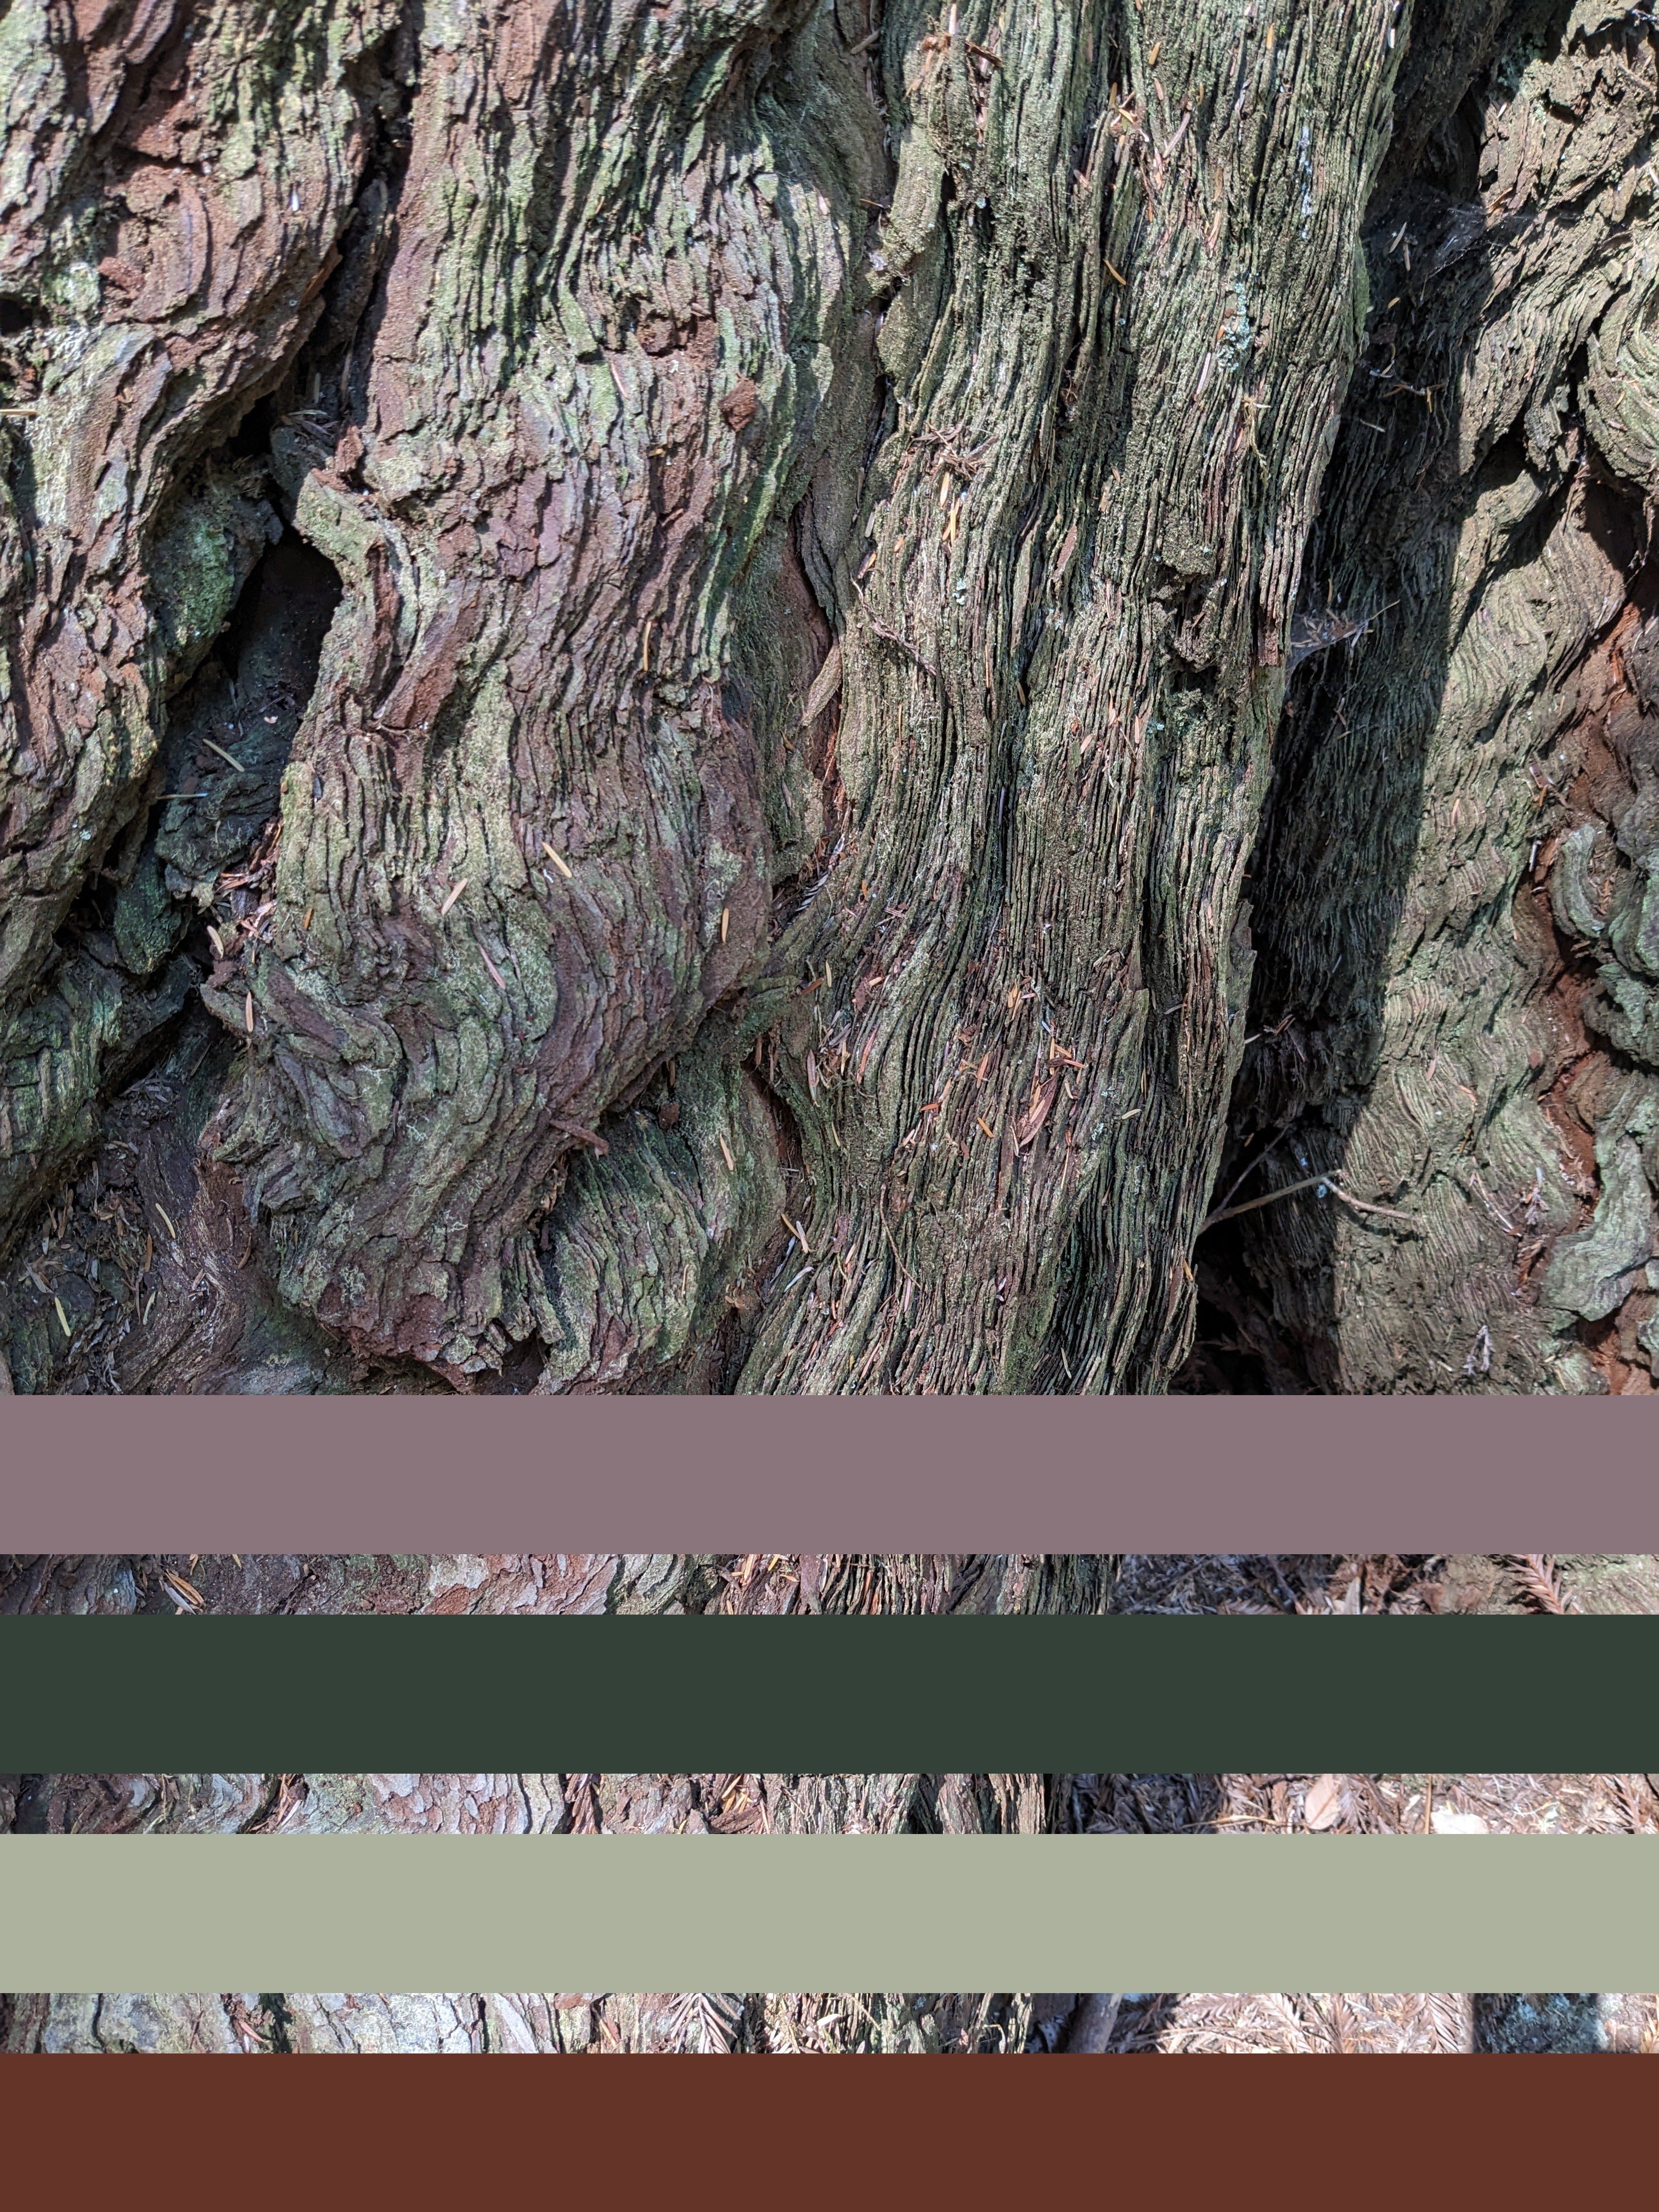
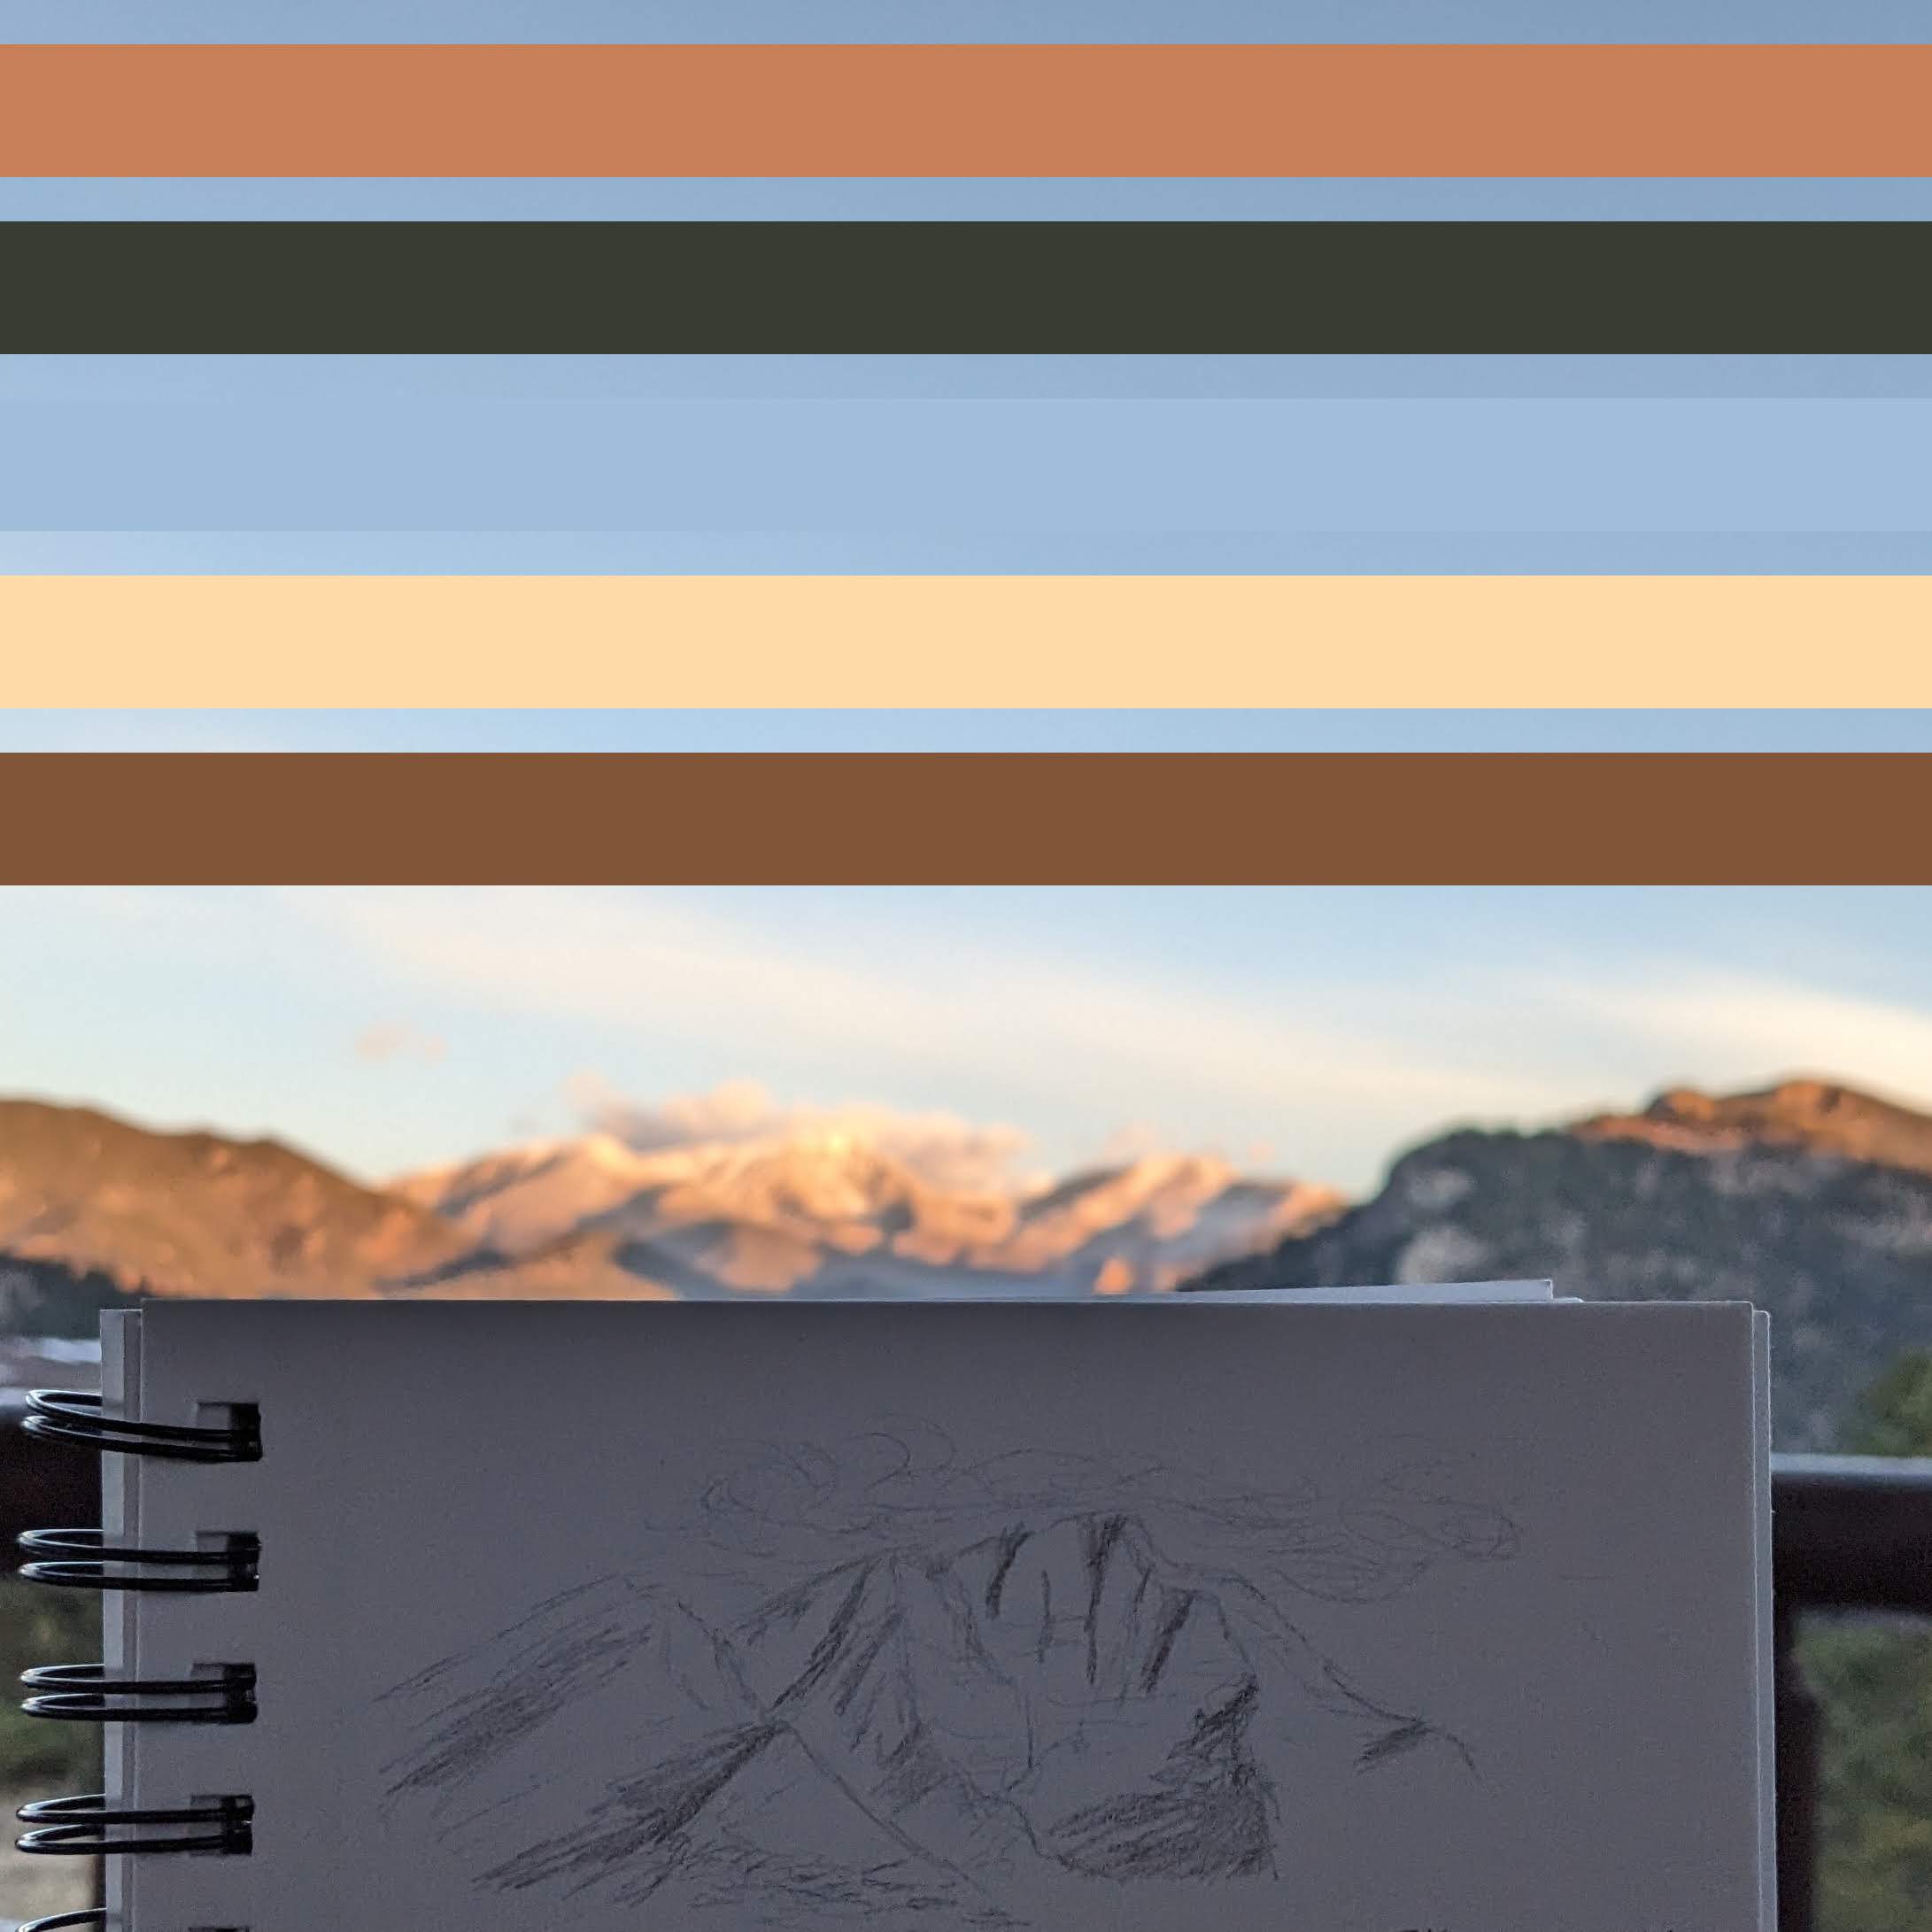
First was to pull colors from nature, pictures I take while out and about. Picking a four or five color palette to work with is NOT a strength of mine, I love chaos too much. I started with a picture I took on vacation in Redwoods National Park last year and one of the sunrise in Rocky Mountain National Park. Conveniently, these two had some shared colors so I went with dark green and brown for the warp, and others for the weft.

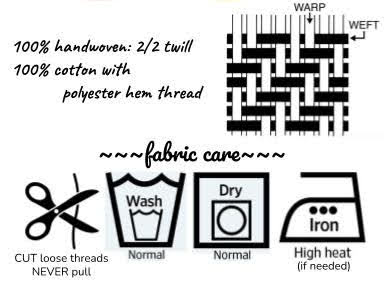
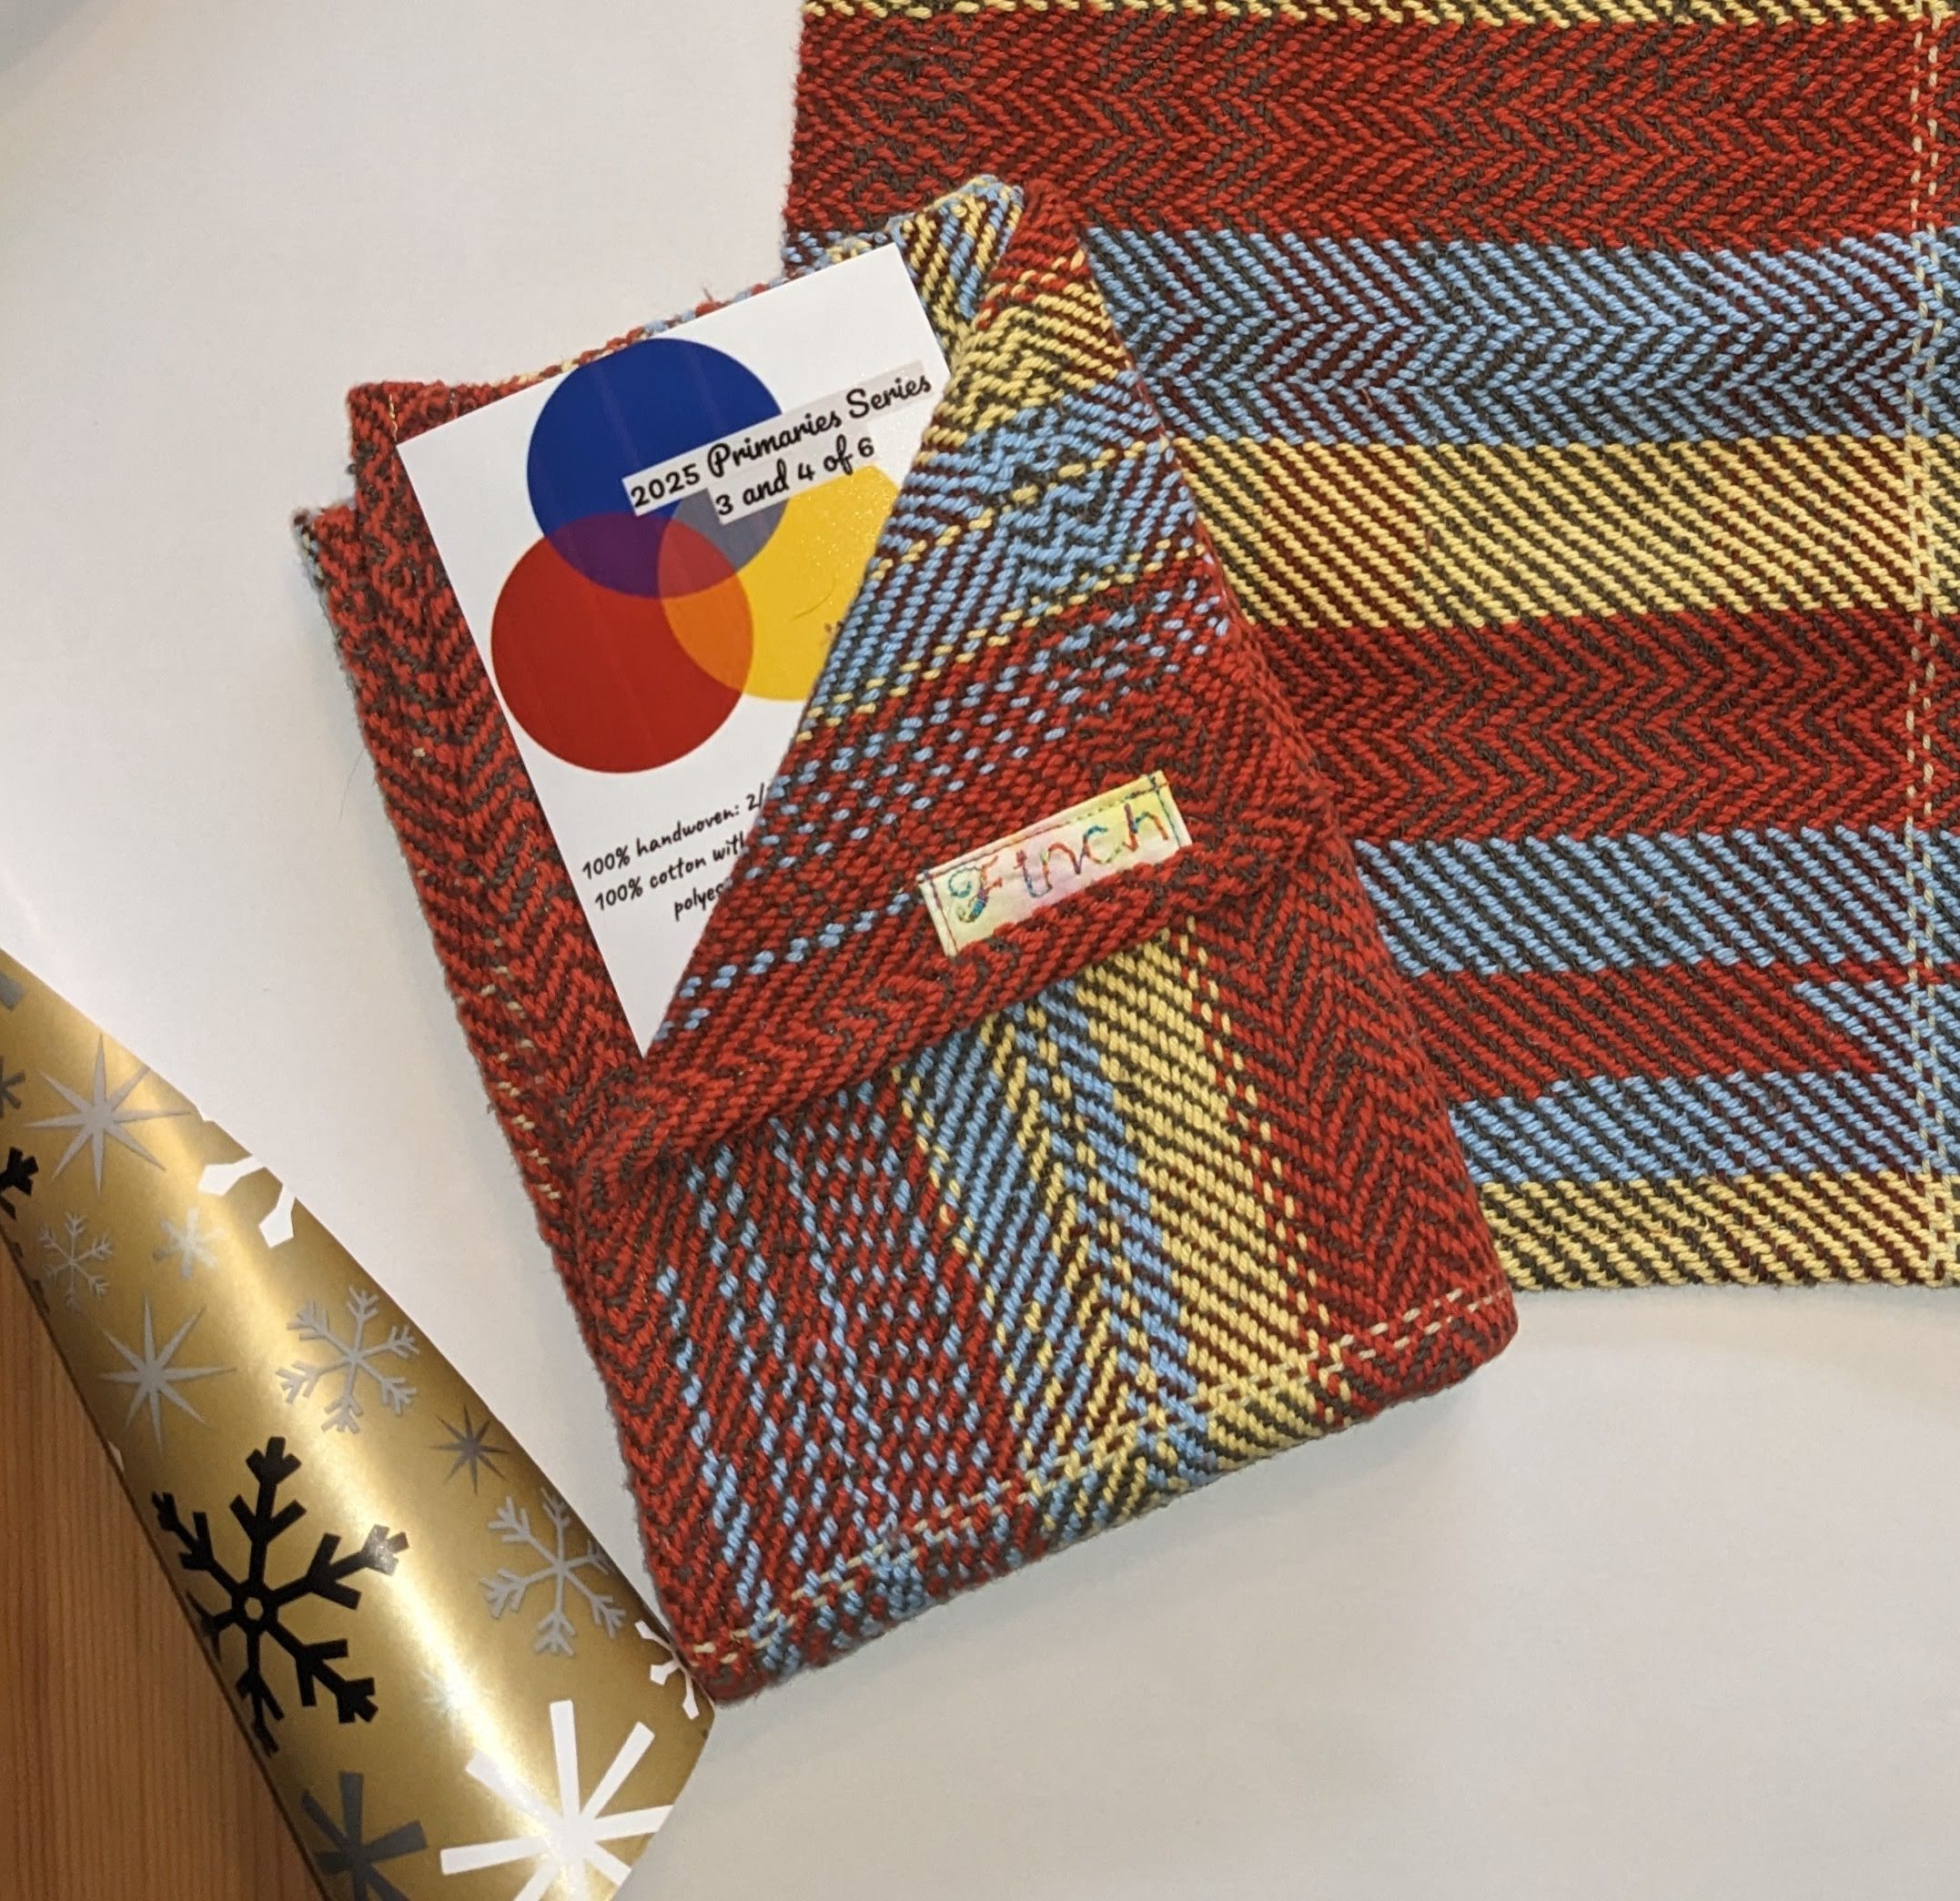
I started with the mountain colors, working in 2/2 twill, changing weft colors on a whim, sometimes using clasped weft to do half-rows of color. It became clear pretty quickly that the colors I chose were not really that representative of my picture inspiration, and more just red, yellow, and blue. But those three colors are still fun to with. The dark warp just got lost, I’m not sure why it isn’t as present in the final towels, but maybe it just serves to make the weft pop. I renamed these as the “primaries” series, but I still want to make a sunrise series.

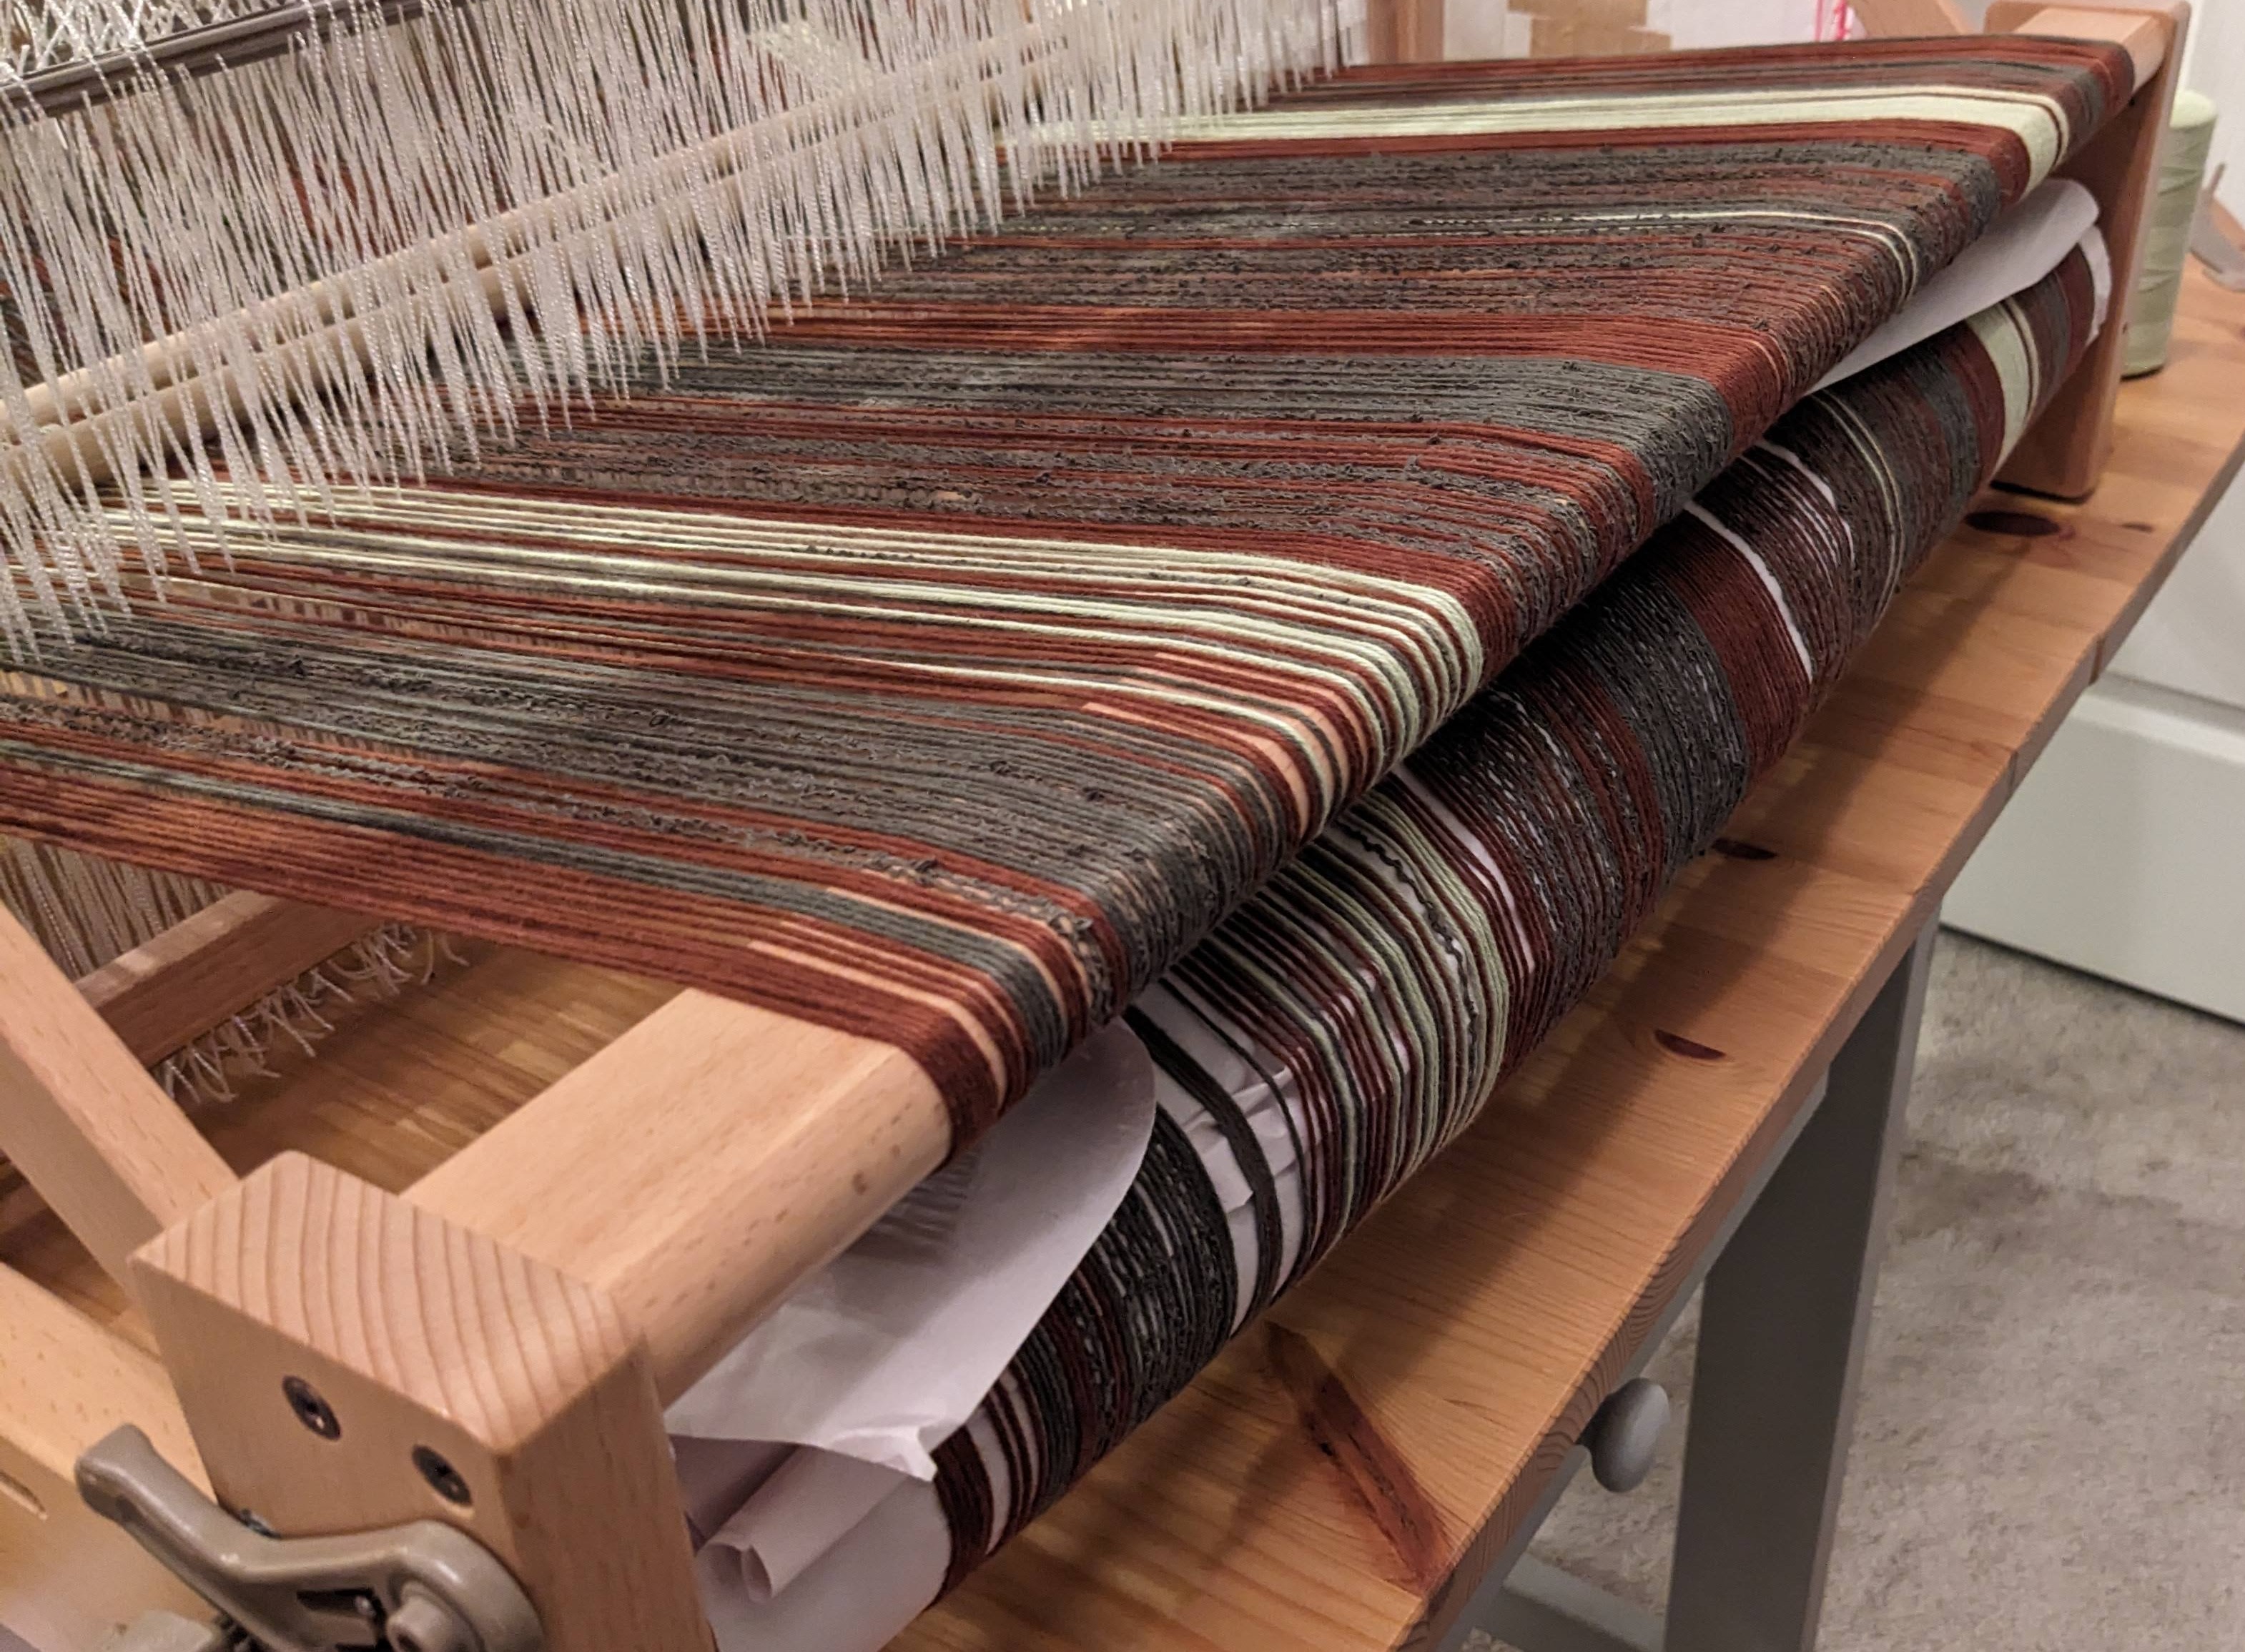
Then I started in on the tree towels – but this was the longest warp I’d wound on, and the tension was pretty wonky, to say the least. In retrospect, I think a couple things happened: the tension wasn’t even as the warp was wound on and I wasn’t putting in dividers often enough, which meant there were more overlapping threads in the middle of the bar, which meant the circumference that the warp was winding onto was not equal across the warp. In other words, the sides of my warp didn’t have enough thread and the center had too much, and it was a whole hassle. I ended up unwinding it and trying again, because my weaving was so uneven and it was frustrating to work with.

It meant I lost some warp, or length, of my project (yielded 3 towels instead of 6 like the other), but it was worth it for how nicely the towels actually turned out, and the ease of the experience afterward.

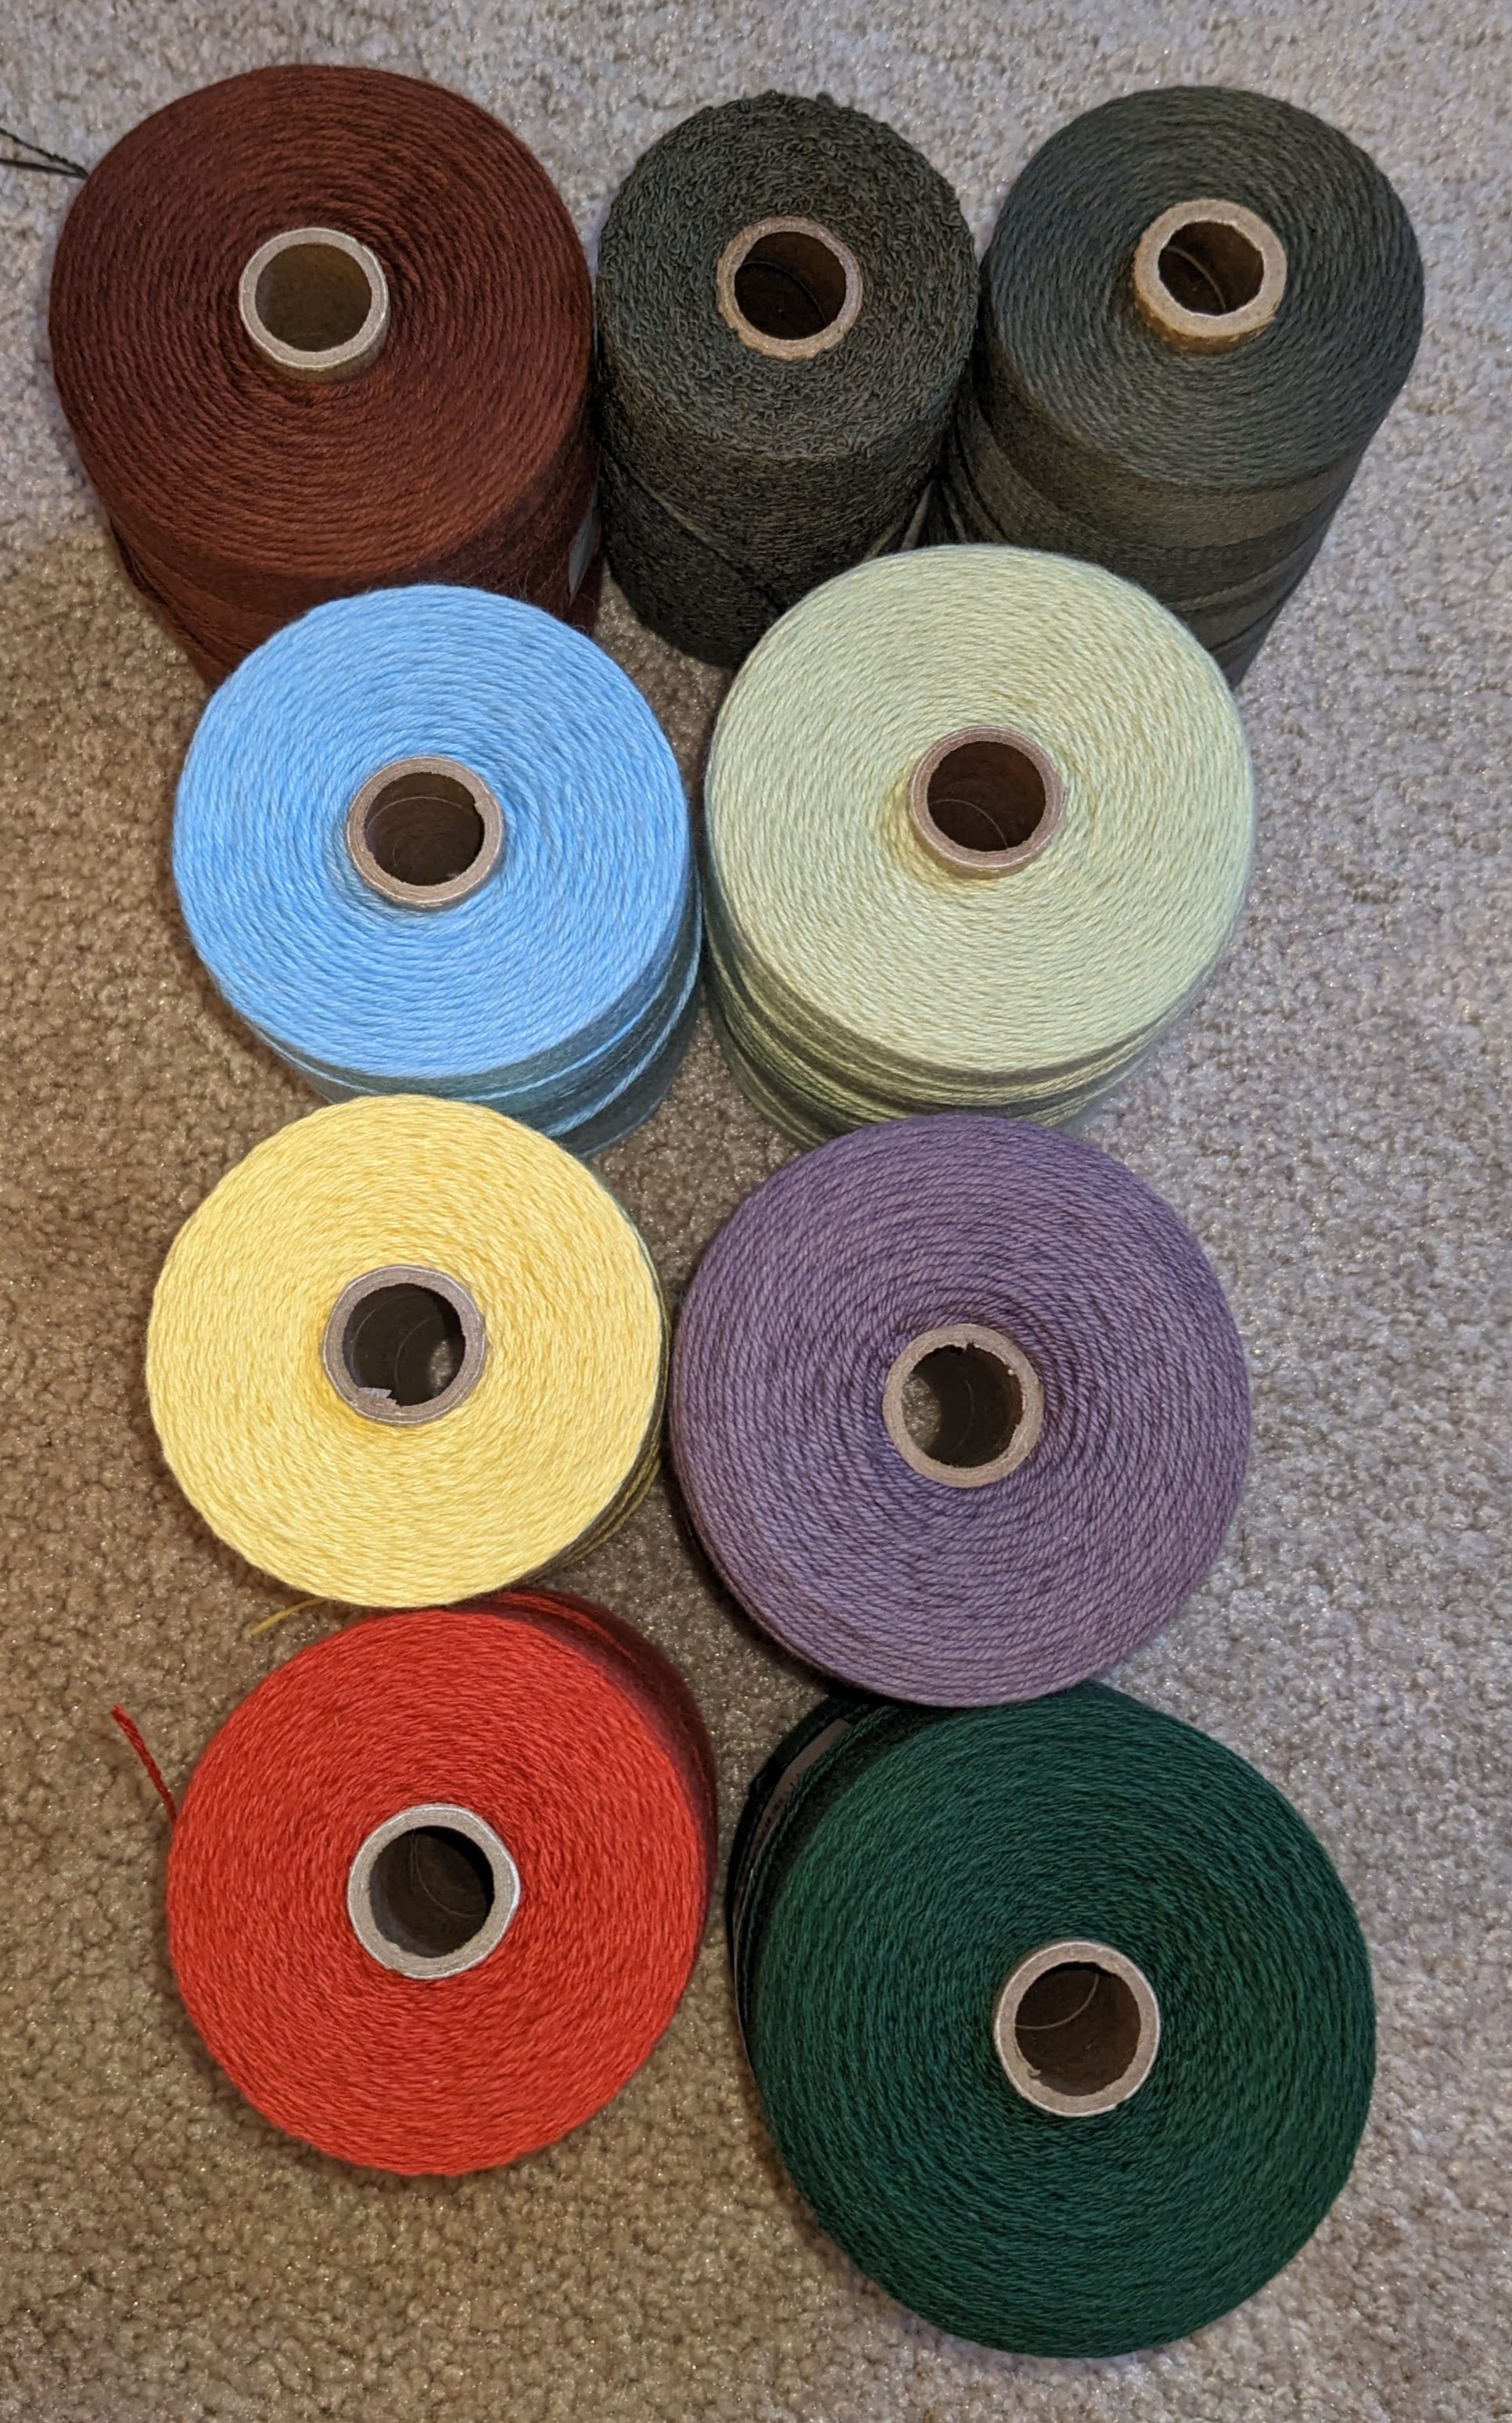
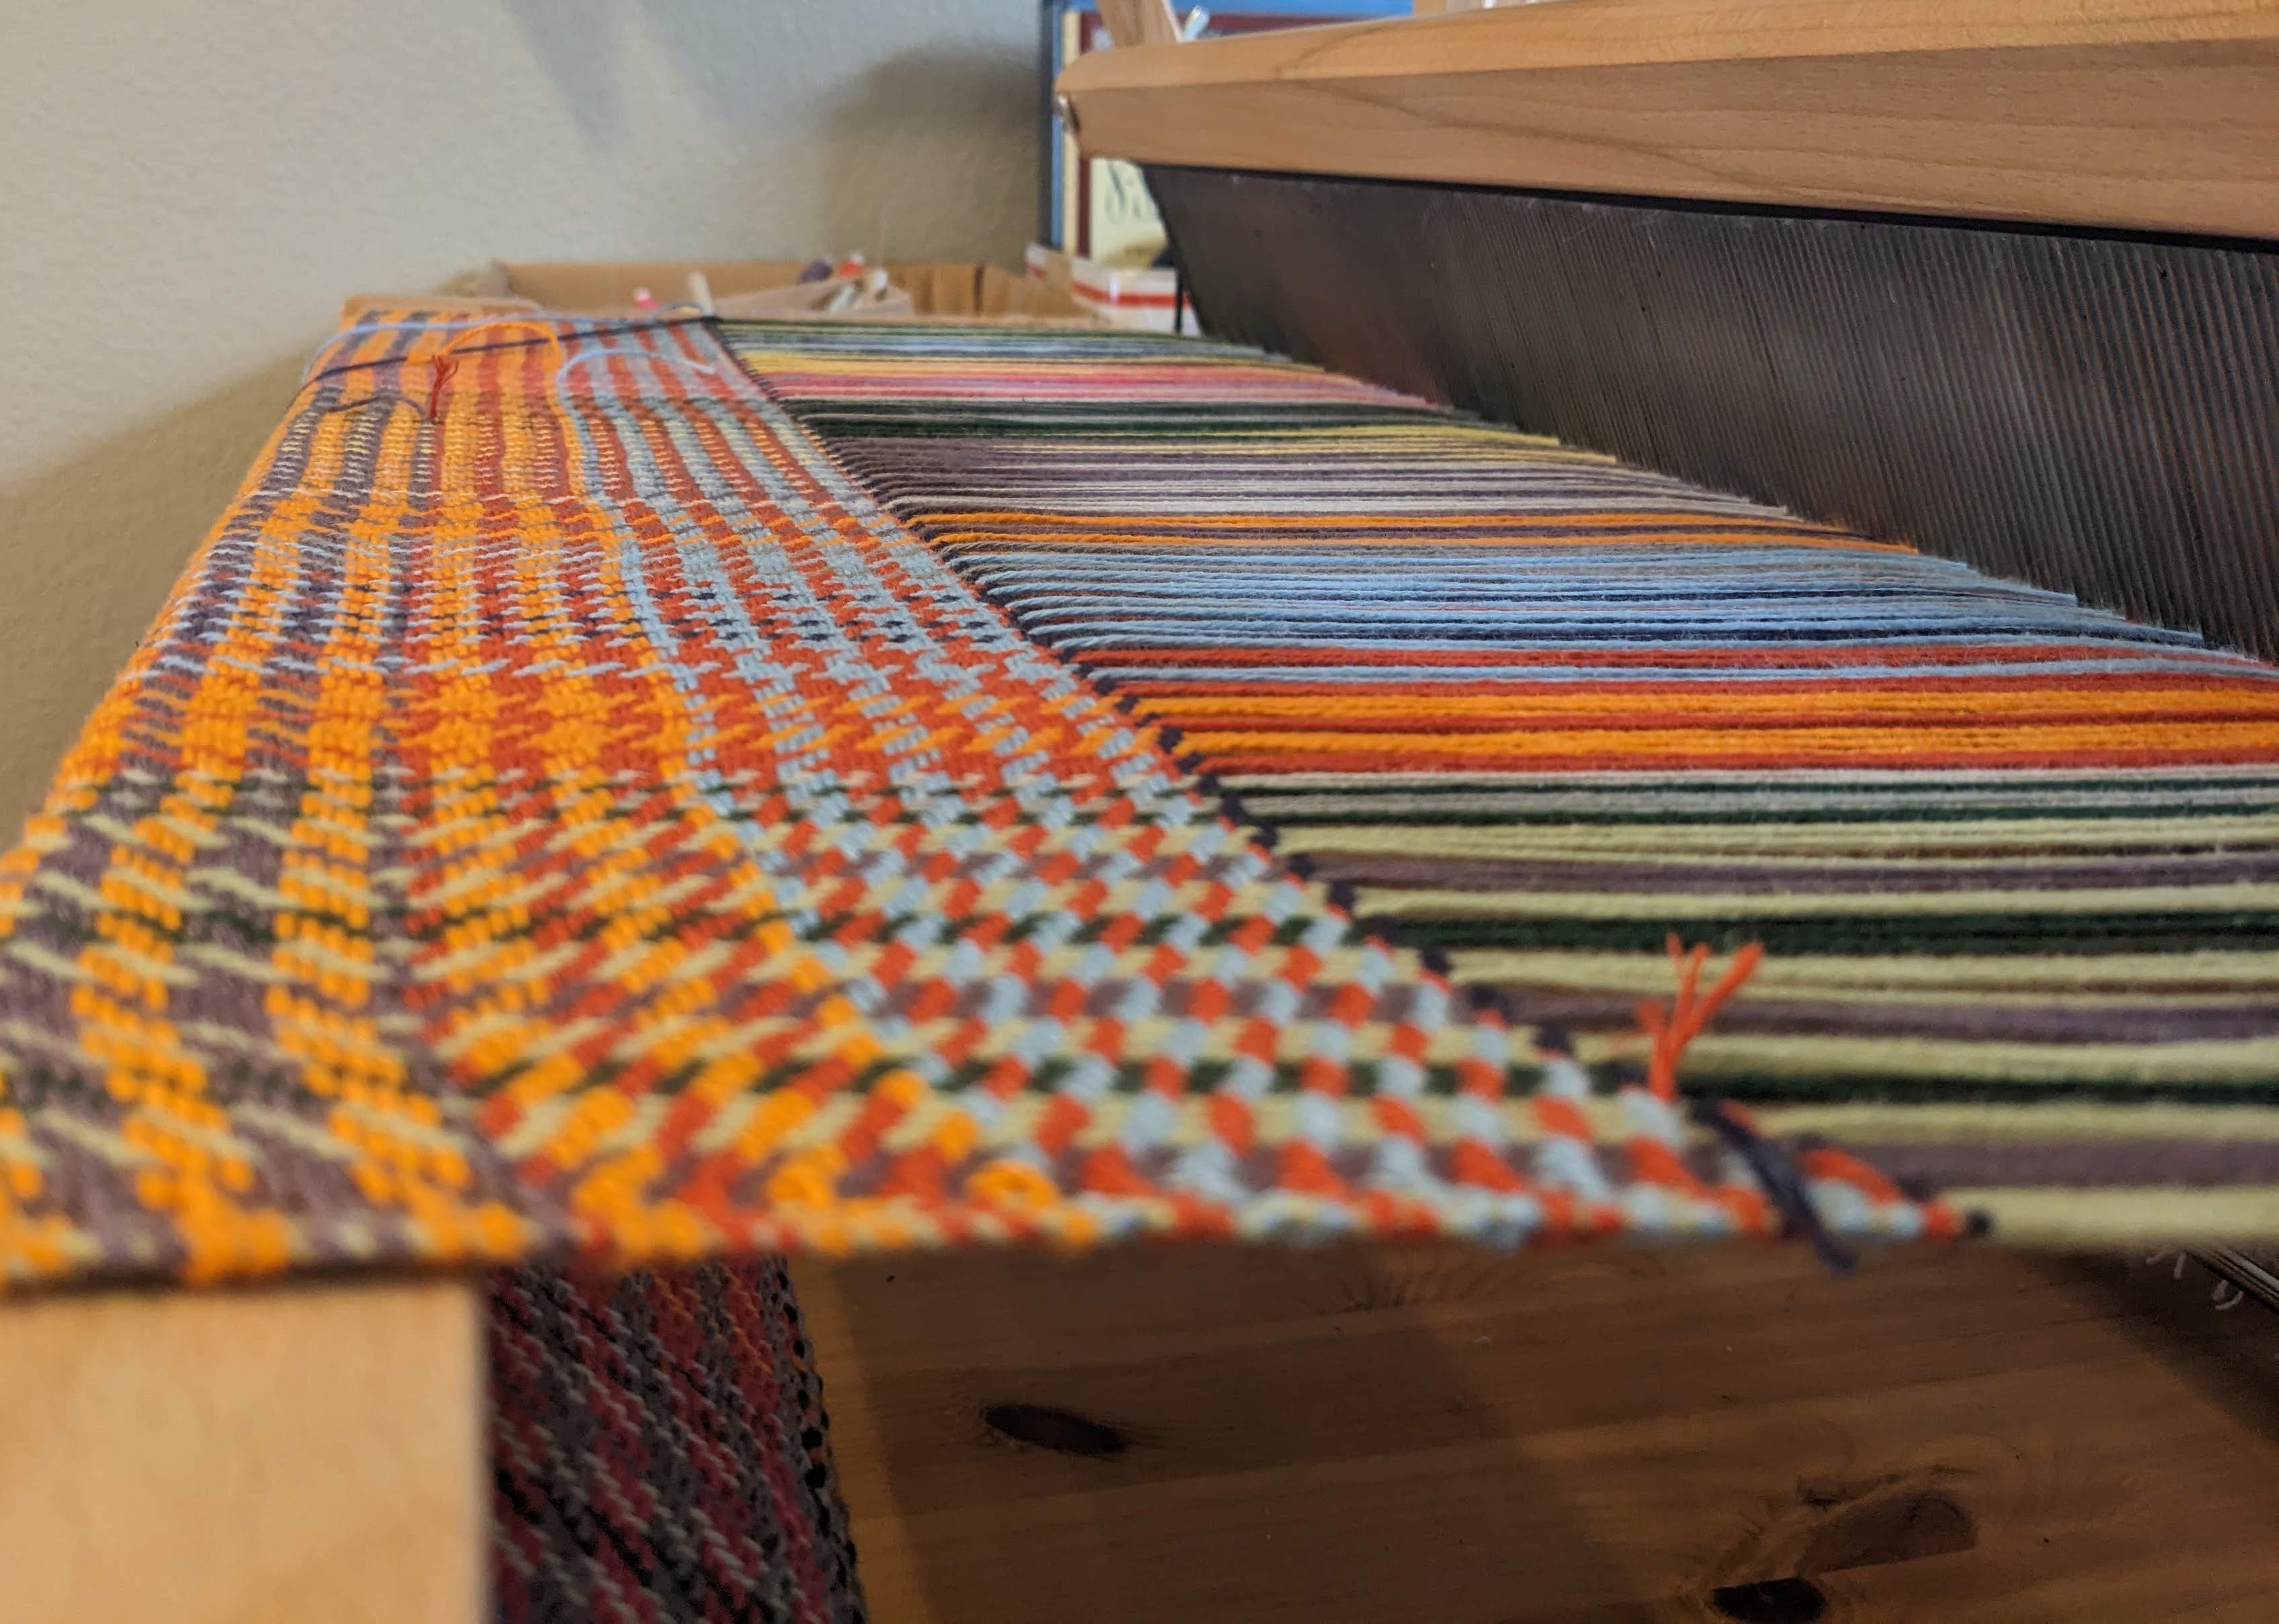
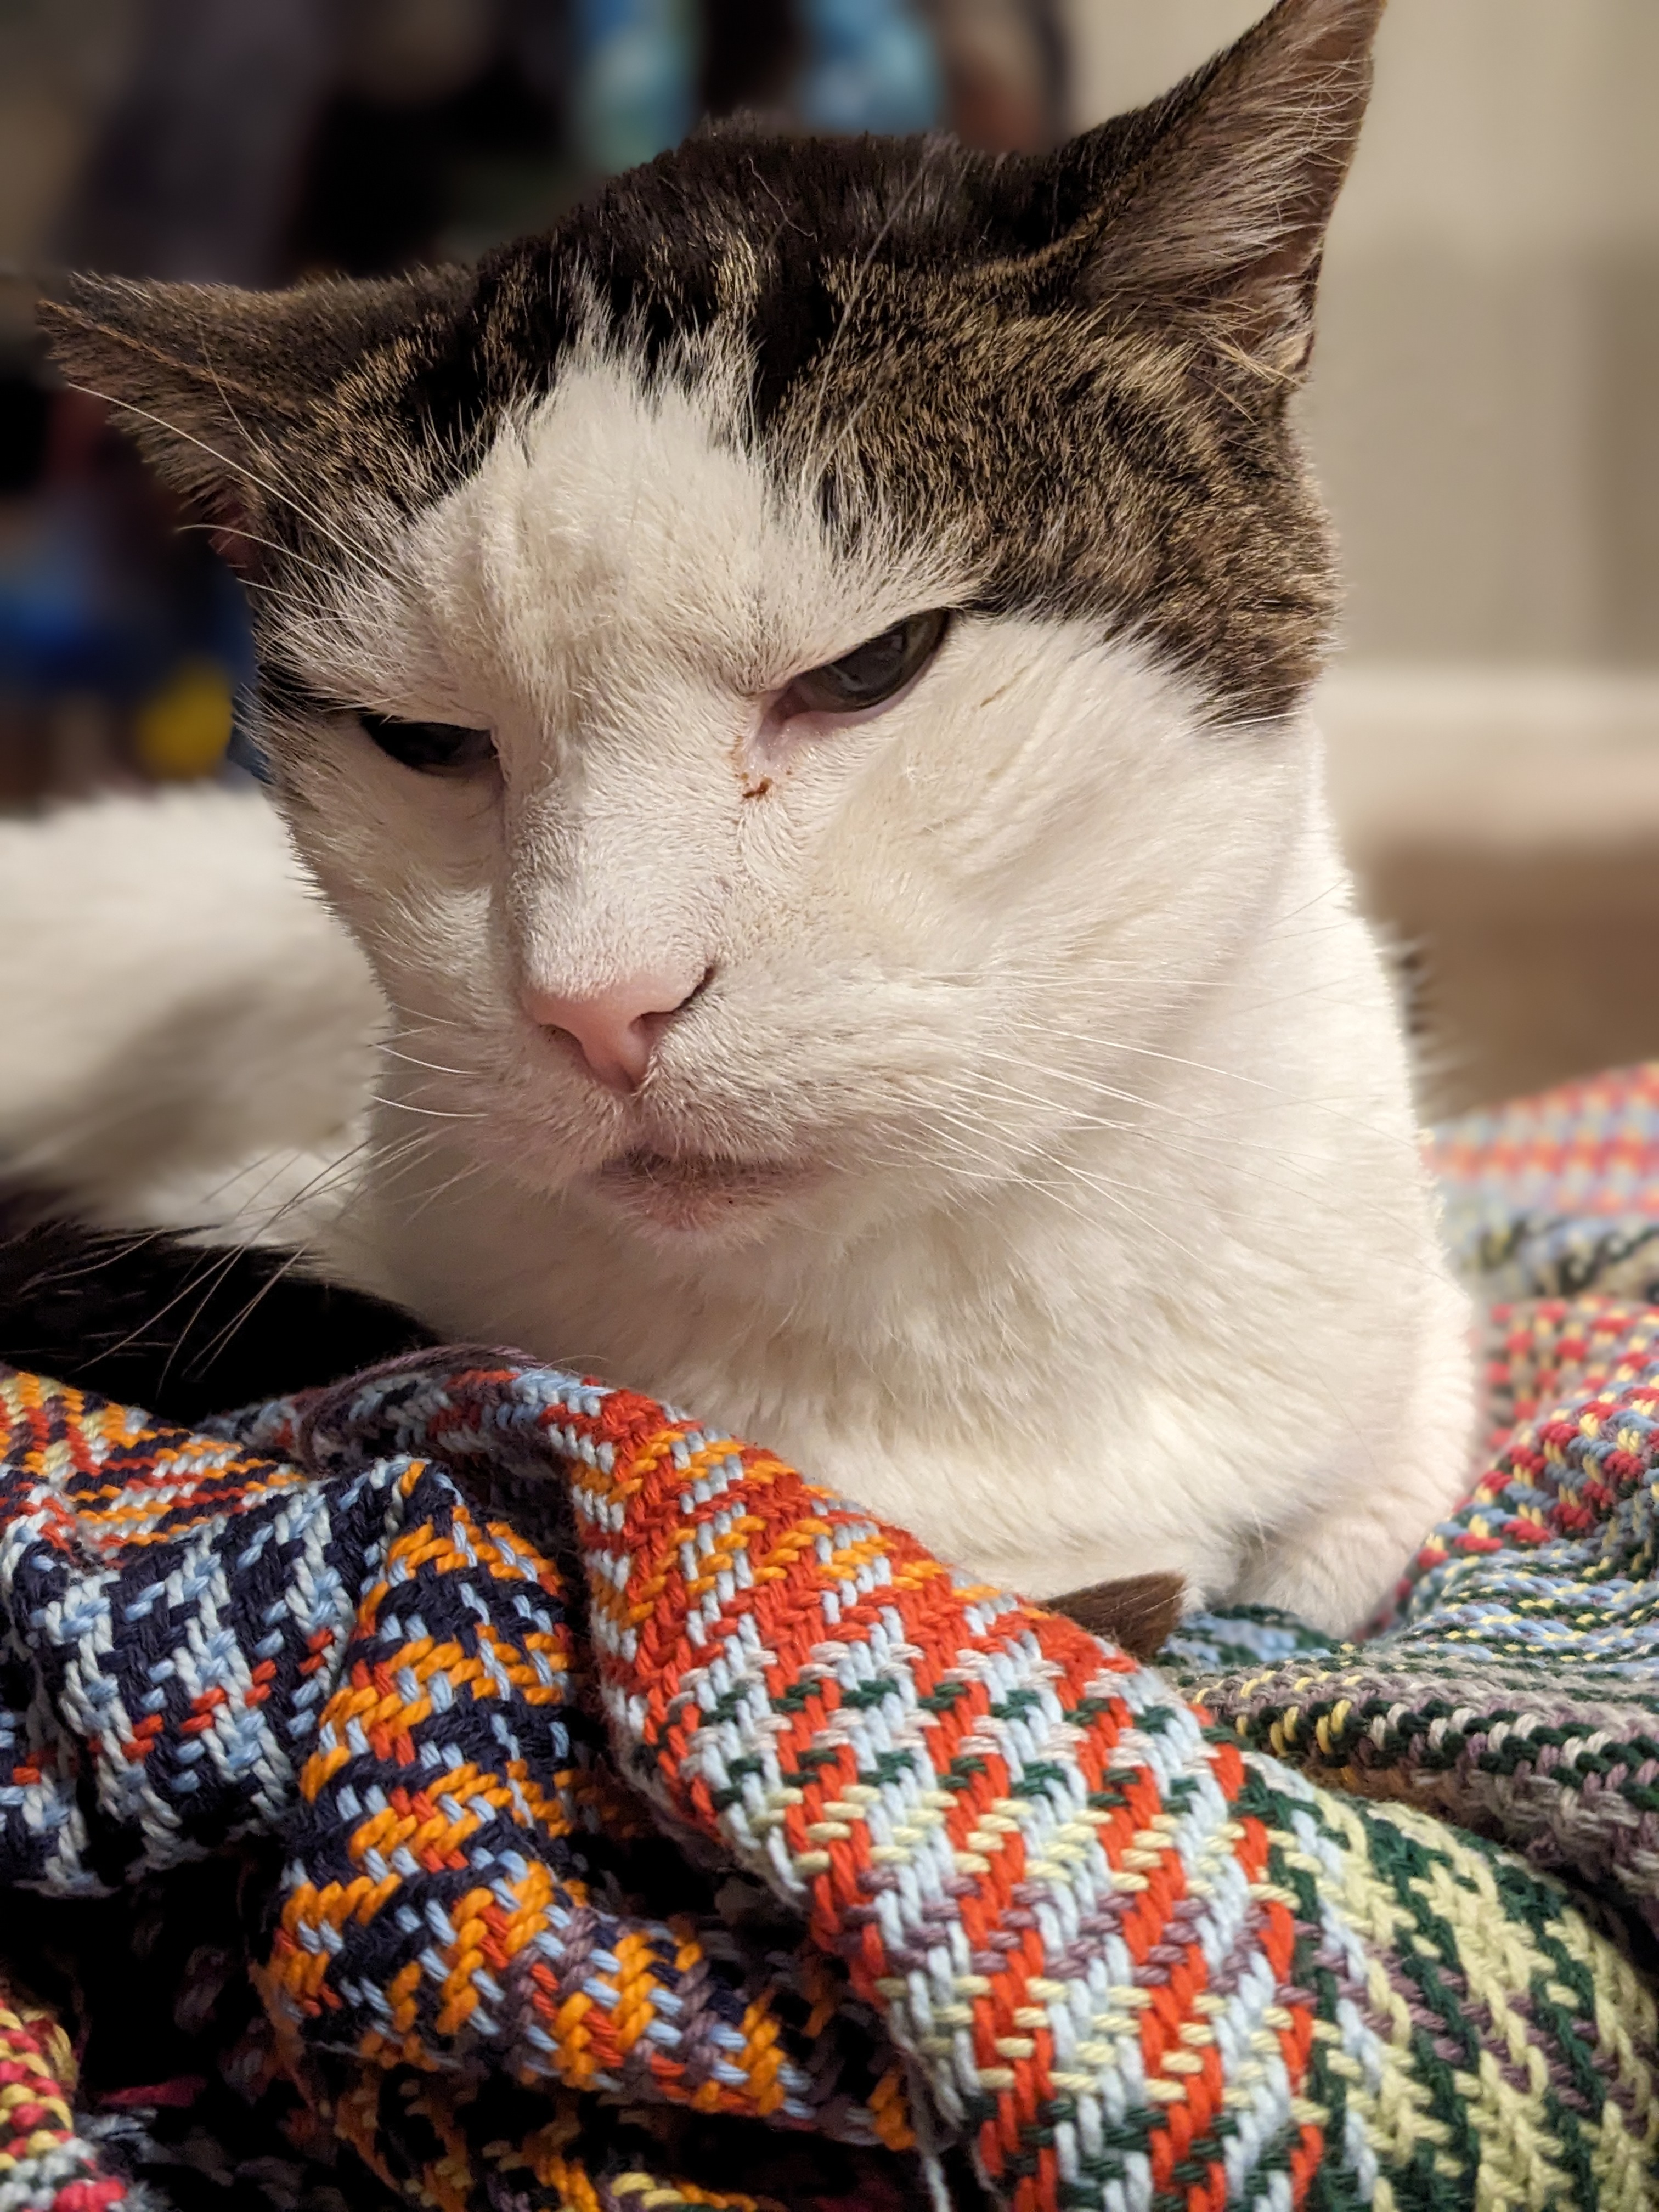
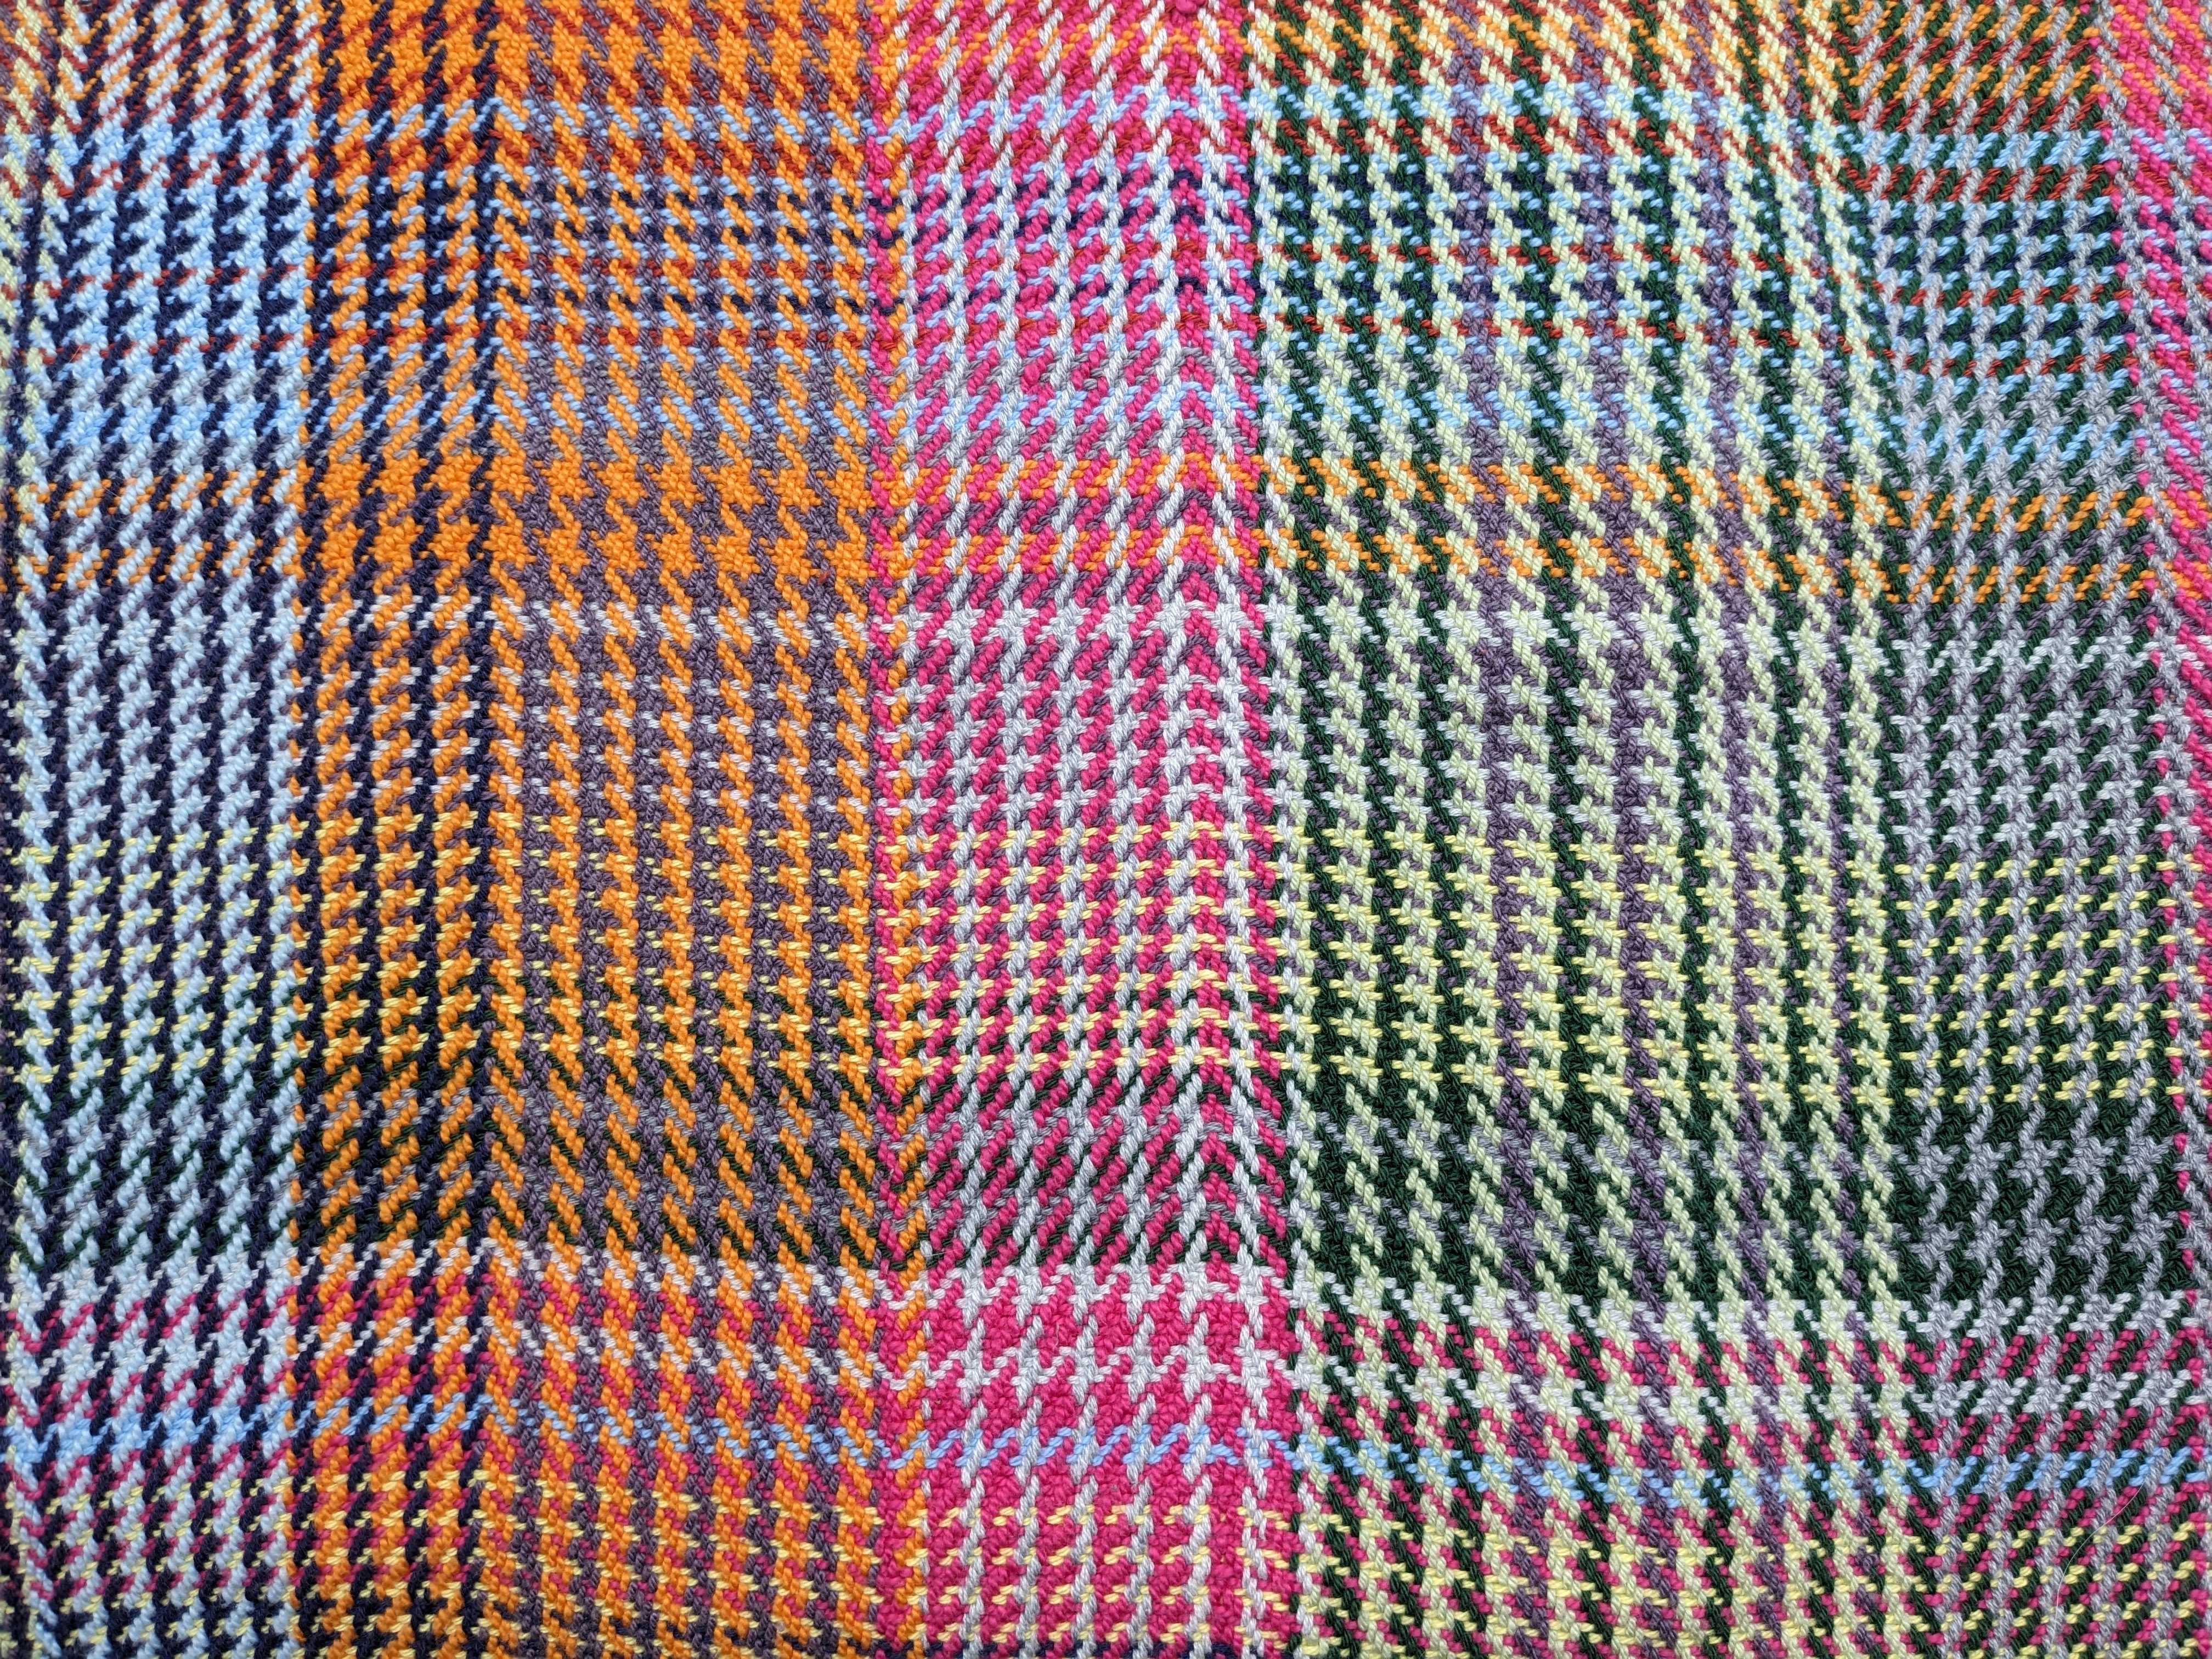
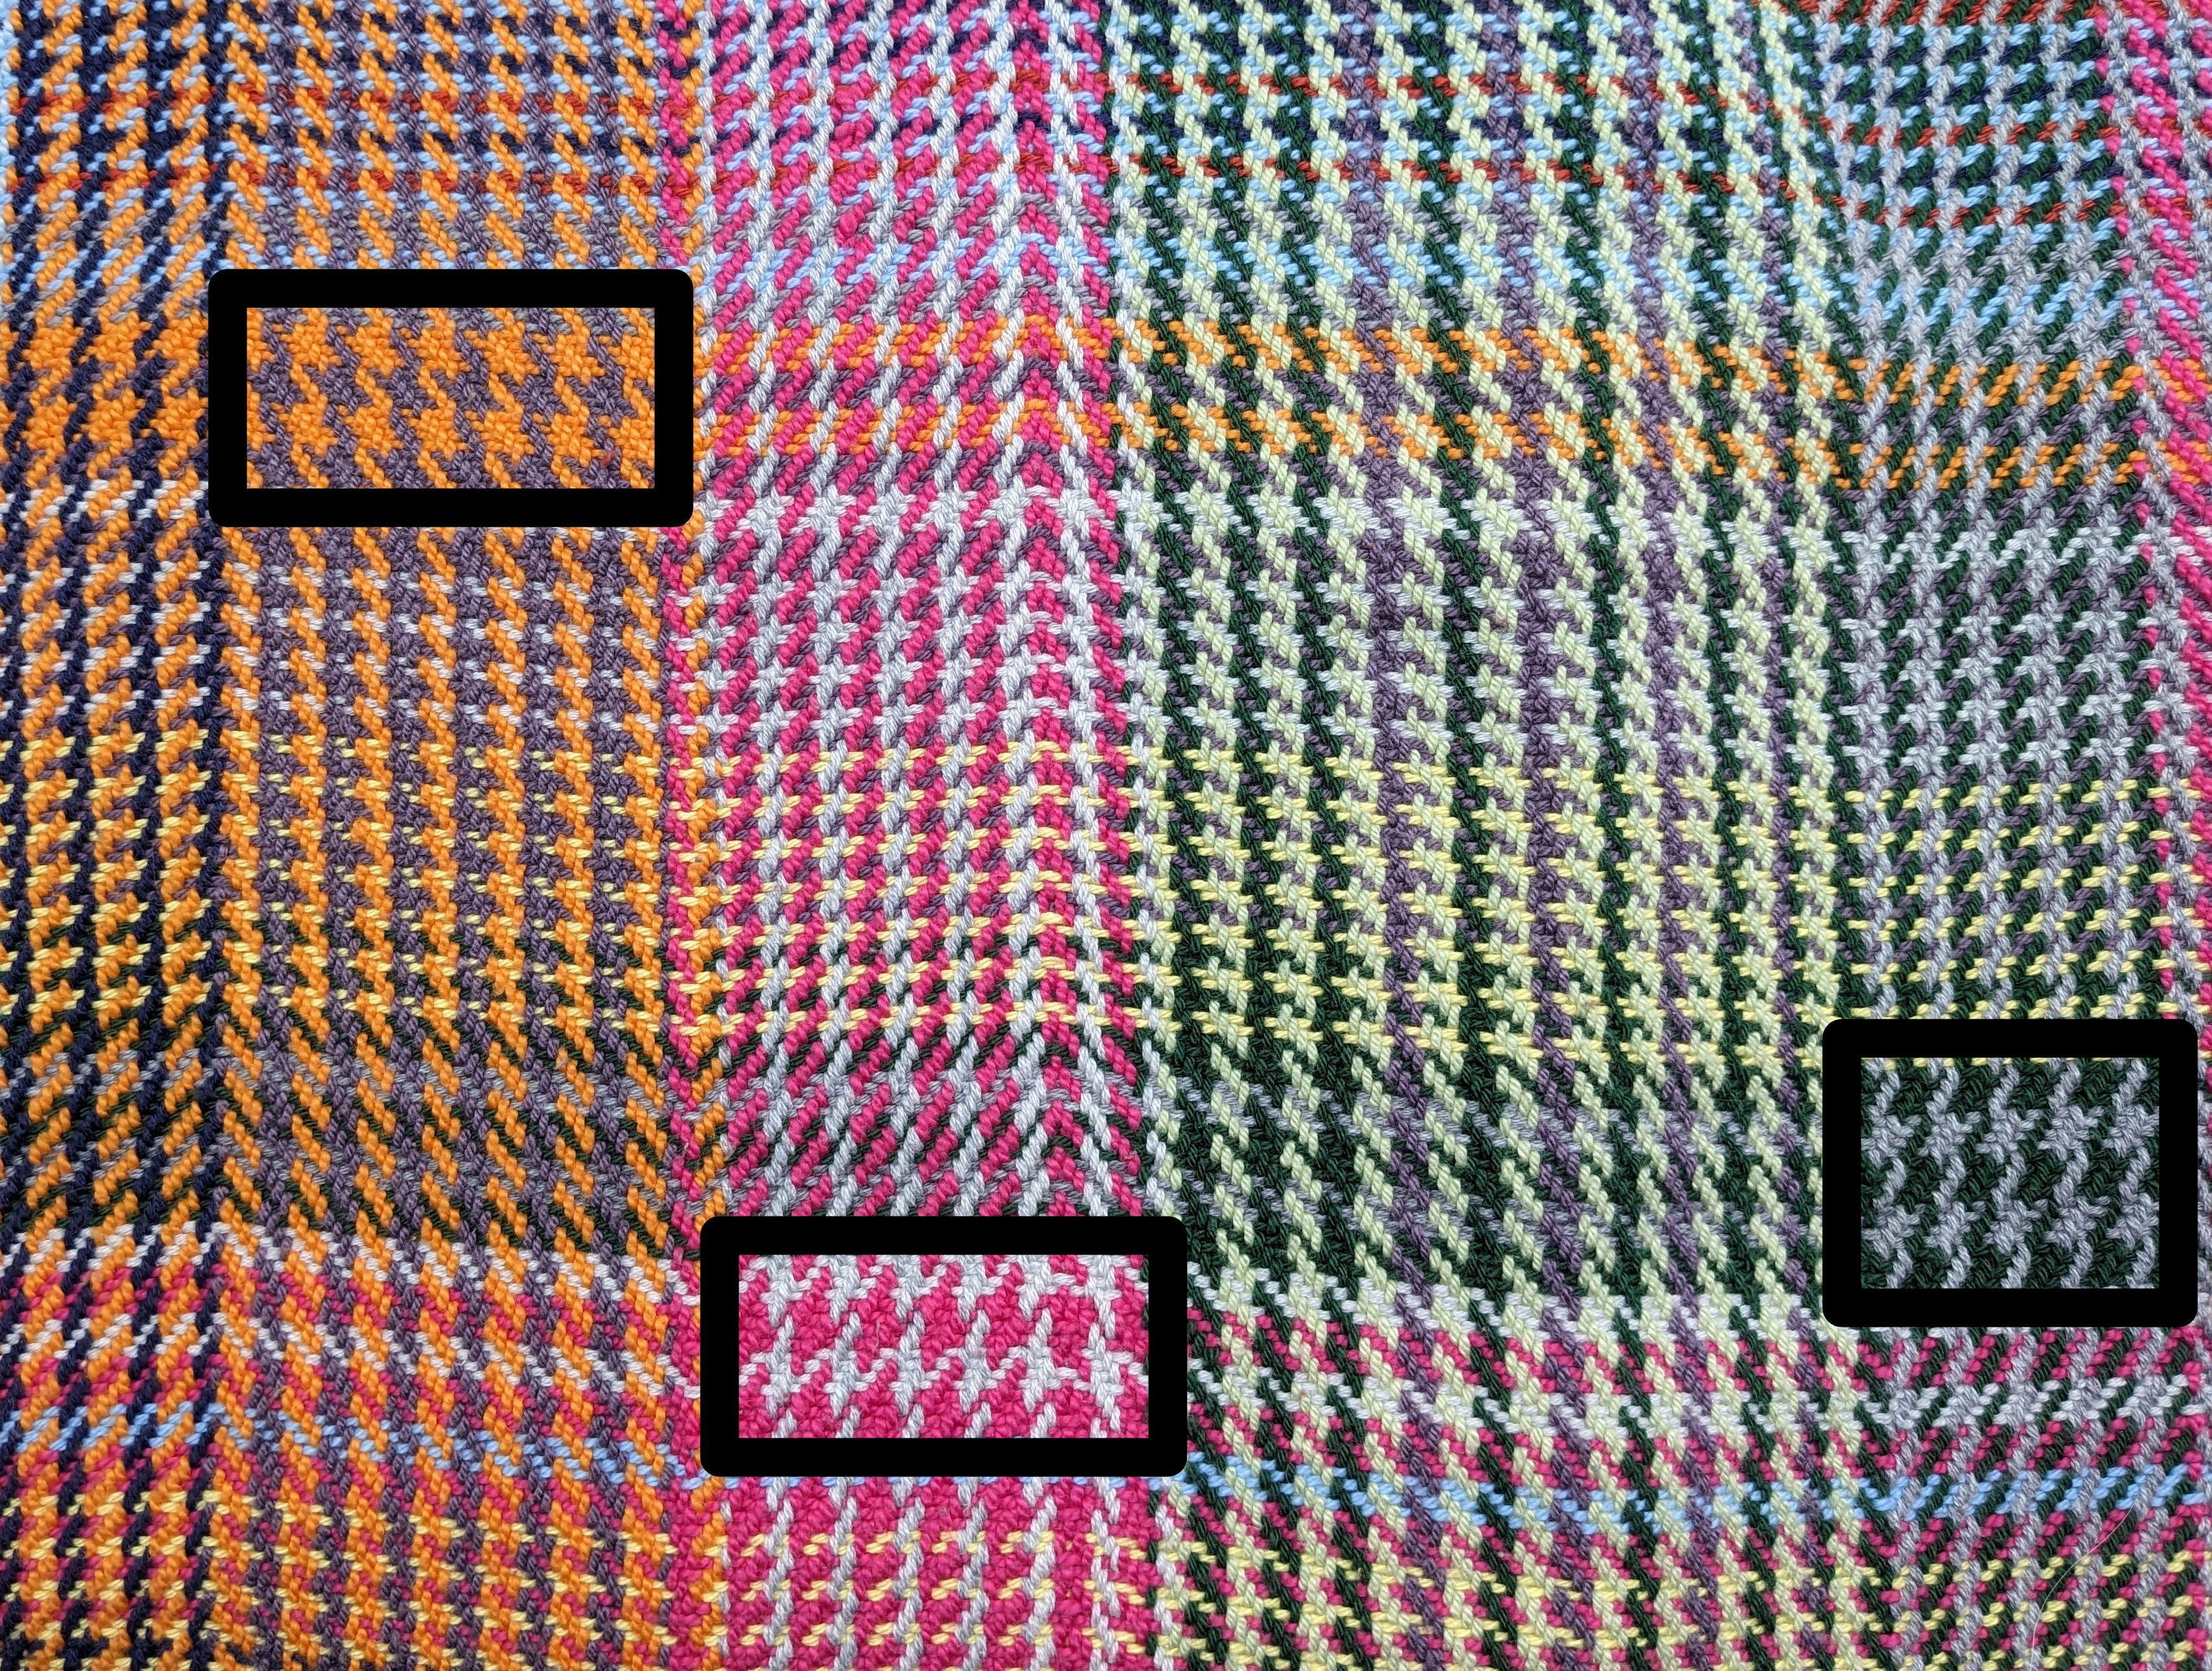
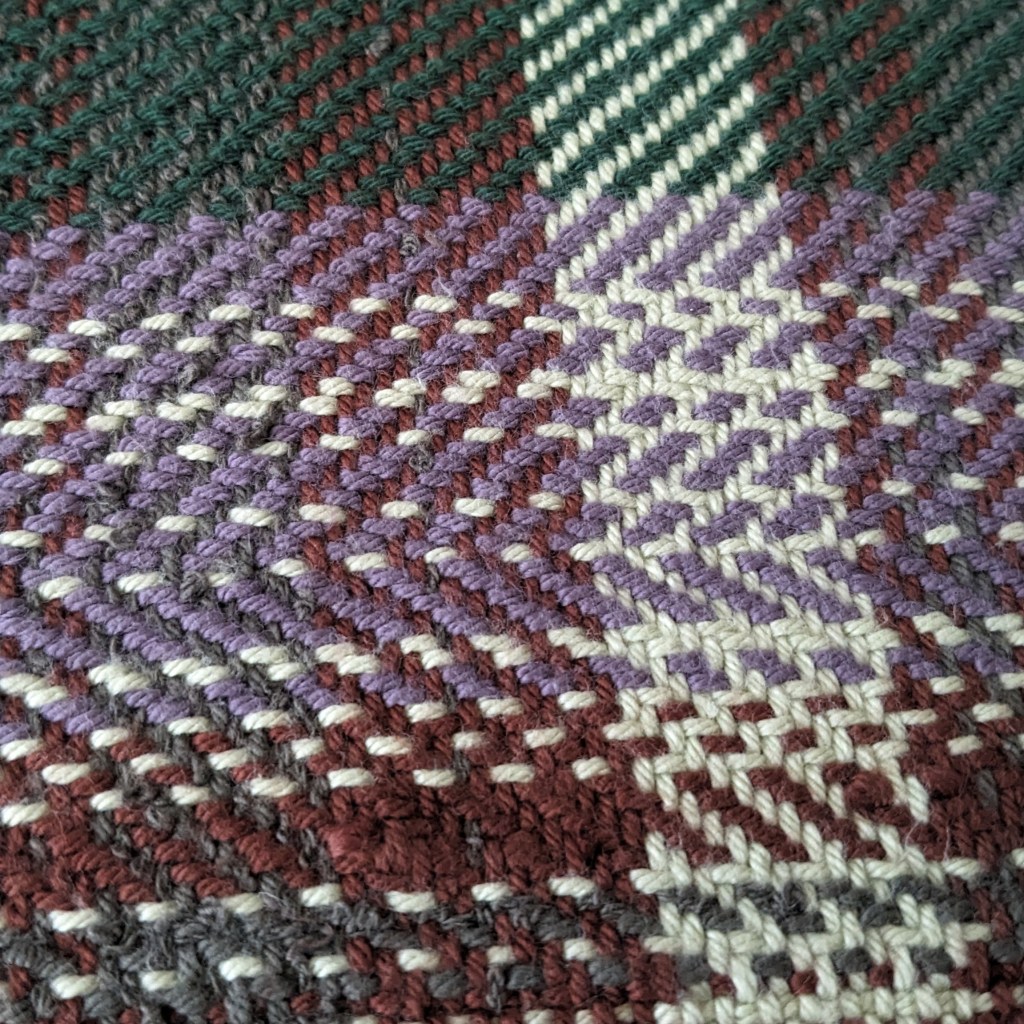
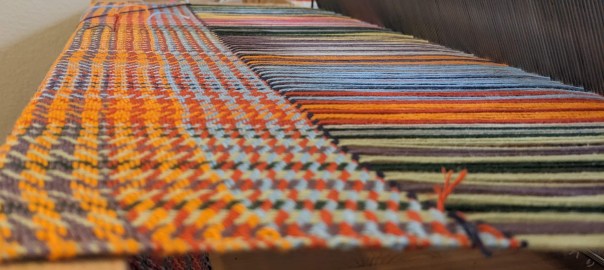
Then I had nice leftovers from lots of projects, so I had to do a scrappy, chaotic set of towels. I wanted to do some sort of “color and weave” pattern, where both the way the colors in the weft and warp are laid out AND the weave structure create a specific look. Most color and weave patterns are using dark and light colors, so I divided up my leftovers into darks and lights and started looking for ideas. I wanted to do a houndstooth pattern, and stuck to a 2/2 twill on four shafts to keep it simple 🙂 these were so fun. I did stripes of four light threads and four dark threads on the warp and the weft, with a few stripes of two just for experimentation’s sake. I used the same light/dark pairs in the weft as I did in the warp, so there are little islands of perfect houndstooth among a sea of kinda-houndstooth.

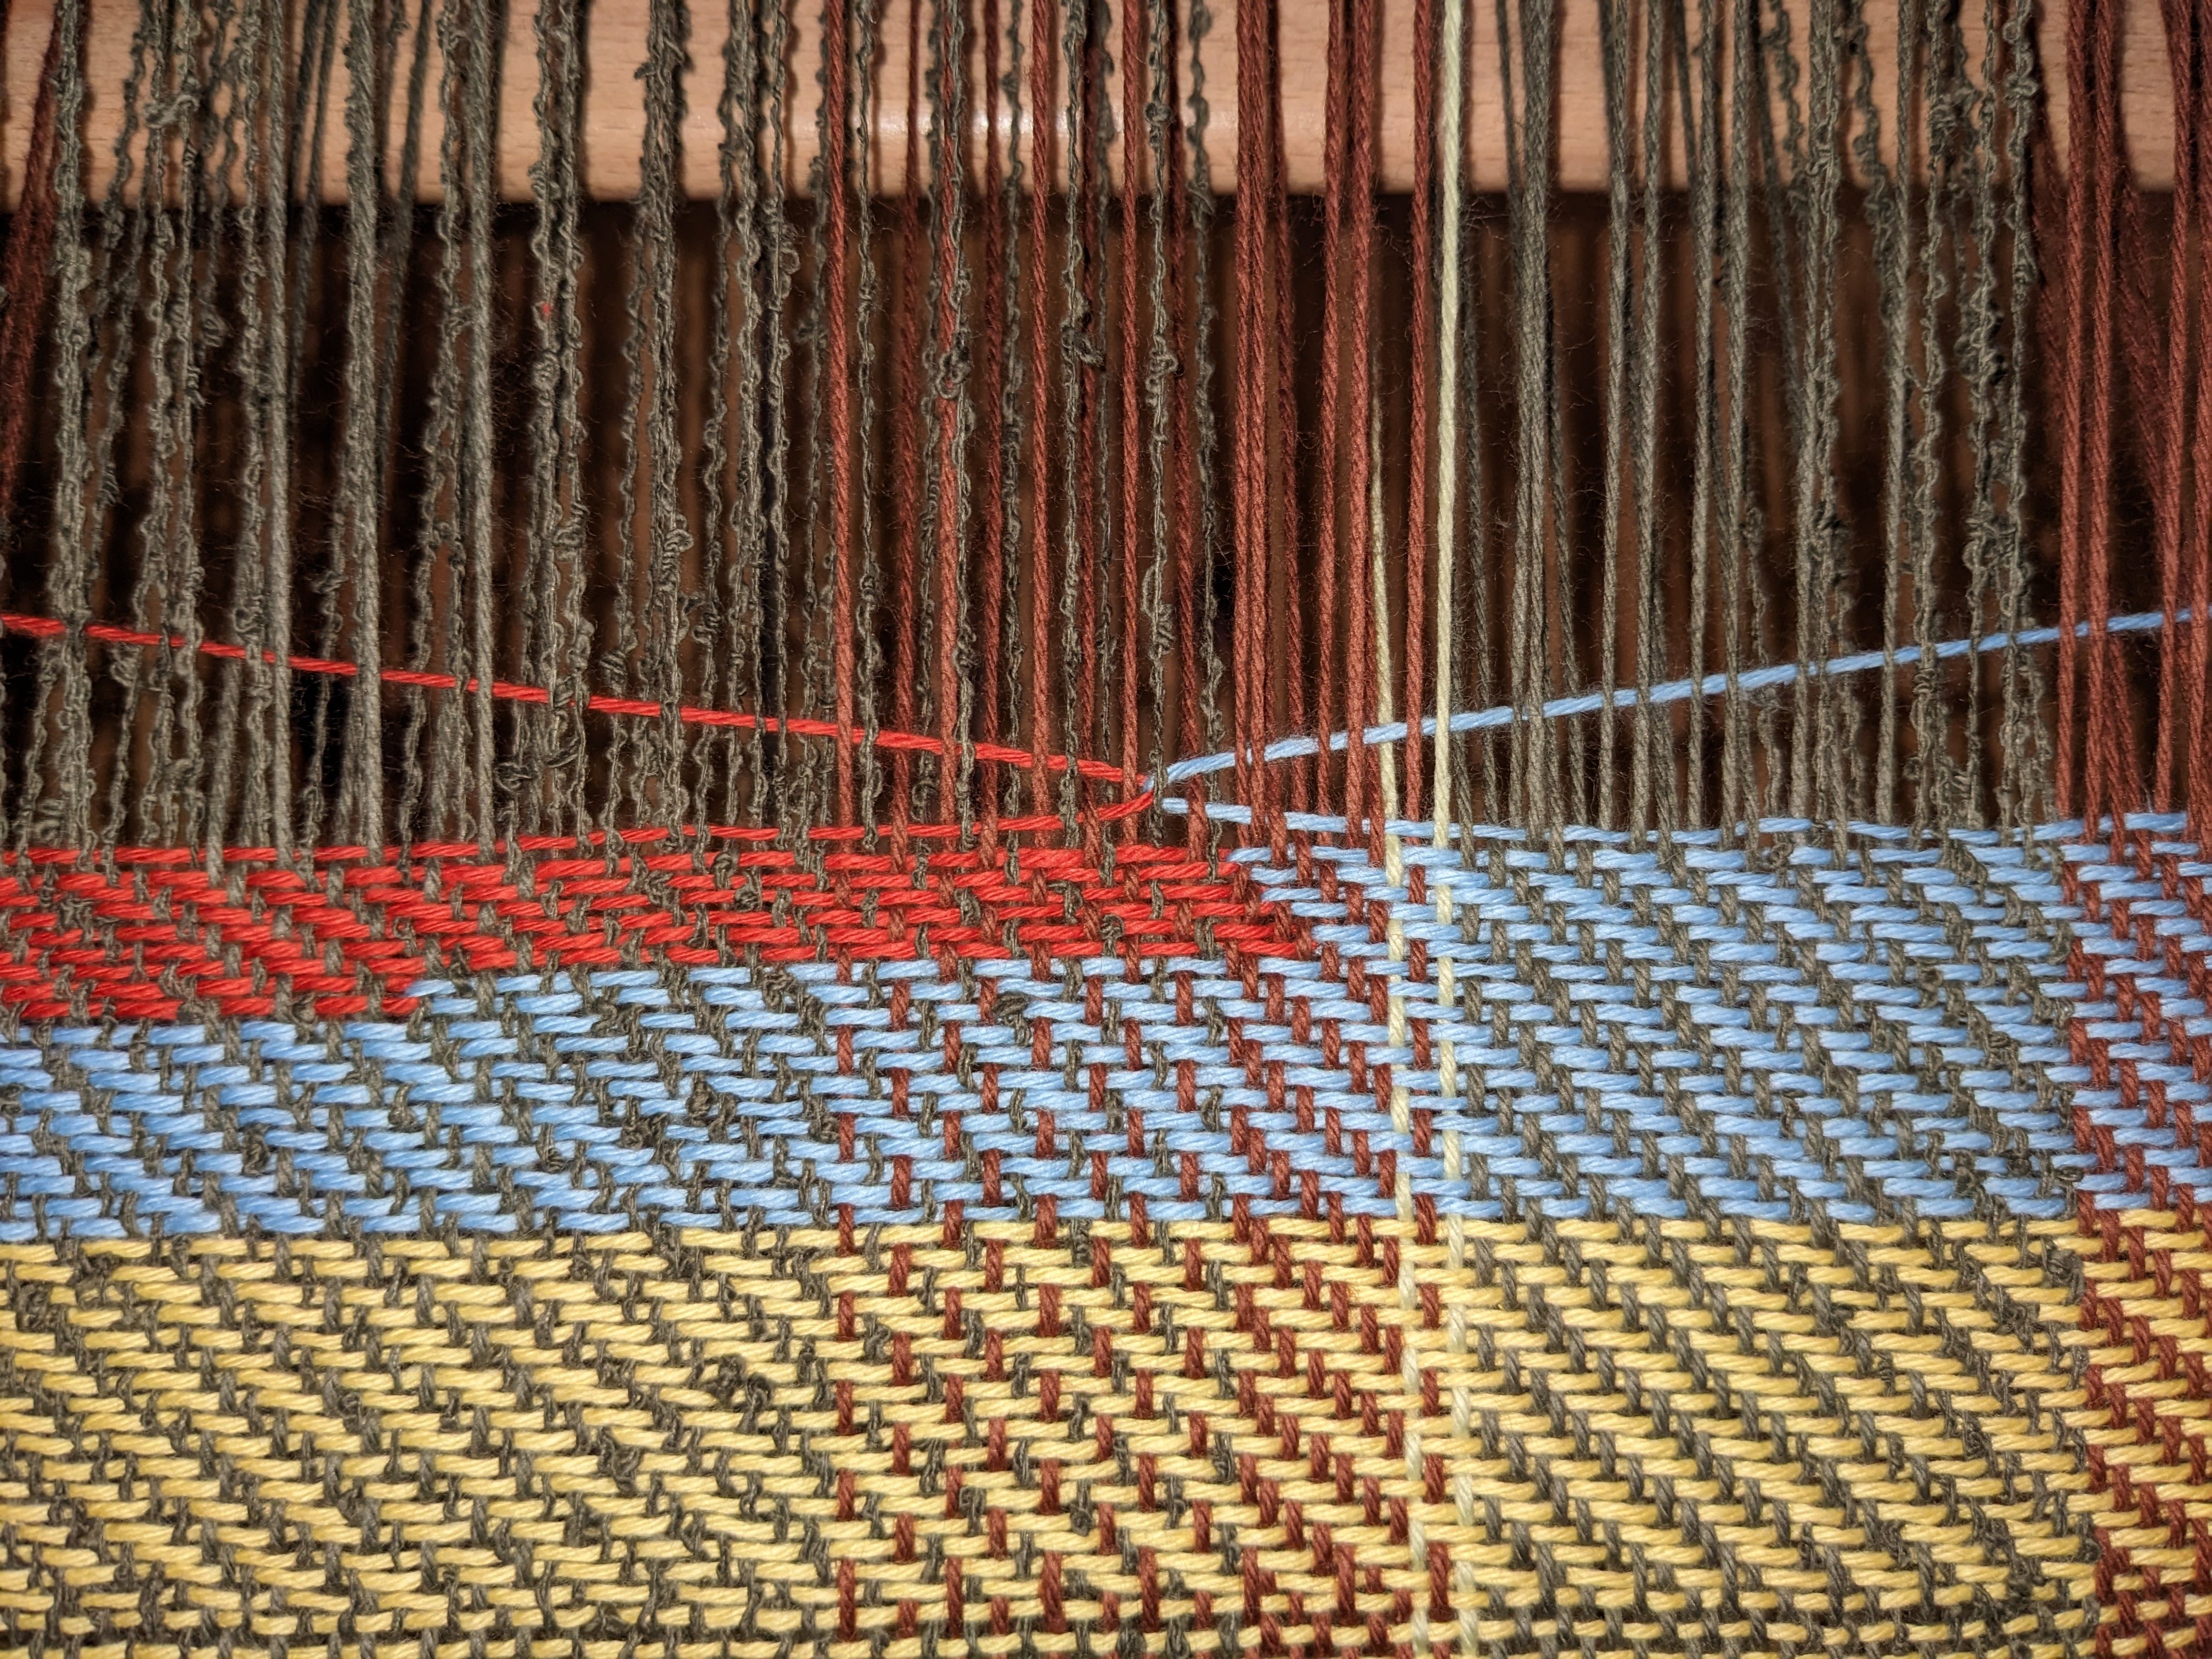
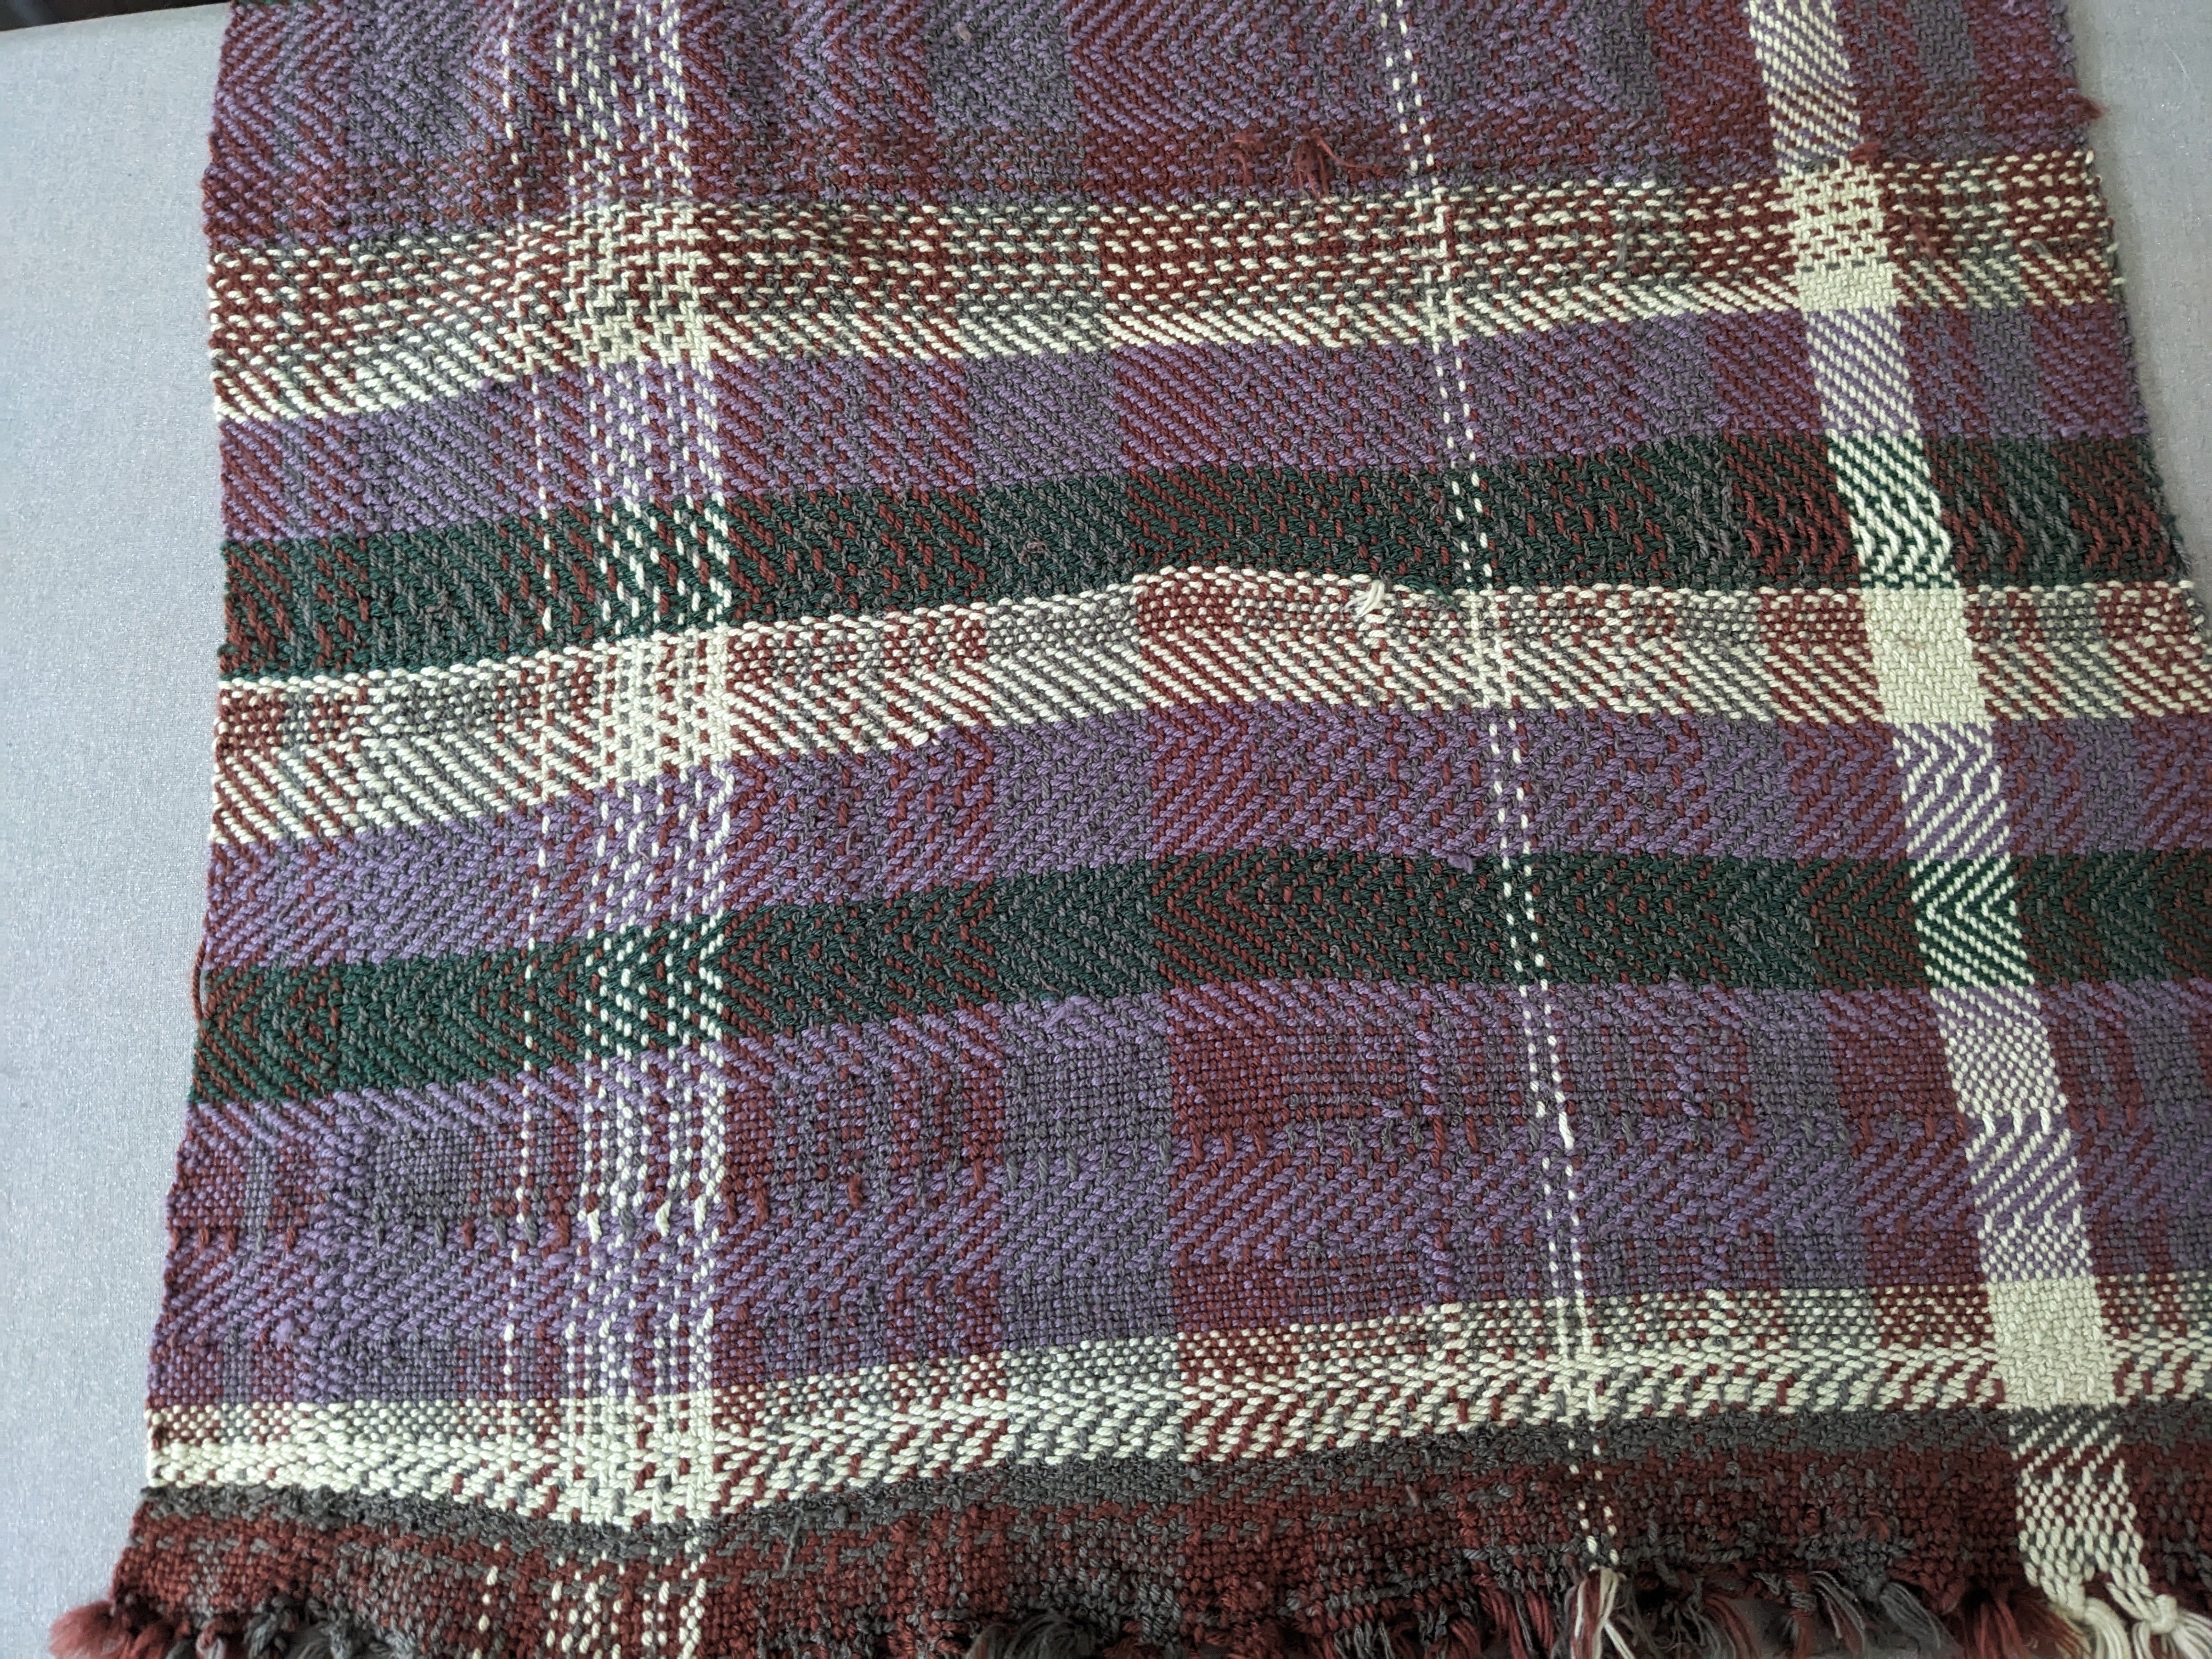
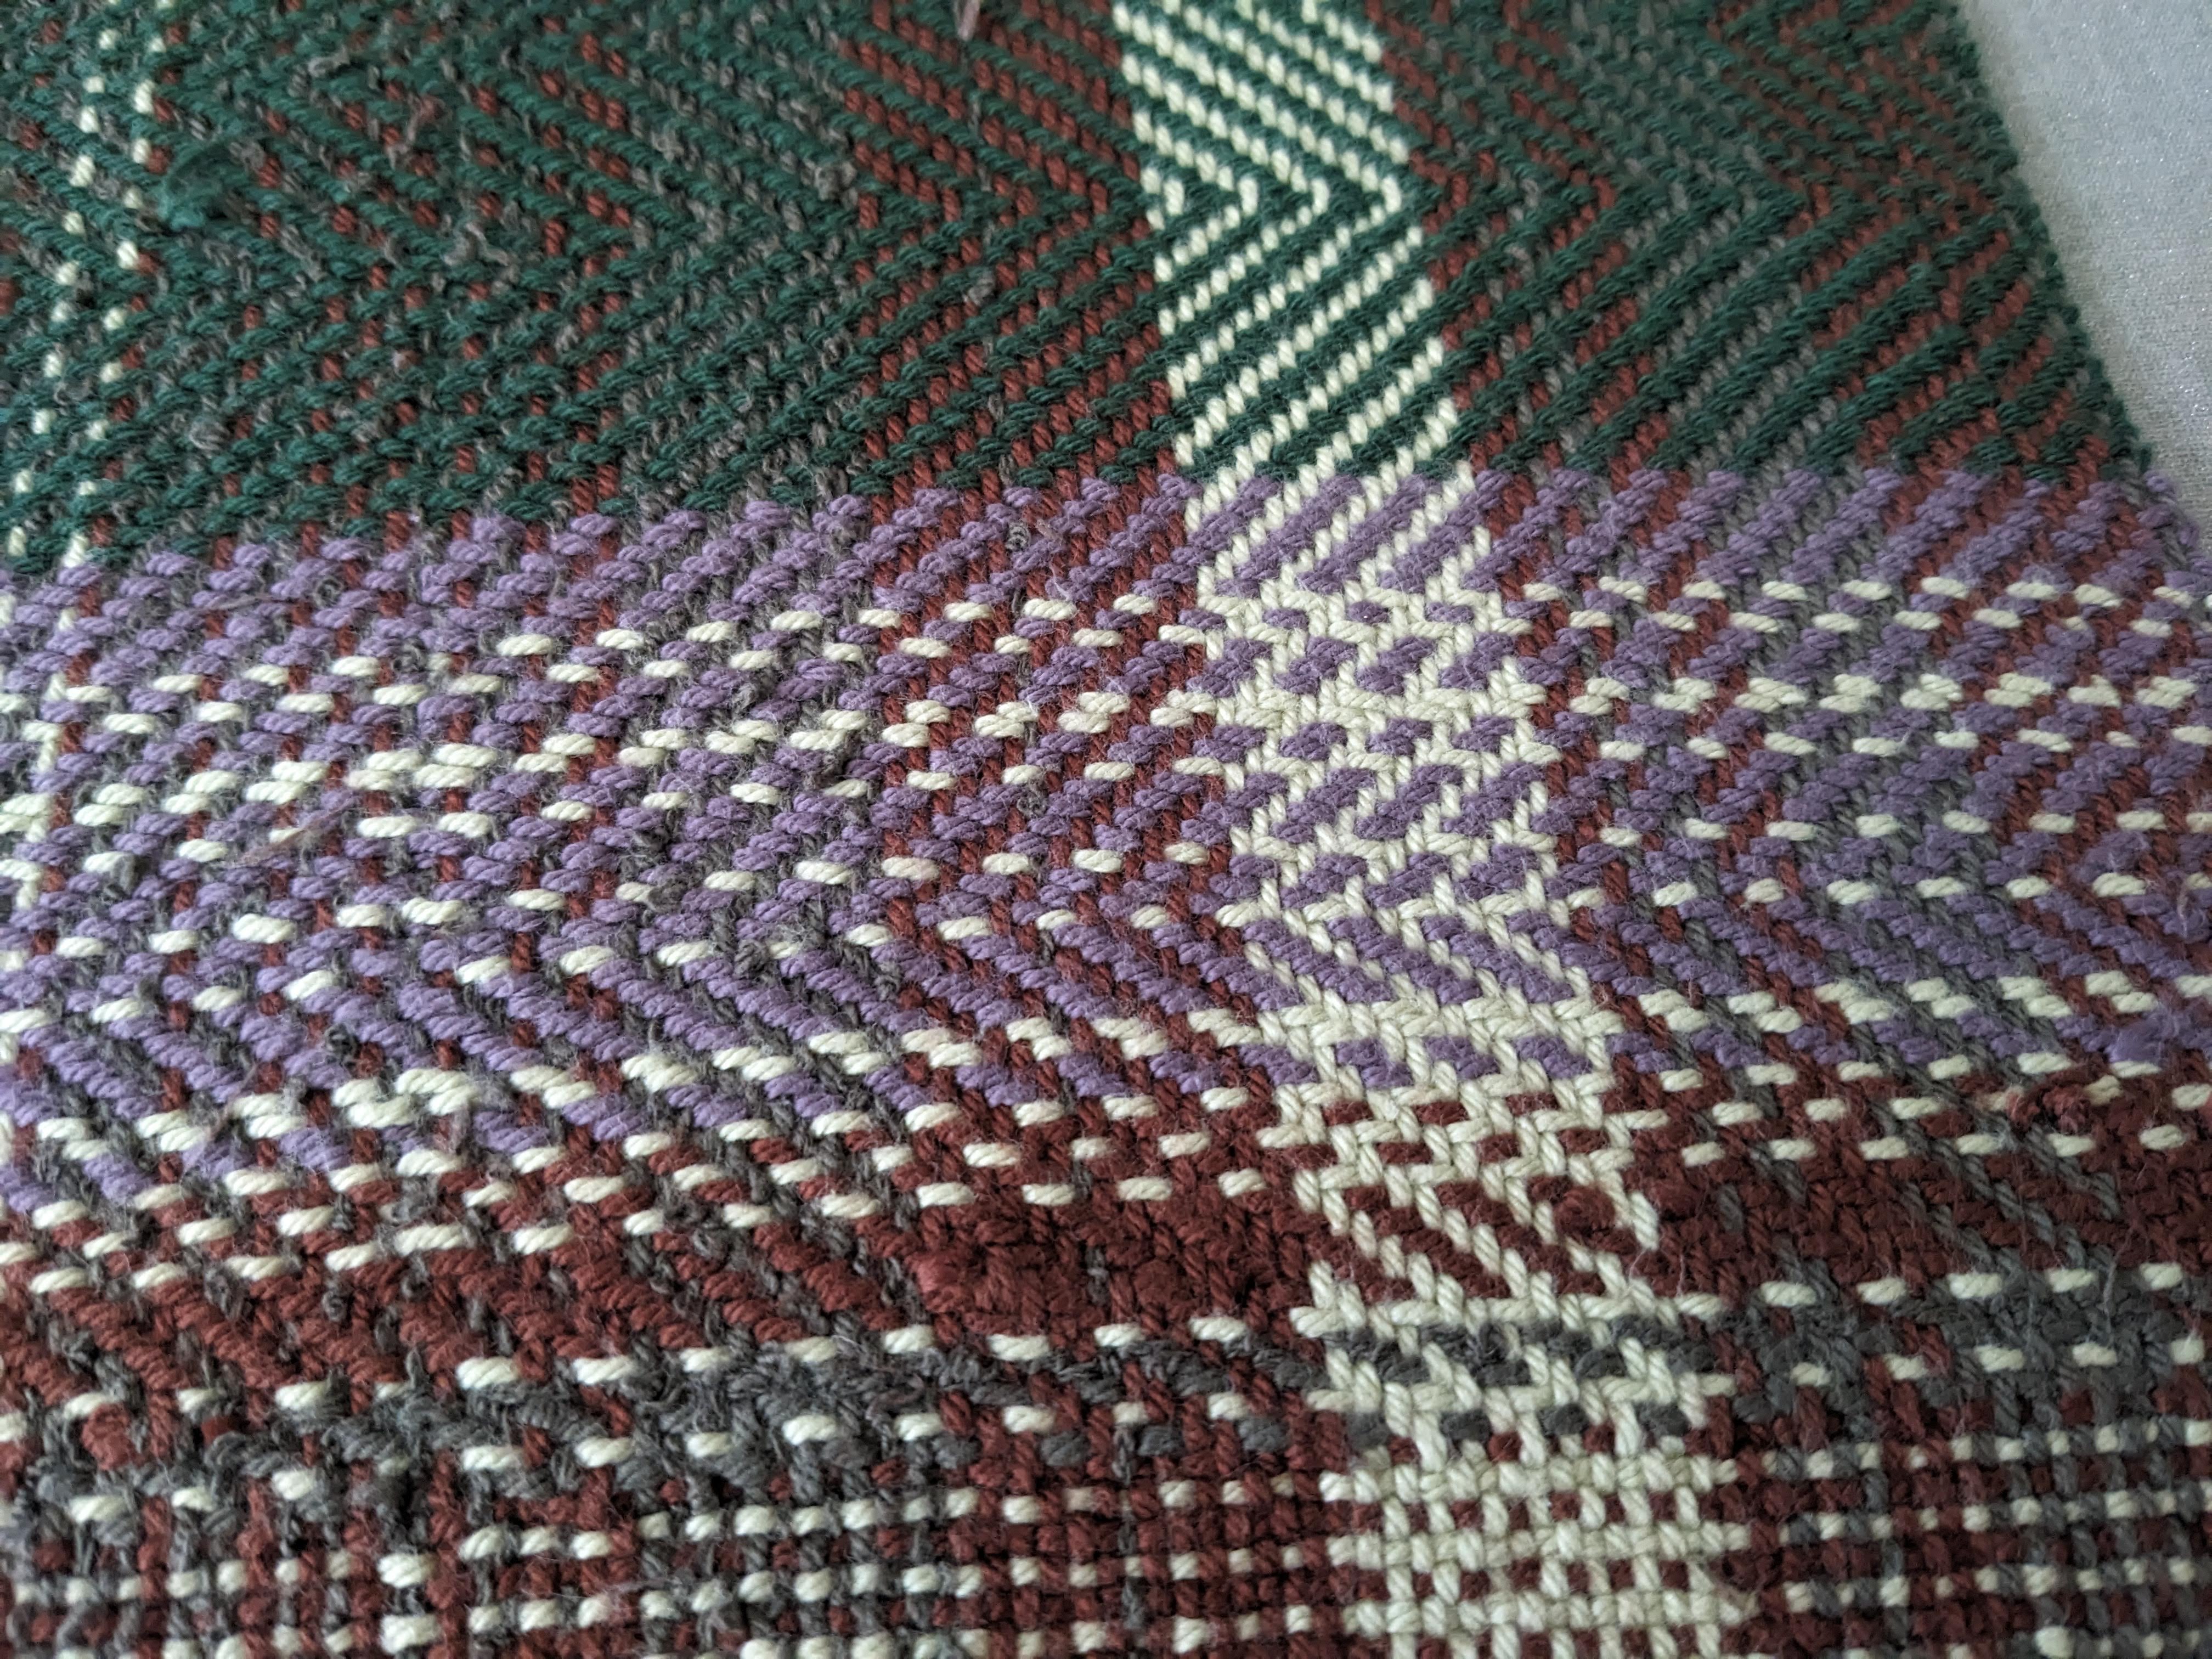
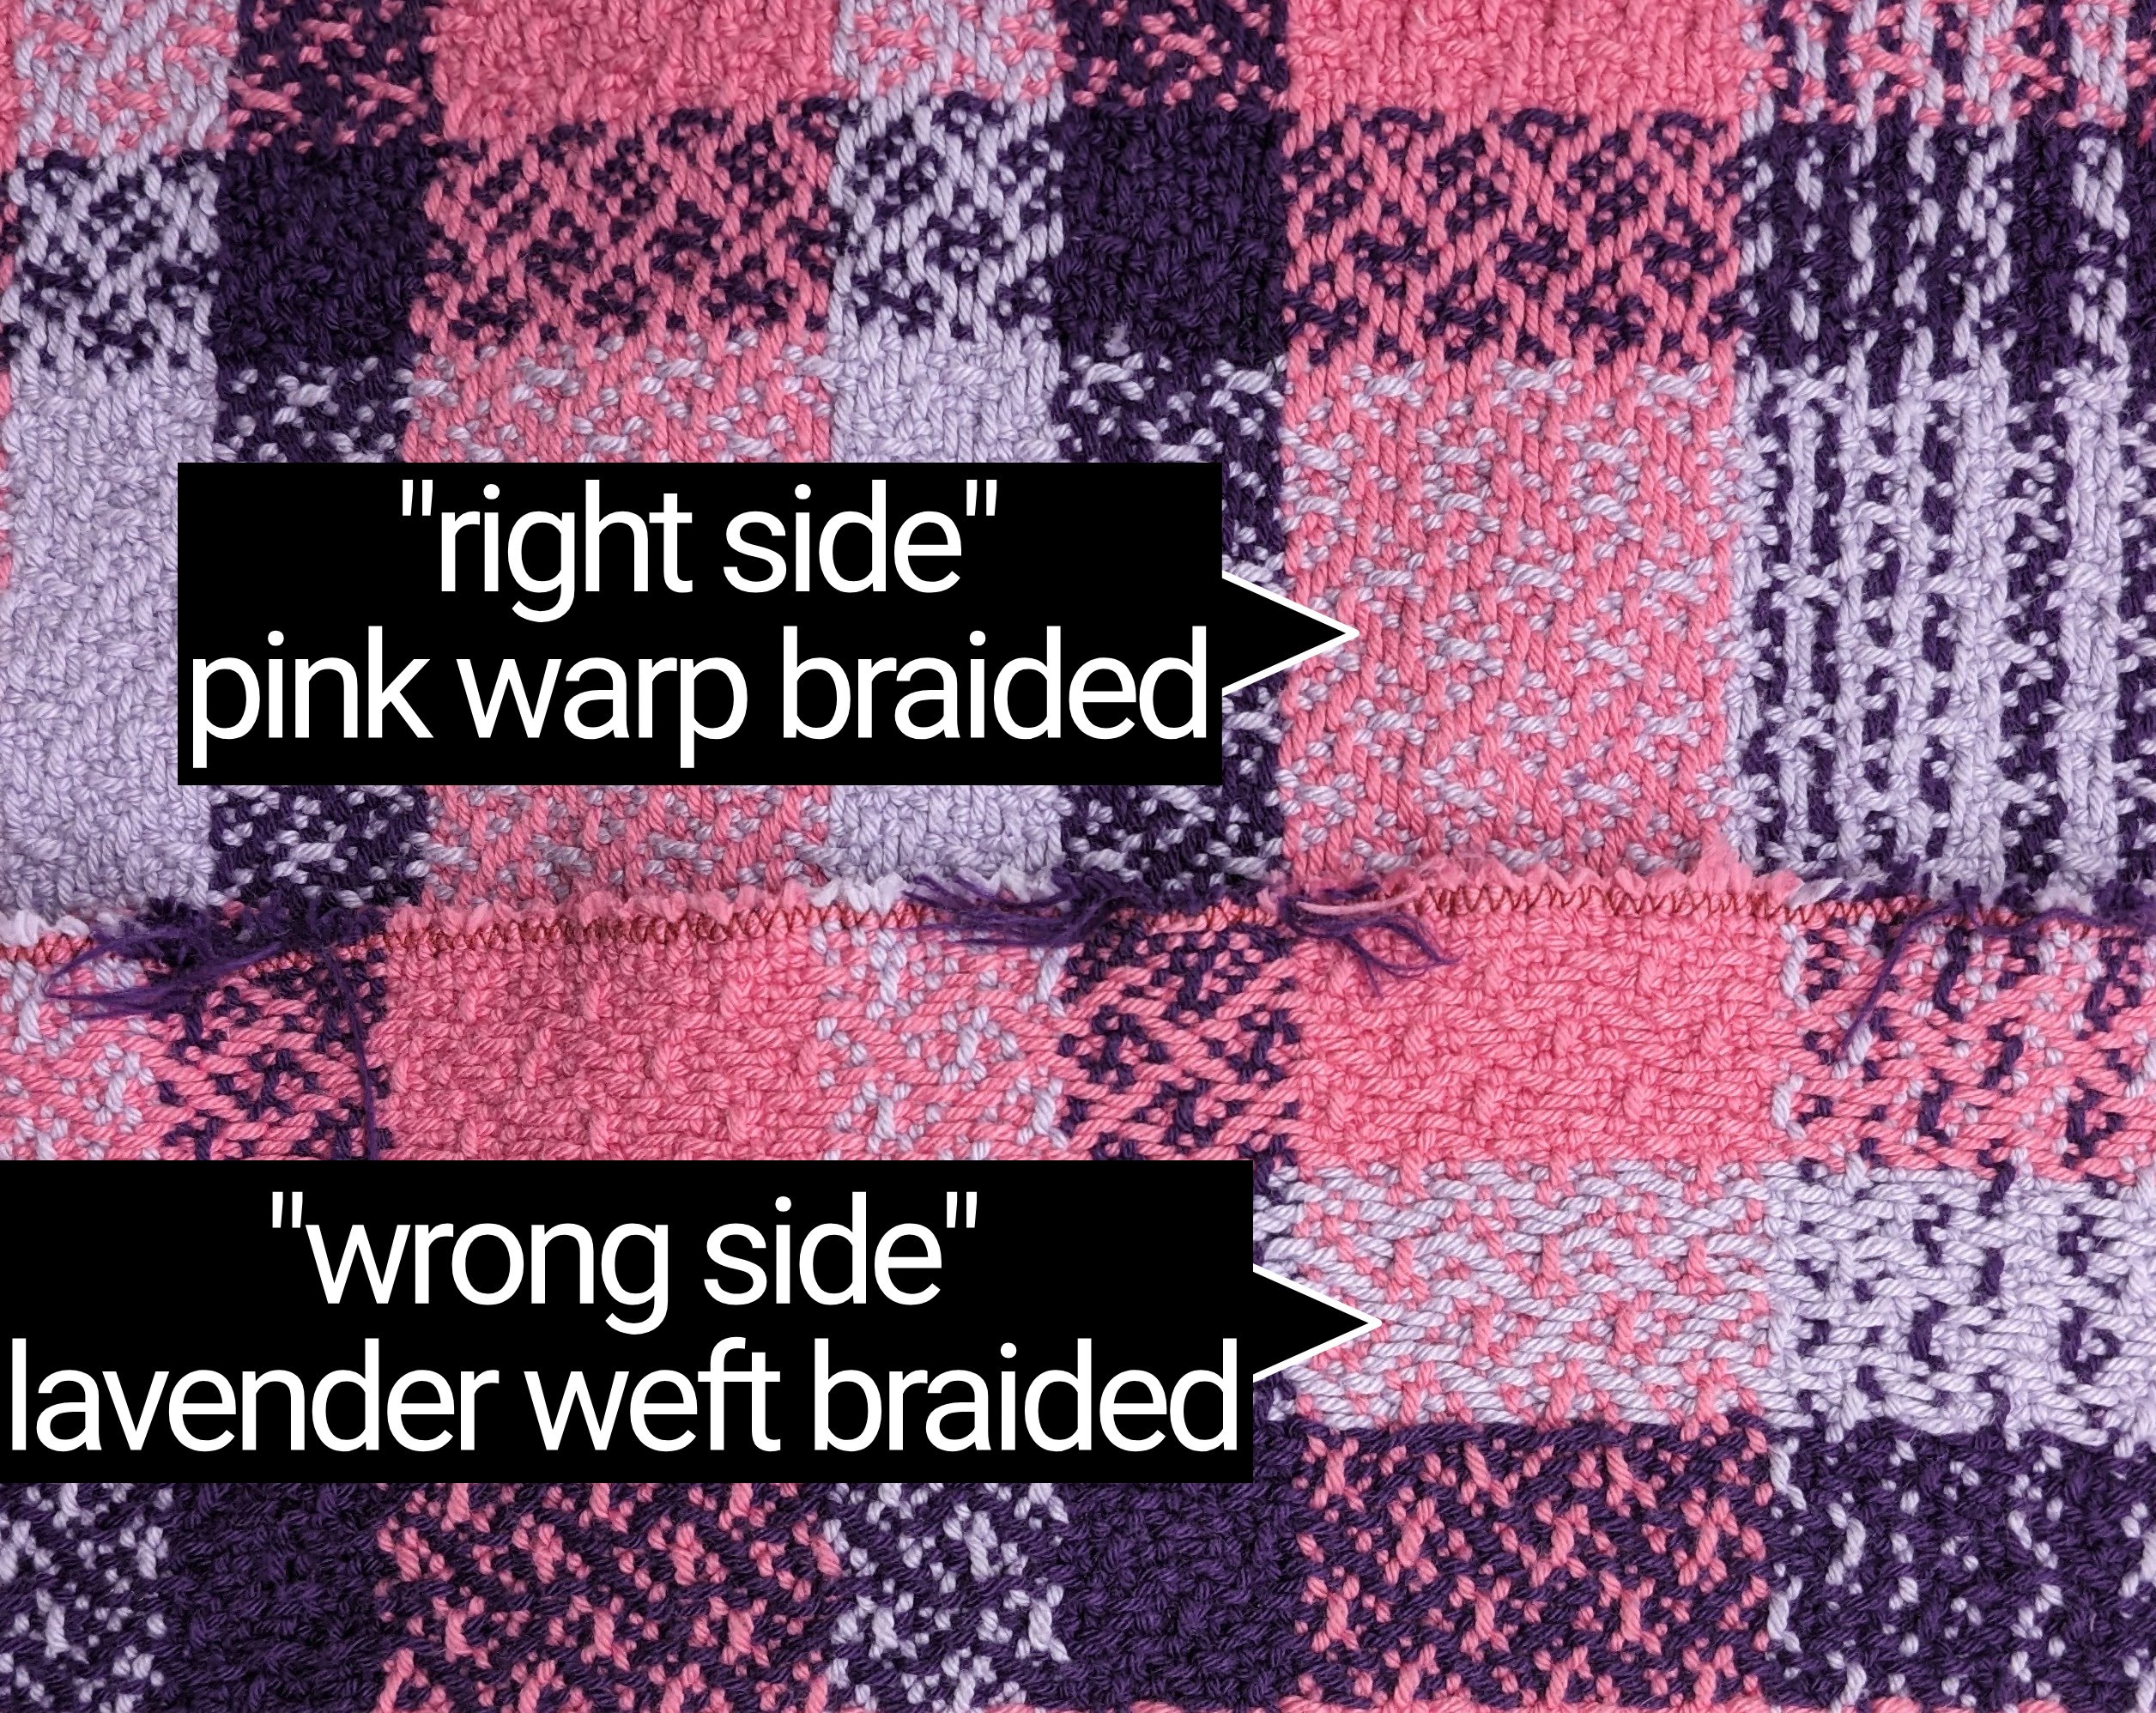
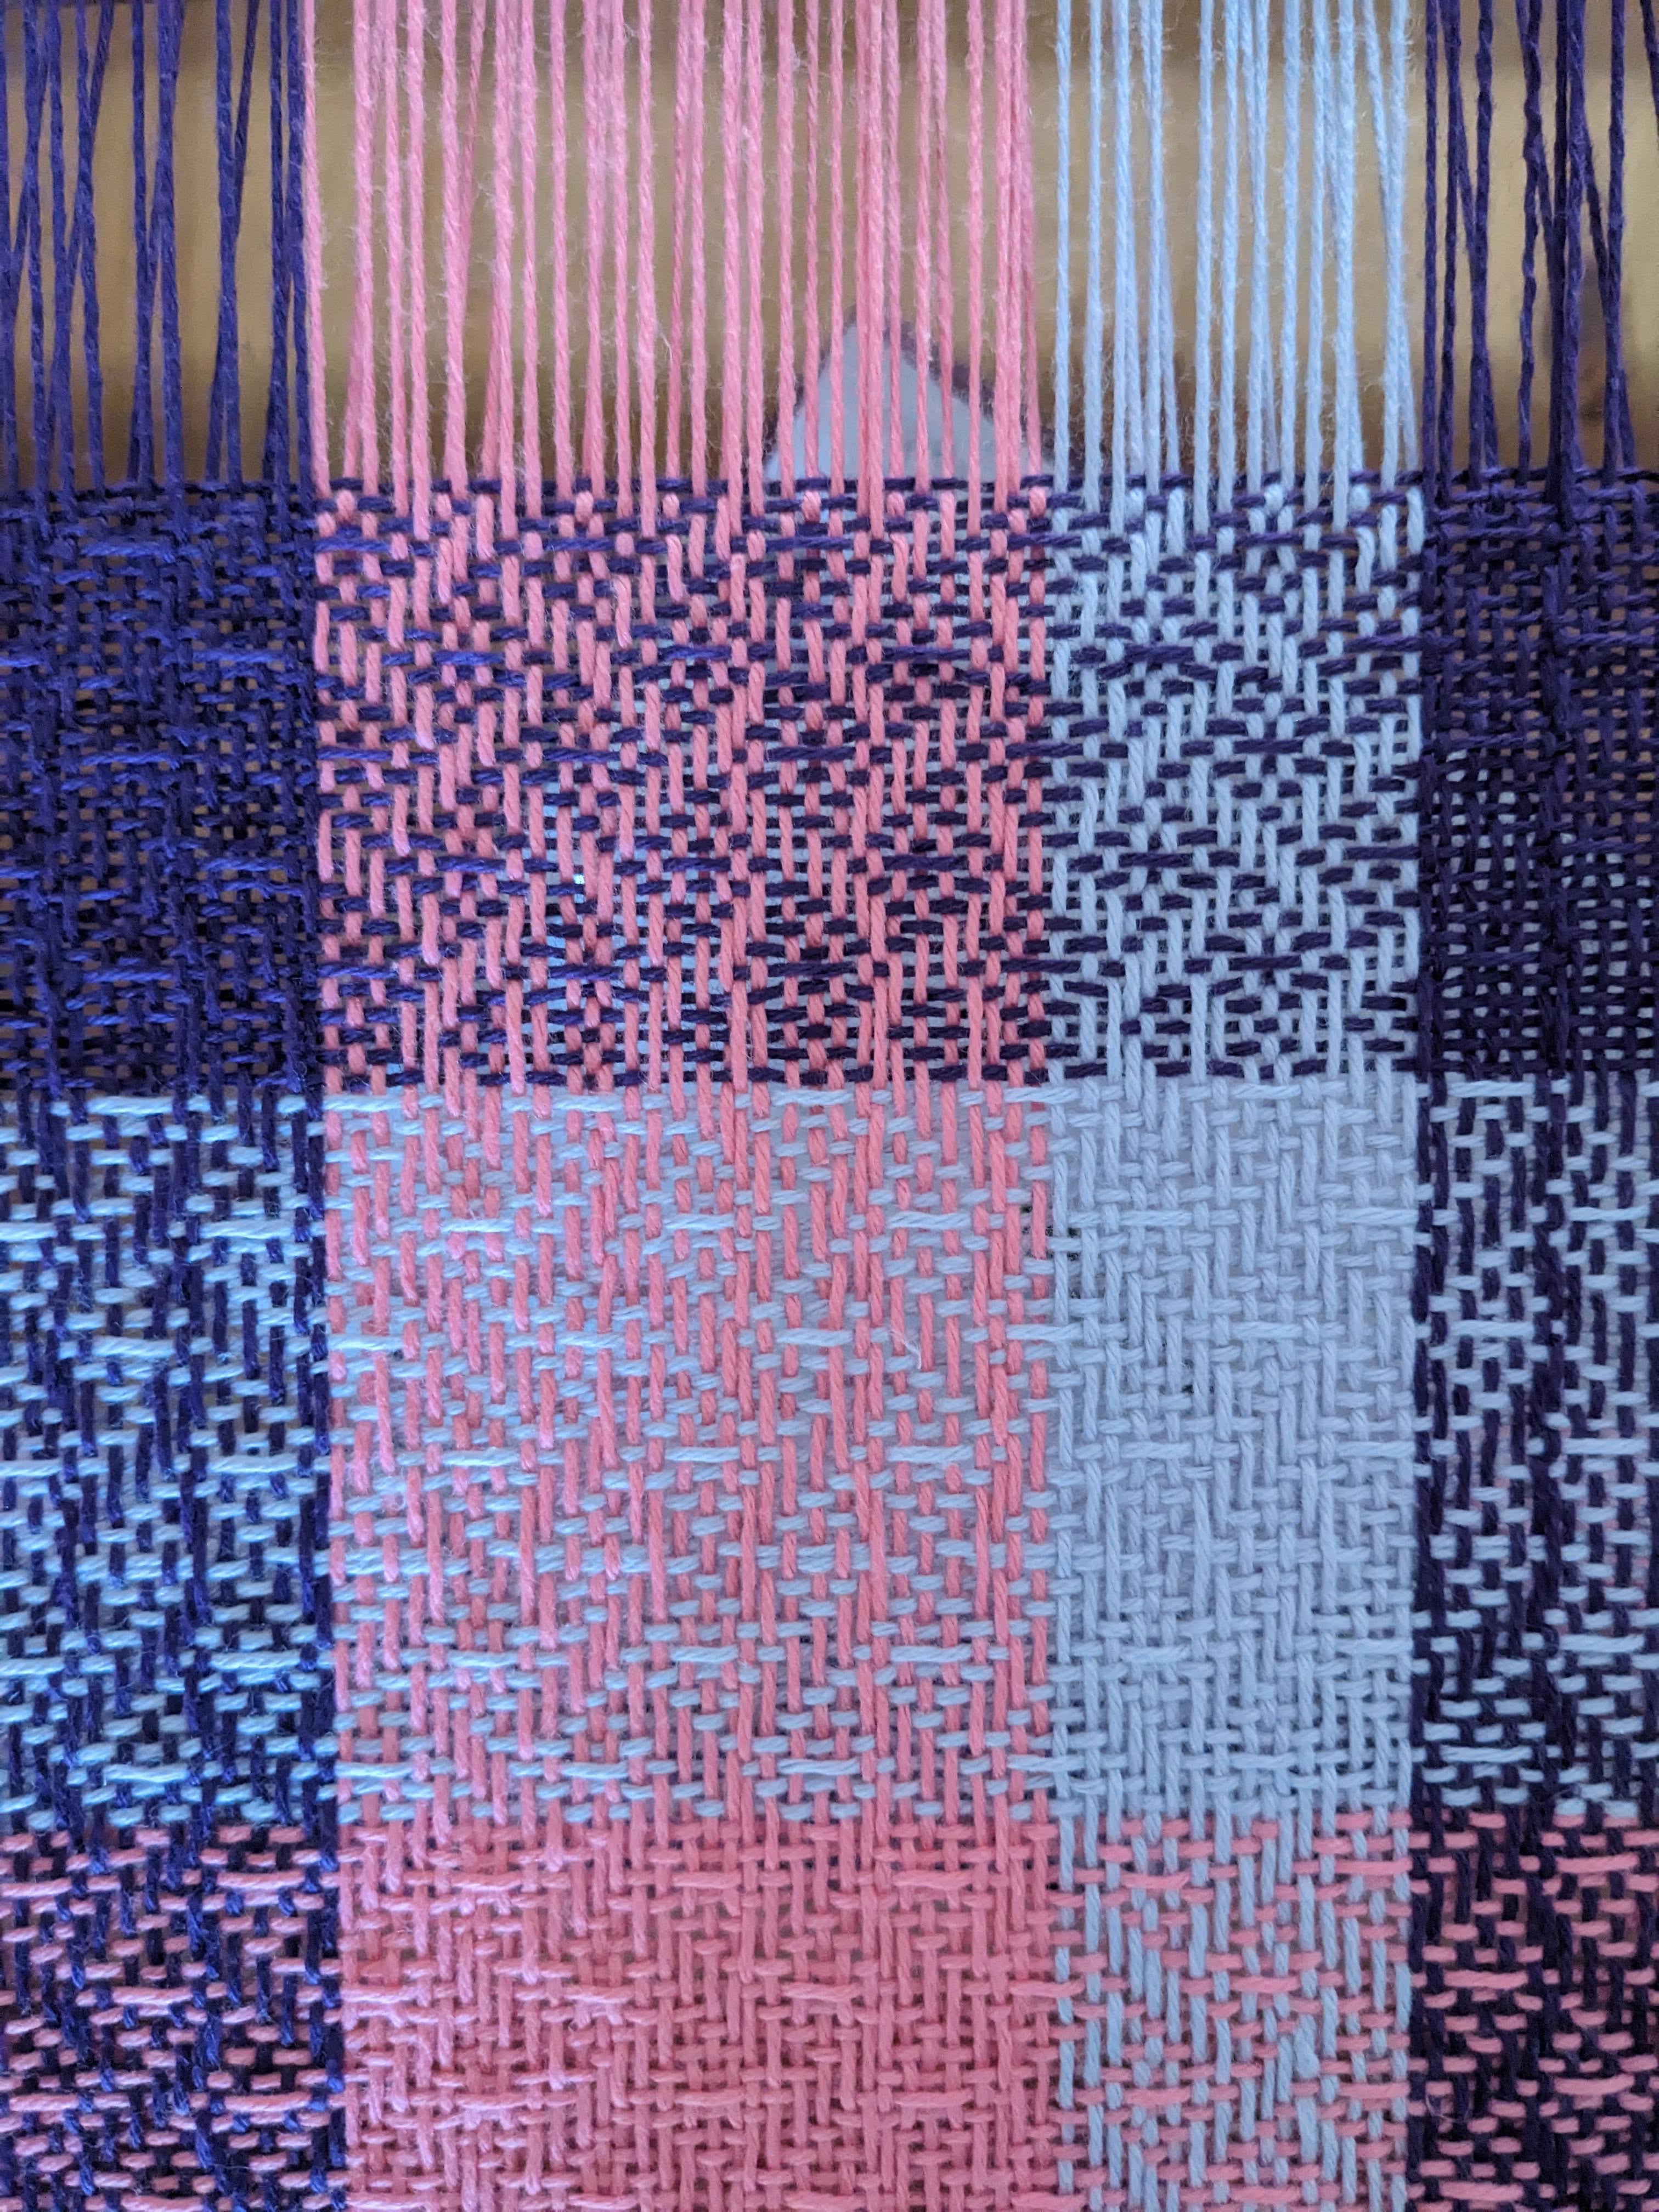
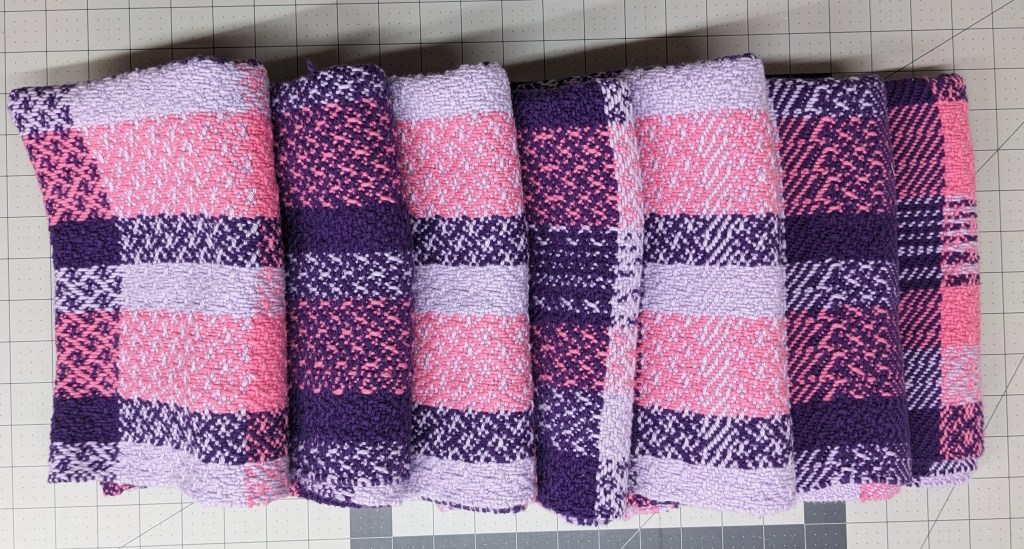
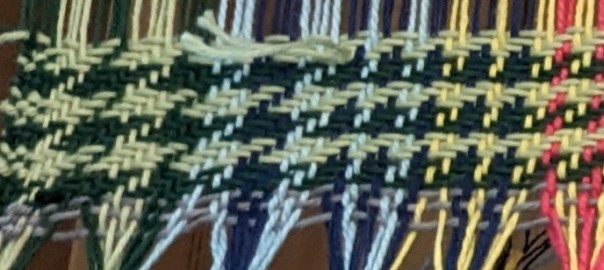
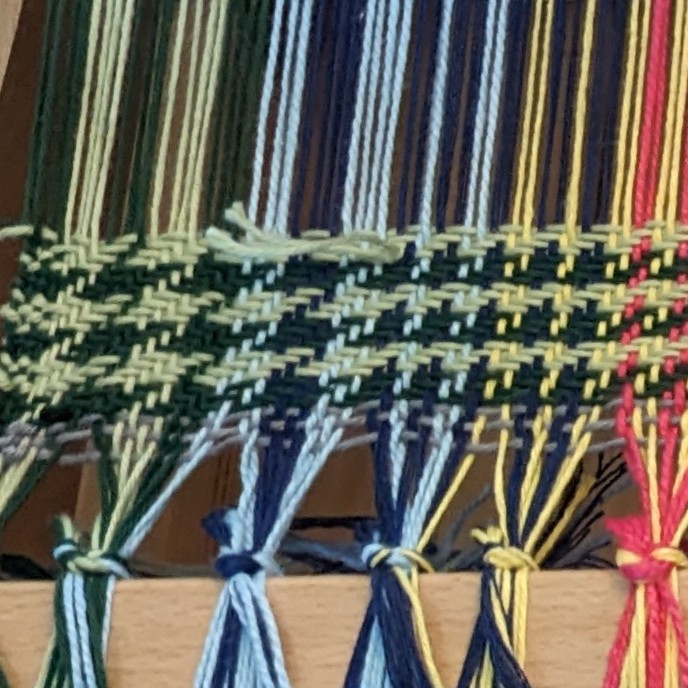
Then, I thought I was done with towels for a moment, but a friend revealed to me she didn’t have any towels and I could not let that stand. I immediately chose colors that went with her apartment decor and a really pretty weave structure I’d been eyeing with no real plan to use. This braided twill (Strickler’s #181) has things in common with a twill, kind of like a point twill, but it creates diamonds that share sides instead of freestanding diamonds. I wanted to do a plaid, because I think stripes are cool and wanted to understand some of the color blending between the three colors I chose. A plaid just uses the same color pattern for the weft as it does for the warp, turned 90 degrees. I figured I’d make the weft stripes whatever width I wanted (or however much yarn I put on my bobbin), but keep the same color order. So I made my warp stripes, wound bobbins of differing lengths for fun, and started weaving. It’s a 10 treadle pattern, so it actually got into my brain and body pretty quickly and I was able to weave this fast. I did do some “2/2 twill” treading just to go even faster, since I was on a time crunch. I yielded 7 towels, so I consider it a win. I really liked the high contrast with the dark purple, but the interaction between the two lighter colors was not as interesting.

seven towels! some are finished so the “right side” is right, some so that the “wrong side” is right.

These towels were so fun to make and learn with – I got lots of experience winding on long warps, saw how different colors interact with each other, and tried a new weave structure. I think towels are so low stakes for learning and mistakes. No one cares if they’re a little wonky, or the tension isn’t quite right. I kept the weirdest offcuts for myself, either as napkins or towels, and gifted the rest. I sewed in little tags on all the corners, and I even made little labels to feel extra fancy.

Projects completed December 2025.

Autumn Projects

I’ve mainly been working on New Years gifts recently, so here are some sneak peeks:

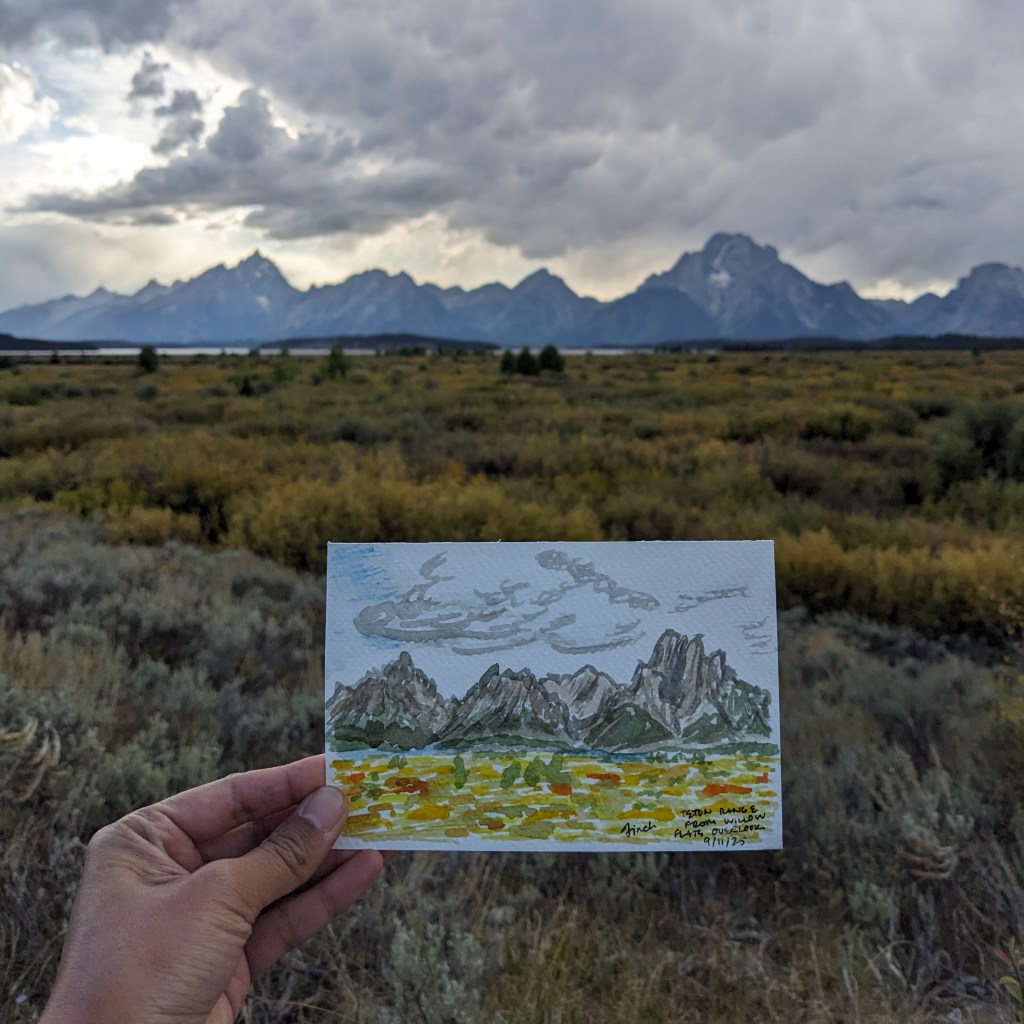
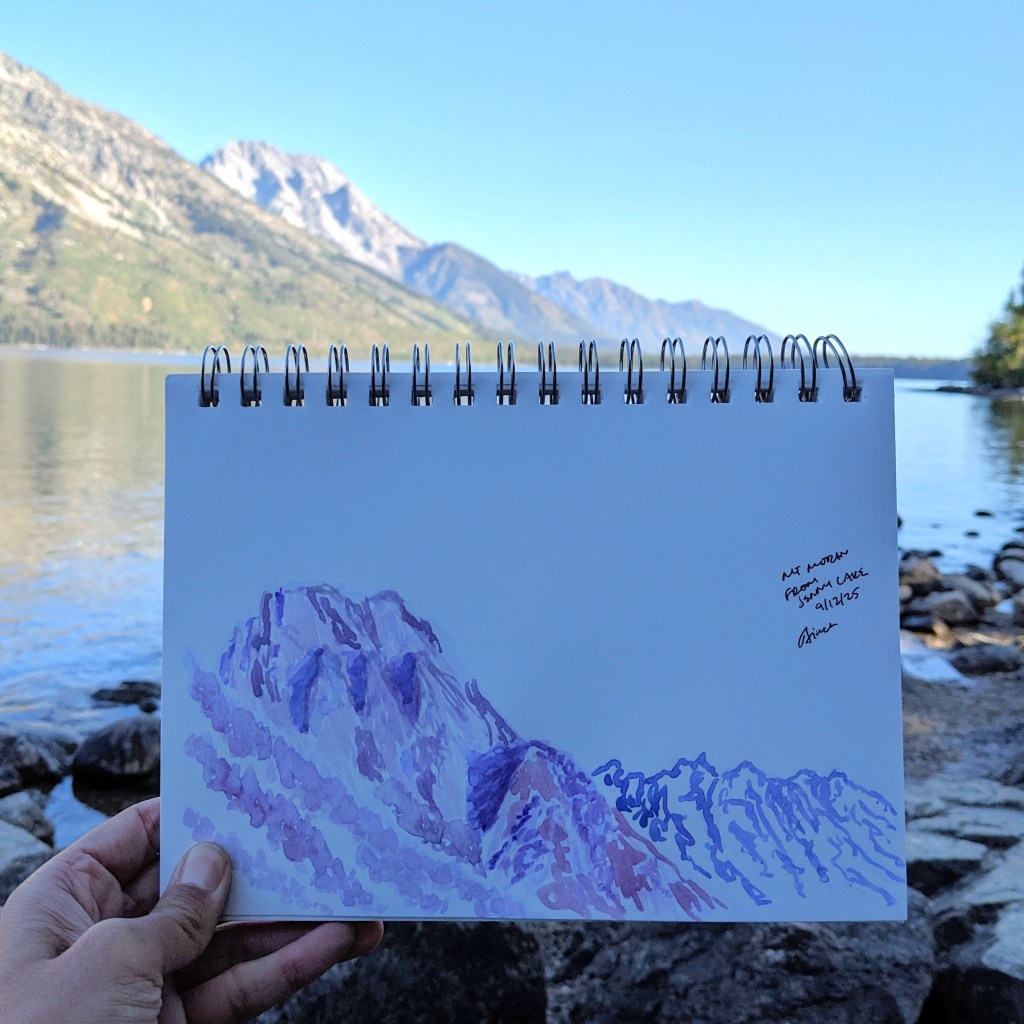
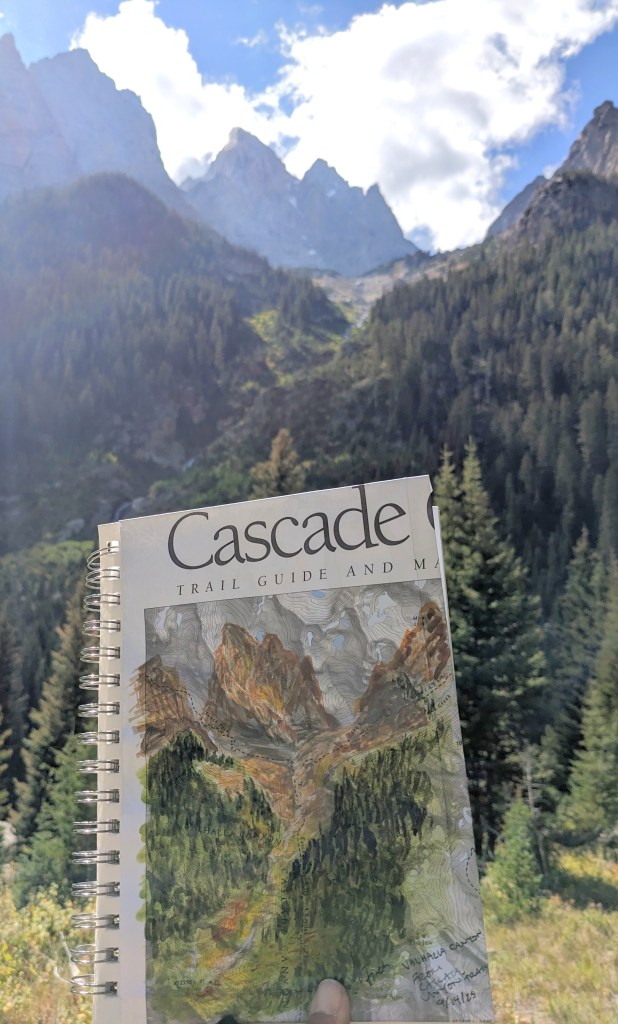
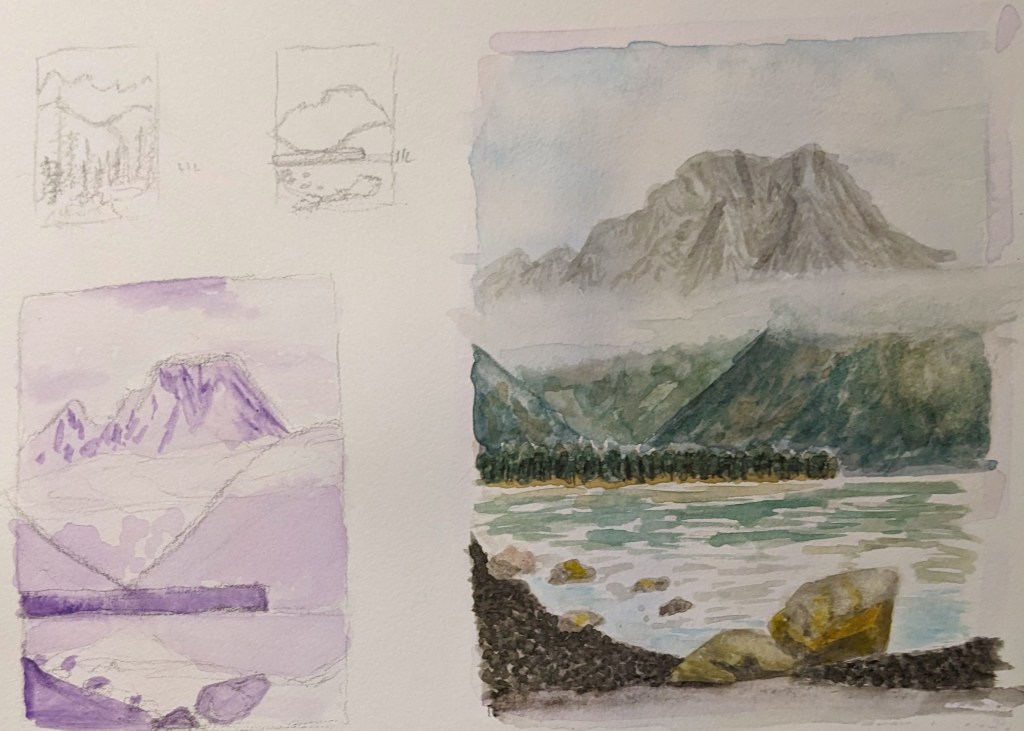
I jumped at the chance to go to the Grand Tetons again with family and did some fun watercolor:

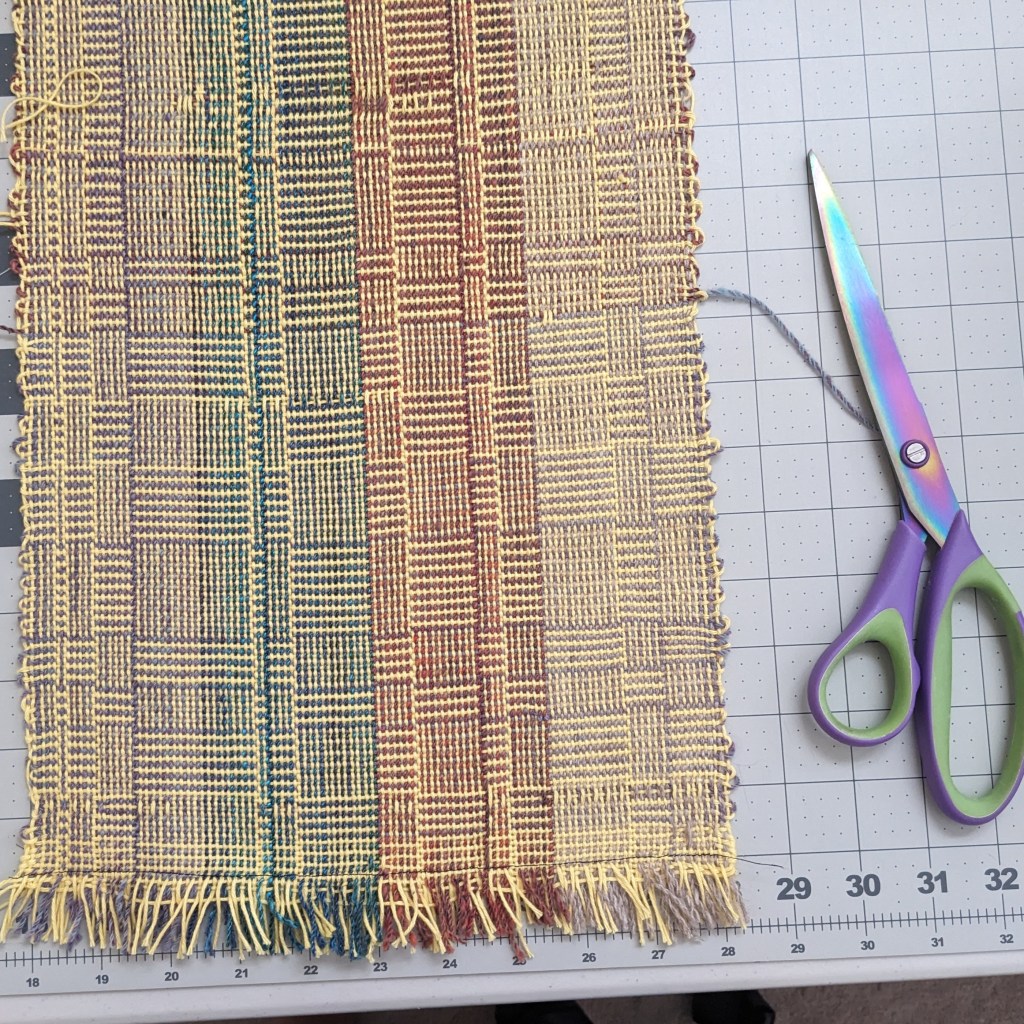
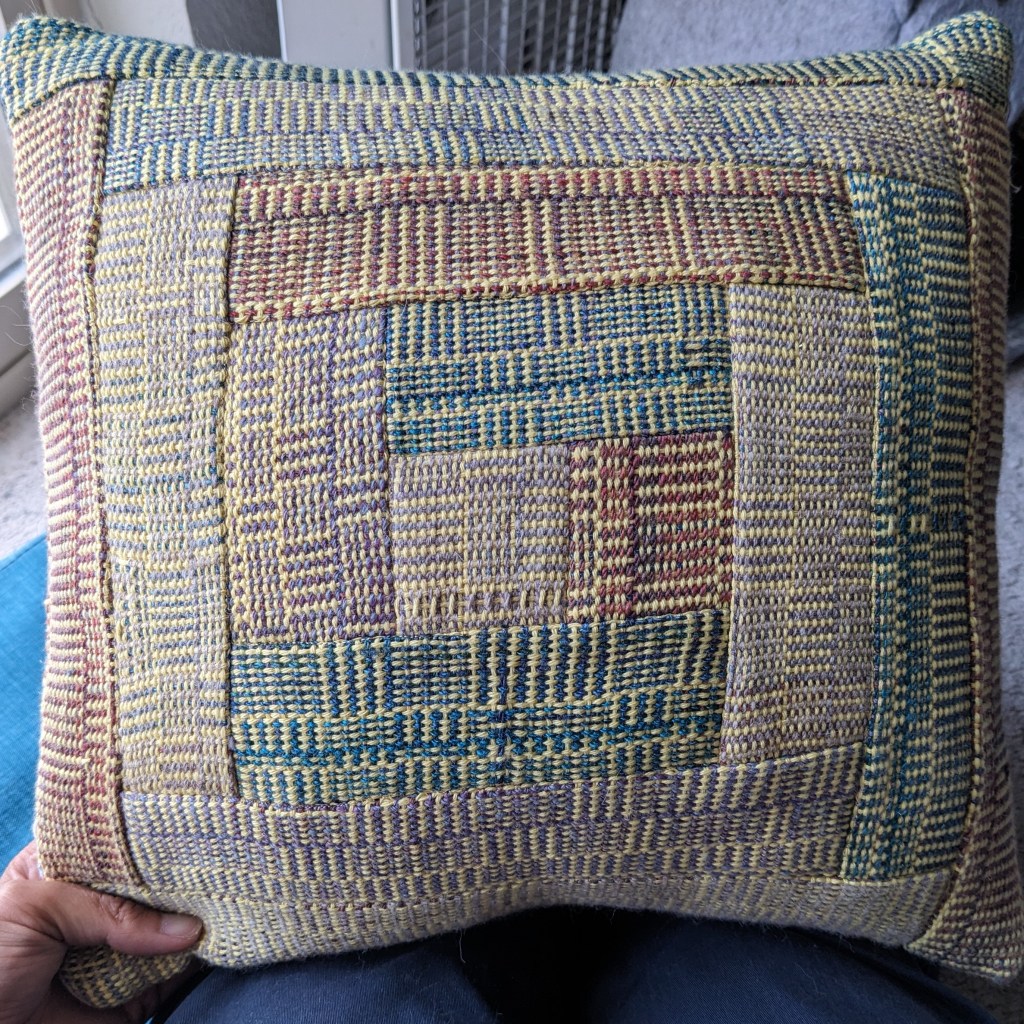
I wove my first “log cabin” pattern using handspun accent yarn and yellow commercial cotton, bravely cut it into strips, and quilted it using the “log cabin” block 🙂 so it’s my log cabin of log cabins pillow now.

I attended a landscape watercolor class at my local art museum, which was SUPER helpful and taught me a lot of new techniques. I think one of my main takeaways is that planning a piece *does* help, and makes sure you’re capturing the things you find important. This includes planning the contrasts, and where your dark and light colors will be. I have been mainly preoccupied with shadows, but have ignored the contrast between back/mid/foreground, which helps guide the eye across the work as a whole. As I looked back through my field book, I found that I tend to ignore the mid and foregrounds, opting to simply look into the distance and draw the mountains I see. But… adding context adds depth and interest to the piece, so I’m now looking with new considerations in mind 🙂

I’m actually quite impressed with myself for this little piece… now to bring these skills outside

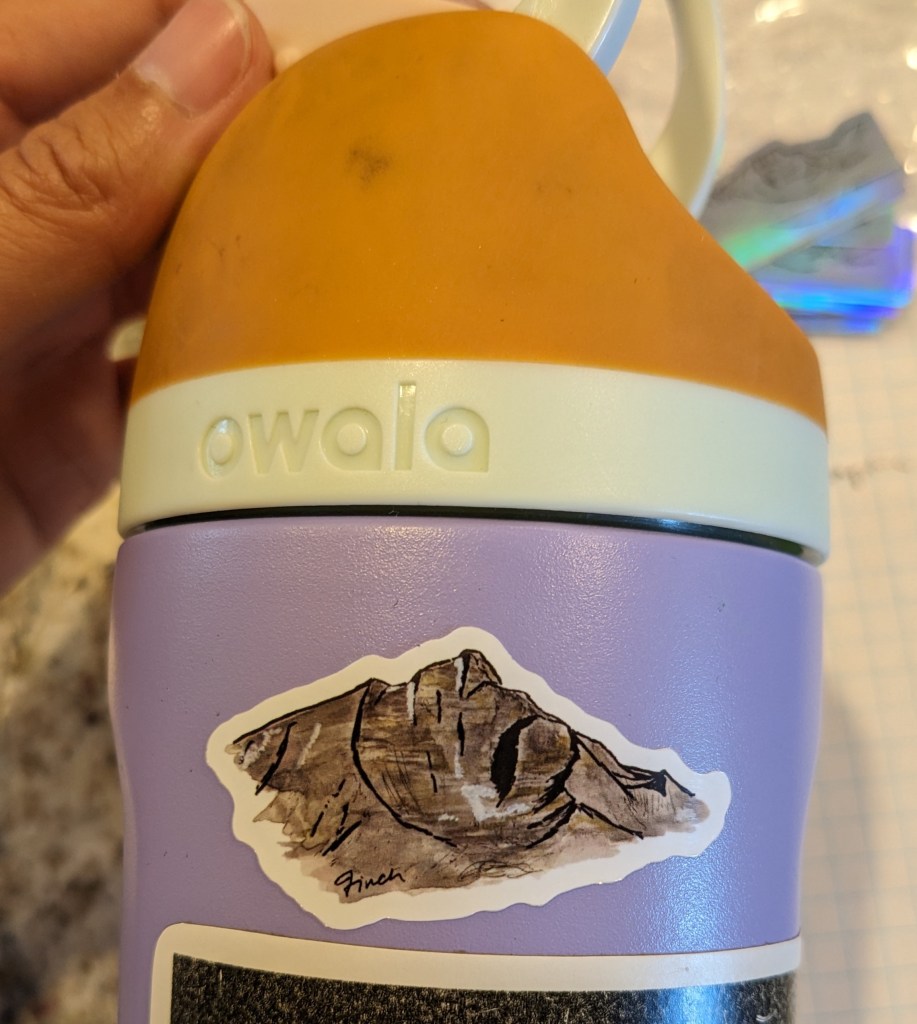
I also made some stickers of my art! Which is so fun!