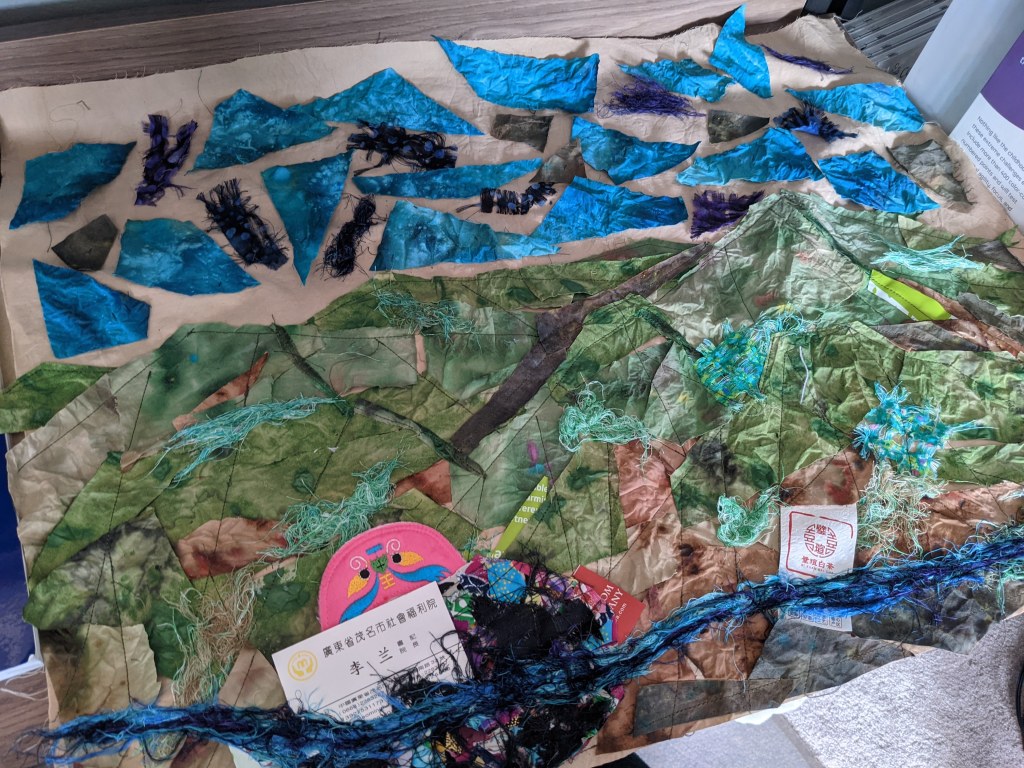
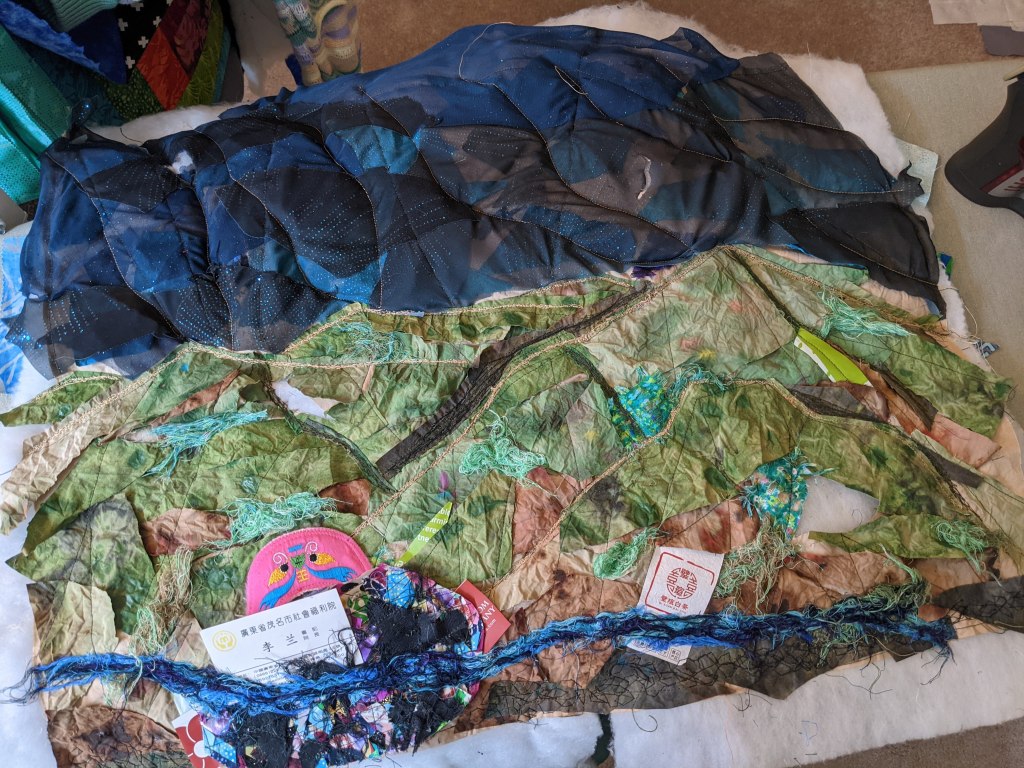
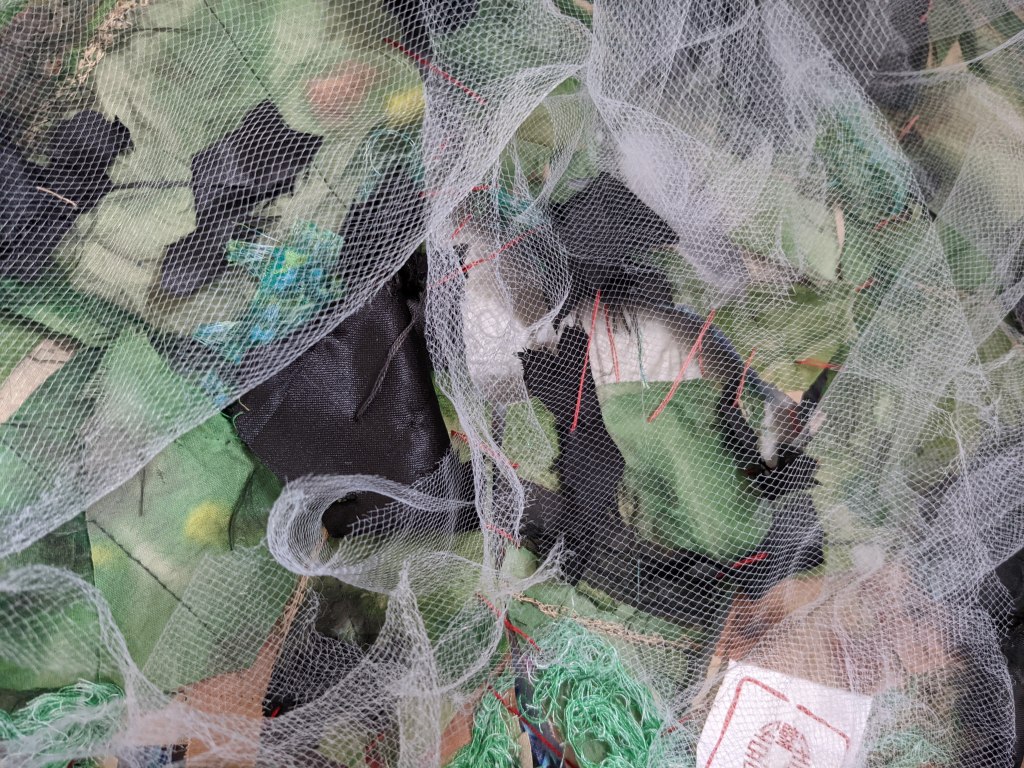
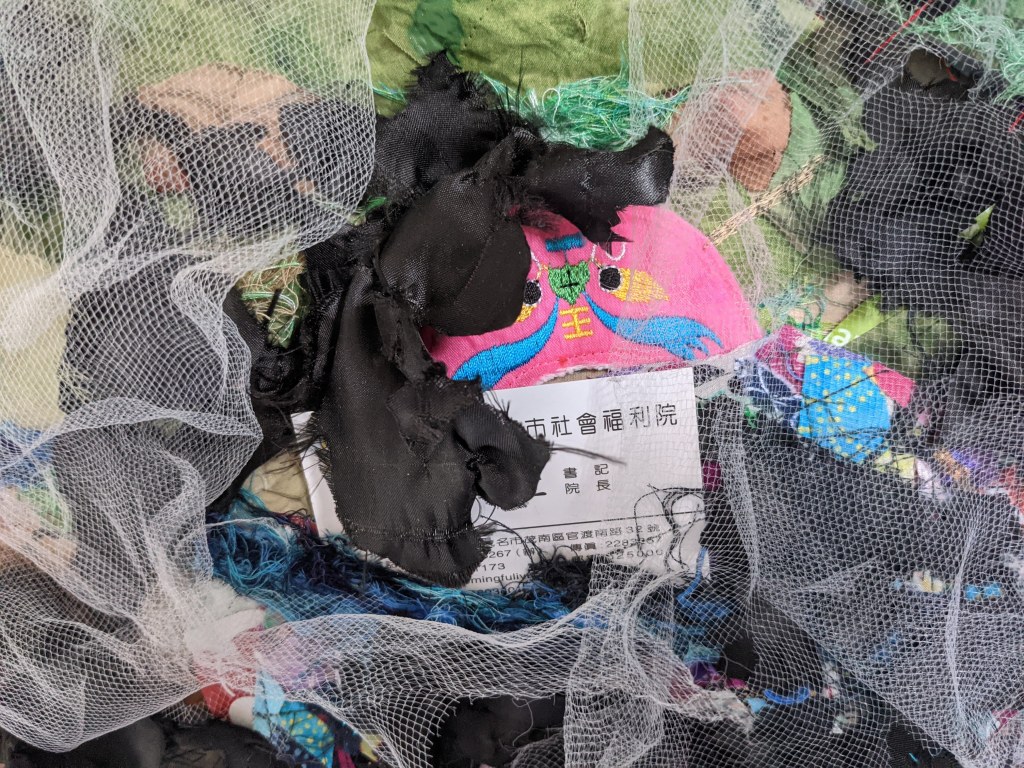
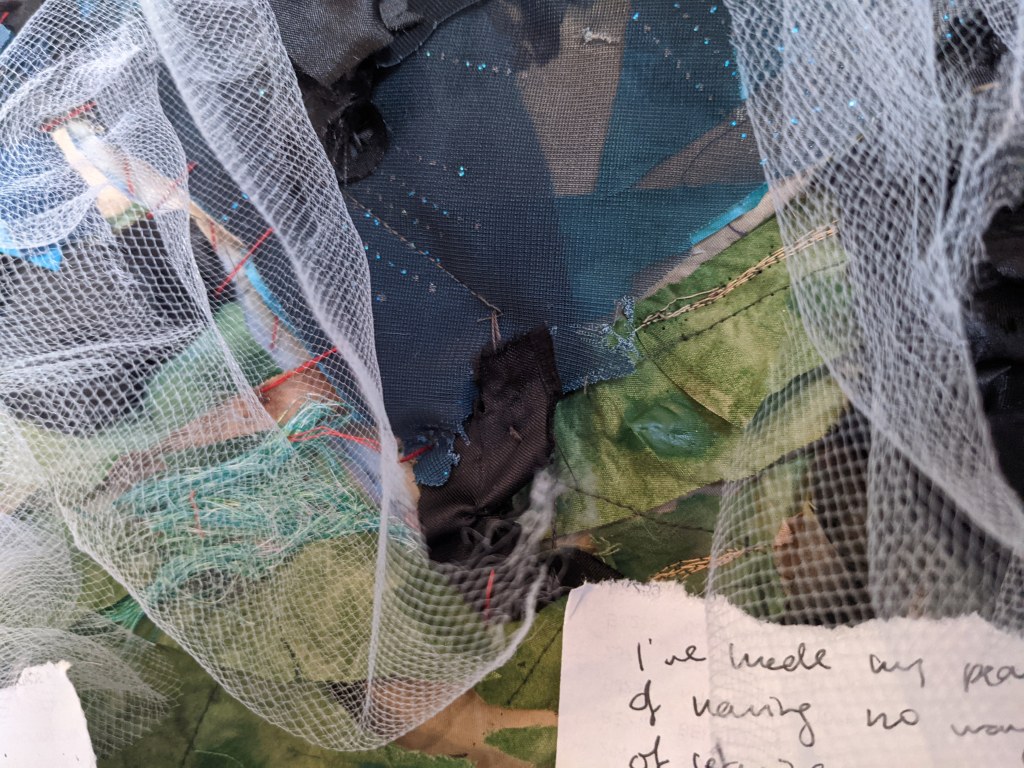
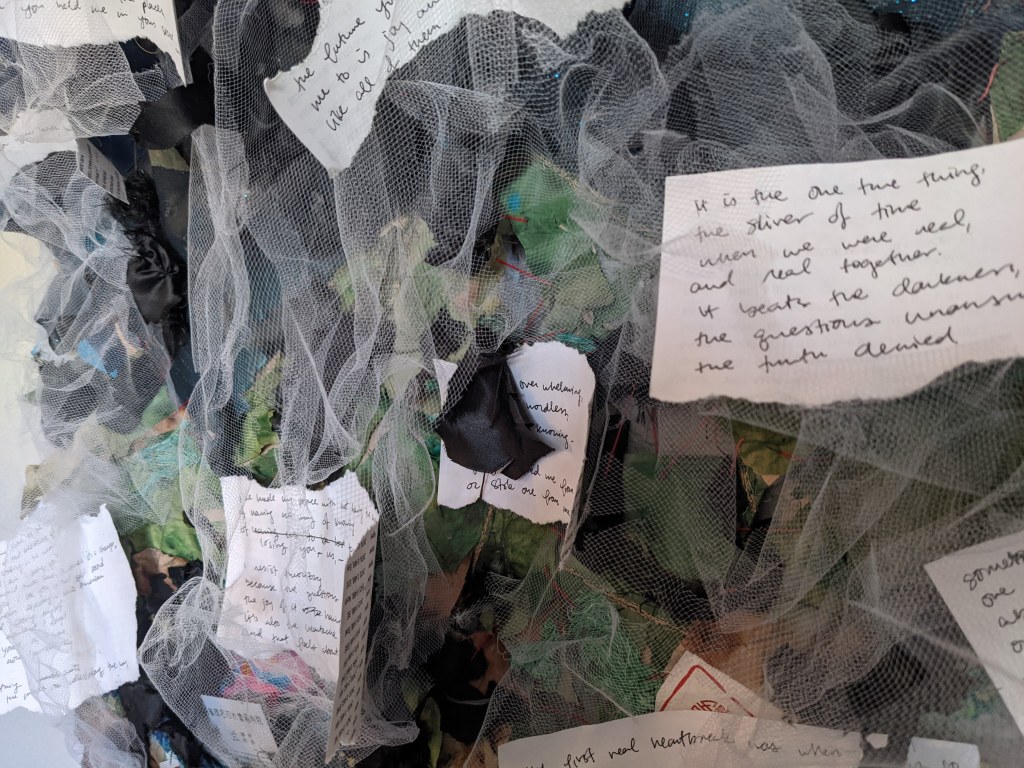
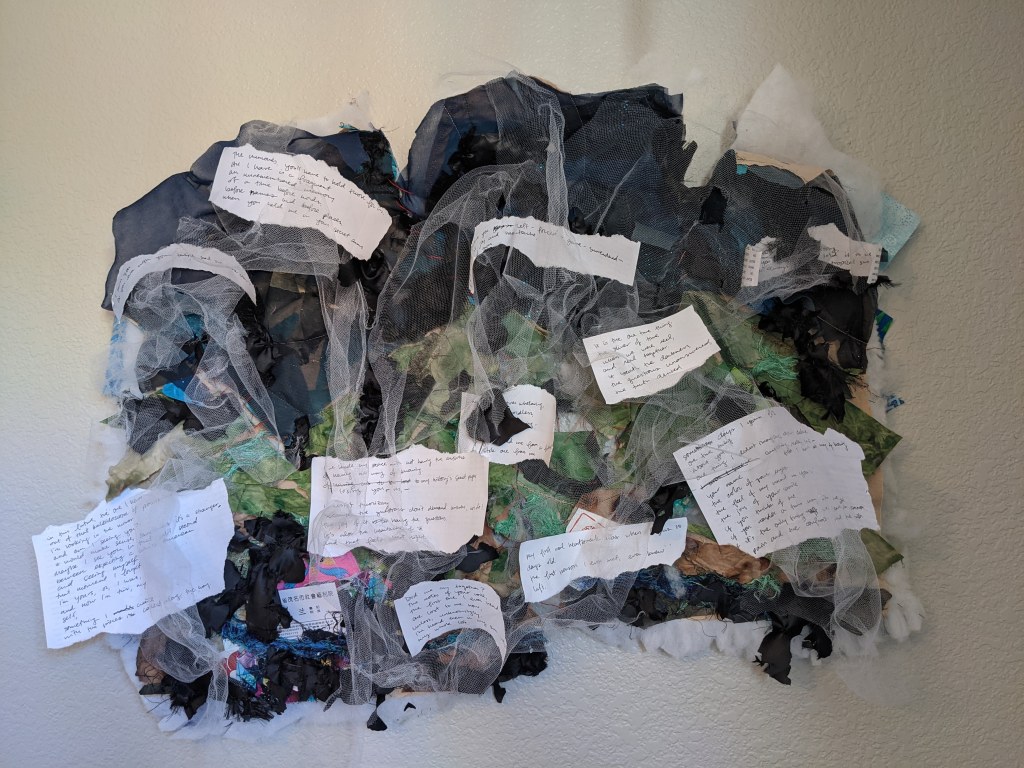
Over the past year, I’ve been exploring my feelings and memories and thoughts about my adoption. And with the support of my therapist and adoptee support group, I have created something that really encompasses this nebulous, complex…. experience I’ve had.
This is my attempt at telling, creating, authoring part of my story, and trying to communicate what it’s felt like to have this story and move into writing it myself.
I bought white fabric, dyed it with tea, and then painted it. Created the colors and used scissors and my hands to create the shape.
I took already made fabric and pulled it apart into bundles of thread and pieces with holes and frayed edges.
I incorporated the business card from the orphanage I spent time at, and little baby shoes I found in my parent’s basement. And some tea wrappers, as drinking tea is one of the ways I’m engaging with my heritage right now.
I created a landscape based on research from Google Earth of the surrounding hills and the city I was found in using this imprecise, bits-and-pieces applique.
I wanted to stop here. I had a piece I liked looking at, and it was what I had imagined. But it wasn’t the story I want to tell, the whole story, the true story. So I made it messy and complicated and disjointed, like adoption is, how adoption feels. To be cut off from the first person you ever met and knew, who grew you, to be separated from people who look like you, who you heard while you were waiting to be born. To have an origin story you can’t remember and can’t ever know. To be out of context, displaced… Displaced to somewhere nice, with good people, but to always be a branch grafted onto the family tree.
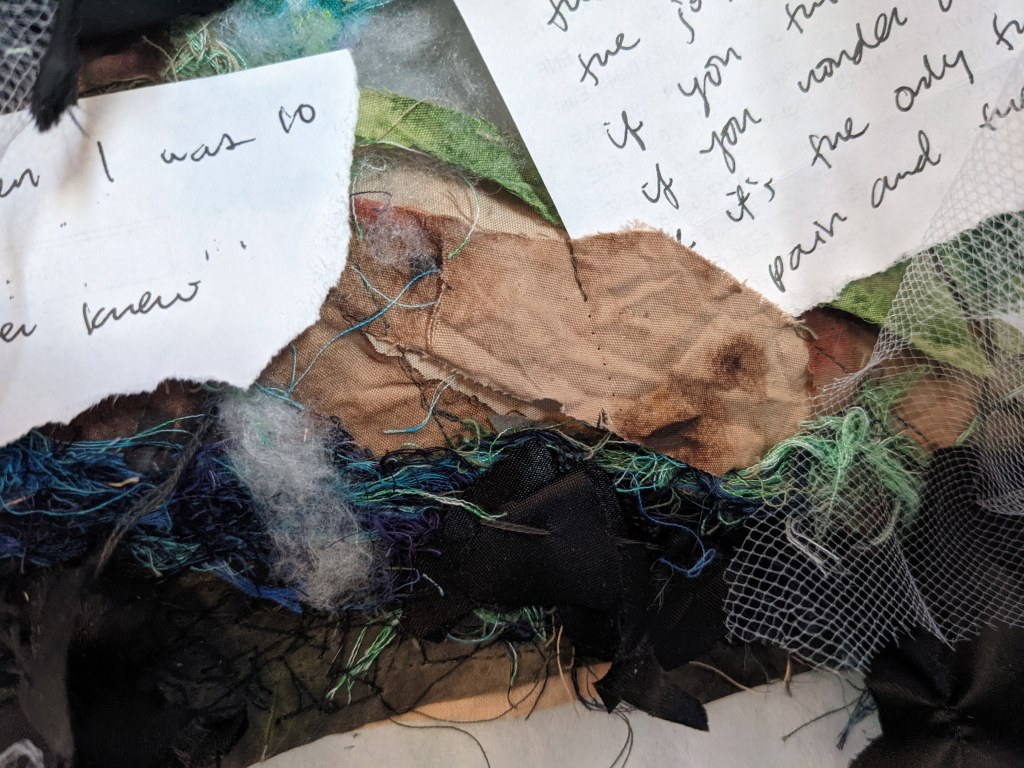
And so I covered it with black bits of fabric, obscuring it.
And cut it up and fit it together in the wrong places and stitched it together again.
And undid stitches and pulled pieces of fabric up and cut into it.
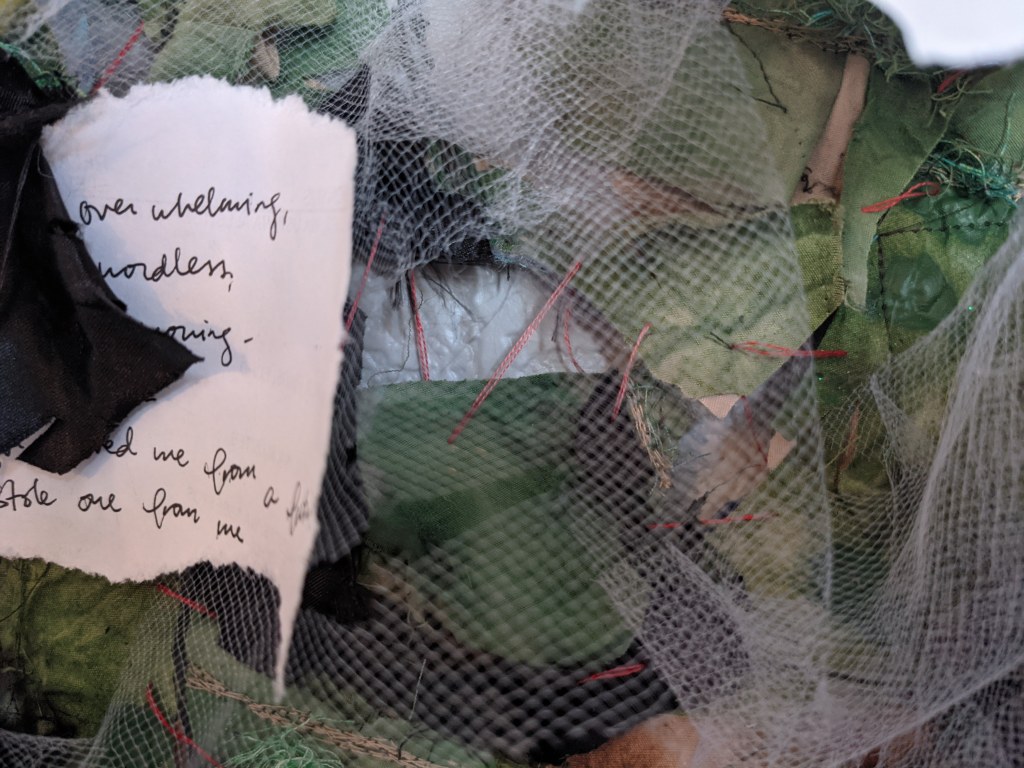
And covered it with ripped pieces of mesh tulle, covering it in more haze.
And, finally, fit the pieces of a poem I amalgamated from my bits of writing about adoption into the shredded edges. It doesn’t feel like closure, but I did need to express it. It was so strange to make a quilt that is not a grid and angles and 1/4″ seams. In the beginning it was daunting, and I instinctively tried to make it pretty, but that’s not what I feel and not what I wanted it to be.
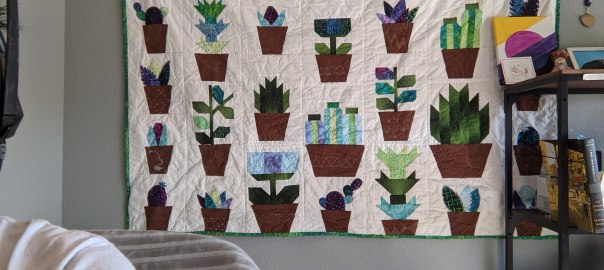
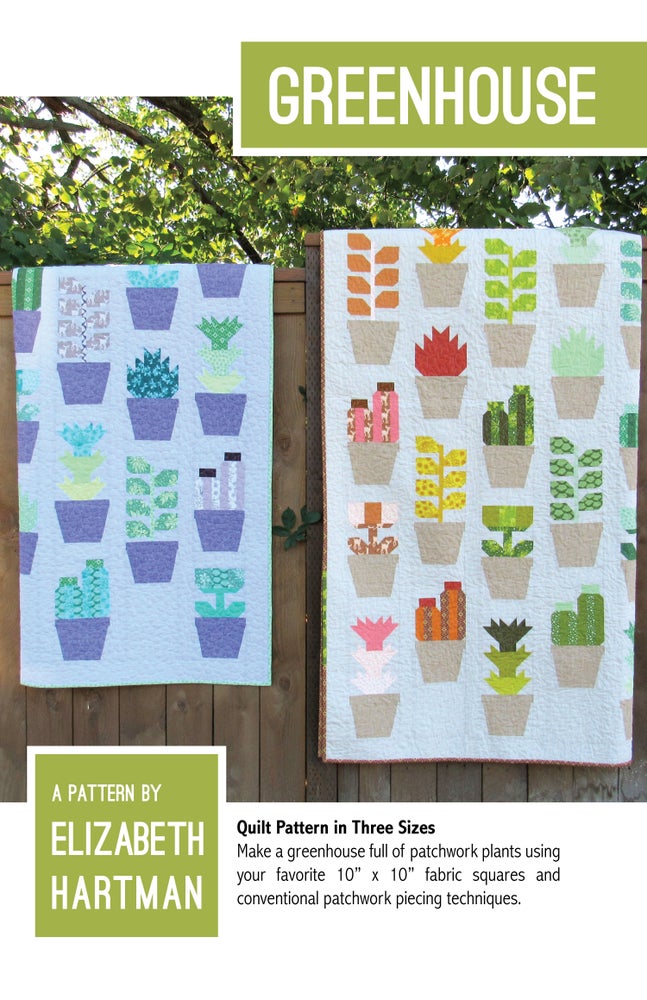
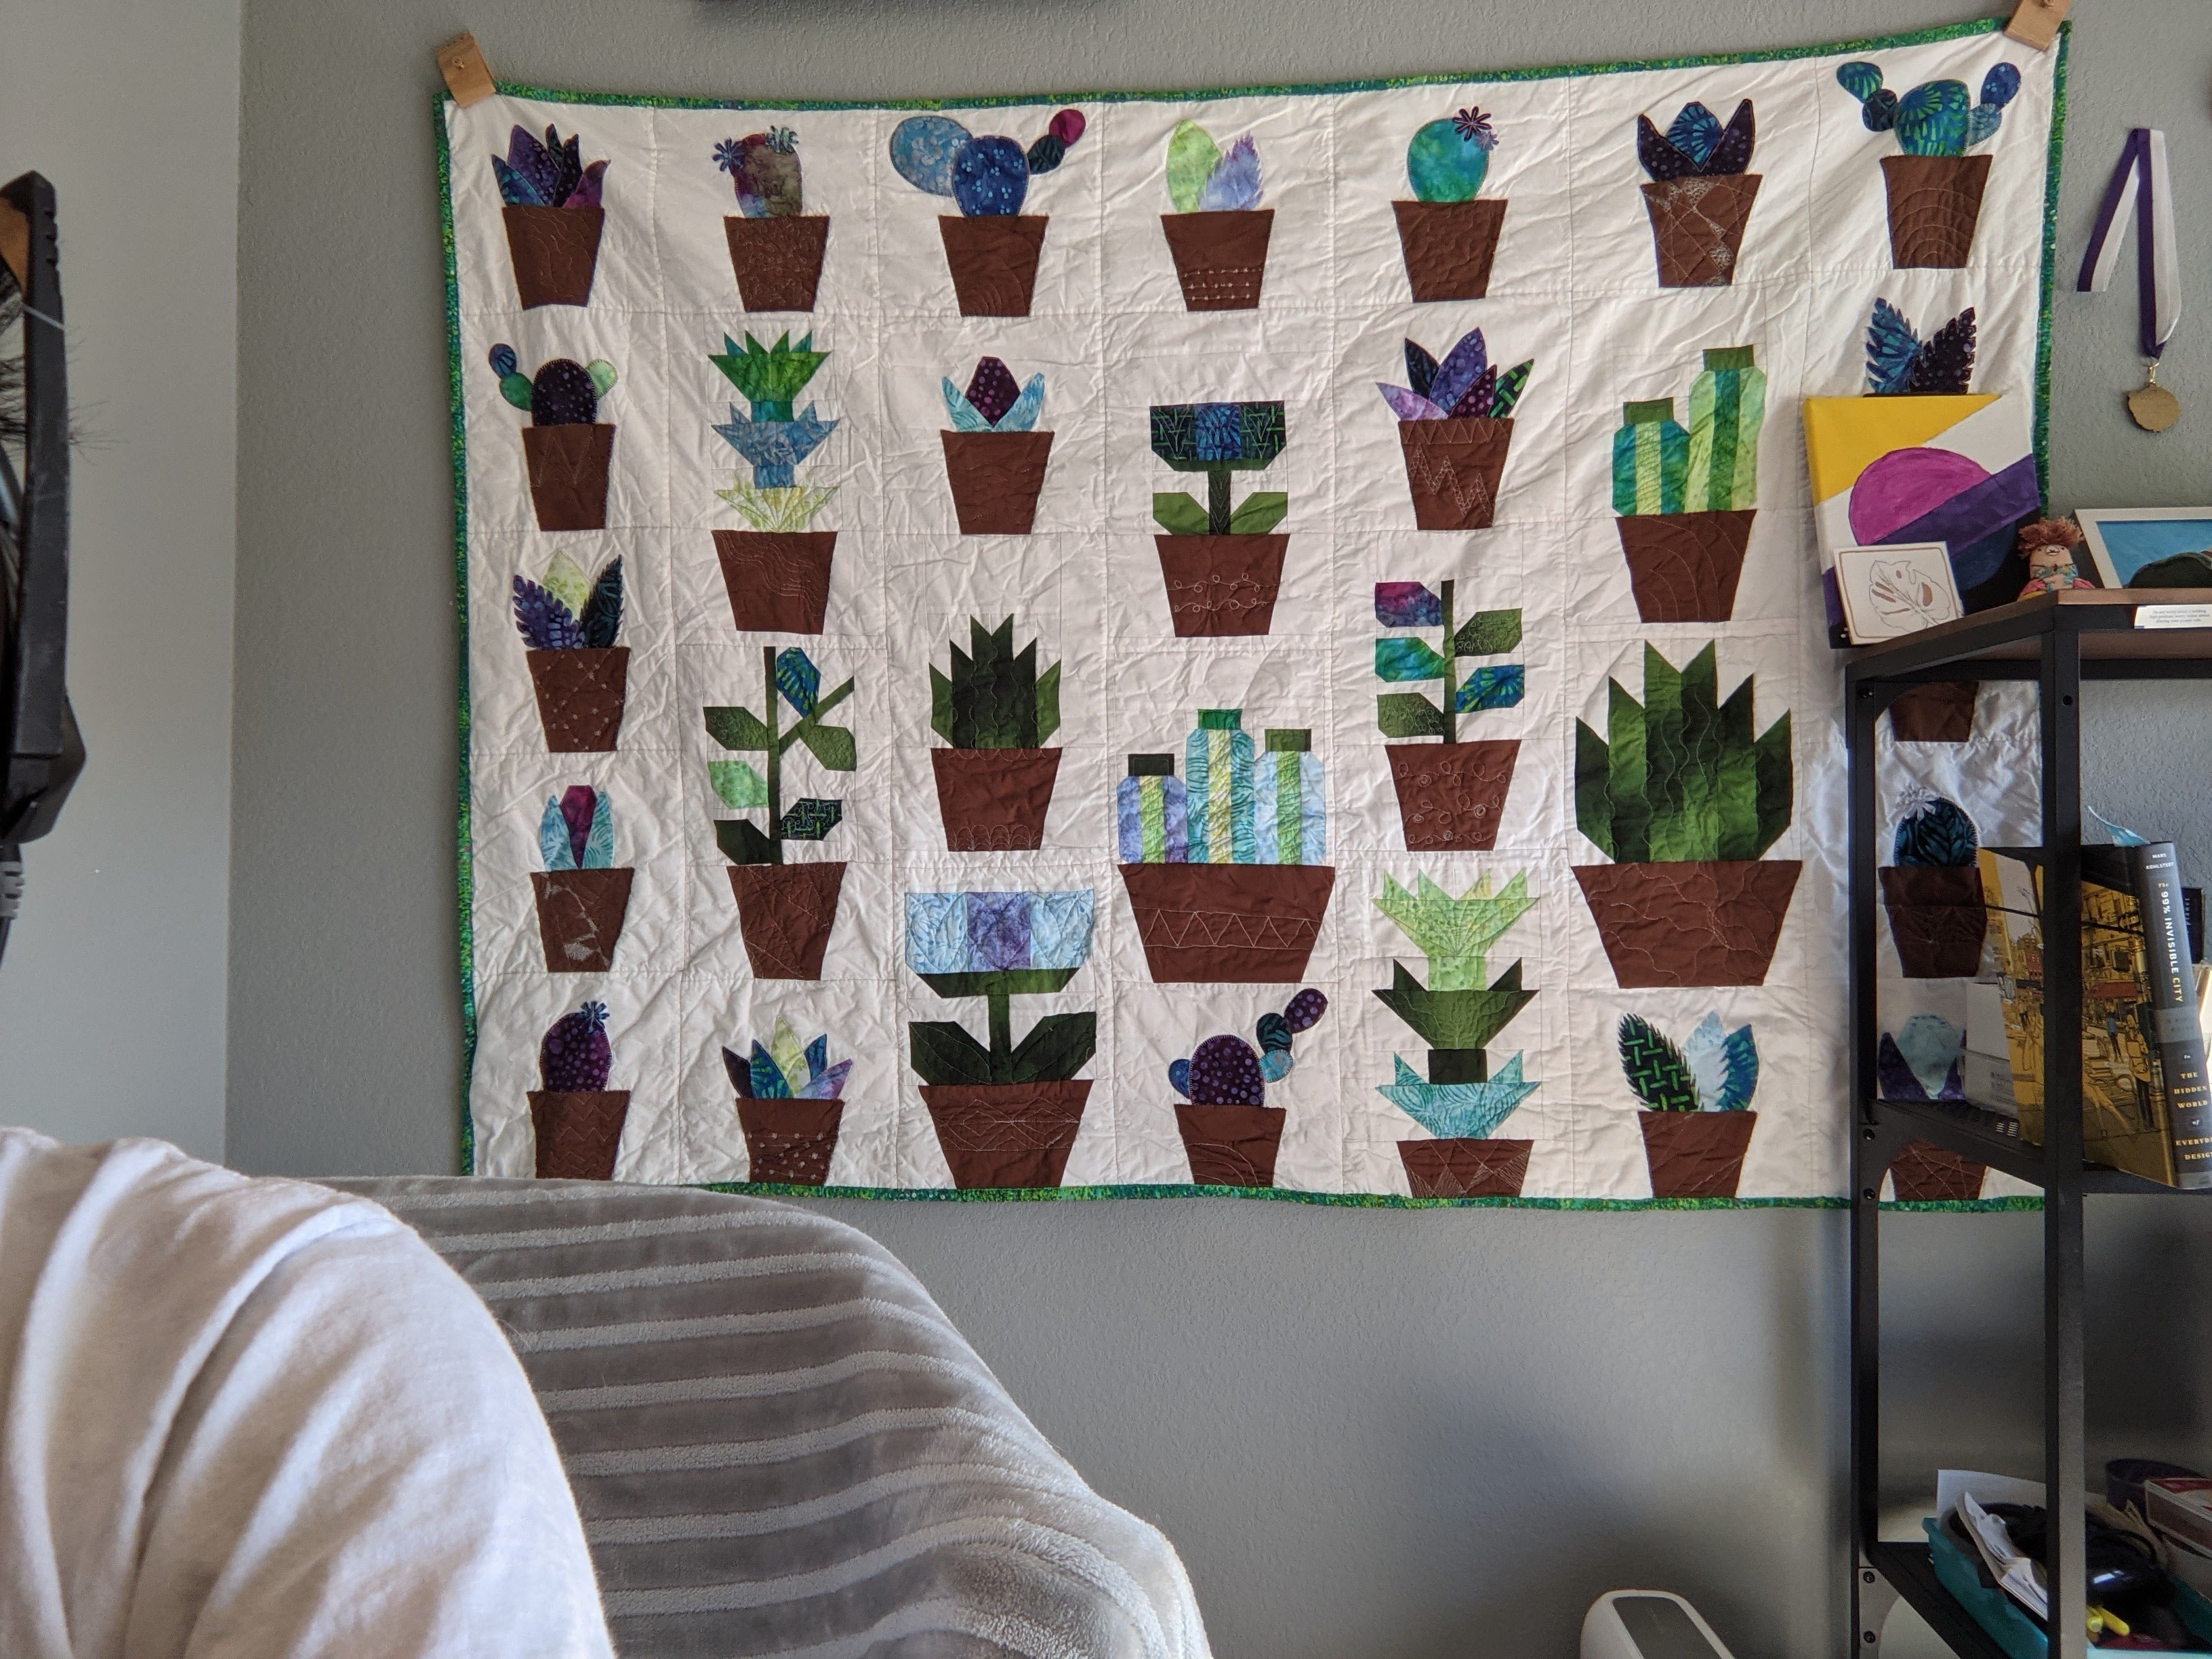
So I’m a big plant person. I love plants. I have had an ongoing collection of succulents for a couple years, and last summer my cousin (who I made the memory quilt for) gifted me a bunch of mature houseplants like pothos, monstera, and colocasia. So I’ve wanted to do a plant quilt for a long time, and I actually bought half the supplies I needed for this quilt in early 2020. At that time, I was planning on doing the entirety of Elizabeth Hartman’s “Greenhouse Quilt”. Hartman creates incredible patterns of actual animals and objects, all pieced, not applique. This means there’s a lot of cutting itty bitty pieces of fabric, sewing itty bitty pieces of fabric… and a lot of mental effort to stay organized and on track. I had done one block of hers a while ago as a pillow, and used one of the plant blocks as a bag for a friend (below).
Flower block from Elizabeth Hartman
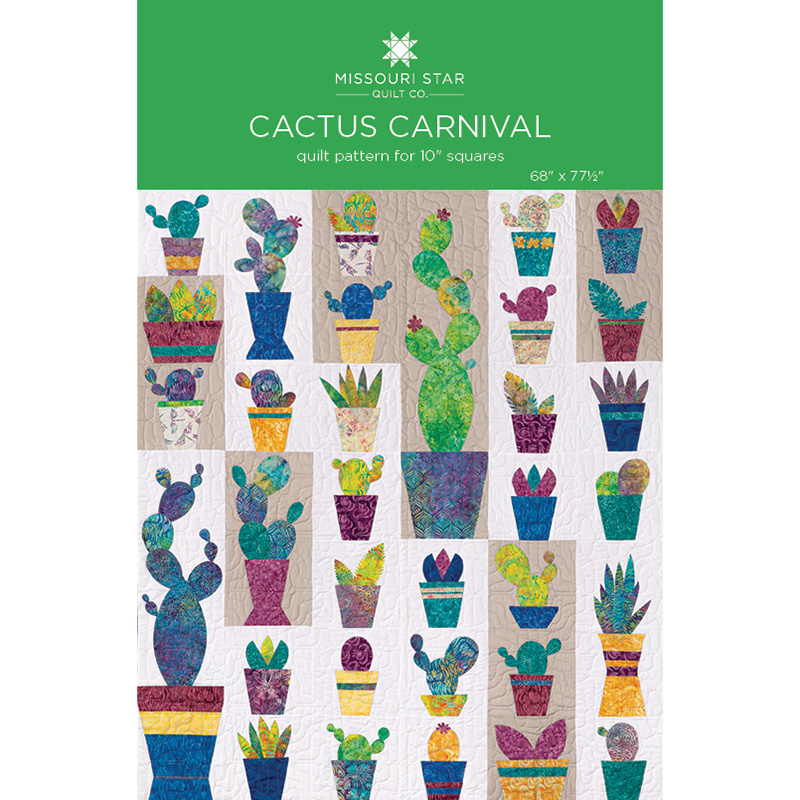
And then I saw MSQC’s “Cactus Carnival”, which is applique, and I knew I could combine both these patterns to create something that wasn’t too hard, and had hard angles and soft curves.
I attempted to standardize the sizes of the blocks, since MSQC’s pattern has a 10″ block, and Hartman’s pattern is based on a 6.5″ wide block with varying heights. I ended up adding borders to the Hartman blocks to make them 10″ wide and 15″ tall, so they could work in columns with the MSQC blocks.
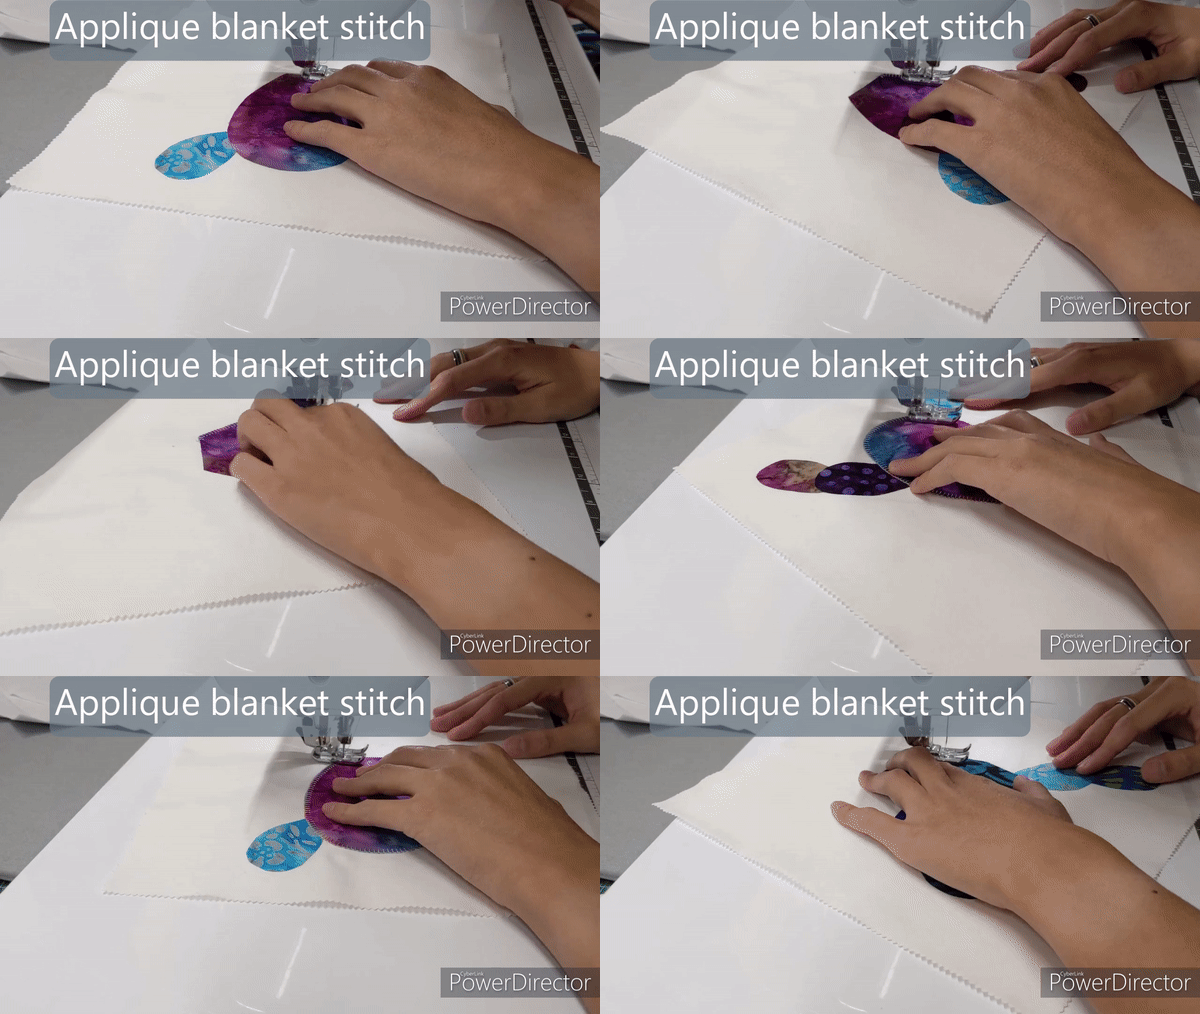
I made four blocks of each of the five general plants from MSQC, and used Heat N Bond for all the applique, which ended up going a lot faster than anticipated. I used my rainbow variegated thread (kind of my favorite thread, let’s be honest I’ve used it for probably half my projects) to outline all my applique’d plants with blanket stitch. I didn’t even have to use Heat N Bond for the pot pieces, and laid those gently on top of my applique’d plants.
I’m only applique-ing the plant pieces here, the pot was a placeholder because the fabric hadn’t come in yetHere I’m going around the main piece, but I come back later to go around every piece. The Heat N Bond doesn’t stay sticky through the washer and dryer, so you have to secure the pieces in another way.
Then I made two versions of each Hartman block – a standard size and an enlarged size. I used the normal pattern for the standard size block, and adjusted the plant to be 8″-9″ for the enlarged size block. The whole time I was kind of stressing because I didn’t think I had enough background fabric to all the blocks, but it ended up totally fine!
I put all the blocks together in a landscape orientation, which is kind of different for quilts! But I intended this to be a wall hanging in my room, behind where I Zoom/video chat from, so that it could be my background! So I arranged my blocks and sewed them together in columns. My first pass of quilting was just straight lines, stitch in the ditch up and down the columns, and then across horizontally.
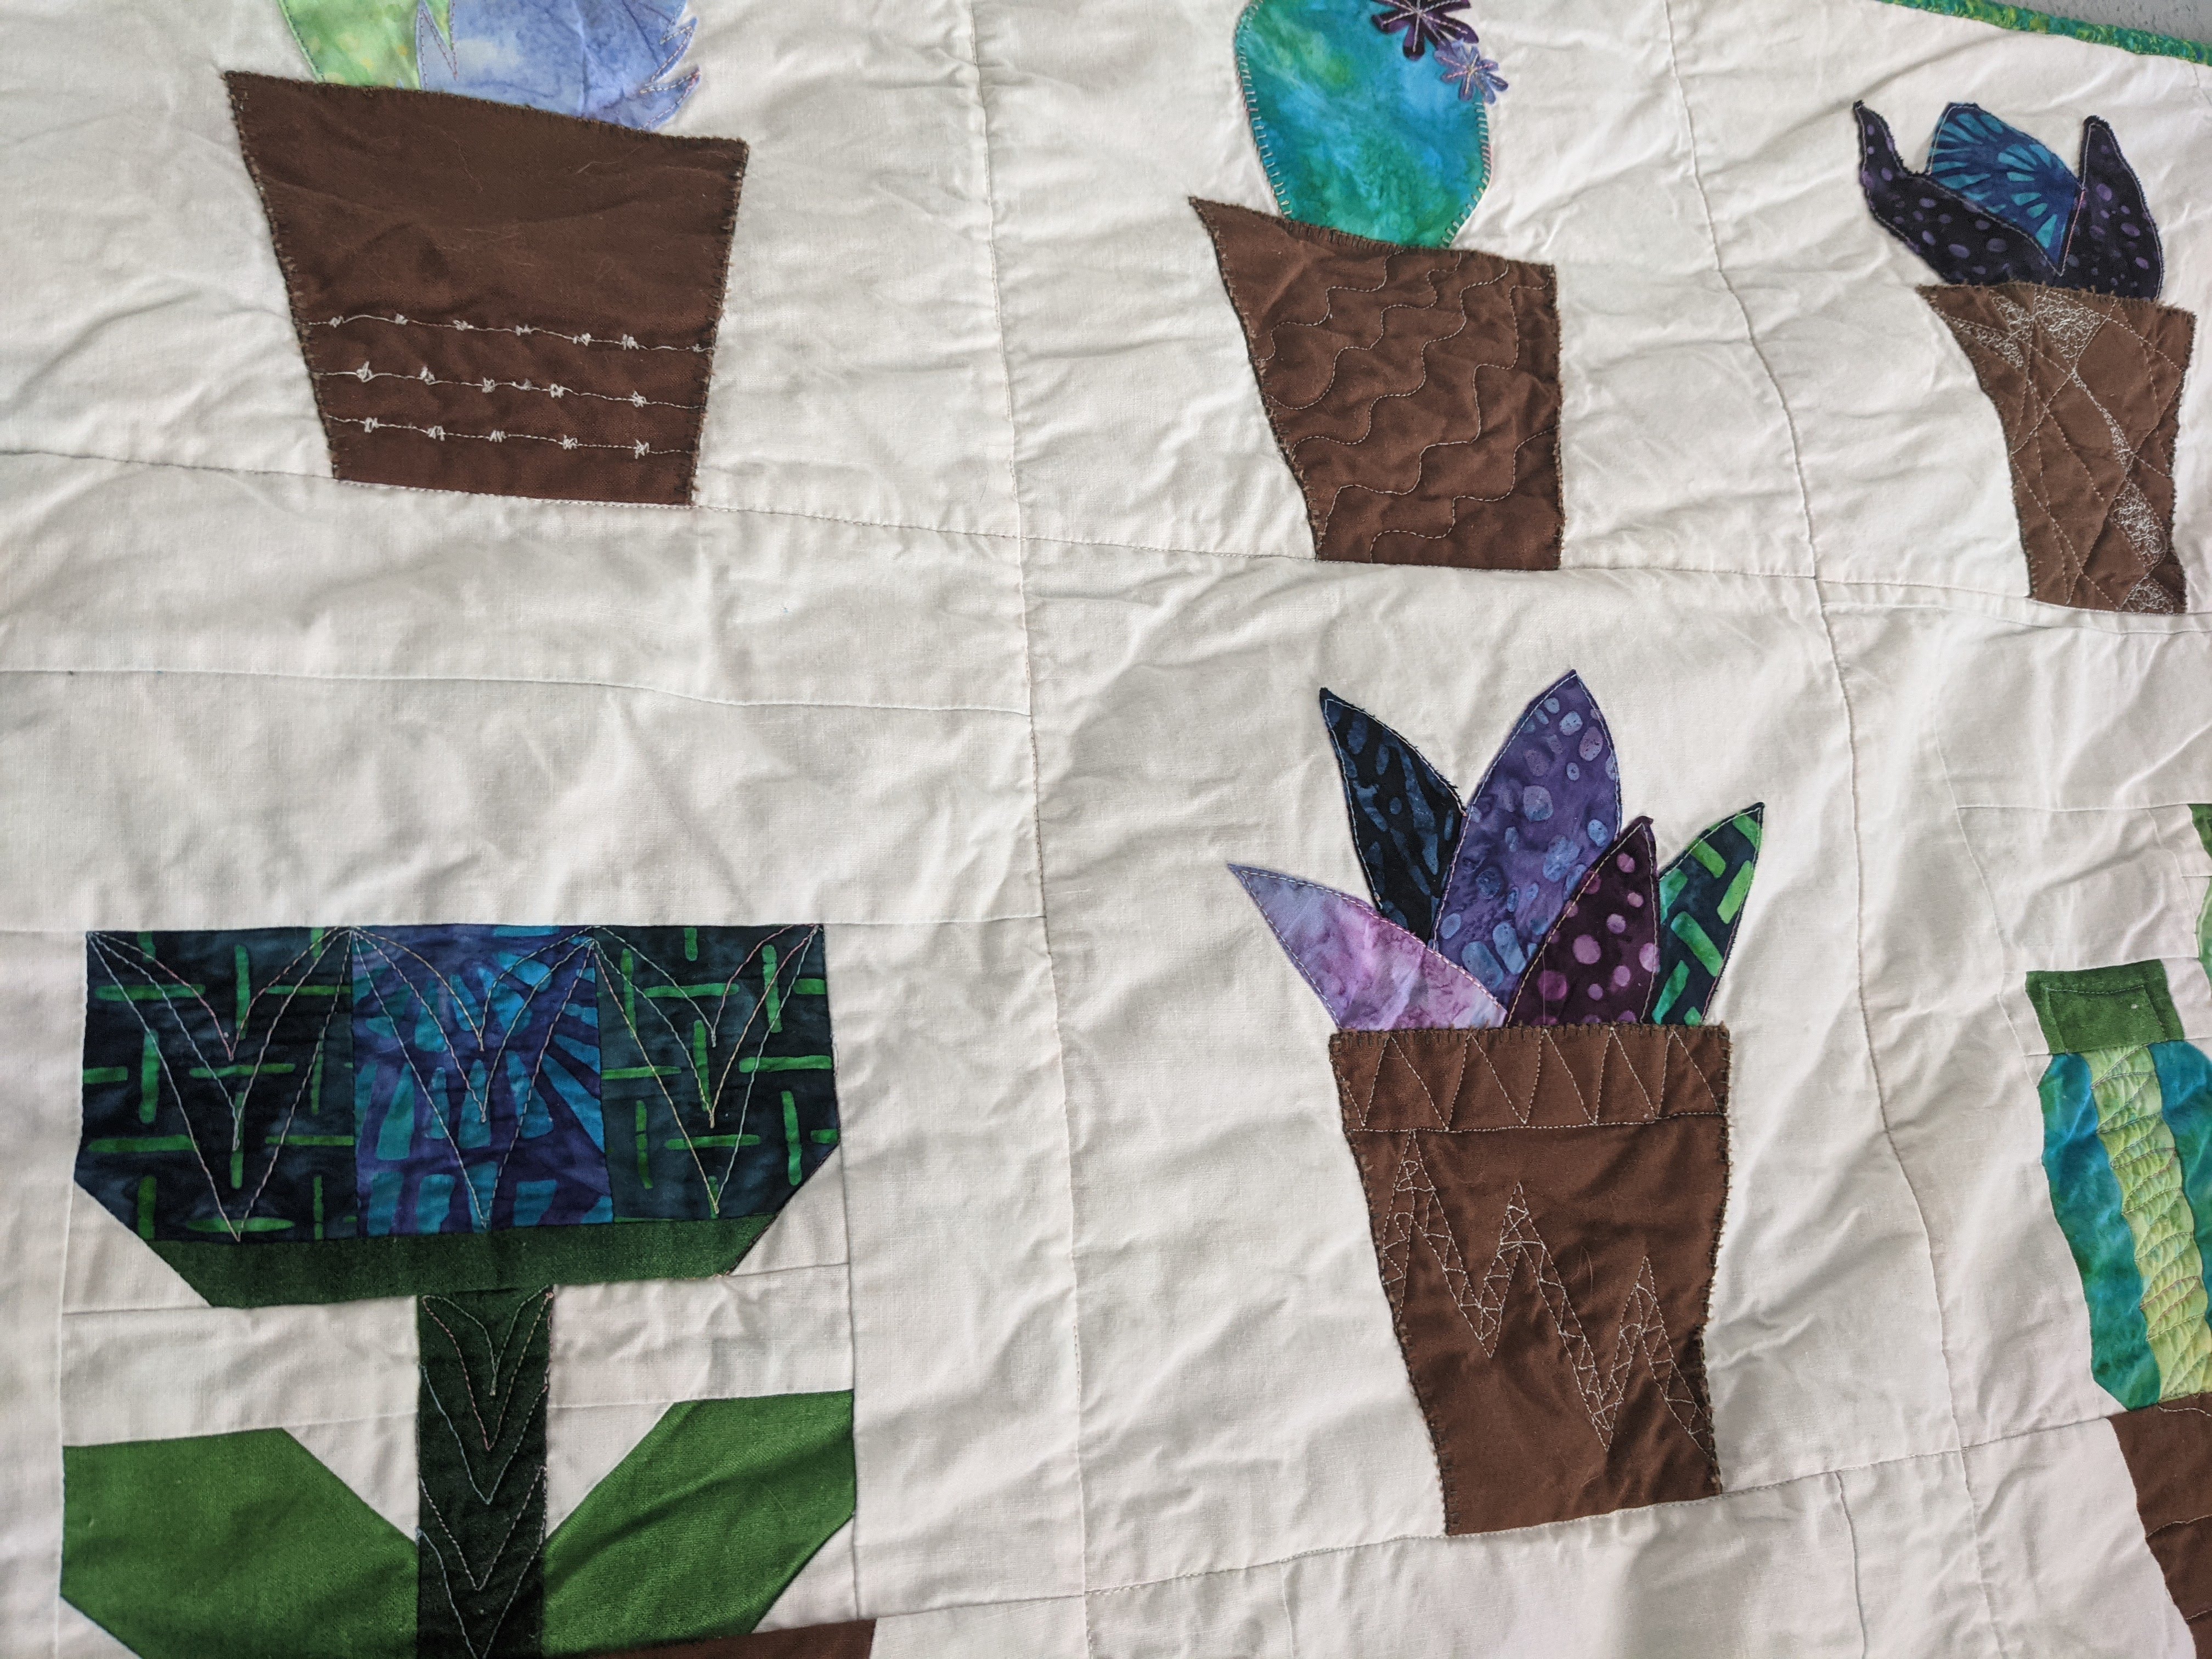
Then, I did free motion quilting on the pots! I started off using this white thread I got, but it kept breaking, so then I switched to a shiny gray that I’ve had for a while, and that kept breaking too… Finally I figured out the problem was the needle! But that kind of just made the problem happen less often.
[Future Finch, who is writing this post, has completed the Plant Quilt and is working on the next quilt and running into the same problem while free motion quilting. I am now convinced that it’s because I was pushing the quilt through the machine too fast, which pulls the thread too tight and then it snaps. I have been working on slowing down and having patience, which is difficult! The machine is running very fast, so it’s kind of loud and the needle is moving quickly, but I have to move slowly and steadily. I’ve gotten to the point where it’s happening even less often than during the pots, but I’m still working too fast. I don’t know if I want to turn up the machine speed, although I think that could help. It just stresses me out because it’s so loud, which makes me go faster.]
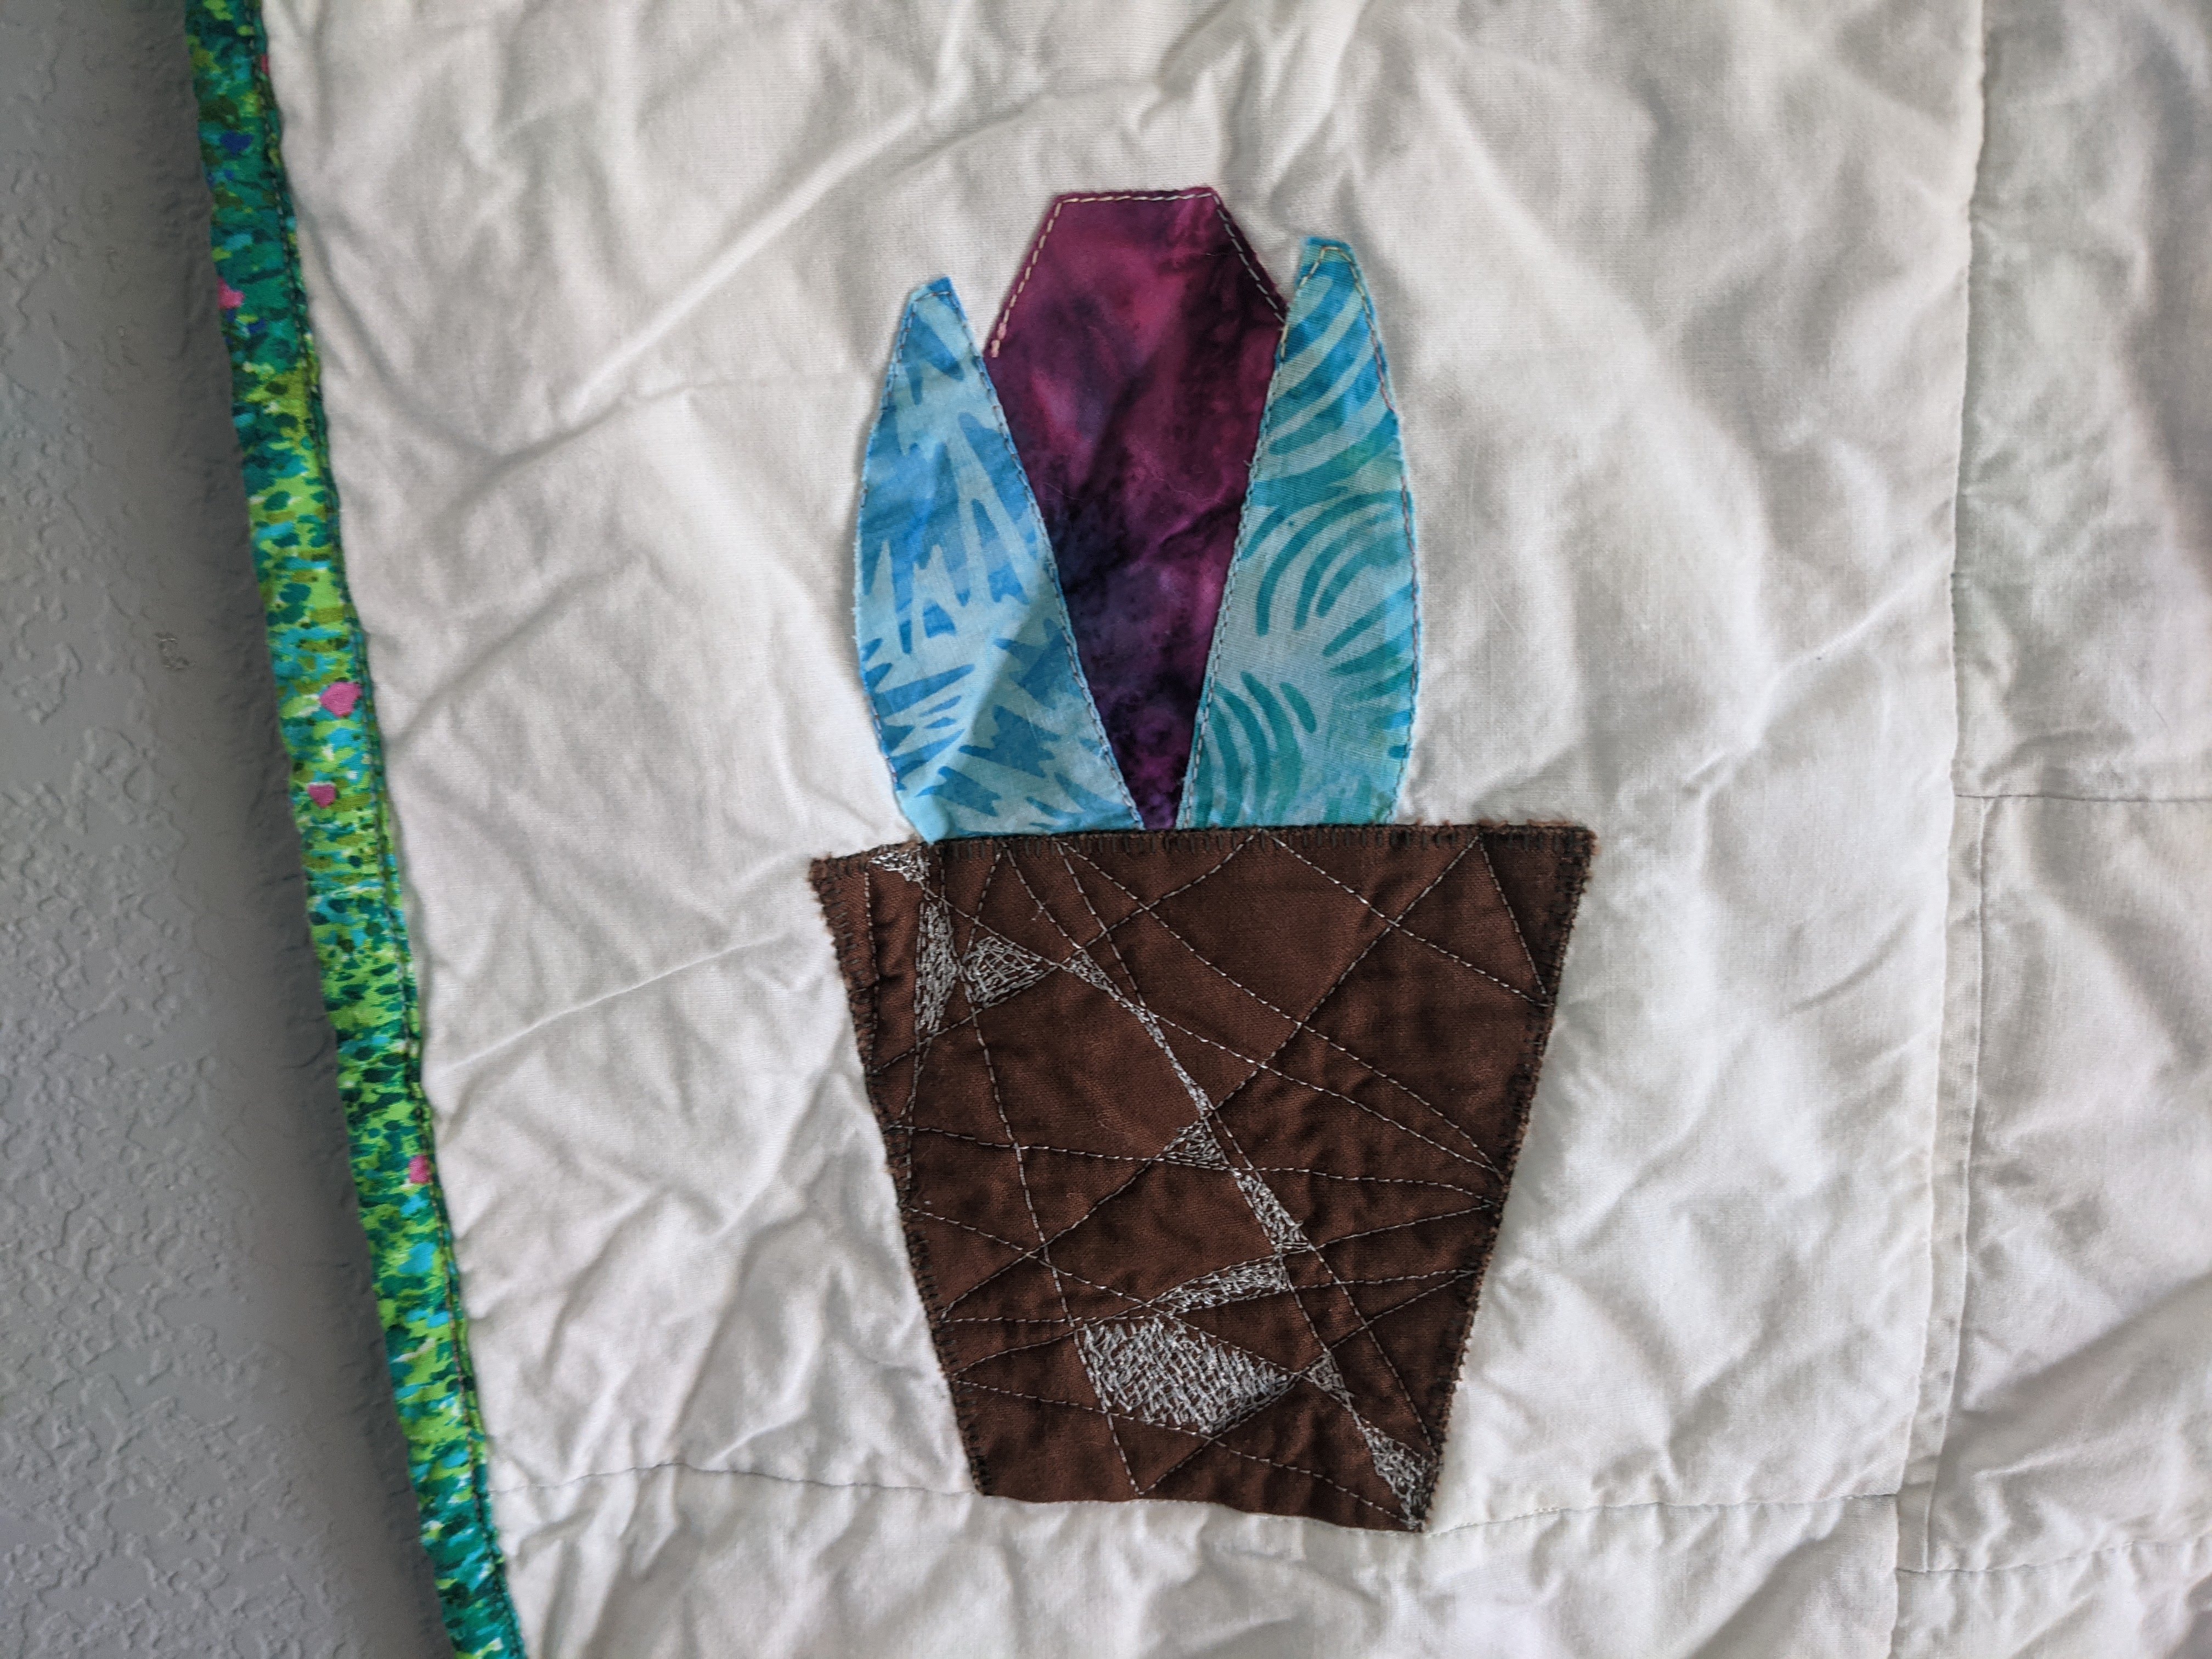
But I persevered through my mistakes and the pots ended up so fun. I had six different “motifs”: swirls, abstract, wavy, rainbow, zigzag, and dots. Each pot, I rolled a die to decide which motif I’d use – as long as it wasn’t the same as the pot I just did or any adjacent pots. It was so fun to vamp on different motifs and find new ways to represent them. It was nice to not have to come up with an entirely new idea, but just a new take on the same motifs. So it was fun to do and fun to look at 🙂
As I was finishing up, I wasn’t sure if it needed more quilting or if I should quit while I was ahead. The applique plants and pots had their own blanket stitch outlines, and the pots had the FMQ, but the Hartman blocks were kind of empty. I called a friend and we decided that I should do limited quilting on the Hartman plants so they blended in with the whole quilt. I matched the designs between the standard and enlarged blocks, so the small cactus has the same quilting as the large catcus, etc. I think it really brought everything together! Last up was the binding and putting it through the washer and dryer. Since I found them at Target, I throw in a “color catcher” sheet with all my new quilts (and some of my more brightly colored clothes), which did come out a gray-ish green.
And now it’s hanging up behind my desk, courtesy of some quilt hanging clips my parents got me for Christmas a couple years ago. 🙂
Project completed February 11, 2021.
Colorful plant pieces: Artisan Batiks – Aviva by Lunn Studios for Robert Kaufman
Ombre Green: Wilmington Essentials – Ombre Washart Forest by Wilmington Prints
Brown pots: Bella Solids – Earth by Moda Fabrics
White background: Kona Cotton – Snow by Robert Kaufman Fabrics
Backing and binding: Painterly Petals – Textures Mint by Studio RK for Robert Kaufman
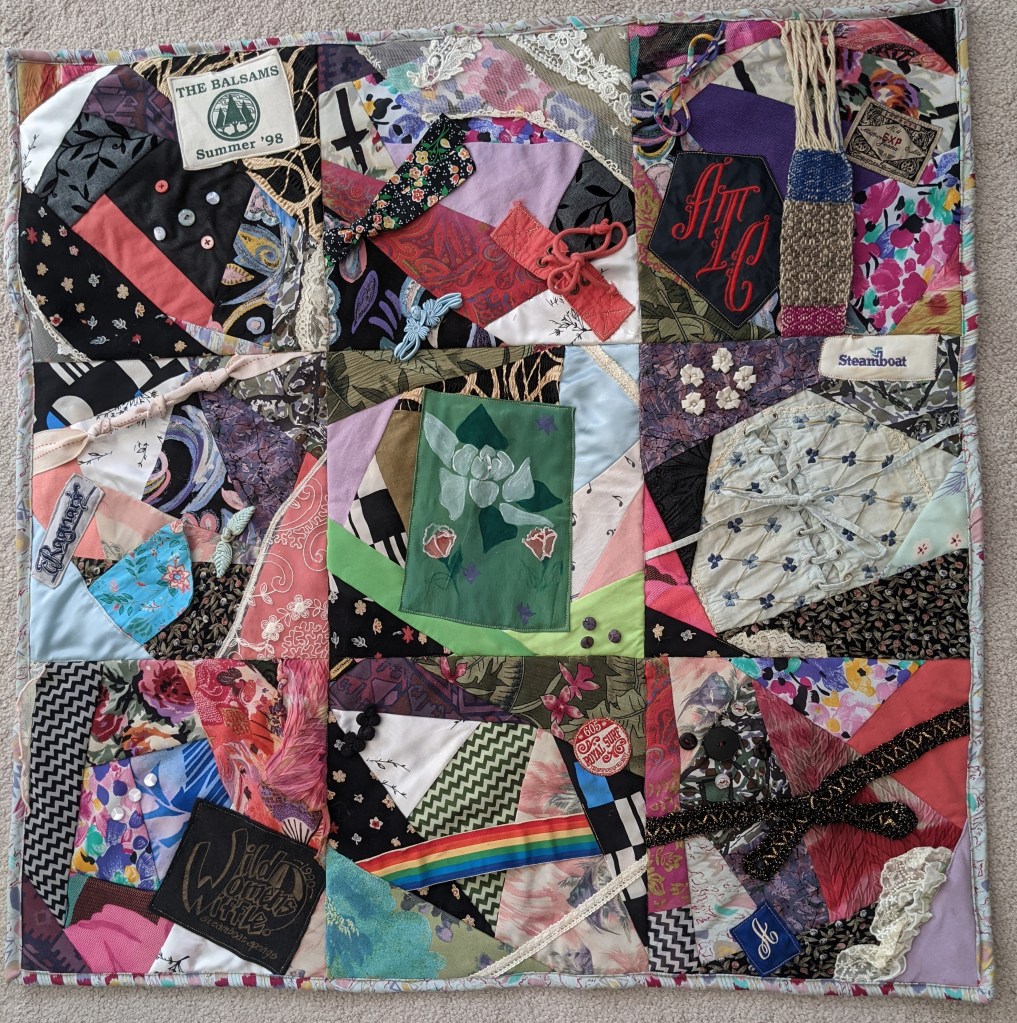
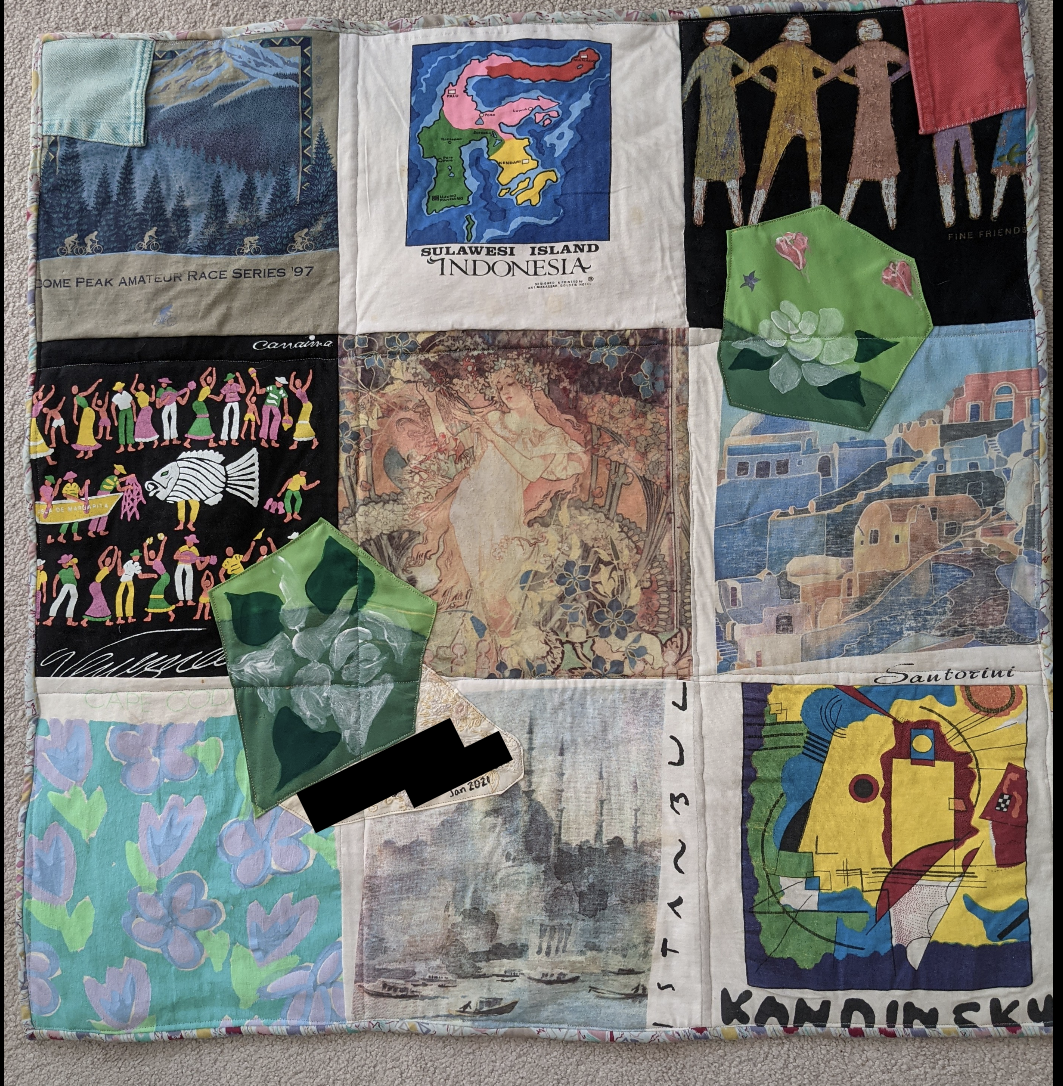
This memory quilt for my cousin was my other big project of 2020, finished in this first month of 2021. My cousin provided her mother’s clothes, which are incredibly fun and colorful. I knew I wanted to do a crazy quilt for my cousin, since she didn’t want something too big, and her mom’s clothes are truly too fun to do something simple with.
First, I inventoried all the fabric and cut off buttons and fasteners and other 3d elements I wanted to include. I chose a 3×3 layout for the back of 9 graphic t-shirts, and figured I’d do the crazy-pieced blocks to match on the front. Through the process, the front blocks ended up a bit smaller but it wasn’t a big deal.
For the piecing, I cut pieces with an uneven number of sides (a tip from the museum employee) for the center piece. Then I added on new fabric to each side, and continued until it was the right size. Since a lot of the fabric was stretchy and textured itself, I used some scrap fabric behind the block to stabilize everything.
I chose some logos to applique, just like my other memory quilt. I appliqued them on the blocks, prior to piecing the 9 blocks together. At this point I also added some lace, belts/scarves, and other ties by machine.
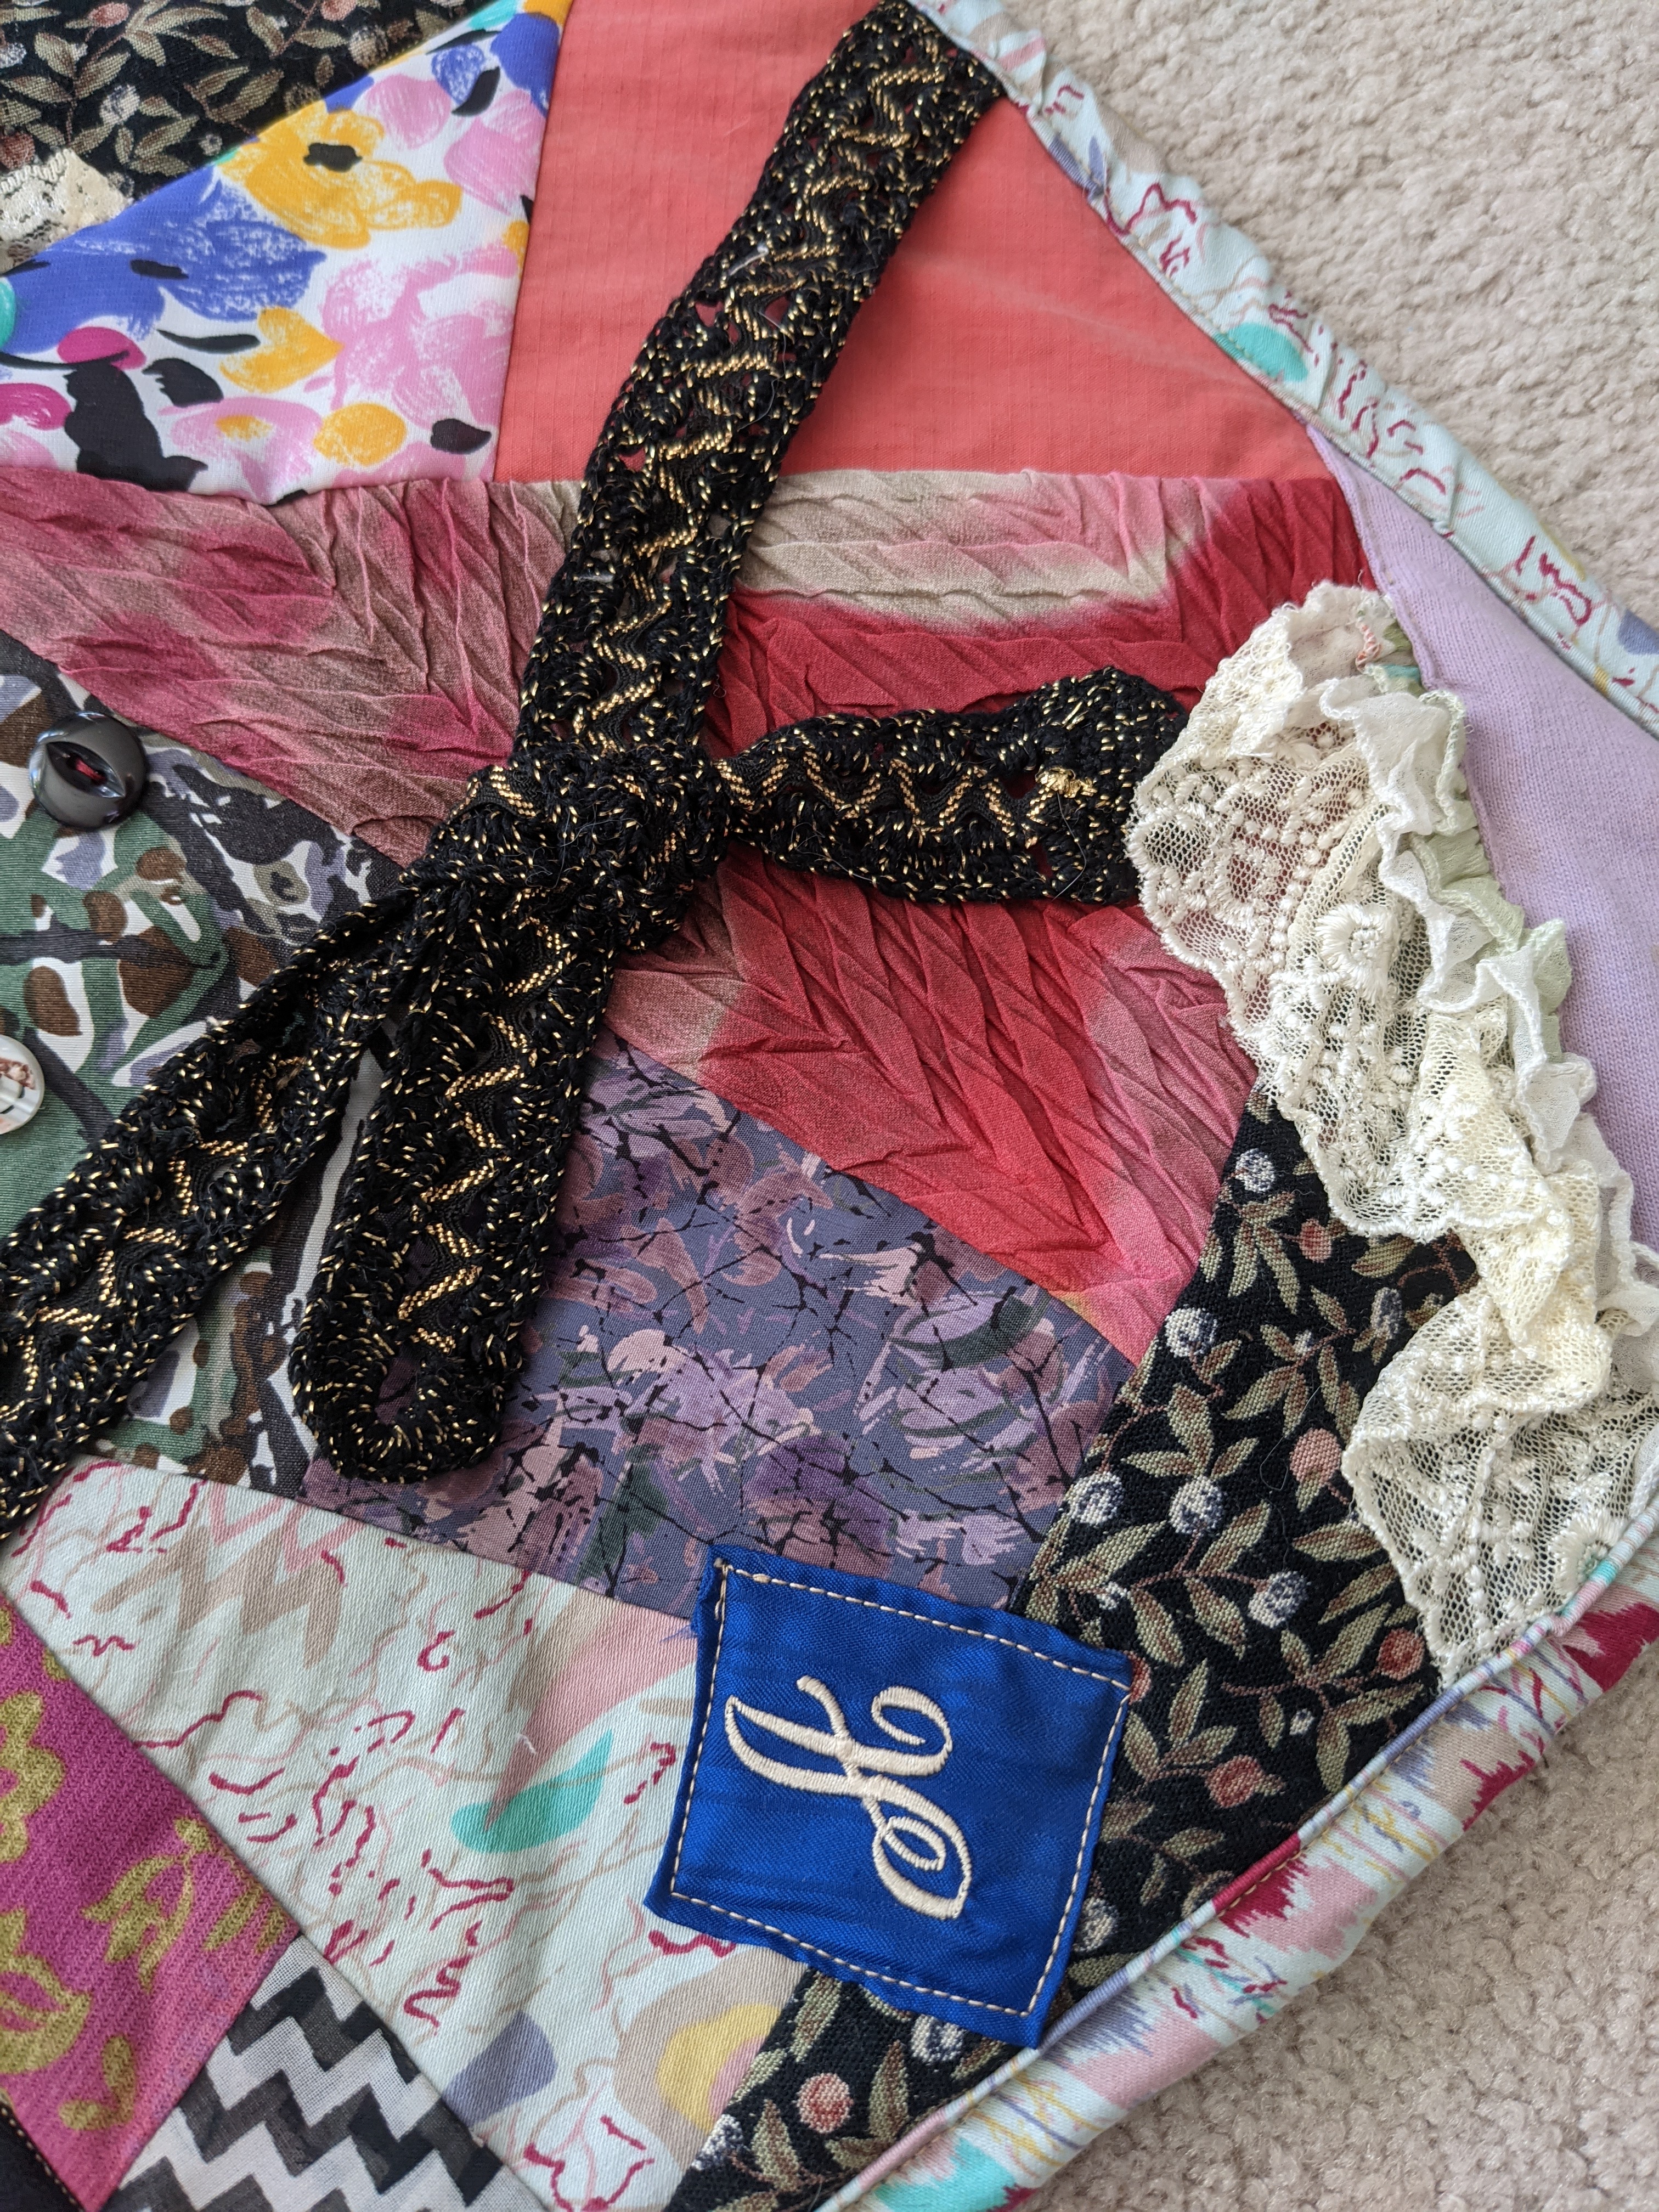
Black and gold belt, some lace, and appliqued logo
Then I pieced it together because I wanted to add the buttons and fasteners between some blocks. I added the buttons and such by hand, since they’re a bit fiddly on the machine.
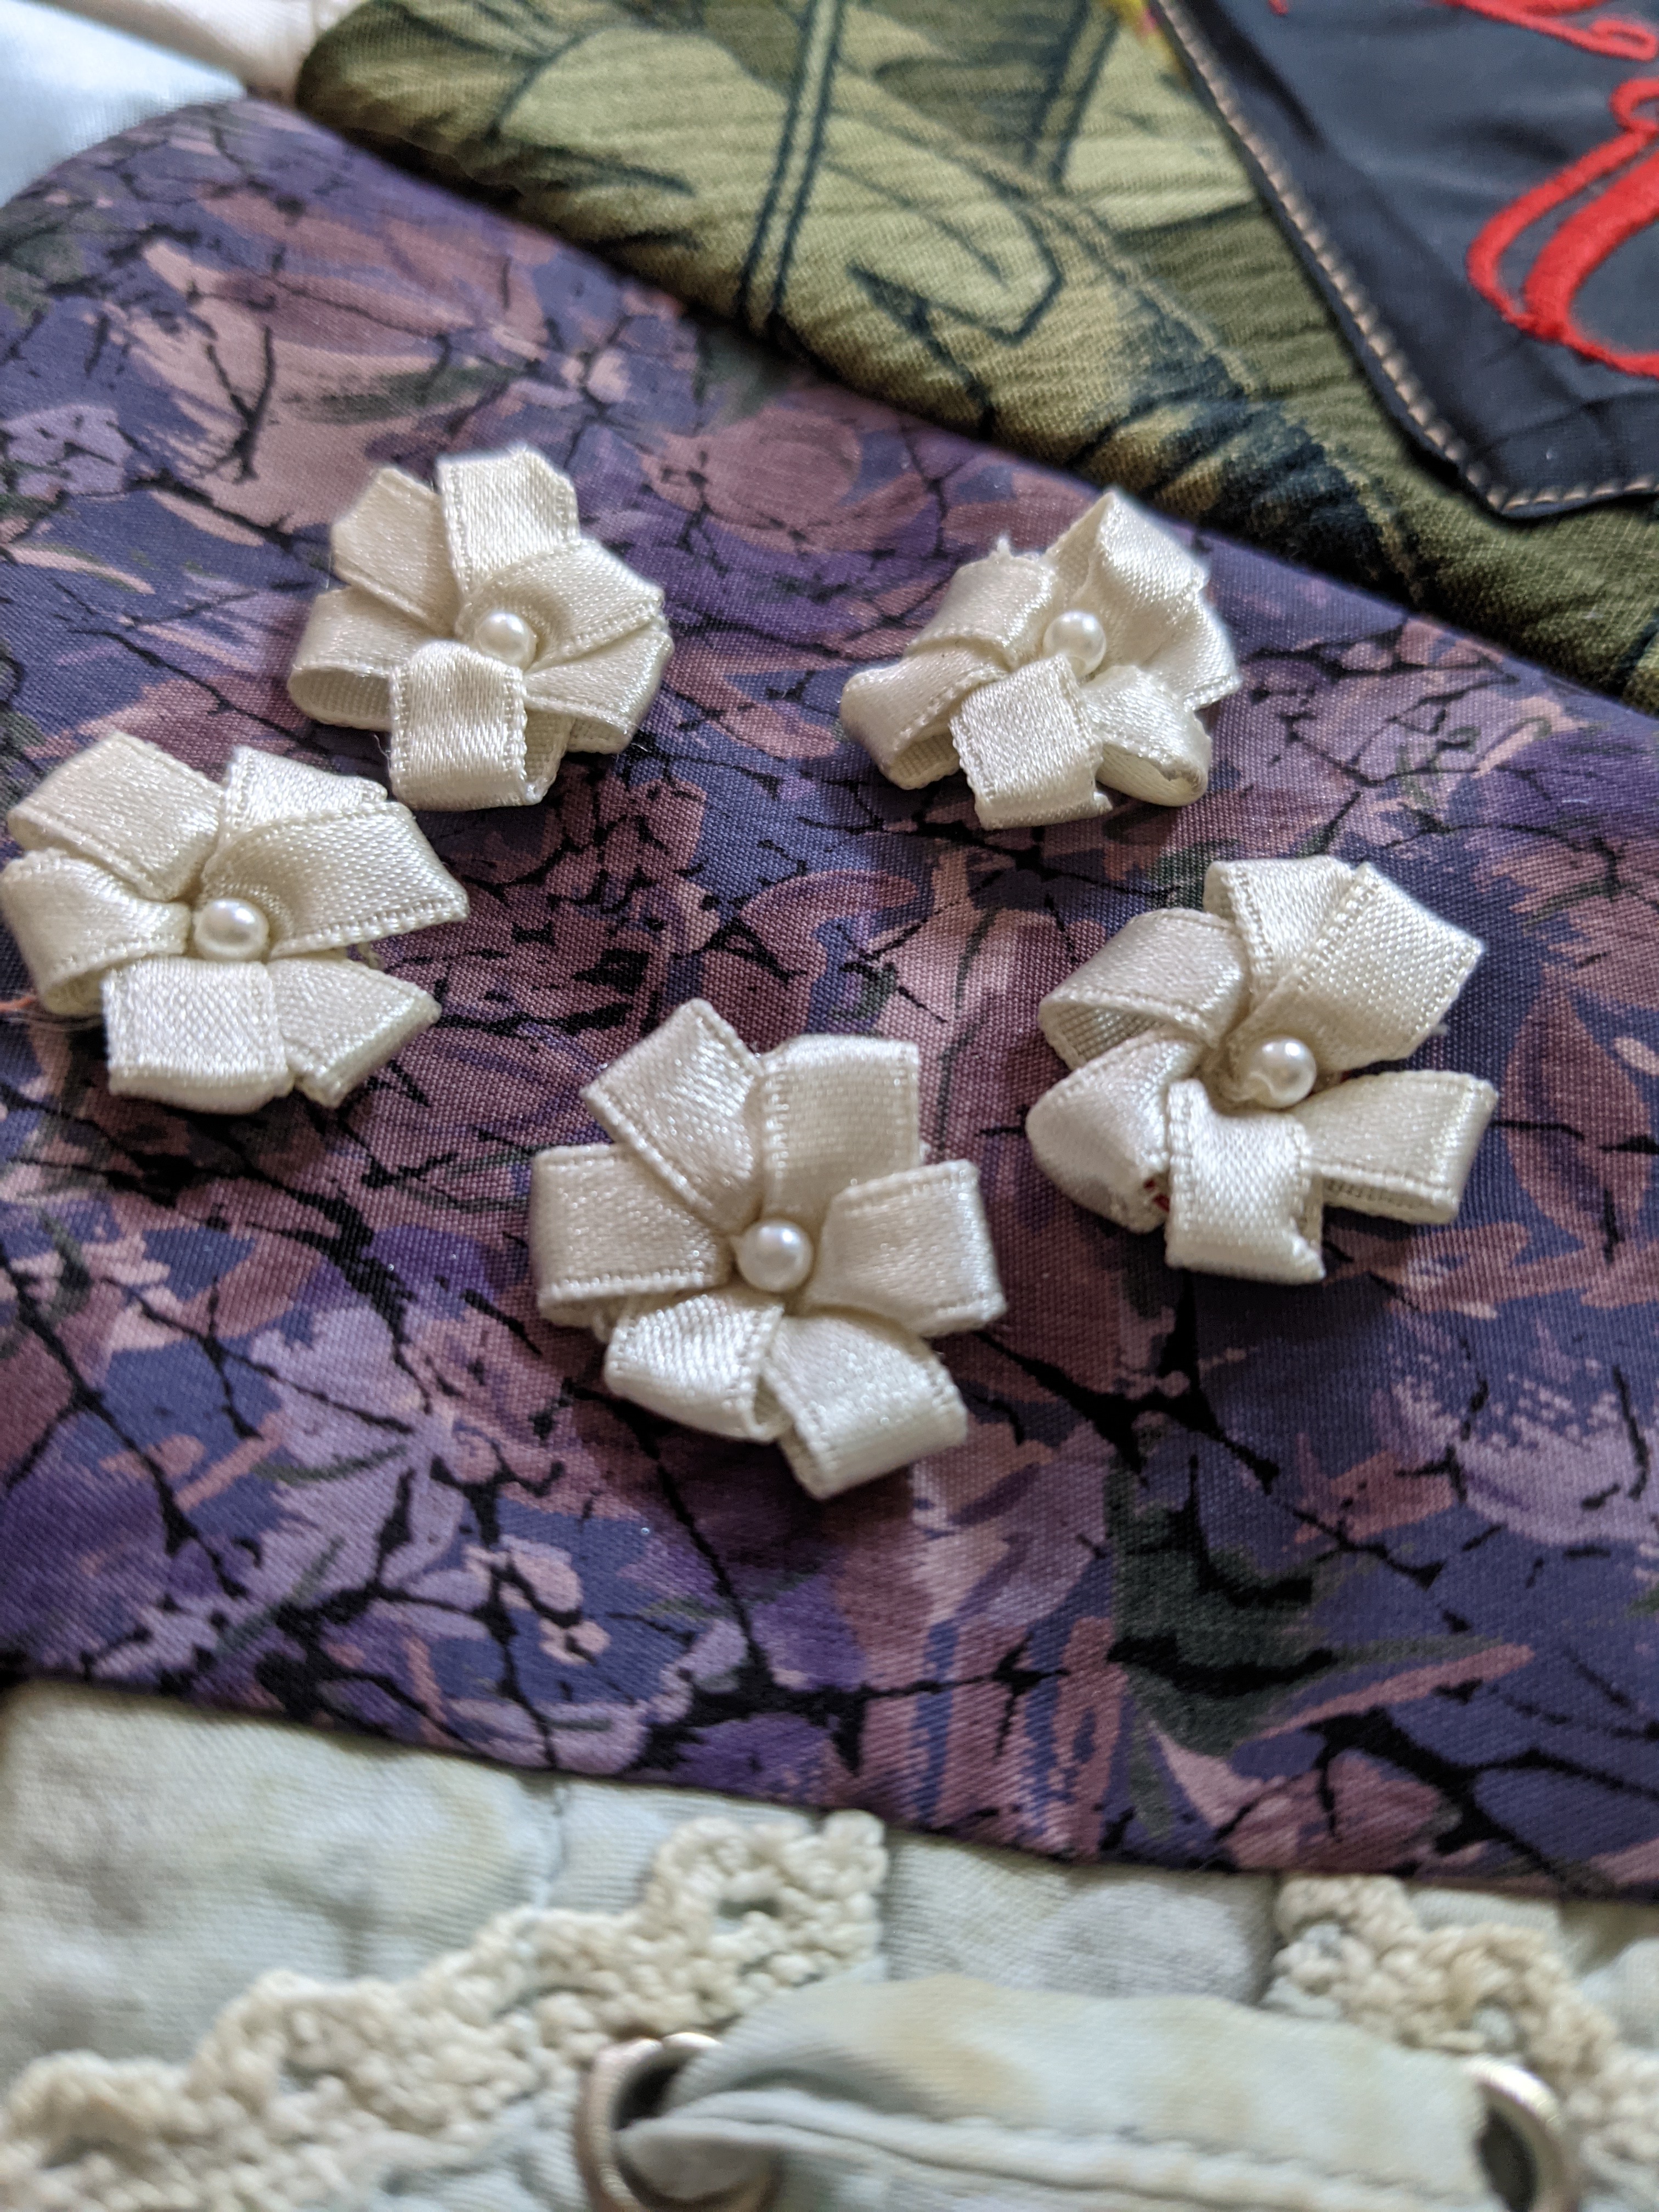
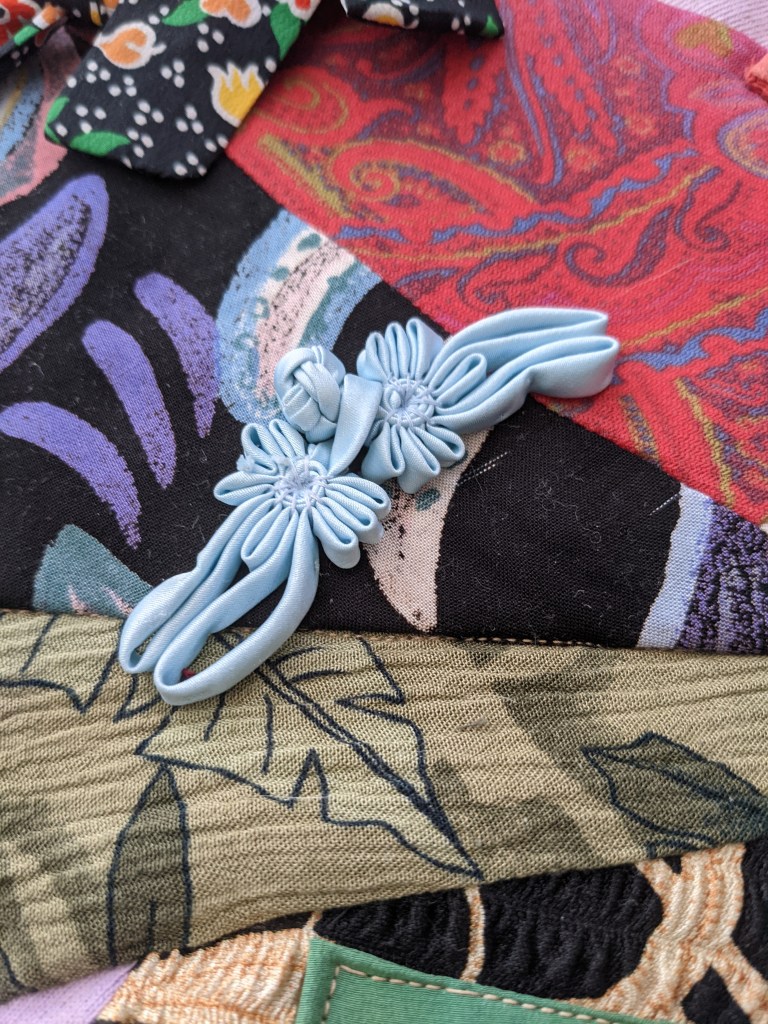
These were the buttons of the shirt seen in the background of the picture below 🙂These ribbon flowers were already part of a sweater, so I extracted them from the sweater and sewed them on! Cute little fastener from the leg of pajama pants
My cousin wanted to feature her mom’s beautifully hand painted wedding dress, so I appliqued one of the main flowers on the middle block and on the back of the quilt. I did simple stitch in the ditch quilting, since the top was already very busy.
I used jean pants pockets to allow my cousin to hang up the quilt if she ever chooses.
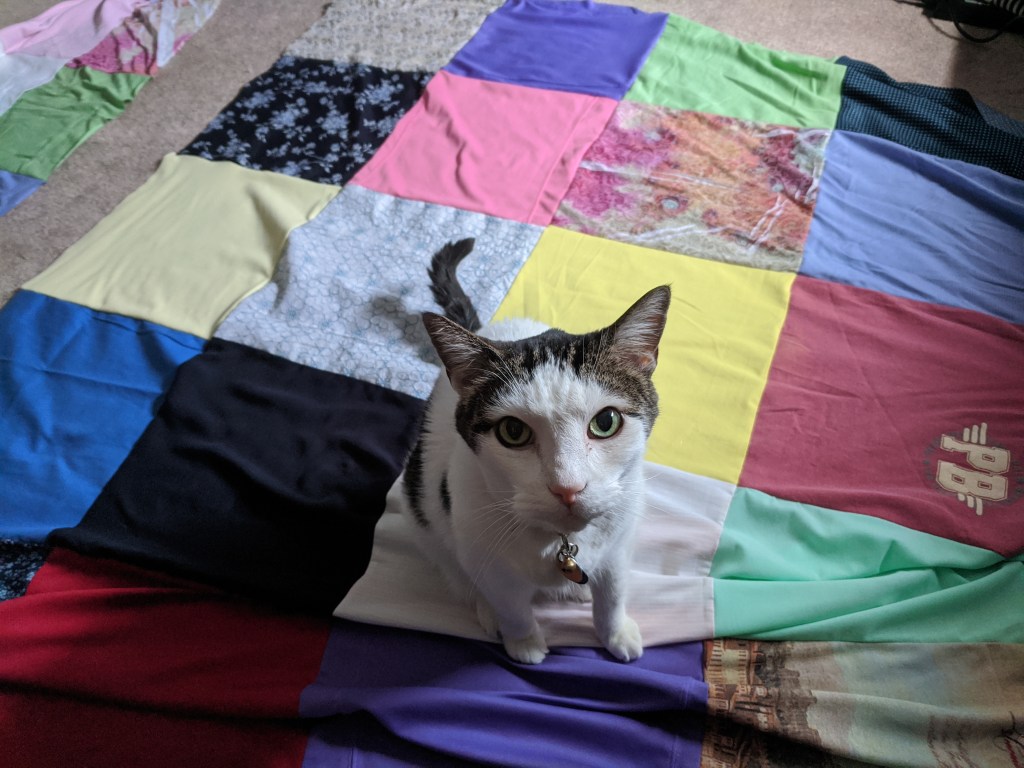
My uncle lost his wife in 2018 and I wanted to honor her with a memory quilt out of her old shirts. My uncle provided a bunch of bright polo shirts and other shirts of hers, which I made into a quilt for him. I wanted to keep it really simple and soft, so I cut out big squares from the shirts and laid them out in a grid pattern.
Layout with my friendly helper
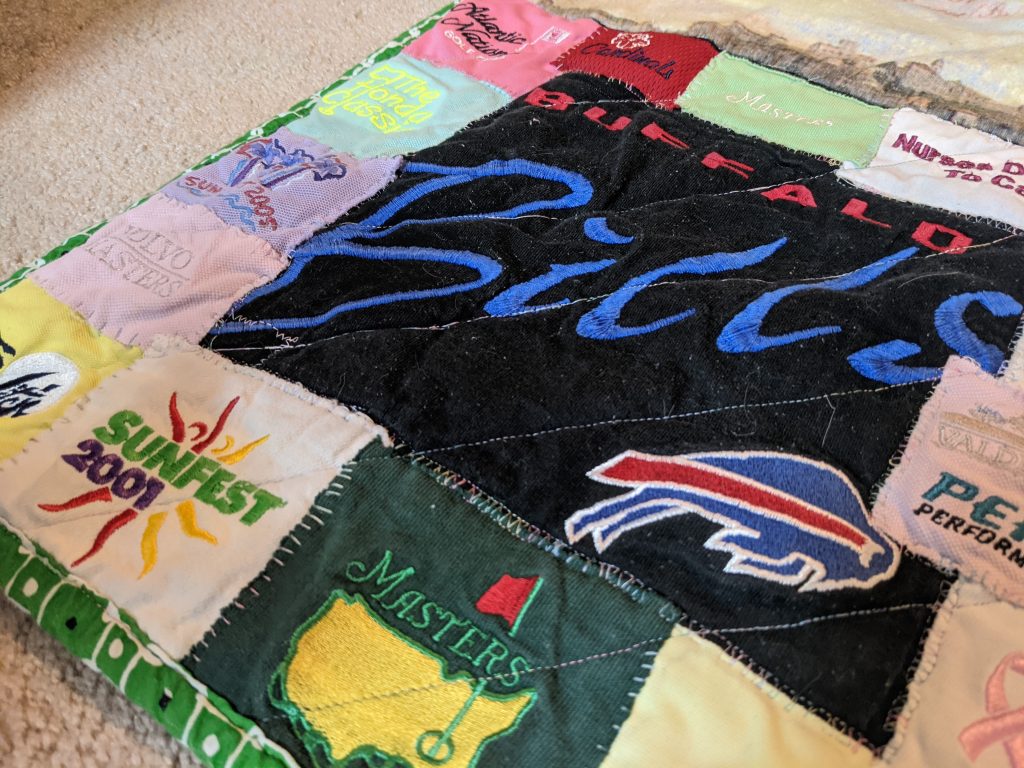
Most of the polos had awesome logos on them, which I wanted to include in some way. I thought a bit about applique-ing them to a border, but I didn’t want there to be lumpy or hard parts throughout the quilt. I decided to put all the logos together in one corner and applique-d them onto a square that already had the Buffalo Bills logo on it. I tacked them down with my sewing machine and then hand stitched around each one to really make sure they don’t go anywhere.
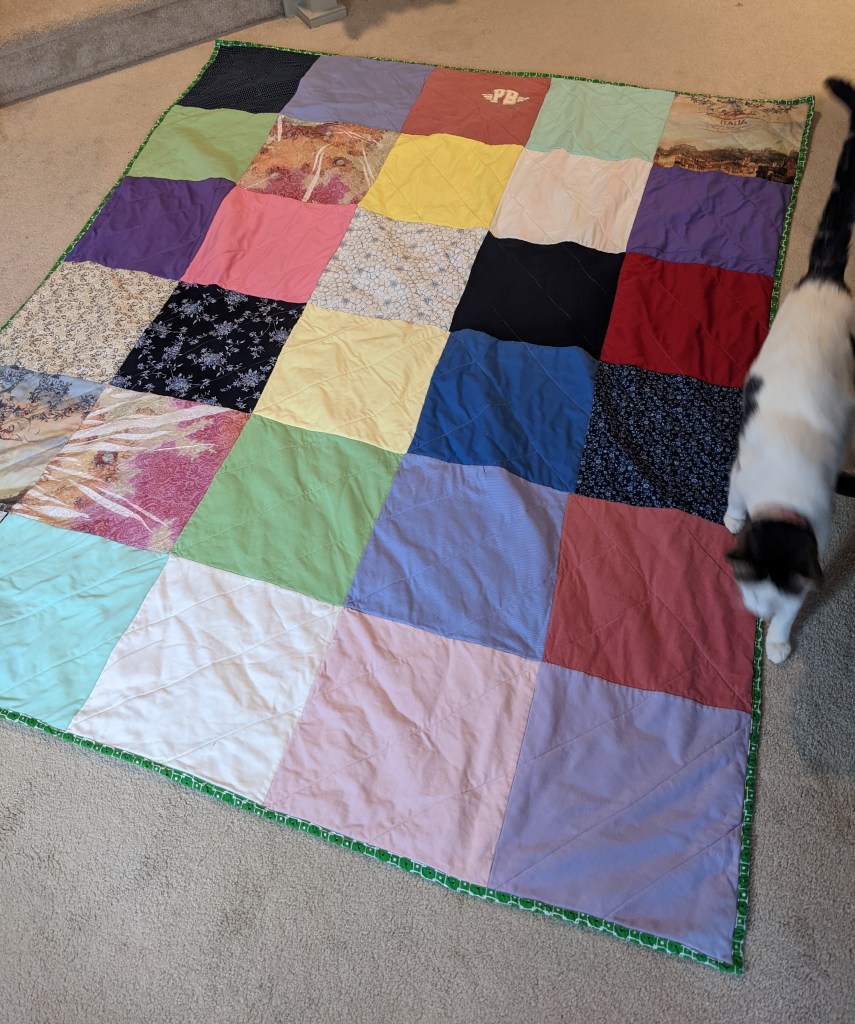
I kept the quilting really simple, two sets of diagonal lines. I used rainbow thread since my aunt was so bright and colorful.
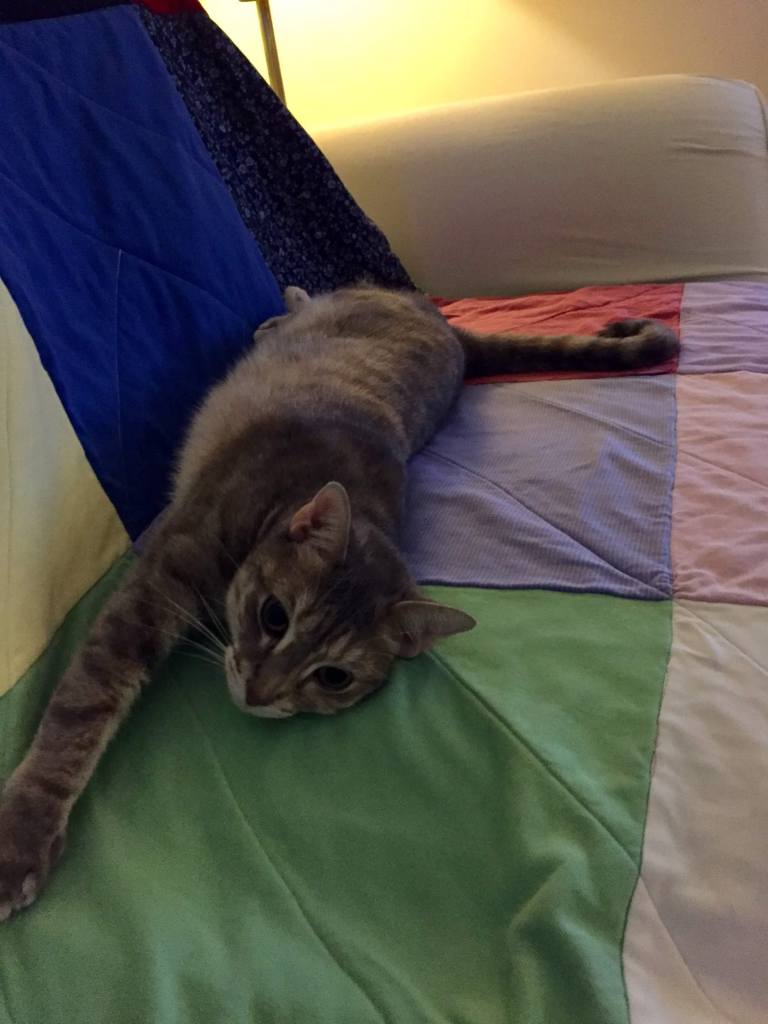
Finished quilt with my cat for scale
This was my big project of 2020 and I’m so glad I was able to deliver it to my uncle before the year’s end. 2020 has been tough on all of us and I’ve struggled to get into my sewing room as often as I’d like, but I chipped away at this project little by little and I’m really happy with the result. I sent it off to my uncle and he sent me back a picture of it with his cat 🙂
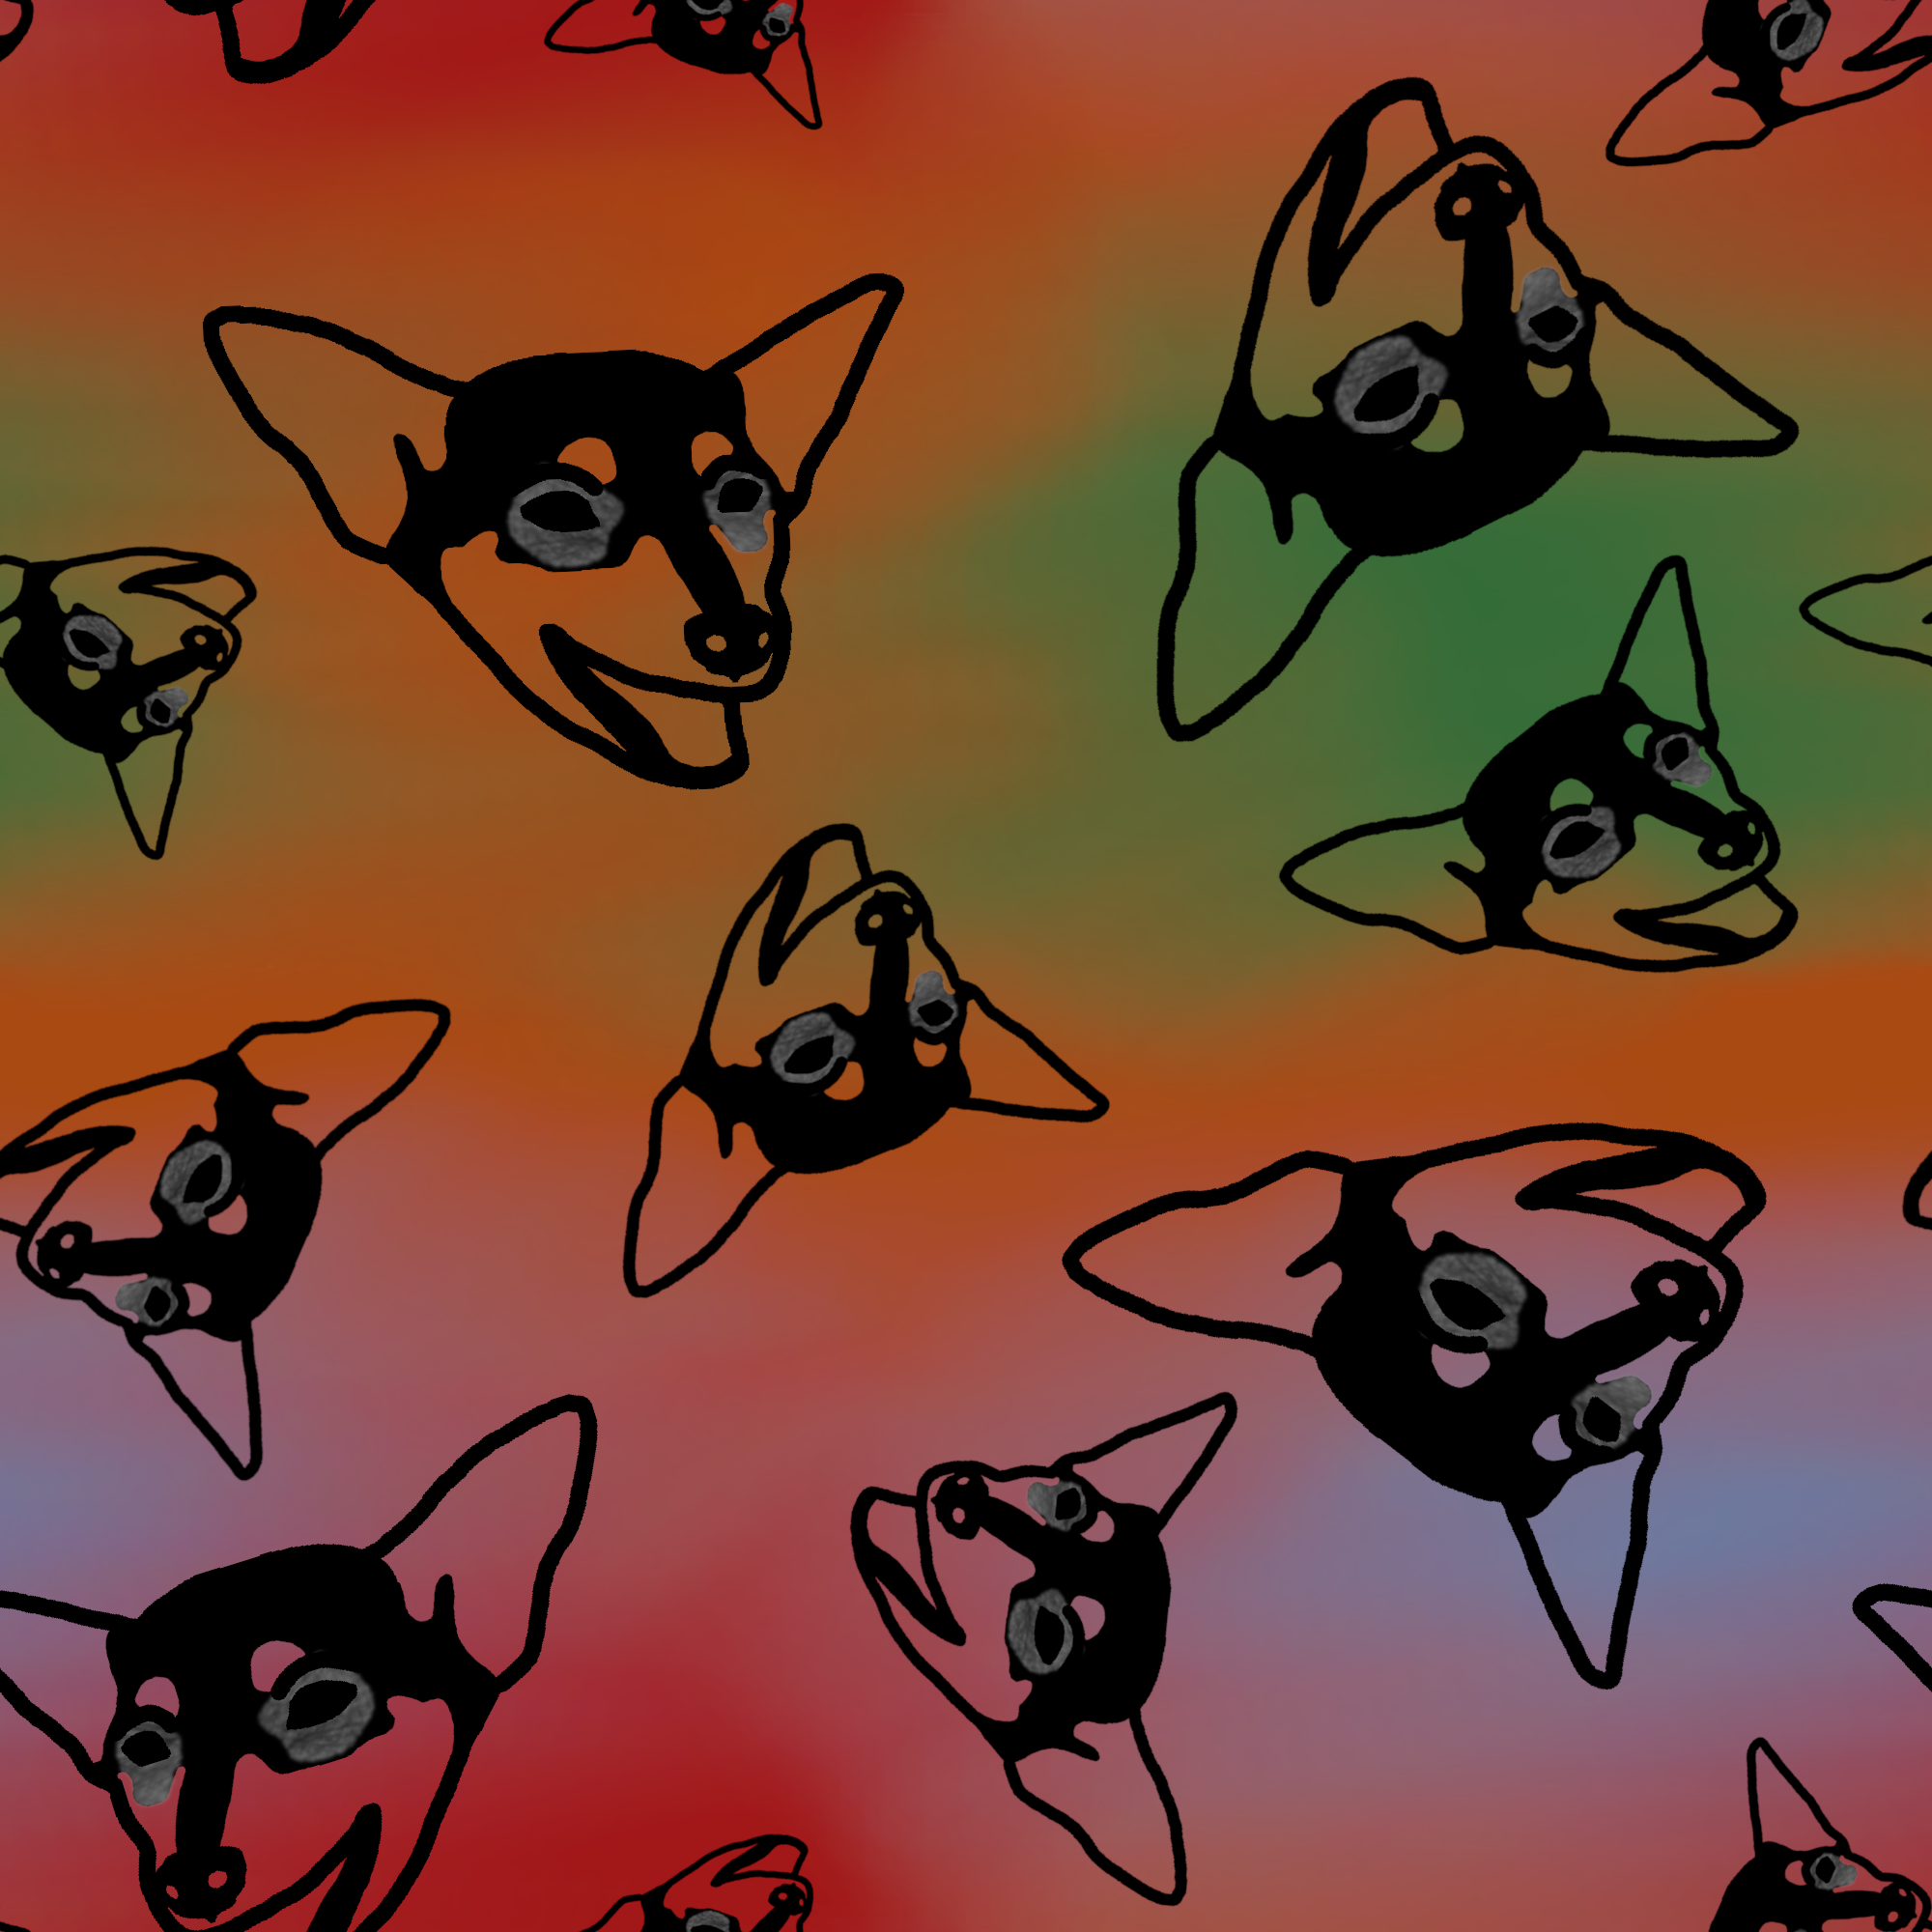
I decided to use the same website for my Christmas gifts as I did for my purple geode dress – Spoonflower, but making my own designs to be printed on the fabric.
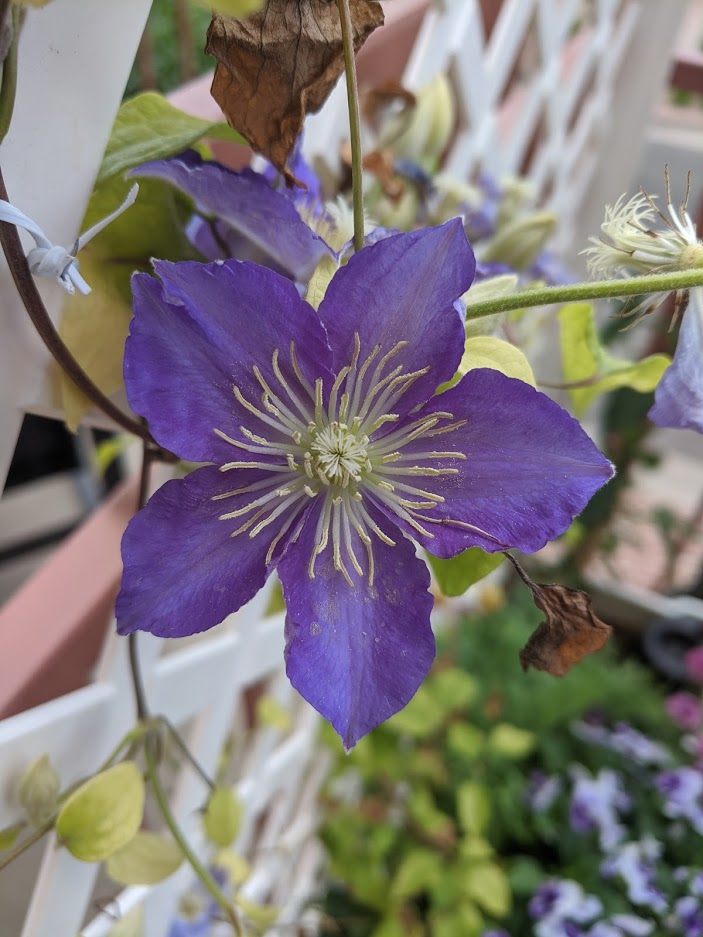
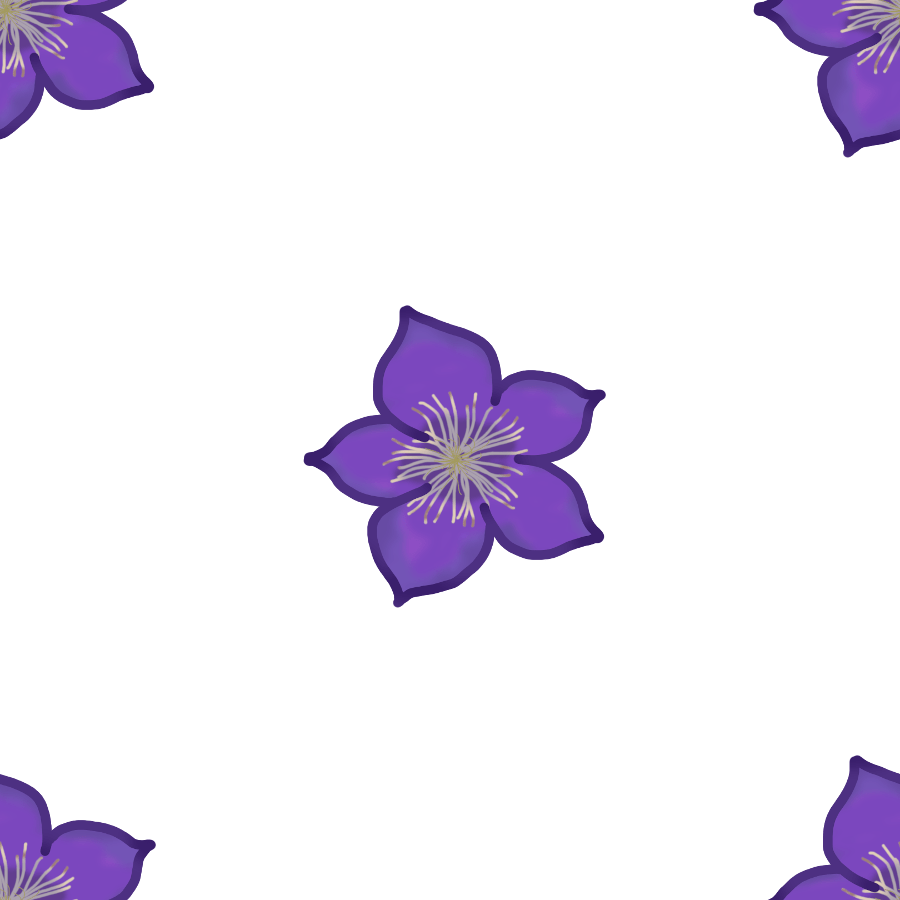
I used GIMP, a photo editing software, to trace some of my own pictures and clip art to make the designs. I used a picture of a clematis flower on my porch to do some tests.
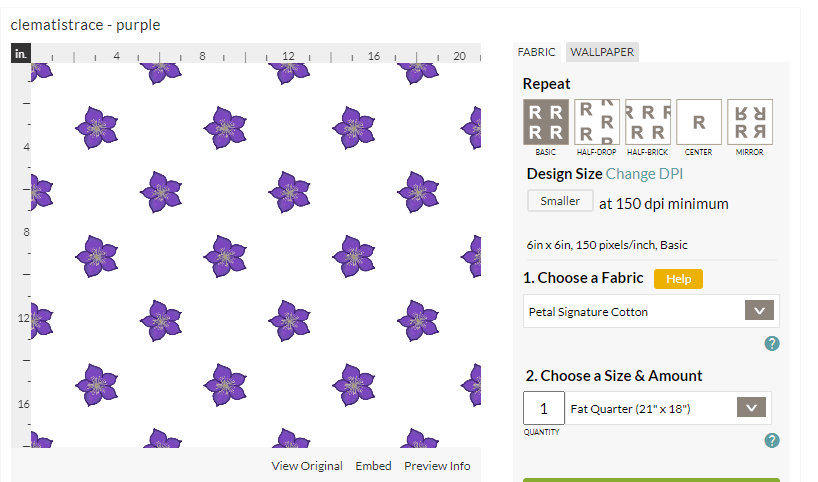
Original clematis flower on my porchTraced clematis, plus a diagonal repeatSpoonflower selection – you can choose the type of repeat and the size of the design
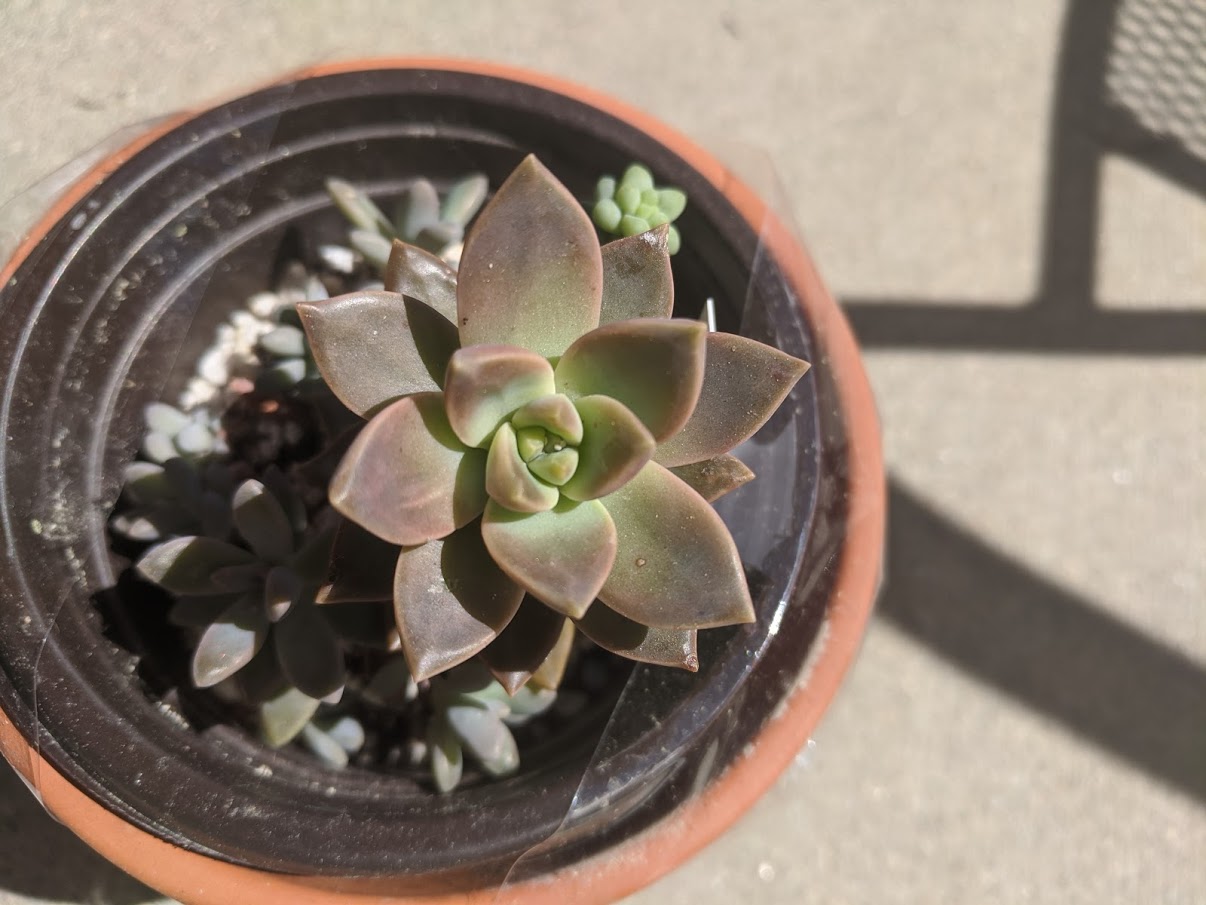
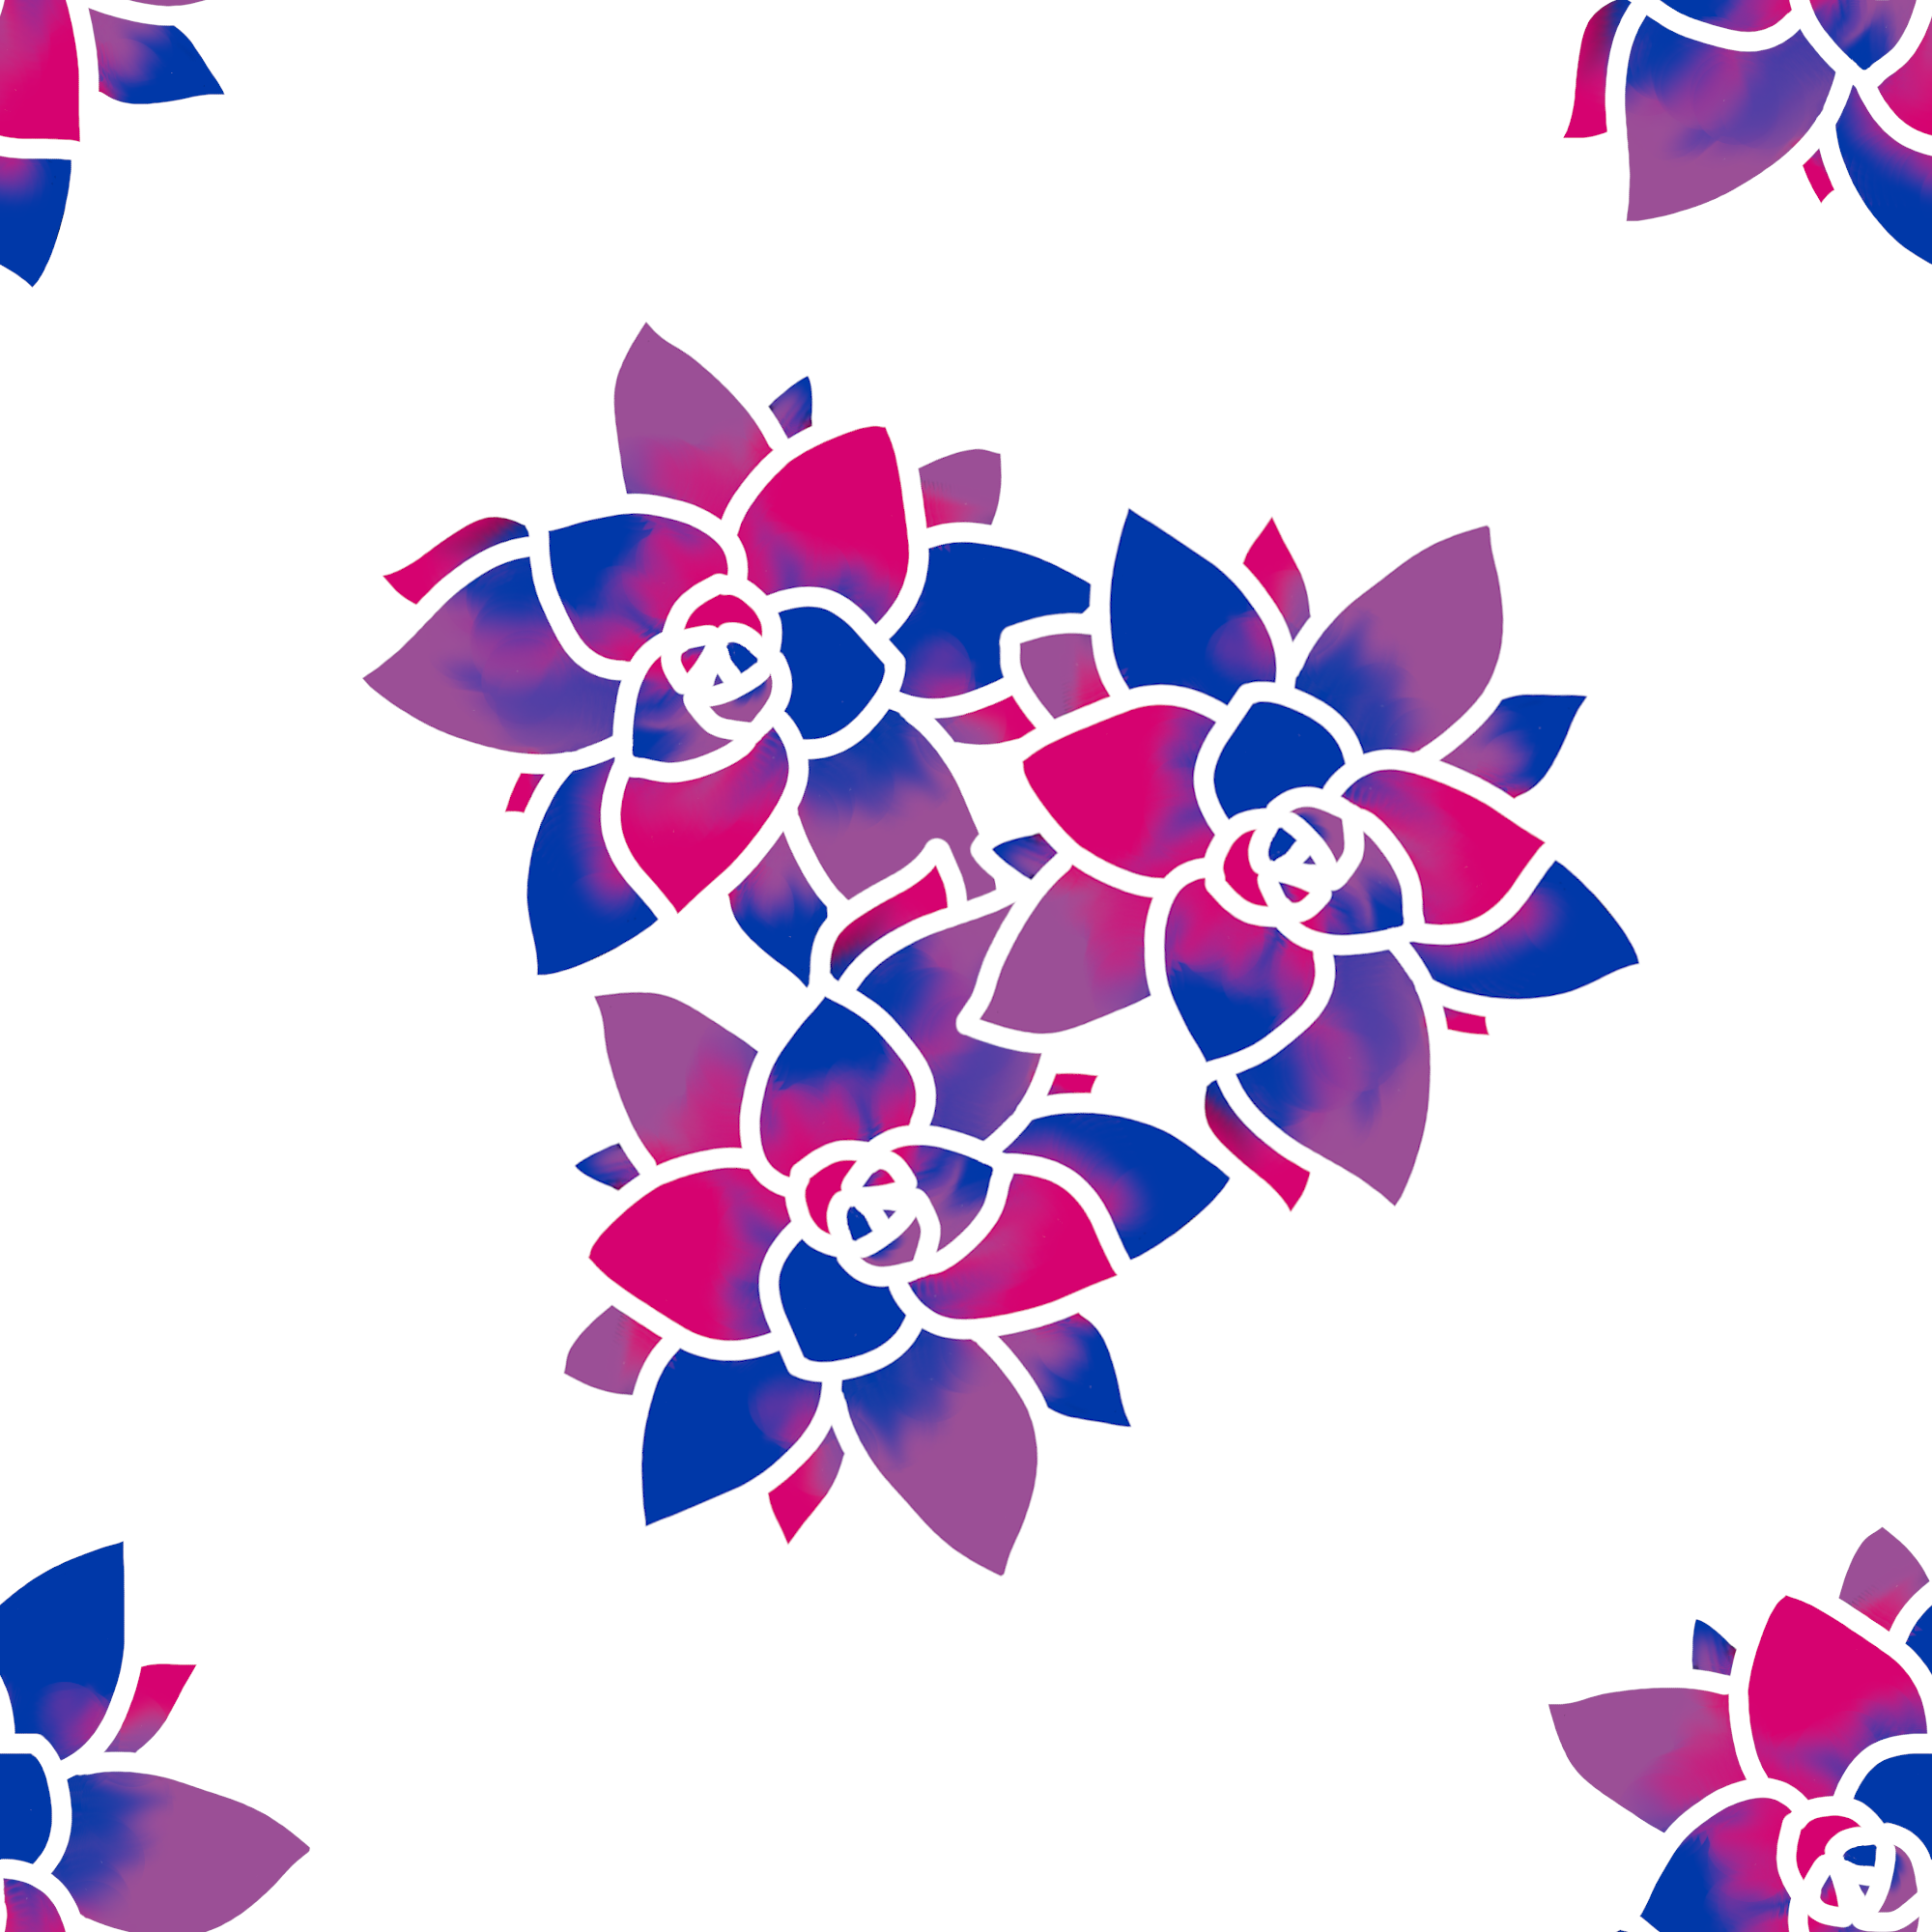
And I did a little abstract design of the graptosedum california sunset succulent I had over the summer, too.
I decided to spend the majority of my time on the designs instead of the construction, so I made some simple zipper bags out of the fabric I printed. I have a drawing pen with a tablet that connects to my computer, so I don’t have to draw with the mouse. I start out by tracing a thin outline of the shape, then a thicker and smoother outline. Then I color in the subject and do a background, usually very blurry so that there aren’t any apparent lines when it repeats. GIMP has a feature to offset the design so it will tile, so I use that and make sure that there aren’t any weird empty spaces that would be obvious in the fabric.
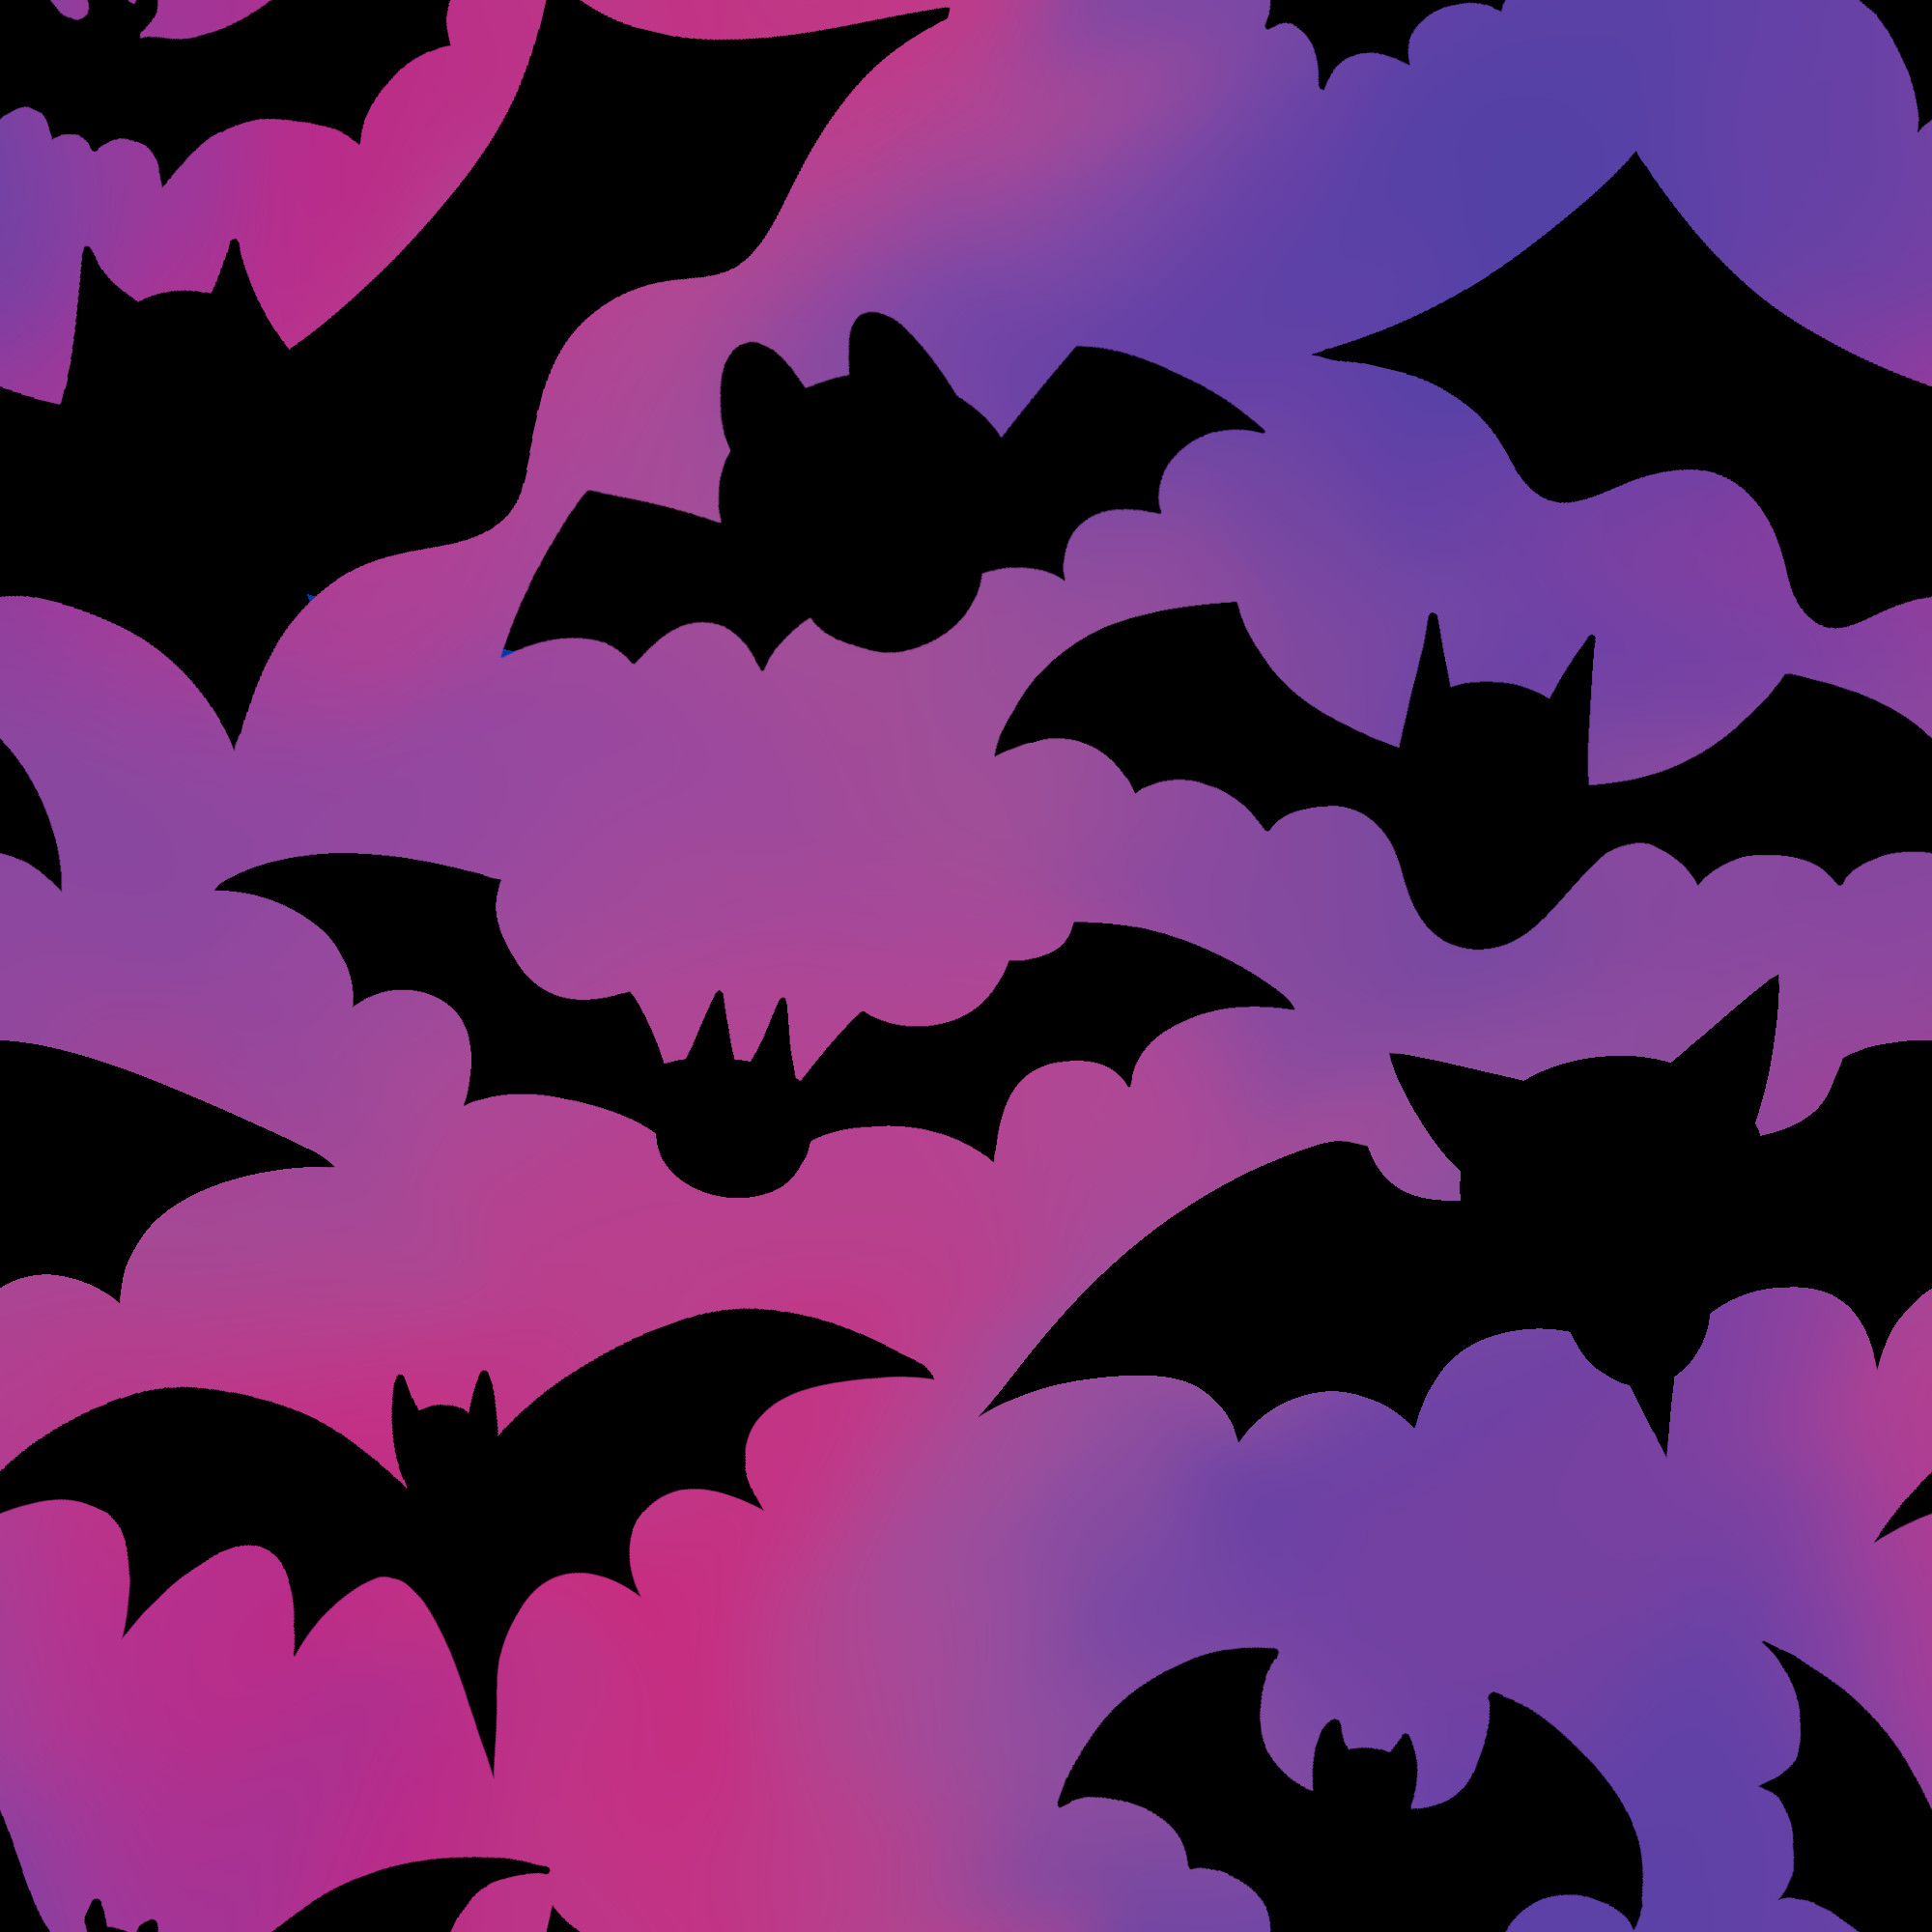
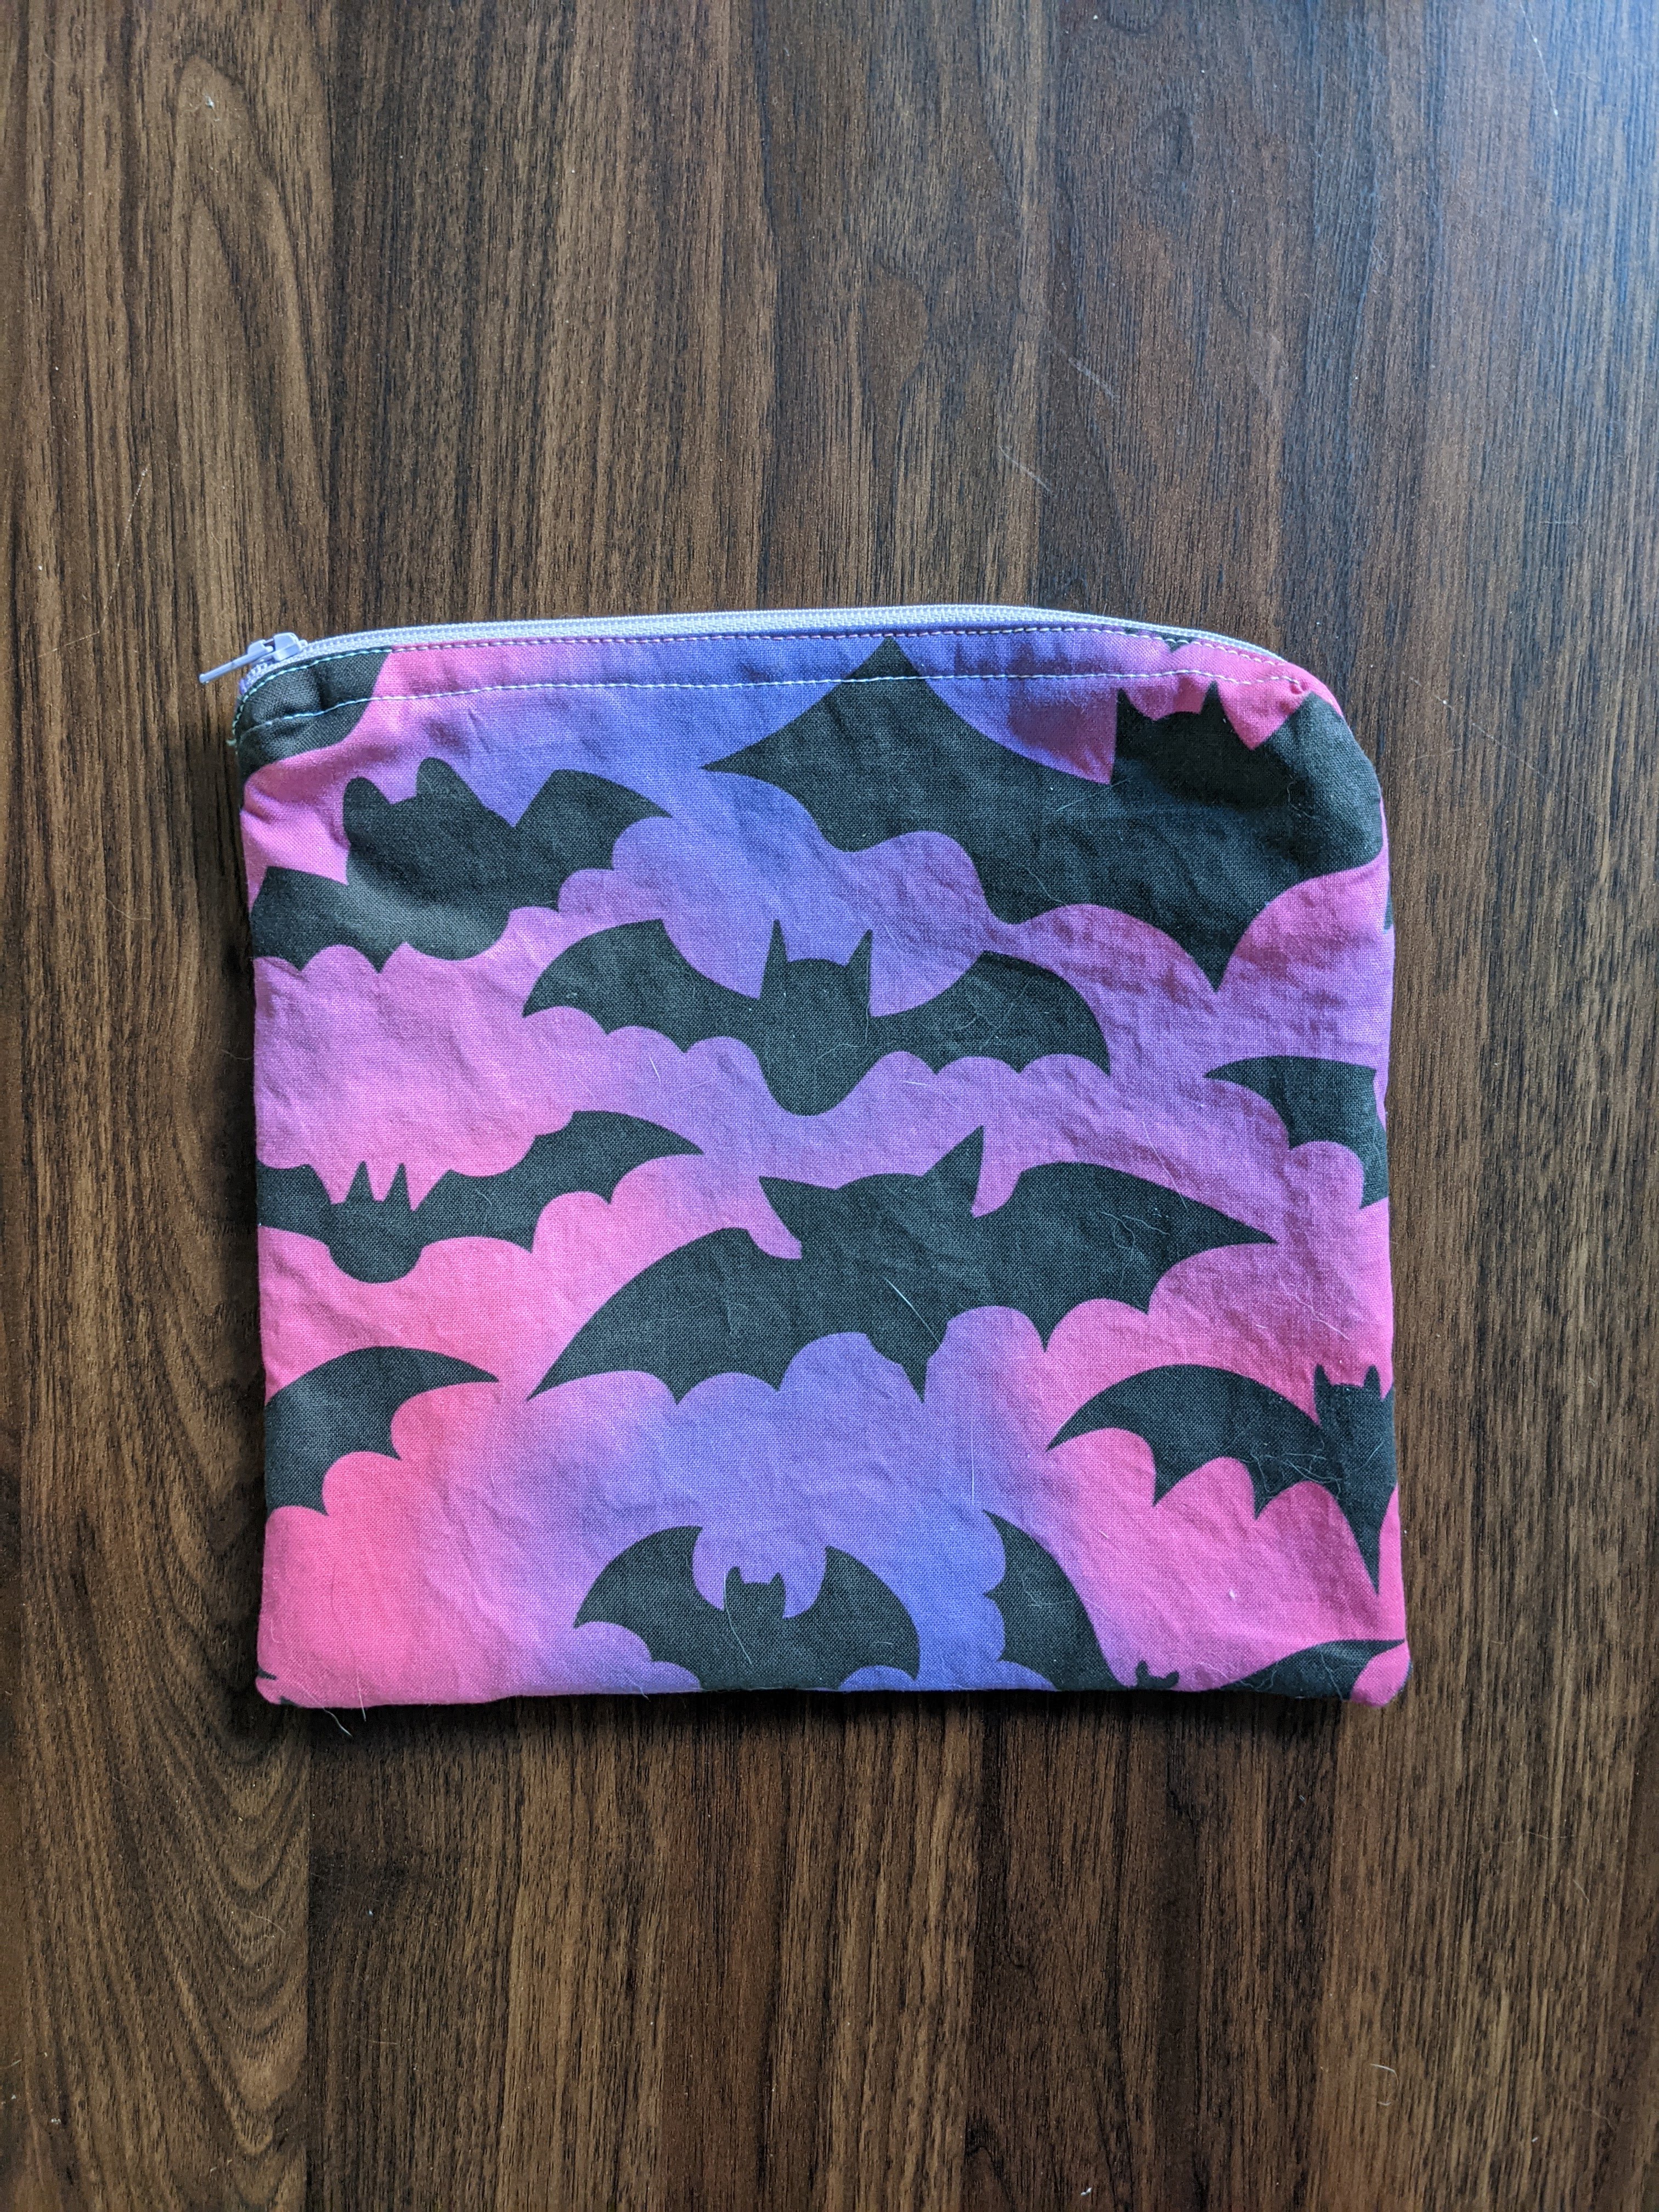
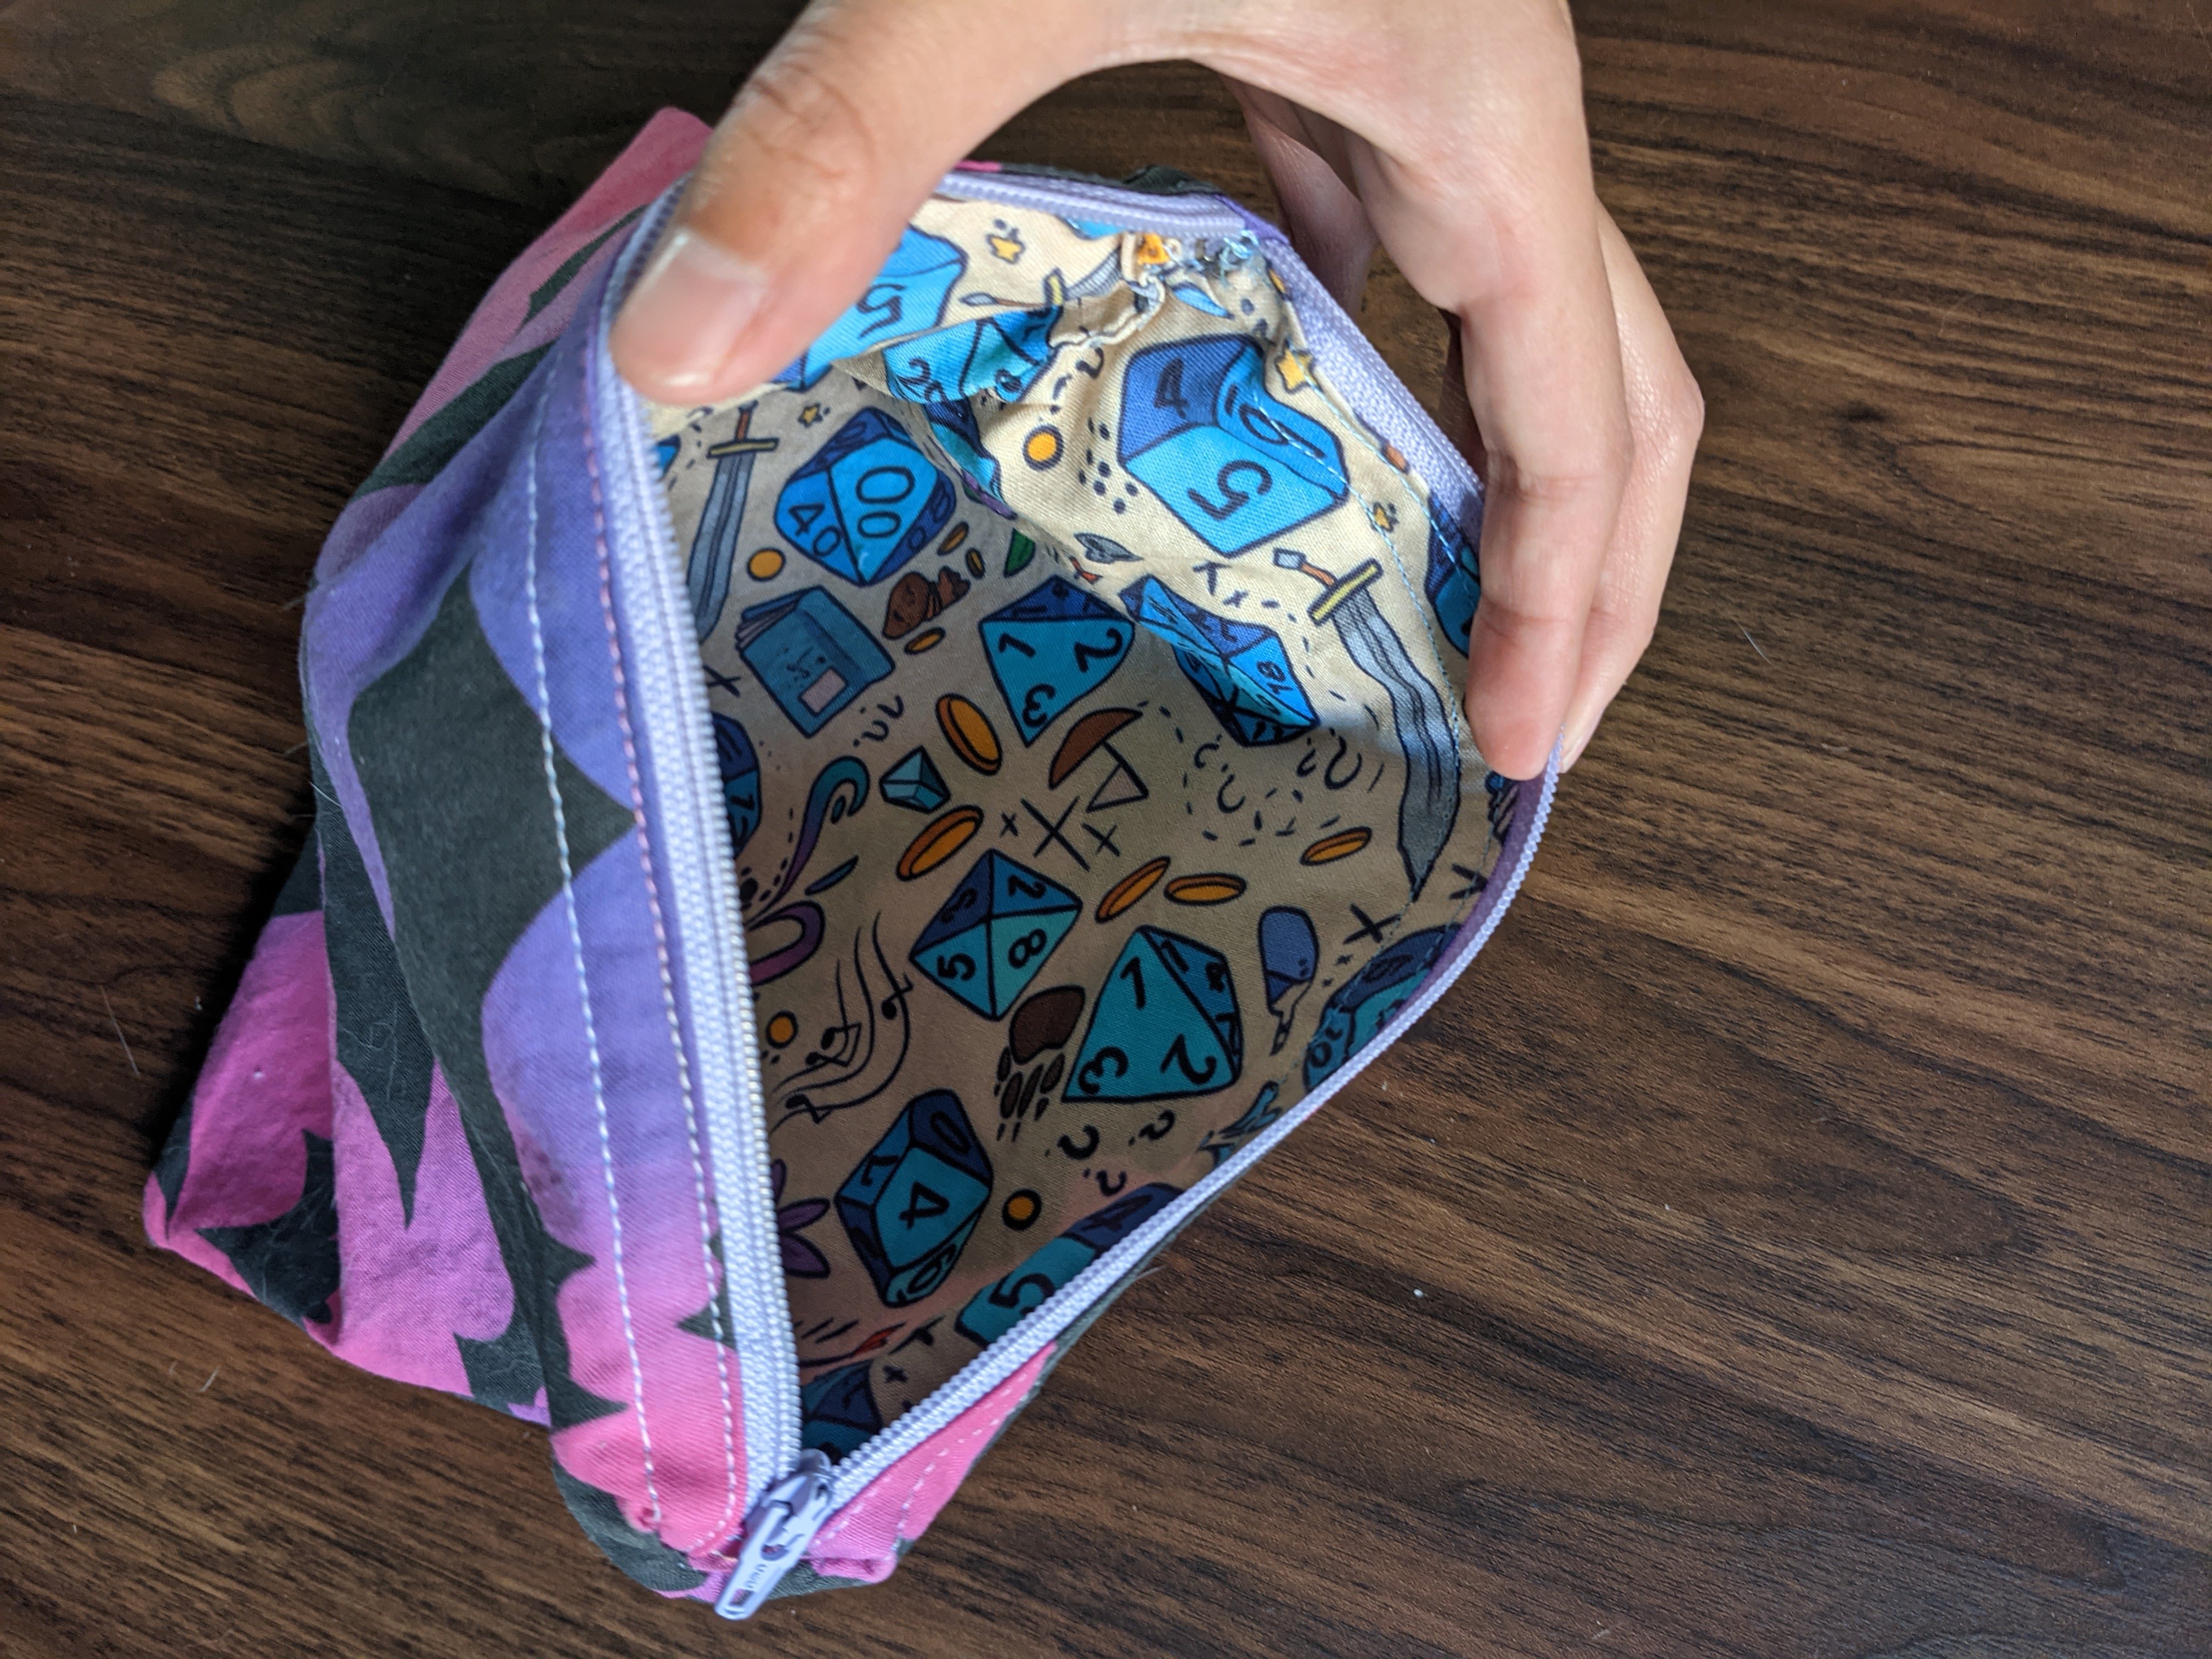
I did a design of bats for one of my friends, and lined the bag with a Dungeons and Dragons inspired fabric that someone else designed.
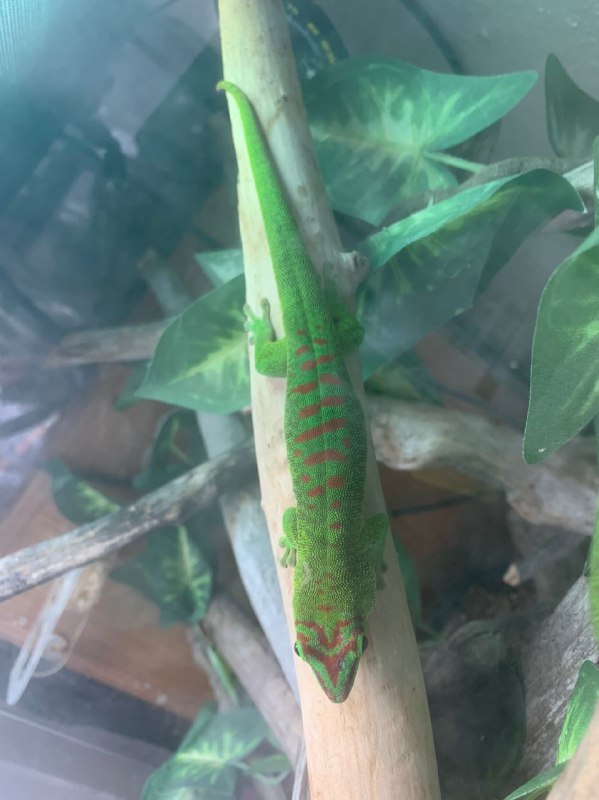
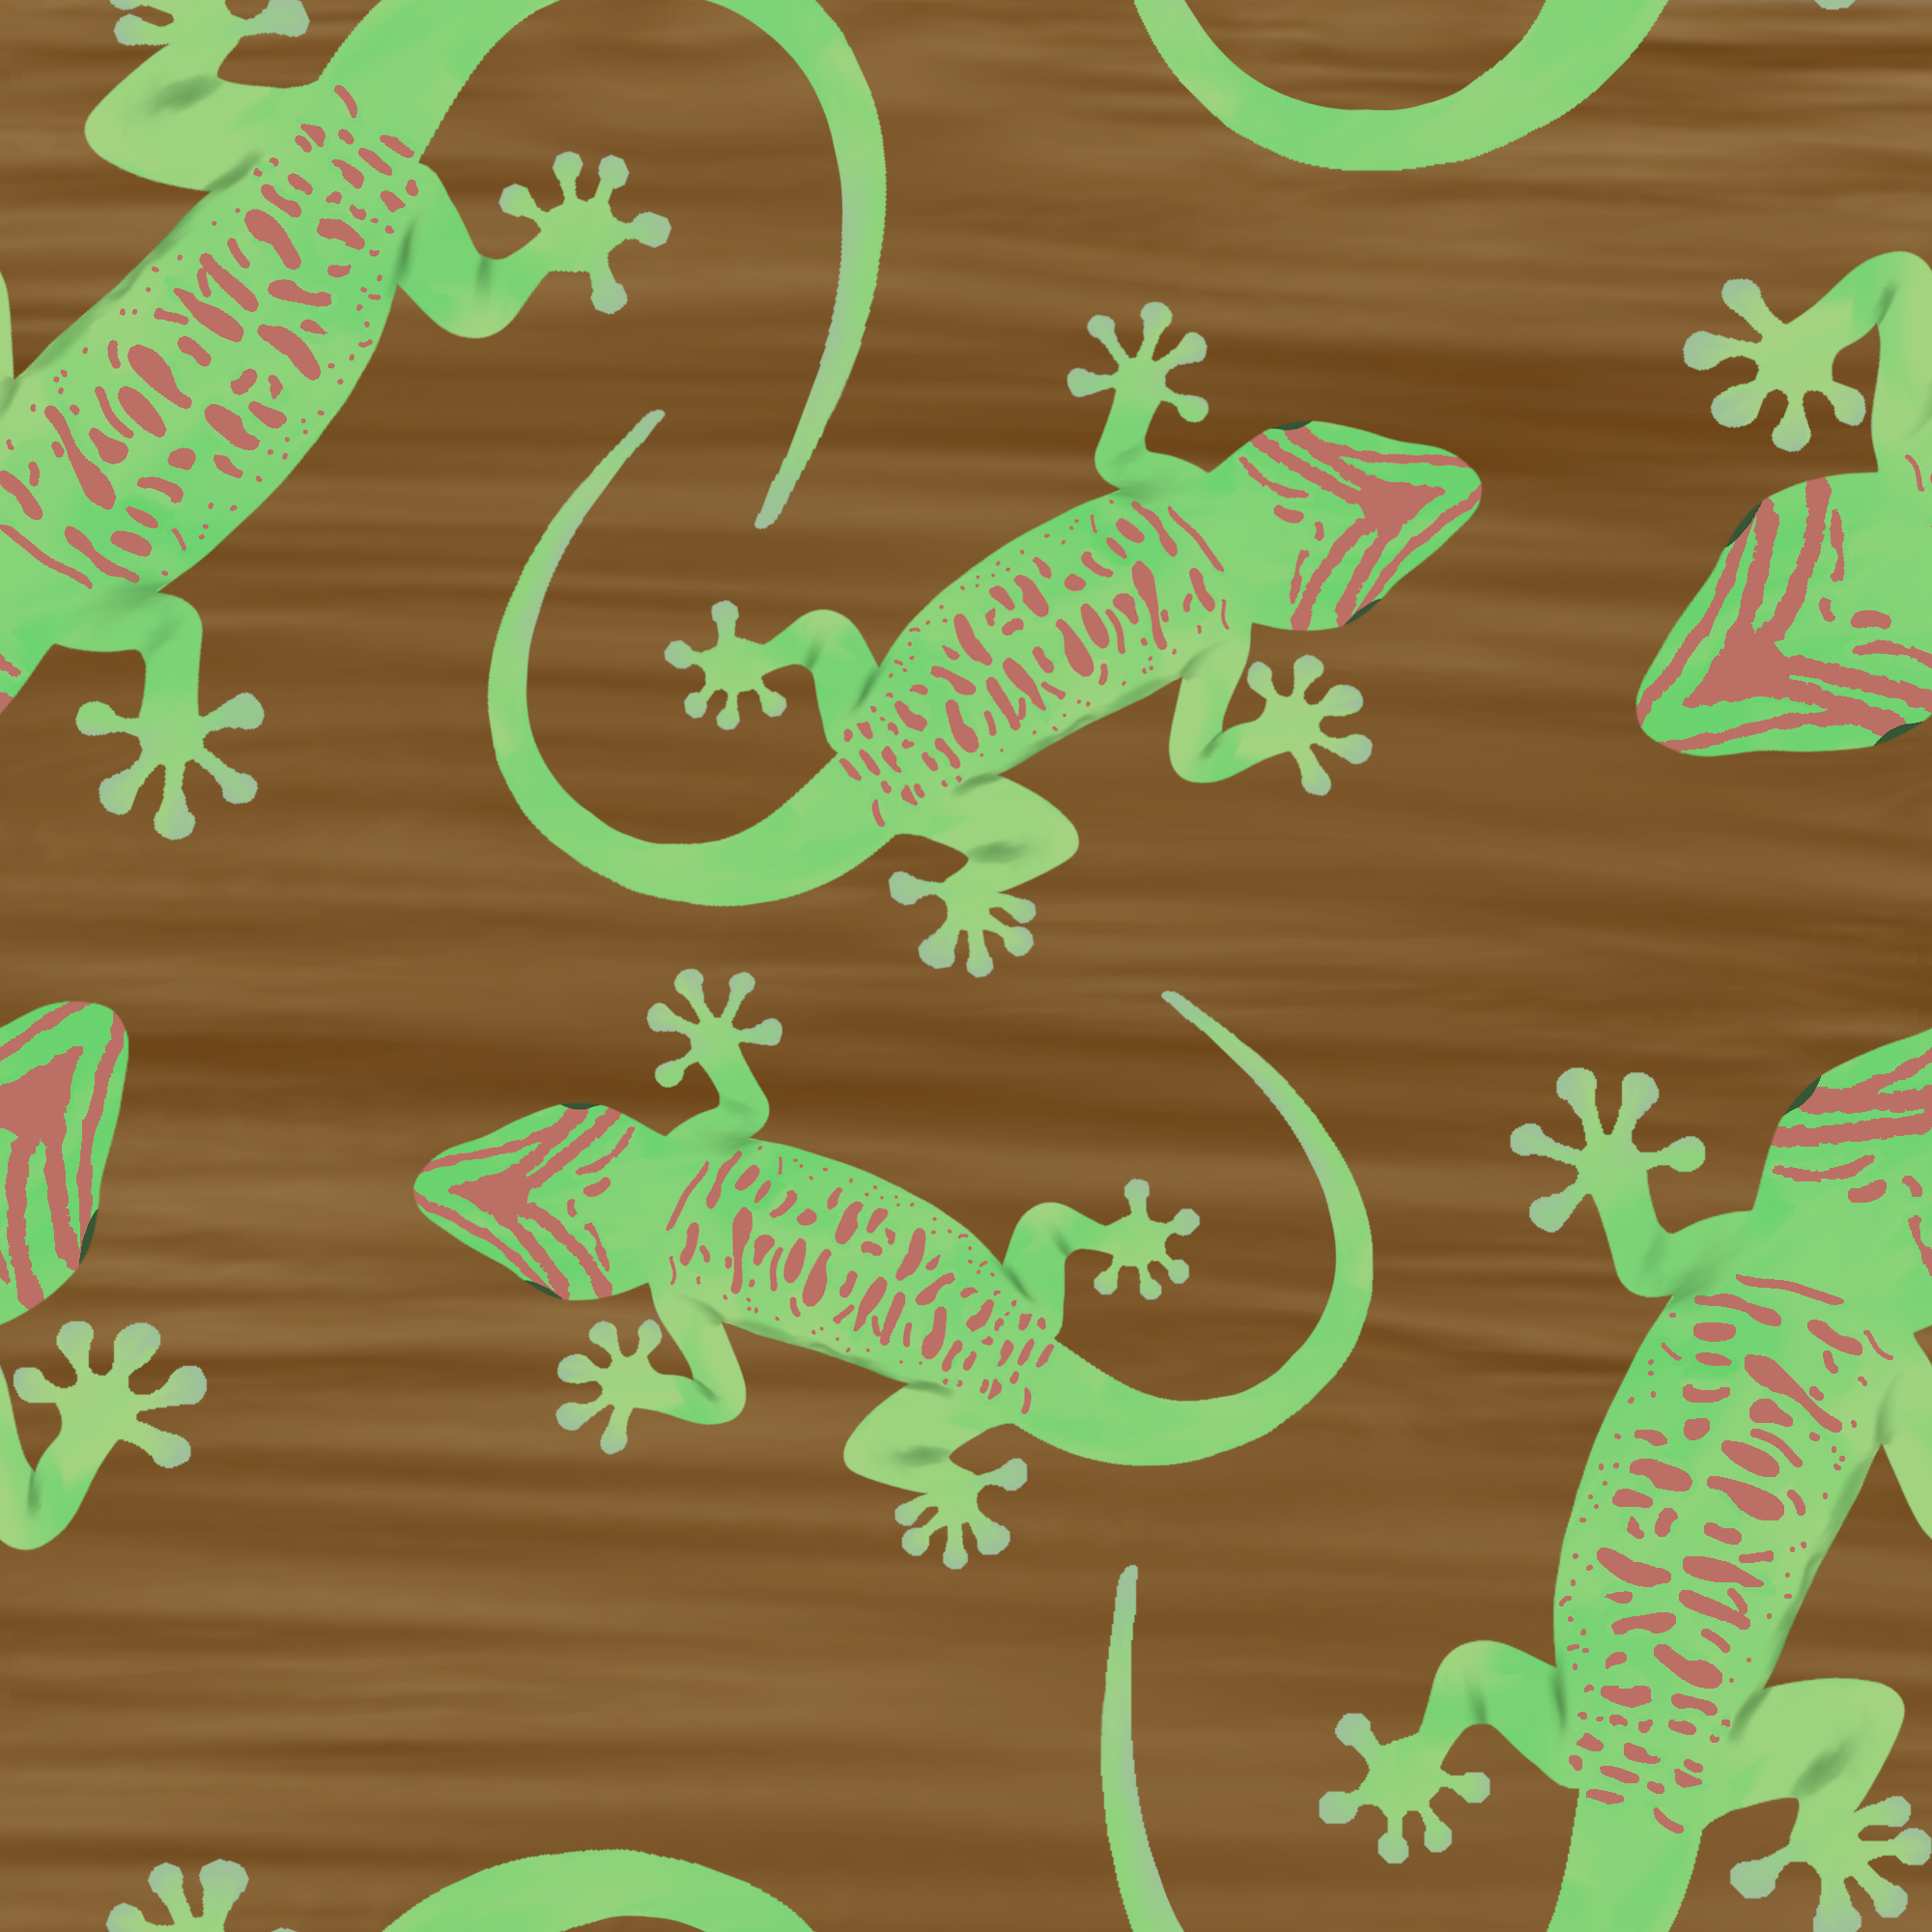
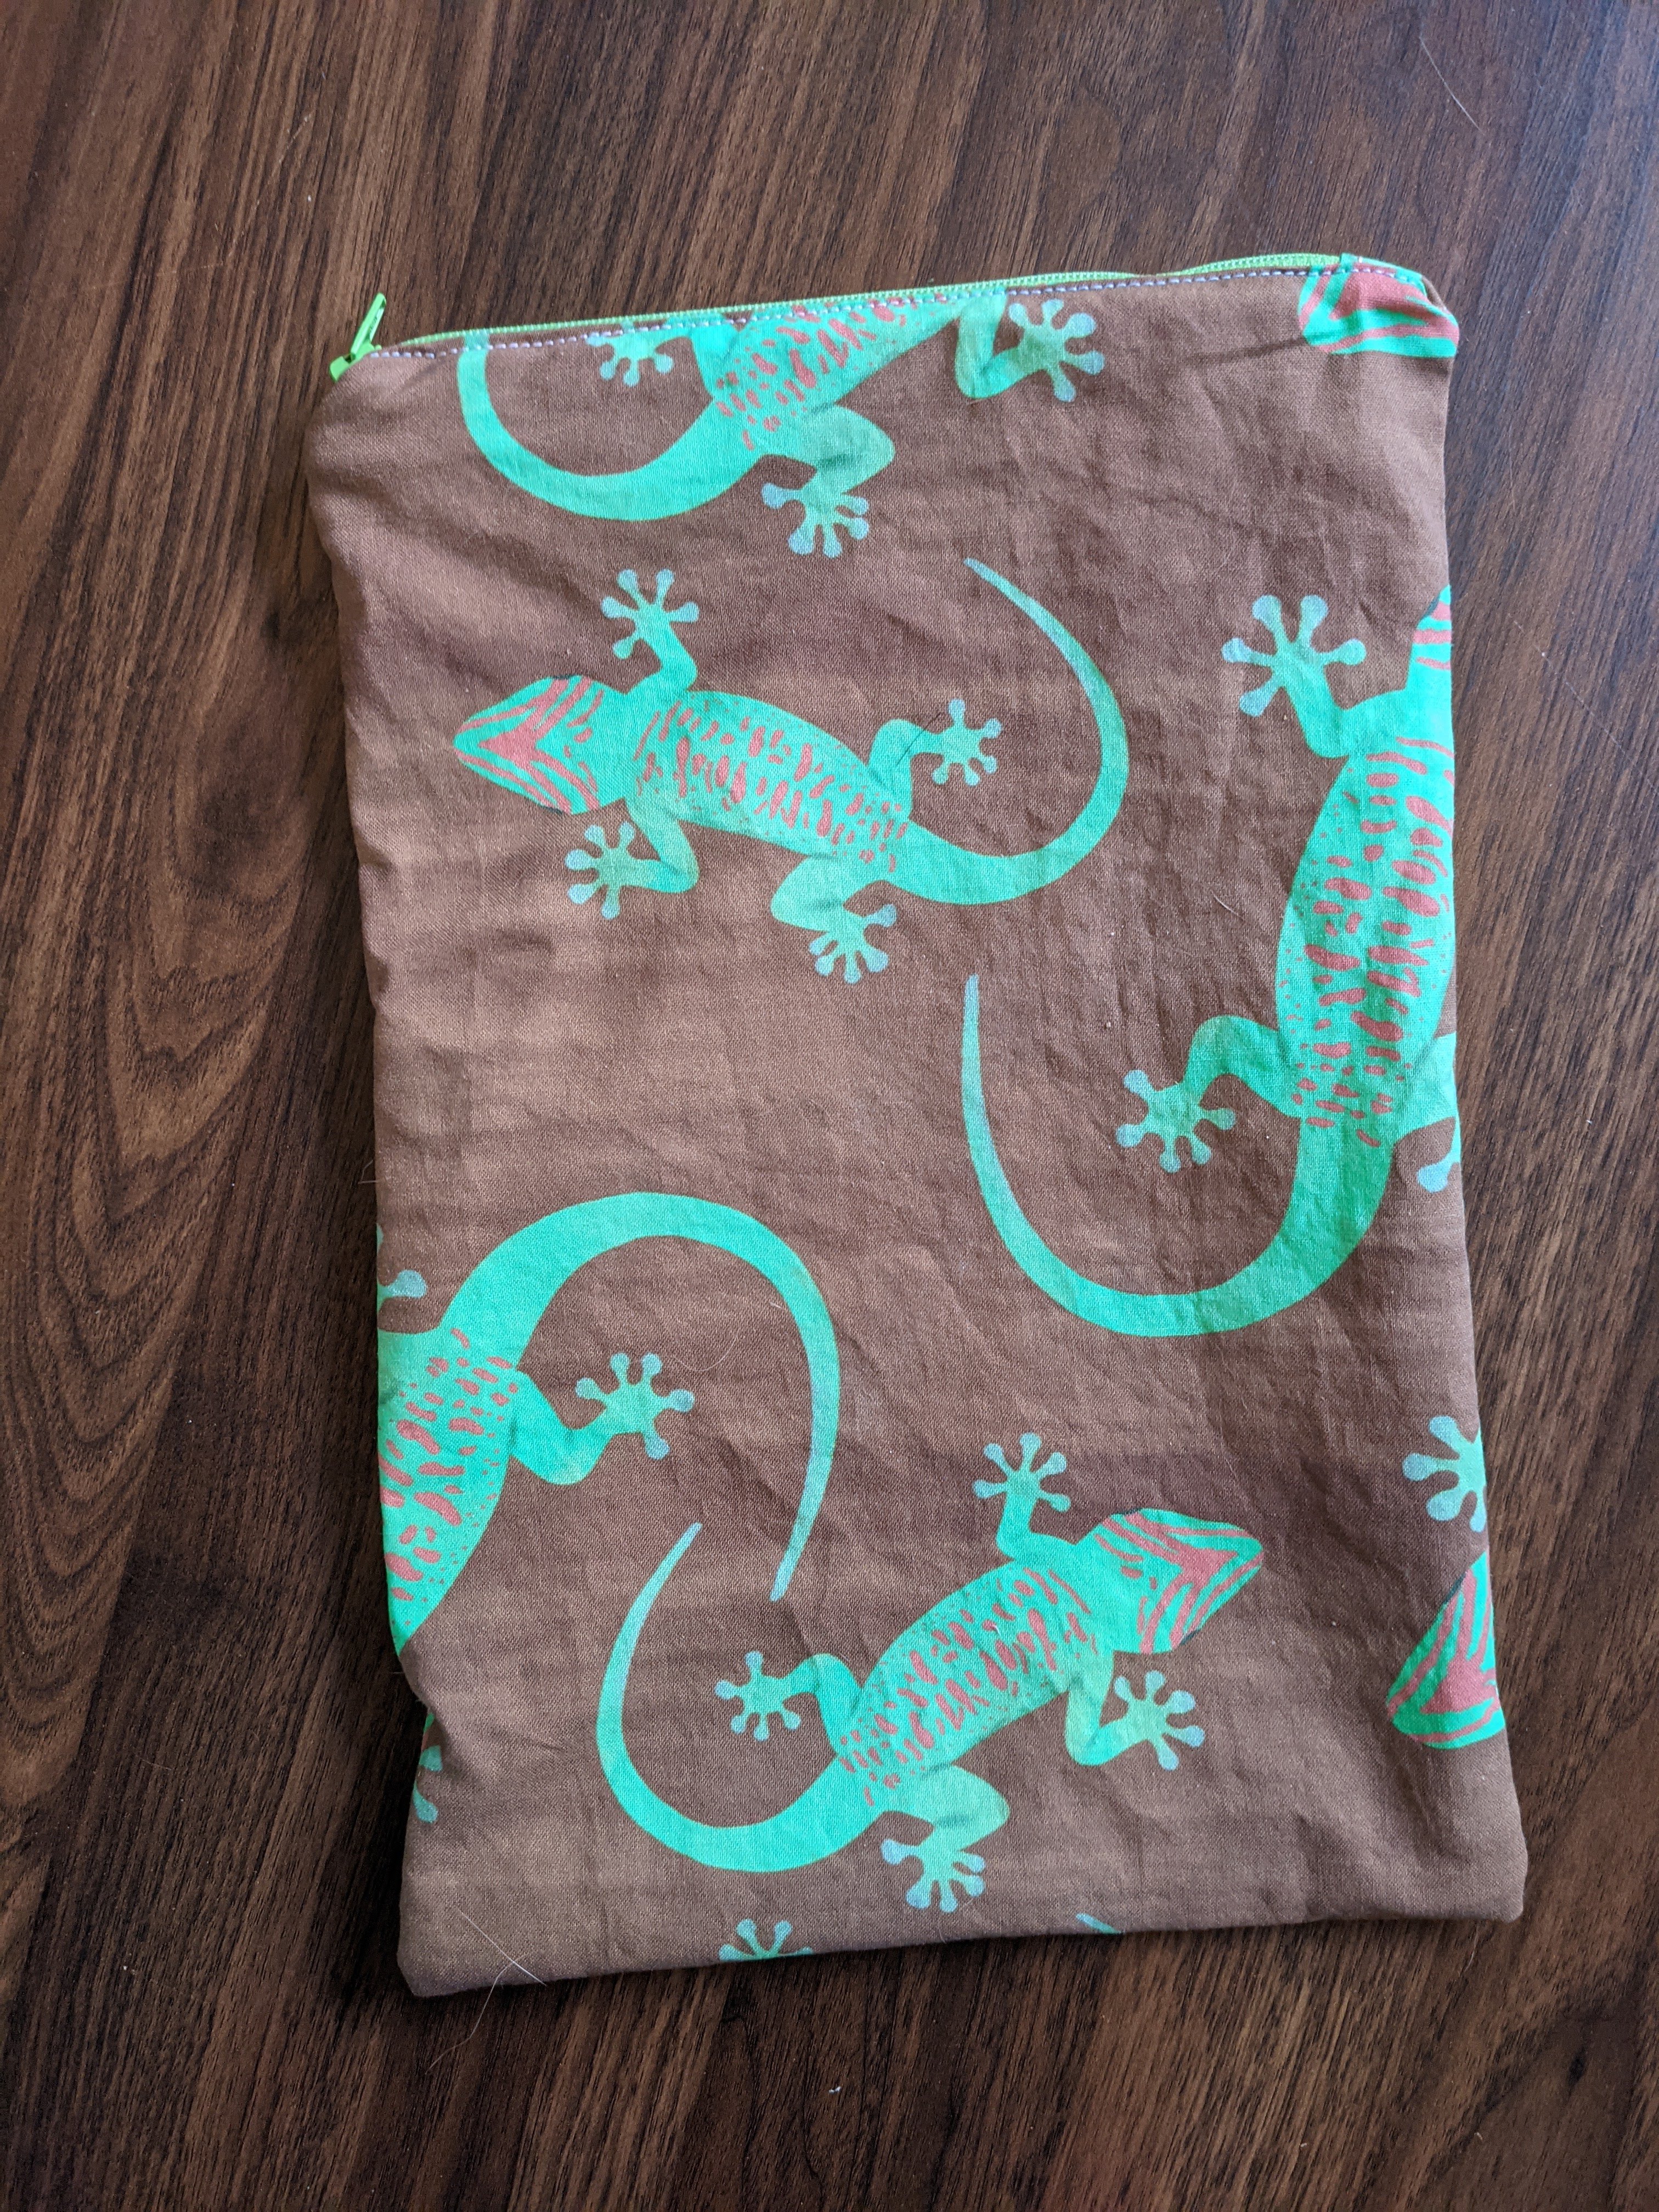
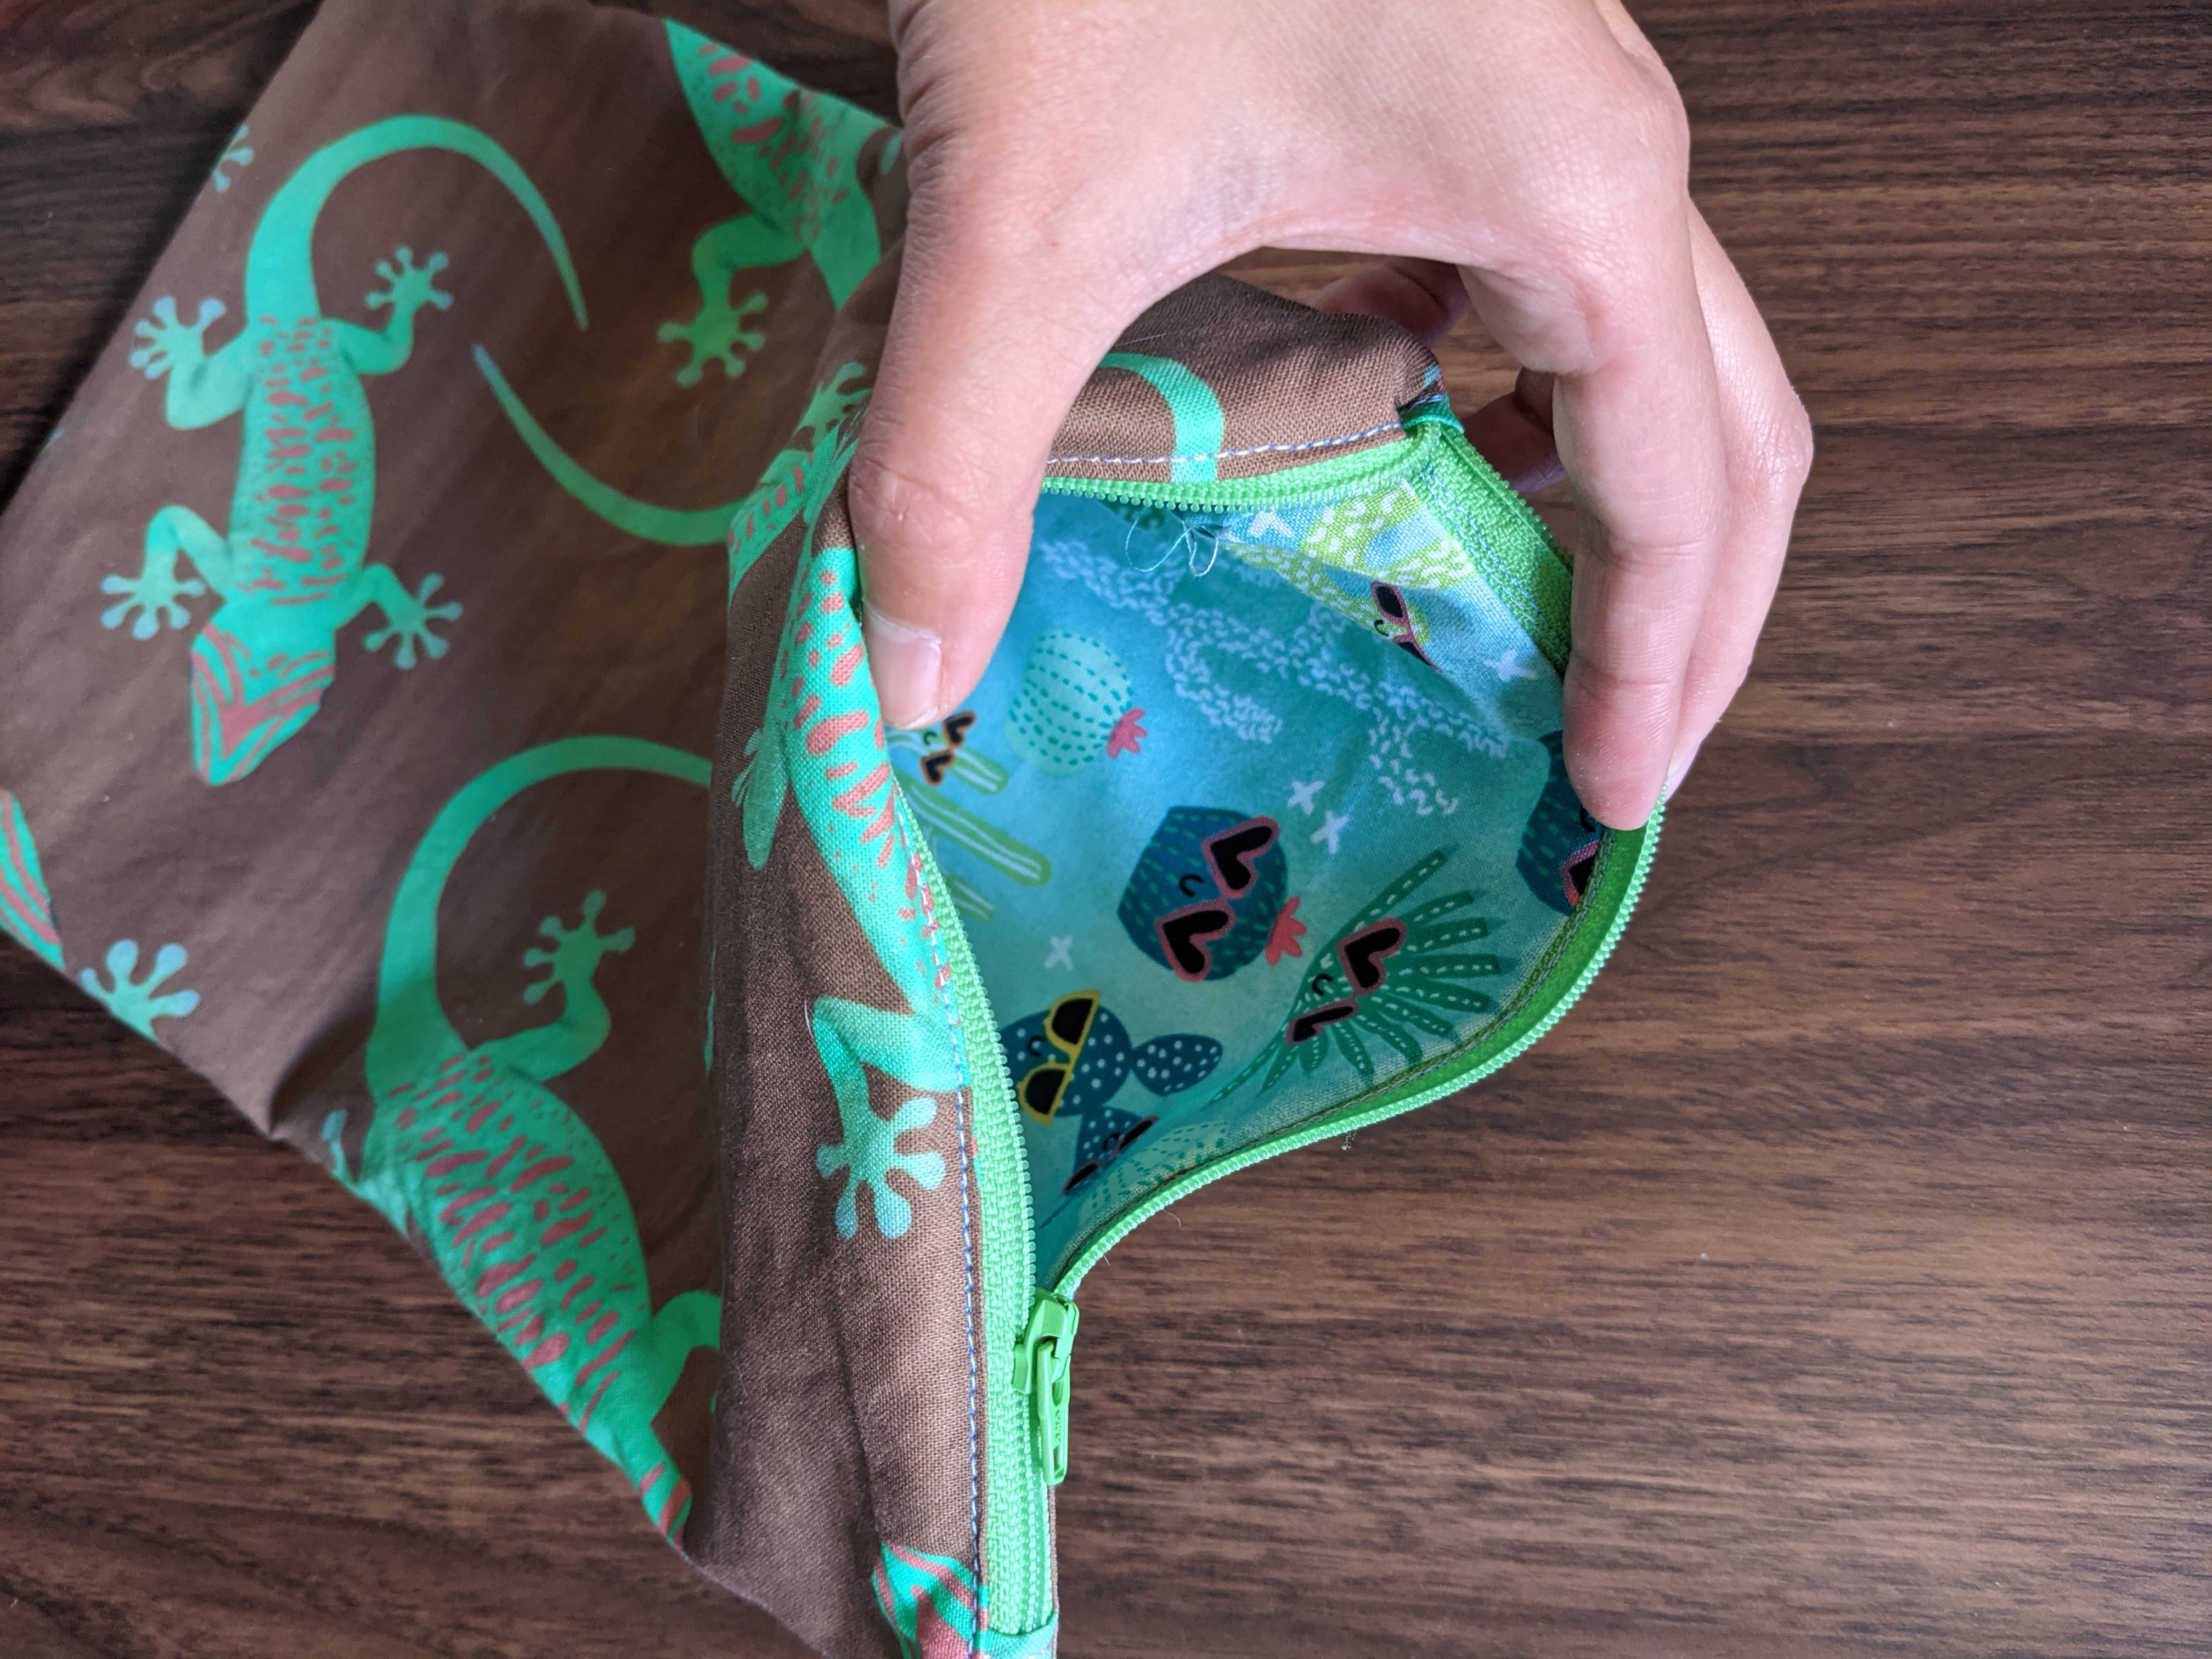
My other friend has a ton of cat themed stuff, but she also owns some geckos! So I wanted to do a bag with some geckos on it. I used a clipart picture of a gecko and made the markings match her specific gecko 🙂 I blurred out some wood clipart for the background. I used some old cactus fabric for the inside, since we’re both plant parents 🙂
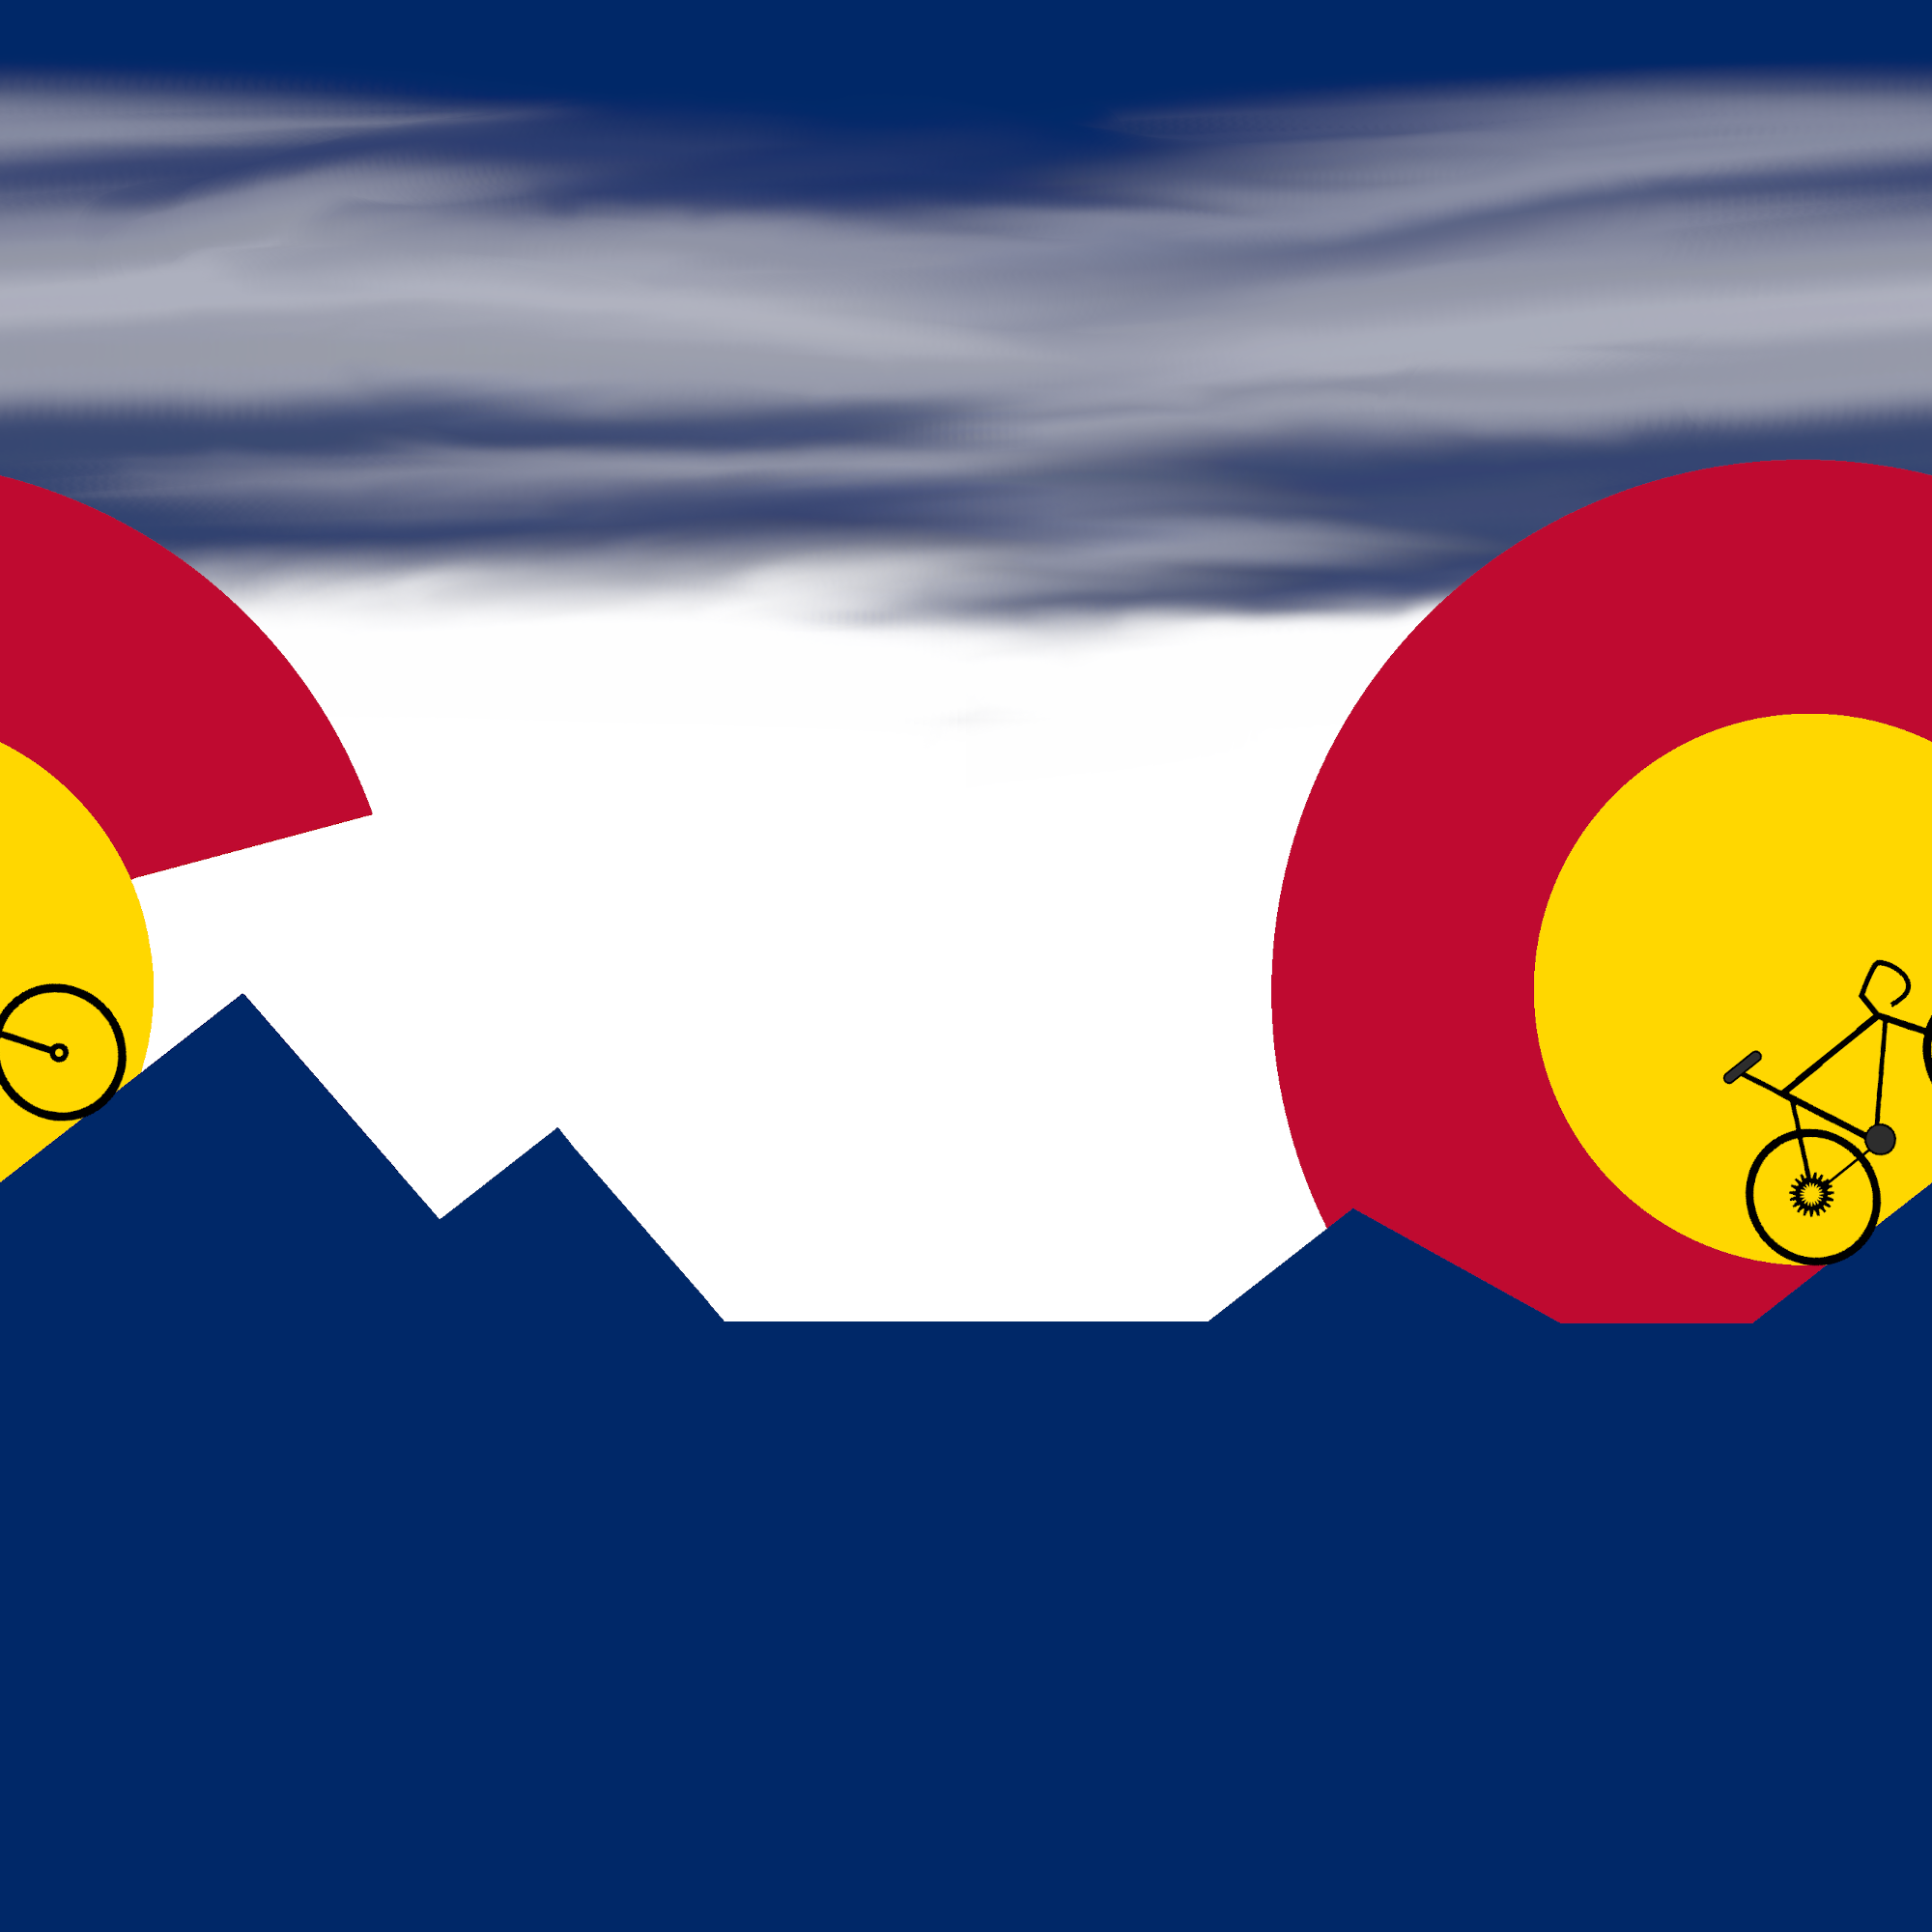
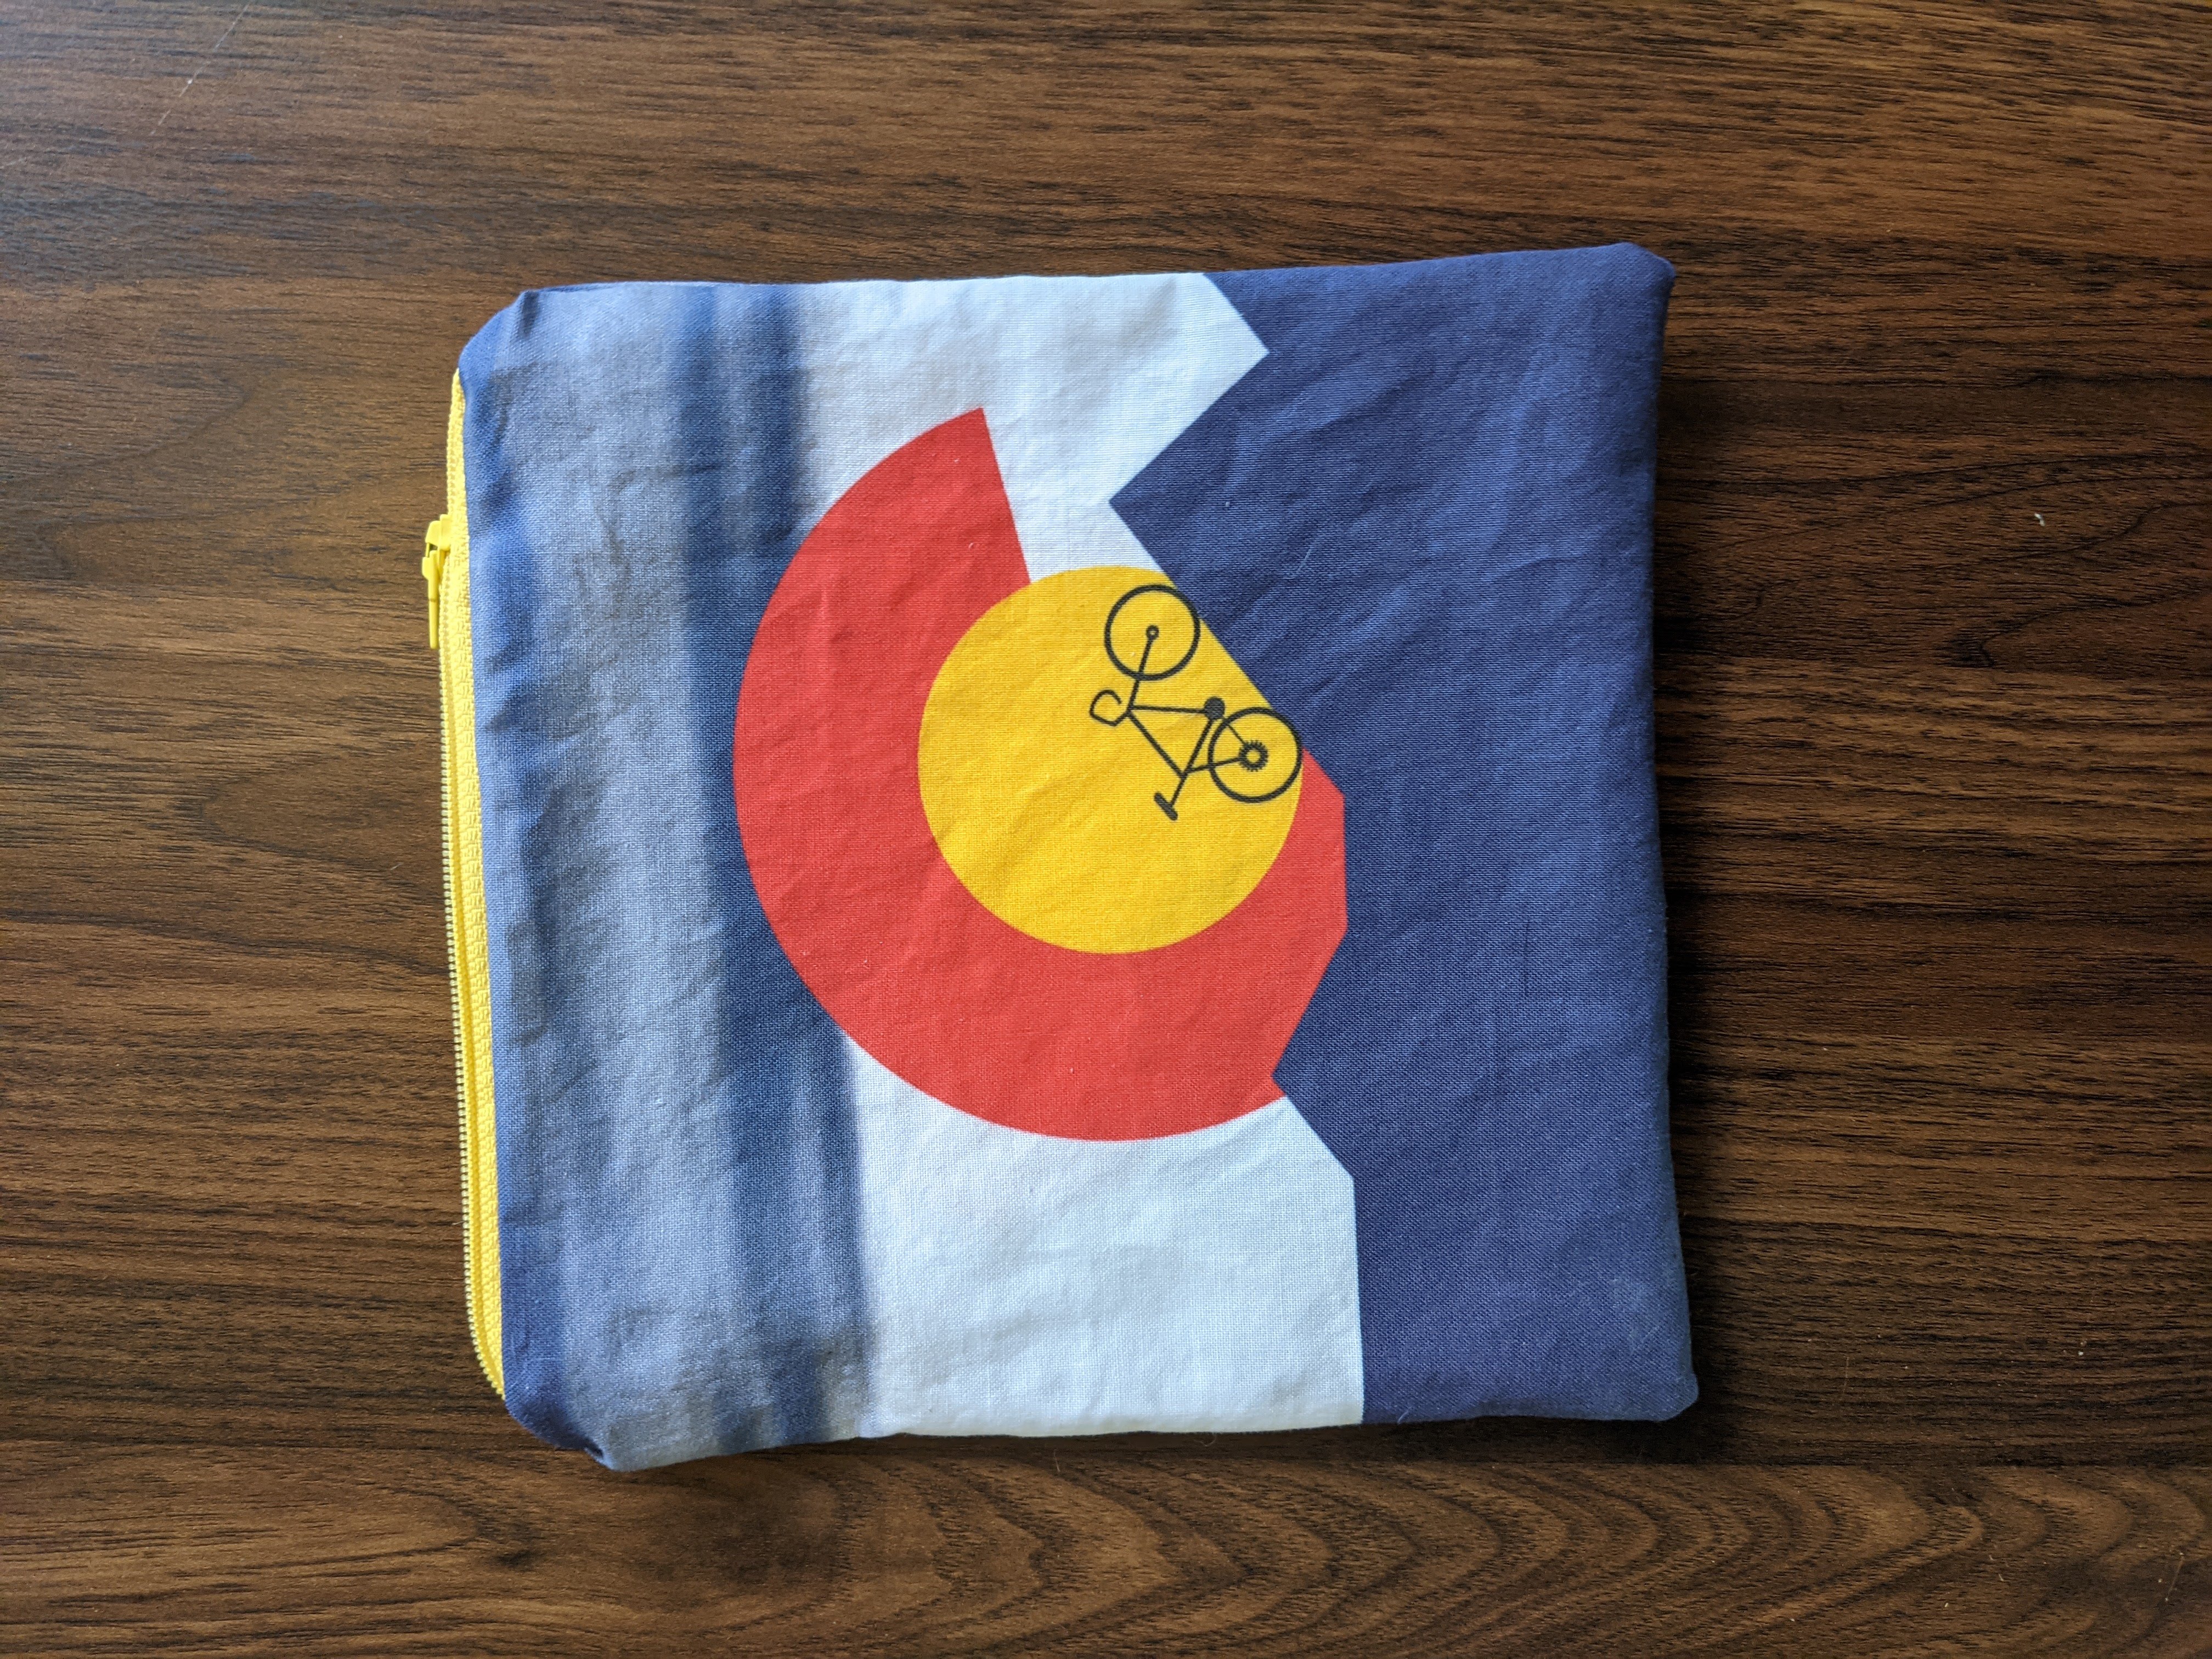
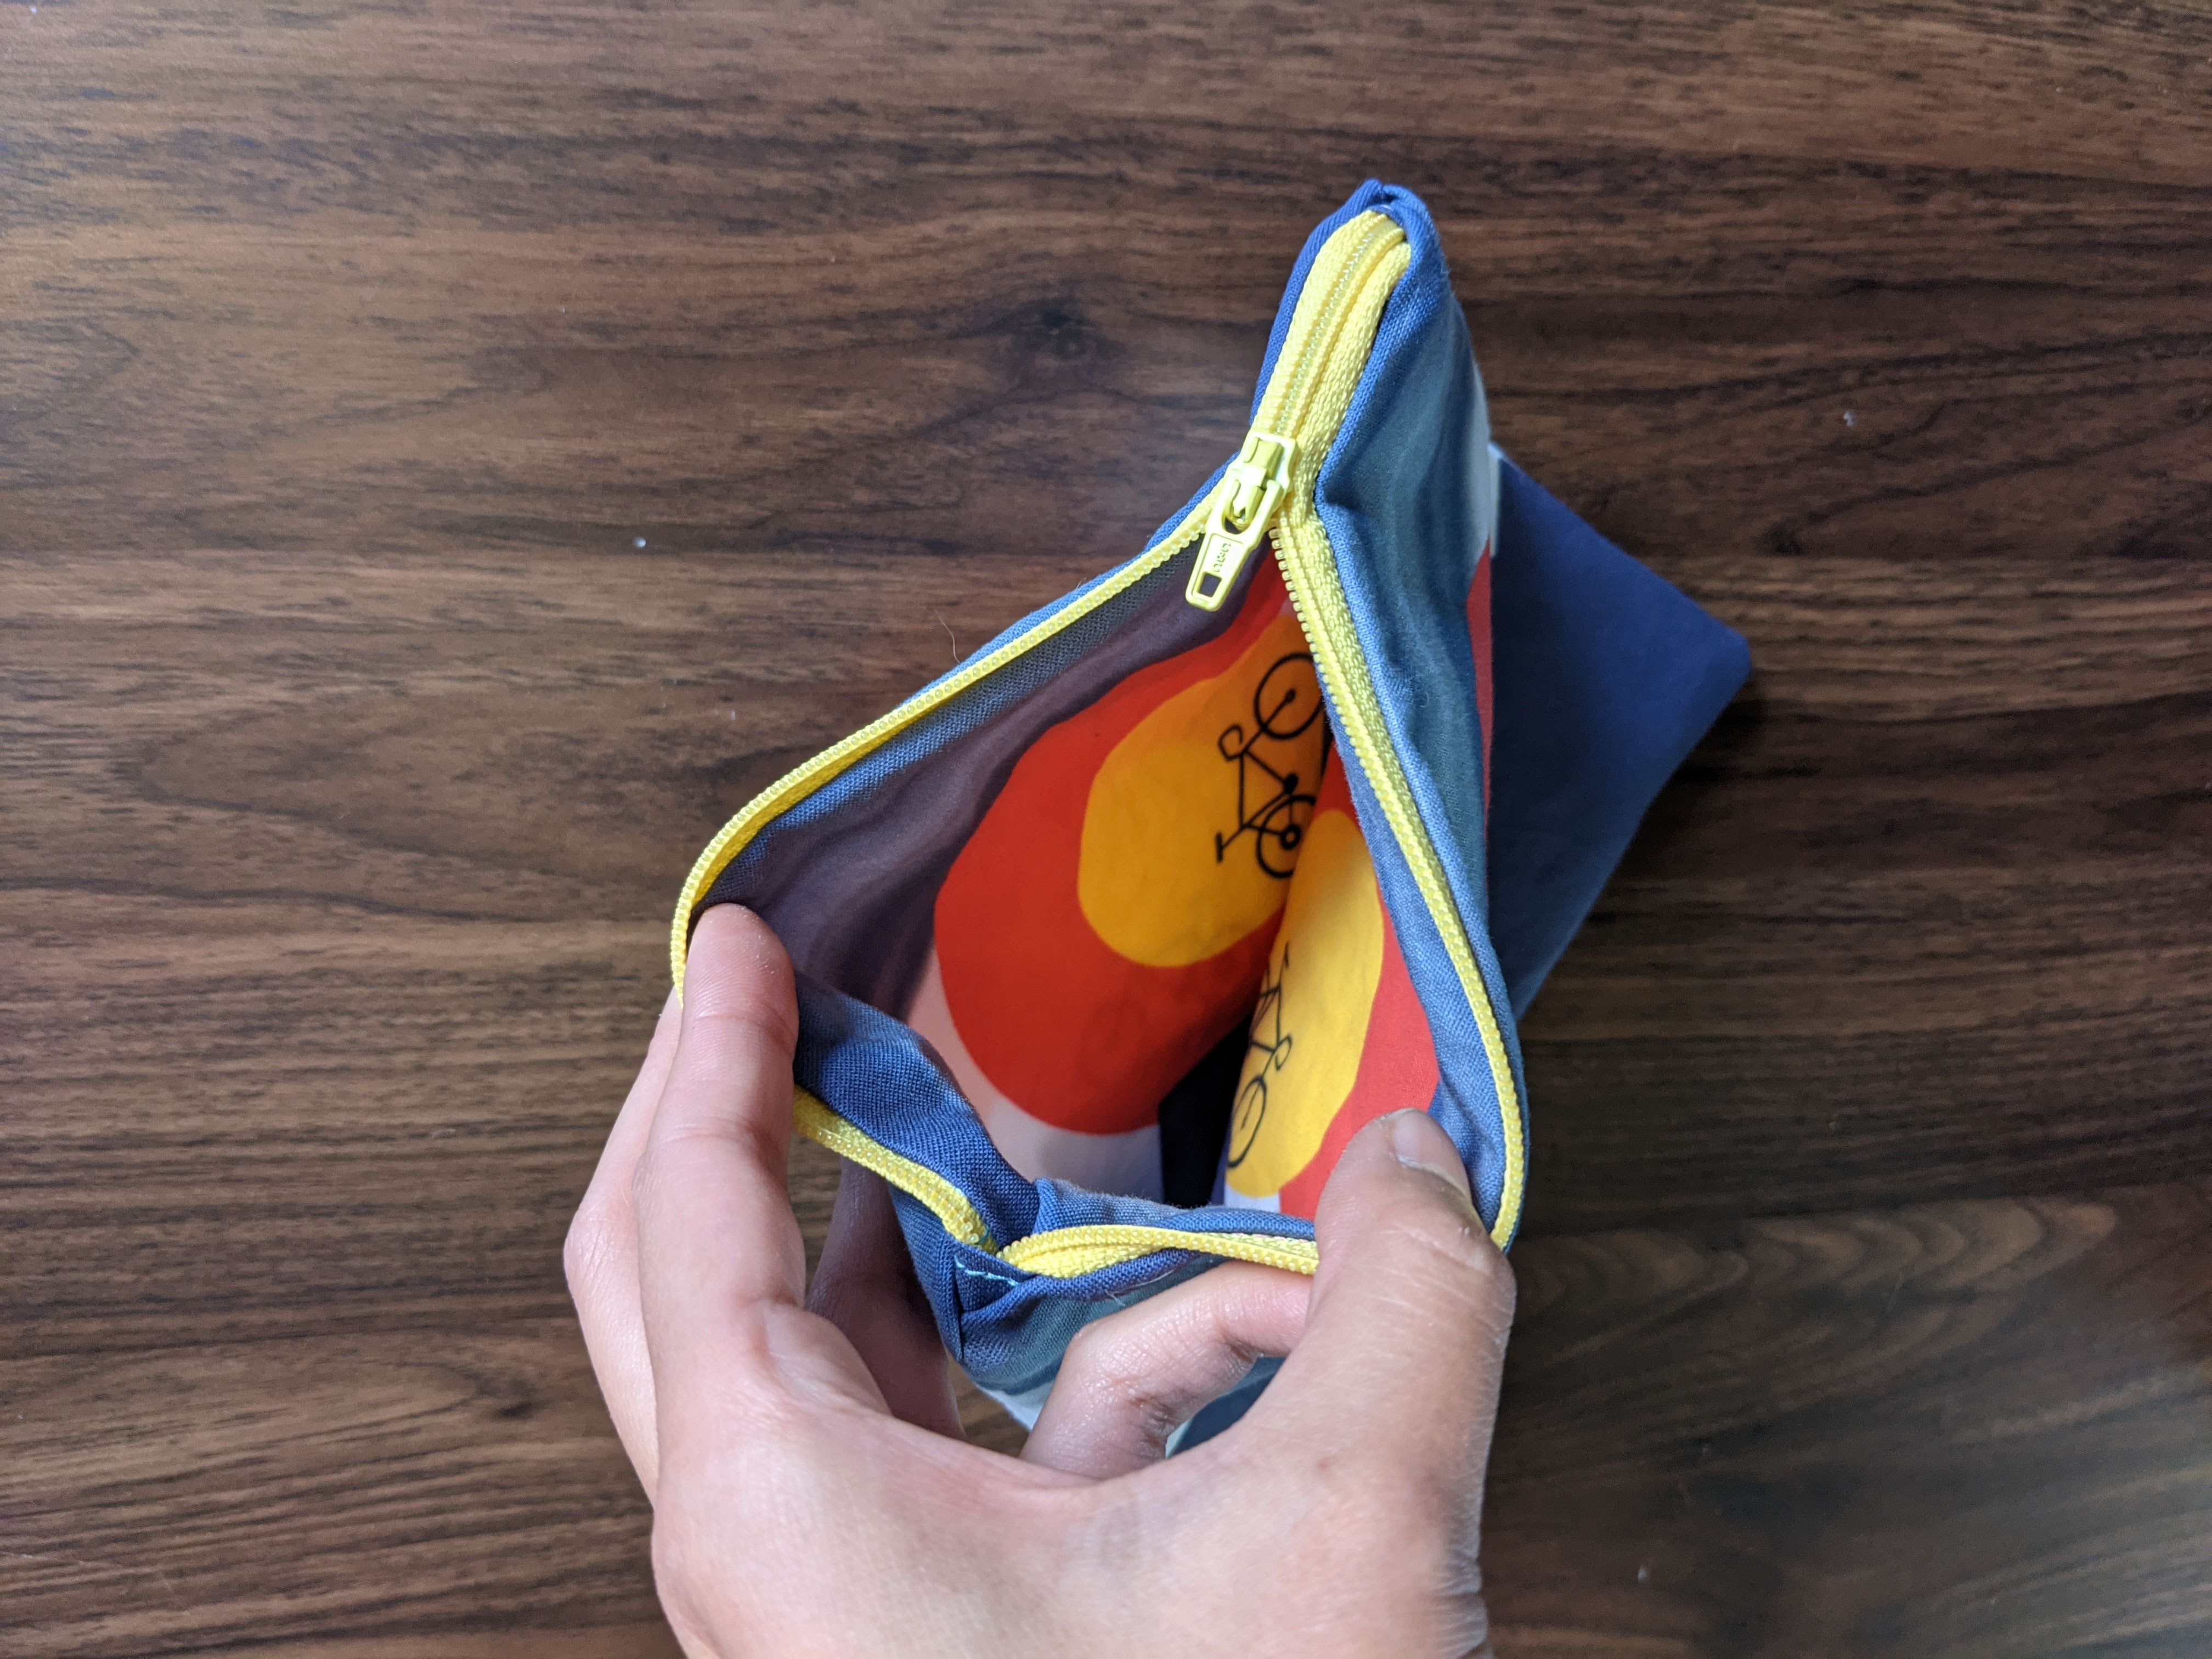
One of my friends lives in a different state and I wanted to make her something Colorado themed, so I made some mountains on the Colorado flag and added a bike.
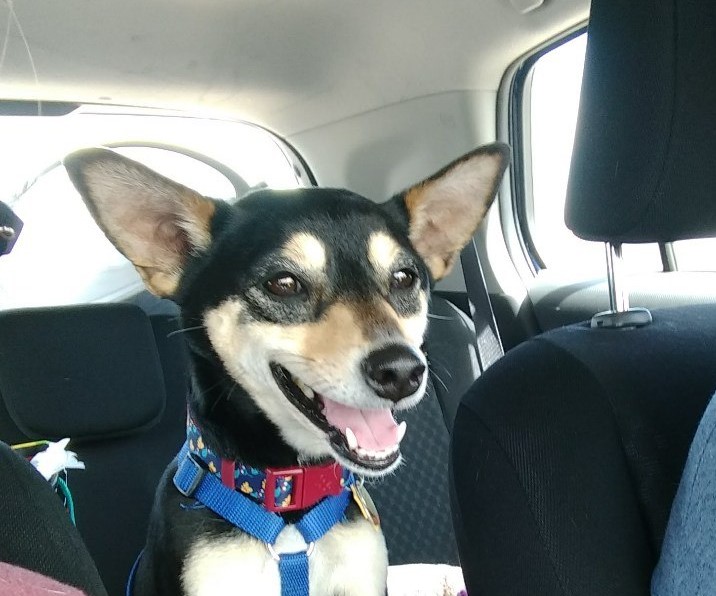
For my secret santa gift in my friend group, I used a picture of my friend’s dog to make two different prints for the exterior and interior of the bag.
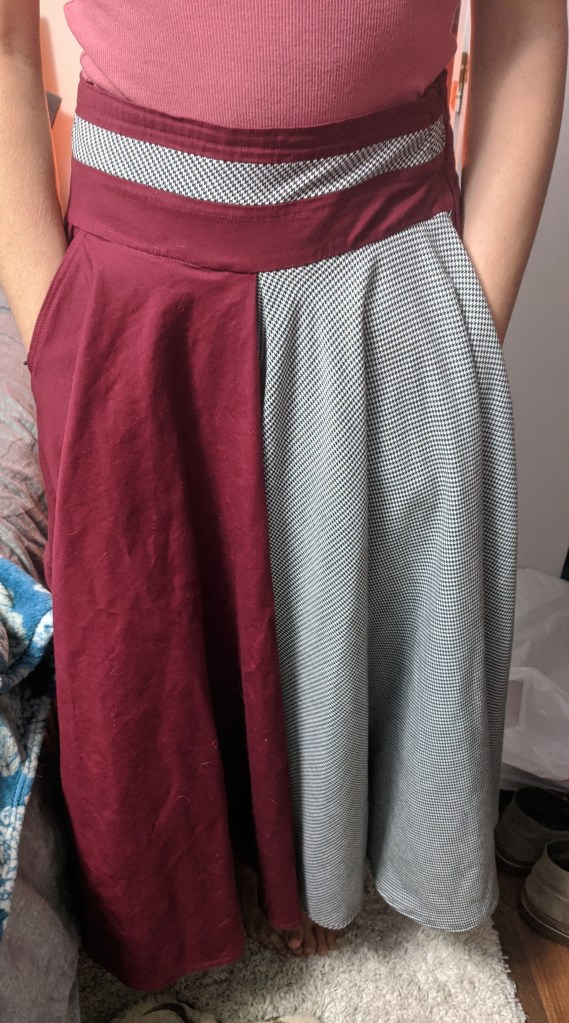
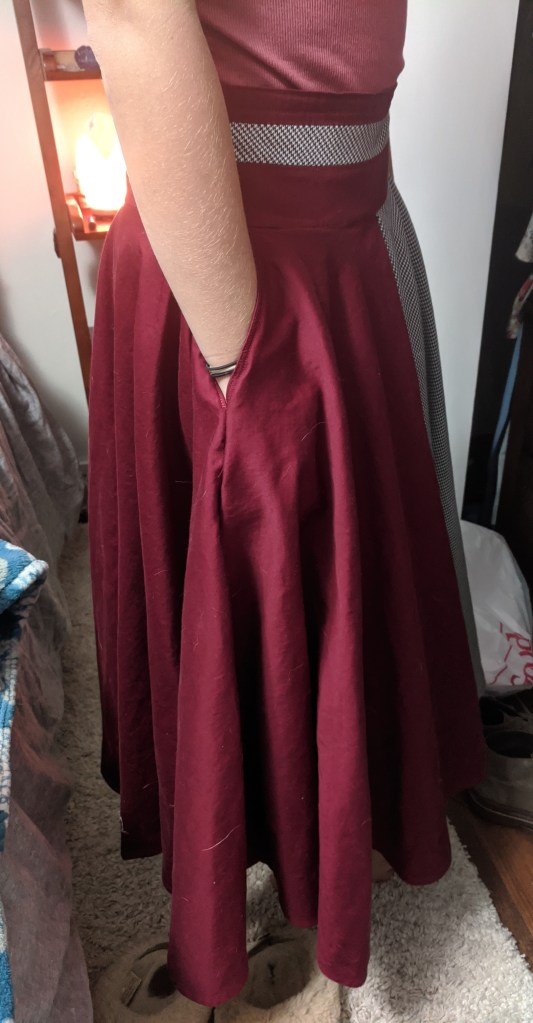
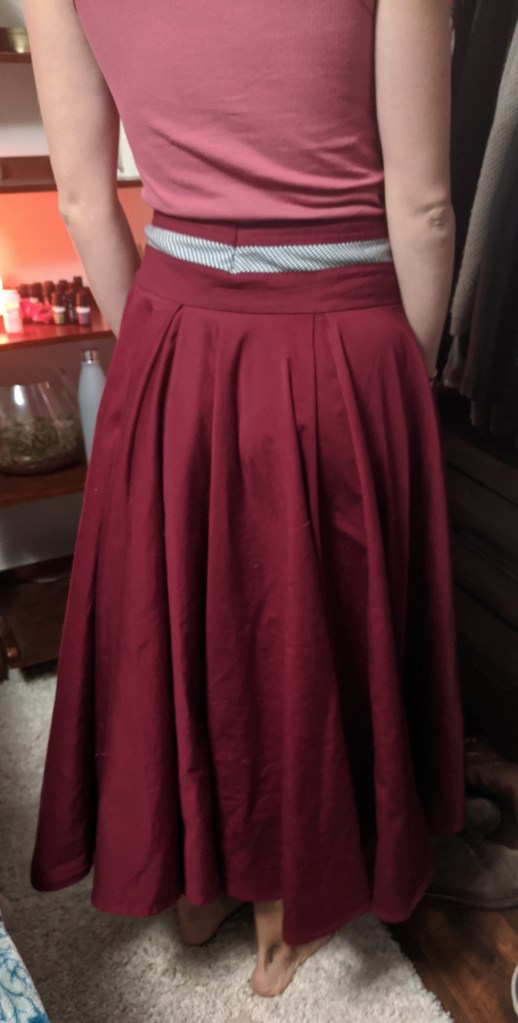
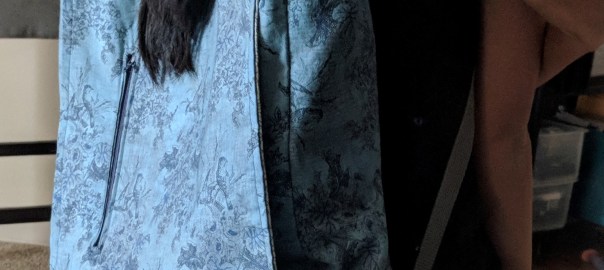
This was my first clothing project for someone besides myself! The same friend who I made the bird backpack for asked me to make a swishy, flowy skirt for her. We went to Joann’s together and picked out the main fabric and the accent fabric.
Since she wanted it to be swishy, I decided I’d make a pleated circle skirt, including even more fabric than a regular circle skirt. And including the waistband and pockets, I used up almost all of the main fabric we purchased, which was cool.
I used the accent fabric for a panel about 1/4 to 1/3 of the total skirt, and included a stripe of it in the waistband.
I know that pockets make any skirt at least 10 times better, so I included two huge pockets 🙂 I used a long zipper for the closure and did a double turn hem. I considered doing a lining, but I used so much of the main fabric that it was already a heavy and warm skirt, so any lining would make it a little leg-oven. This way, it can be worn by itself in the fall and with tights in winter. 🙂 I did include a lining in the waistband for additional structure and making sure the seams and raw edges weren’t itchy.
We did a first fitting where we found out the waist was almost perfect… without the seam allowances for the zipper. I inserted a small triangular panel and at the second fitting we got the waistband circumference right and added some small darts so the waistband is flat to her body. Then she graciously made me dinner and I sewed the last seam up afterwards.
Overall it was a bit unnerving to make a piece of clothing without being able to make sure it fit continuously along the way. But it was a good challenge and it turned out great! As usual I used the machine for most of the construction, with hand sewing for the zipper and the last seam. I like having a bit of hand sewing in each of my projects for a bit of an imperfect element.
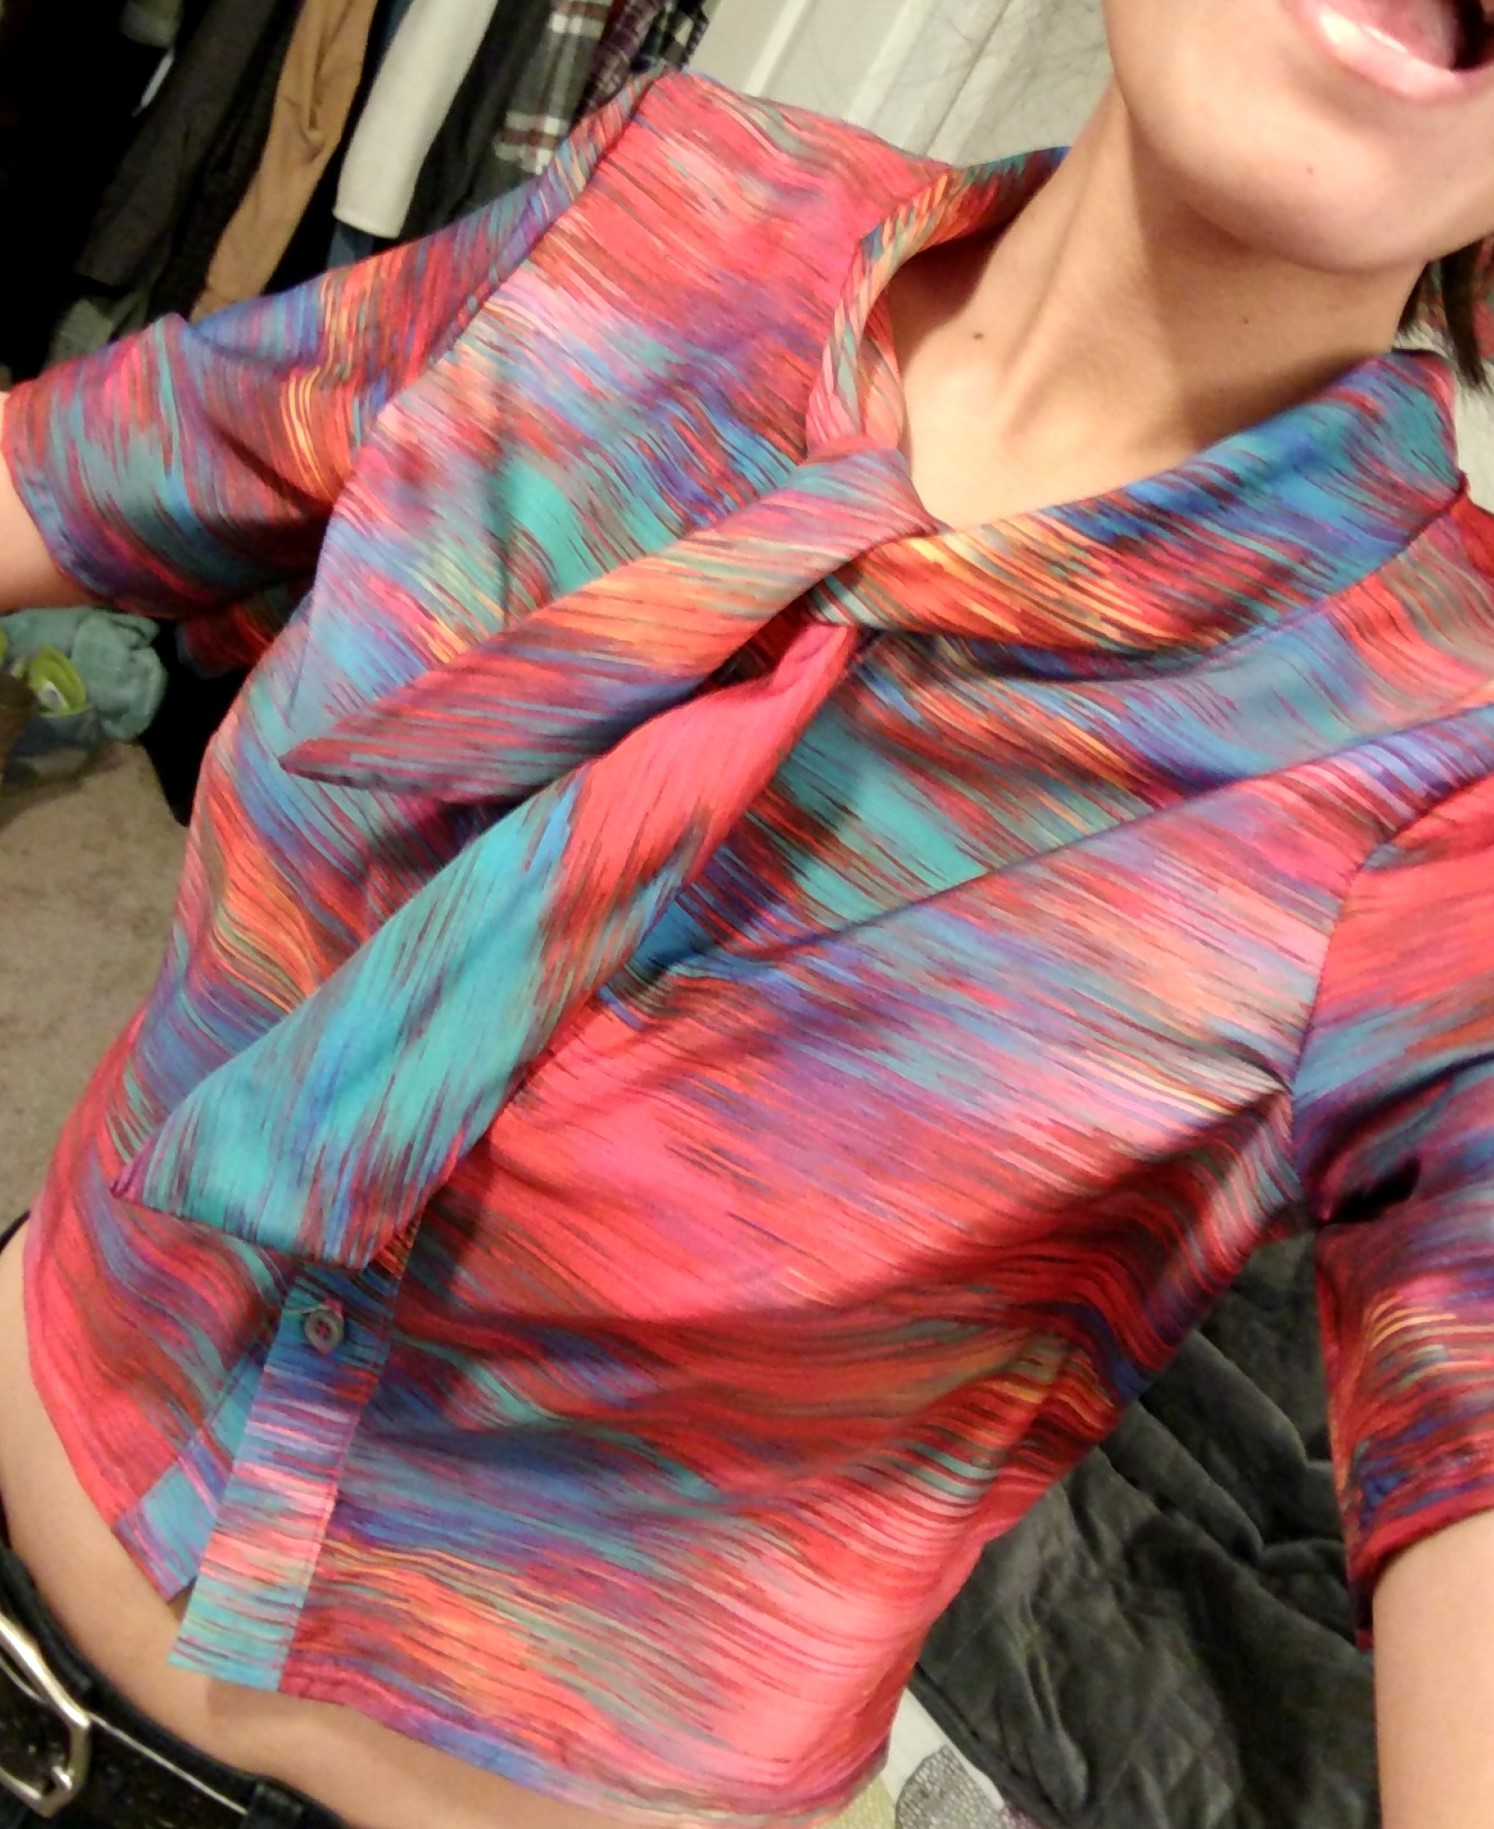
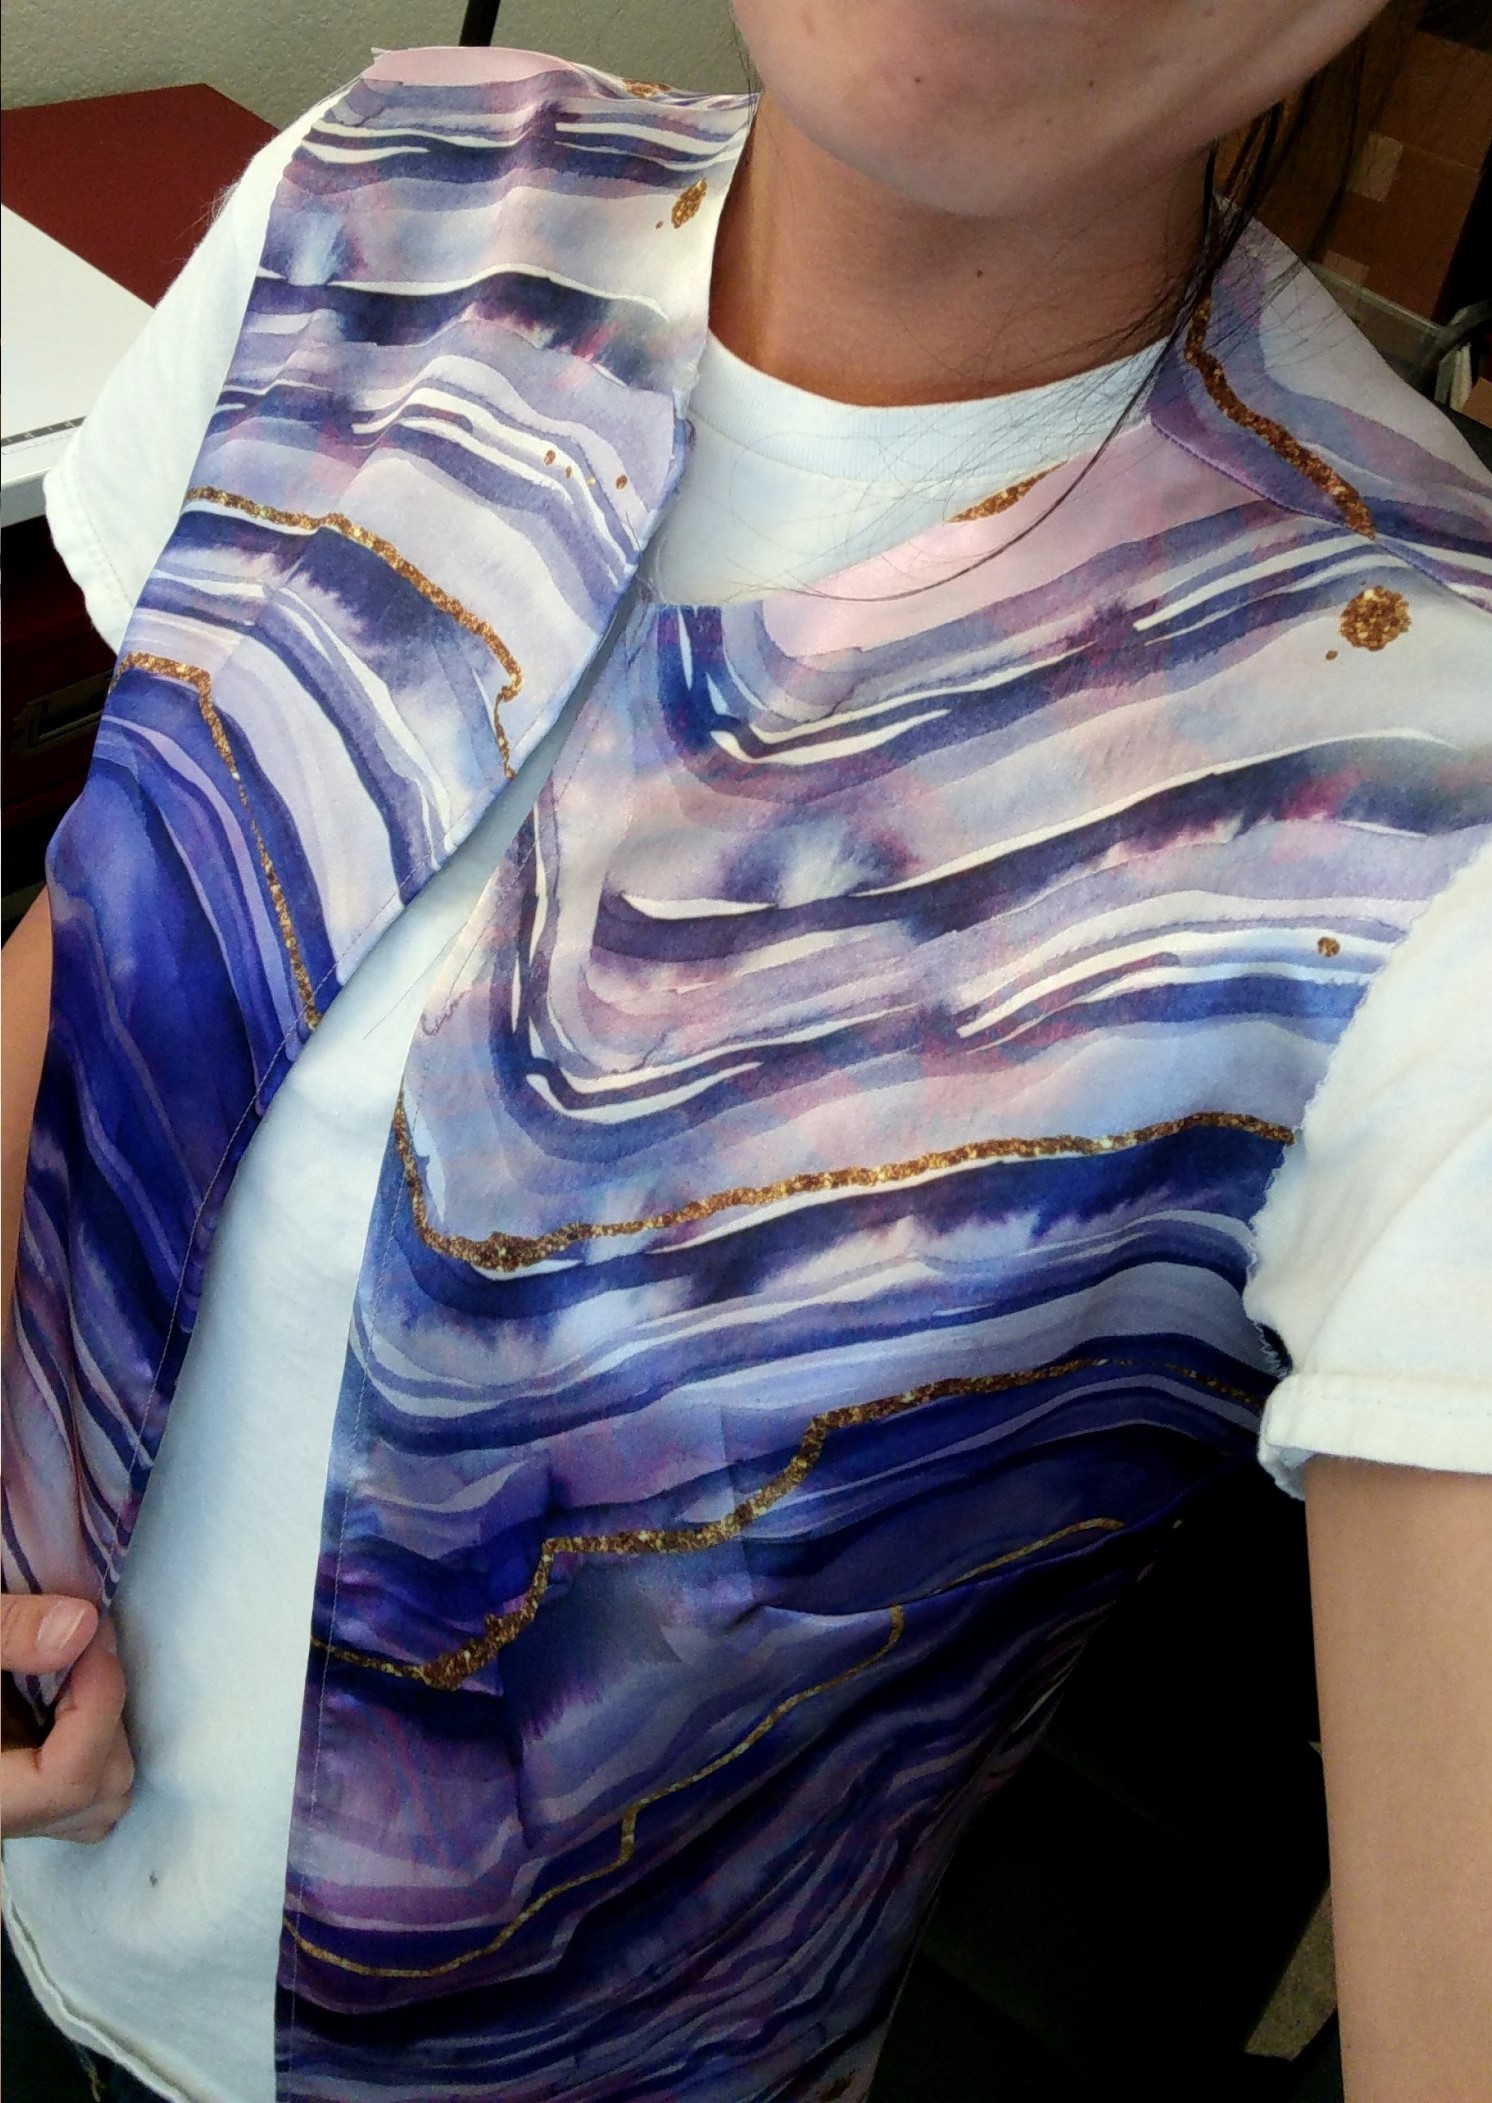
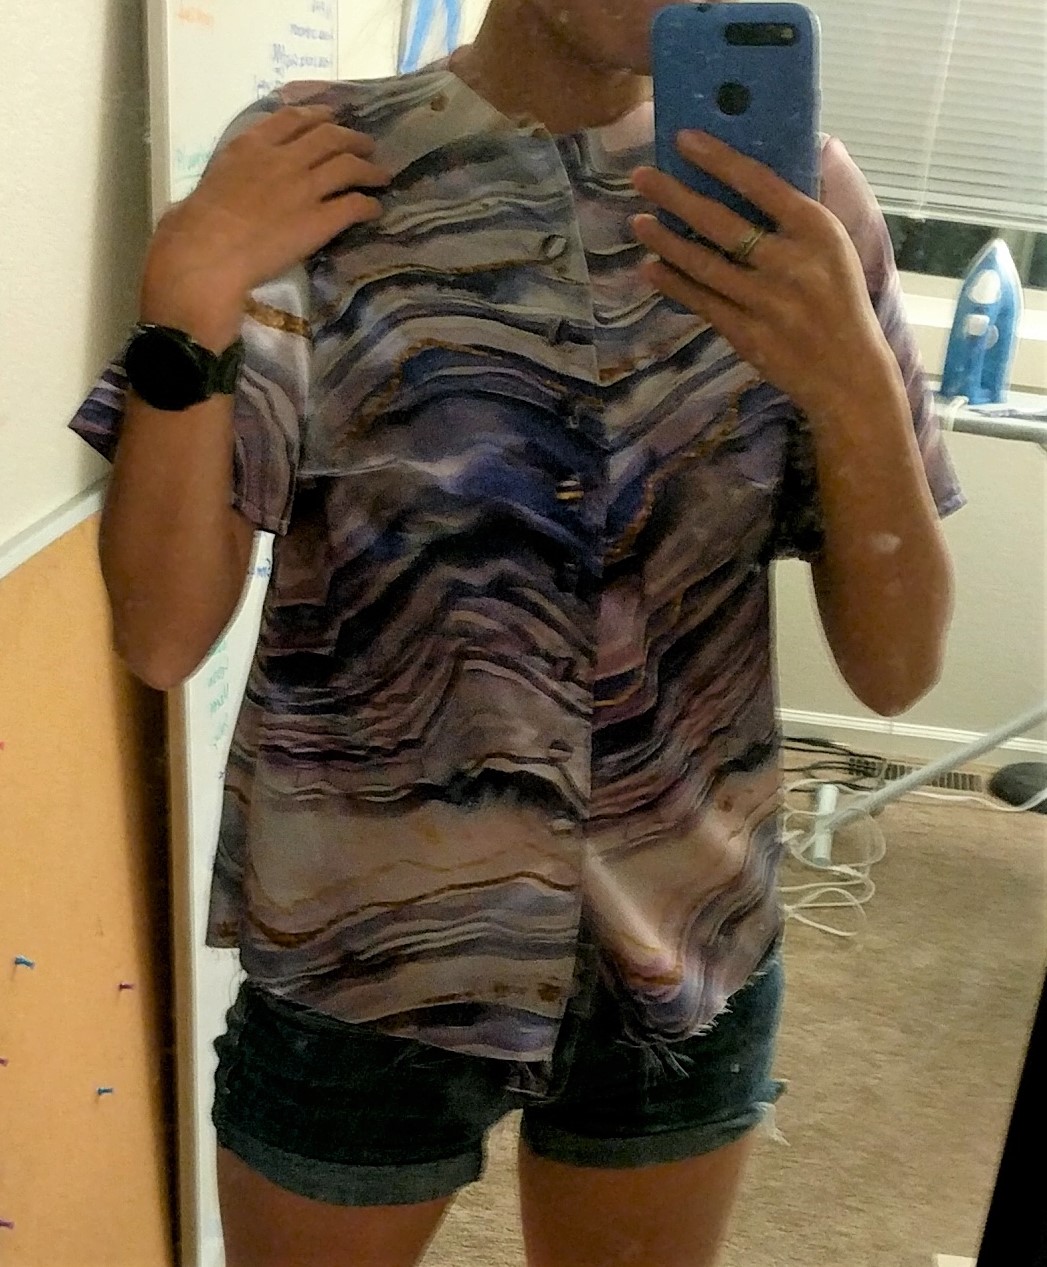
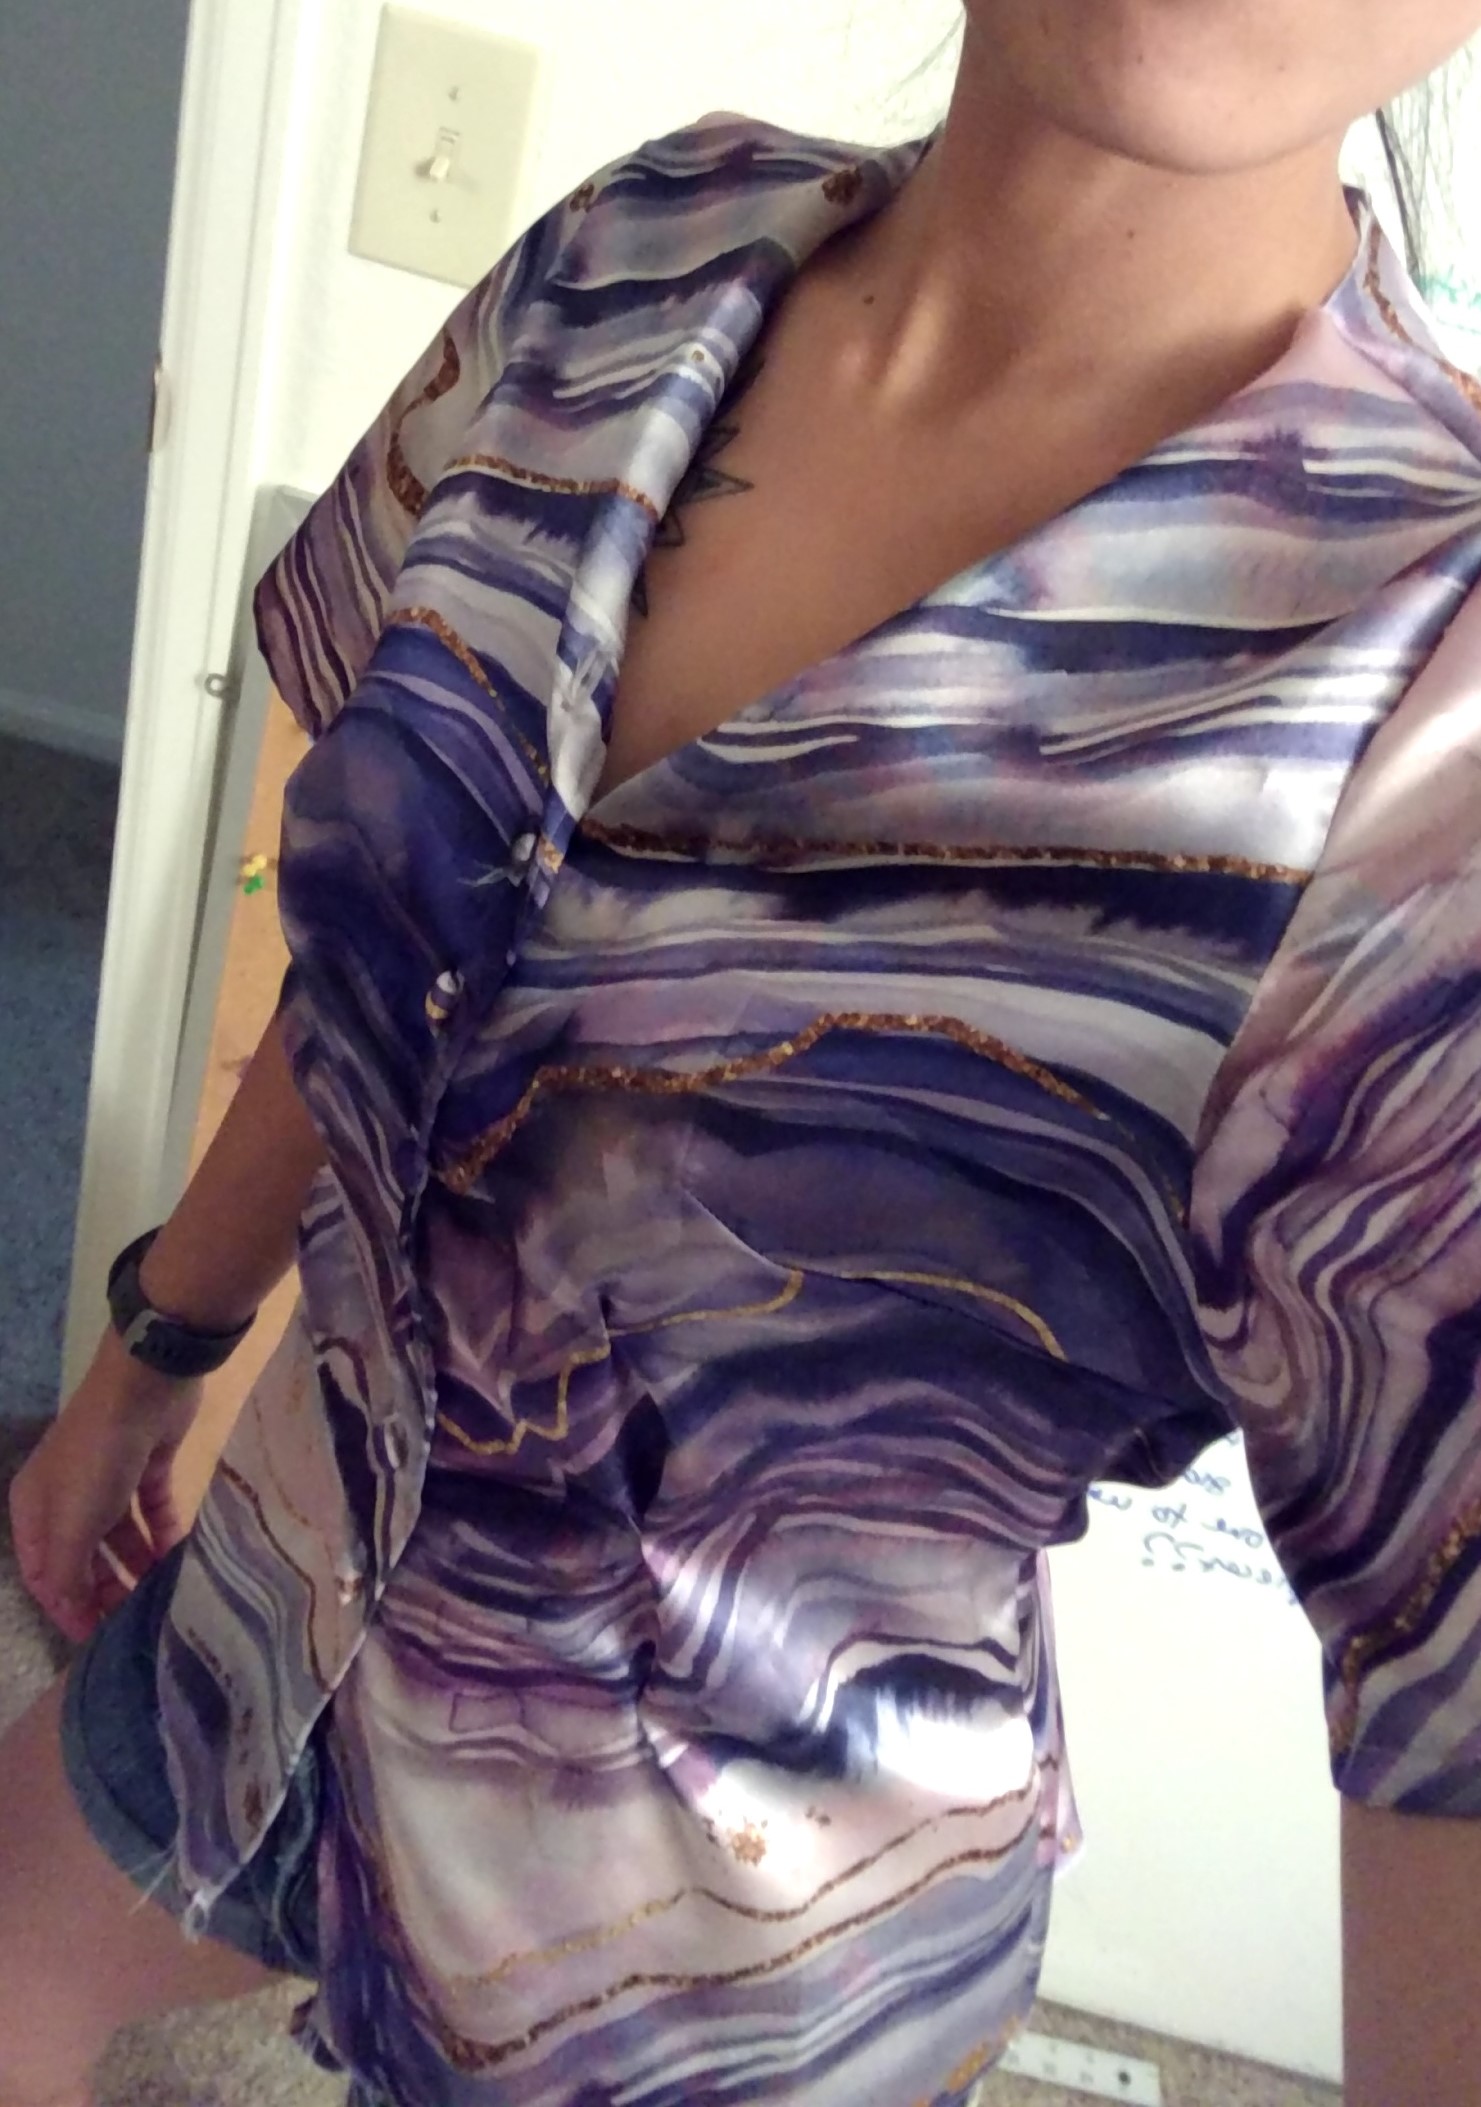
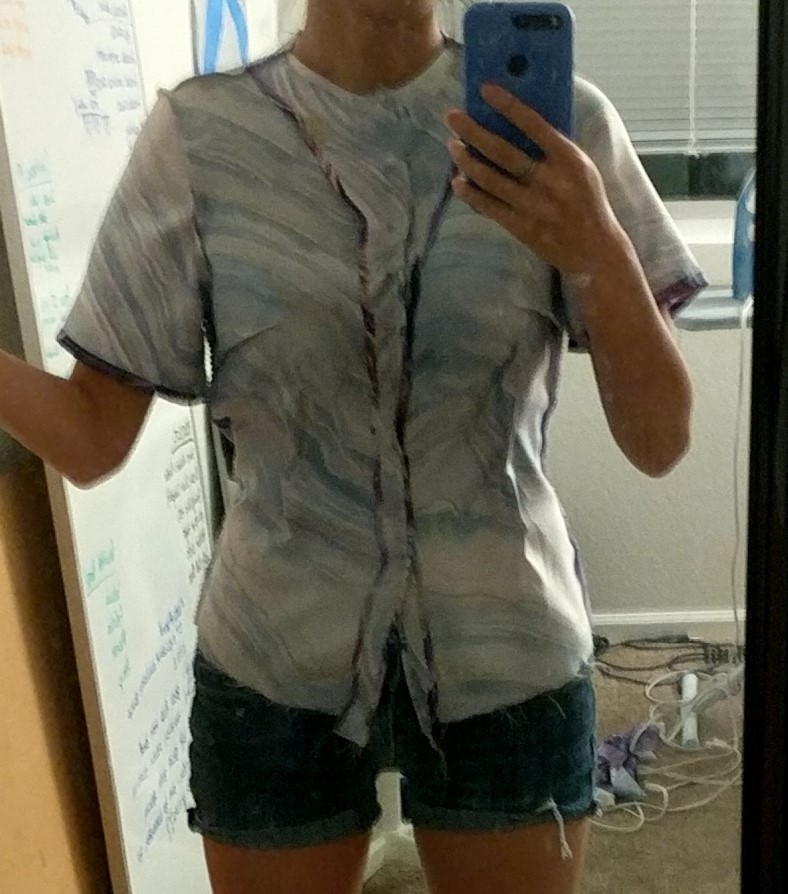
This shirt is based on the bodice of the Lekala S4108 pattern. This was my first shirt, and since I almost exclusively wear button downs, I figured I should just start with a button down. This only used 1 yard of fabric (from Joann), which was really cool. It’s kind of a firm satin? Not as slippery as the purple geode, still a bit flowy.
This, of course, was my first foray into collar making. I cut out the collar according to the pattern, but it ended up being so short that it didn’t wrap all the way around the neck opening. I didn’t have enough fabric to make a new, bigger collar, so I decided to go for a tied collar strip thing (I have another shirt like this so I figured it would work). The improv collar worked great and is the basis for the name since they used to wear those little scarves.
It was also my first time doing sleeves! It’s a bit tricky to sew a sphere-ish thing to a.. 2D/circle thing, but I used a lot of pins. I also skipped some directions which, after consultation with a friend, I should have followed. You’re supposed to “stay stitch” around the sleeve curve so it doesn’t get all out of whack and stretched when you’re sewing, which did happen a bit. But the extra bit of shoulder puff isn’t unwelcome and is pretty subtle.
It was not my first foray into buttonholes, but it was the first time I had to measure and space out my buttonholes. I put the shirt on and marked out where it felt natural for buttons to go, and saw a separation of about 2″ is a good distance. The bottom was just a bit over 2″ after the last button but I decided to not install a button so close to the hem.
I wore this on a date and it absolutely passed my wearability test, but that doesn’t mean I didn’t introduce the piece to my roommate as “am I a flight attendant now?”
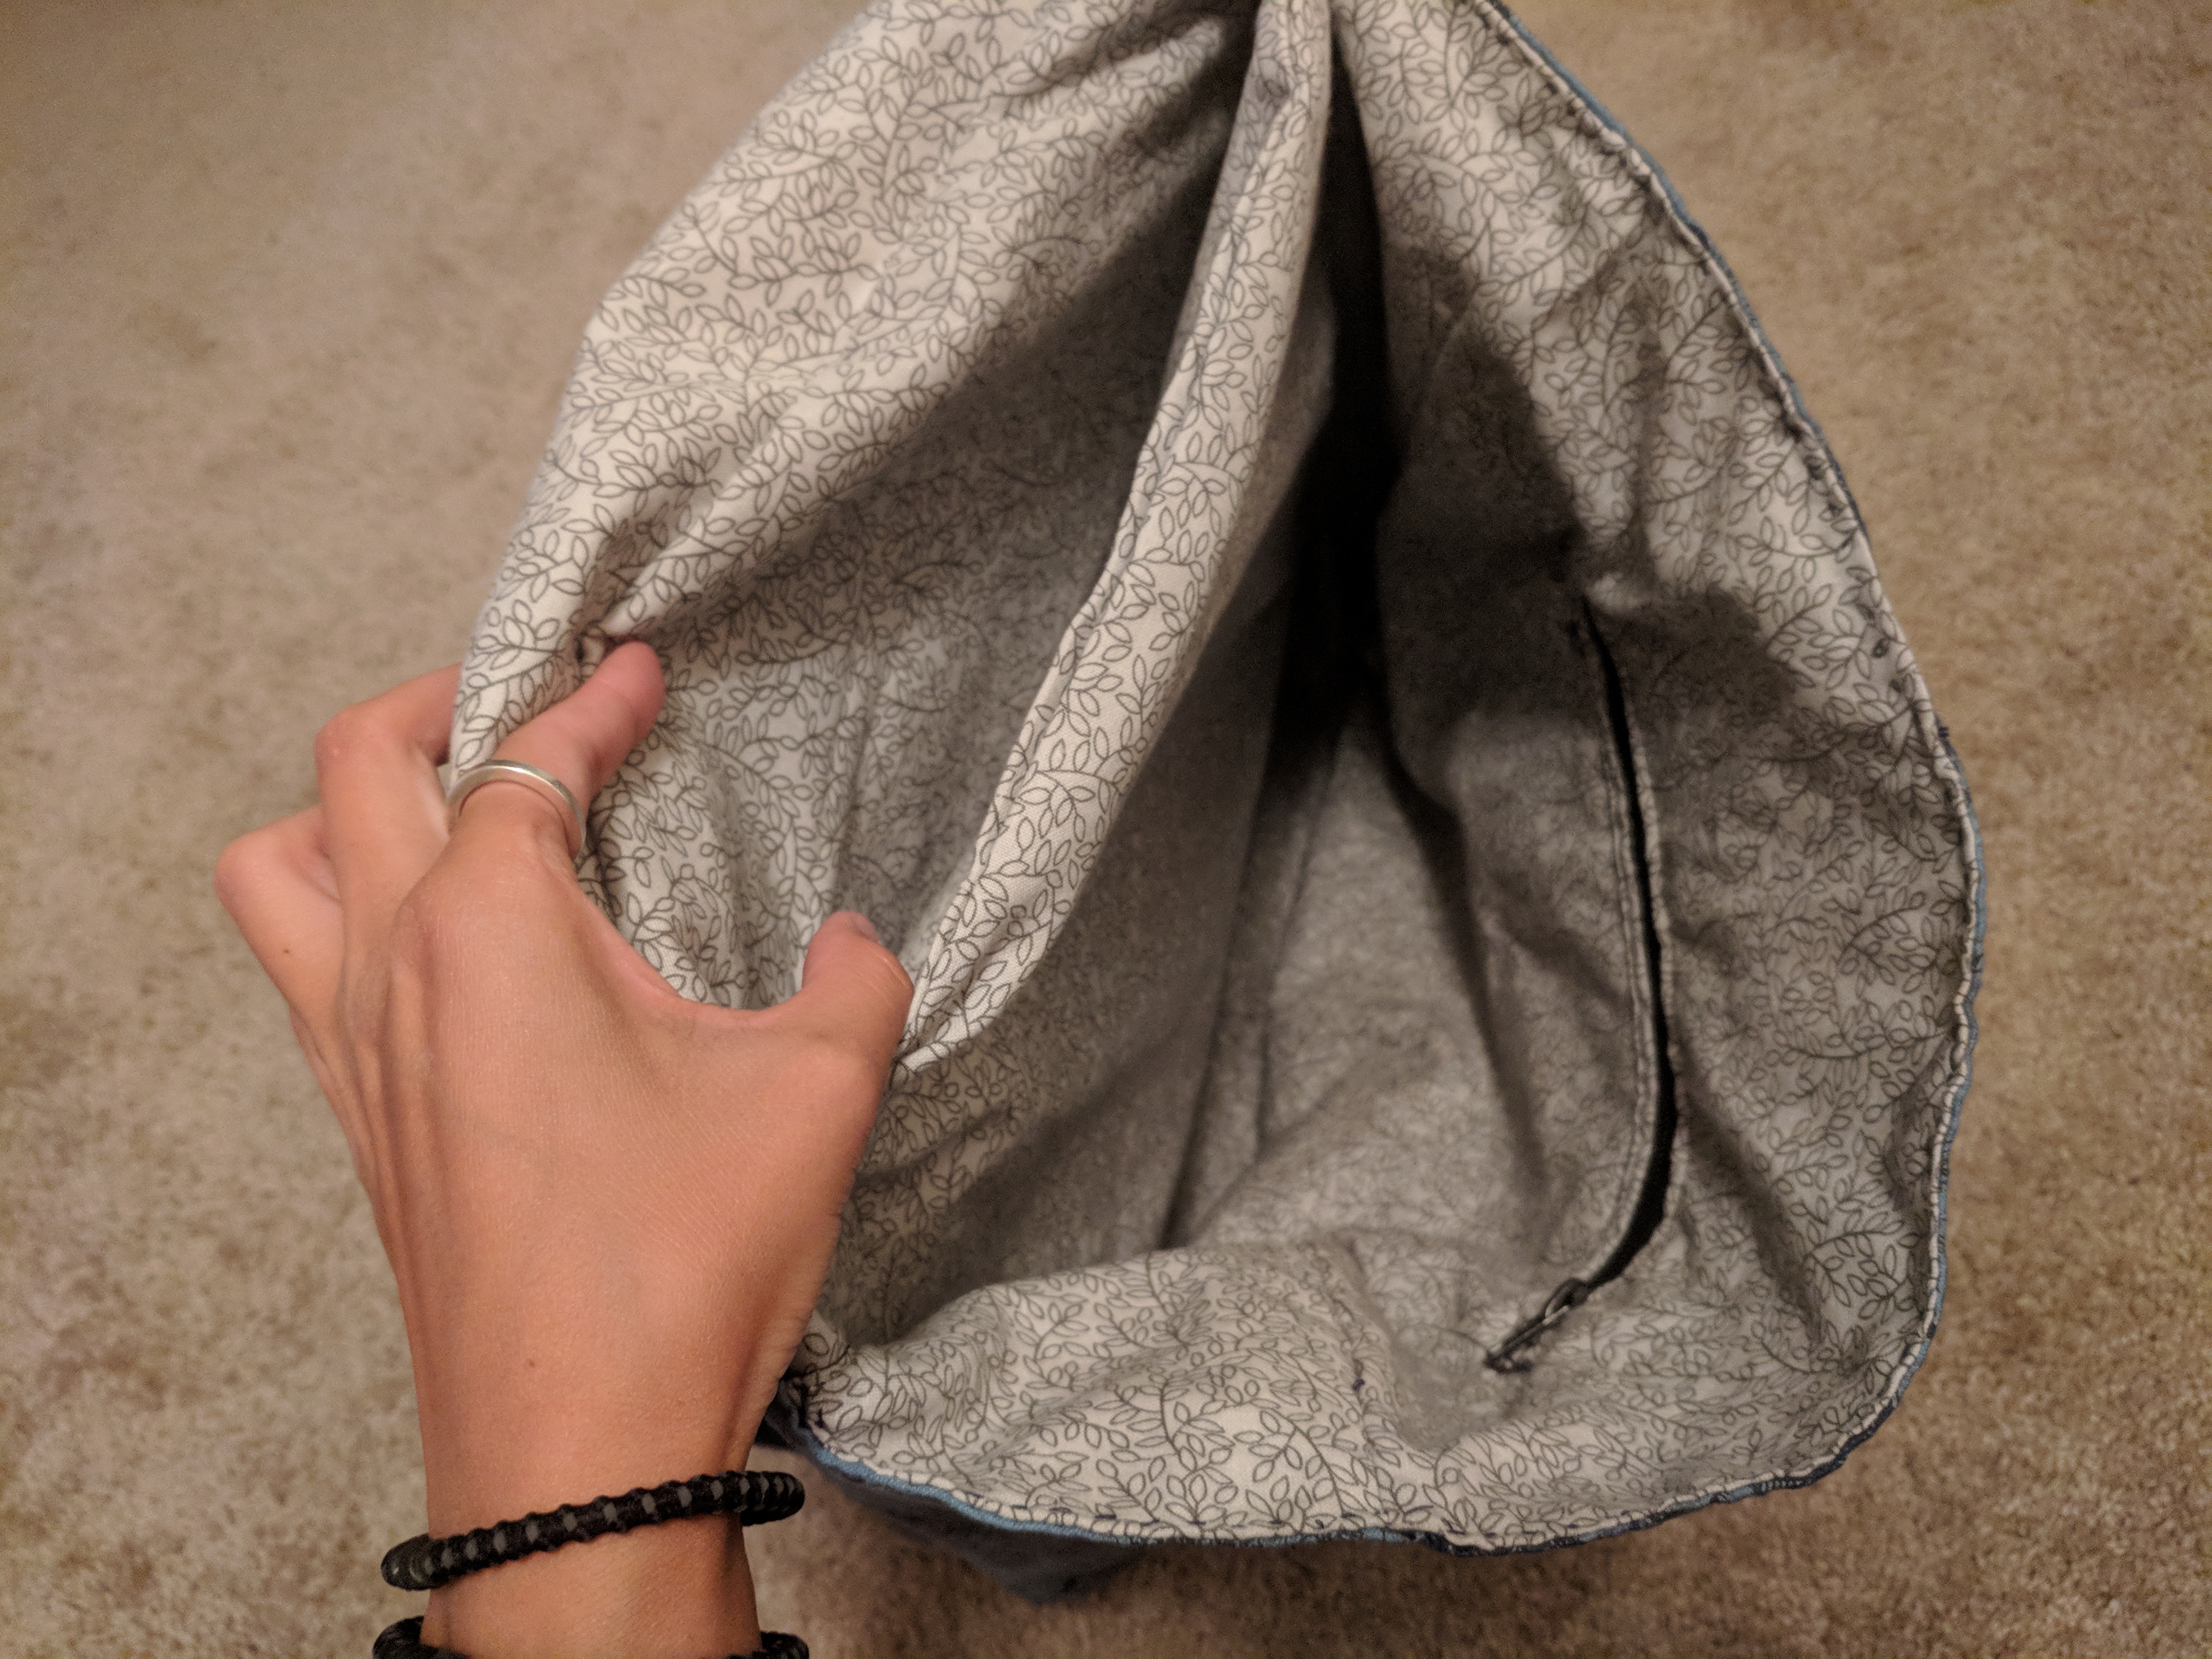
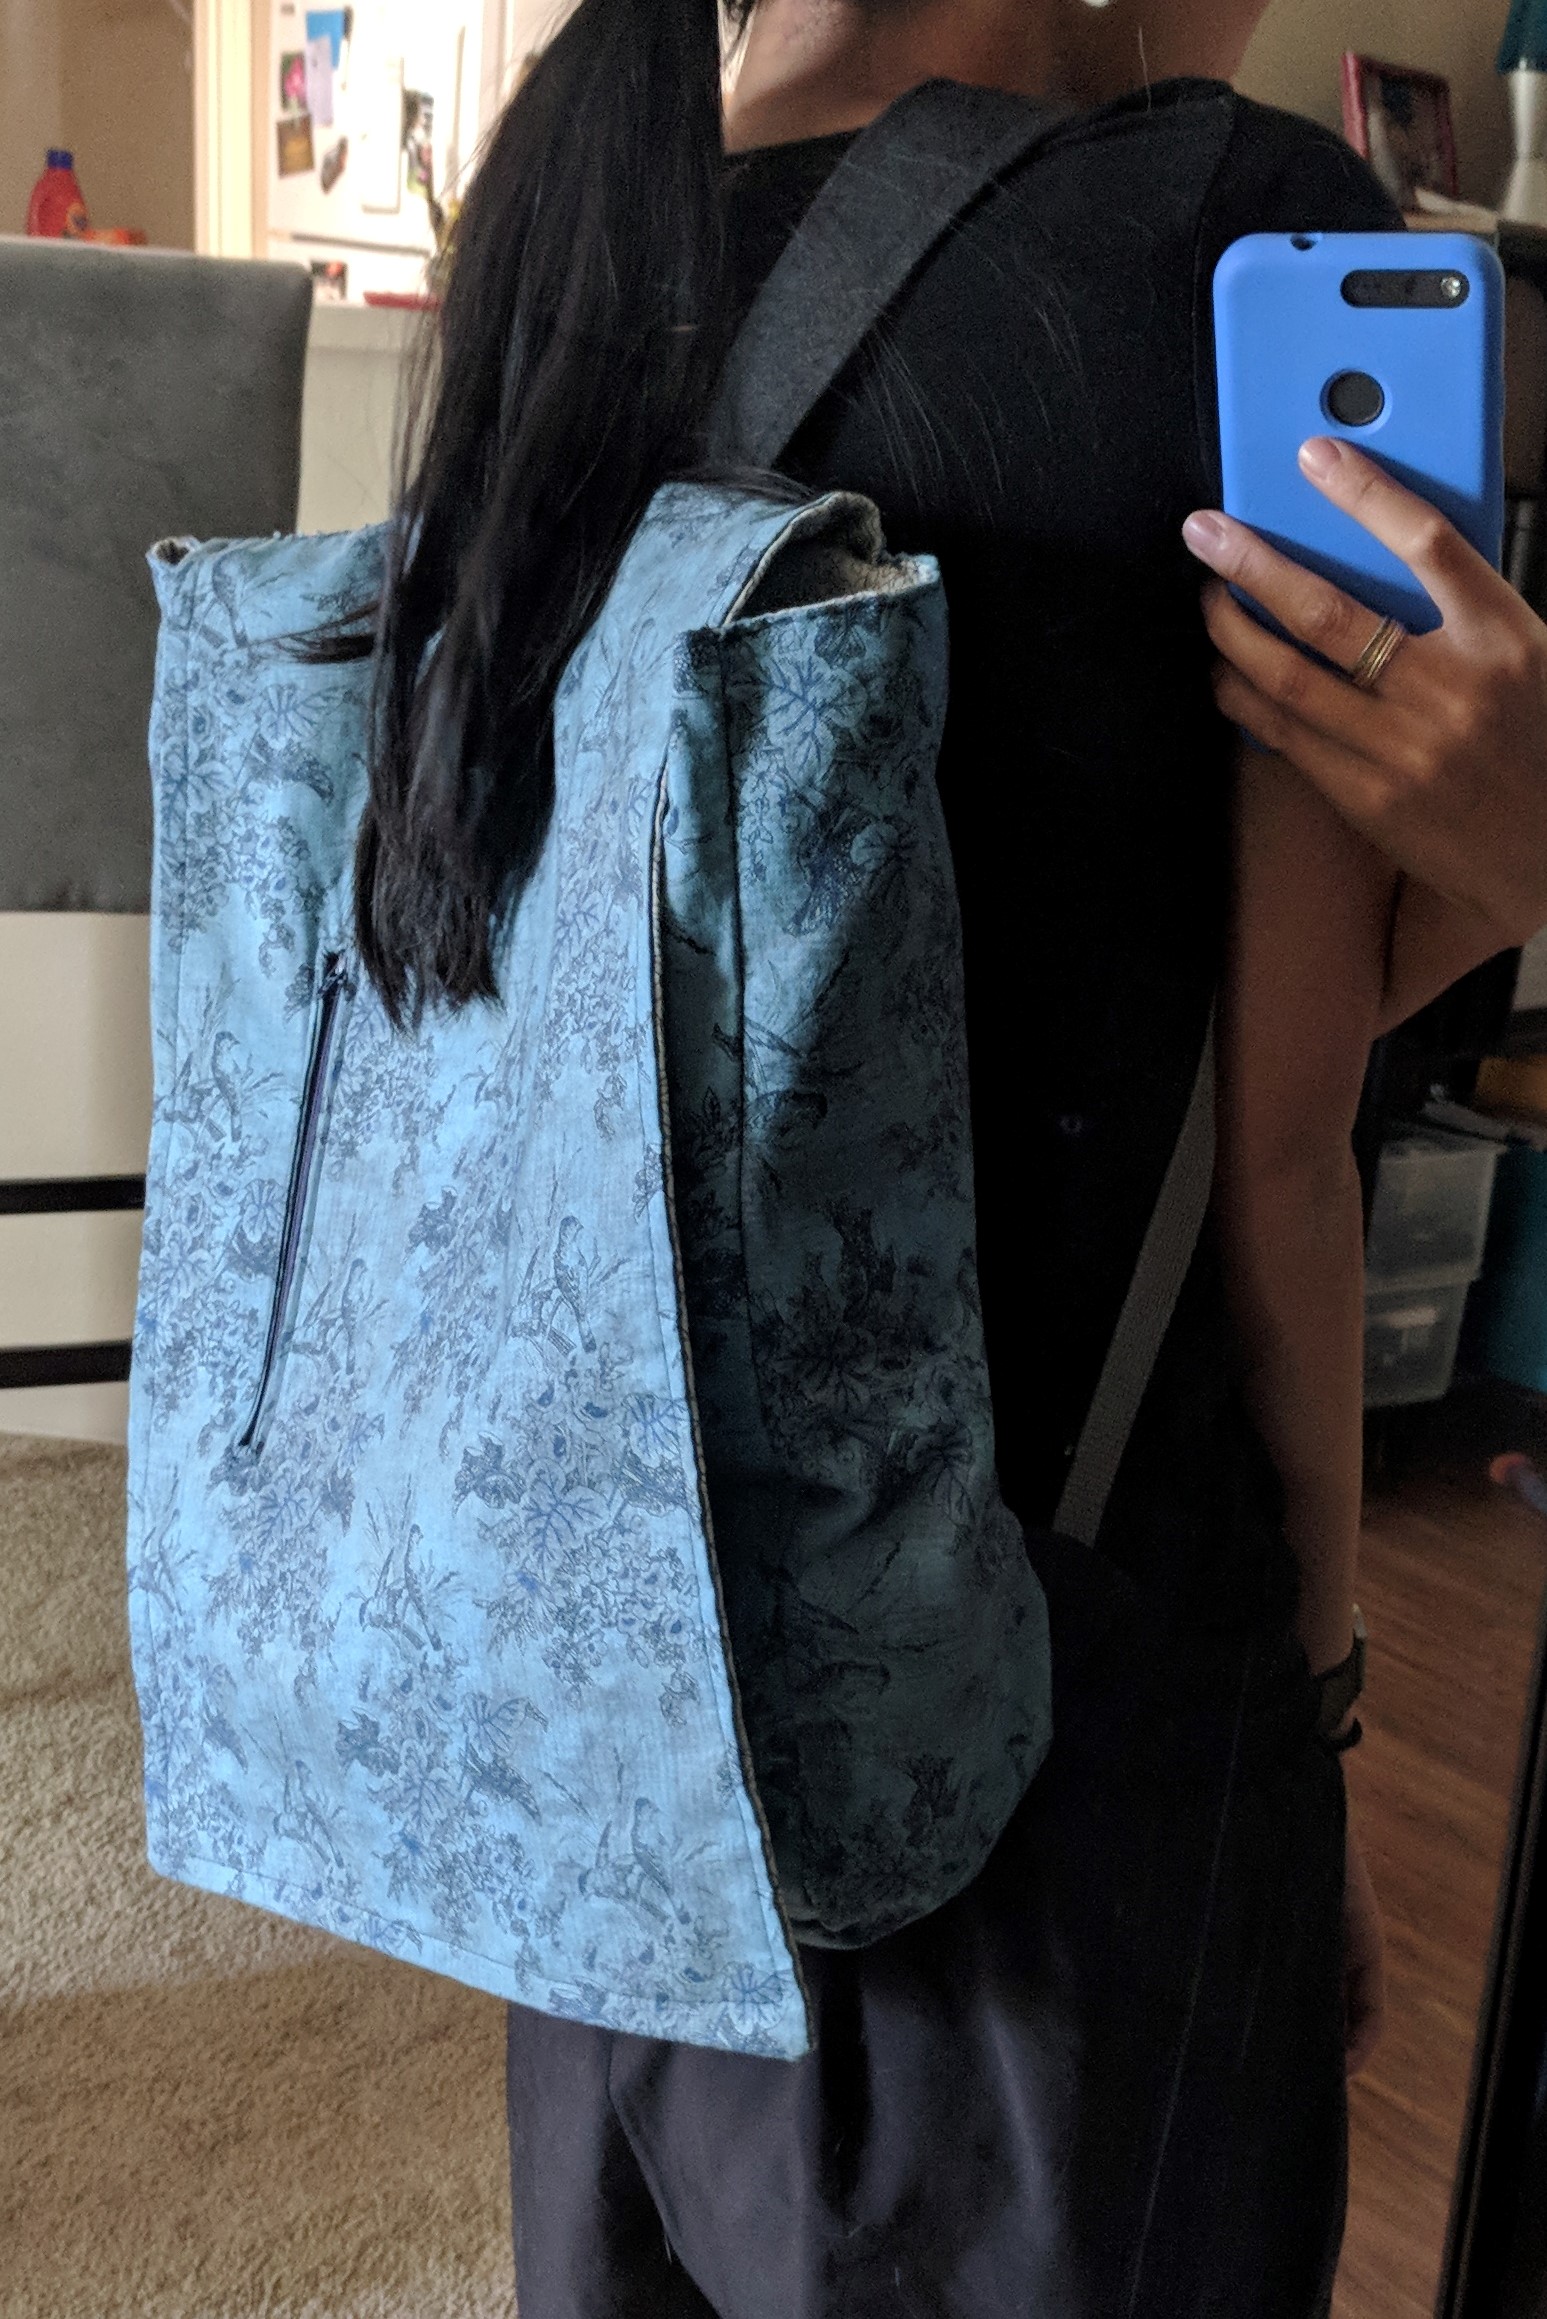
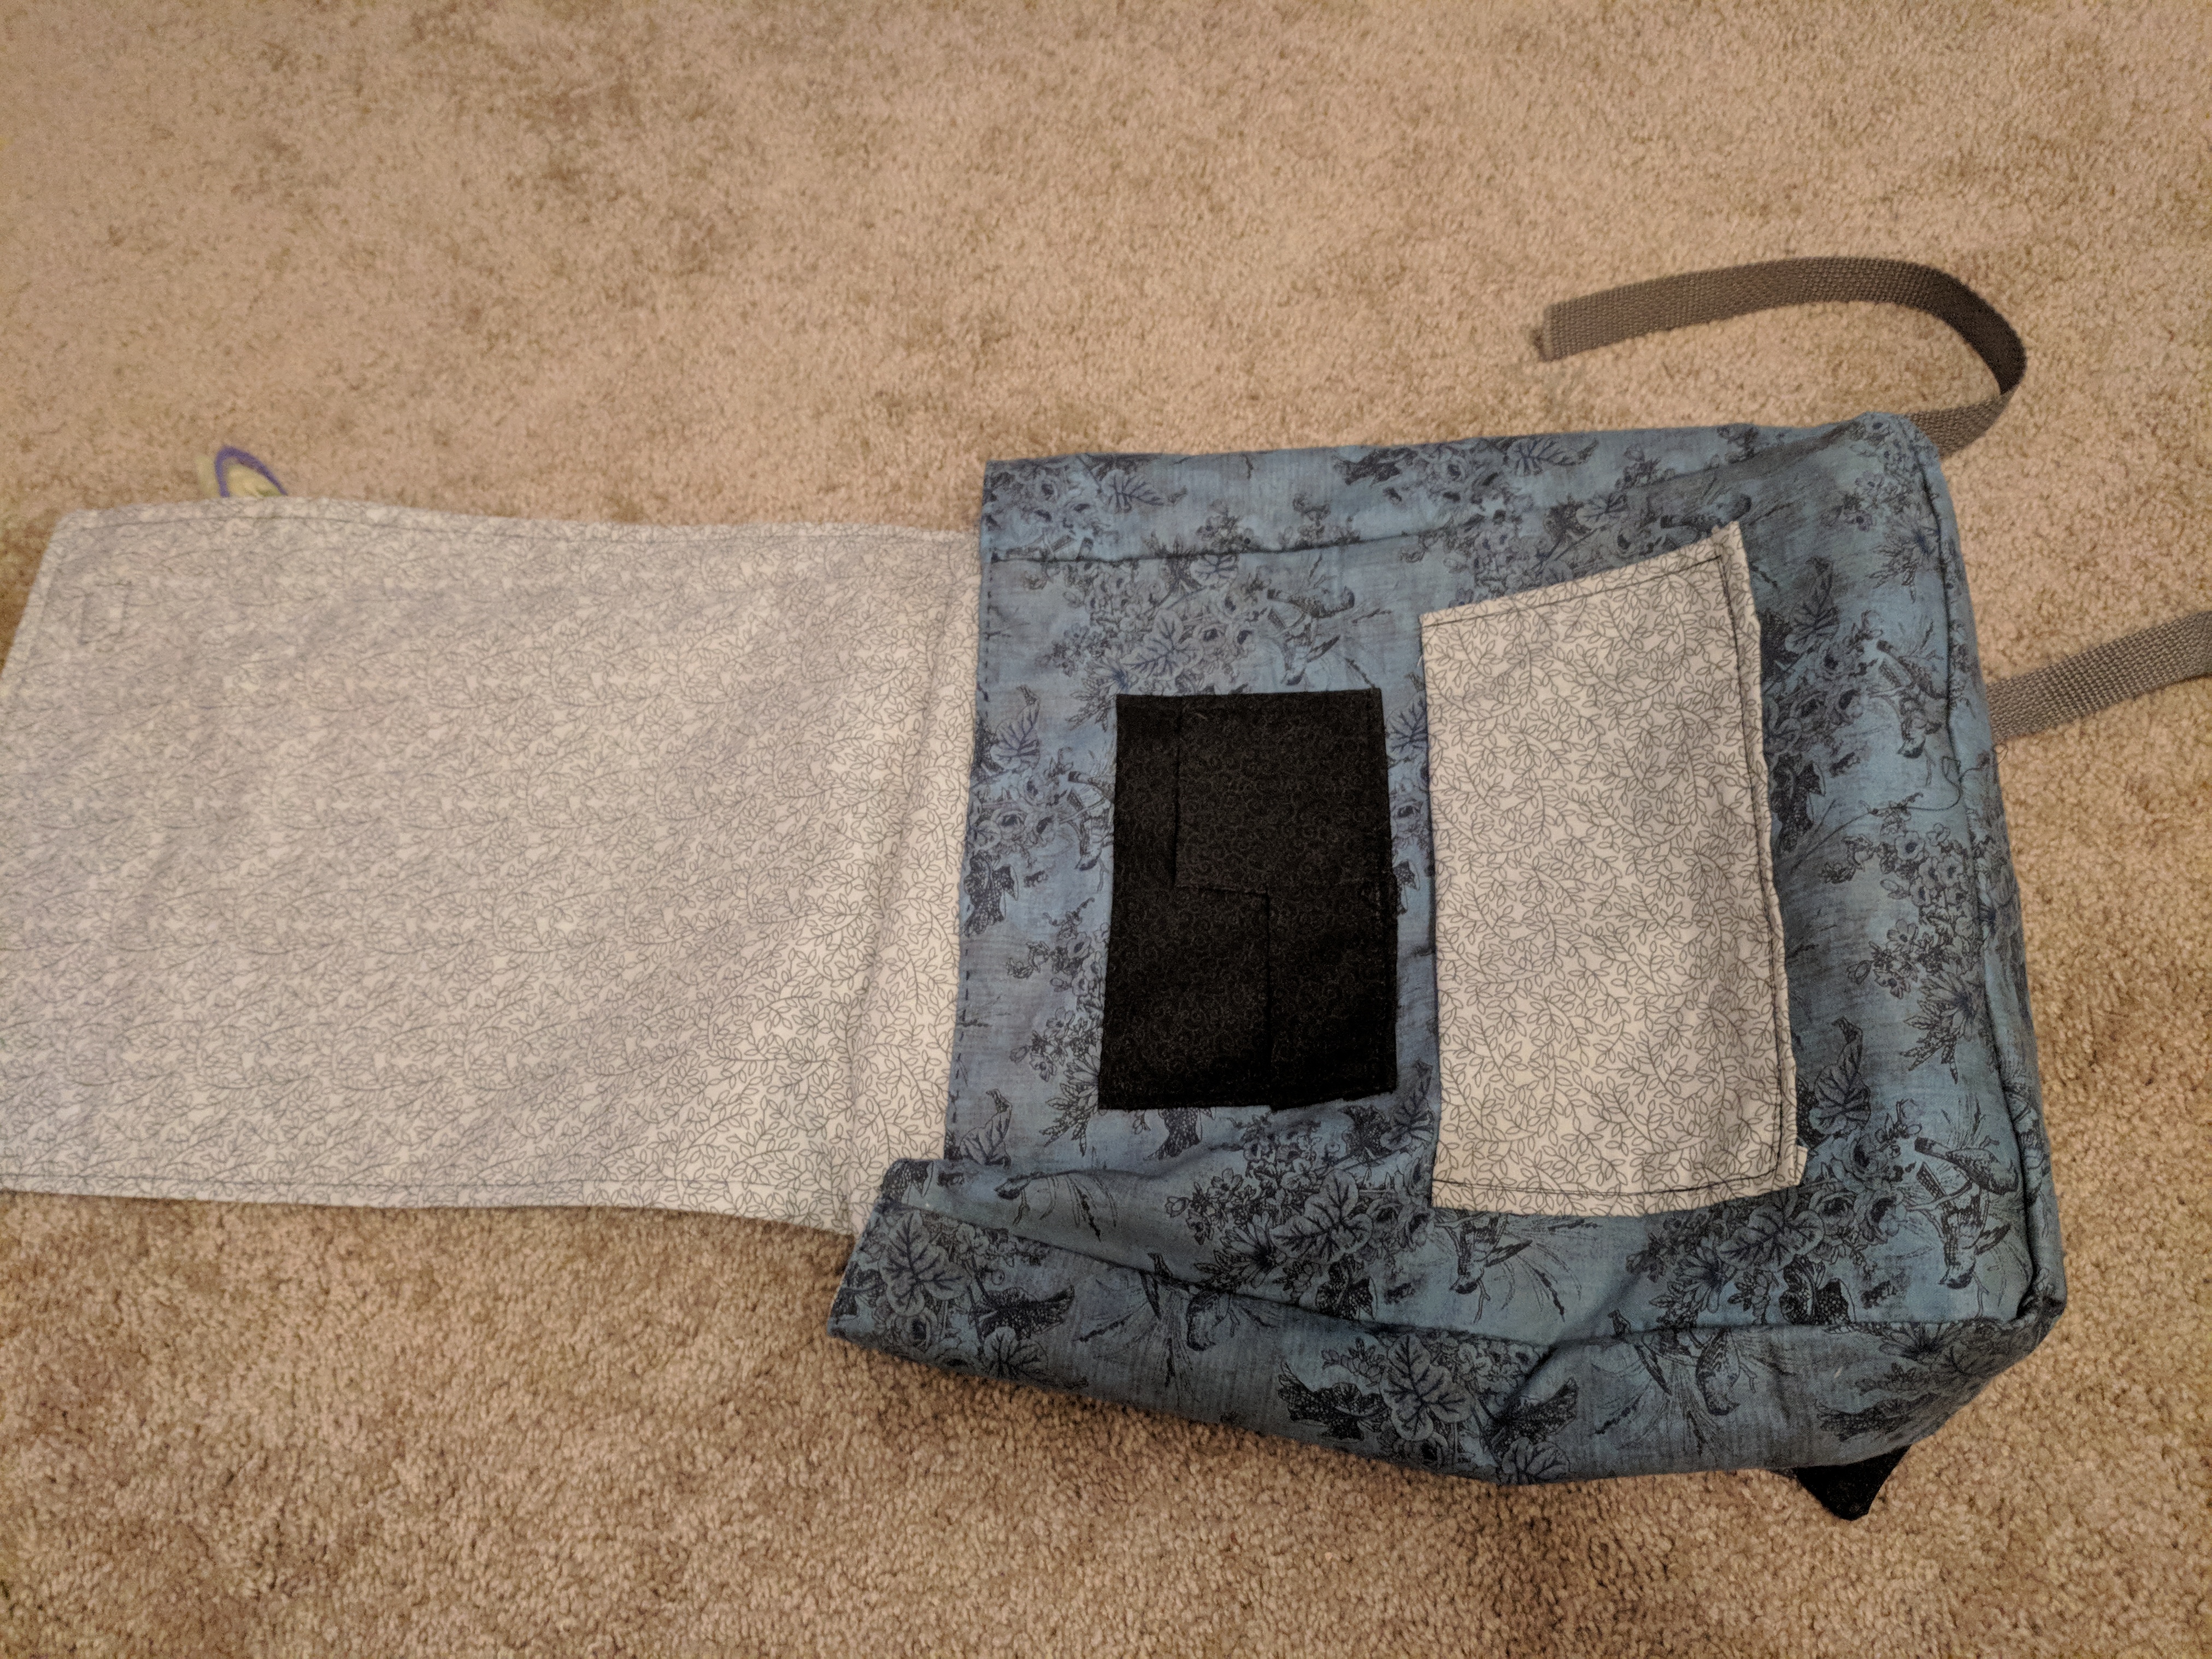
I made this backpack for a friend, we chose the fabric together at Joann and then I constructed it off of the Ruther Backpack pattern from IThinkSewBags on Etsy. I added a laptop sleeve with foam padding, and some additional pockets on the inside flap. This was my first big project using a machine, which I used for most of the construction. I did the top stitching and strap attachments by hand for a homey look.
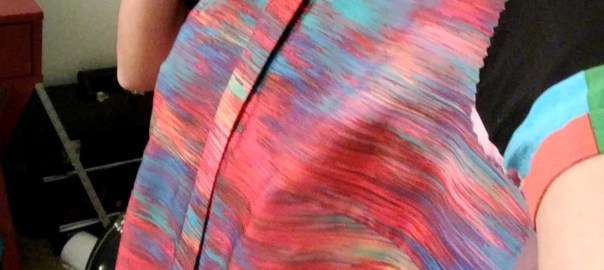
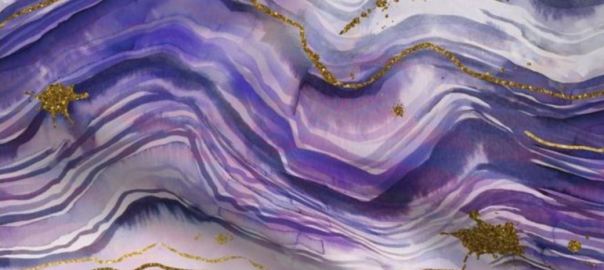
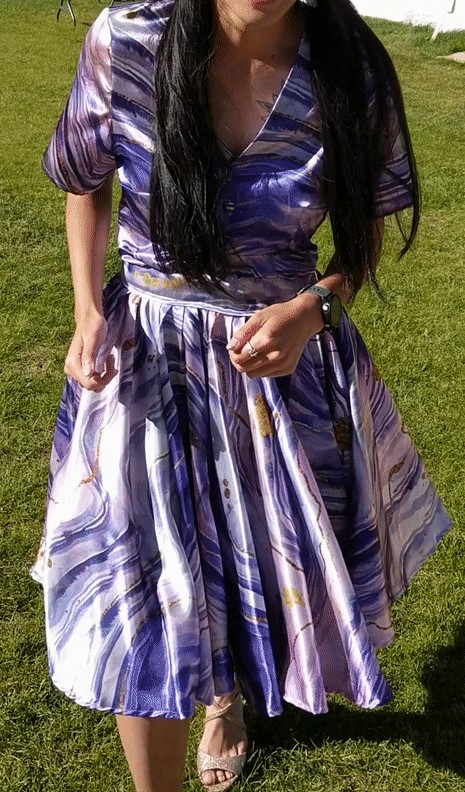
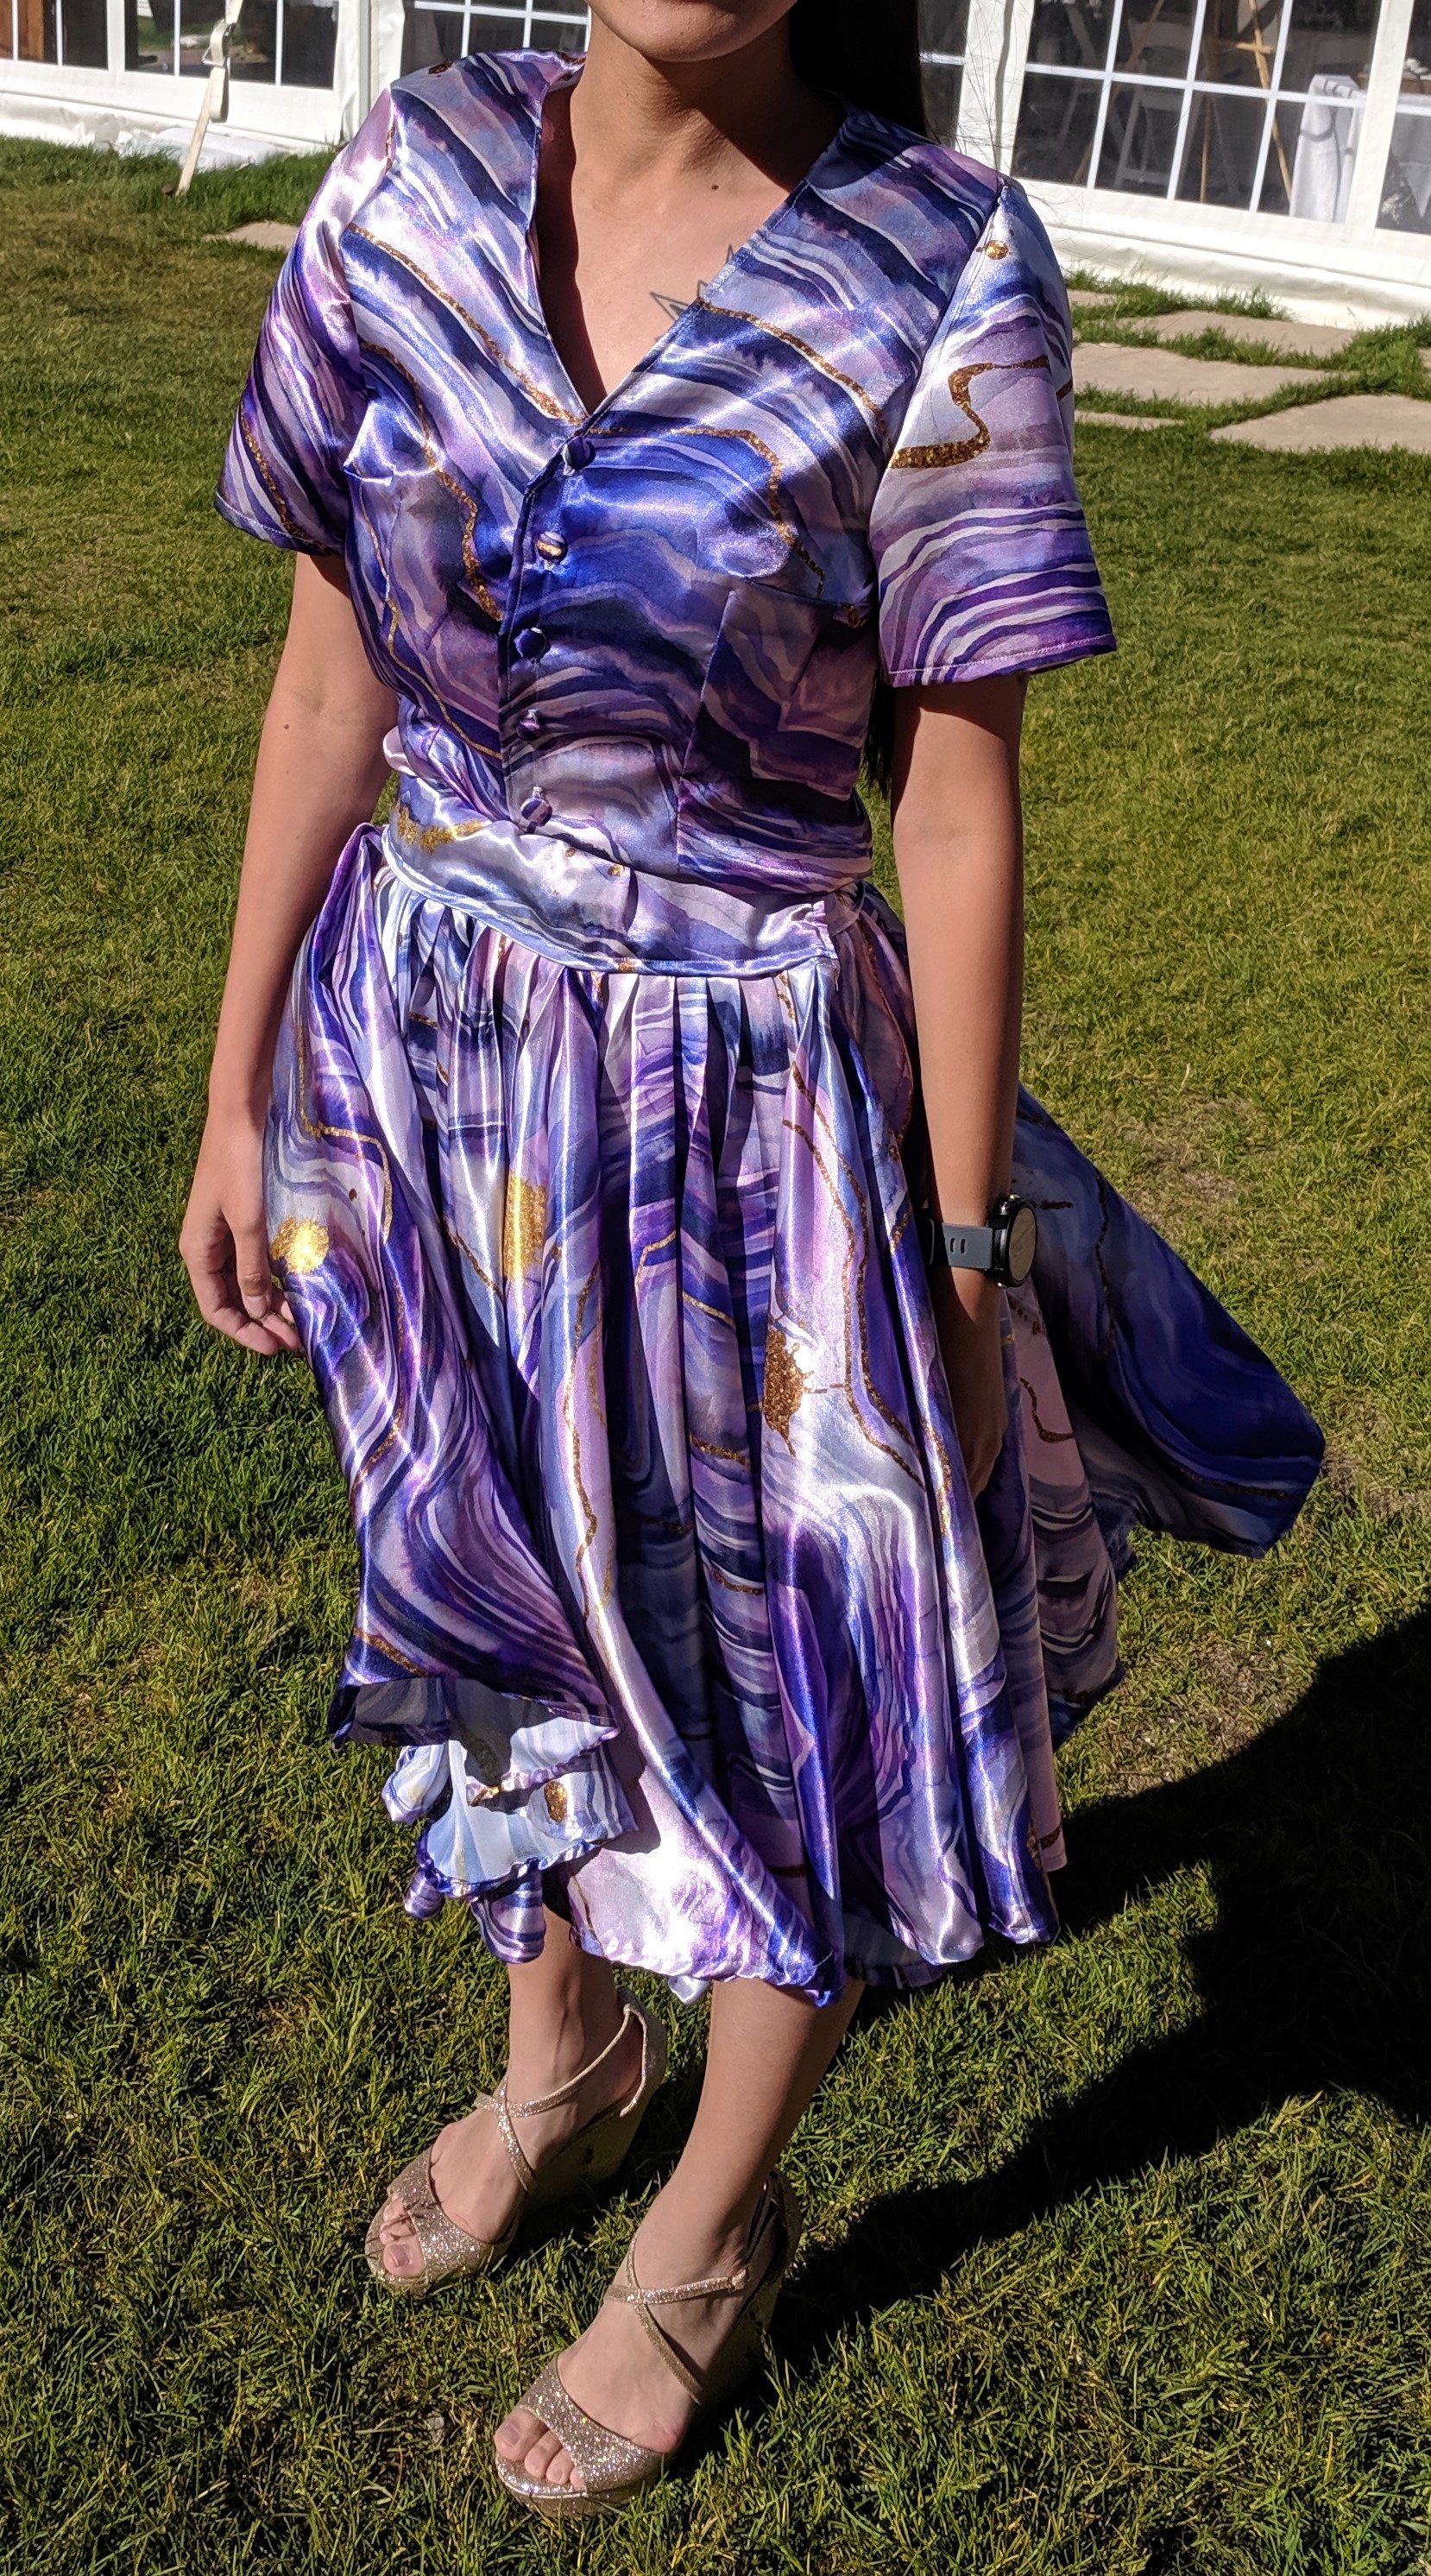
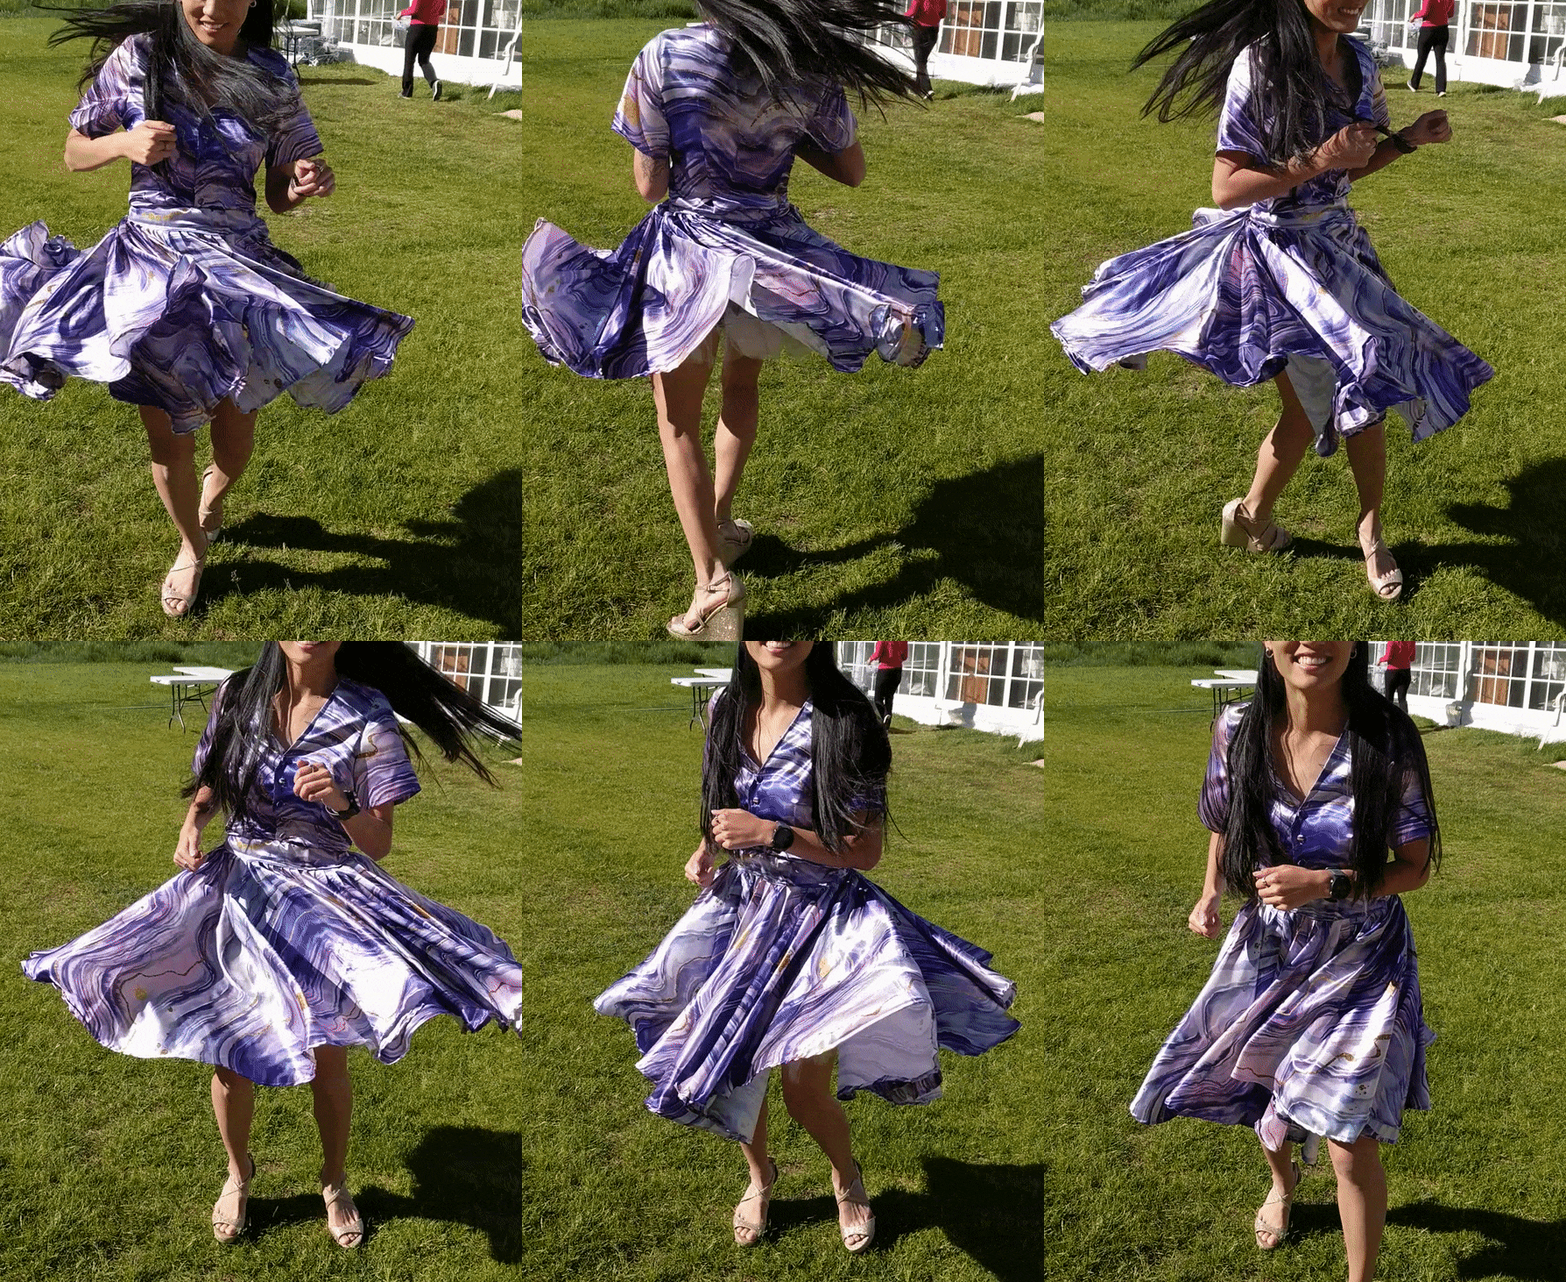
I made this top + skirt for a friend’s wedding. I got the fabric from Spoonflower, a site that takes designs and can print them on many different fabrics. I chose a polyester satin that turned out to be a bit slippery. I used tissue paper to stabilize the fabric and ensure it didn’t fall down the hole in the machine where the needle goes through or stretch out. It worked super well, but was kind of annoying since I had to sandwich each seam in tissue paper, sew, then rip the tissue paper off.
I modified the Lekala #5446 Classical Blouse pattern again, and sewed 3 circle skirts together to get the full volume of the skirt. With the blouse, I constructed the entire thing save for the collar, since I wasn’t sure I wanted to go down that road and have it turn out weird (again). I used buttons that I was able to cover with the same fabric as the shirt (they have a separate back and front, you wrap the fabric around the front, stuff it into the “bowl” of the button, and click the back into place, securing the fabric).
Shirt in progress
Trying to decide on the collar
Decided to fold the top in to make a V-neck
Custom / improv fitting with darts
I used improv fitting while the shirt was on my body to create darts that (a) flattered me and (b) ensured there wouldn’t be wrinkles when I tucked the shirt into the skirt. I pin inside out so that I can sew the darts directly, which assumes my body is symmetrical, and no one’s body is, but it’s close enough.
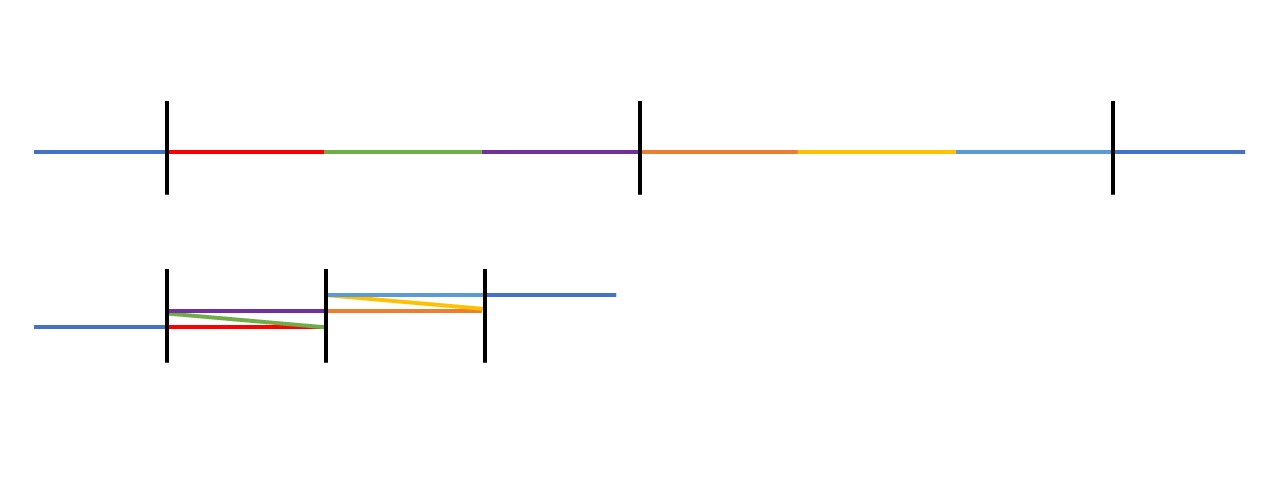
The skirt used about 5 yards of fabric. A basic circle skirt is just that – a circle of fabric with a circle cut out for the waist (more of a doughnut, really). I cut out three doughnuts by folding the fabric in half, and in half again, so I only had to cut out a quarter circle. Then I had three doughnuts, and I cut each one on one side so I could have 3 vertical seams on the finished big doughnut. Now, I had planned to have the inner radius be my waist radius, but I forgot to divide by 3 before I cut out the doughnuts… But it just so happens that knife pleats divide the length by 3, so I added pleats all along the waist to bring it back to the right measurement. This also gave it a bit of poof and volume, which was great!
A hopefully effective way to explain pleats – the red-green-purple section turns out to be the length of just the red section aka 1/3 the length
Originally, this project was supposed to be a dress, but I realized that I wanted to wear the skirt separate from the shirt, so I decided to not attach the shirt to the waistband. I installed a zipper with the waistband, and included some elastic after learning from the Skirt of Projects Past. I wore a tulle petticoat underneath to fluff it out even more than the 3 circles and pleats were fluffing it.
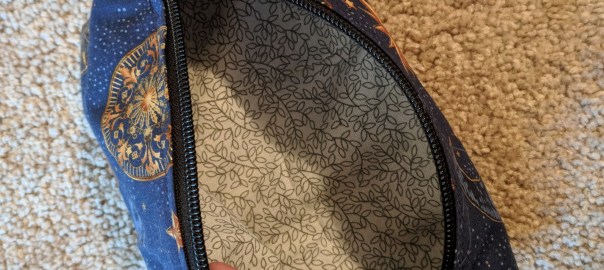
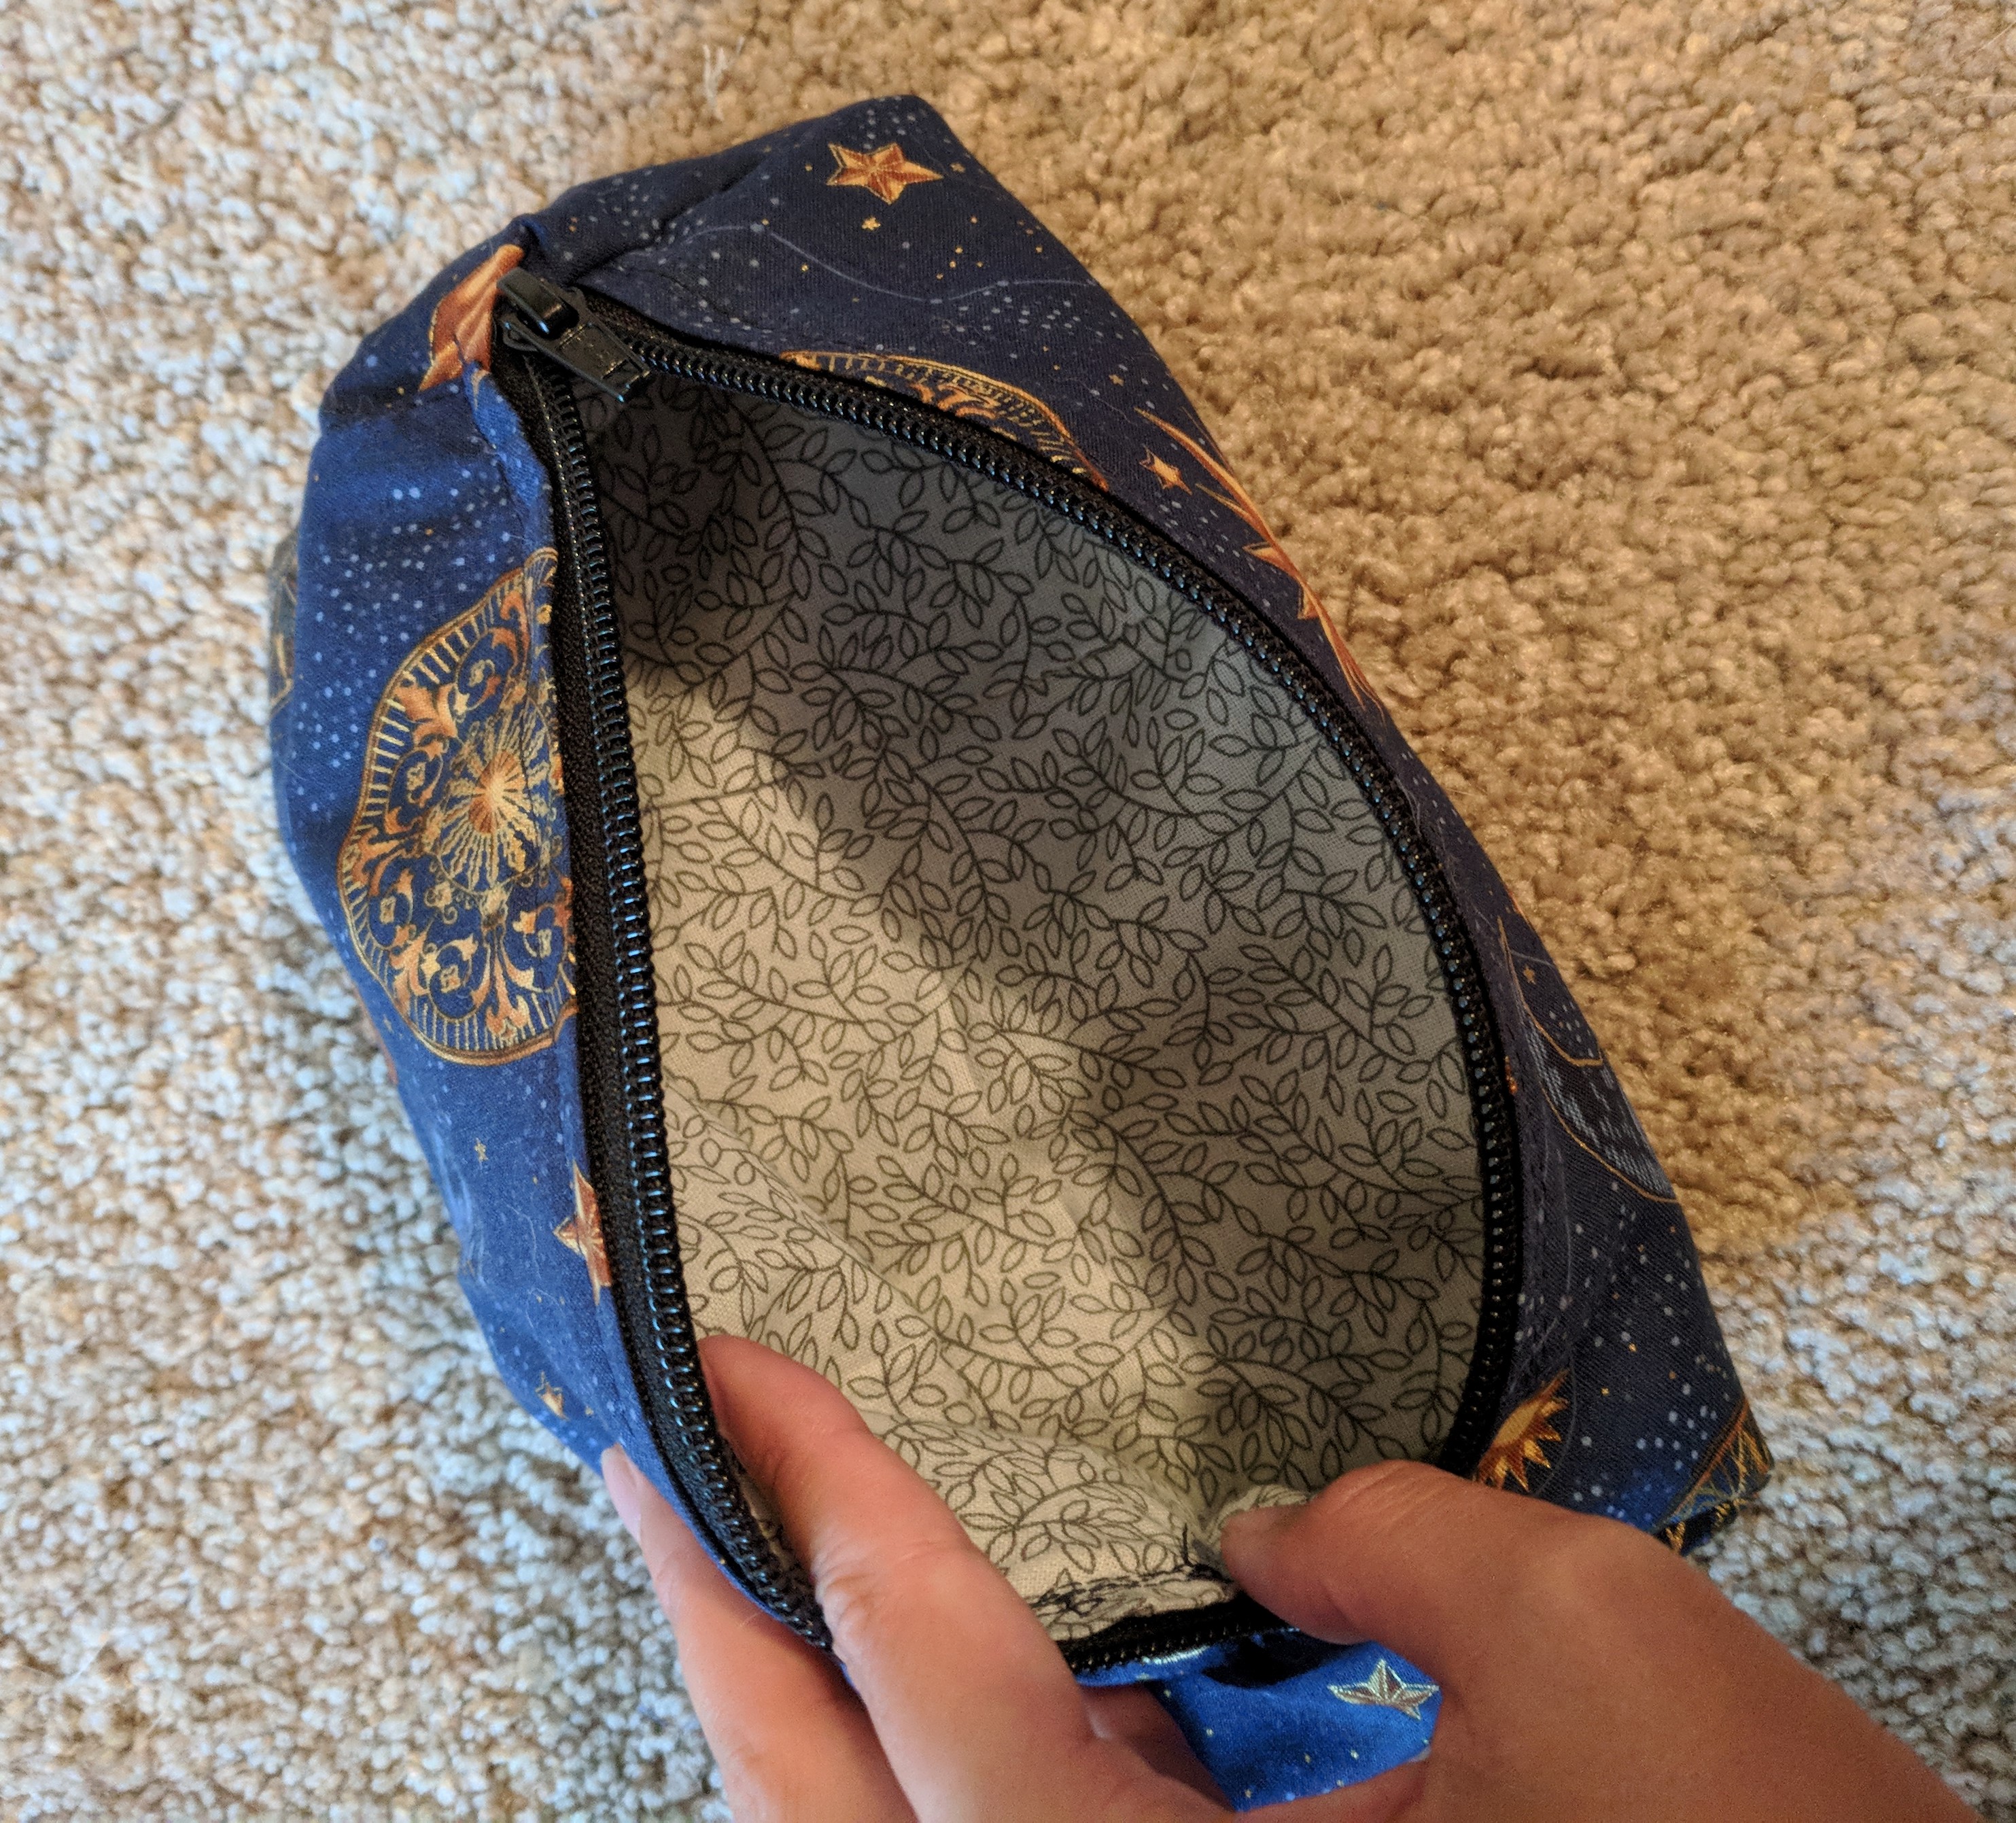
I self-drafted this little zipper bag for a friend for her D&D dice 🙂 It’s a triangular prism, and fully lined. She’s super into space stuff so the outer fabric is suns and stars. Project completed July 4, 2018.
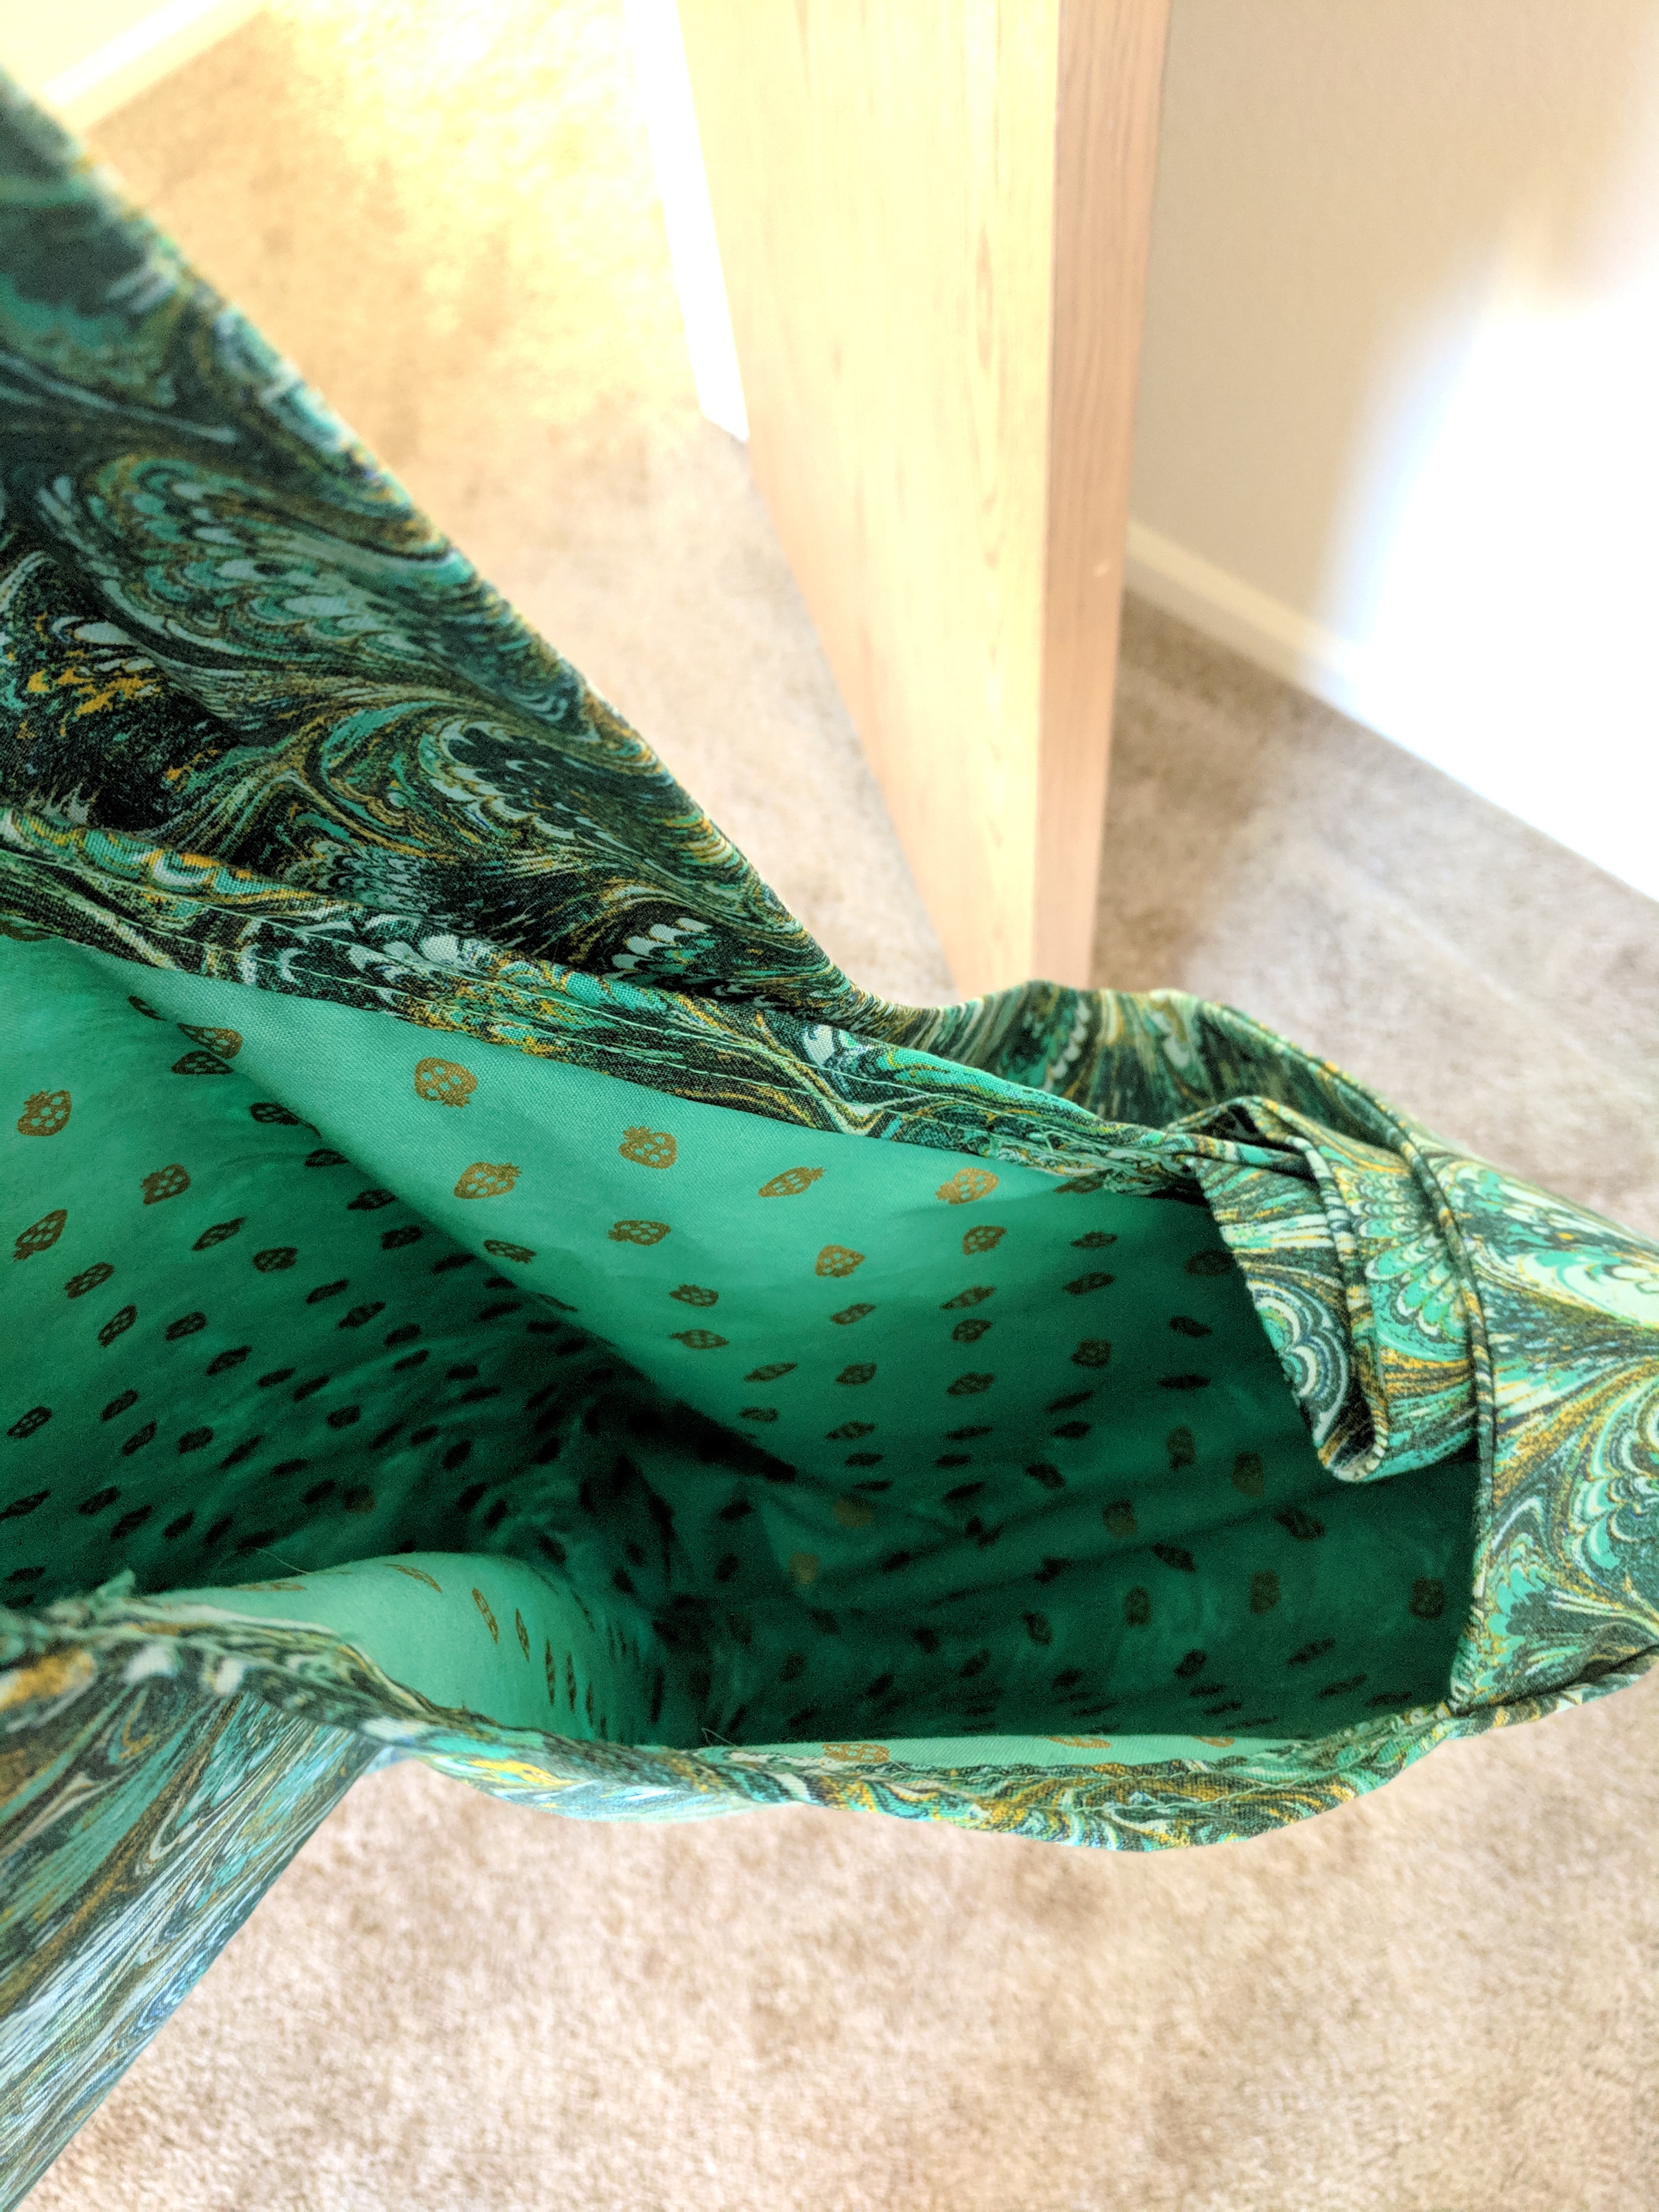
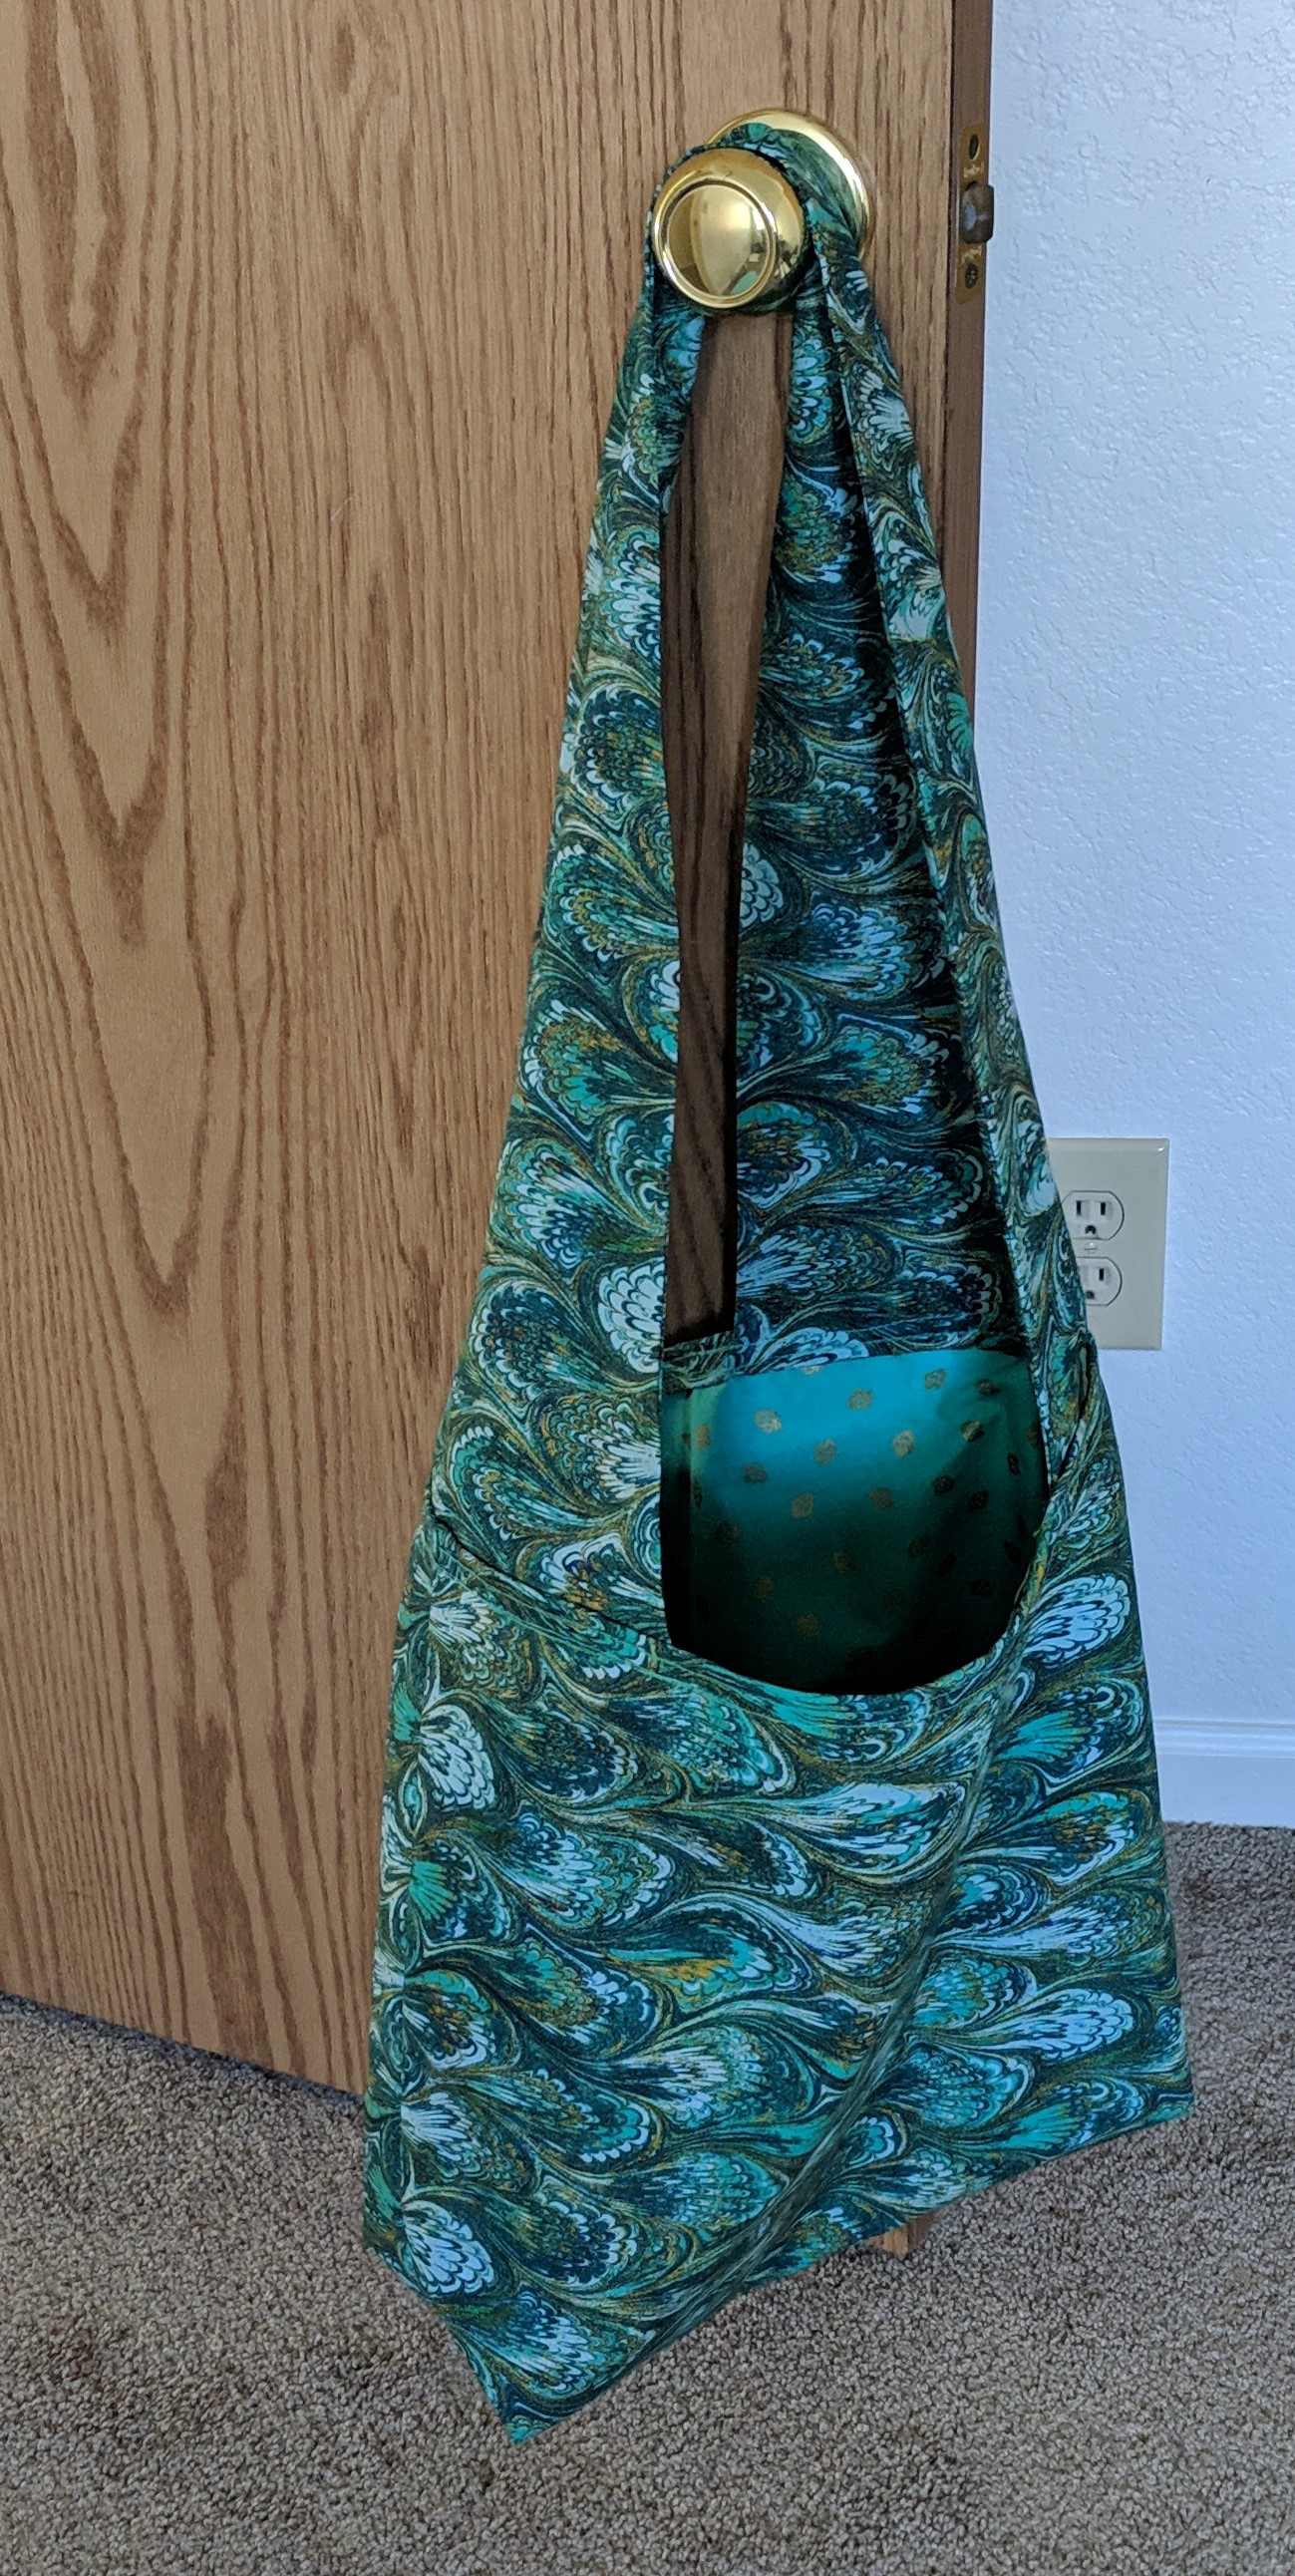
I made this tote bag for my cousin for Christmas – partially inspired by another tote bag she likes to use. I used the 4girlsdesigns shoulder bag pattern with a fun marbled outer fabric inspired by a paper marbling experiment we did together, and cute strawberries for the inner lining. Project completed November 18, 2018.
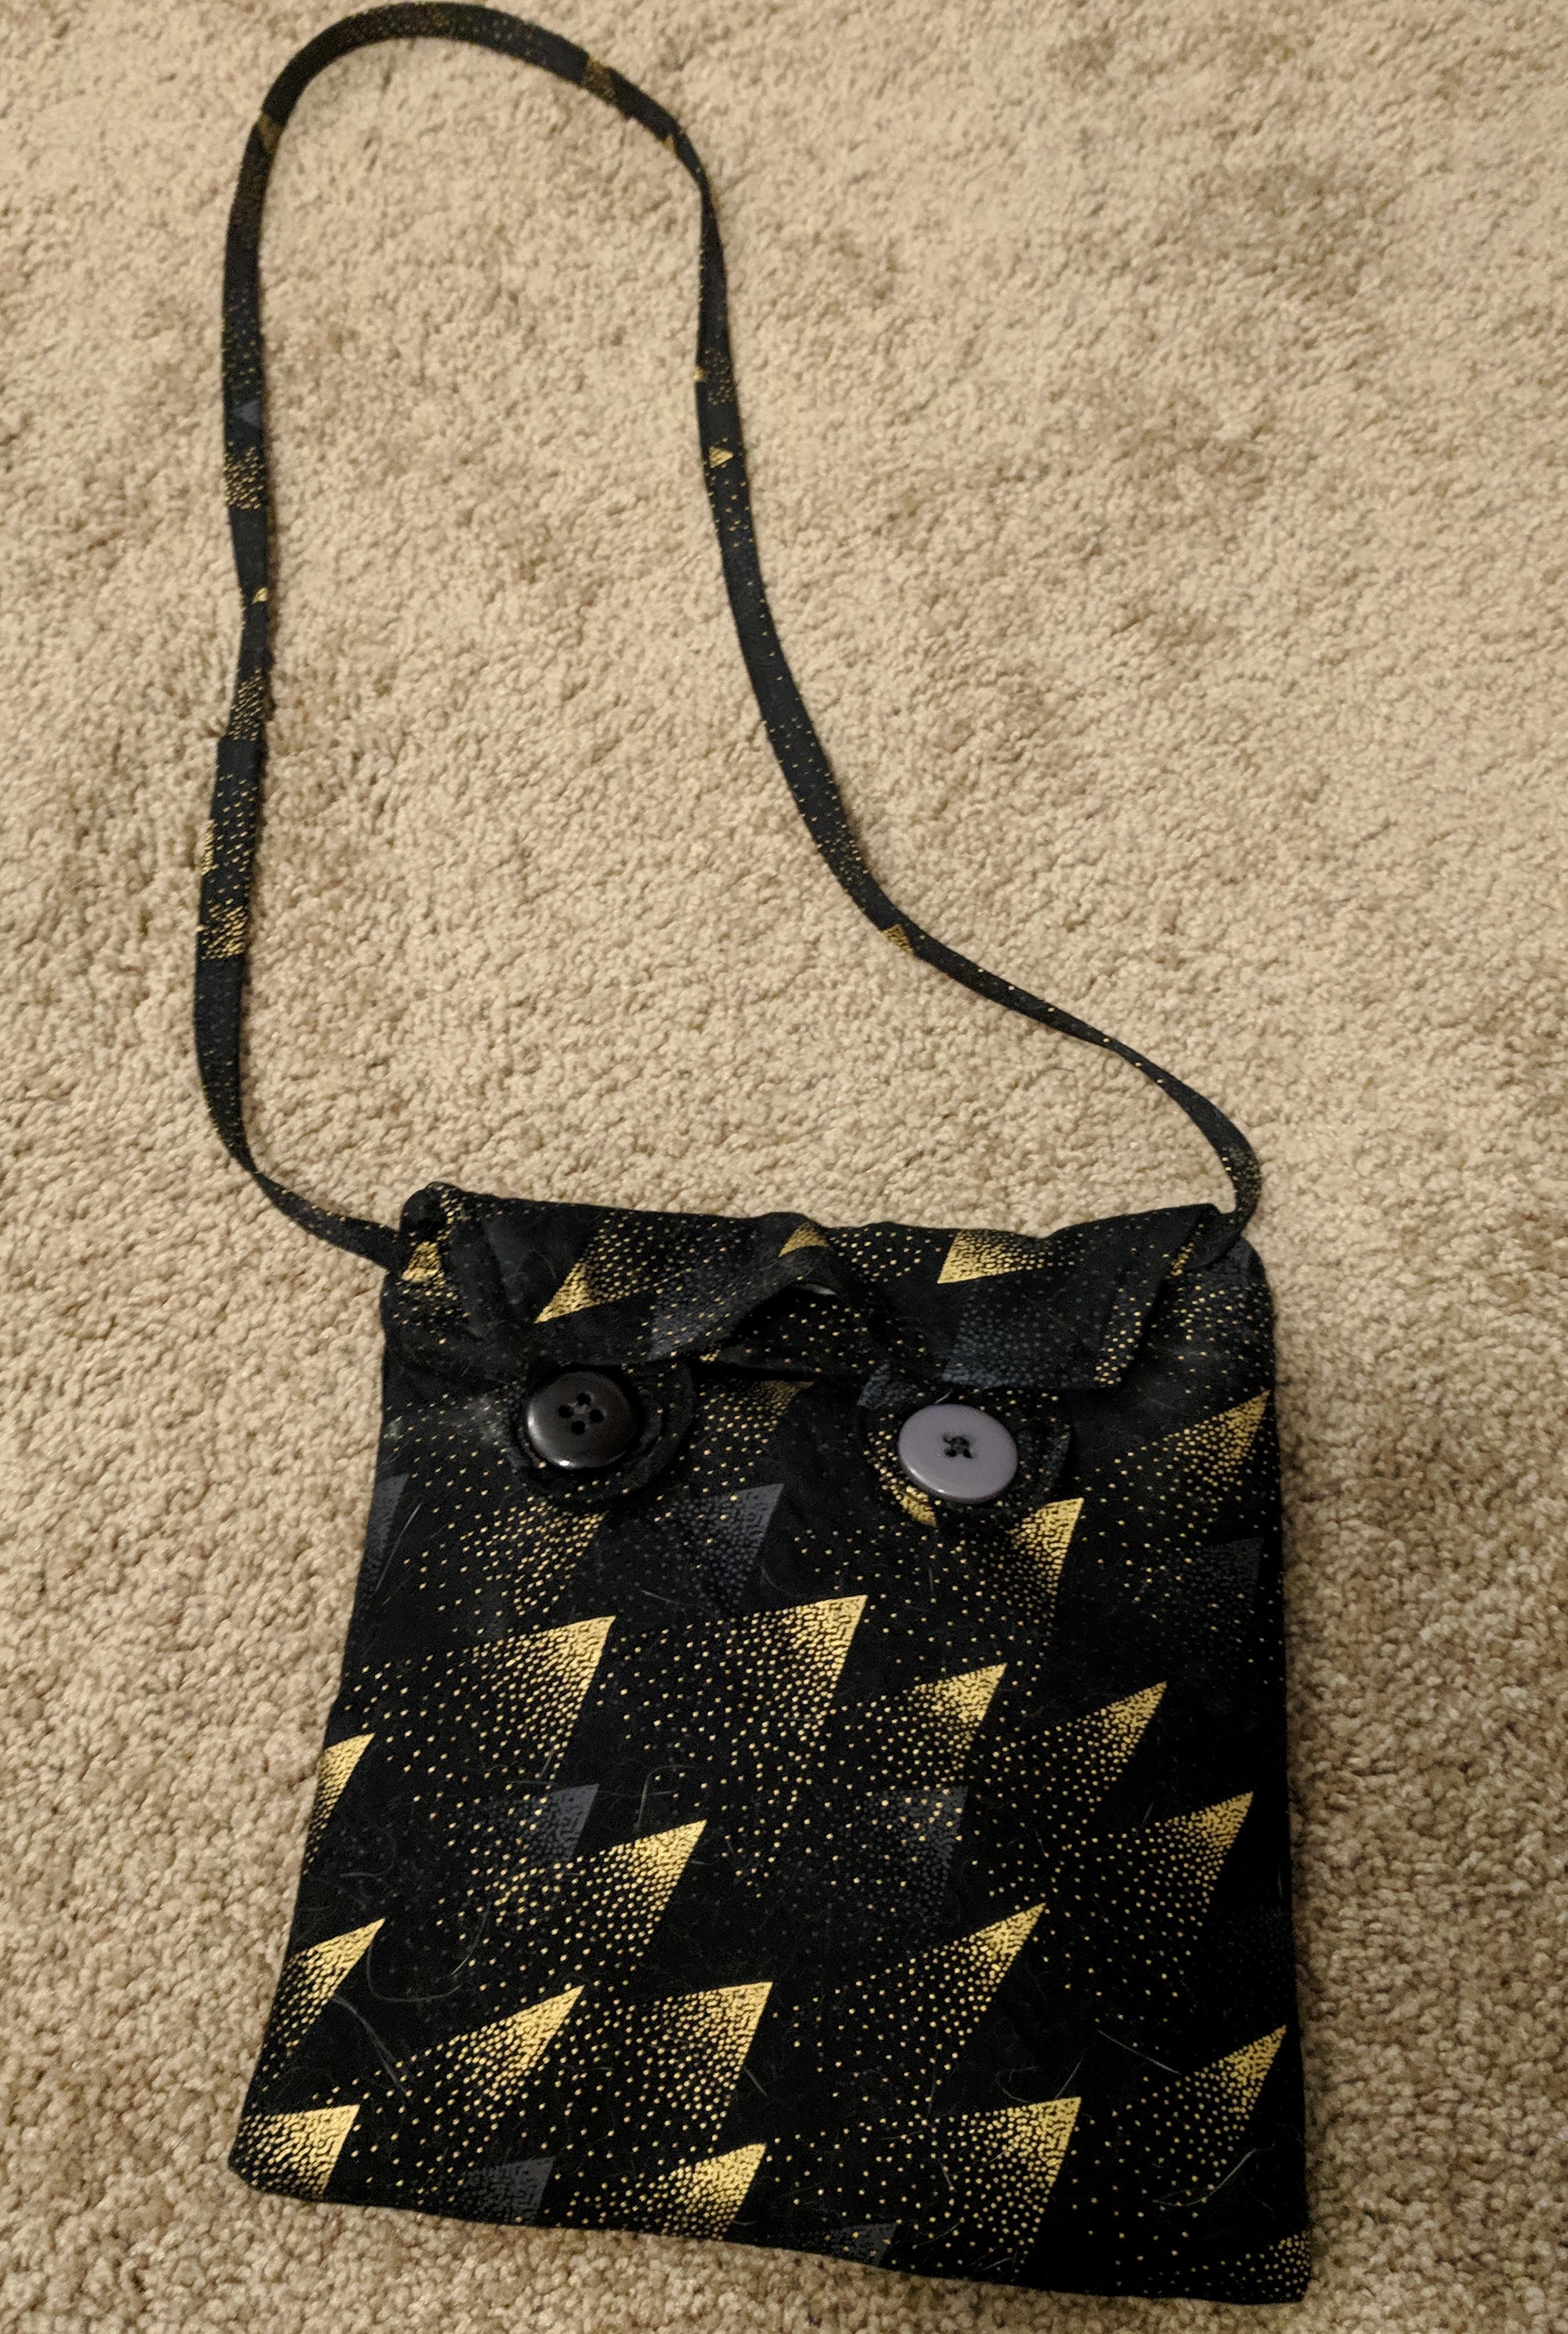
I self-drafted this little black and gold purse using some scrap fabric since I needed a purse that was in between casual and fancy. The top is closed with two buttons and fabric wrapped around little elastic strips. I made it the perfect size to keep all my things inside, and the only thing I’d do differently in the future is have a thicker strap. Project completed March 5, 2019.