I’ve mainly been working on New Years gifts recently, so here are some sneak peeks:
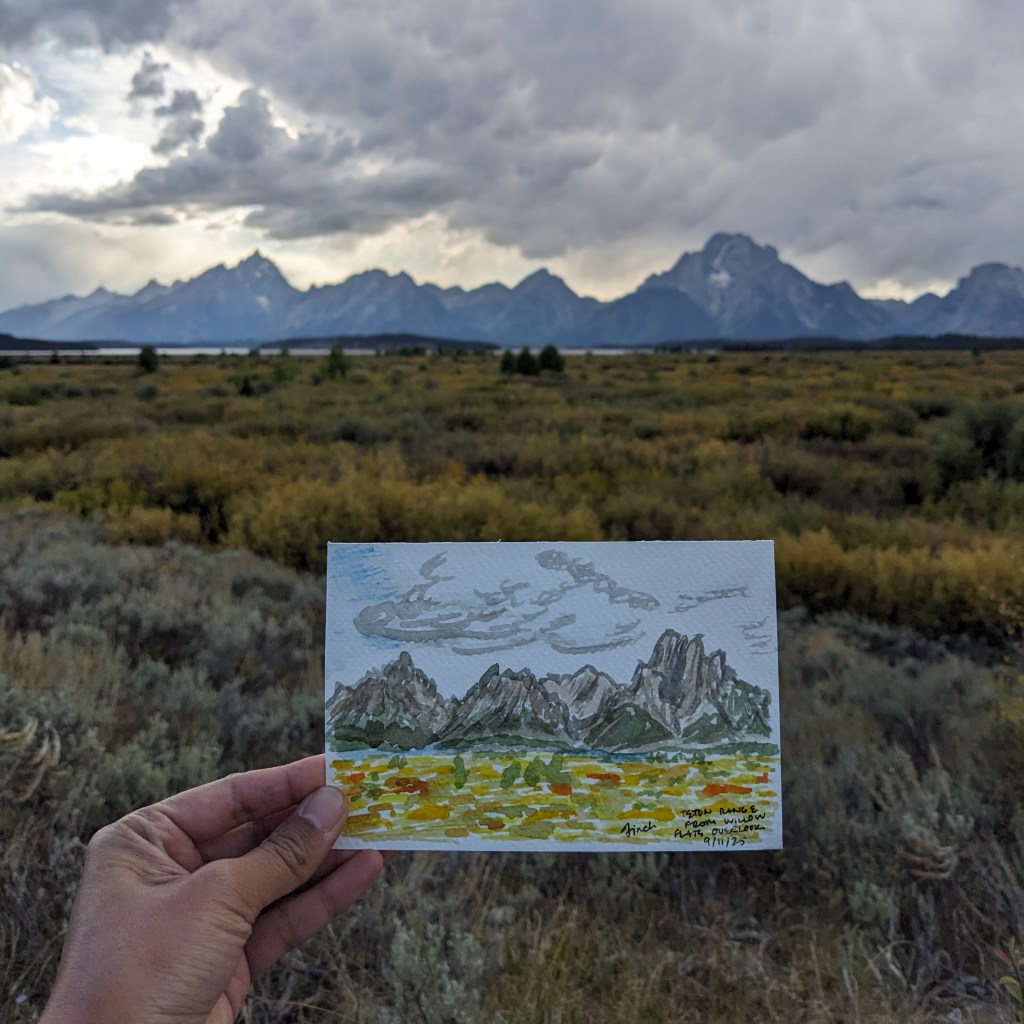
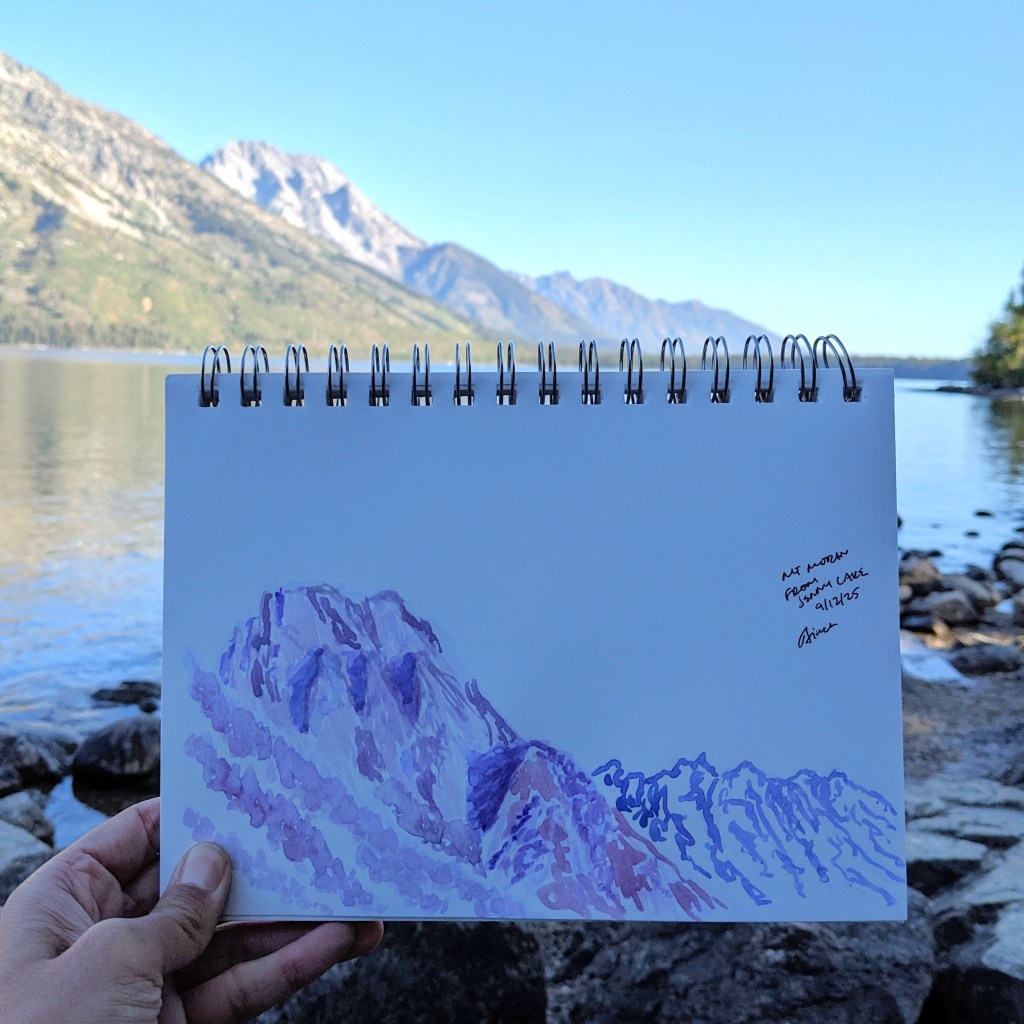
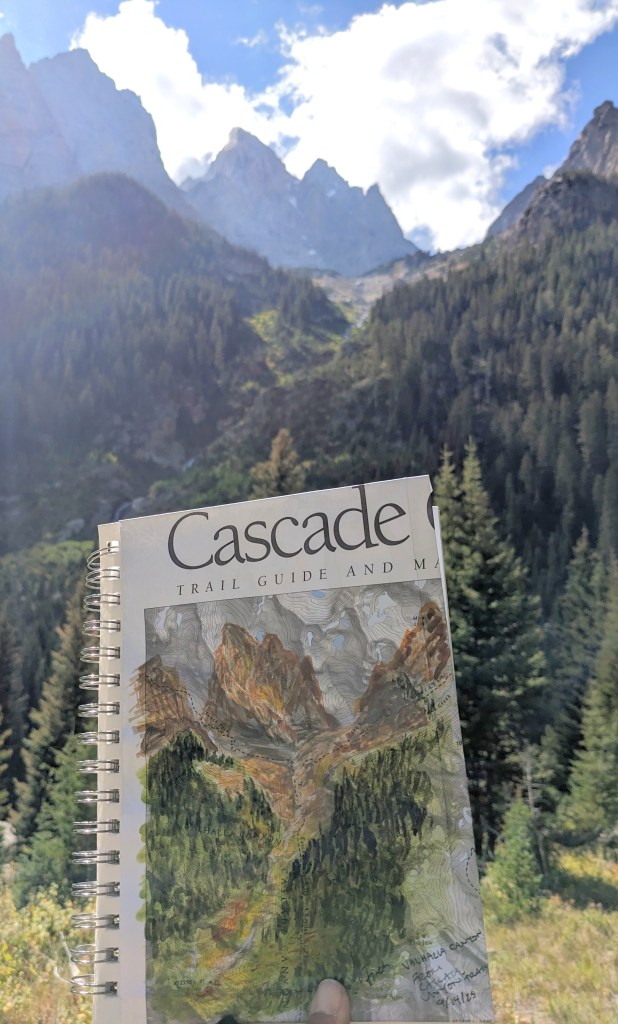
I jumped at the chance to go to the Grand Tetons again with family and did some fun watercolor:
from Willow Flats OverlookMt. Moran from Jenny LakeValhalla Canyon from Cascade Canyon Trail, LOVED painting on my map
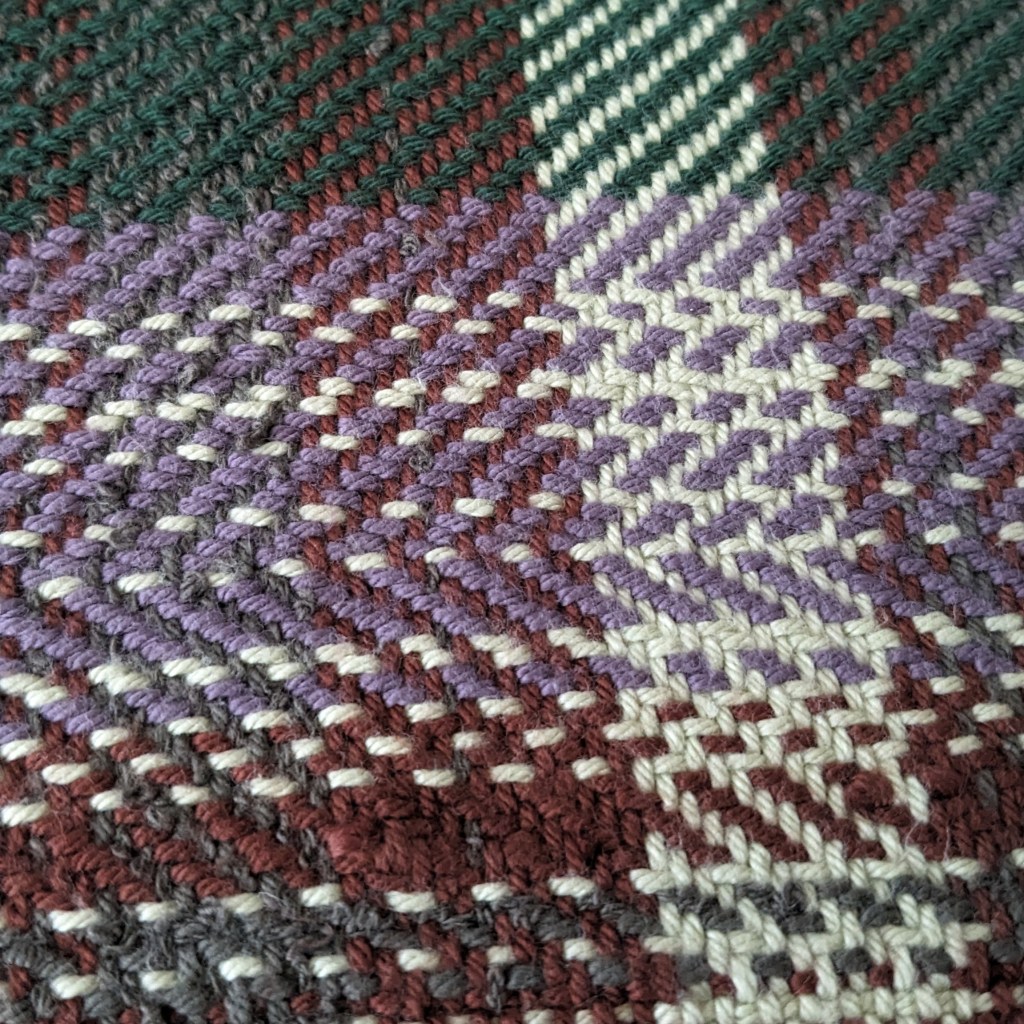
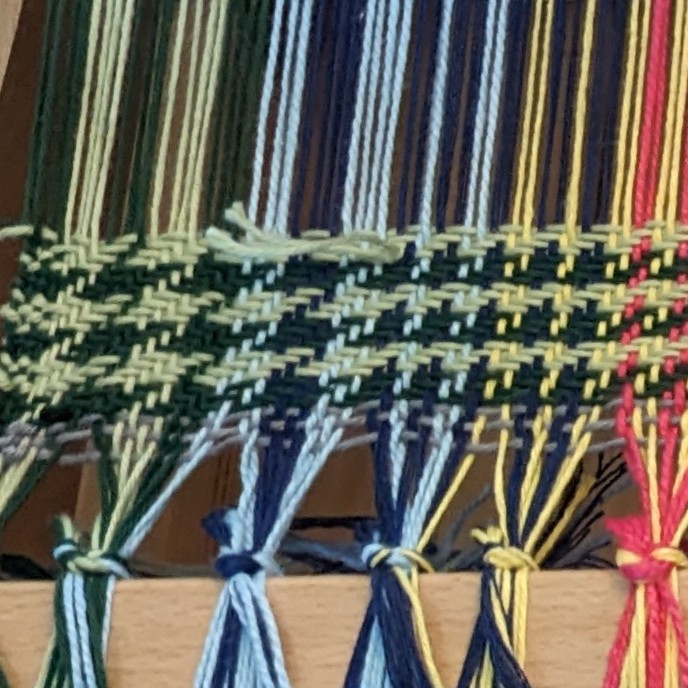
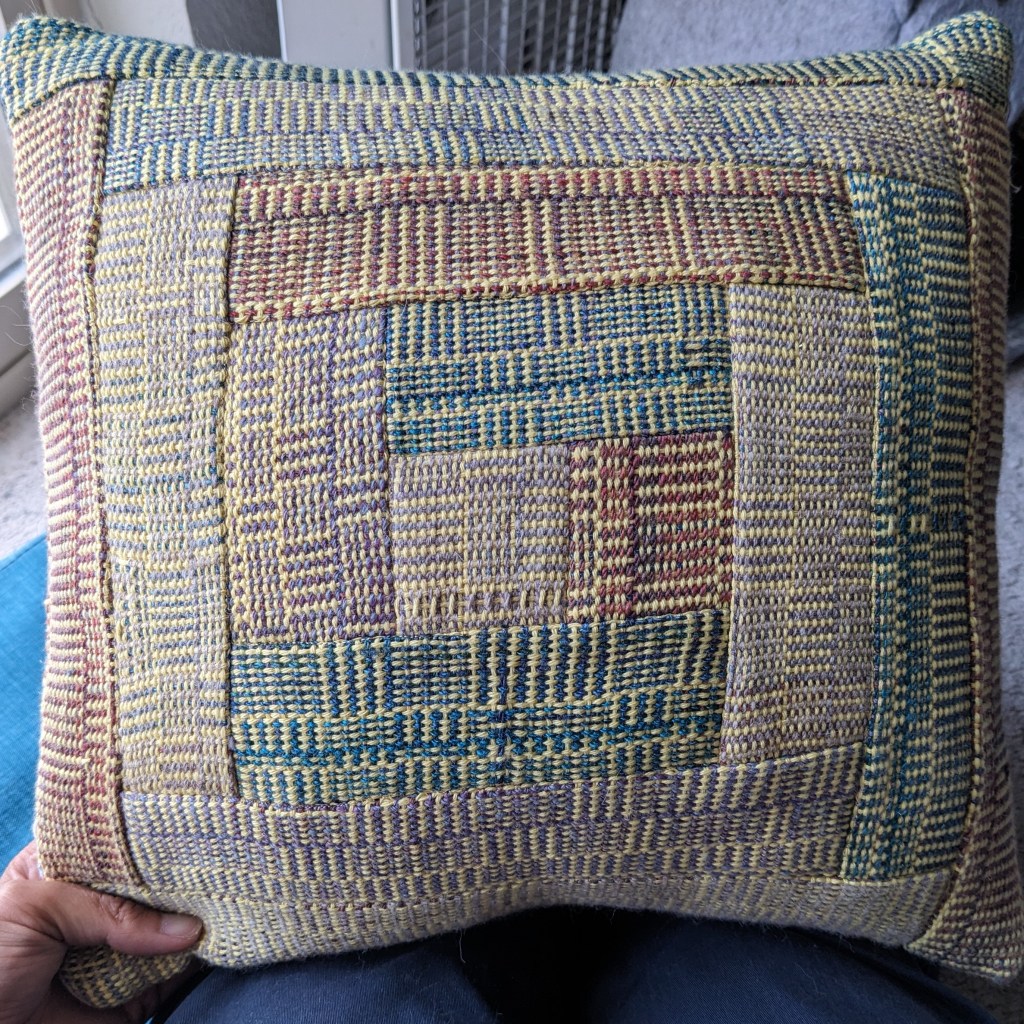
I wove my first “log cabin” pattern using handspun accent yarn and yellow commercial cotton, bravely cut it into strips, and quilted it using the “log cabin” block 🙂 so it’s my log cabin of log cabins pillow now.
I didn’t make my blocks even, it was much more fun to switch the pattern improvisationallyI could do with a little more contrast between the yellow and the other yarns, but I like it 🙂
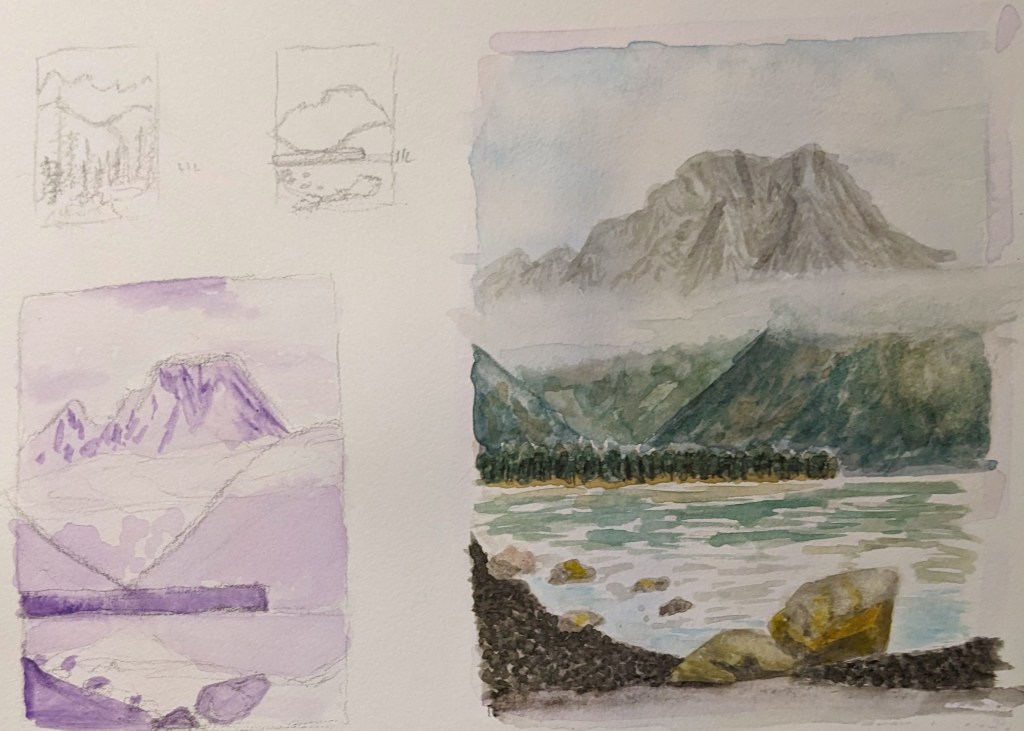
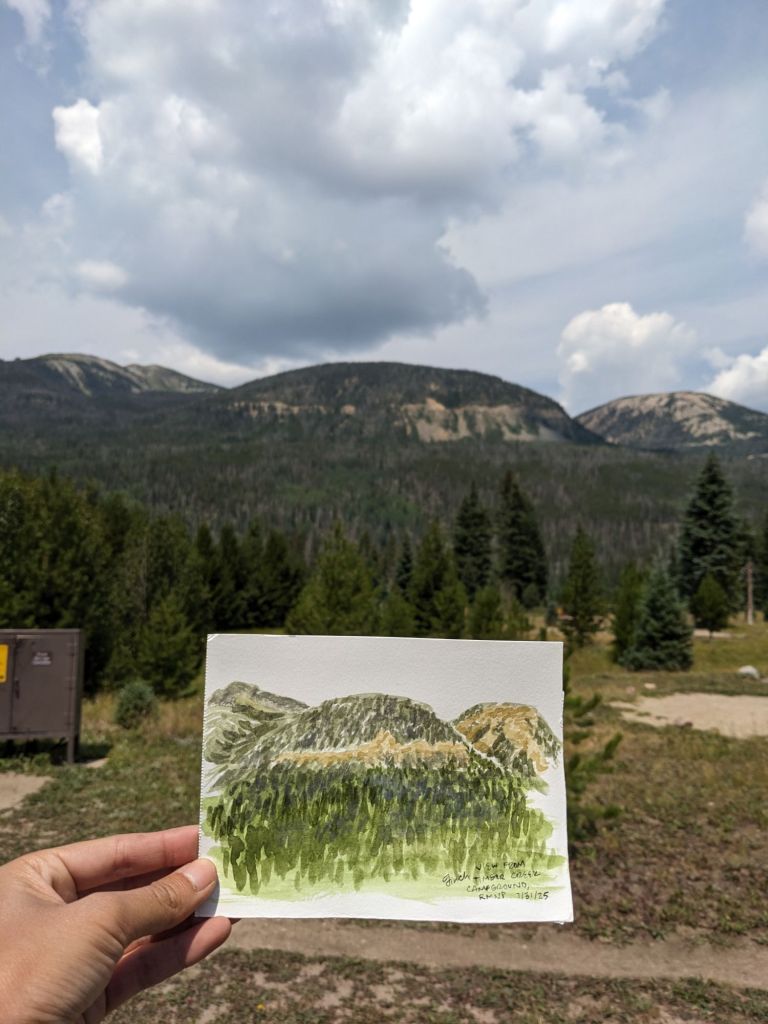
I attended a landscape watercolor class at my local art museum, which was SUPER helpful and taught me a lot of new techniques. I think one of my main takeaways is that planning a piece *does* help, and makes sure you’re capturing the things you find important. This includes planning the contrasts, and where your dark and light colors will be. I have been mainly preoccupied with shadows, but have ignored the contrast between back/mid/foreground, which helps guide the eye across the work as a whole. As I looked back through my field book, I found that I tend to ignore the mid and foregrounds, opting to simply look into the distance and draw the mountains I see. But… adding context adds depth and interest to the piece, so I’m now looking with new considerations in mind 🙂
I’m actually quite impressed with myself for this little piece… now to bring these skills outside
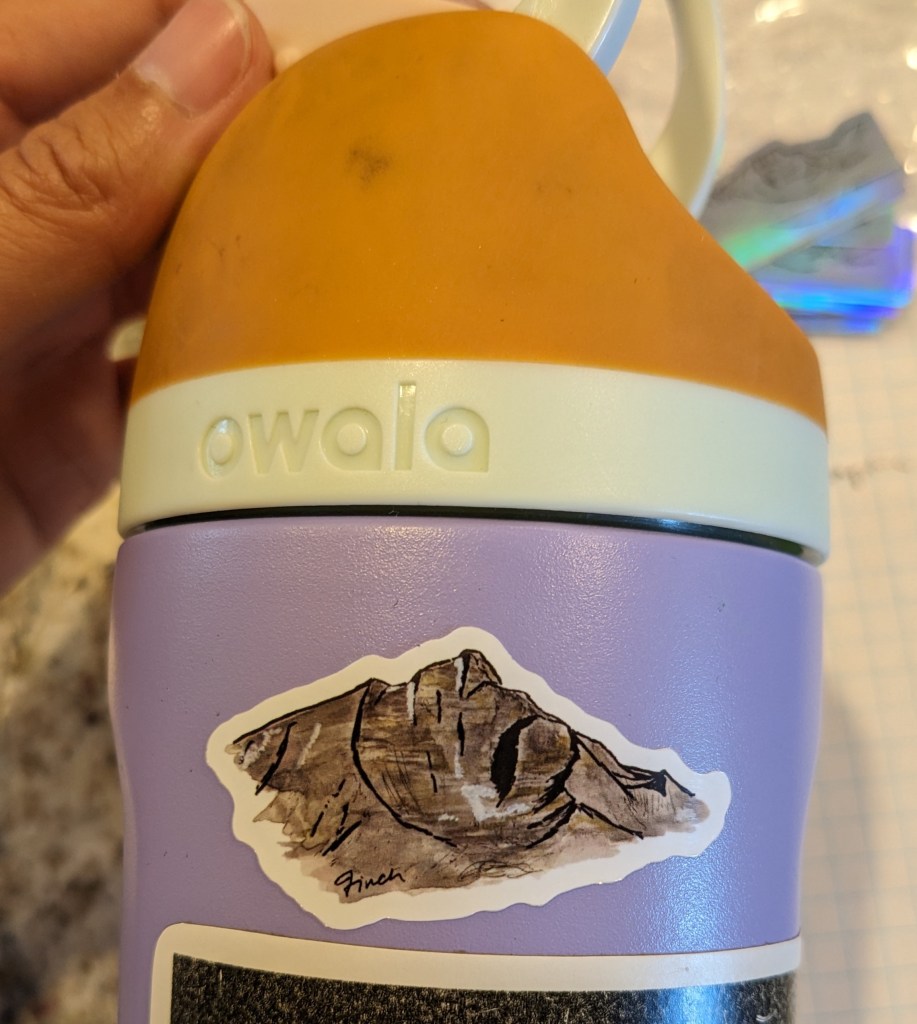
I also made some stickers of my art! Which is so fun!
This lil postcard features the Grand Ditch, a water diversion structure that takes water from the tops of the Never Summer Mountains on the *west* side of the Continental Divide and ports it to the Cache la Poudre River, leading to the South Platte River. Part of this trip was dedicated to feeling some civil-engineering-and-climate-change-related feelings about the Colorado River and the development of Colorado. The Grand Ditch and Colorado-Big Thompson project enabled and continue to supply water for agriculture, industry, and municipalities on the *east* side of the Continental Divide, and these diversions have significant impacts on the Colorado River watershed by reducing the flow that would have been there.
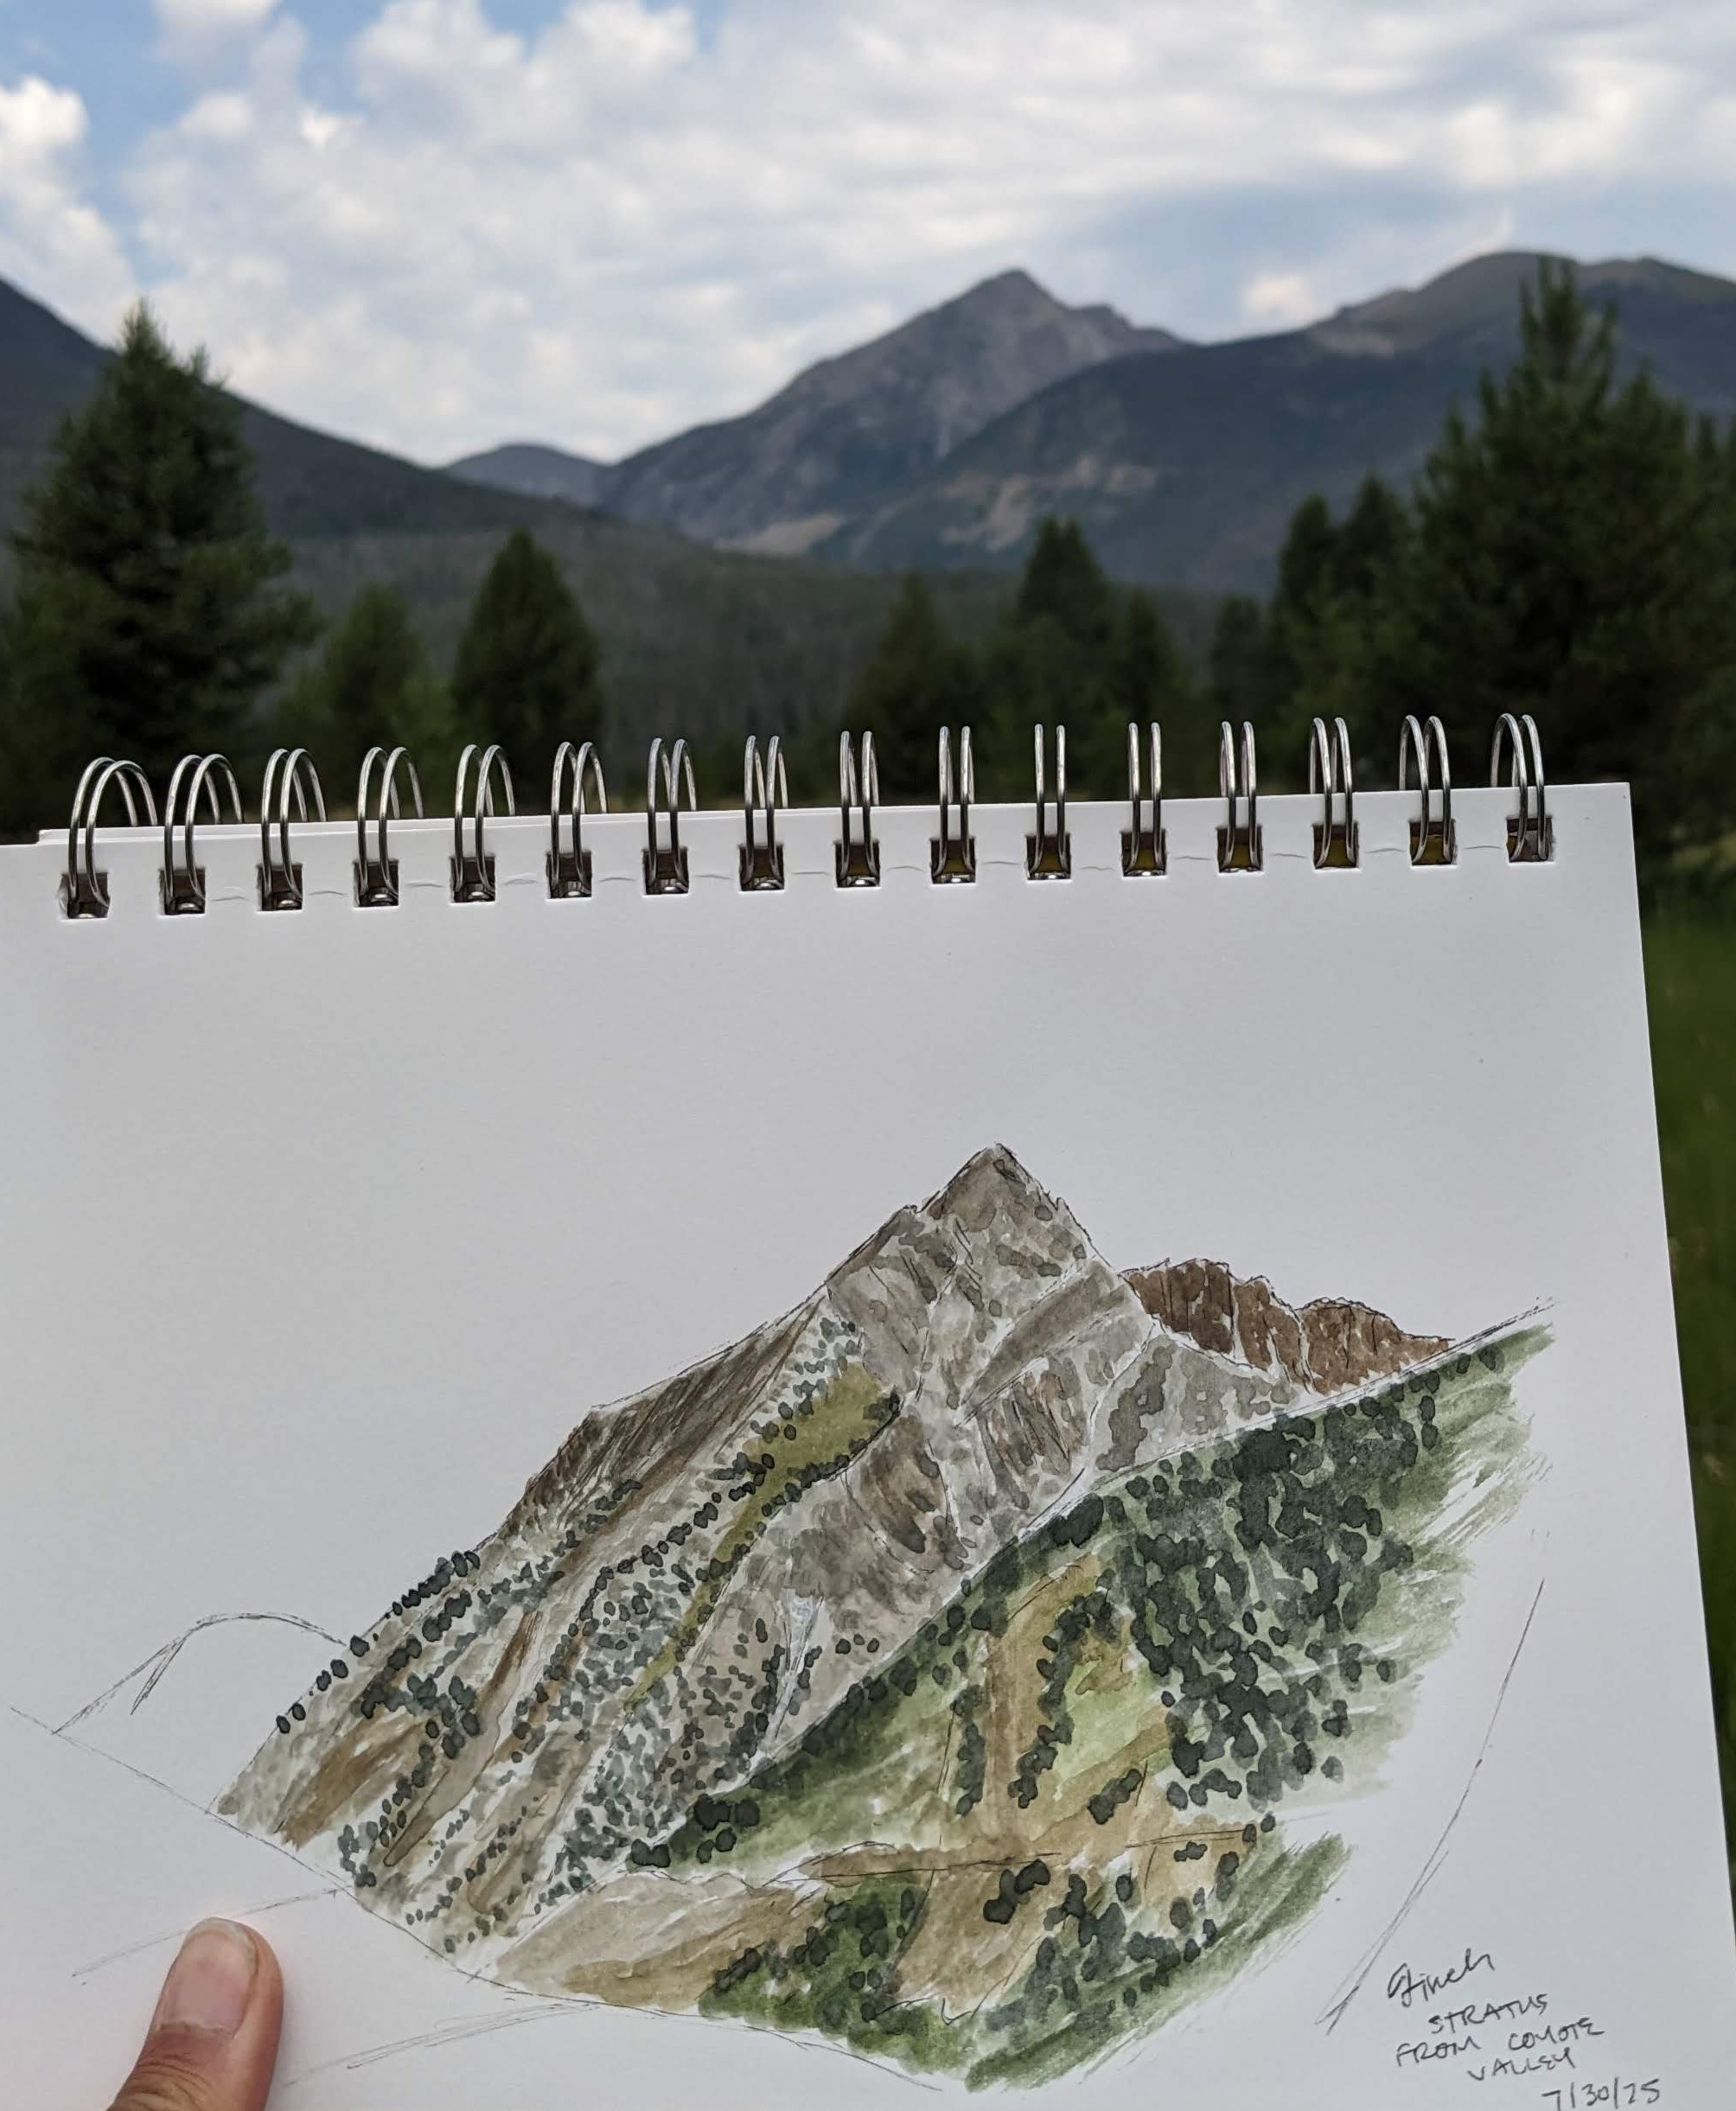
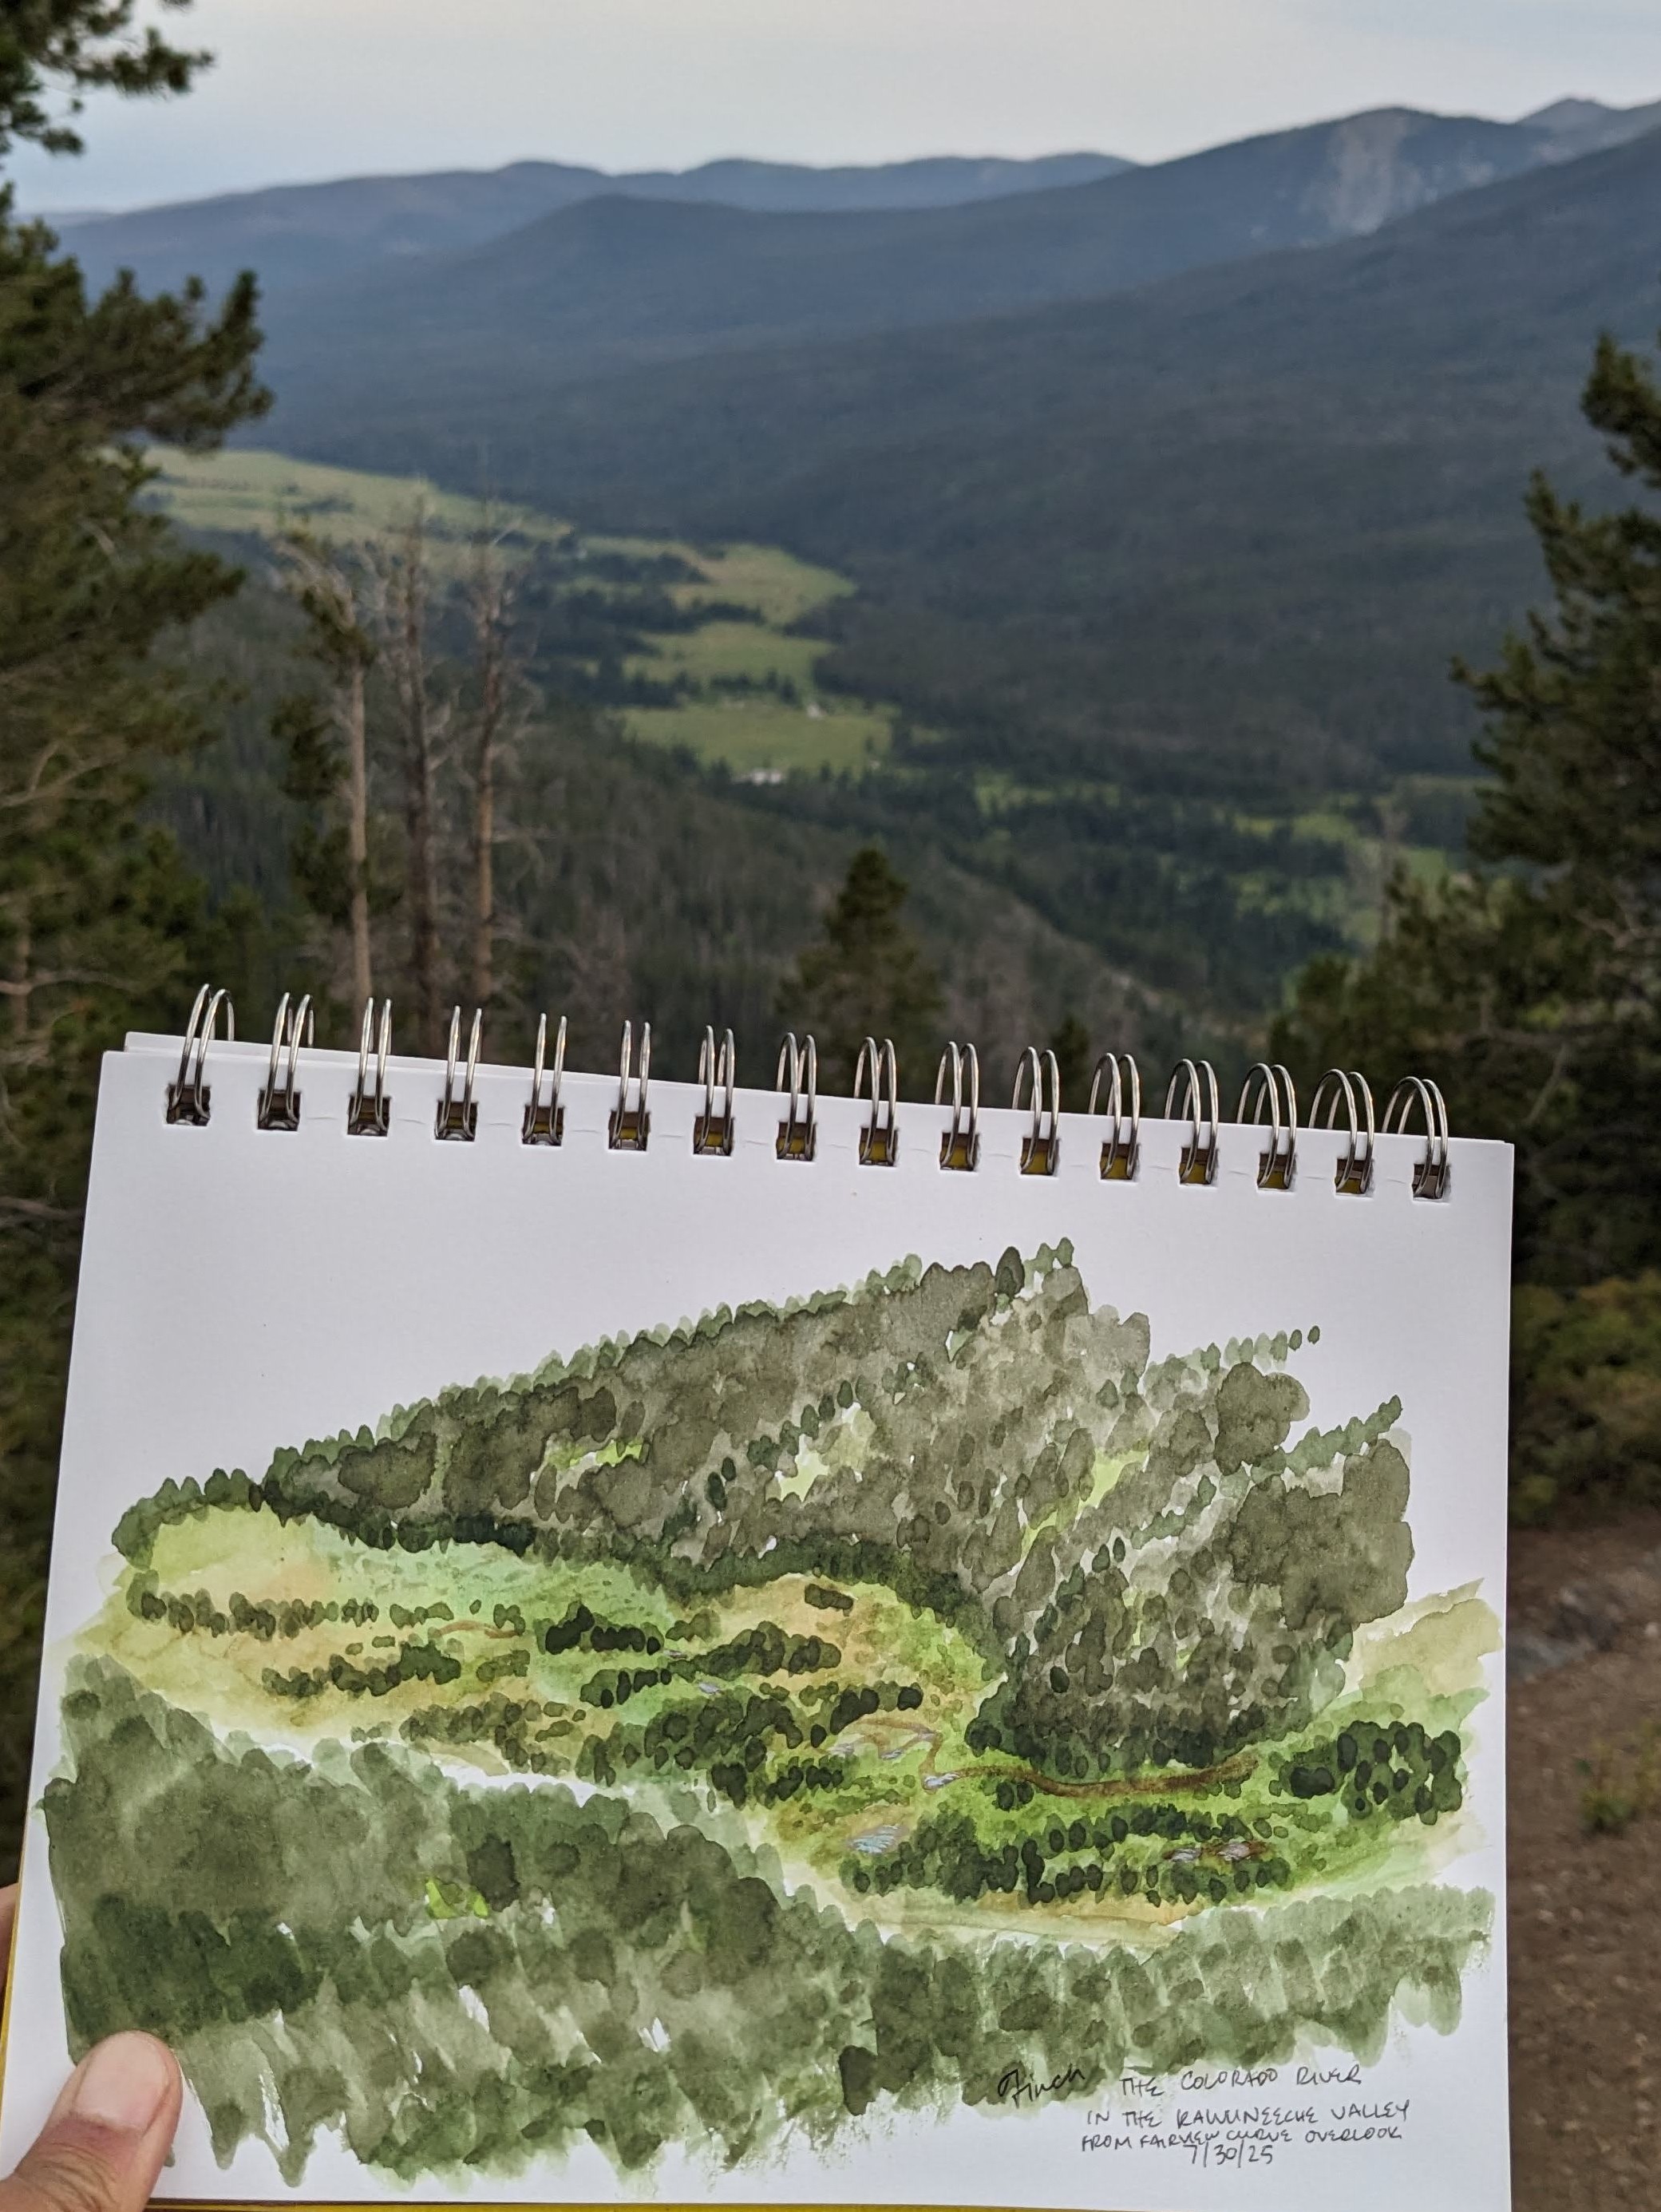
On the left, I did the pen sketch first, and then the watercolor – I kind of like the differences between the paintings I do with pen and without, the pen ones end up more… tiny and detailed? But somehow feel restrained, or constrained? On the right I did a watercolor sketch underneath the color, and it ends up bold, and colorful, and not quite “accurate”, I focus more on color zones instead of lines.
I wanted to do a painting that had less detail and focused on big blocks of color to minimize all the painting of trees (my least favorite and least satisfying step). From the initial marker drawing (top right), it took me 2 minutes to add the pen details, and then 16 minutes to add the watercolor.
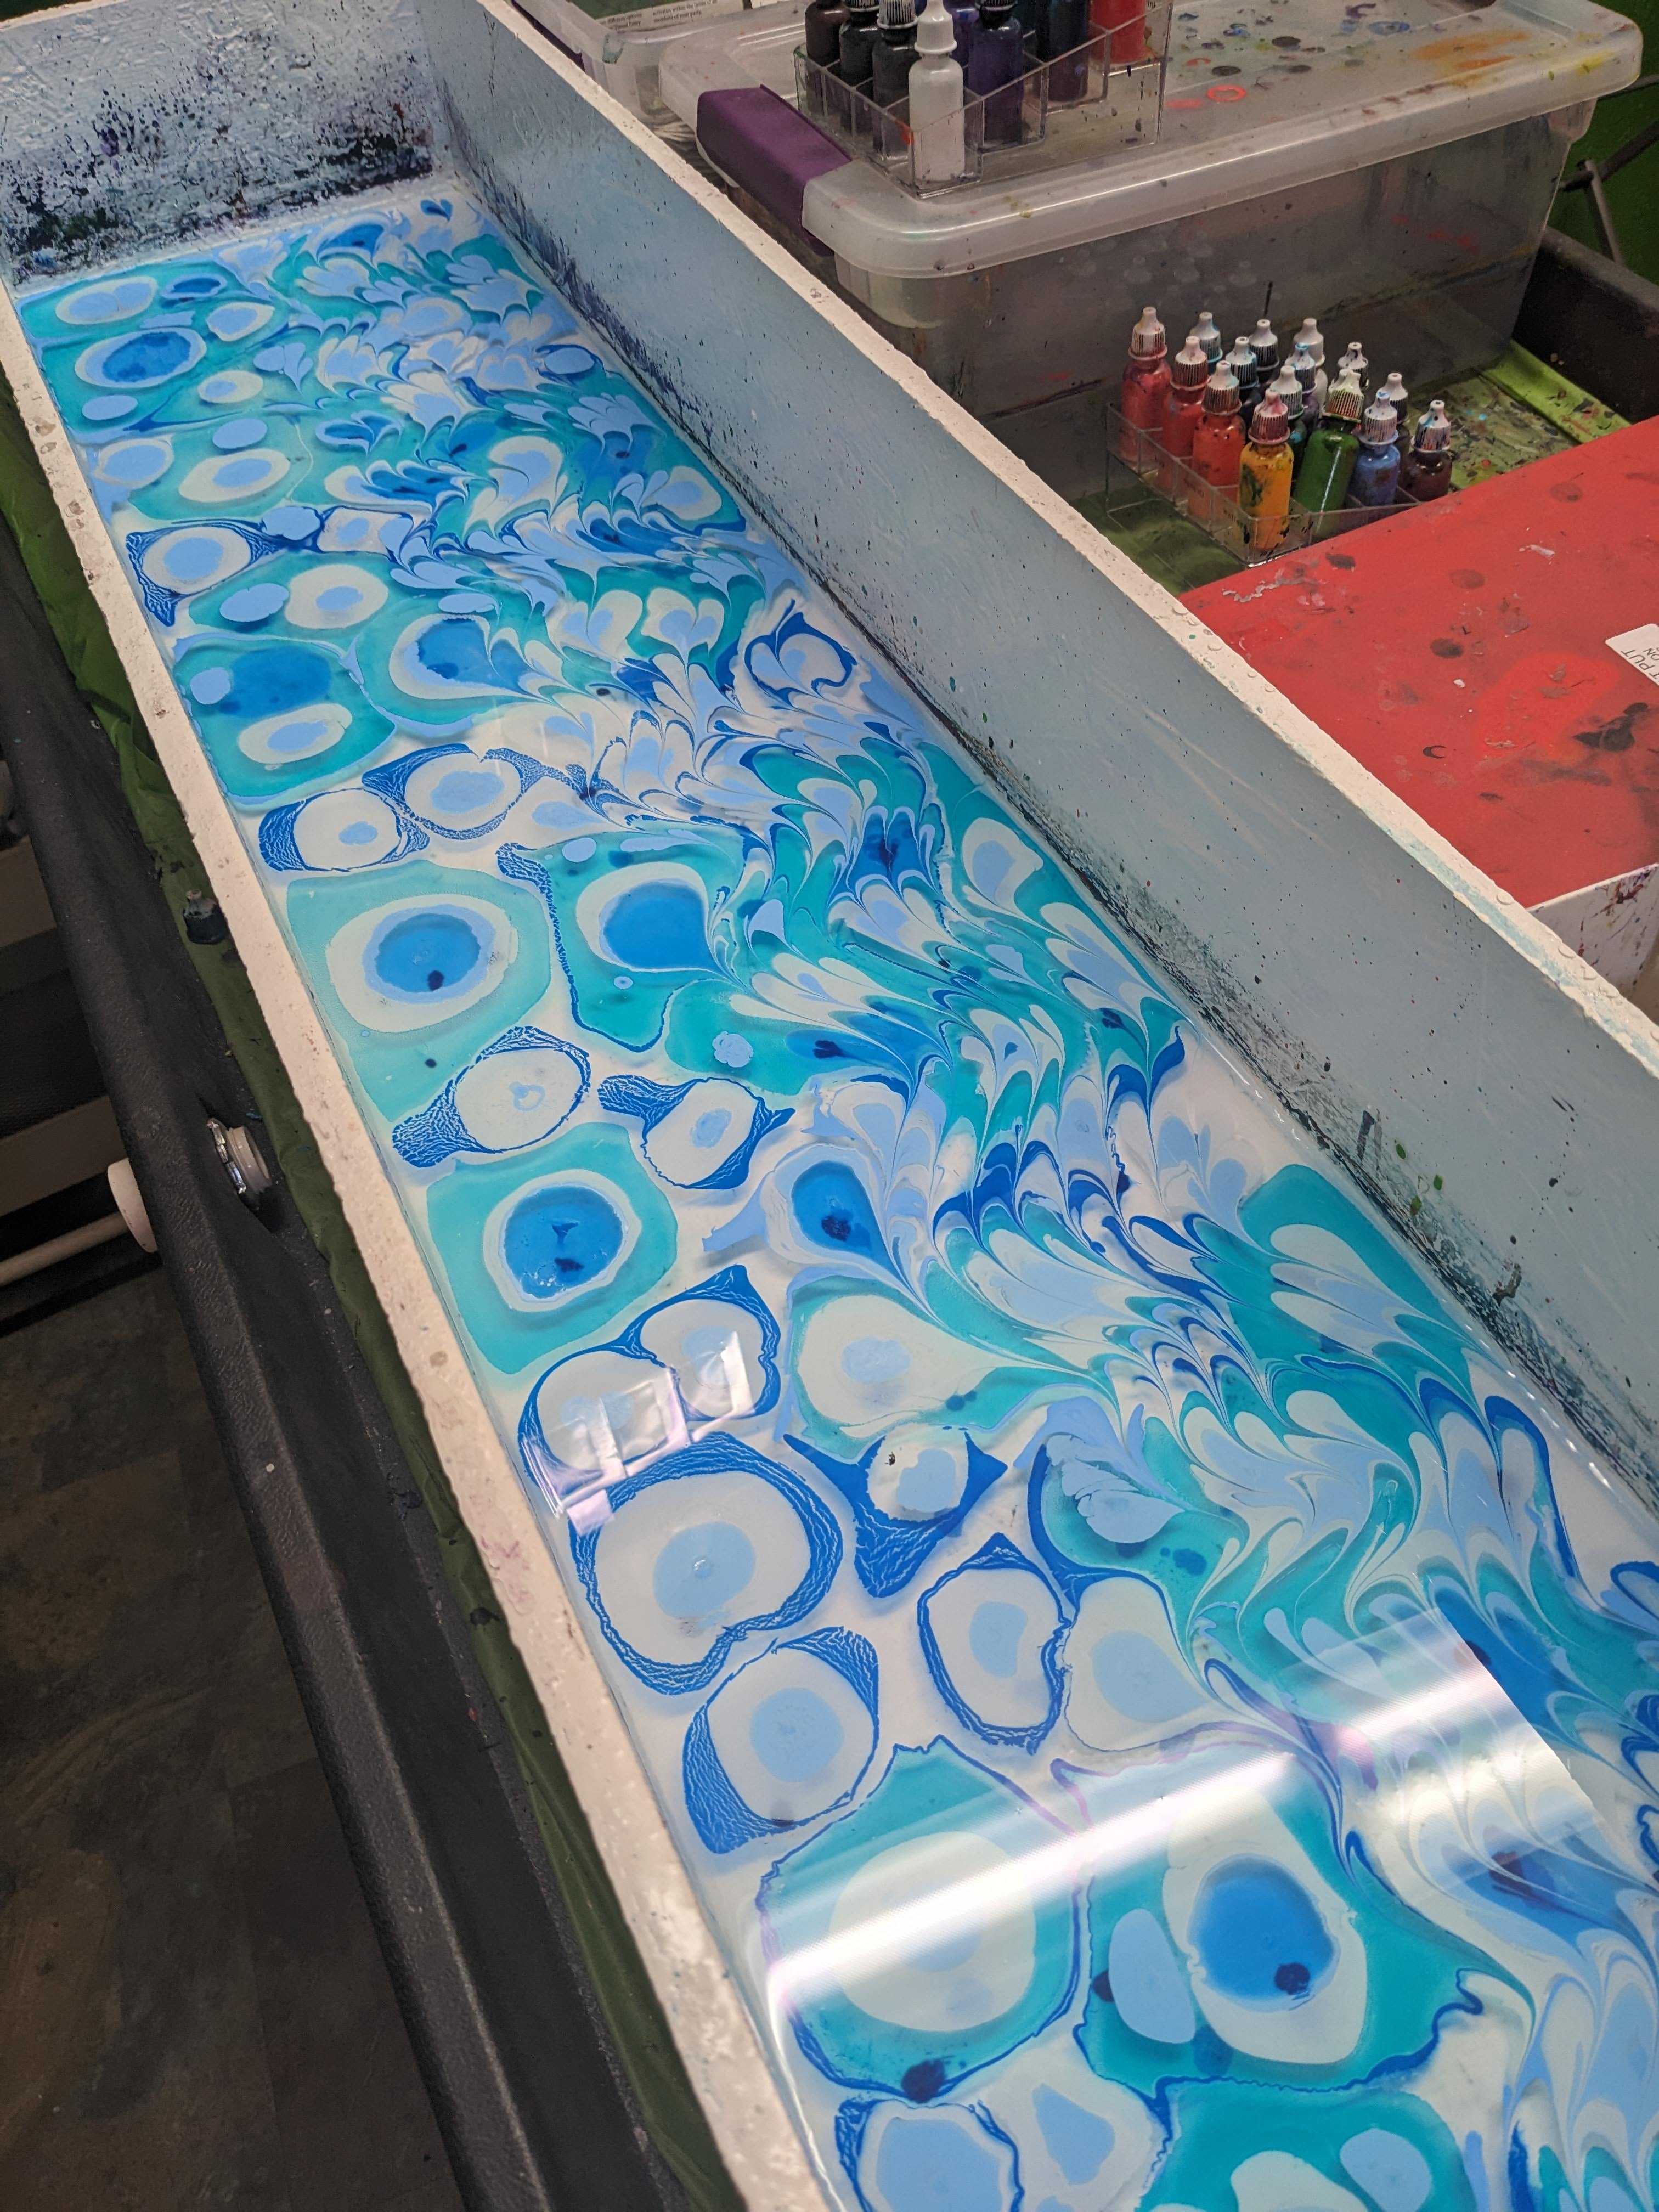
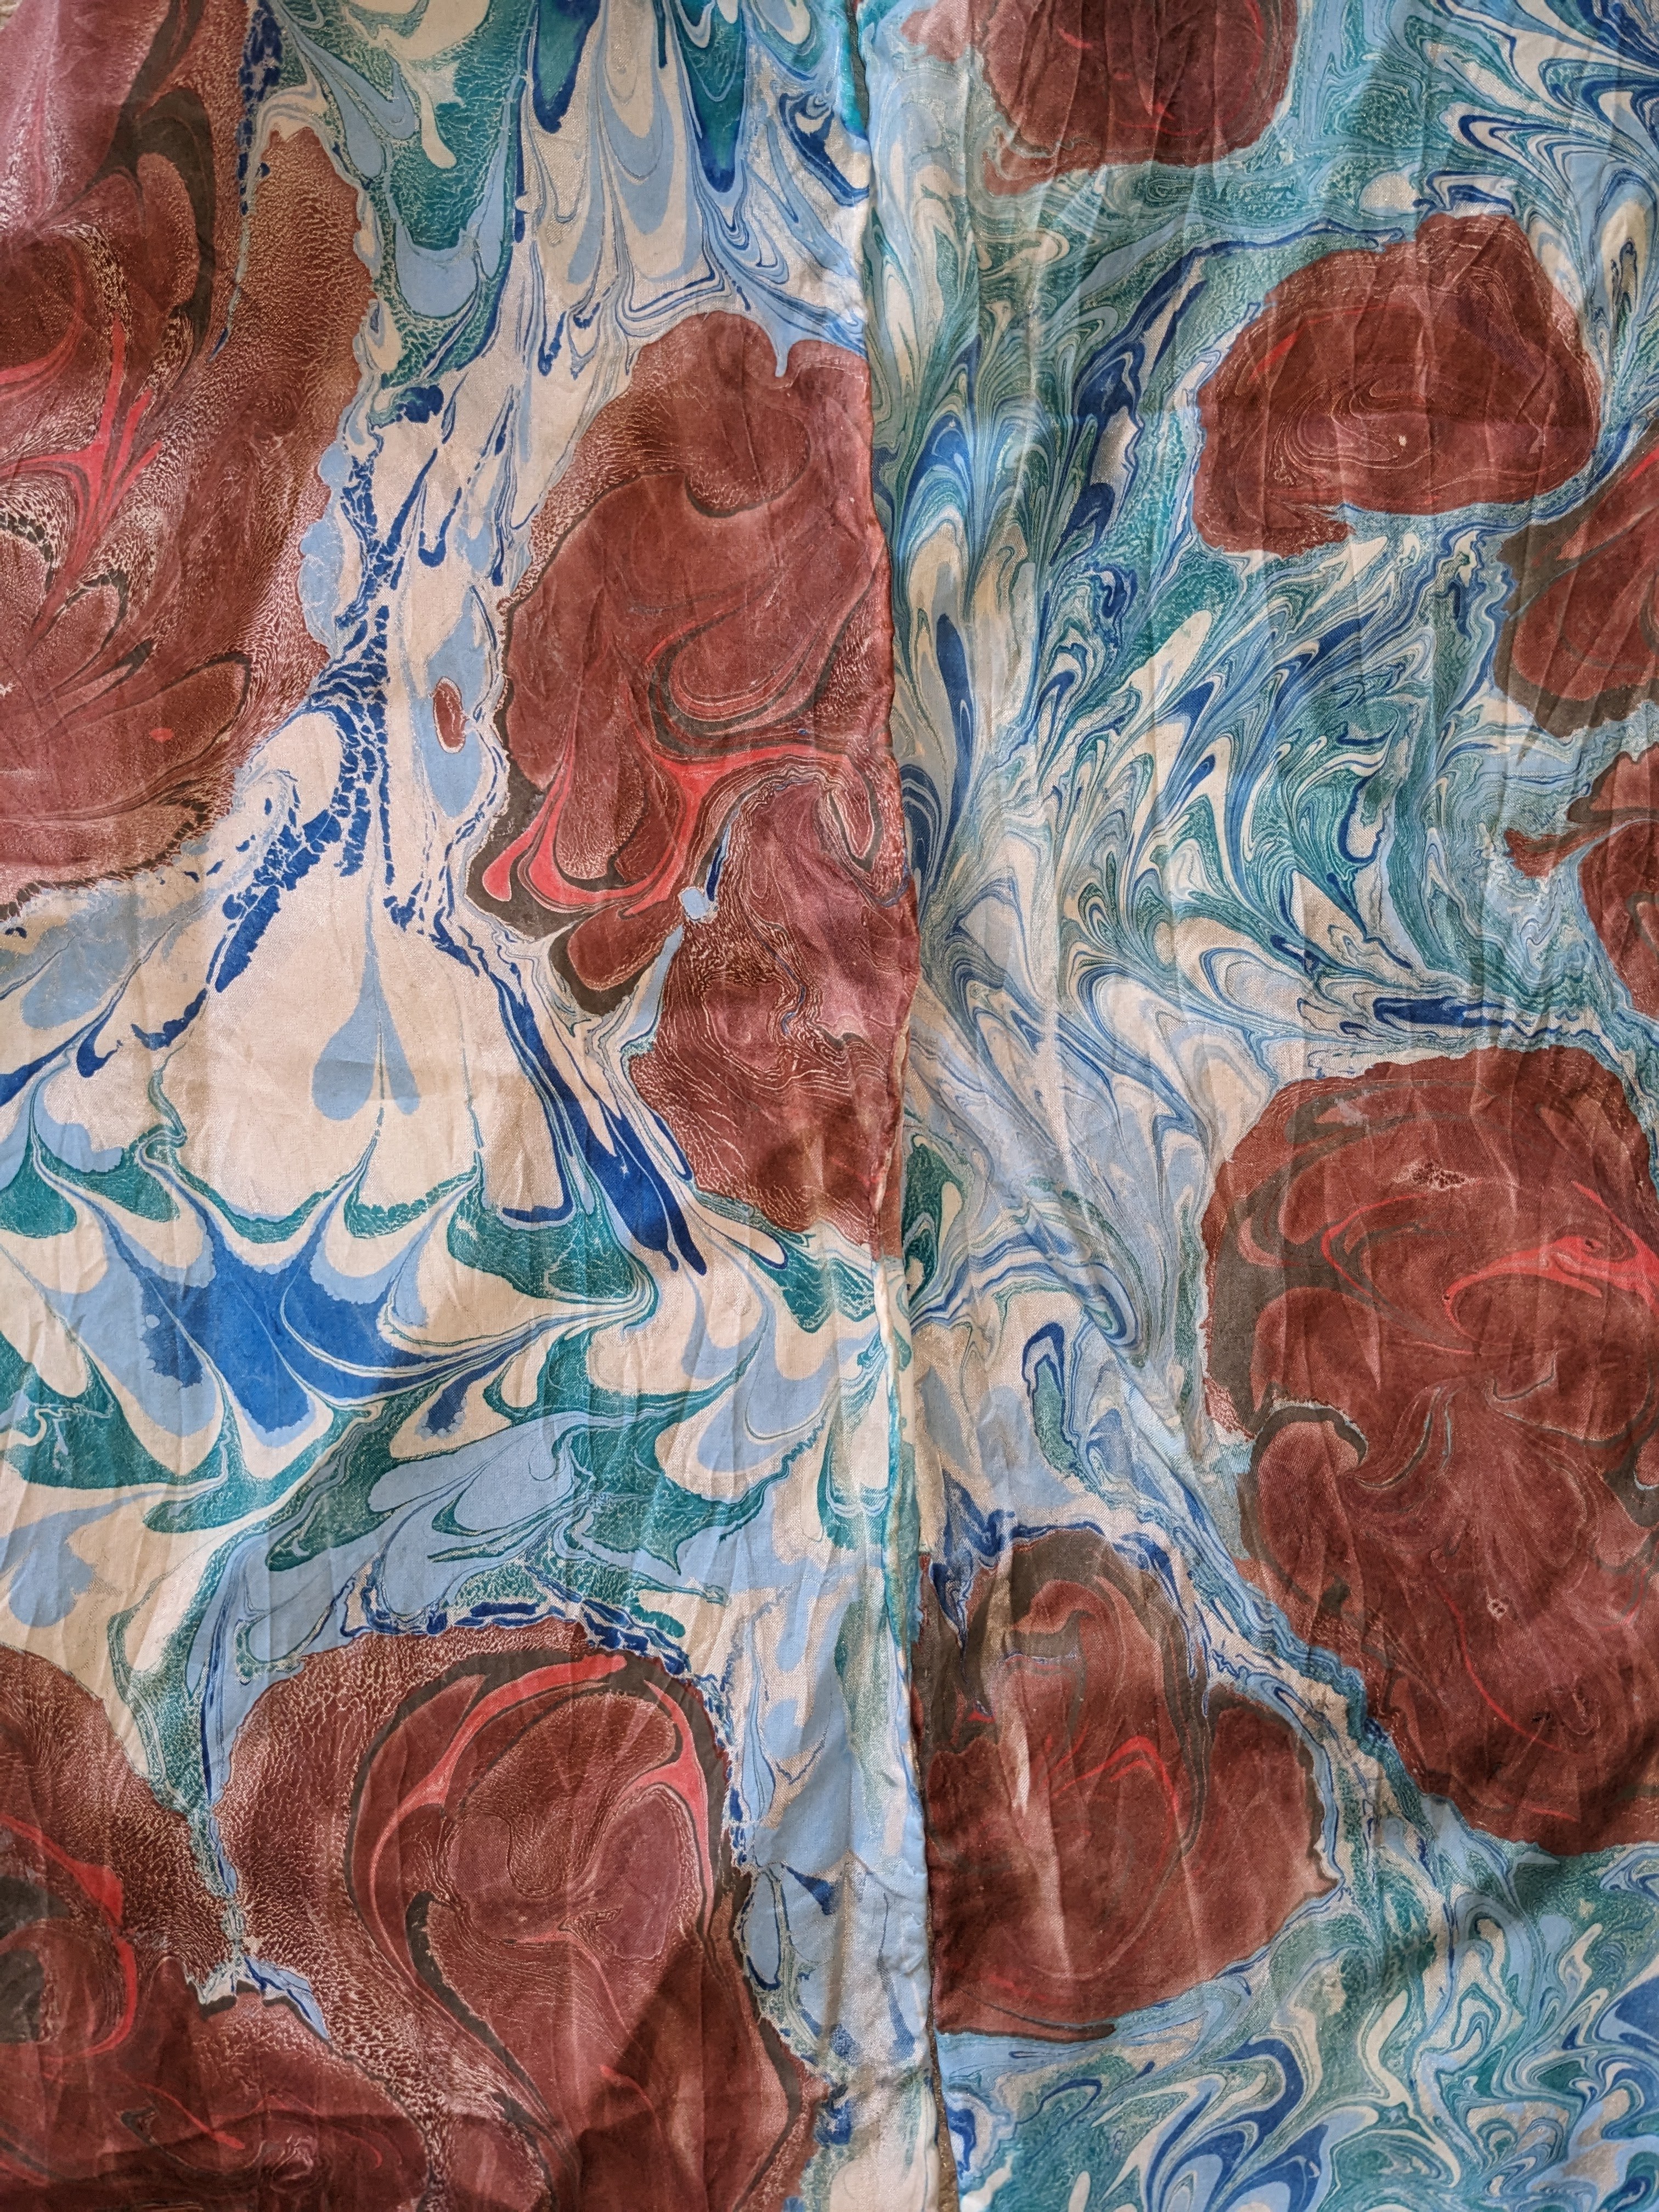
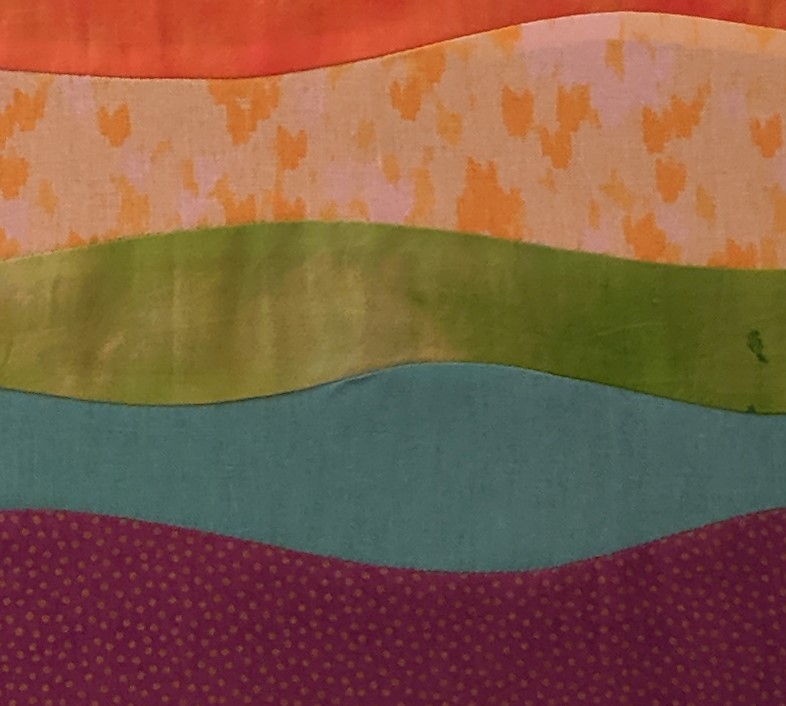
The silk marbling was incredibly meditative and calming, just dropping in the colors and swirling them together. I was going for a “river rocks” type of design and I think I really got it.
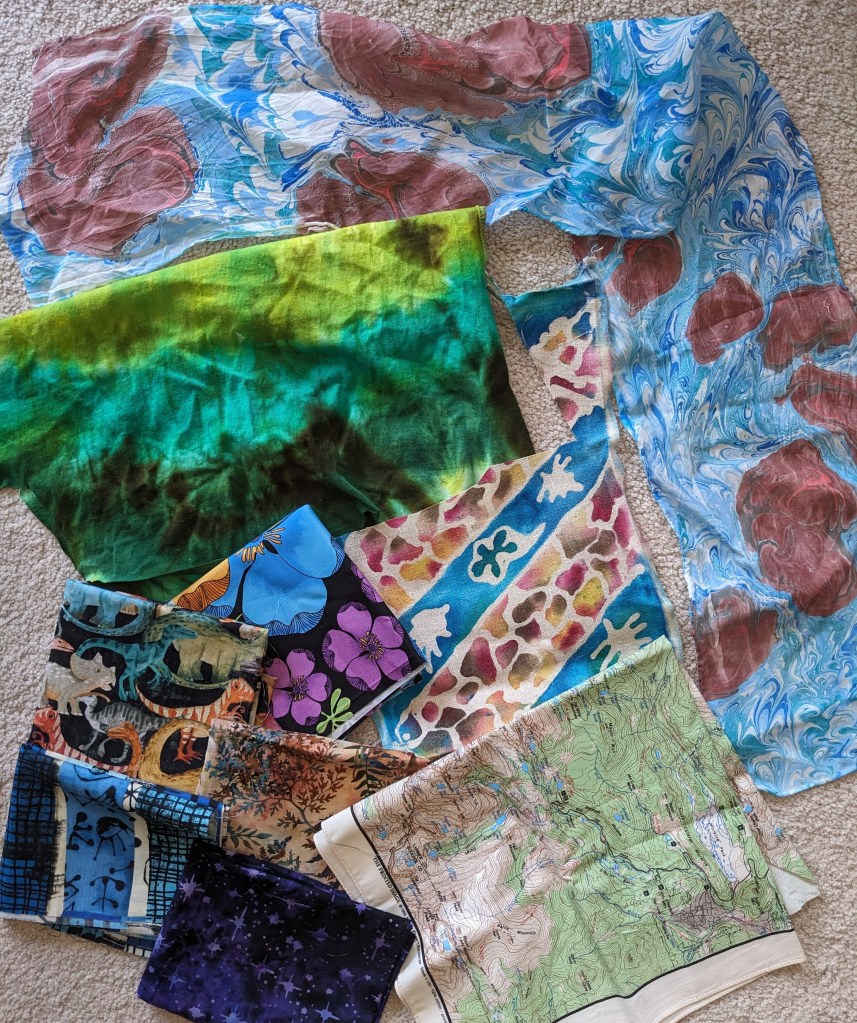
Finished river rocks marbling on the top and right, sleeve of the tie dyed shirt on the left, batik inspired by the Grand Ditch in the middle, fabric from Grand Lake on the bottom left, and the RMNP map bandana on the bottom right.
And I added my new fabric into my current project, an English Paper Piecing quilt of trapezoids for my bathroom 🙂 which now, of course, vaguely smells like campfire, but that’ll fade.
This is the painting I went to do, and I hiked a new trail to do it! Adding the color to the sketch from the left took 40 minutes 🙂 And a few people stopped to comment and talk to me, which I usually appreciate as long as they are respectful and treat me like a person instead of content.
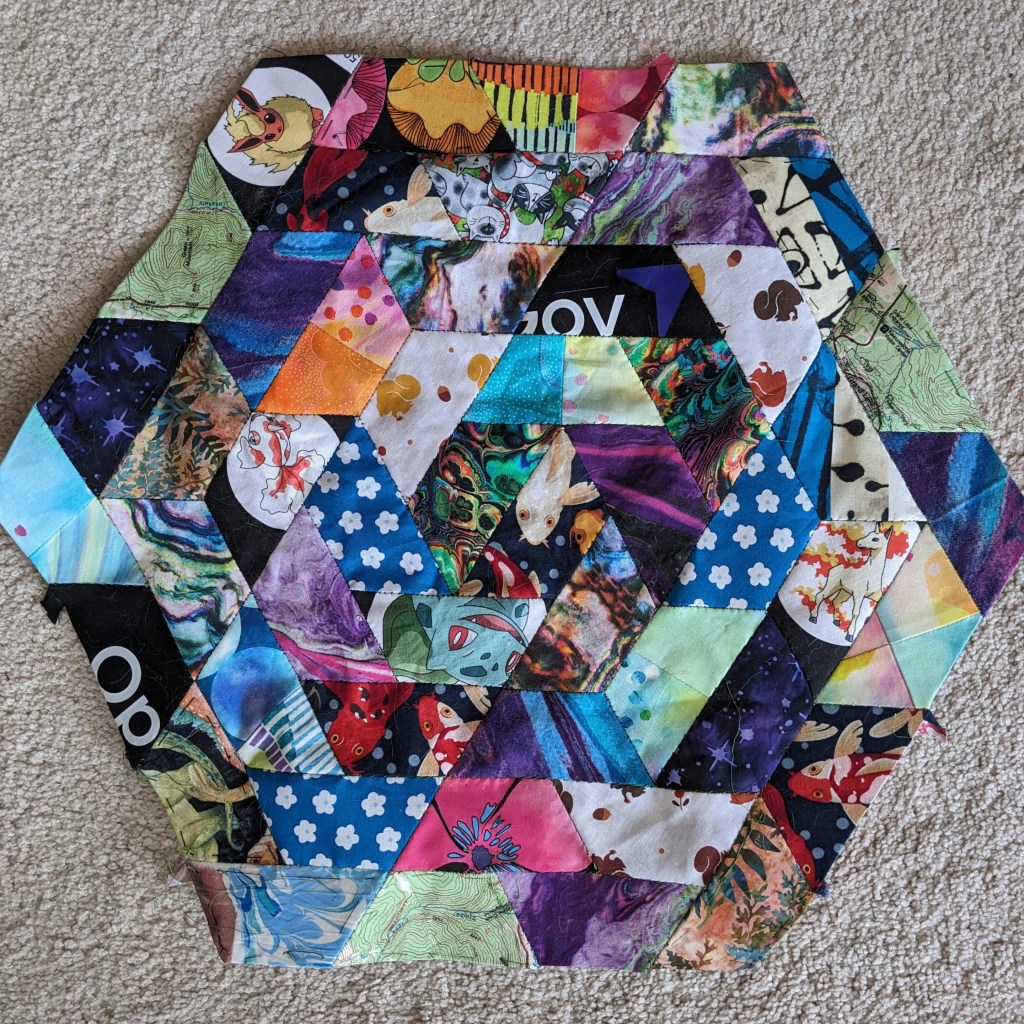
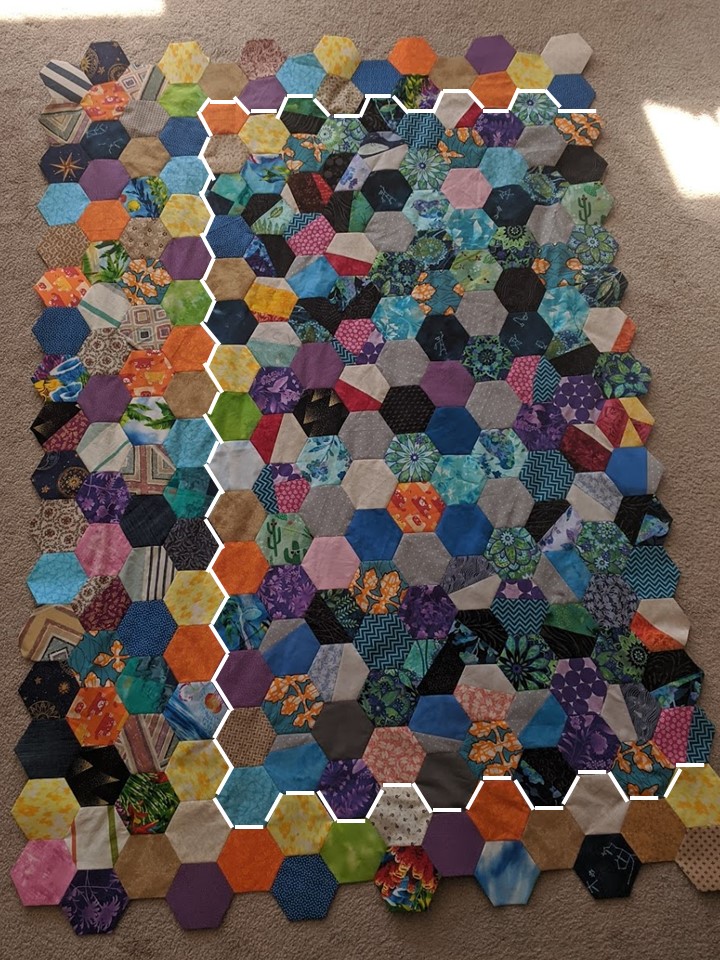
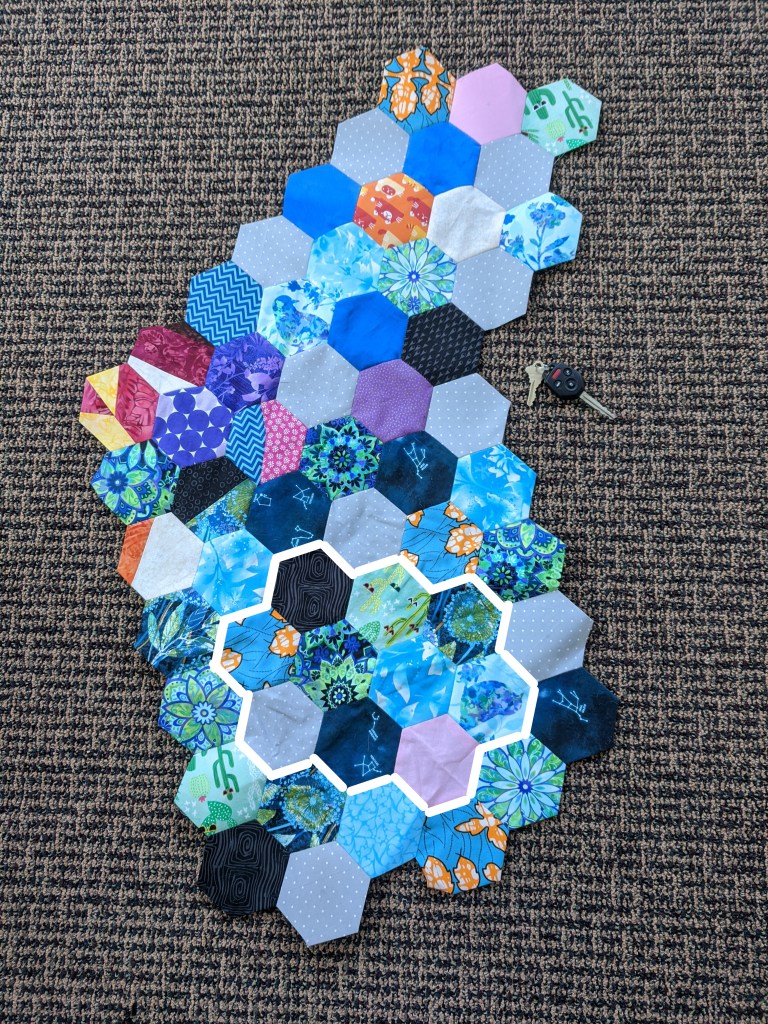
I’m still working on my scrappy hexagon quilt – it’s been a while since I laid it out, and I’m pleasantly surprised it’s so big now! Honestly it’s getting to the point where I should start adding to the sides so it doesn’t become too rectangular!
I’m still not sure what I want this quilt to be – a wall hanging? A couch quilt? I’m not sure. I started this back in January and it’s fun to see the scraps of my projects all in one place. It’s a sort of historical record, an archive of projects past.
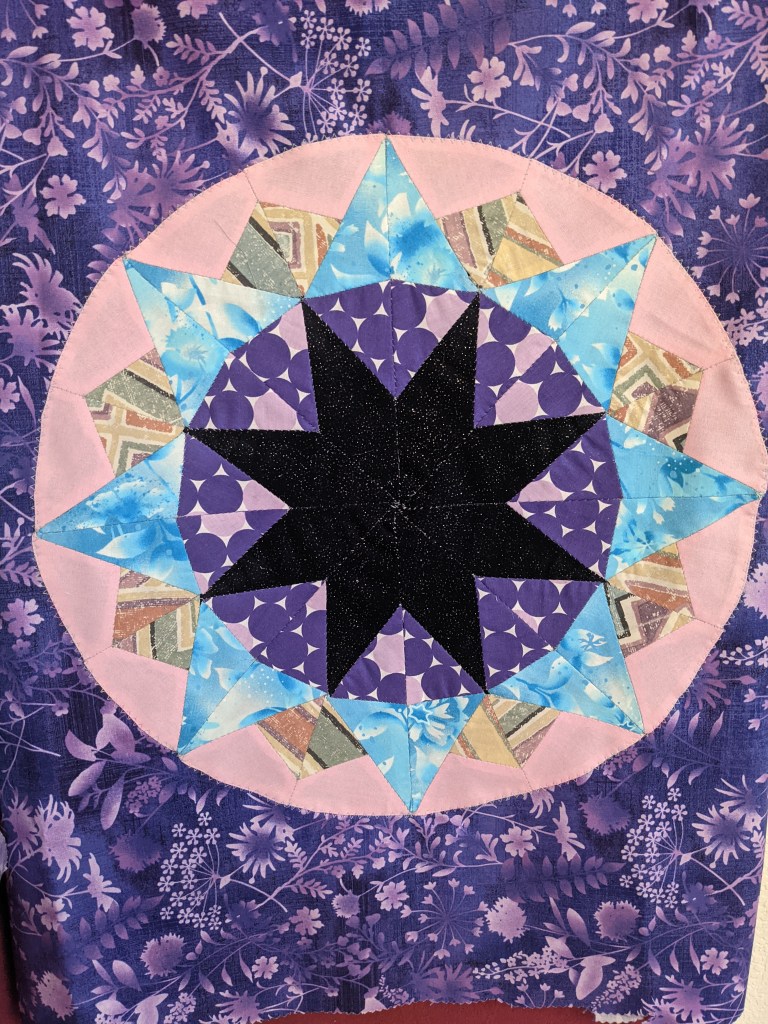
I also bought an English paper piecing kit for a star pattern, and whipped it up in a couple days. They provided the papers and plastic templates to make it easier to cut your fabric, which was nice.
Star has approximately 16″ diameter
It was weird to work with acute angles and smaller pieces, but I like how it turned out! This was my tester version, so I just used random scraps, but I think a sunset would be really cool, a nebula type shape, maybe fabric that looks more like stained glass? Some of the intersections aren’t perfectly aligned, so I want to work on that next time.
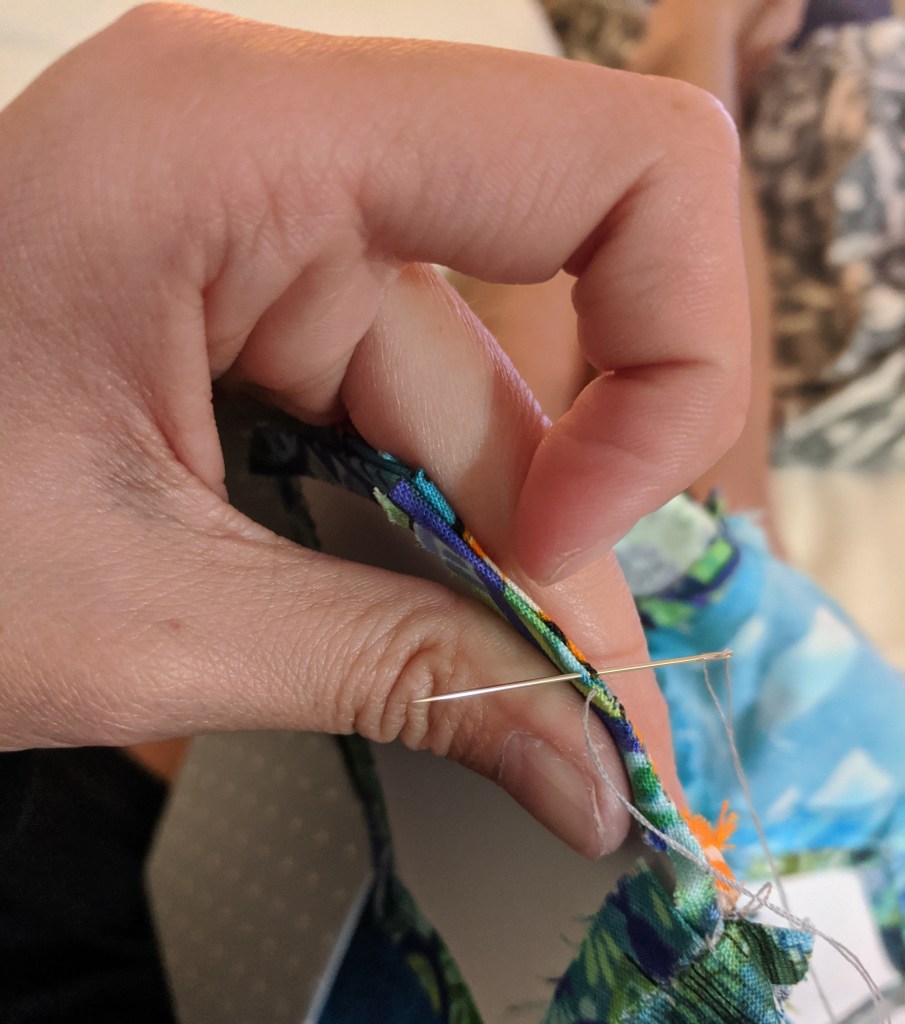
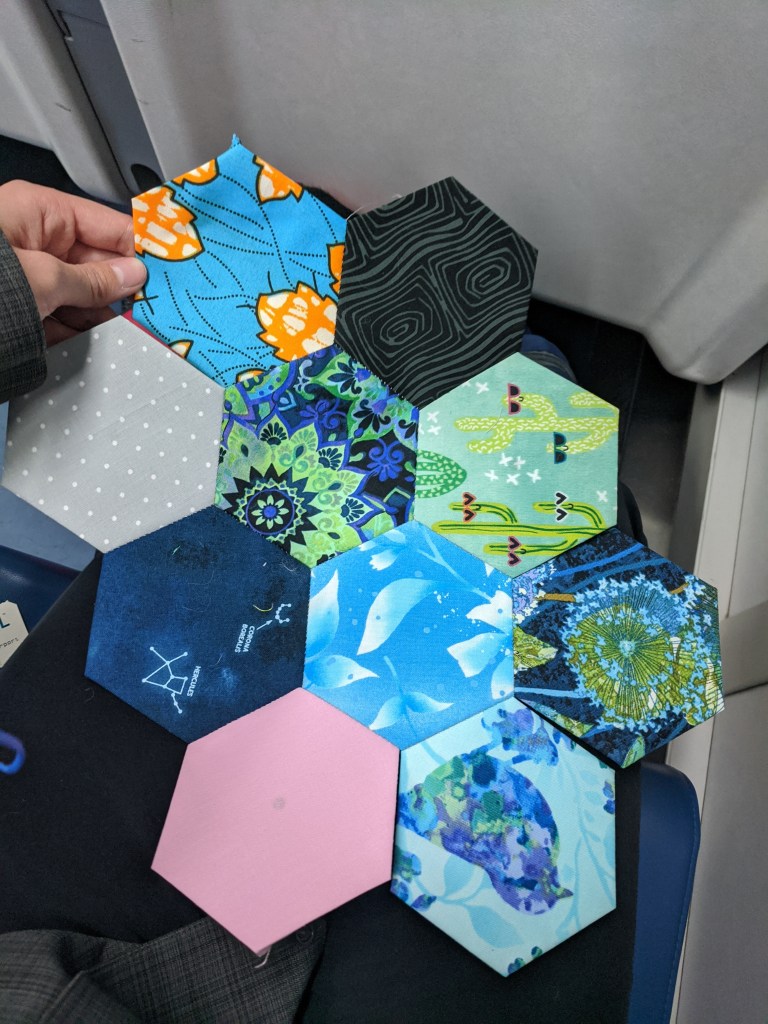
And now I’m working on my own English Paper Piecing project. 🙂 I was just so in awe of the projects at the museum, and although I’m not doing tiny pieces – just 2″ hexagons, which are actually bigger than the size of my palm. I like the idea of an on-going project that uses up scraps over time, truly a quilt of projects past. I have a bunch of scraps that I want to get rid of, so I’m also hoping this will help me with that.
I also have a habit of getting places very early, so I’m thinking this could be my “I’m waiting in the car” project or “I’m on the train” project, stuff like that. It’s definitely very satisfying to put together and I’m surprised at how fast it goes!
I bought a pack of 50 precut cards to start. It took me about an hour to rough cut and glue 50 hexagons to their cards, and the cards are reusable so I’ll just add more hexagons as I pull them out. I’m not concerned with fabric placement as long as no fabric touches another of the same, so it’ll be scrappy and wild and random!! I love the idea of not over-designing this like I usually do and just letting it happen.
Little stitches!! Just grabbing a couple threads on each pass. I’m thinking of using some variegated thread because you do see some thread on the front, and I think it would be fun to have that little rainbow.Progress after about 2 hours.One week later – keys for scale and previous picture outlined. I started cutting up excess blocks too, hence the multiple fabrics in one hexagon off to the left. It’s been super enjoyable. I had a doctor’s appointment and since I had something fun to do, I didn’t even care that I had to wait. I find myself spending less time scrolling on my phone too which is nice. I did order more cards because you have to keep the cards in until all six sides are sewn, so more and more cards have to stay in as the perimeter grows.
My upcoming project list includes: quilt made out of ties, red and white skirt, turtle applique, embroidered and pieced Hawaiian fish, memory quilt, mountain panel, jacket repair, blazer… I’ve got a lot in my queue so keep an eye out 🙂
Seeing as everyone will be getting their gifts in the near future… Here are some tiny previews 🙂
I had a lot of fun with Christmas this year. It was nice to work on lots of little projects instead of one huge one, and I tried out some new techniques that I wouldn’t have experimented with on a larger scale. I learned that I really enjoy fusible applique, and it was fun to design and cut out little shapes 🙂 I’ll do a second Christmas post detailing some of the stuff I worked on.
I finally got around to adding the borders and finishing up the back. The hardest part has been preparing and planning how to quilt this bad boy. I’ve had the top done for some weeks now, but agonizing over what to quilt. I want to honor the kaleidoscope effect while doing something simple that won’t detract from the coolness nor add to the chaos. I think I’ve finally got it and hopefully my next post about this quilt will be the completed version.
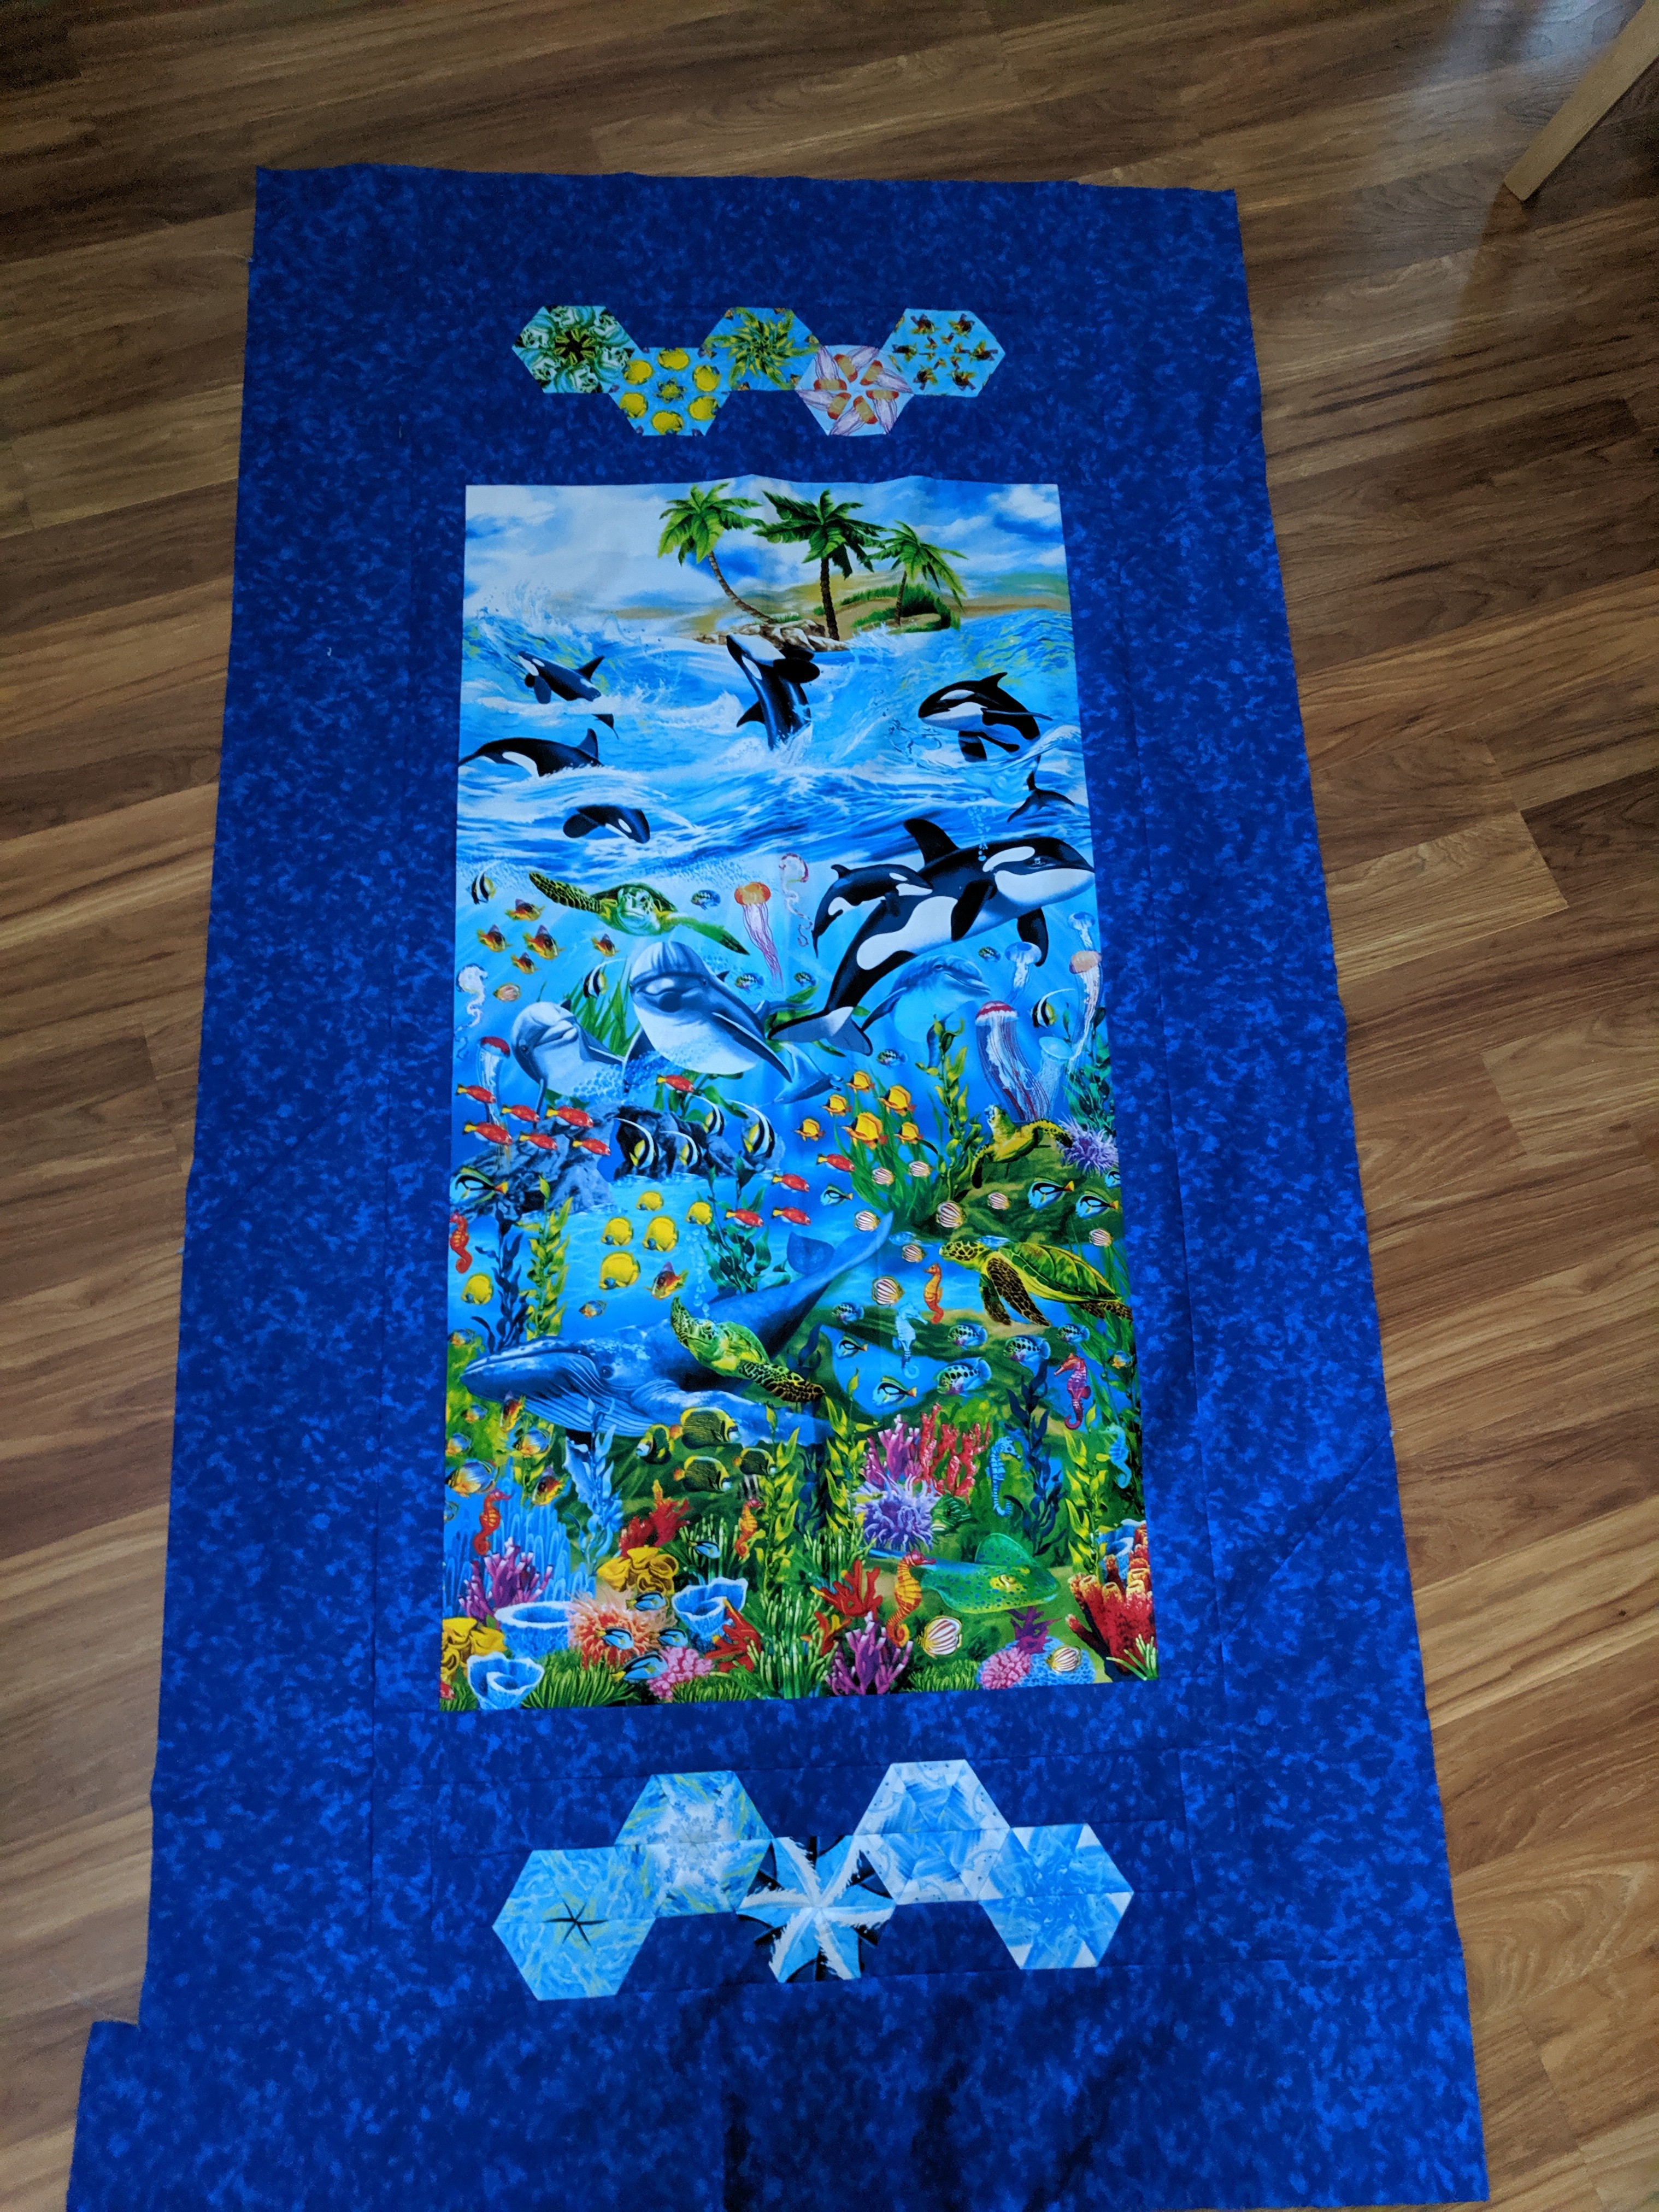
The backing! I’m using a full panel and some leftover hexagons that didn’t make it into the top.
Now you can see the full beauty of the original panel. I wanted to put the full panel on the back so I could (a) easily show people the original fabric and (b) display it with the panel side showing. The layout on the front kind of mimics the colors of the panel too, with blues on the top and greens on the bottom. And you can see why I, a lifelong whale lover, chose this fabric 🙂
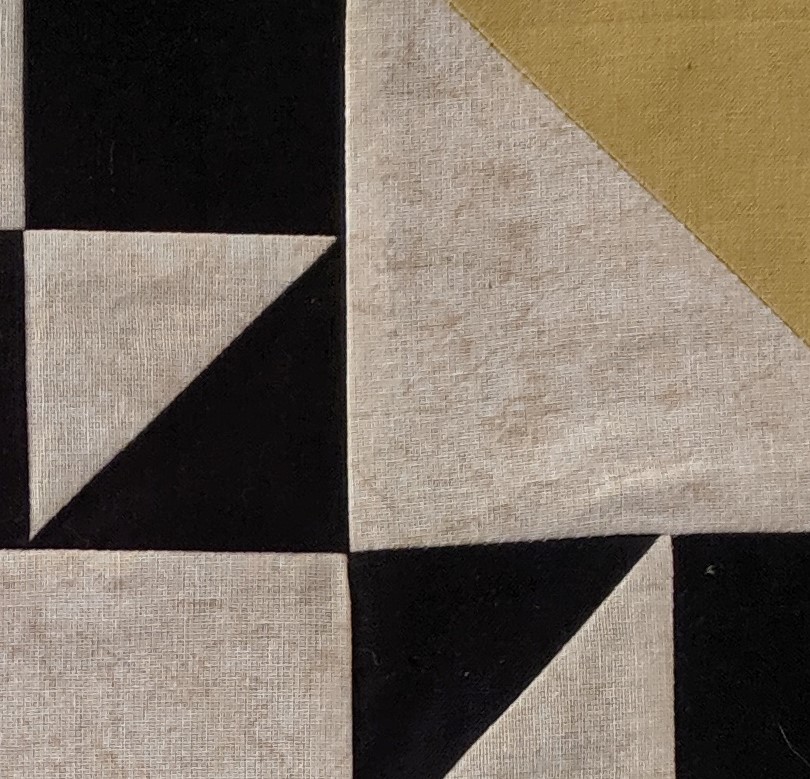
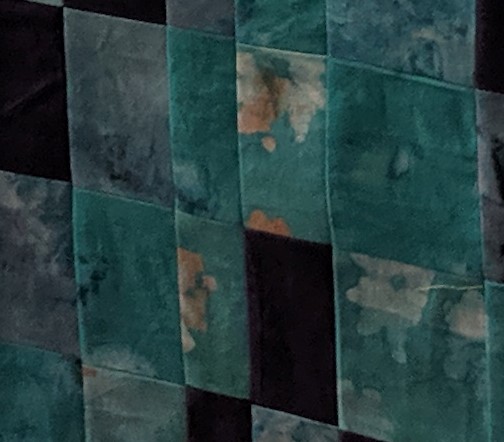
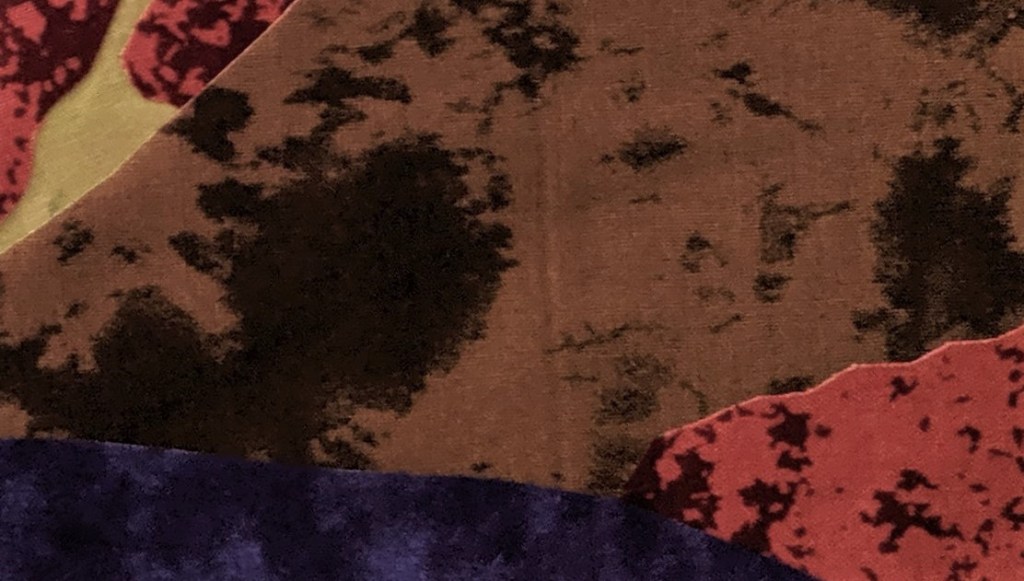
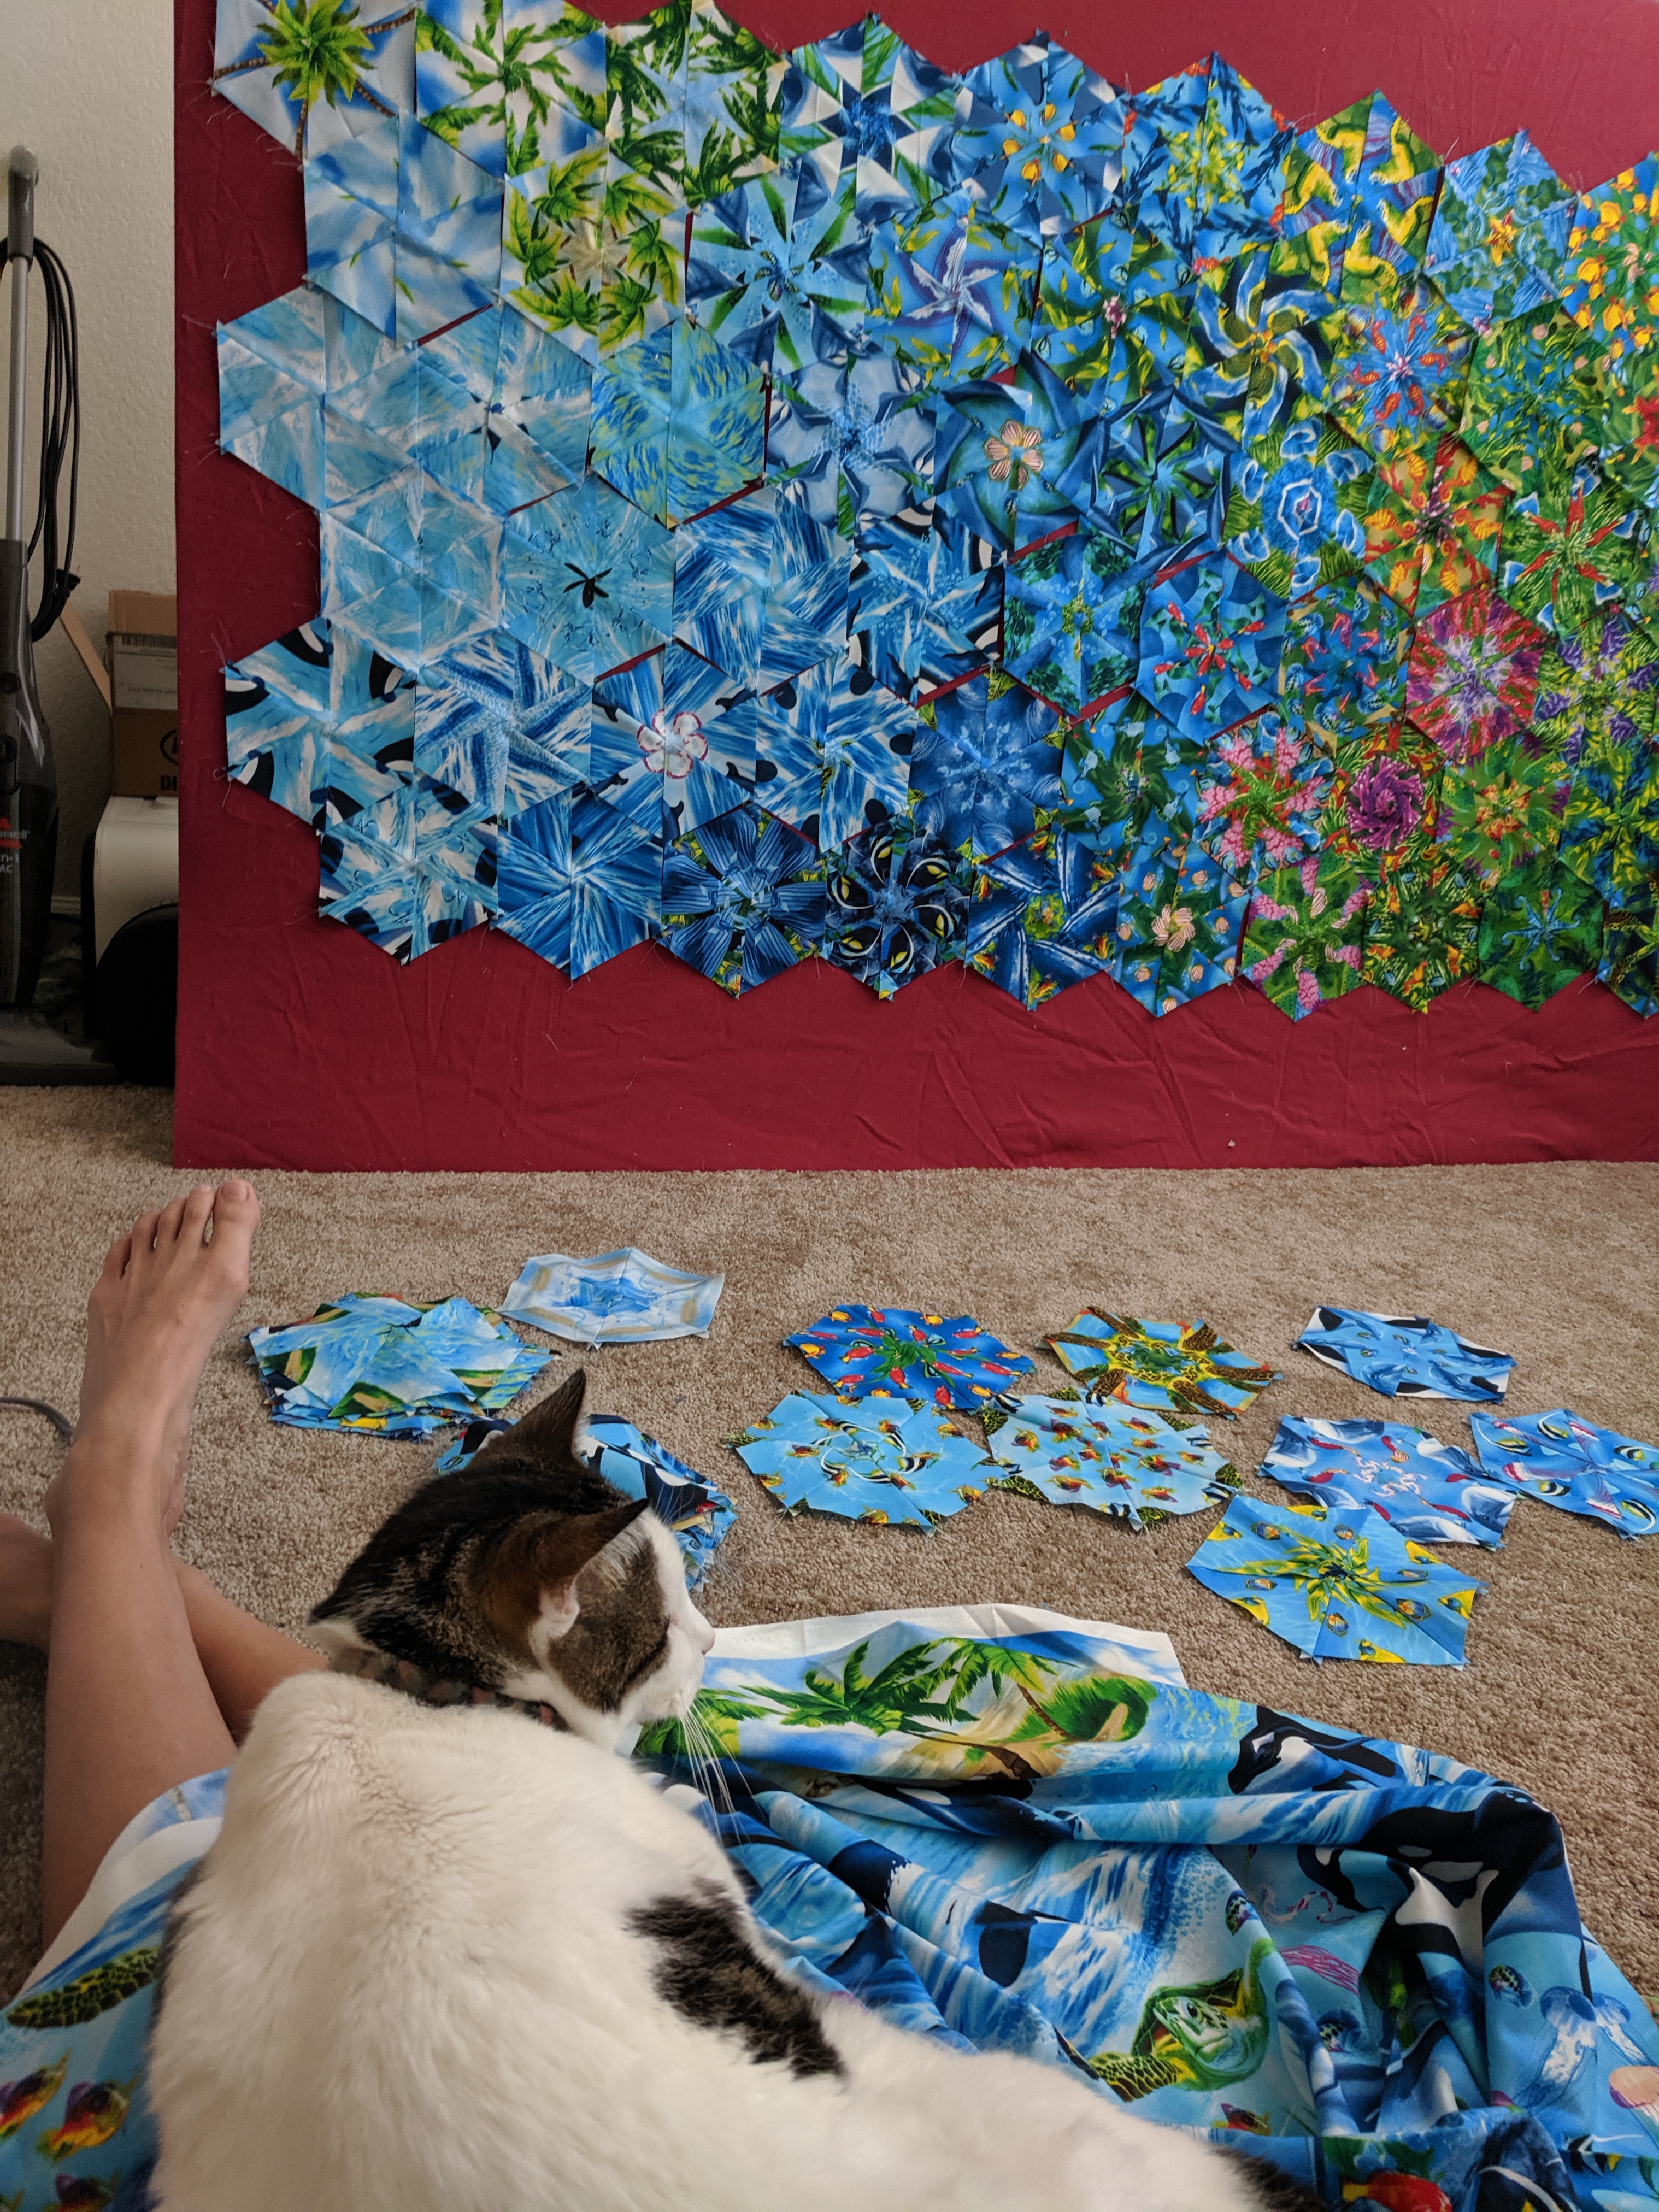
My current project! This is a “One Block Wonder” (OBW), as described by Maxine Rosenthal. I’ll leave the full explanation for the final post, but you can see the layout up on the wall and the fabric it came from in my lap under the furry helper. There’s some stray hexagons on the floor, so maybe that’s a hint 🙂