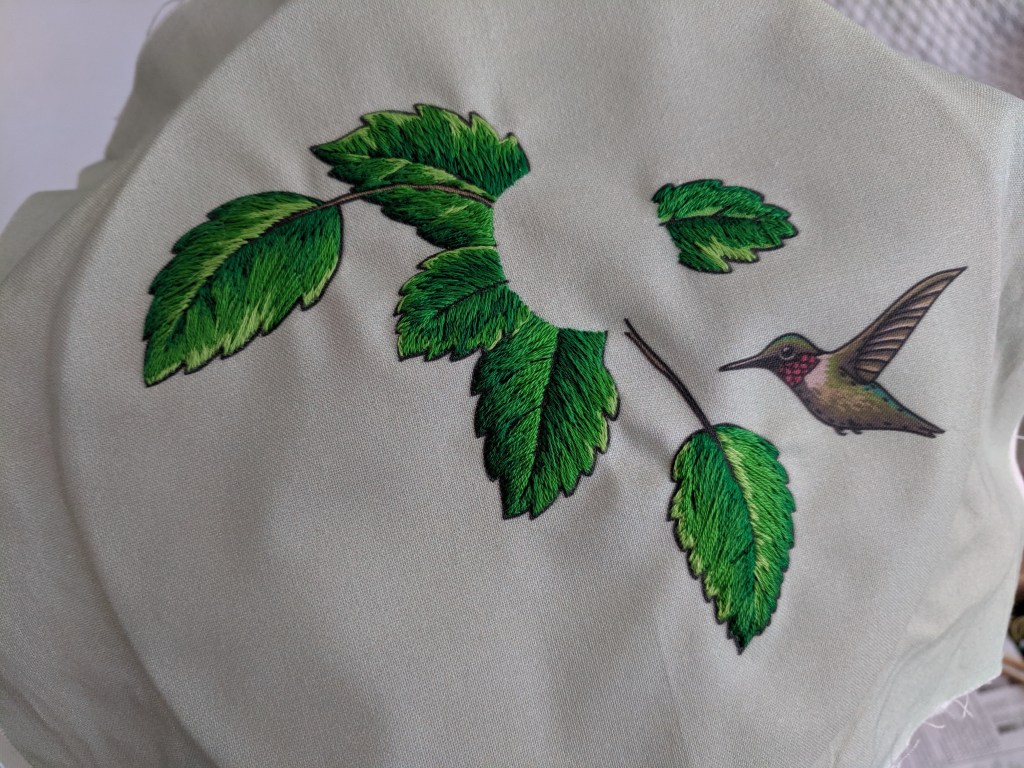
As you know, I get most of my embroidery patterns from Namaste Embroidery. She also has a YouTube channel where she posts long-form videos of her working on the projects. I was inspired by her stumpwork tutorial and had to order the modified Anna embroidery kit. After doing the “Flowers in Her Hair” 1-ply satin stitch, I wasn’t super interested in doing the face, so I ordered the version with just the flower, leaves, and hummingbird. I was transitioning between living spaces and my sewing room wasn’t set up, so coming back to embroidery was a fun “sit in front of the TV and relax” project.
1 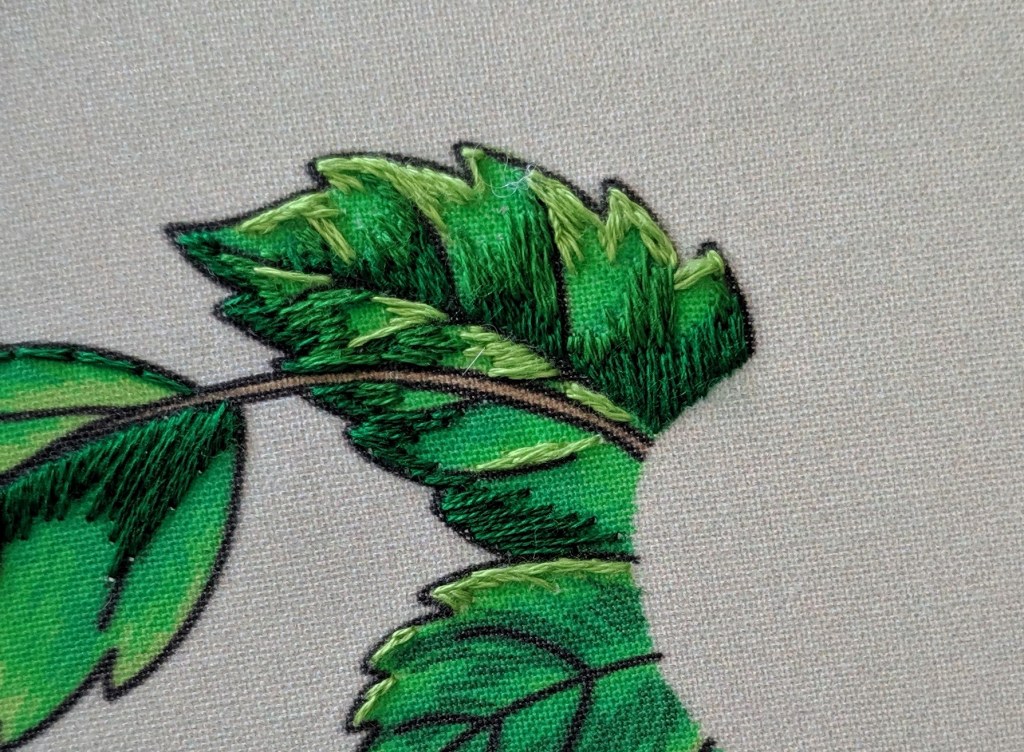
2 
3 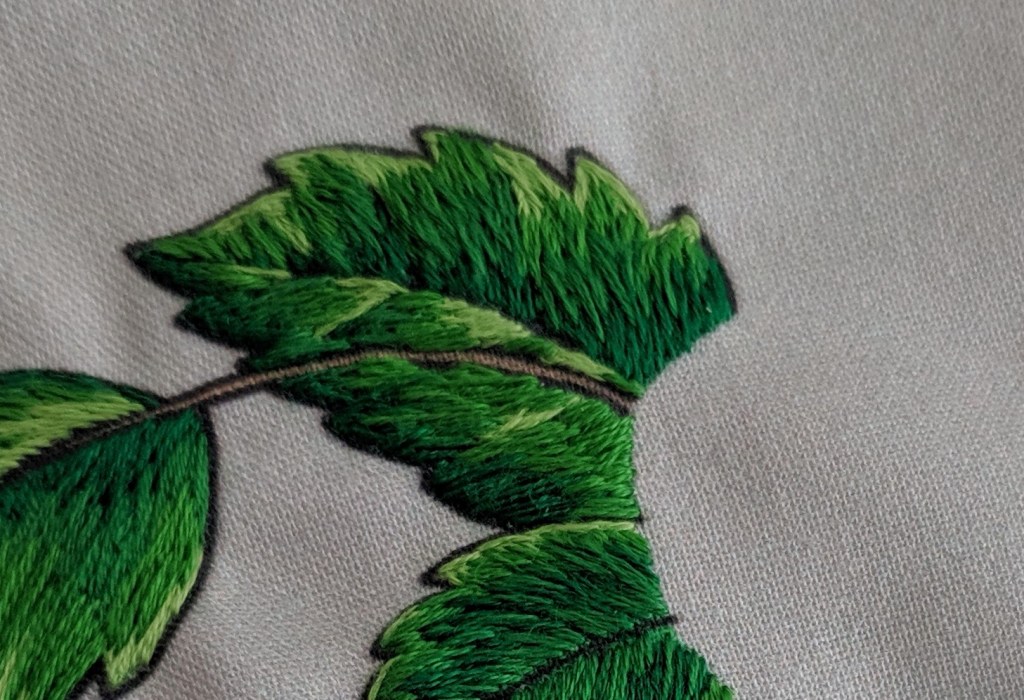
4
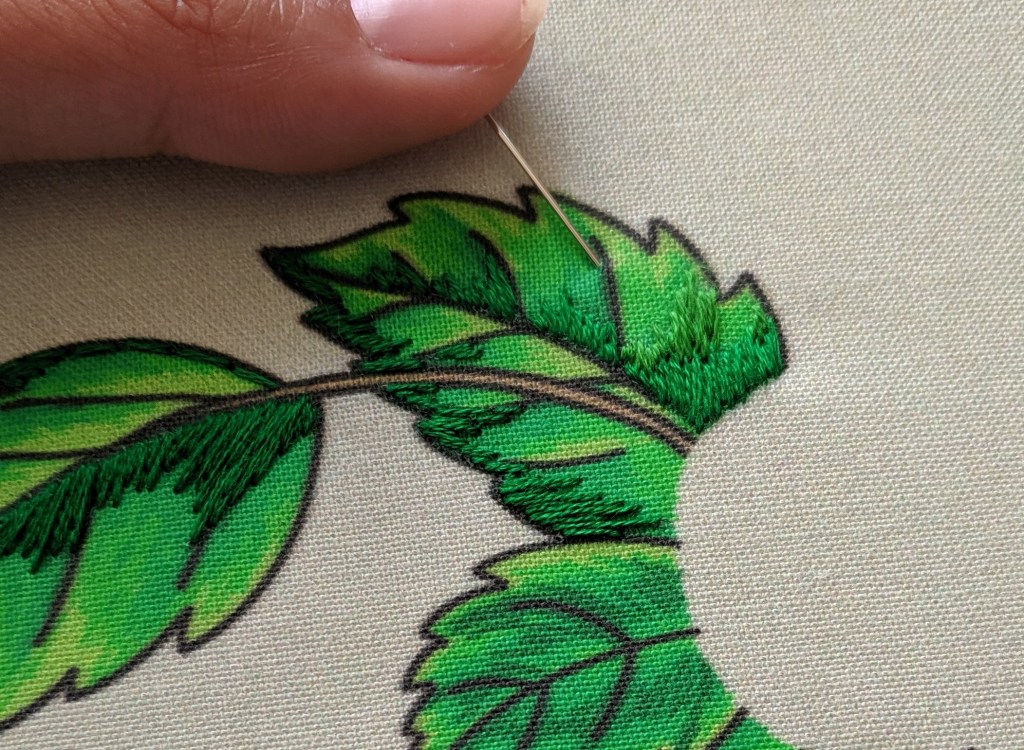
This was my first big project with long and short stitch. I’ve tried it before, but it’s looked weird and awkward, and I wanted a larger project to give me the chance to learn it many times over. Long and short stitch is a technique used to blend colors and do “thread painting”. You use different lengths of stitches with different shades of the same color to create a gradient and blended effect. It requires a bit of preplanning but it’s well worth it. My leaves don’t match, but that’s the nice thing about stitching natural things – they don’t match anyway.
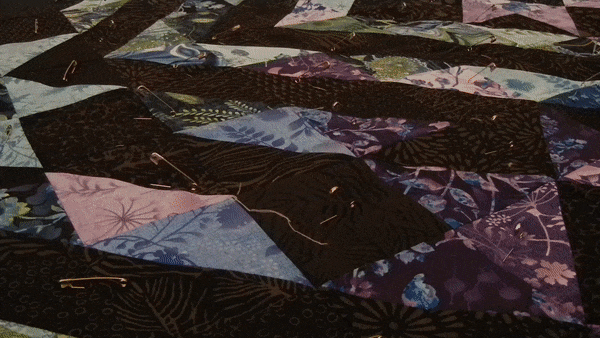
Stumpwork is a type of 3D embroidery where you use wire around the outline of the shape to give it another dimension after stitching. The wire is embedded in the work as it is stitched on a flat piece of fabric, and then the shape is cut out of the fabric. Then you can bend the wire to make it 3D!
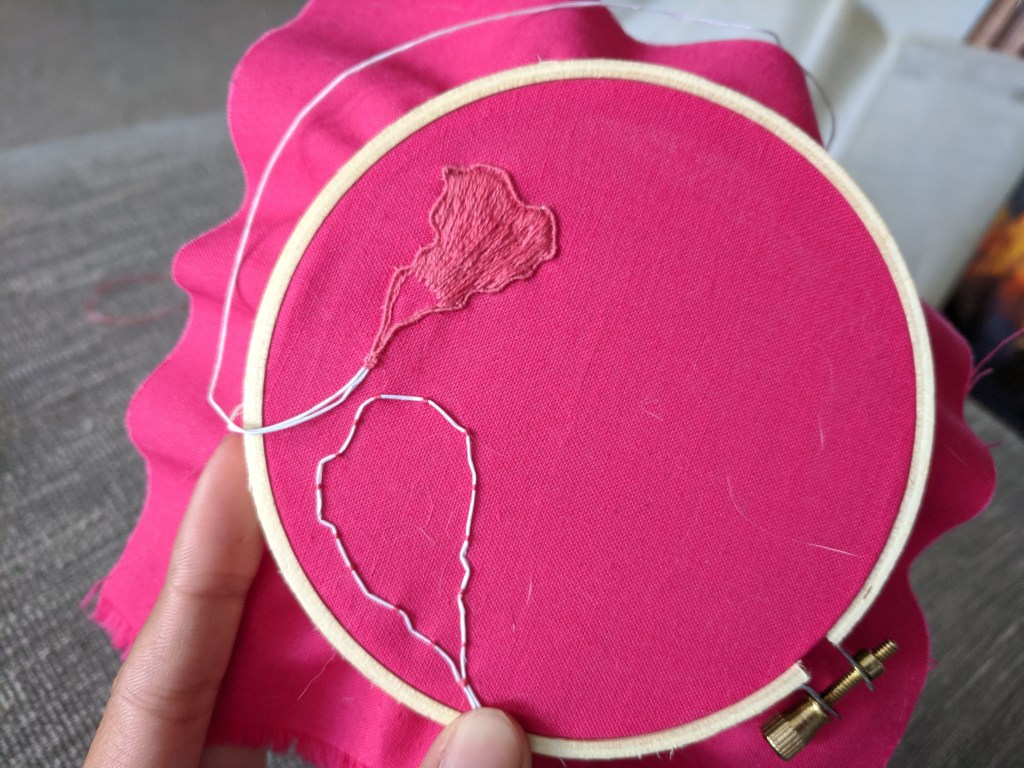
Exposed wire getting tacked down 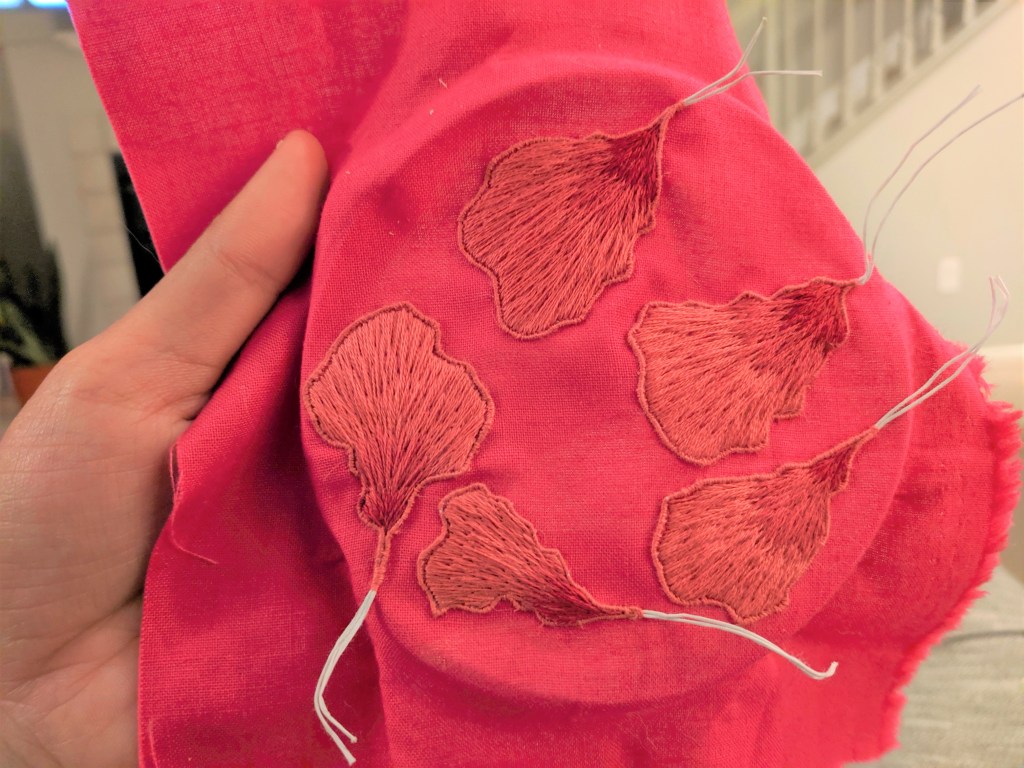
All petals done 
Cut out petals
After stitching the leaves, I started in on the flower petals. I enlarged them a bit because I wanted to cover up some leafy mistakes, and also modified the directions because one of the stitches wasn’t working out for me. I ended up using 2-ply floss to wind around the wire, and then filled with long and short stitch. The hummingbird was more 1-ply long and short stitch work, and he came out quite cute. My petals are a bit large, but so very fun. I have this hung on a wall where you can see it from the front and the side.
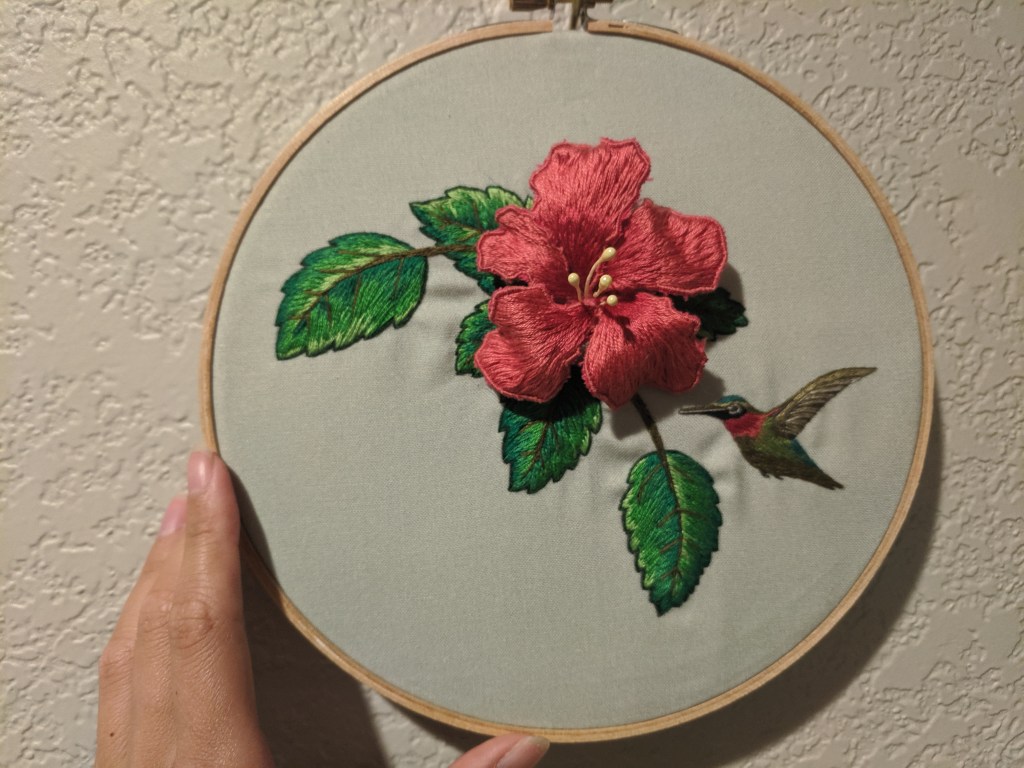
Project completed October 9, 2019.