Ah, weaving. One of the last textile arts on my learn list. 🙂 Weaving is all about patterns. And I like playing with the color blending with different patterns, and it also satisfies my mathematical side in a similar way to quilting. It’s a grid, but it’s a soft, colorful, fun grid. 🙂
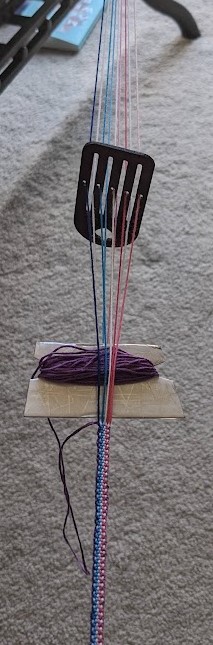
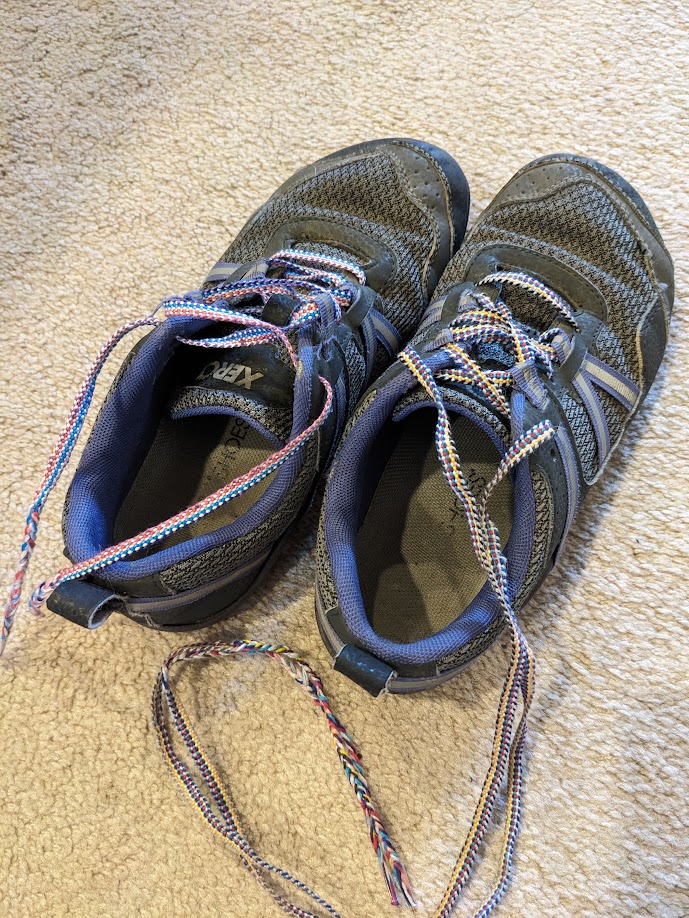
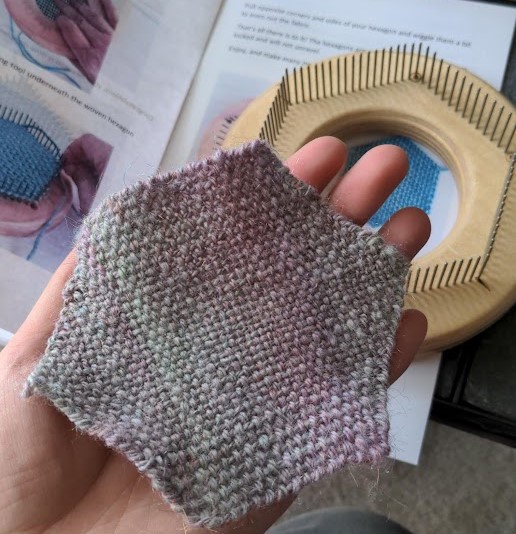
I started small – backstrap rigid heddle and a hexagon loom. I saw this video about band weaving and just couldn’t get it out of my head. So I made some shoelaces and a little strap for my music binder to help me hold it open.
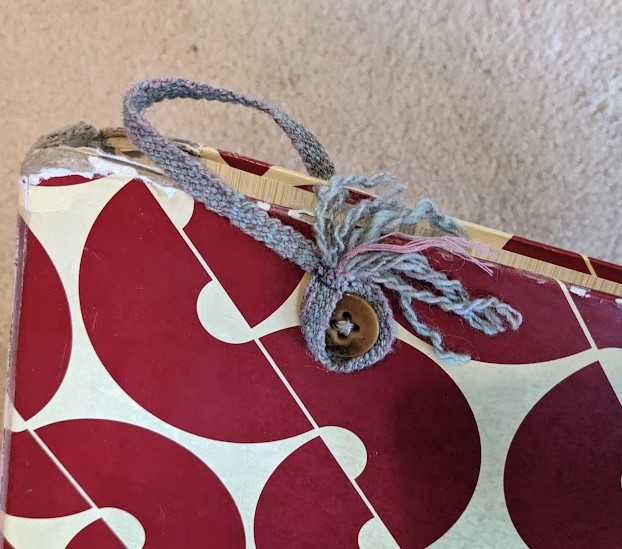
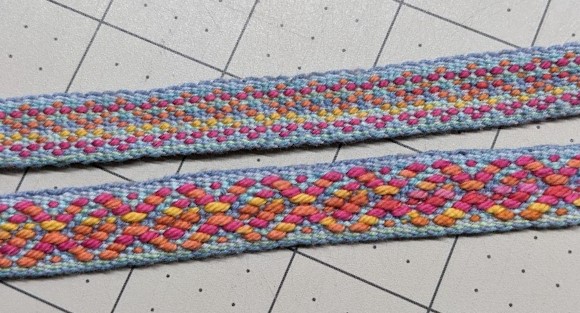
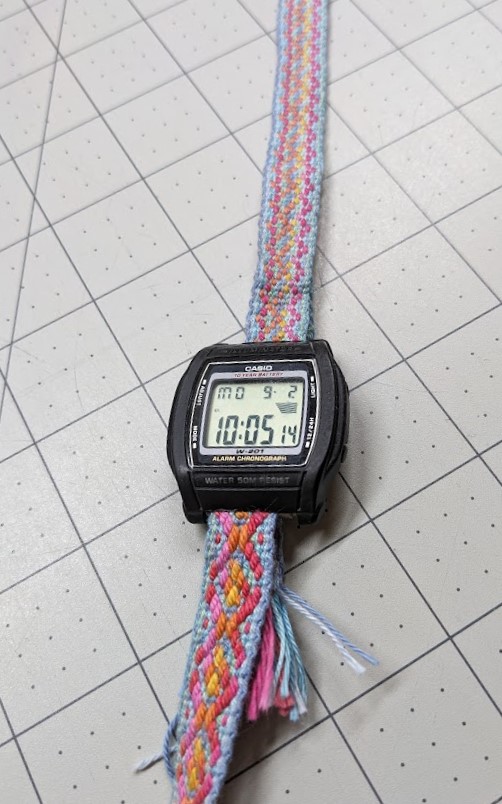
And then I broke my watch strap and I was like… wait, I could weave myself a new one.
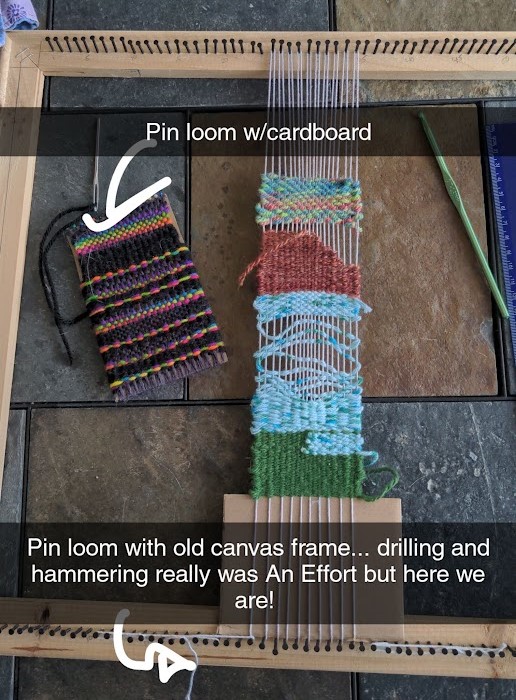
And of course, made my own little frame tapestry loom so I could start doing larger things and testing this whole thing out (to see if I wanted to invest in an upgrade).
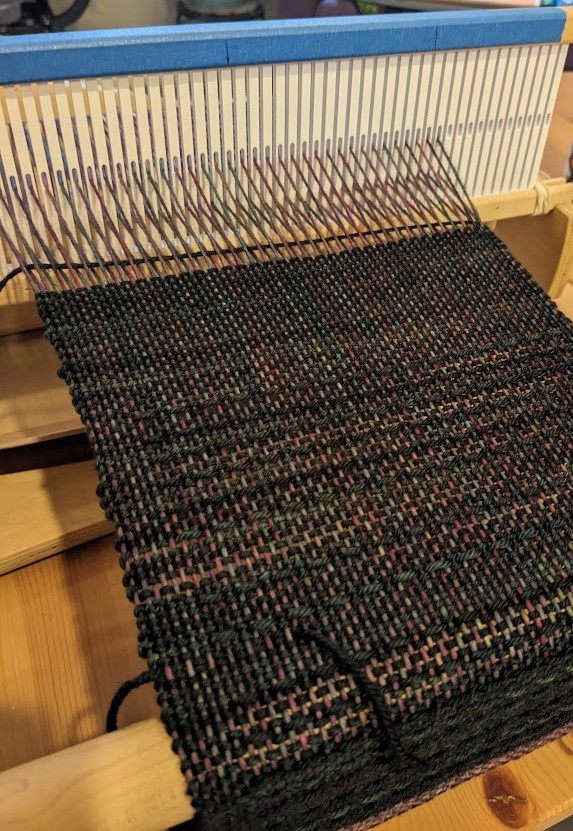
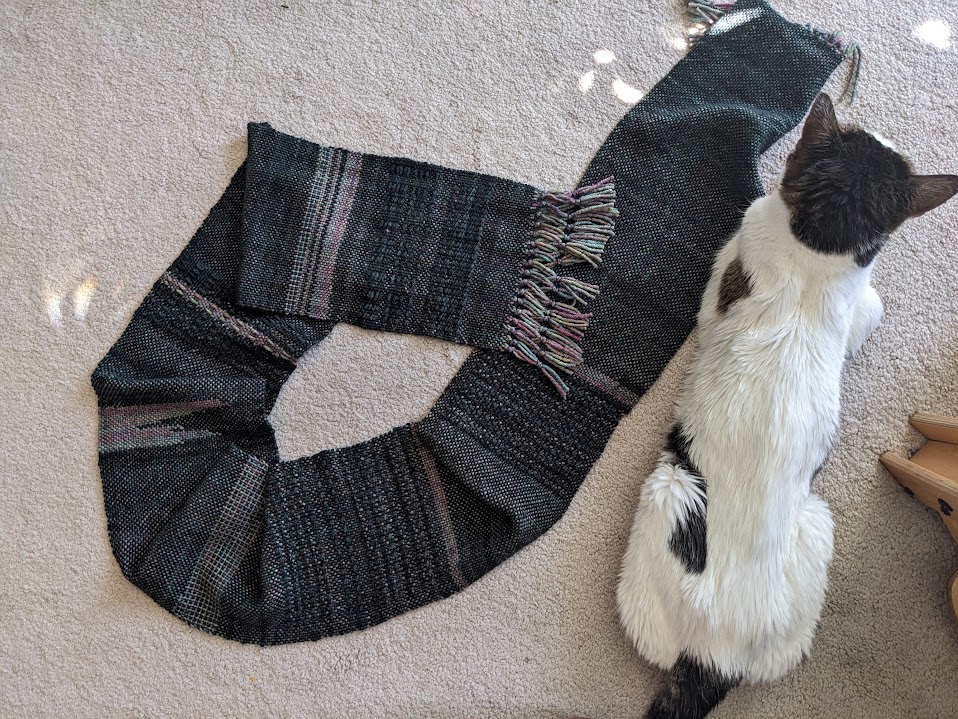
I ended up taking a weaving class to see what a different loom would be, and to make a bigger project – we made plain weave (under over, under over) scarves on a rigid heddle loom. The heddle has holes and slots in it, and you move the heddle up and down to lift and lower the threads in the holes. The threads in the slots stay at the same elevation, so as you pass the weft thread through the opening between the threads, you’re alternating going over or under each set of threads.
Threads in the holes are lifted, weft is passed under the hole-threads and over the slot-threads. When the heddle is moved down, the hole-threads go down, and the weft passes over the hole-threads and under the slot-threads.
I used the opportunity of having a rigid heddle loom in my house for a week to do some additional weaving, including the tapestry weaving for the Teton Extravaganza. It was a wonderful proof of concept and convinced me I would really enjoy a loom with more abilities.
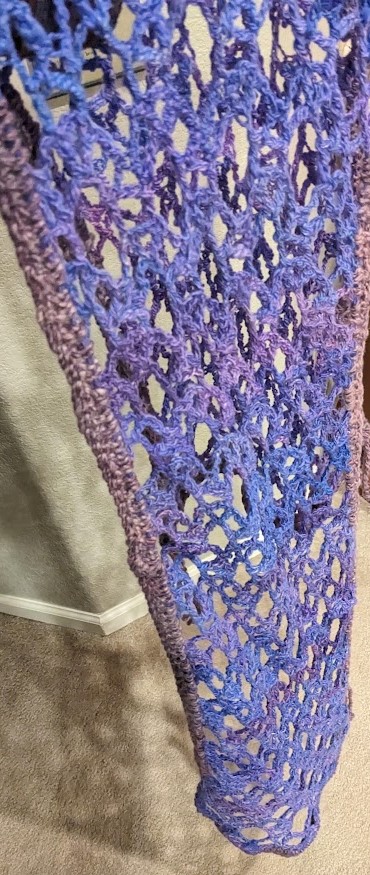
Tapestry weaving on a rigid heddle loom – totally possible and a huge upgrade from the frame loom
Late 2023 I was in a yarn store with a friend, and they had “learn to spin” kits with a drop spindle on a table display. She gestured to me and said “look, you could learn how to spin!” and I said, immediately, “I DON’T NEED ANOTHER CRAFT!!!!”
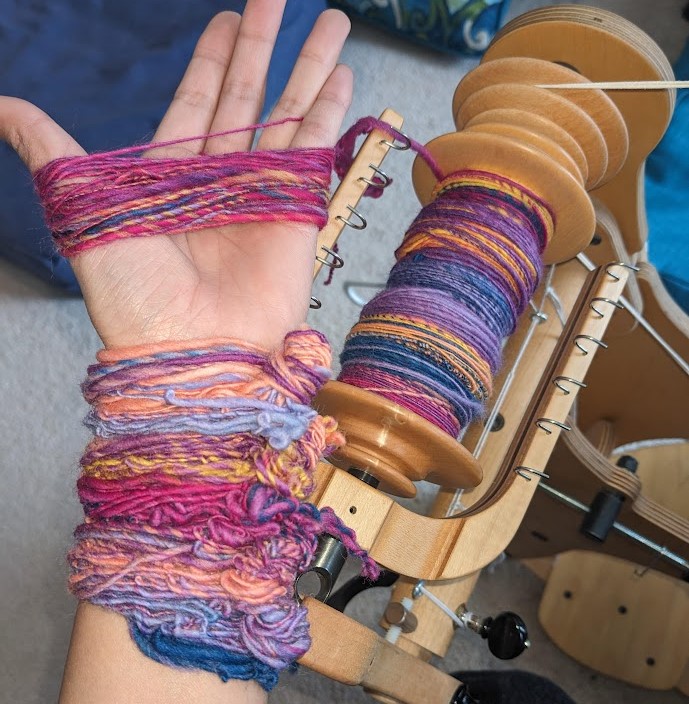
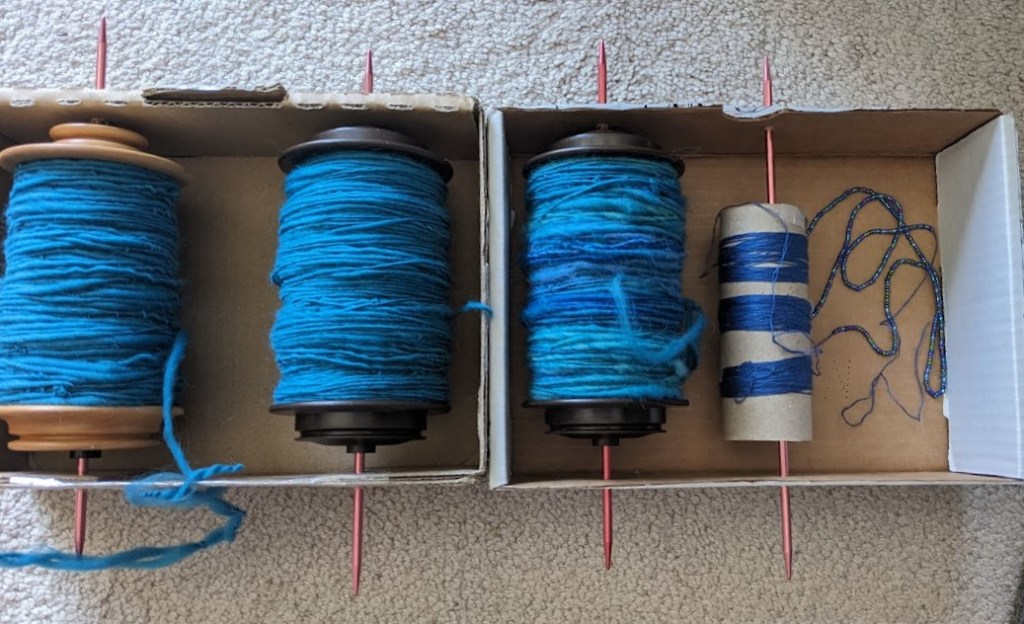
Yeah so I have four spindles, a spinning wheel, and I’ve completed whole projects with my handspun yarn ❤
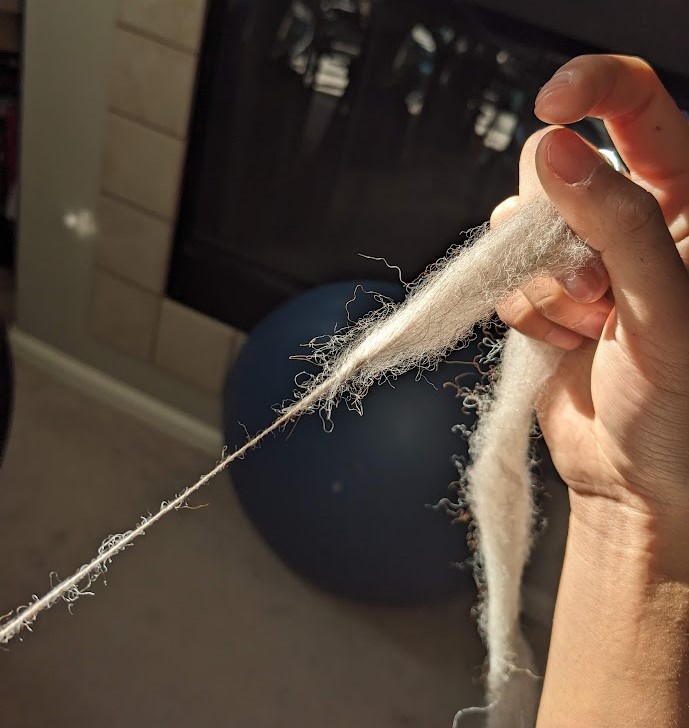
Spinning yarn is simply… simple. It’s putting twist in some strands of fiber, and holding that twist “energy” in the yarn. And it’s ancient. We’ve been spinning as long as there have been nets to hold and trap things, clothes to wear, and bags to weave. I find spinning with the spindle to be the ultimate, original fidget spinner (literally), and with a bonus that I’ve created something! It’s a great hand activity for podcasts and audio media.
Twist (left) travels up to the fiber (right)
I find the color blending is like doing watercolor “wet on wet” – you can have plans, but the medium itself executes the plan and introduces beautiful randomness that I couldn’t have made myself. This is especially true when doing a two-ply yarn – I spin one long string and (systematically) fold it in half, not knowing what the middle is going to look like at all!
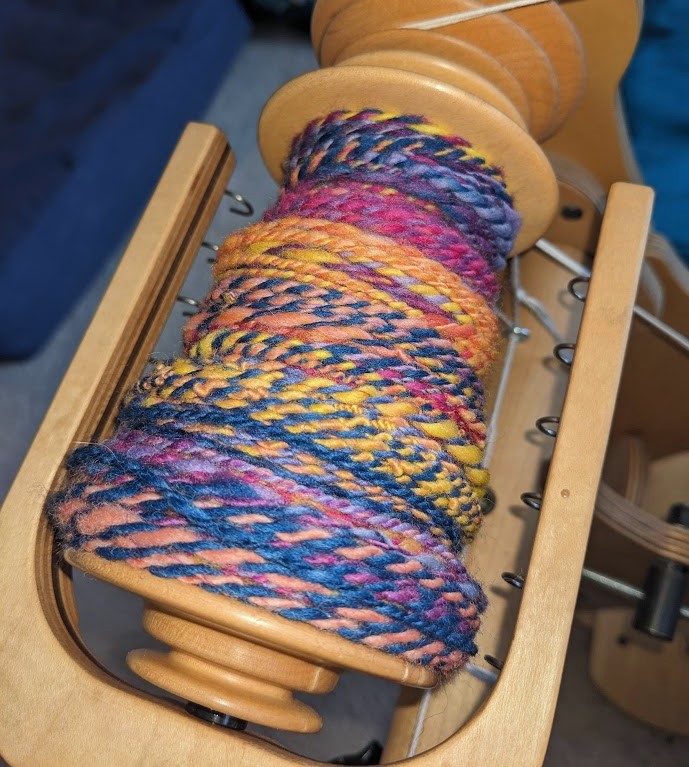
Plus, I can make a lot of different textures – wiry, fluffy, thick, thin, varied, consistent… just a lot of experimentation and fun.
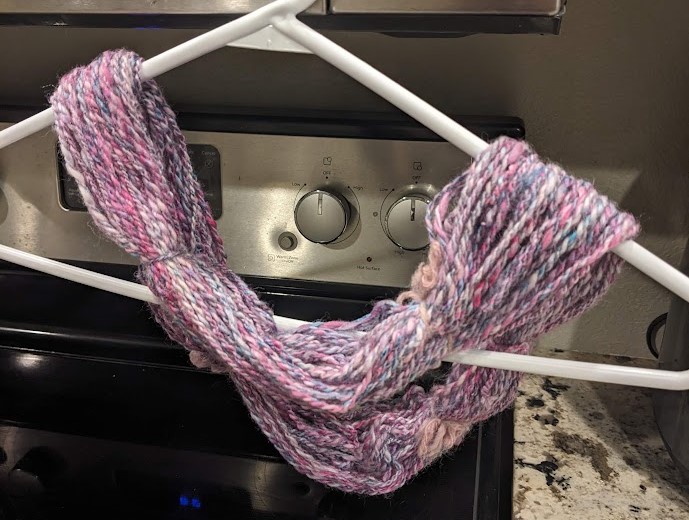
Fluffy yarn from my early spinning days
I plied this yarn a bunch of times to make a strap for a bag 🙂 It was some leftover fiber from my Tetons Extravaganza and it was just so colorful and green/flowery that I wanted to use it in a different way.
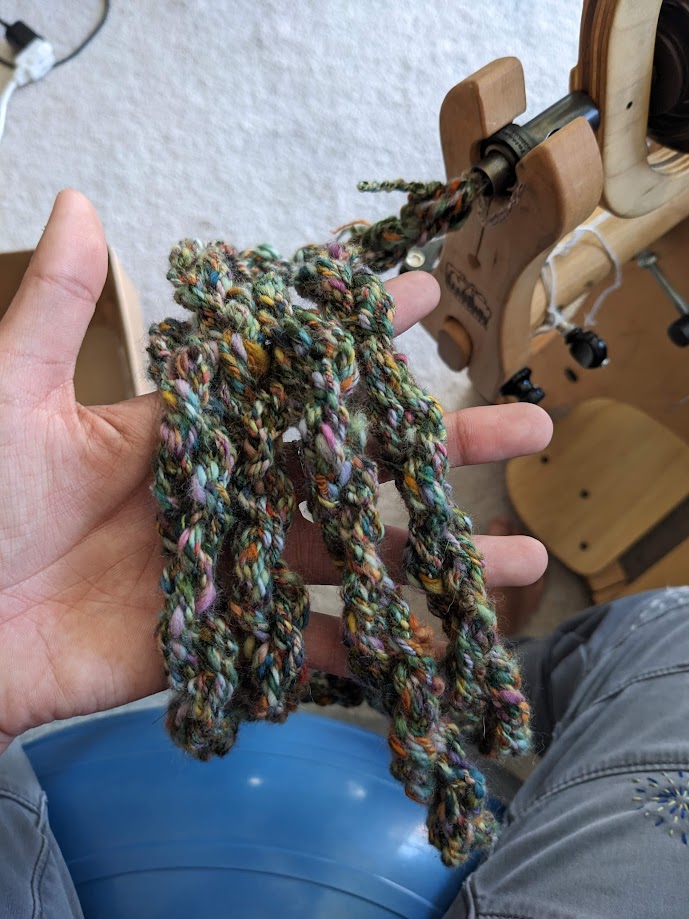
And then I got crazy and started adding beads!! 🙂 So shiny and fun. It was kind of annoying putting all the beads on the thread, but super worth it.
Plying setup with three normal plies and beads!
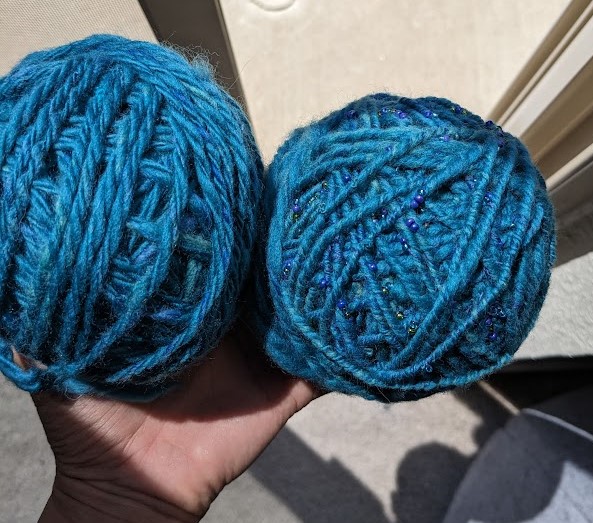
And of course, making things with the yarn I make. 🙂 crochet, weaving, I have even spun yarn thin enough to embroider with.
I’m figuring out how to walk around my house and spin, and my next data metric is figuring out how much yarn I can get from a given weight of fiber – which is a test of consistency, and makes the final fabric more even and less lumpy.
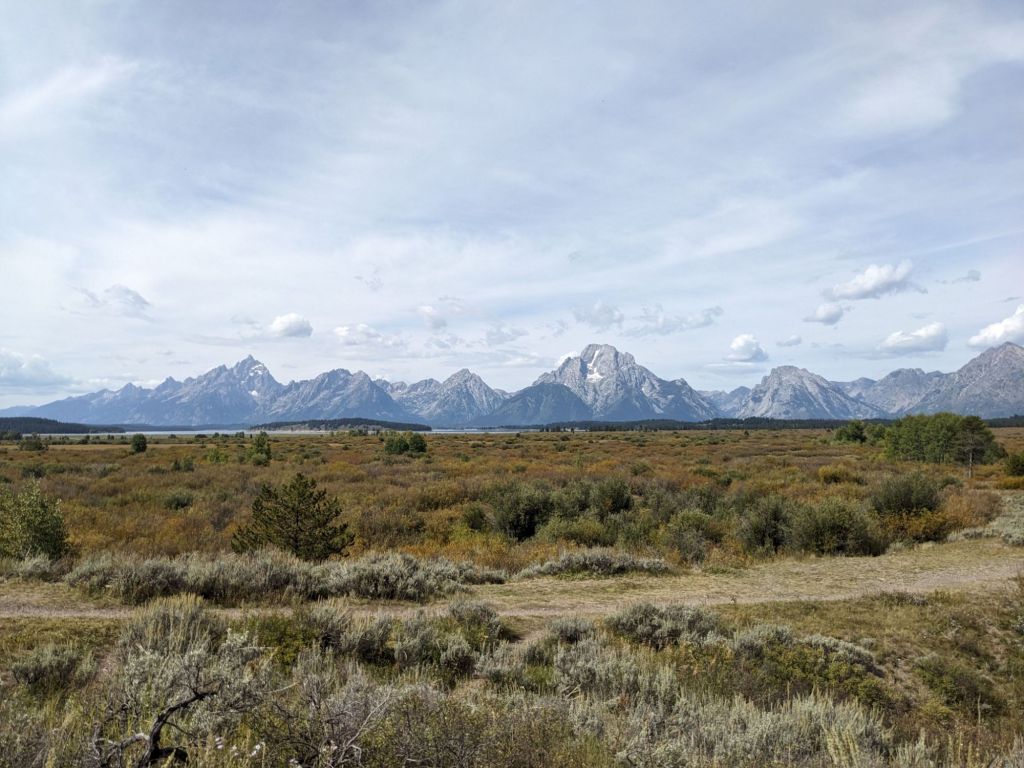
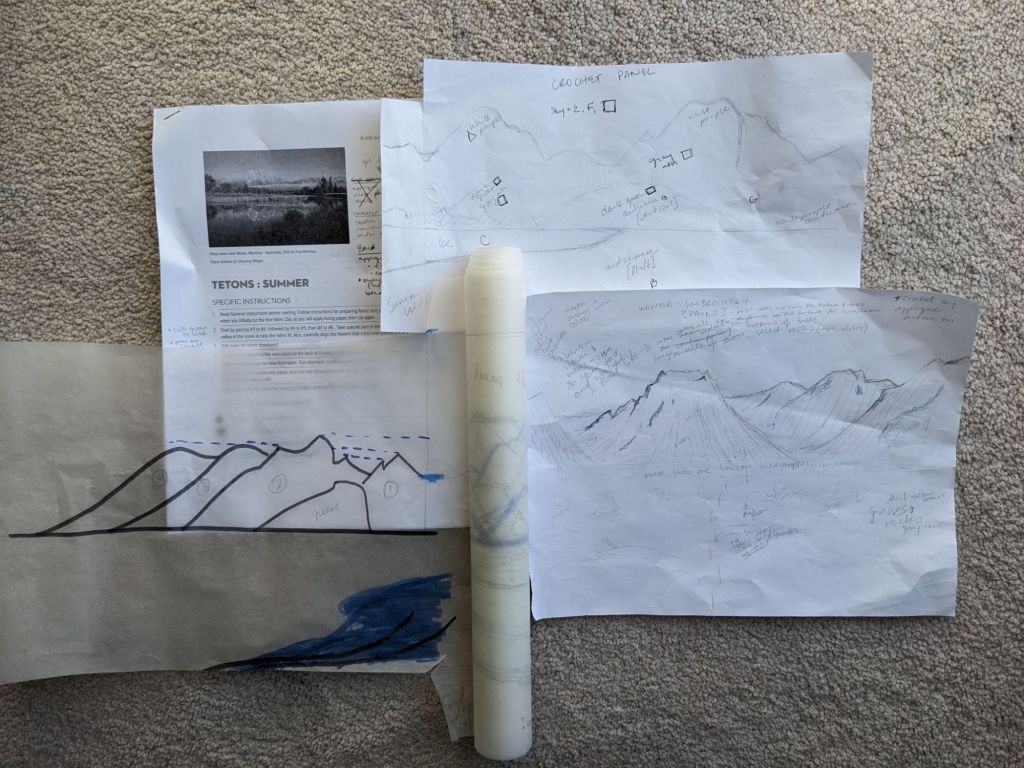
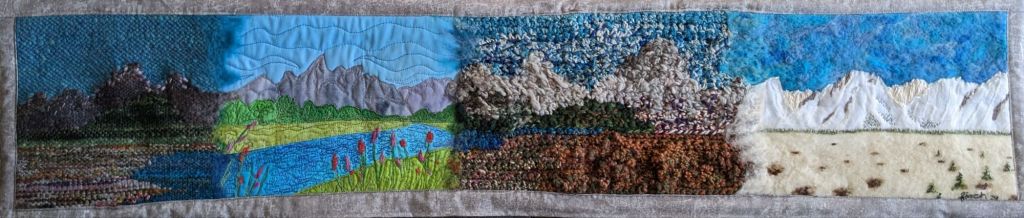
So I’ve collected a lot of skills 🙂 and after picking up a “summer” quilting kit from the Grand Tetons last year, I wanted to expand that project into a Whole Big Thing. The kit references the possibility of doing the same scene but with different fabrics for different seasons, but I wanted to do a full panorama with different peaks, depicting as much as I could of the Teton Range. I used some tracing paper to plan out panels for each of the four seasons, scaled so they’d match up with the quilted panel. My main reference photo is from Willow Flats Overlook when I visited in 2023. The perspective of the quilt is a bit different, but I kind of… made it work.
Main reference photo from Willow Flats OverlookPlans! The tracing paper rolls out into the whole panorama but having individual pieces was better while I worked.
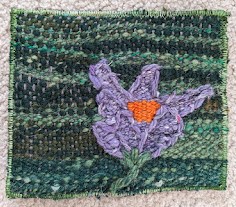
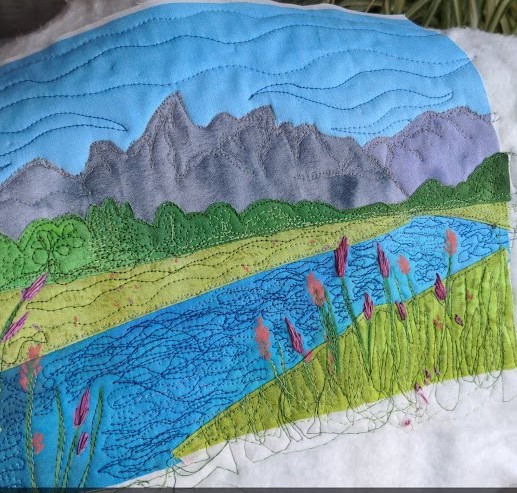
I started off with the applique quilting kit and added some free motion quilting for details. It was really fun to work on things on a smaller canvas and be able to do details without getting overwhelmed. I also added some hand embroidery for the flowers because I wanted them to pop out 🙂
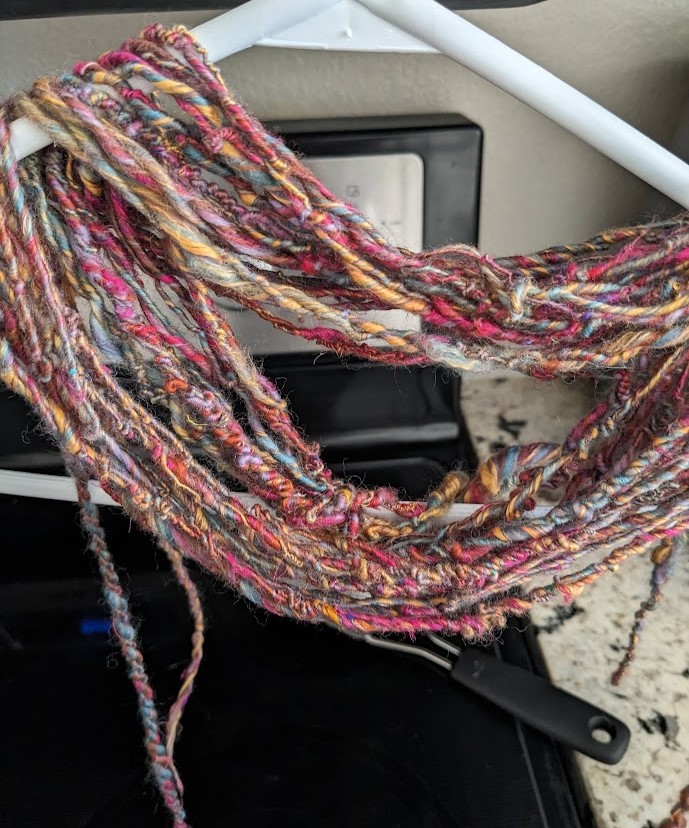
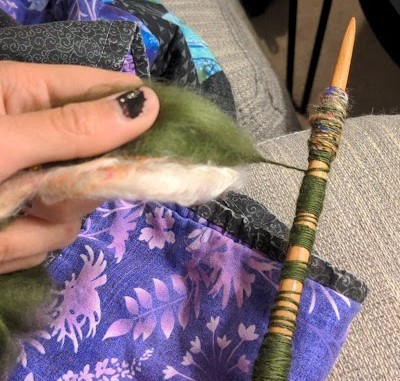
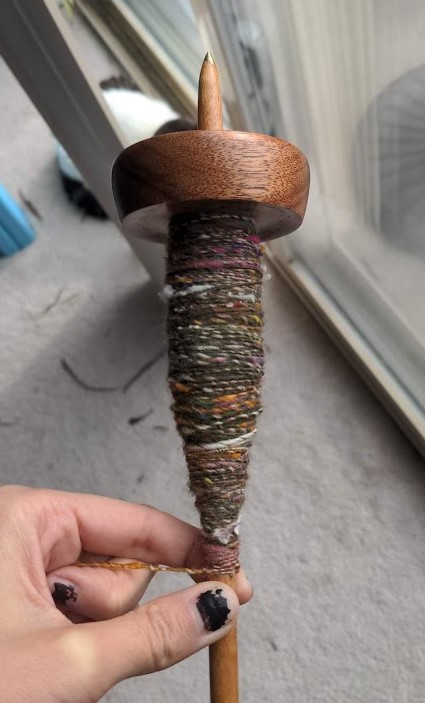
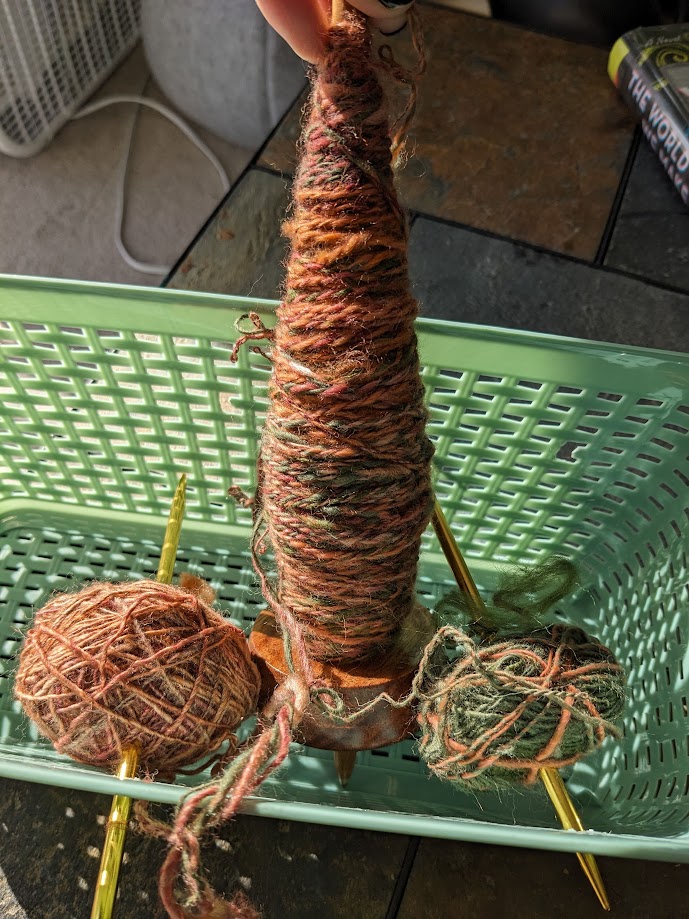
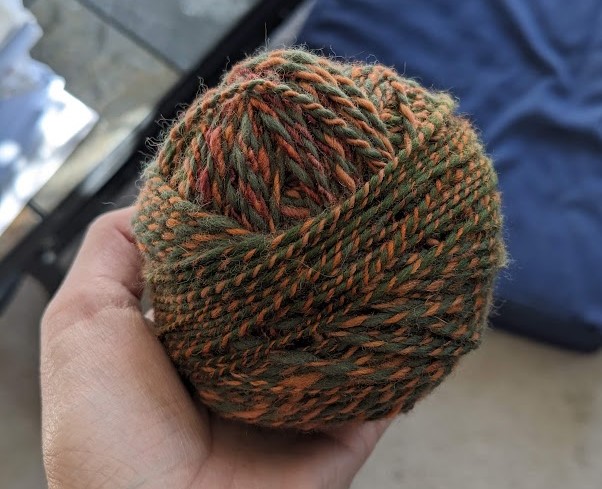
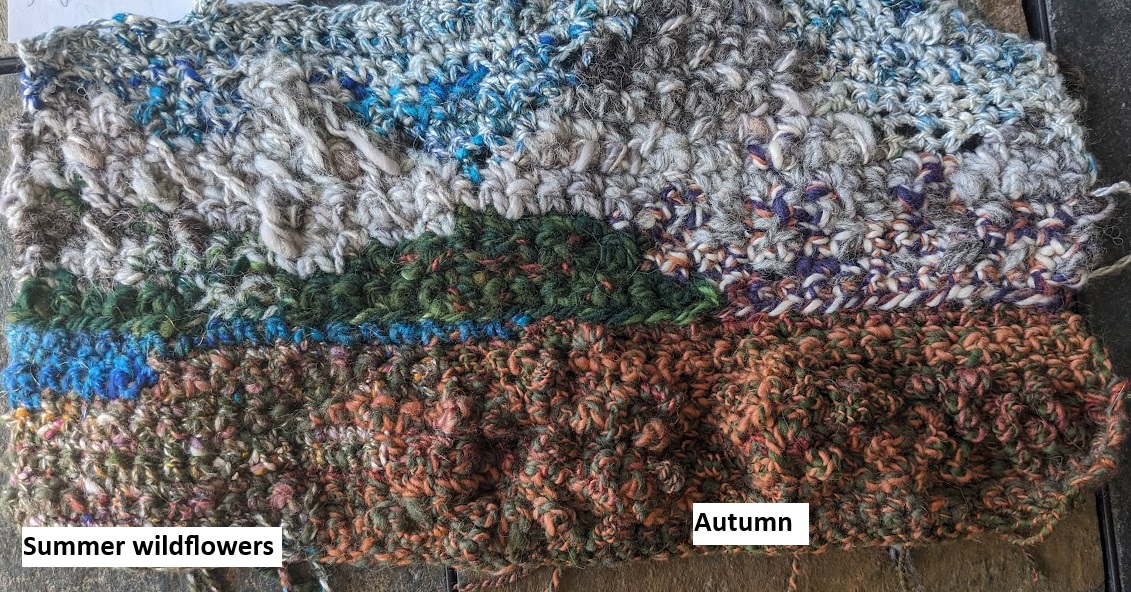
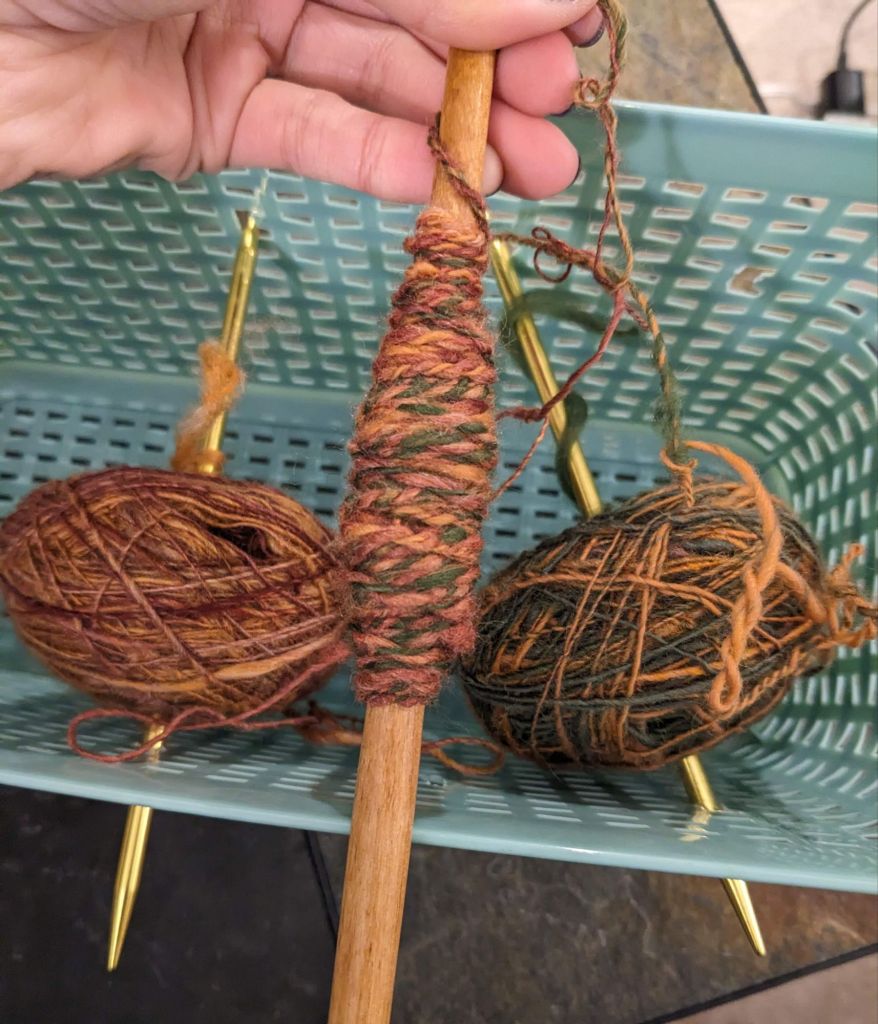
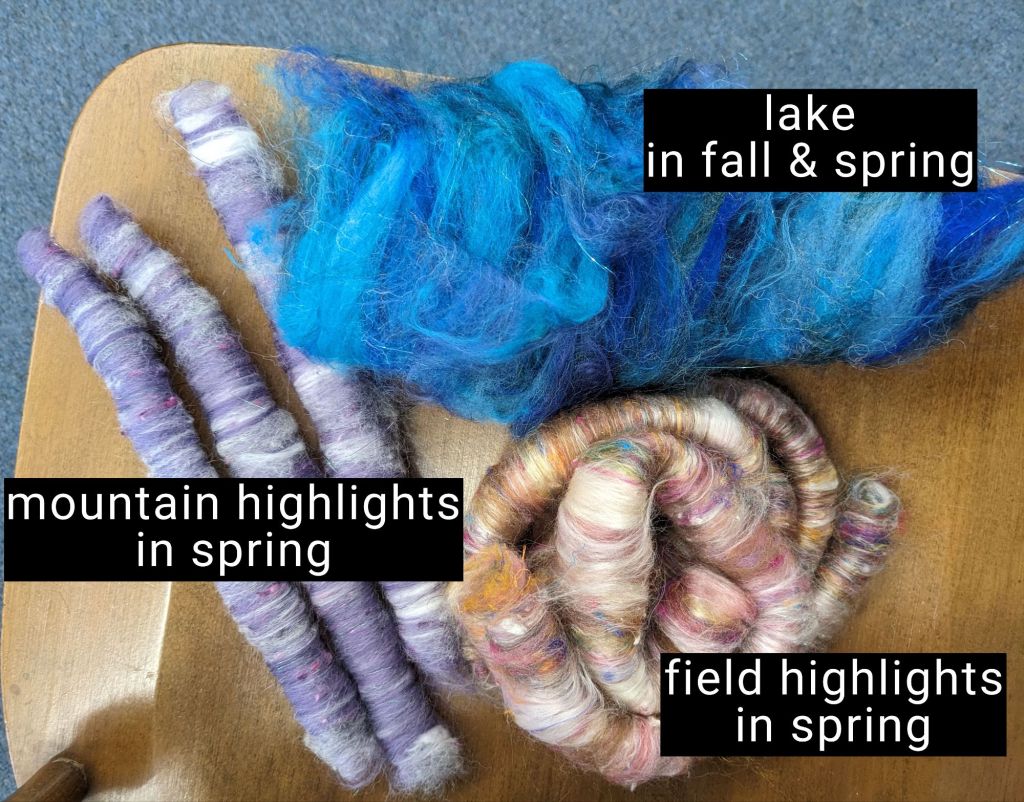
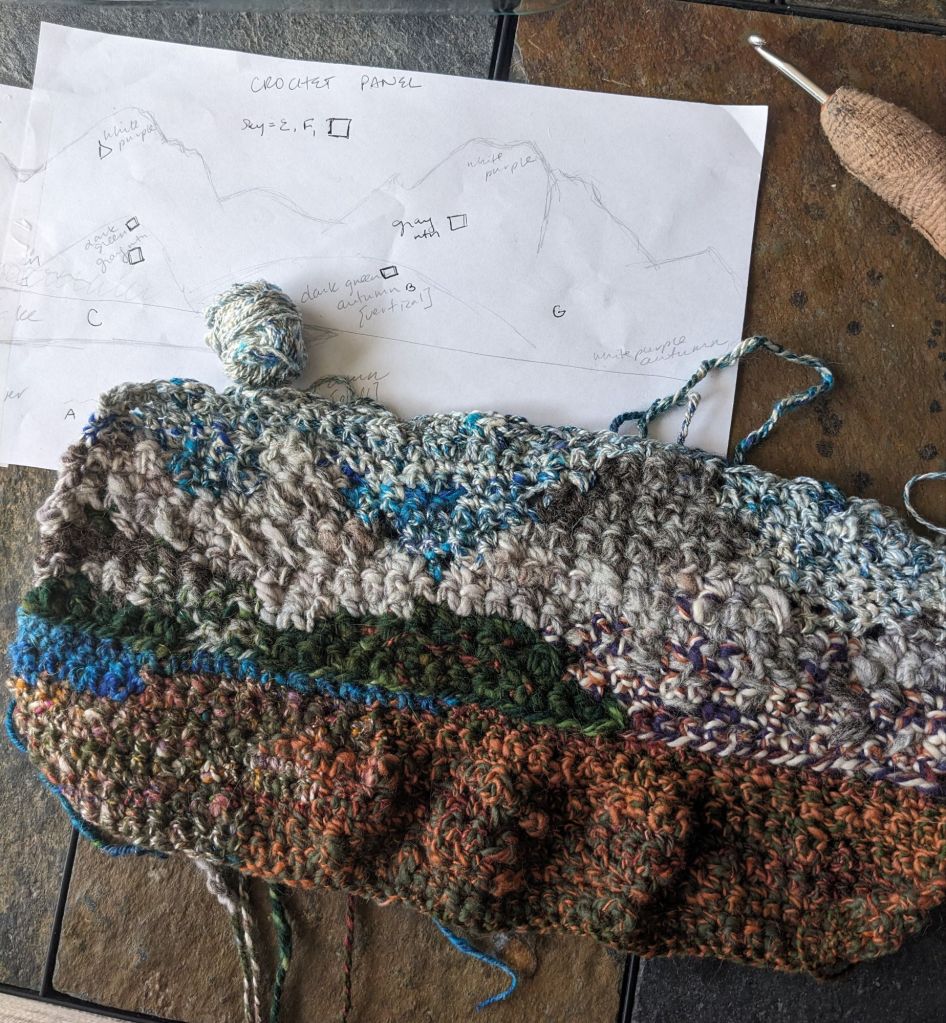
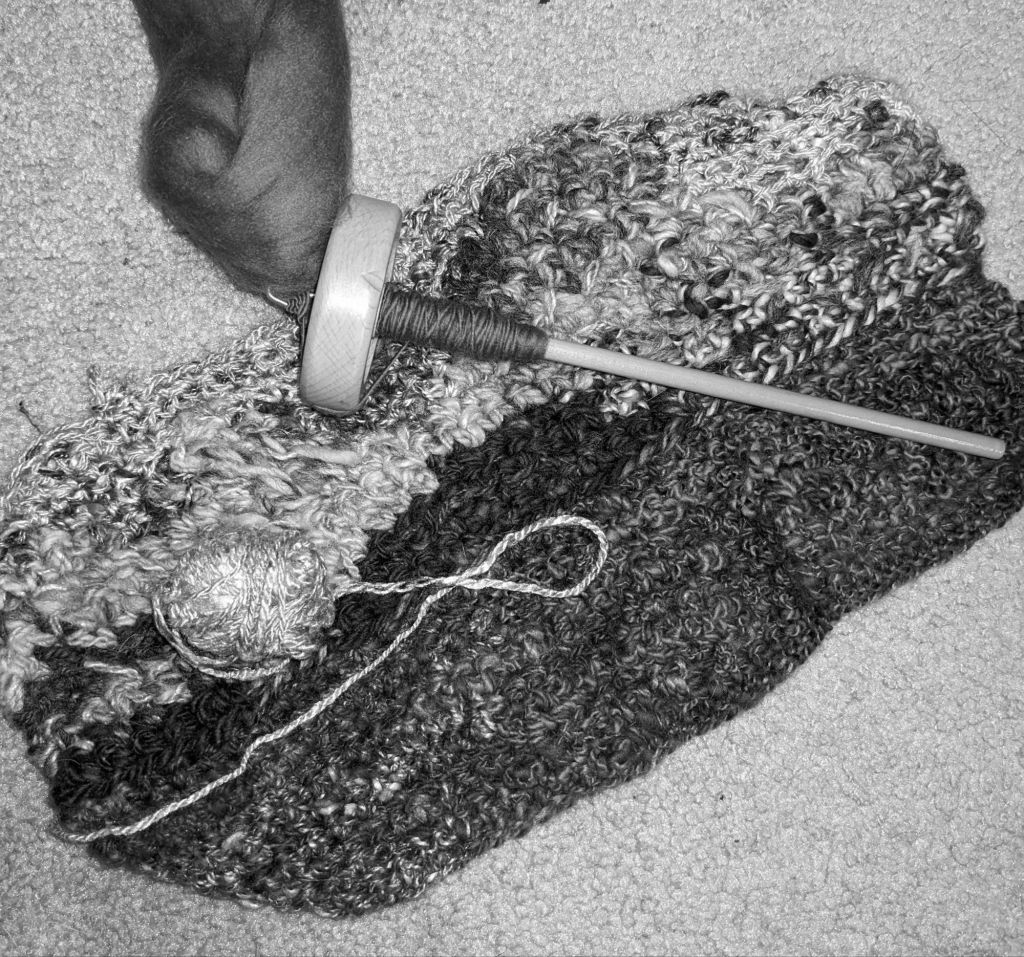
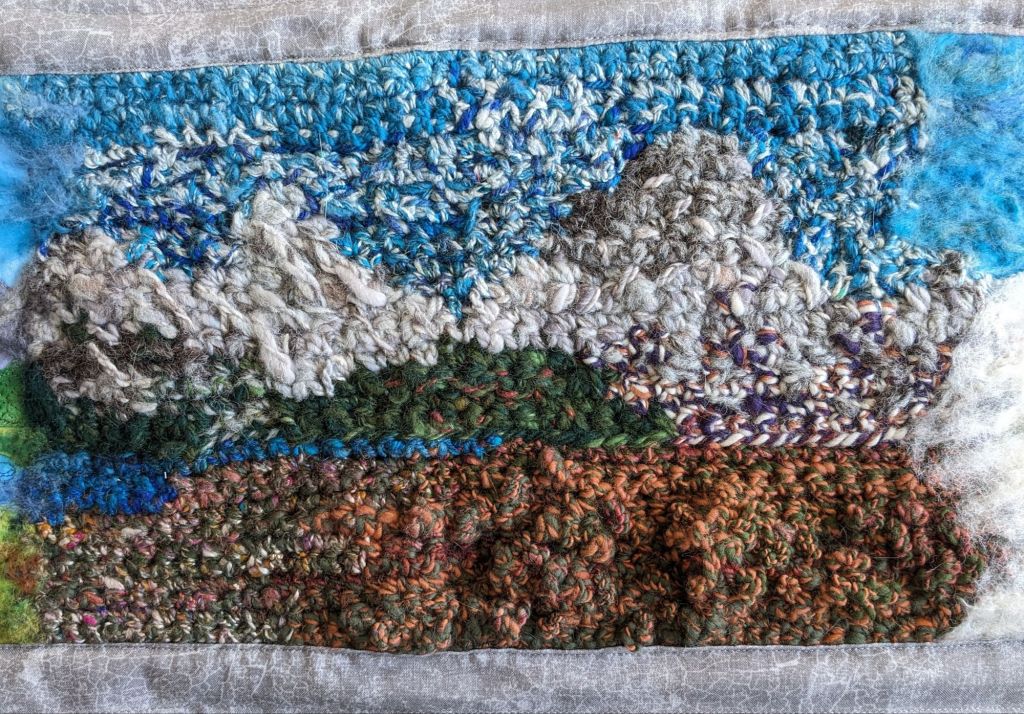
My first instinct for the next panel was to use crochet, using some funky colorwork and textured stitches. I spun up yarn for each of the different sections: sky, lake, mountains of various white and gray mixes, and autumn-y colors for the sagebrush.
a yarn I called “Autumn” 🙂
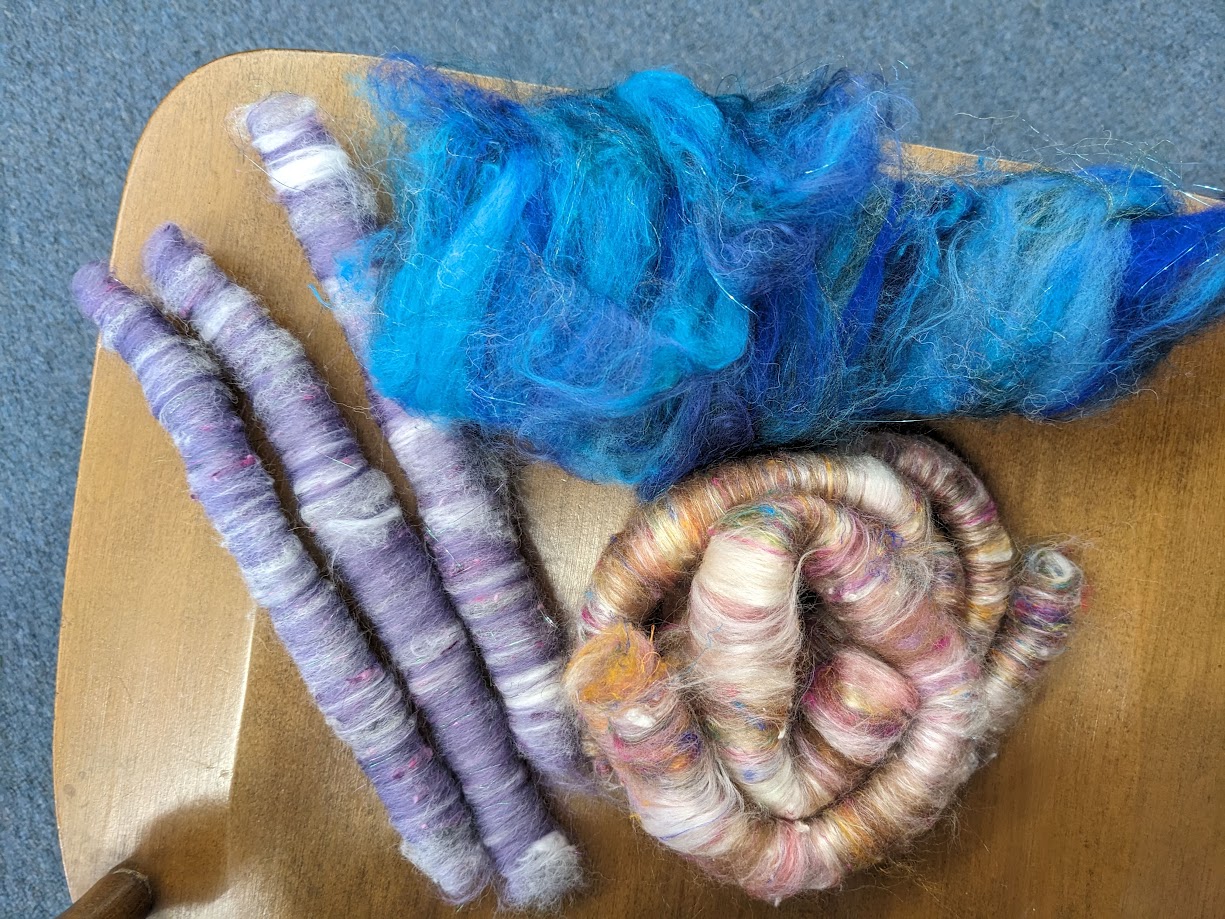
fiber blends I made at a workshop
I added some weird bumpy parts and extra stitches in the foreground to mimic the fluffy sagebrush 🙂
I struggled with getting enough contrast between the gray of the mountains and the blue of the sky, so I took a black and white picture and spun up some darker blue that I could blend into the existing sky.
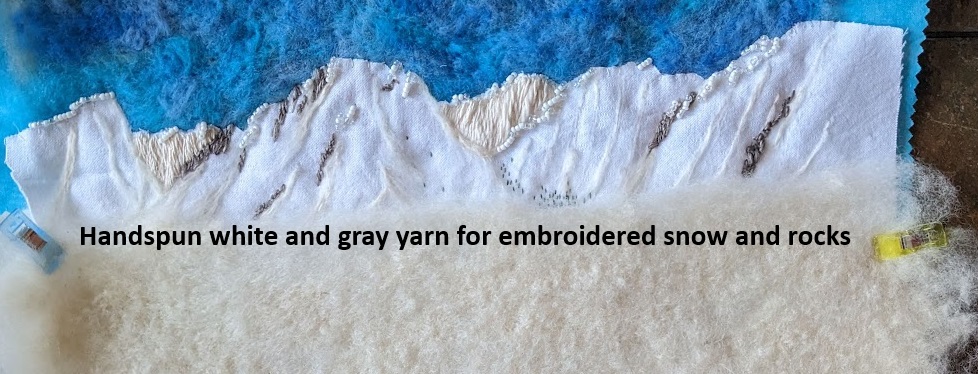
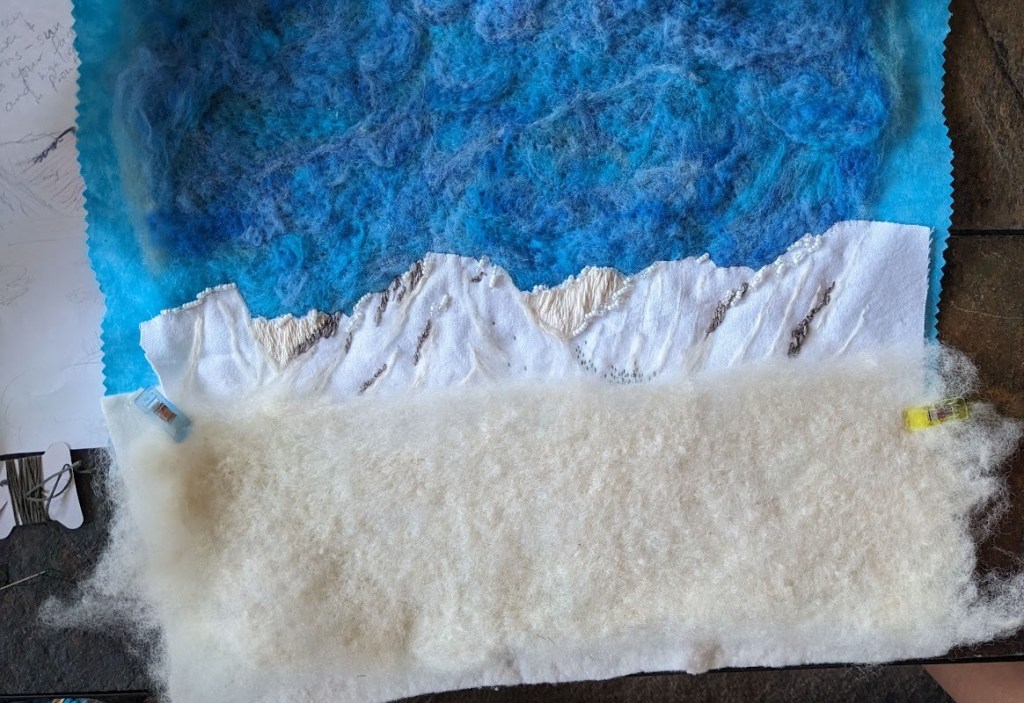
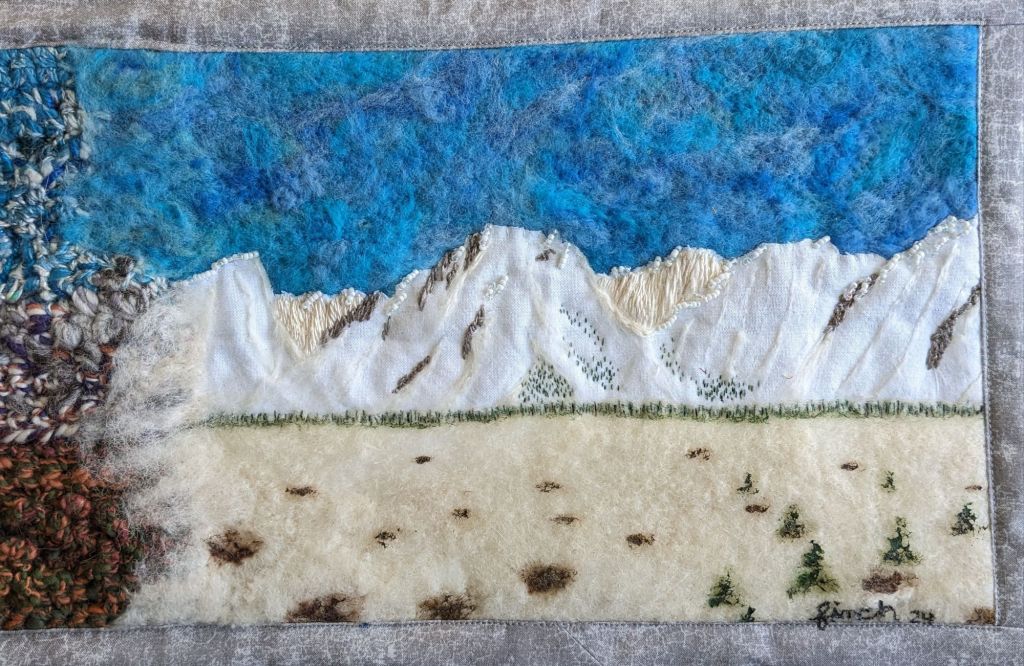
After I had summer and autumn, I struggled with what to do next. I knew I wanted an embroidery panel and a woven panel, but I wasn’t sure which should be spring and which should be winter. I talked it over with a friend and we decided that the crochet shouldn’t be next to the weaving, since they have similar textures and detail resolution. So winter was embroidery! I started by needle felting the background sky and foreground, to automatically add texture that I didn’t need to stitch. I spun some thin yarns of cream/white and rock gray, which was a fun challenge to spin thin enough and consistently enough that I could use it with a normal sized needle. I also thought some beads would be fun for the shininess of the snow 🙂
Winter embroidery in progress
I was planning to do the winter foreground details with embroidery, but I realized I wanted to incorporate paint into this project, so I used acrylic paint to add trees, bushes, and rocks. It was difficult to paint onto the felted surface because the brush strokes pick up fibers from the felt, but it was doable.
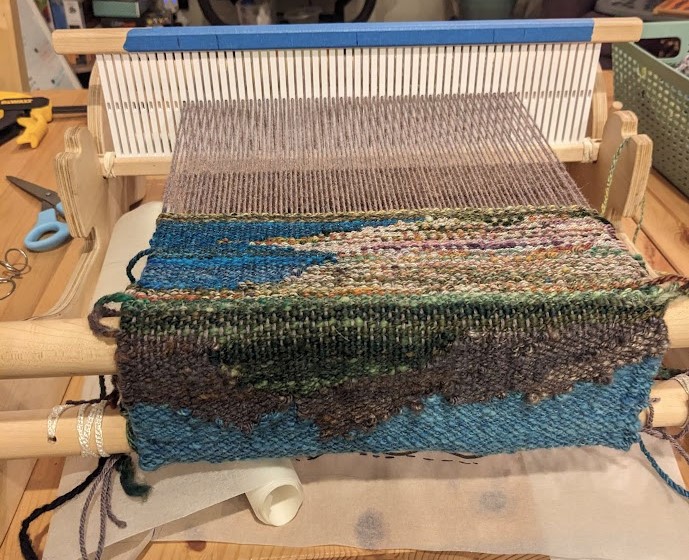
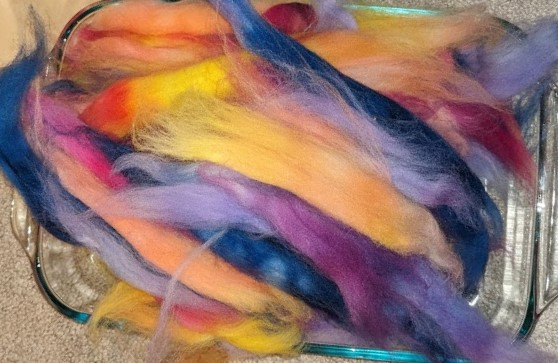
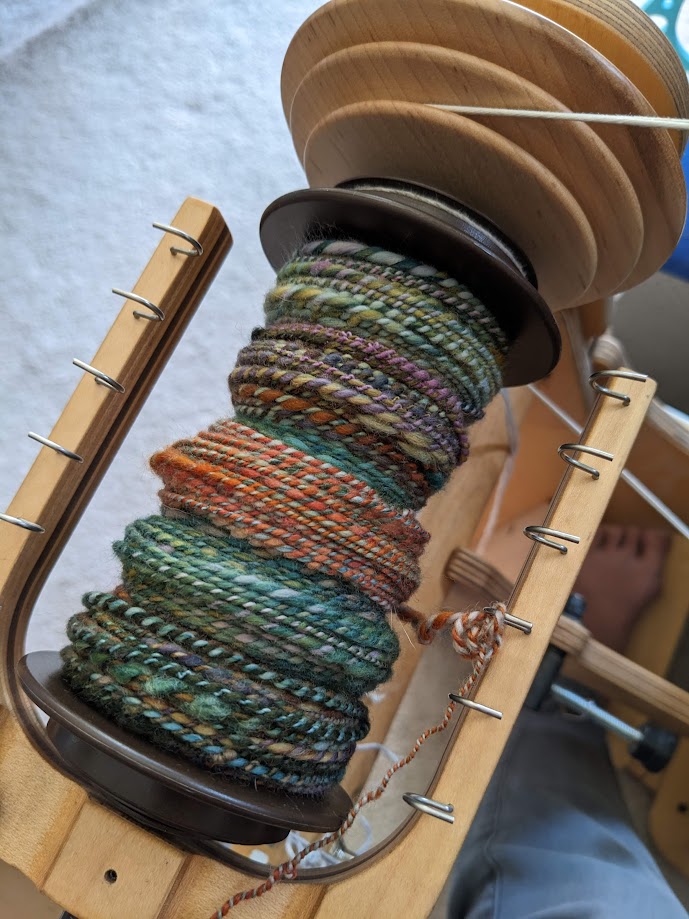
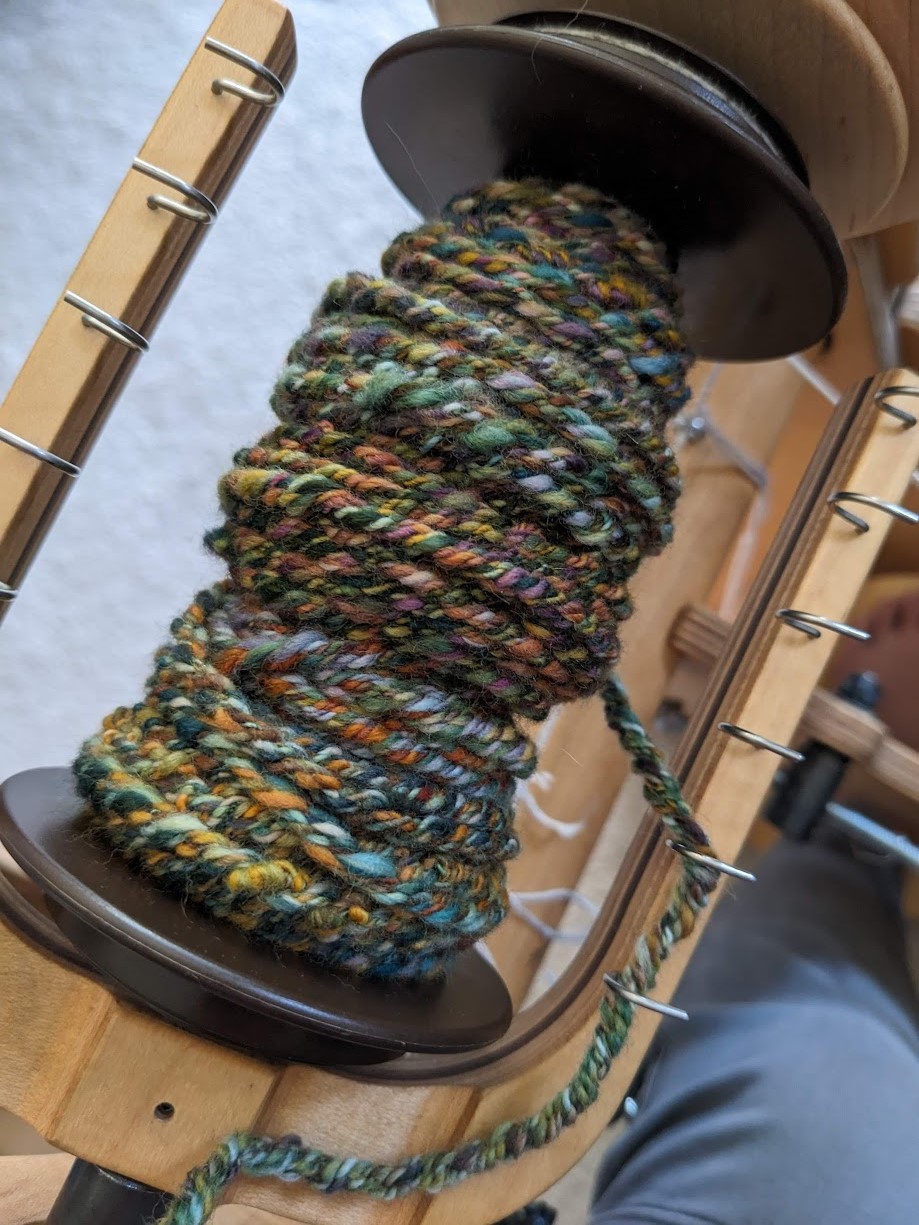
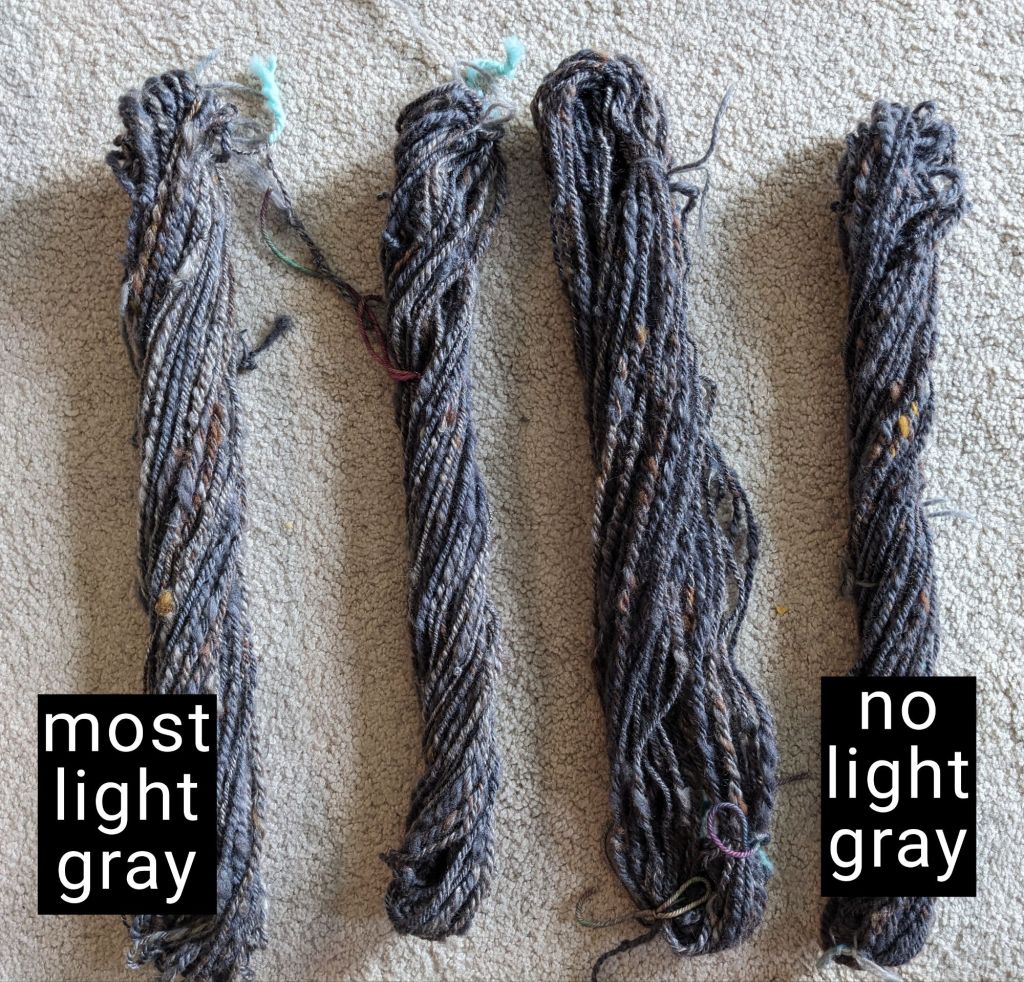
Then I needed a tapestry weaving for spring. Just like with the crochet, I only used yarns I’ve spun, and spun up a few more just for this. I had four different mountain-y layers that I wanted to represent, so I spun four different grays with graduated levels of light gray. In hindsight, I made WAY TOO MUCH, but it was fun. And now I have more mountain gray for later.
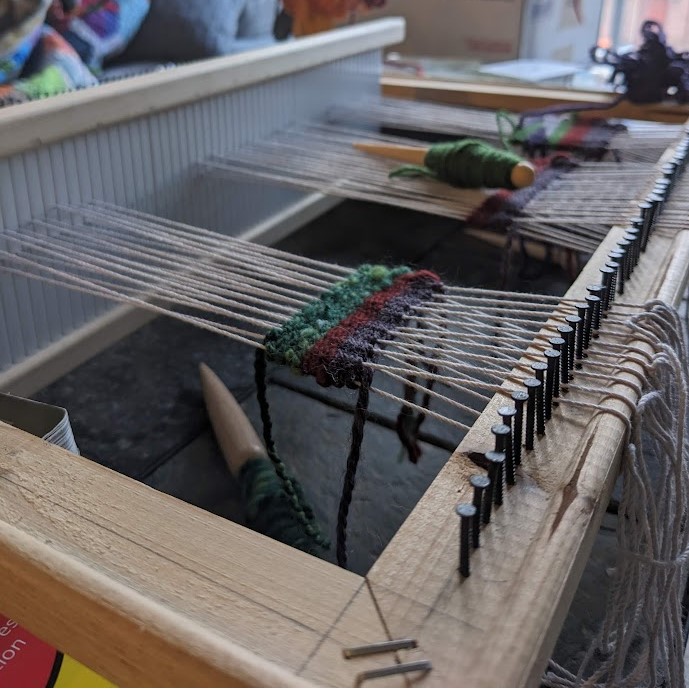
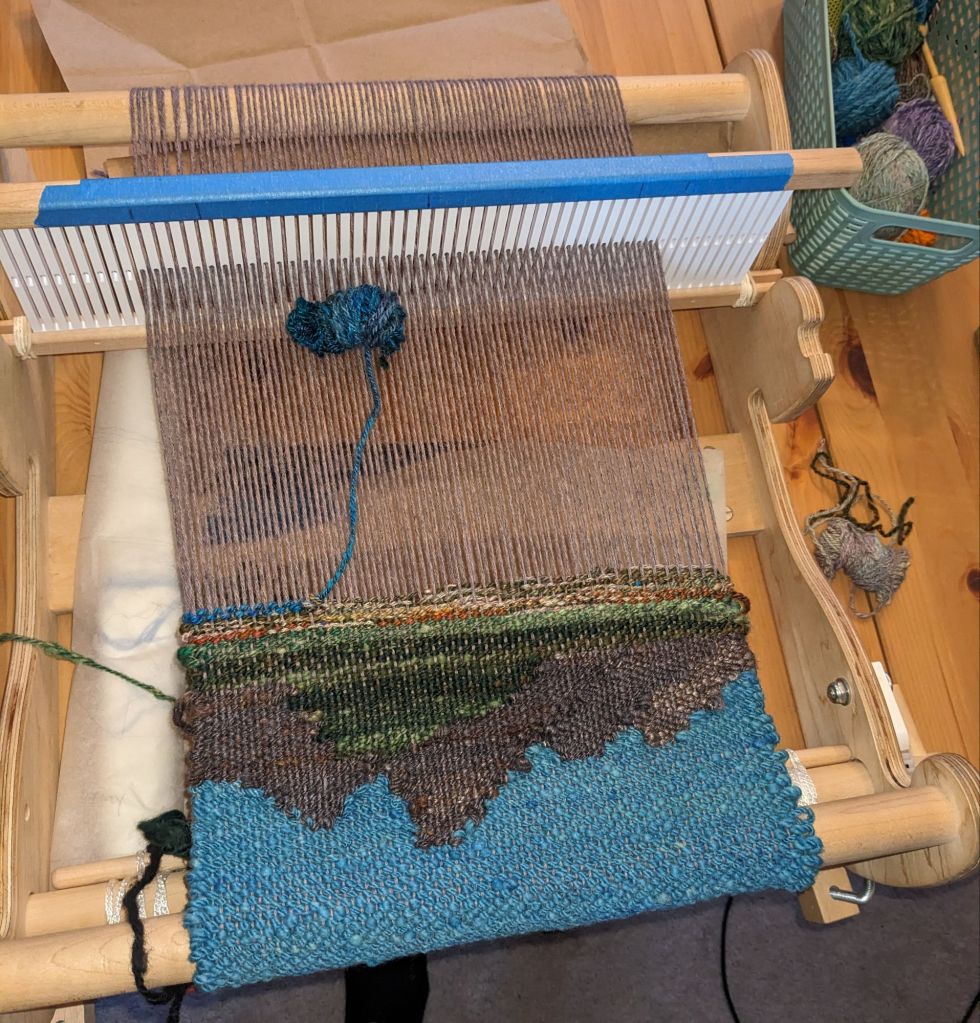
I took a weaving class where we were able to take the loom home for a week, and capitalized on this moment to (a) finish this project, and (b) see if this type of loom is useful for tapestry weaving (that’s not its primary use). It was a successful proof of concept for using this type of loom for tapestry, but I think I’m going to pursue purchasing a different kind of loom for some more flexibility and growth potential.
upside down on the loom! I wove the sky first because I knew it would be a solid weaving instead of doing a bunch of color changes… and weaving upside down made me less stressed about getting it perfect
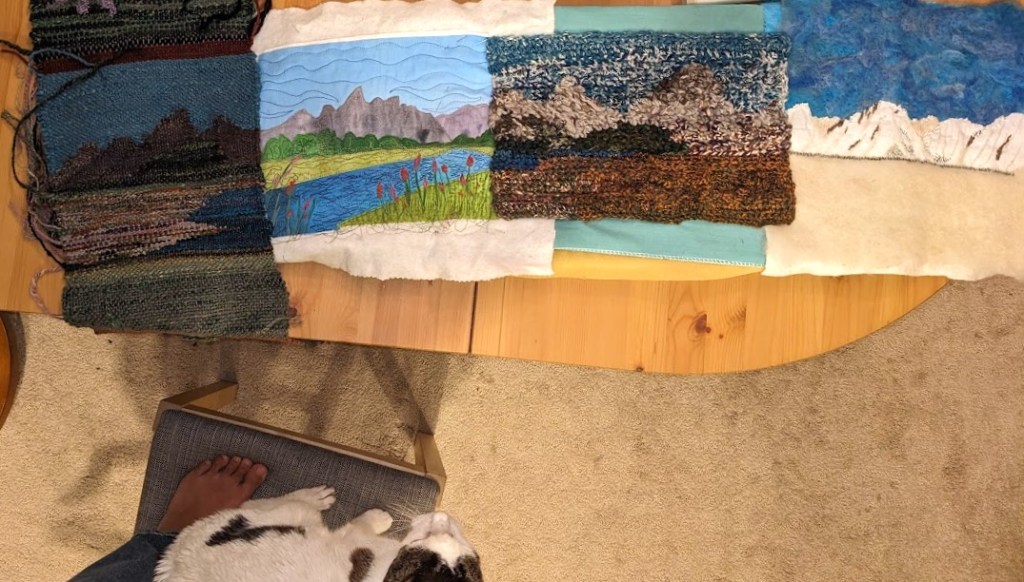
this is the first time I saw all four panels together, they’re pinned to a mini ironing board 🙂
I used some extra fiber to needle felt over the seams between the panels, and then did a border to secure everything together.
My main challenge in finishing this up was getting the crochet to sit the way I wanted it to. I ended up gluing it to some stiff scrap fabric to stabilize it, which went well…. Until I started sewing the fabric frame on. Hot glue and sewing machine needle is not a good pair. 🙂 But I took my time, learned my lesson, and got it done.
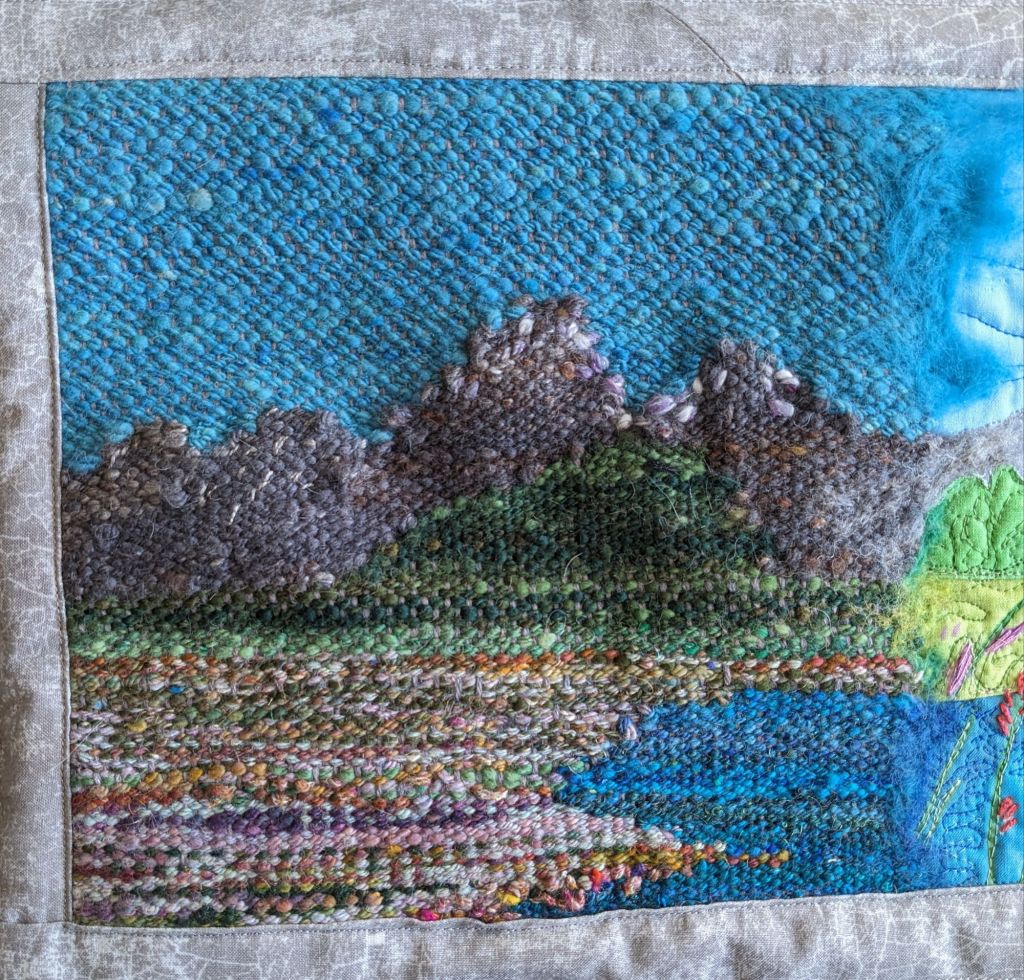
Spring! My favorite part to make was the field in the foreground, I improvised all of the color changes and just had a good timeSummer 🙂 so glad I bought this and kicked off this project. I really like the wavy lake quilting with variegated threadAutumn! I really enjoyed spinning all this yarn, and I have a lot left over for future projects. I’m pretty happy with the shading on Mt. Moran (on the right) and the weird bumpy texture of the sagebrush in the foreground Winter! I really like the contrast between the line-y-ness of the embroidery and the fuzzy needle felting, and I proved to myself that I can spin yarn to embroider with🙂 finished