Tag Archives: self drafted

Red Fall Skirt

This was my first clothing project for someone besides myself! The same friend who I made the bird backpack for asked me to make a swishy, flowy skirt for her. We went to Joann’s together and picked out the main fabric and the accent fabric.

Since she wanted it to be swishy, I decided I’d make a pleated circle skirt, including even more fabric than a regular circle skirt. And including the waistband and pockets, I used up almost all of the main fabric we purchased, which was cool.

I used the accent fabric for a panel about 1/4 to 1/3 of the total skirt, and included a stripe of it in the waistband.
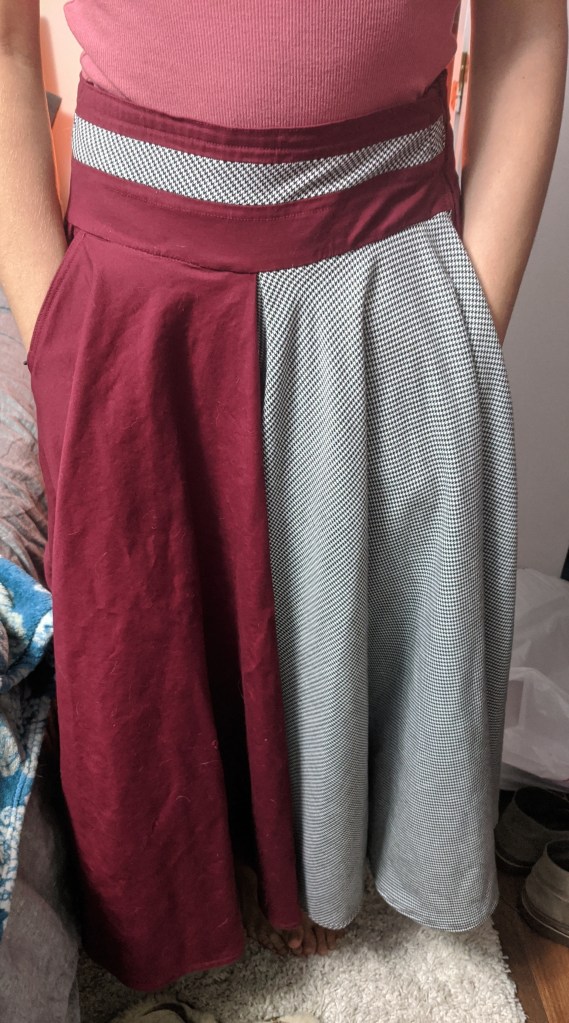
I know that pockets make any skirt at least 10 times better, so I included two huge pockets 🙂 I used a long zipper for the closure and did a double turn hem. I considered doing a lining, but I used so much of the main fabric that it was already a heavy and warm skirt, so any lining would make it a little leg-oven. This way, it can be worn by itself in the fall and with tights in winter. 🙂 I did include a lining in the waistband for additional structure and making sure the seams and raw edges weren’t itchy.
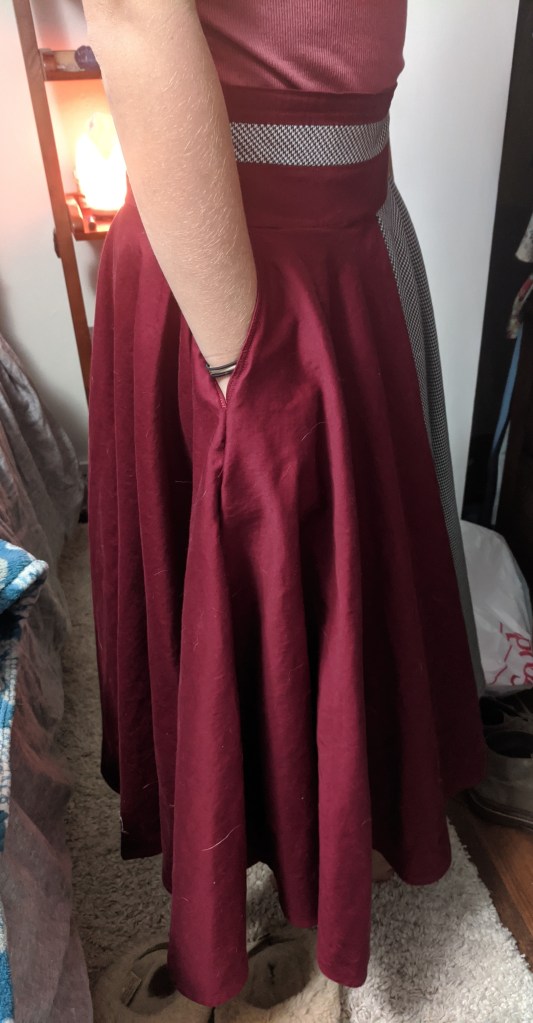
We did a first fitting where we found out the waist was almost perfect… without the seam allowances for the zipper. I inserted a small triangular panel and at the second fitting we got the waistband circumference right and added some small darts so the waistband is flat to her body. Then she graciously made me dinner and I sewed the last seam up afterwards.
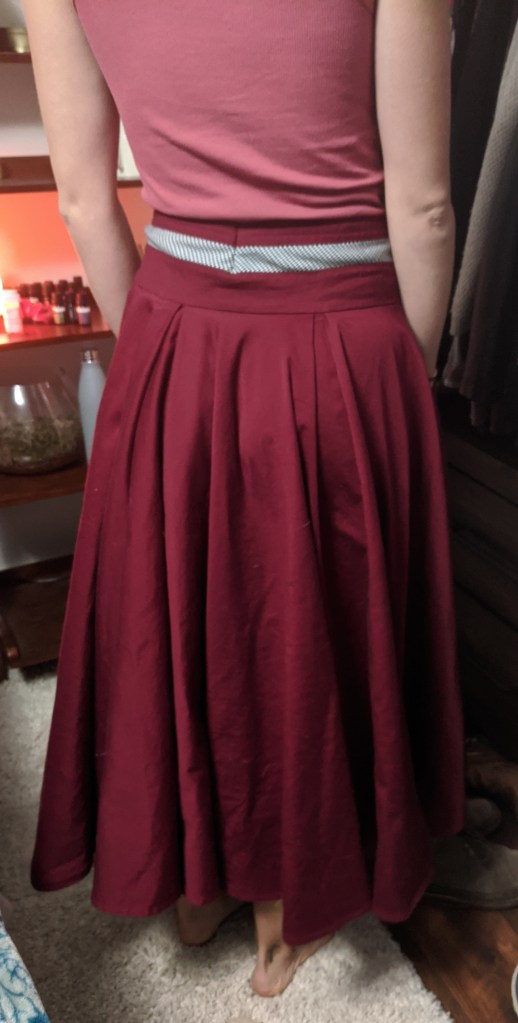
Overall it was a bit unnerving to make a piece of clothing without being able to make sure it fit continuously along the way. But it was a good challenge and it turned out great! As usual I used the machine for most of the construction, with hand sewing for the zipper and the last seam. I like having a bit of hand sewing in each of my projects for a bit of an imperfect element.

Project completed October 5, 2020.
Christmas Pillows

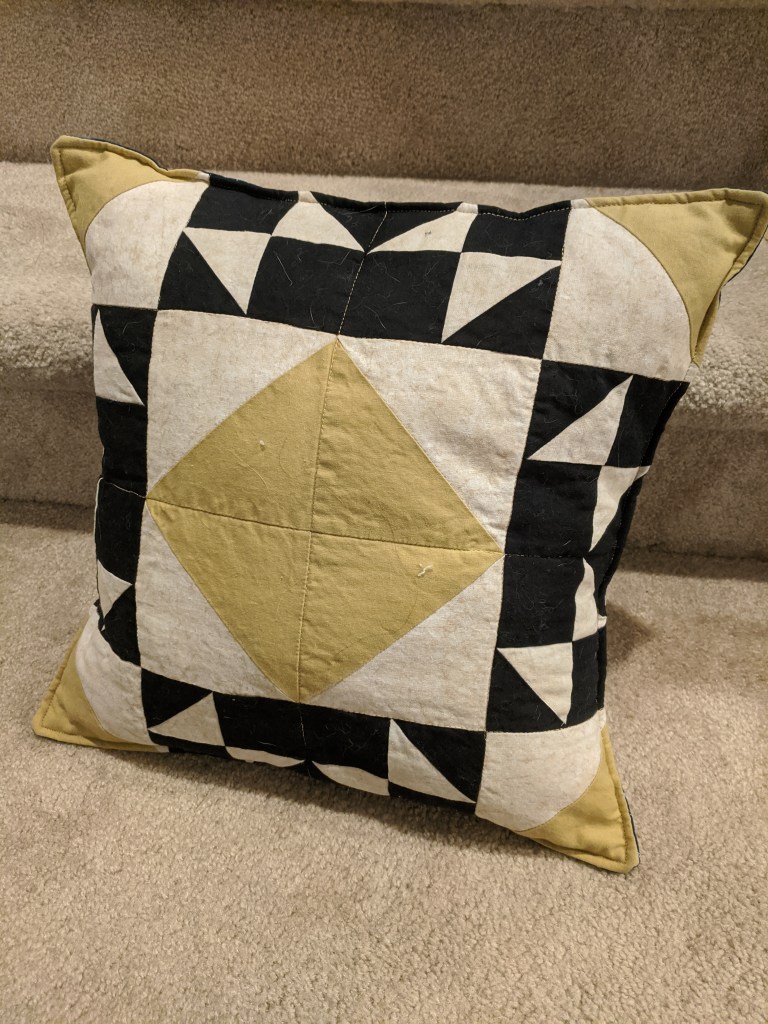
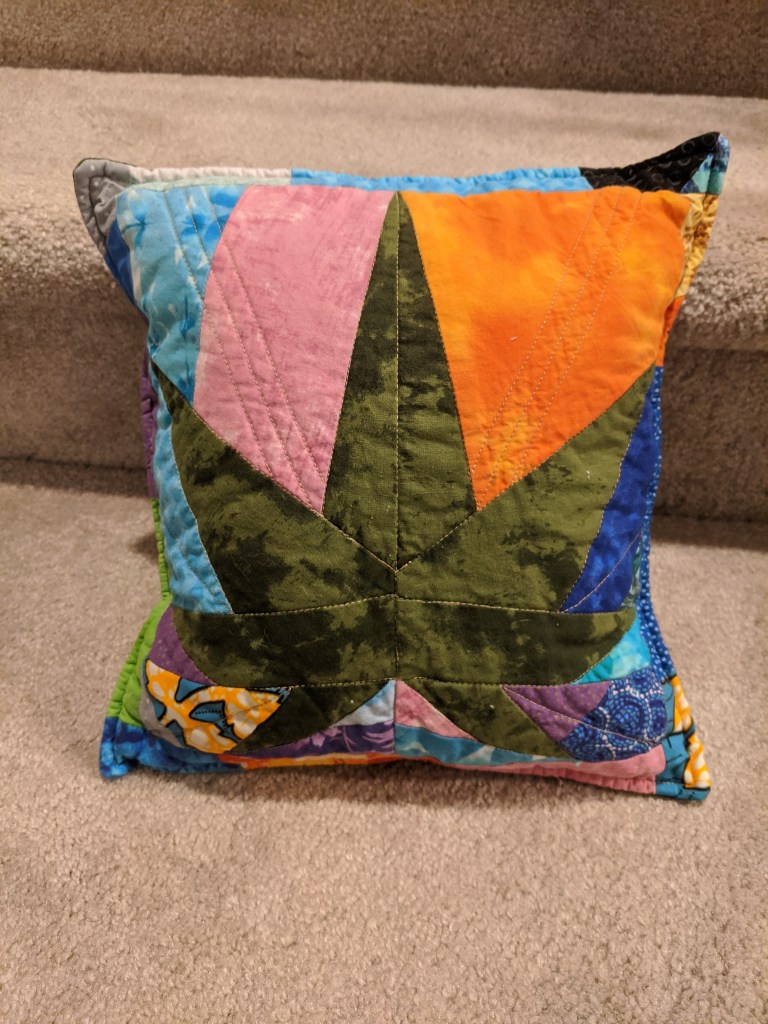
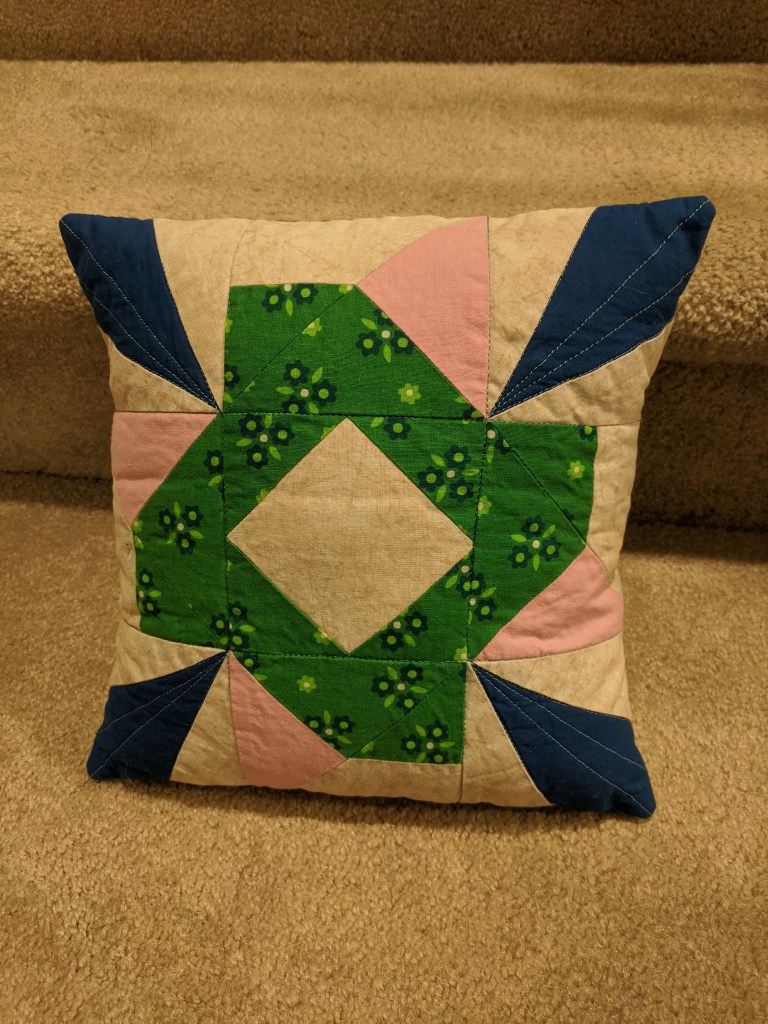
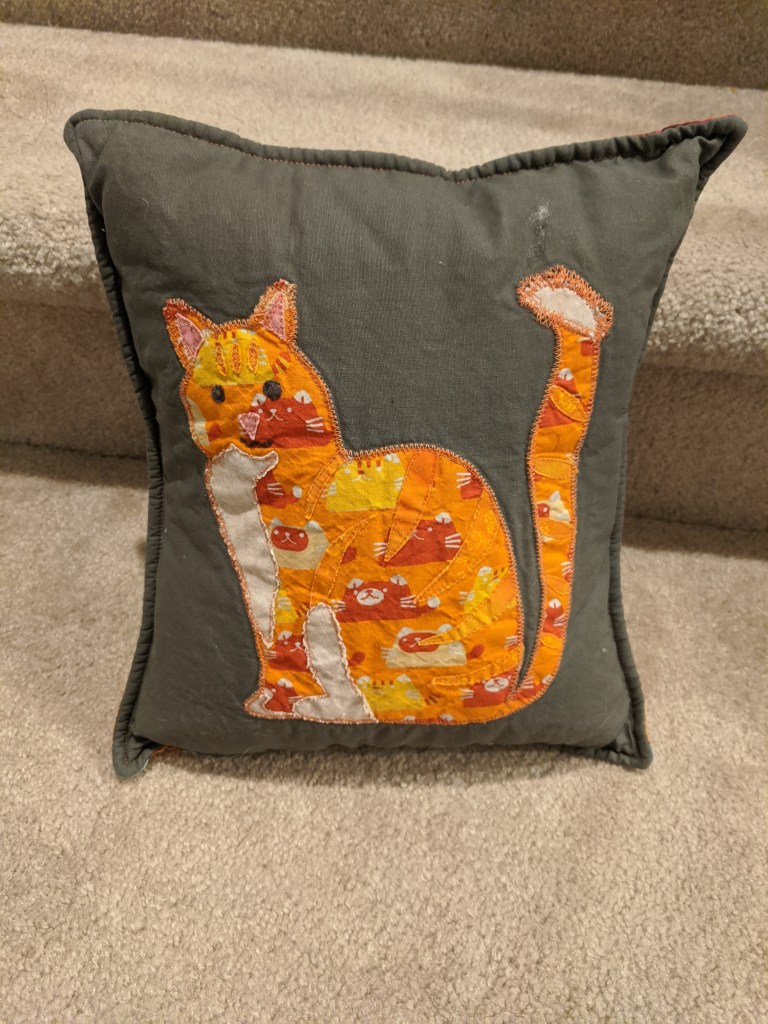
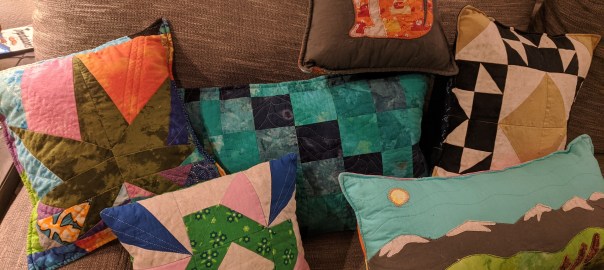
This year I did a bunch of little pillow projects for my friends and family 🙂 I got to learn some different techniques like fusible applique and paper piecing. I used lots of different fat quarters from Joann and scraps from previous projects. I generally used envelope backs and a little label to keep them closed. I stuffed them with some extra stuffing I had from pillows I’d bought previously, unfortunately none of them finished at a normal pillow form size.

MSQC Crown Jewel with stitch in the ditch
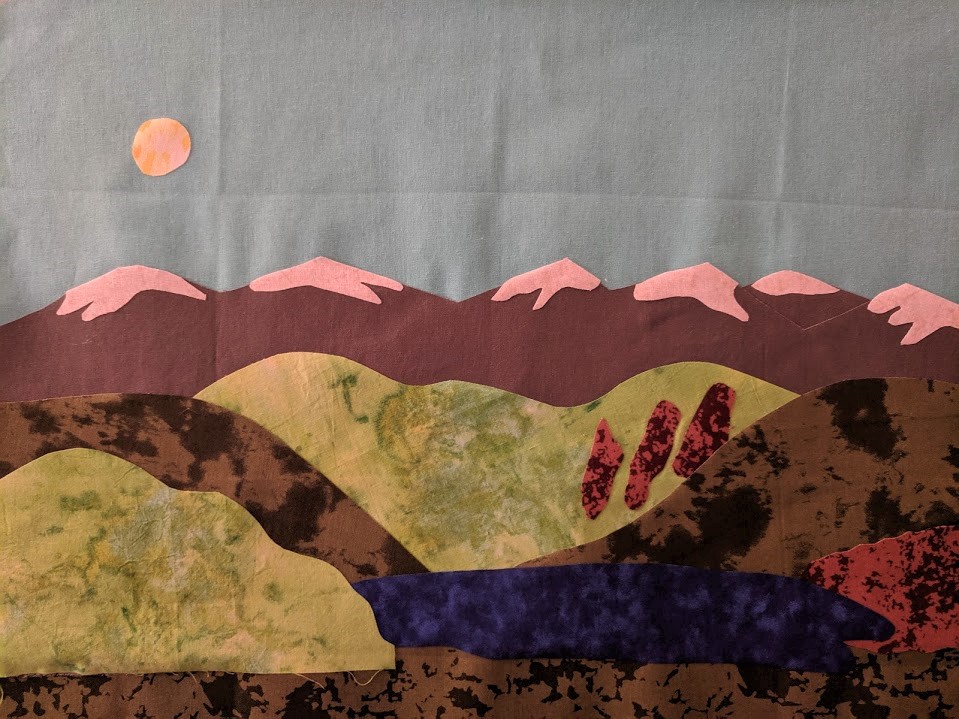
Self drafted mountain-y landscape applique loosely based on Boulder Valley with quilting around each piece
Self drafted paper pieced leaf with stitch in the ditch and straight line accents
The Quilt Block Cookbook “Spin The Bottle” pattern with stitch in the ditch and some straight line accents
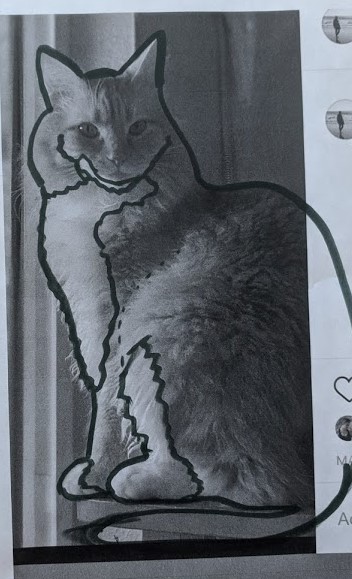
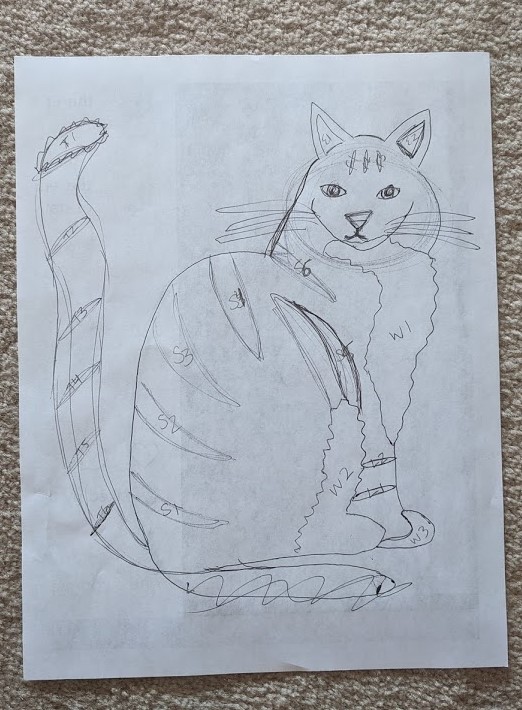
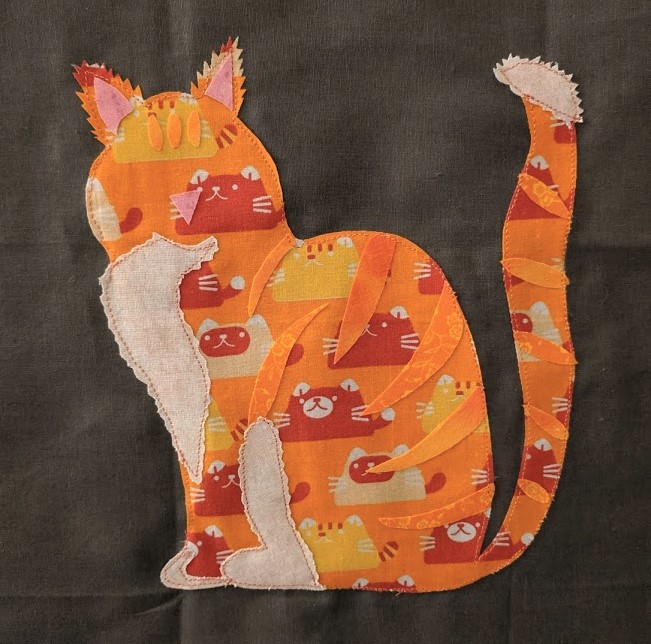
Self drafted cat applique with hand embroidered eyes and mouth, quilted around each piece
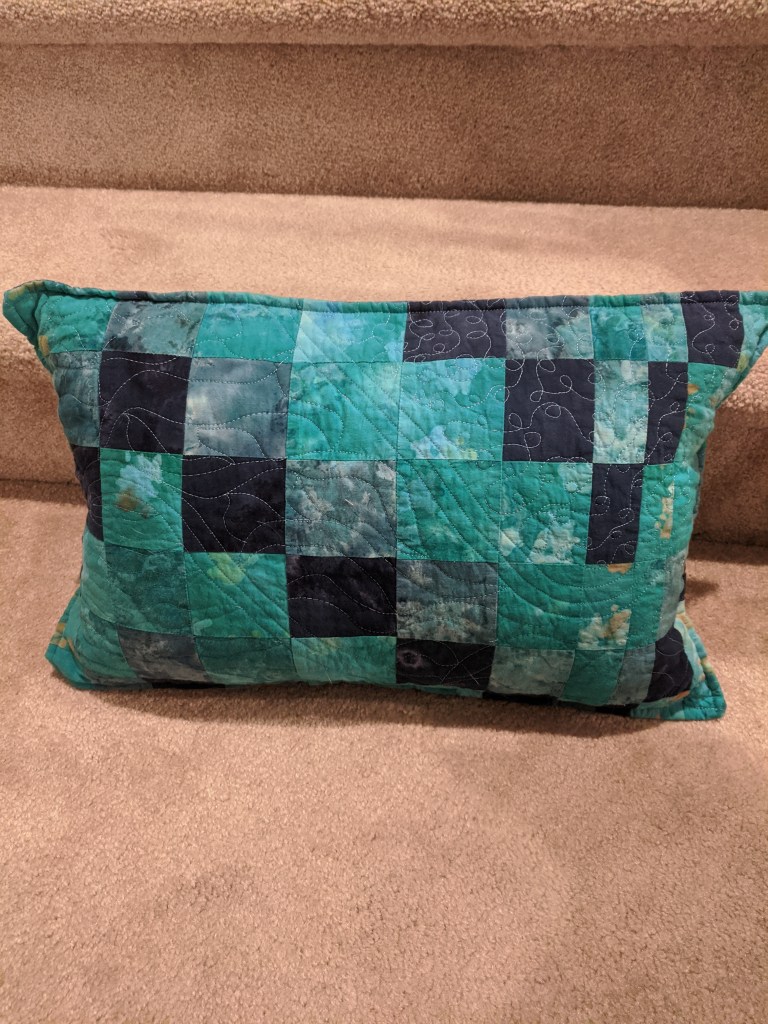
Self drafted bargello with FMQ
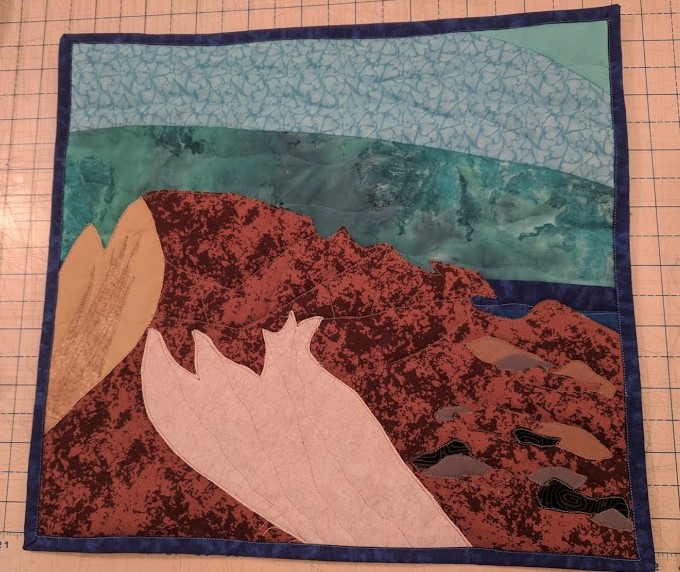
Self drafted applique of Long’s Peak with quilting around each piece and some straight-ish line quilting (wall hanging, not pillow)

Projects completed December 19, 2019.

XOX Quilt

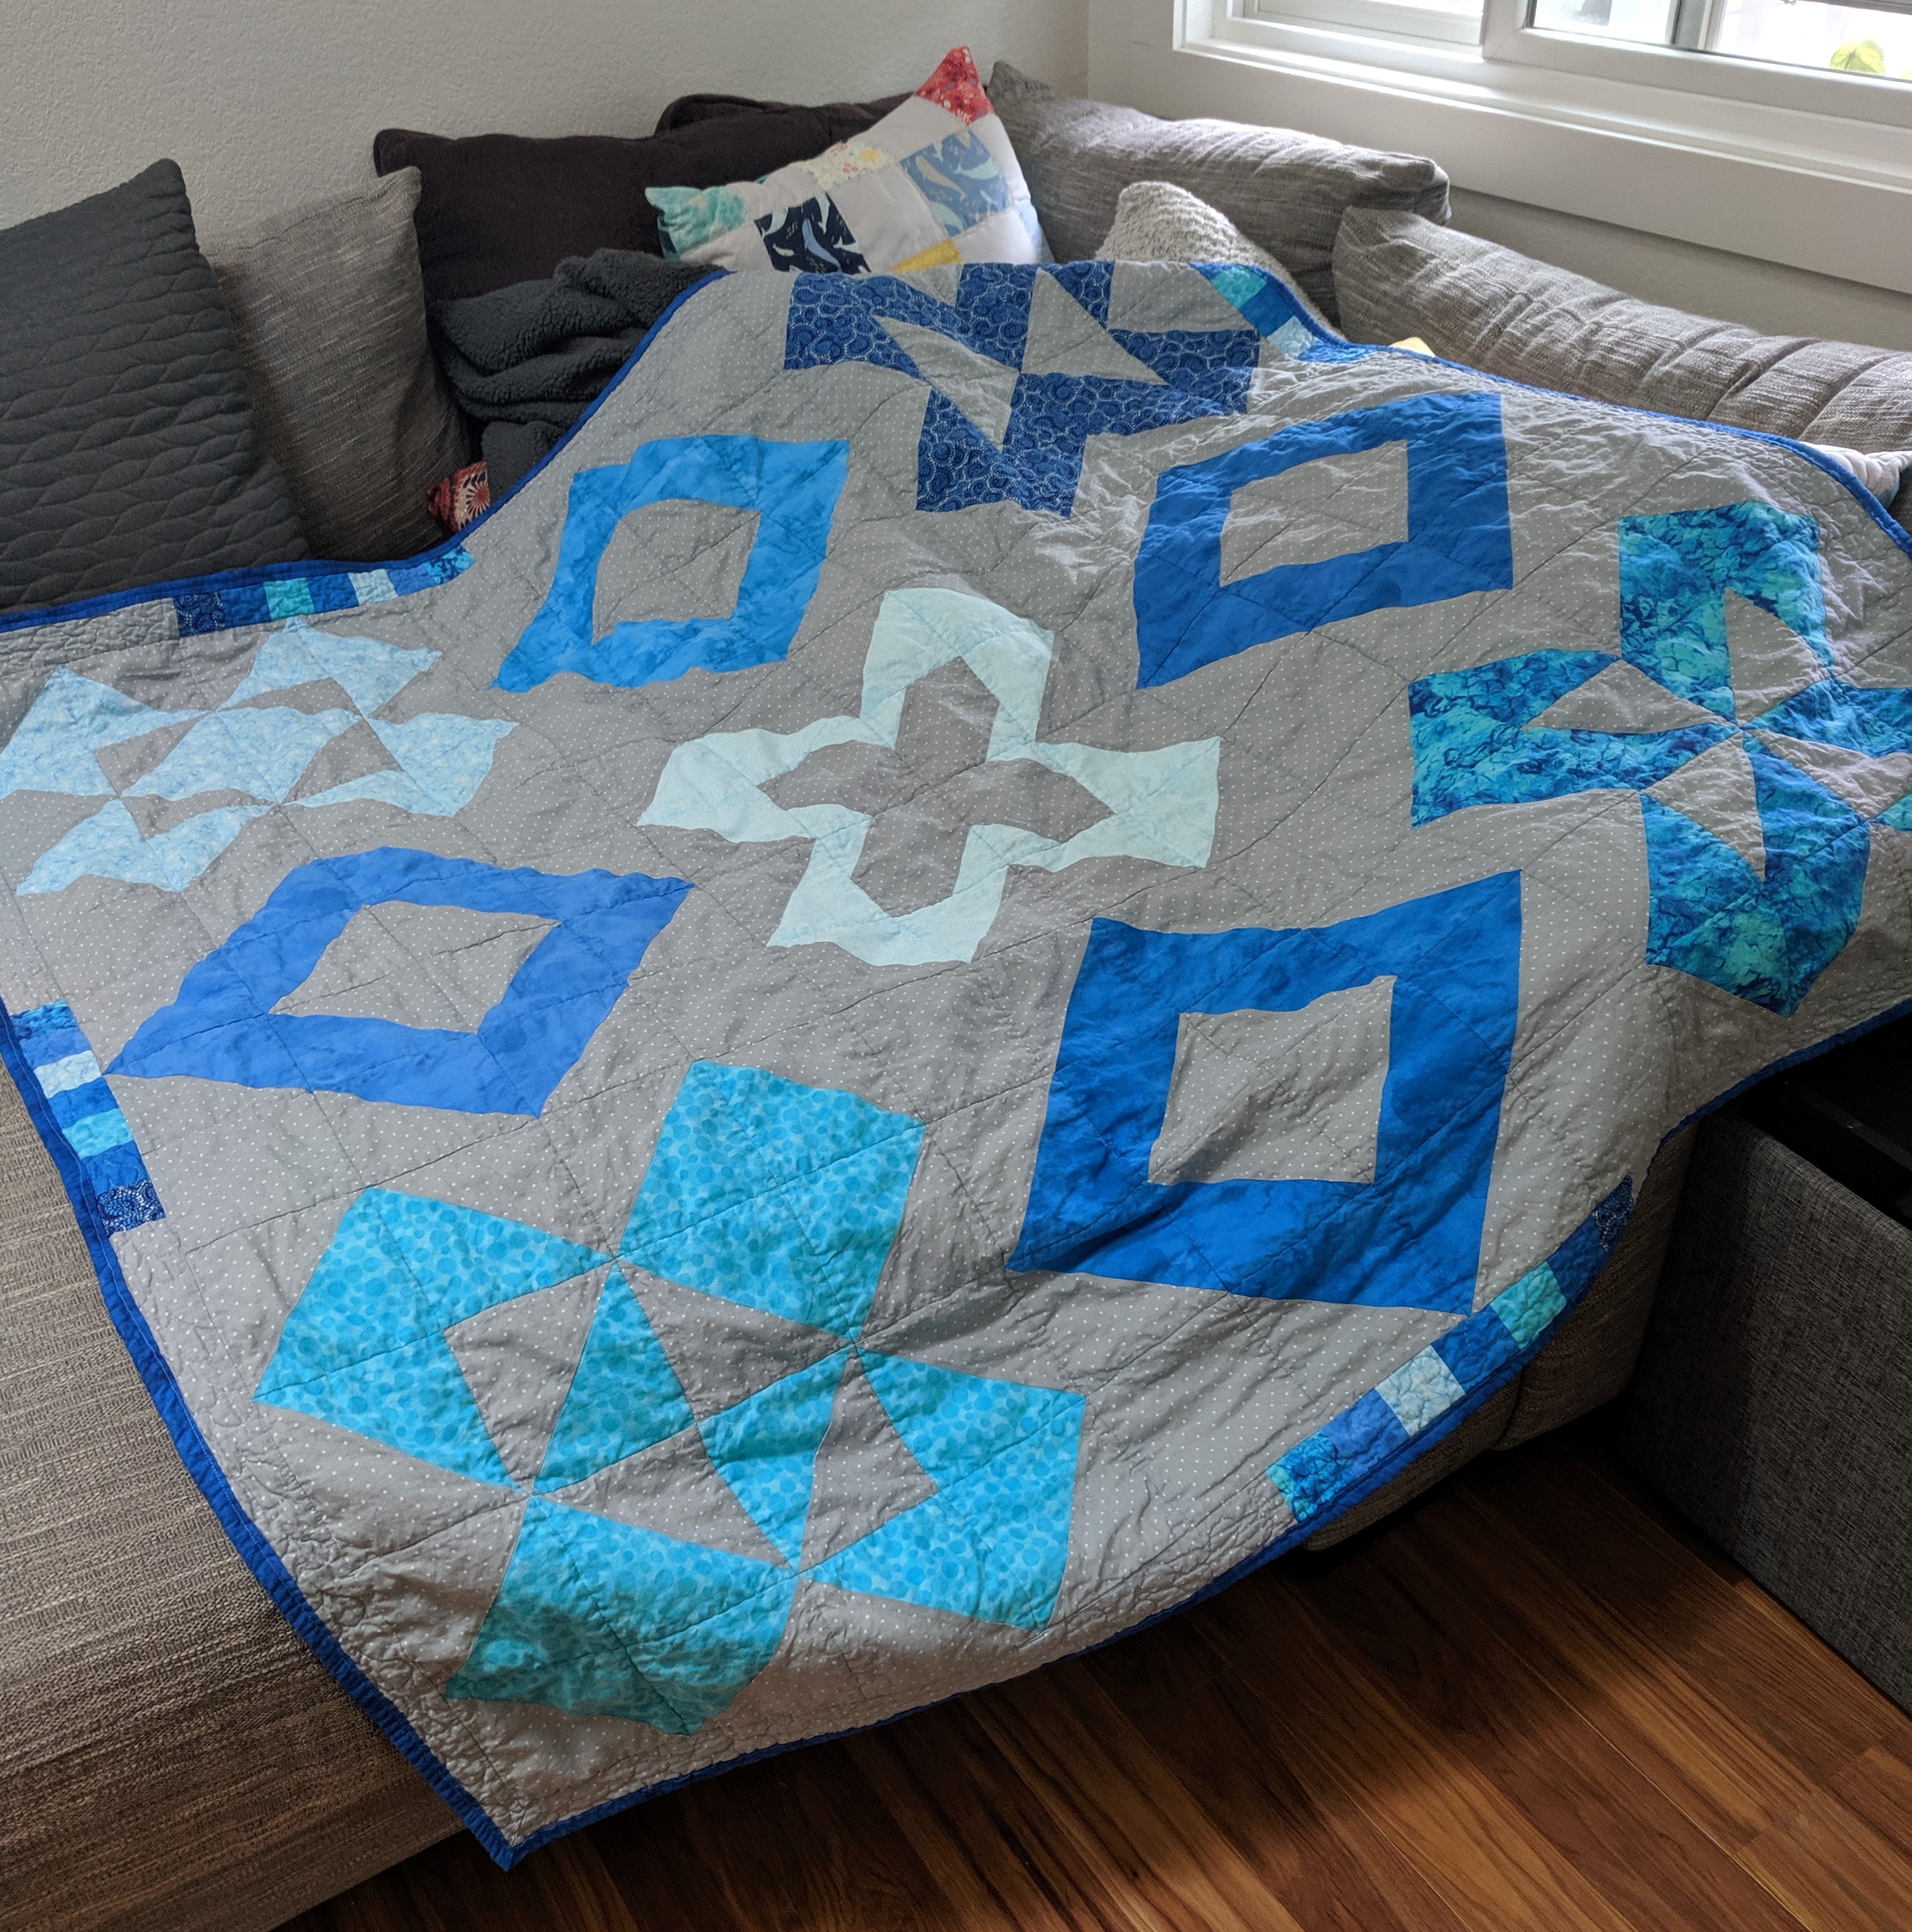
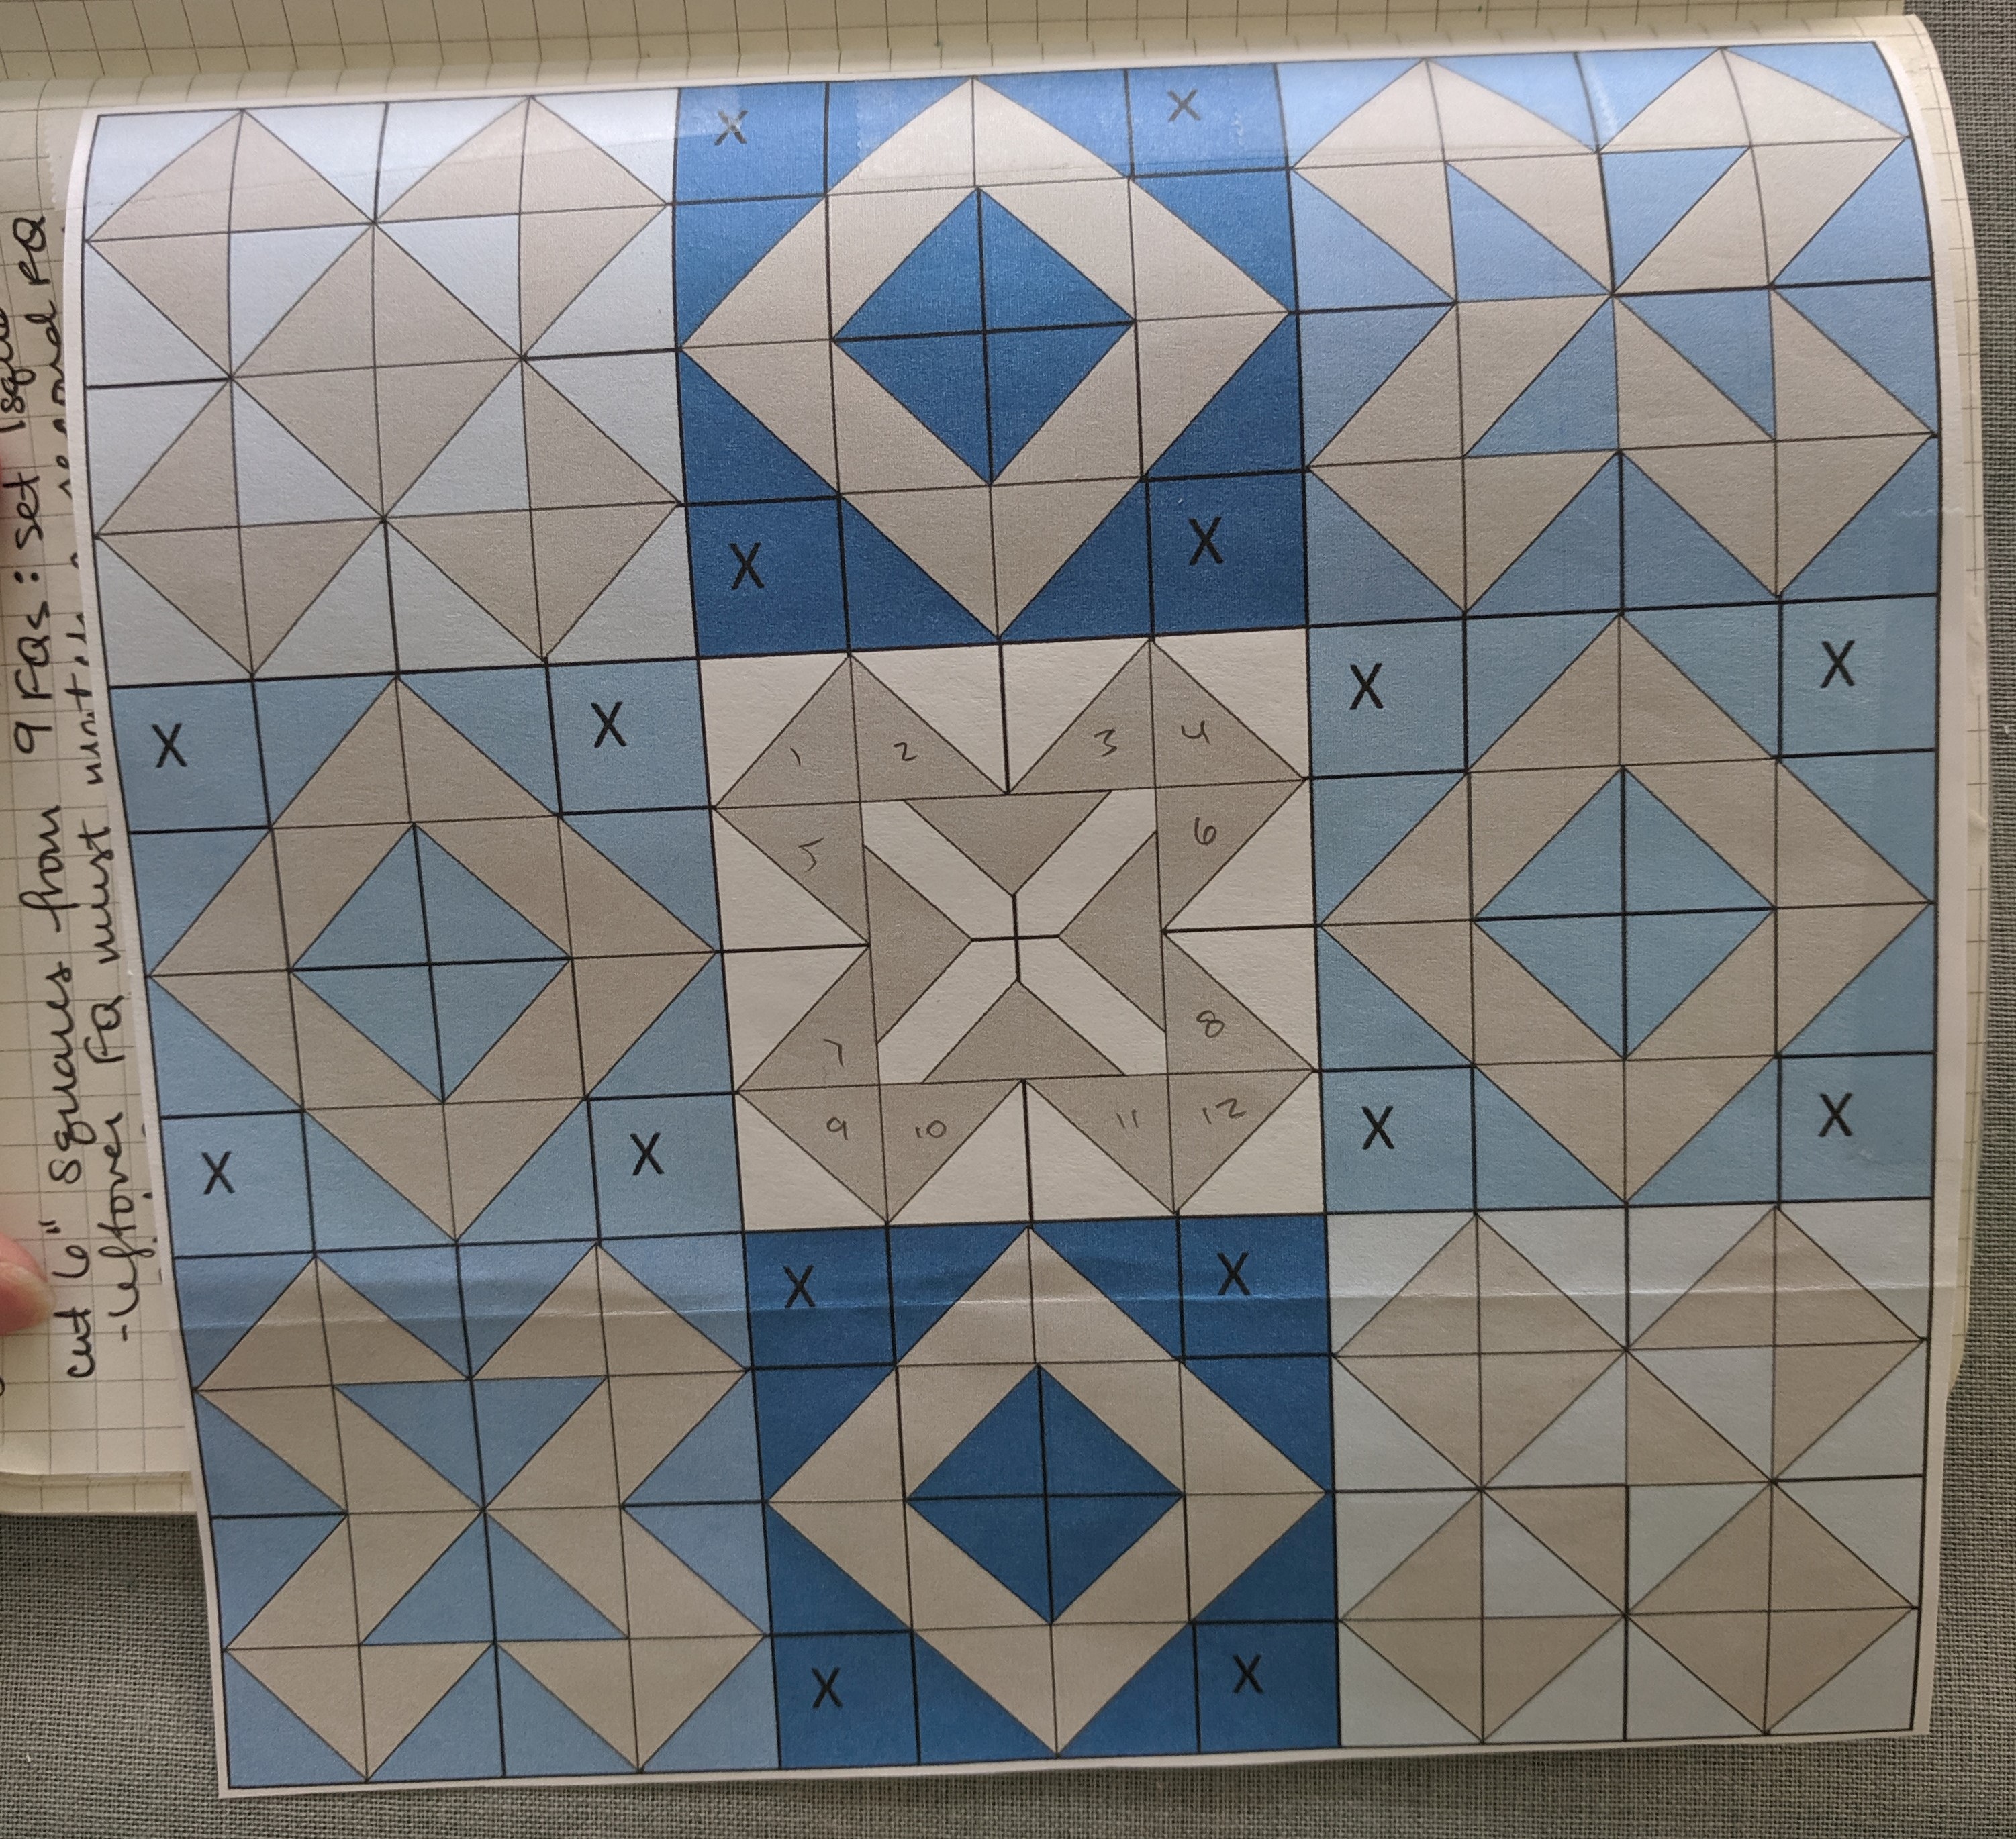
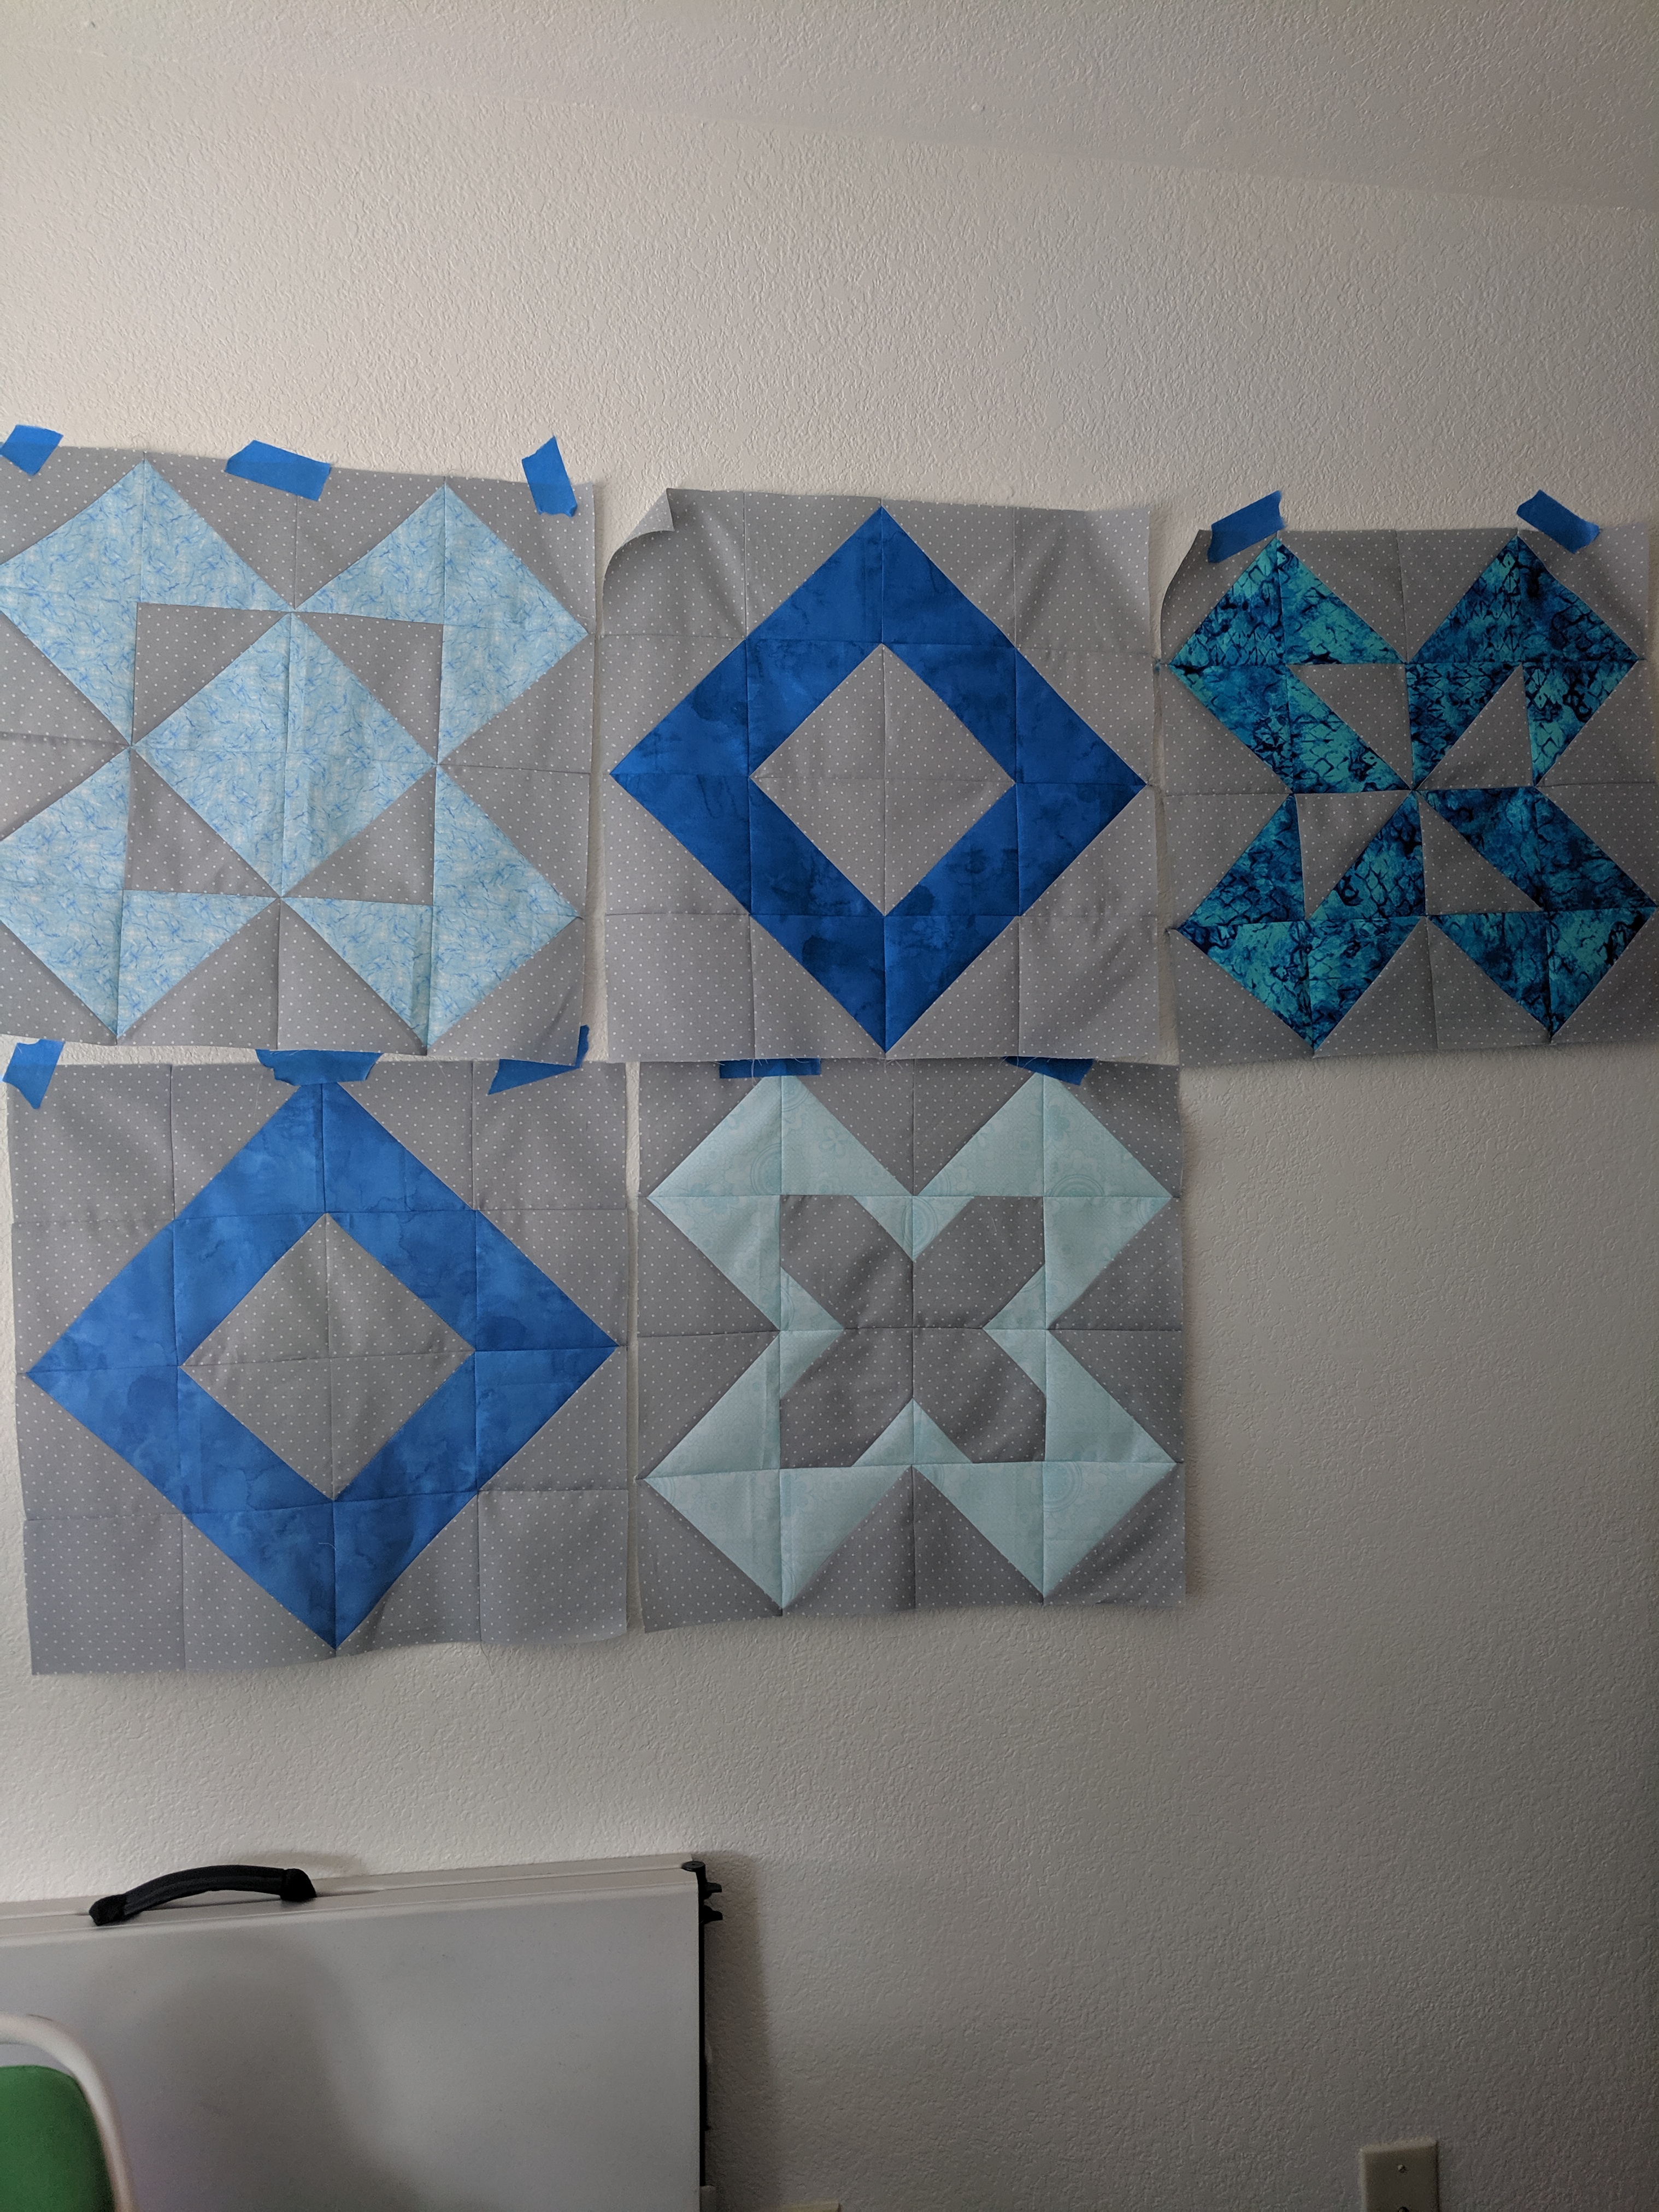
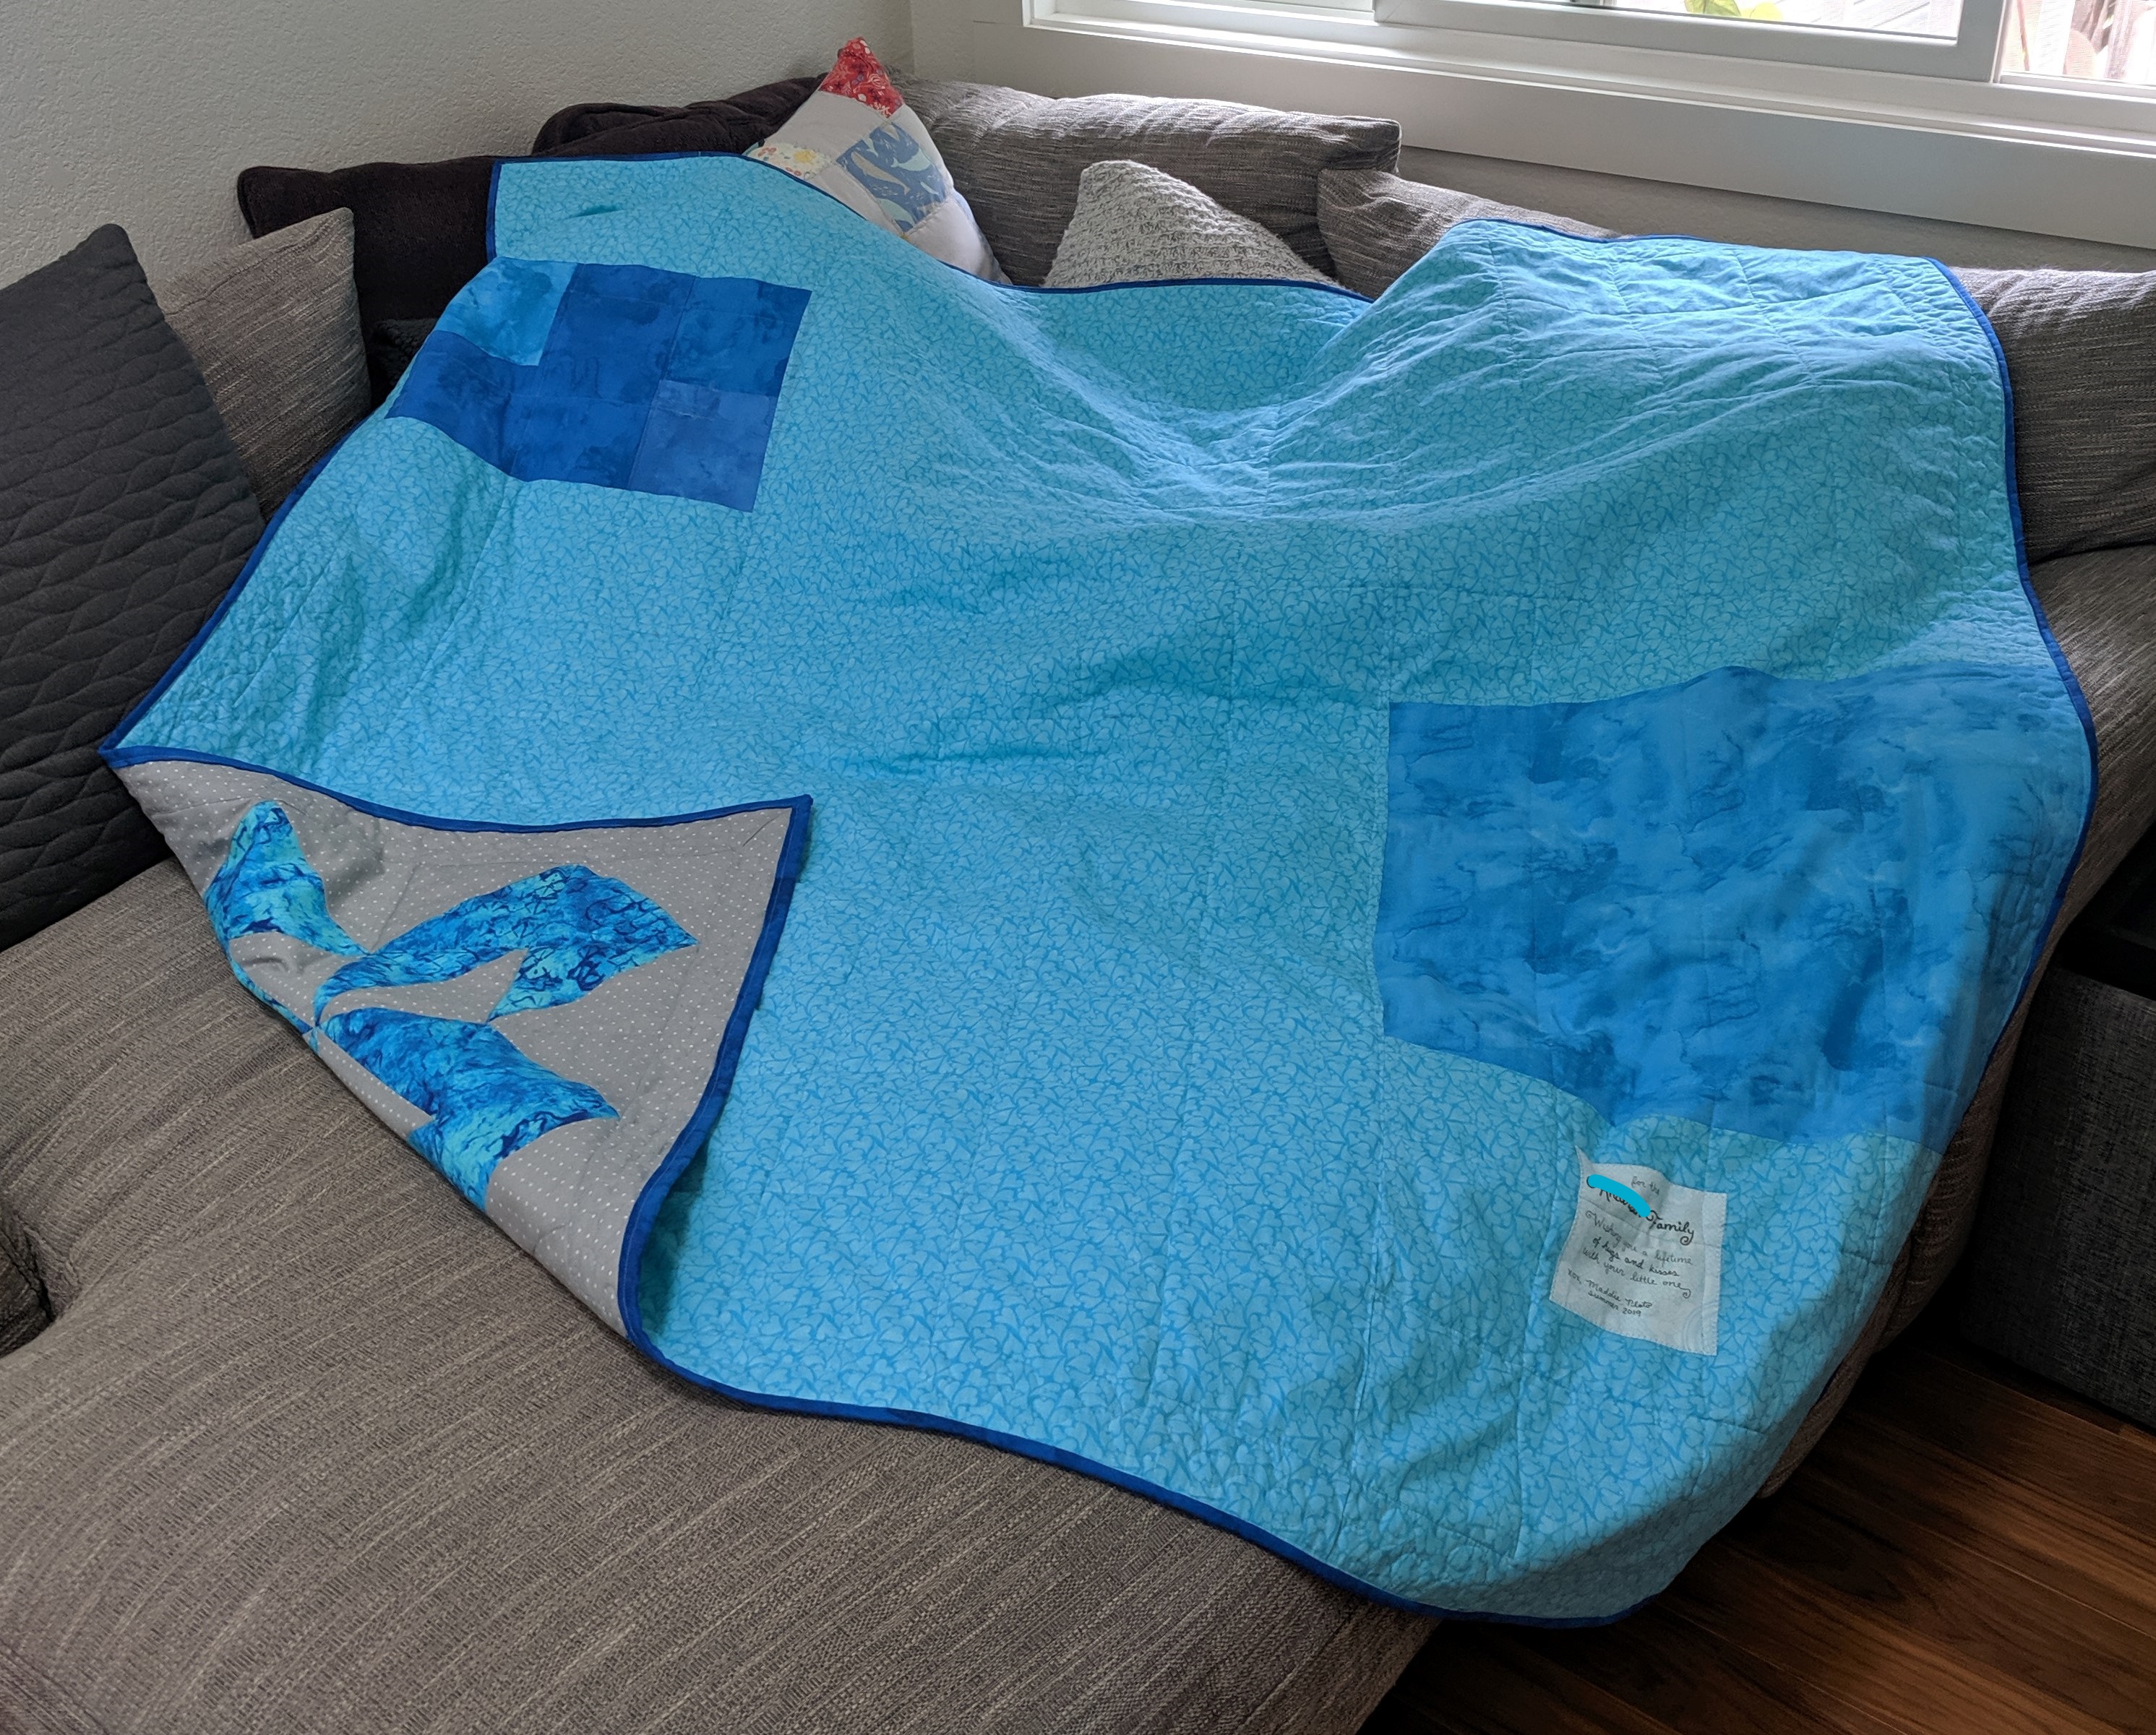
I made this quilt for my wonderful coworker whose wife had a baby 🙂 It is self drafted out of (primarily) HSTs. I based the pattern off “hugs and kisses XOXO” and used a fat quarter bundle from Joann. It ended up ~60″x60″, which is a bit large for a baby quilt but I don’t care.

HSTs ready to be laid out

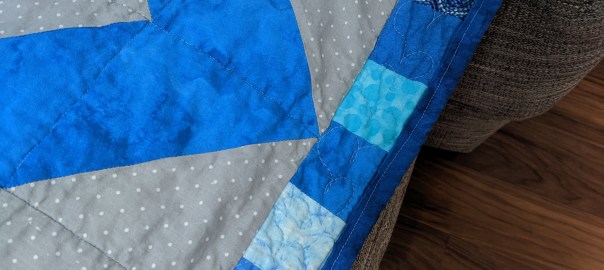
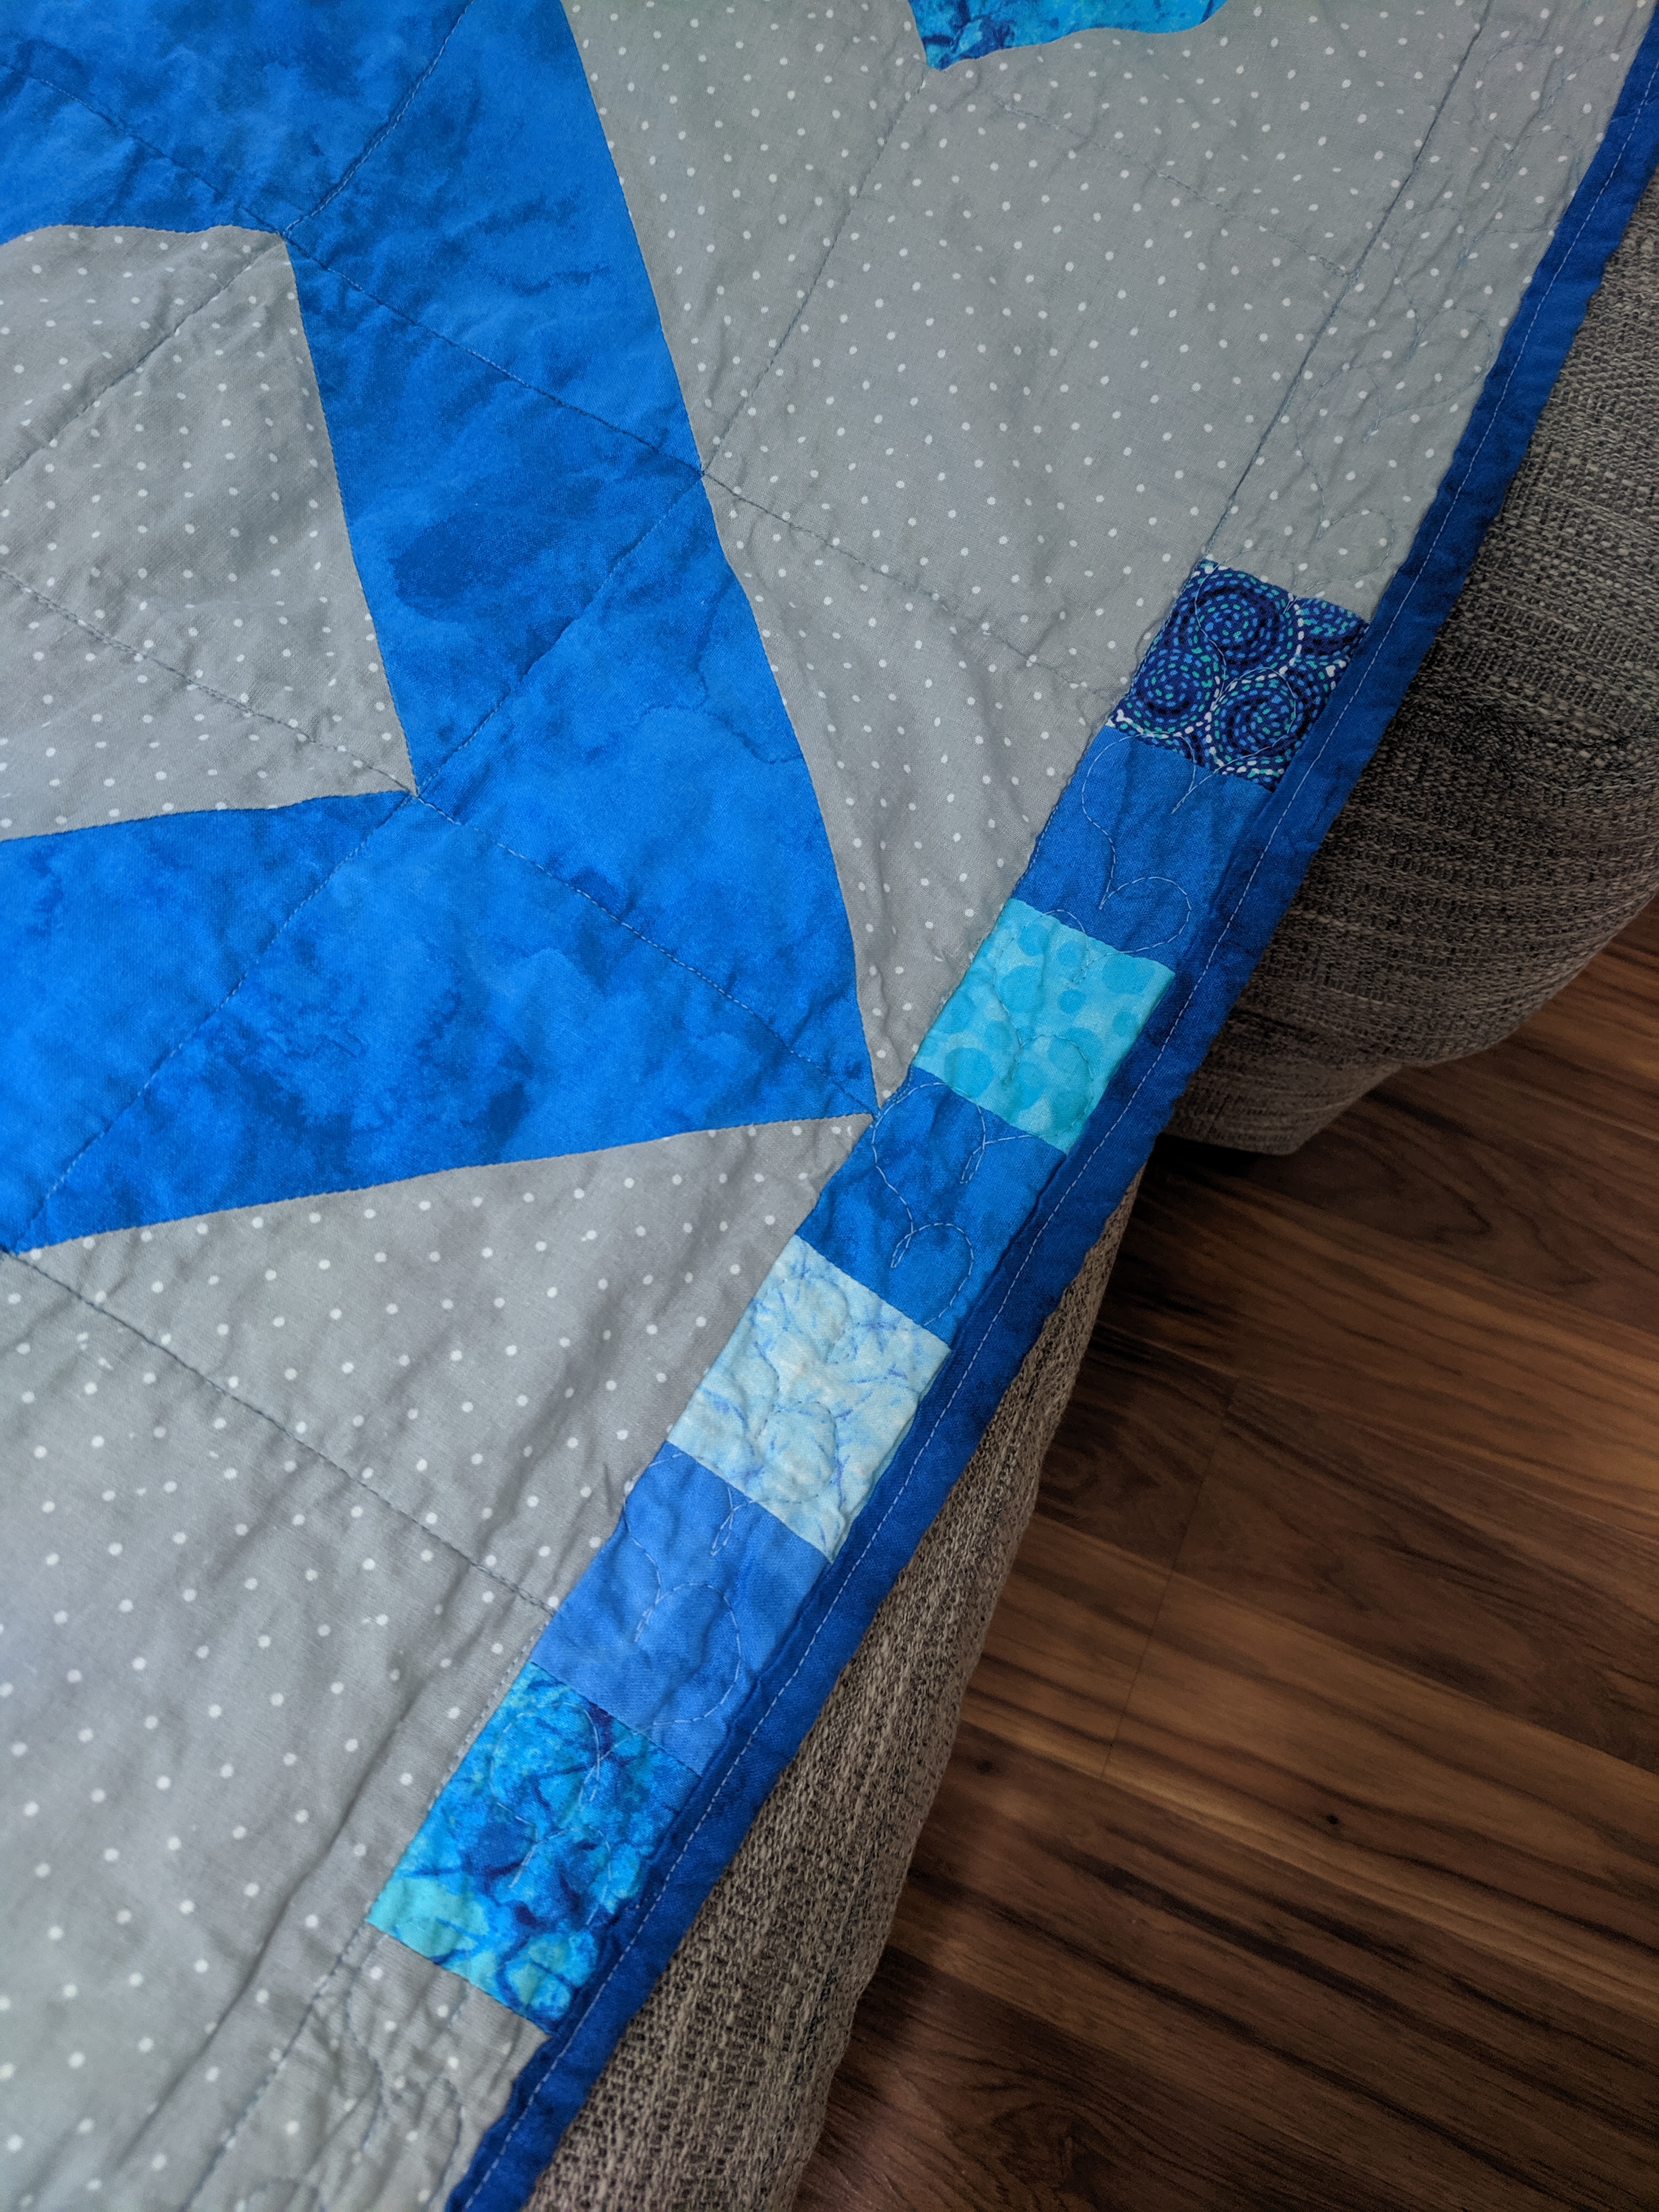
I ended up quilting the whole quilt with “stitch in the ditch”, where you quilt between units along the seam lines. For this to work, you have to iron both seam allowances to one side (instead of open). This makes one side of the seam a bit taller than the other, and the quilting goes on the lower side – the ditch. I used some scraps and the same background for the border, and quilted little heart shapes around the entire thing.

Stitch in the ditch on the left in the main blocks, heart shapes in the border on the right
Patchwork backing with quilt label

Project completed July 4, 2019.

Embroidered Wreath

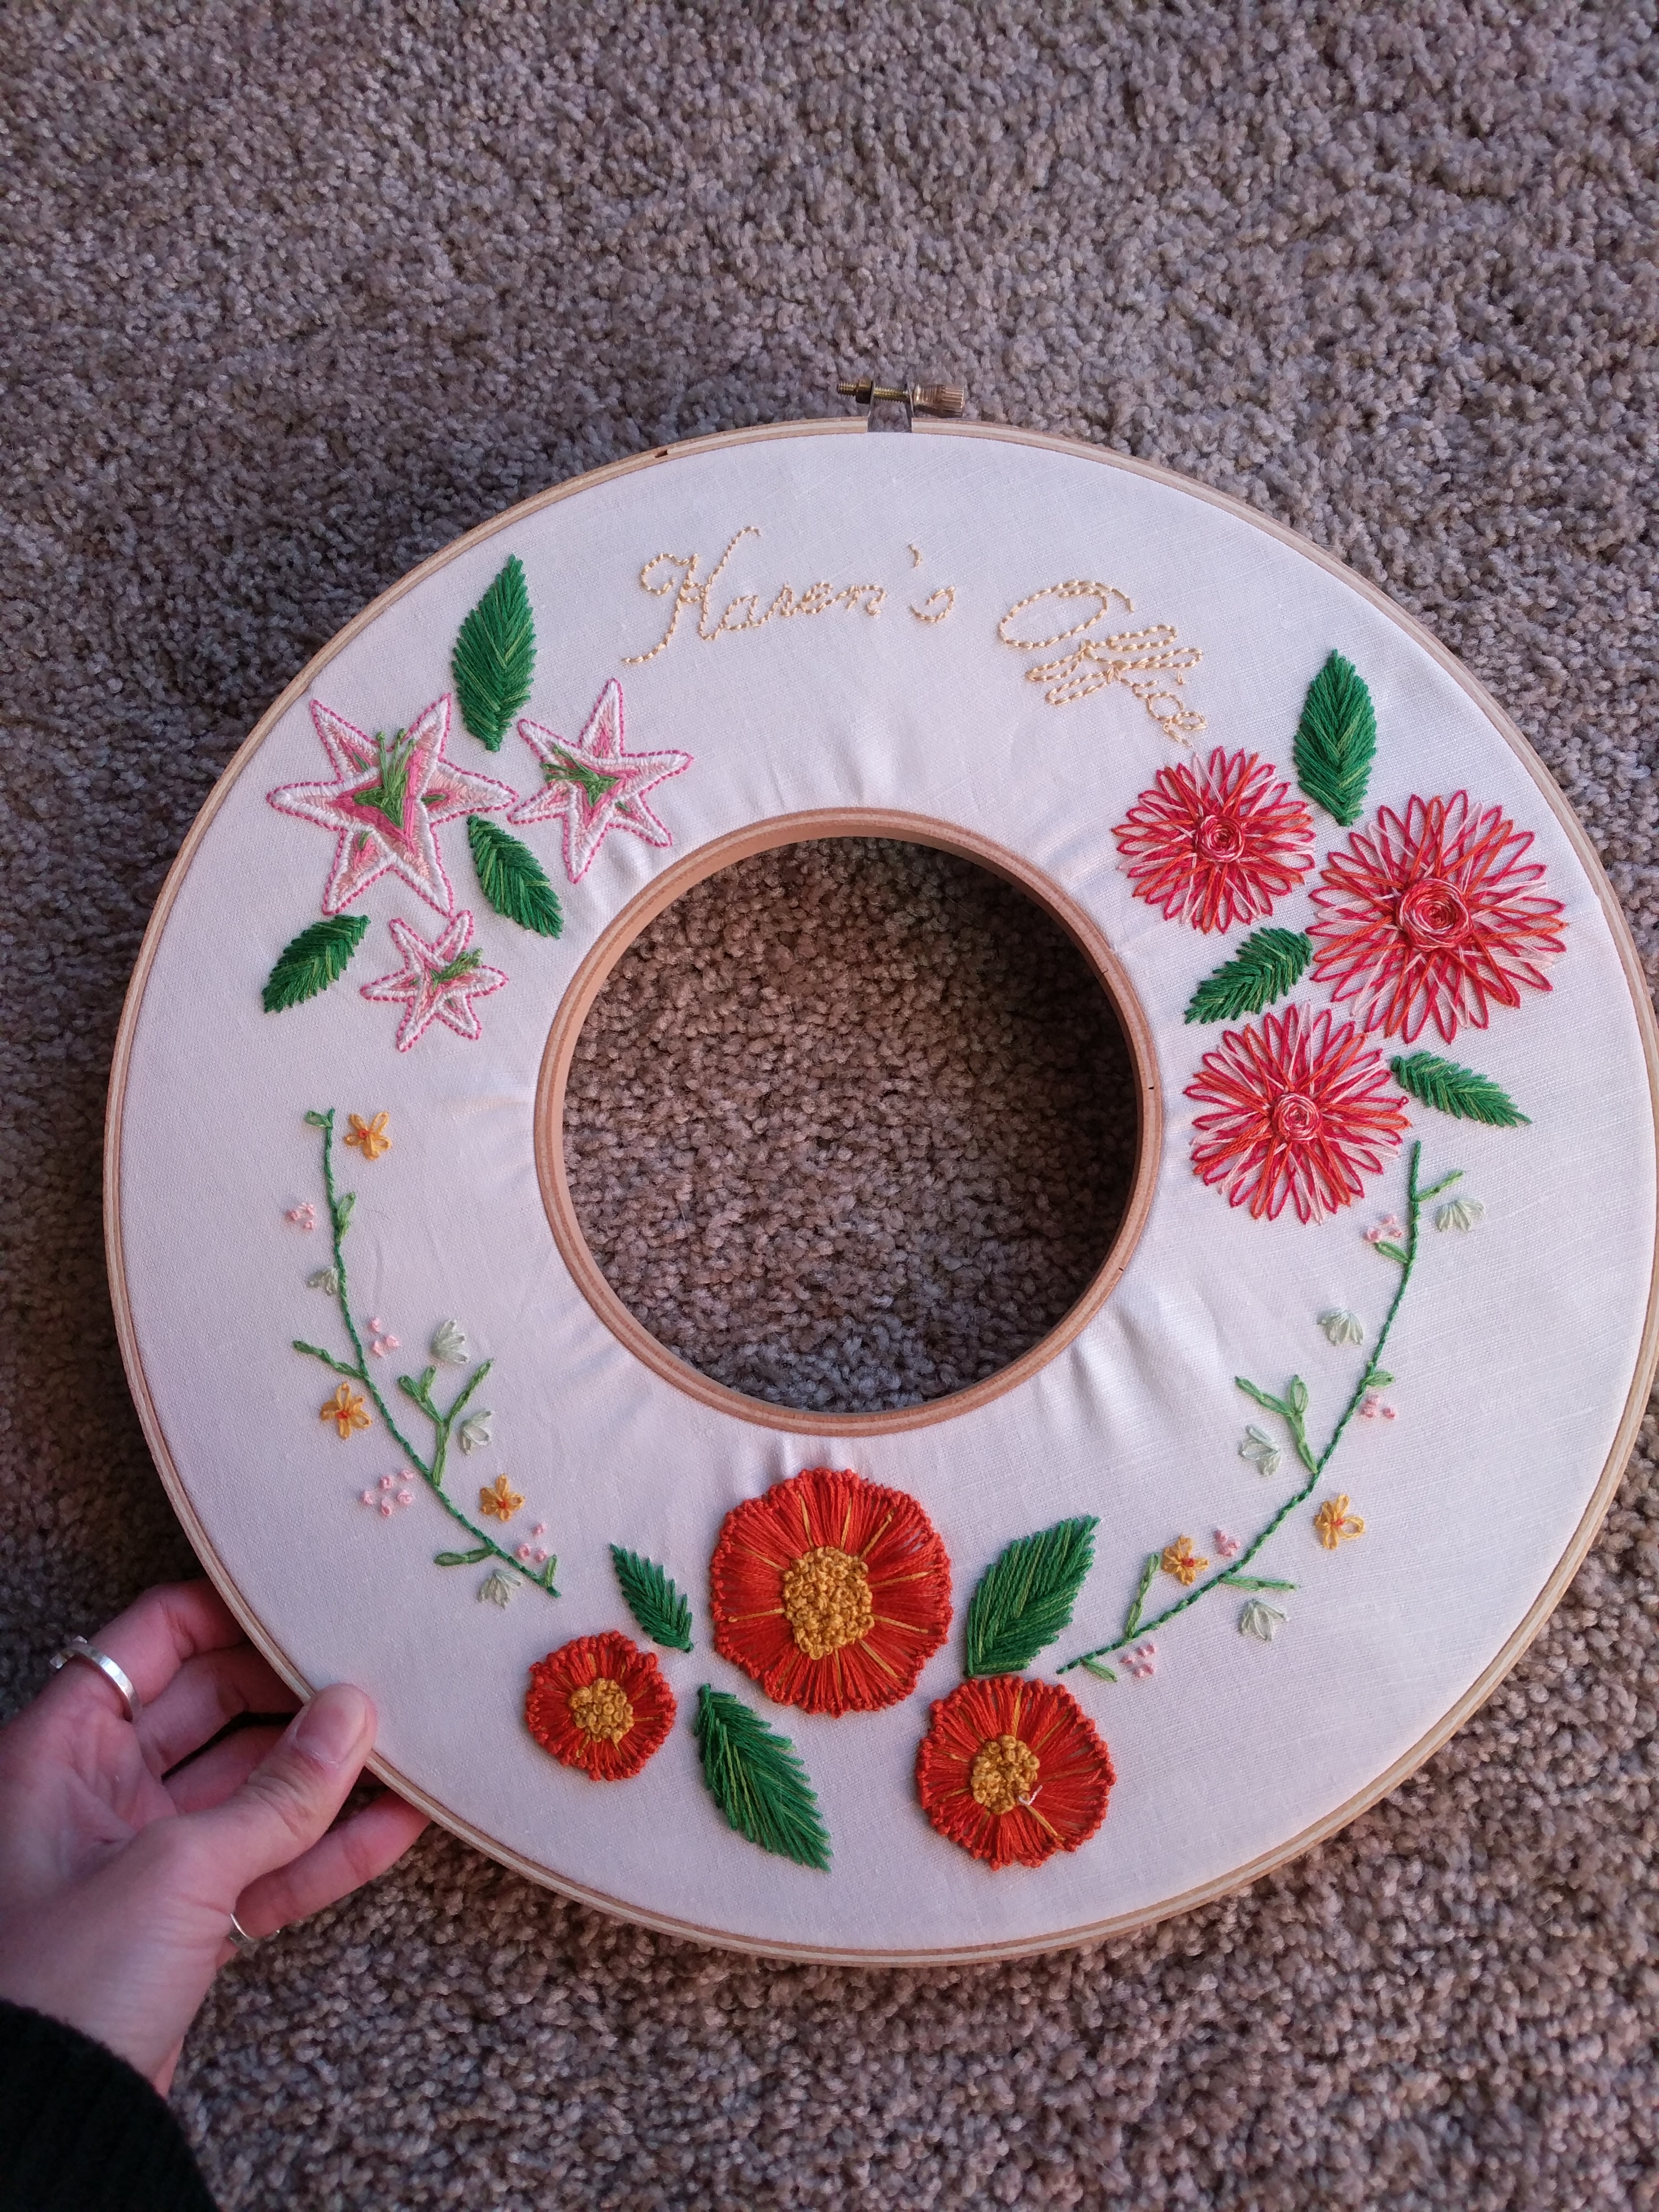
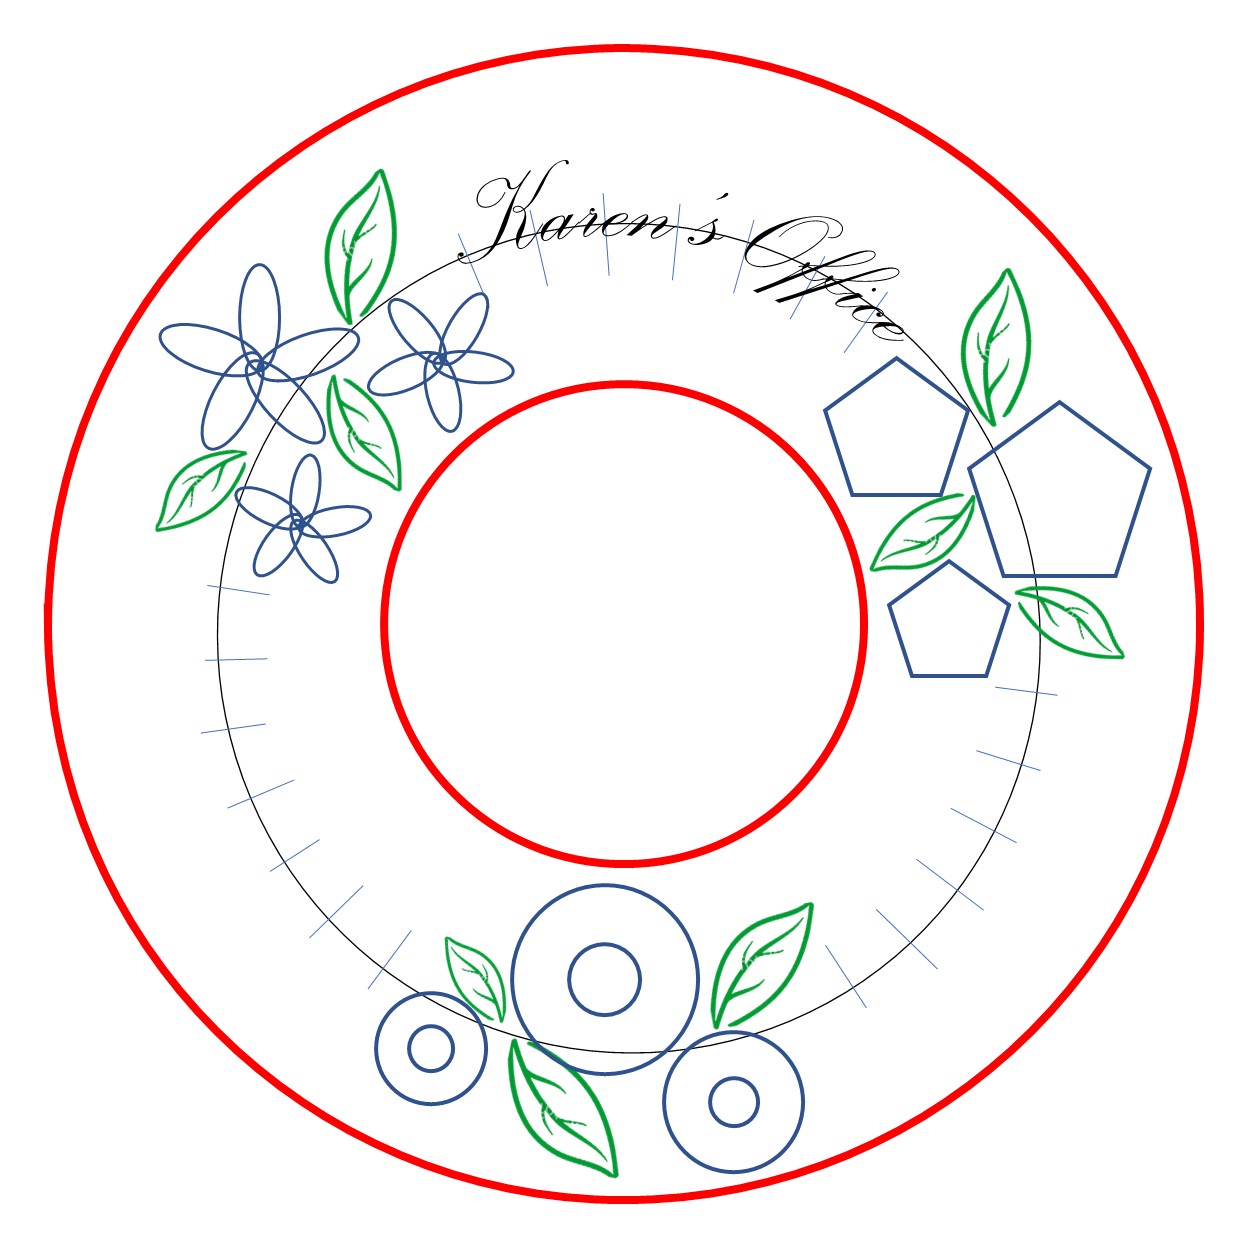
Let’s start off with an old project – hand embroidery was what started my journey towards quilting, in a roundabout way. 🙂 This is a project I made for my mom for her office. I used Namaste Embroidery’s tutorial for double hoops to make the wreath shape. I had done some simple embroidery before, but this was my first project that I planned out by myself (with PowerPoint!). I wanted to use different kinds of stitches to make petals and create different shapes, and link them with little baby flowers and leaves.

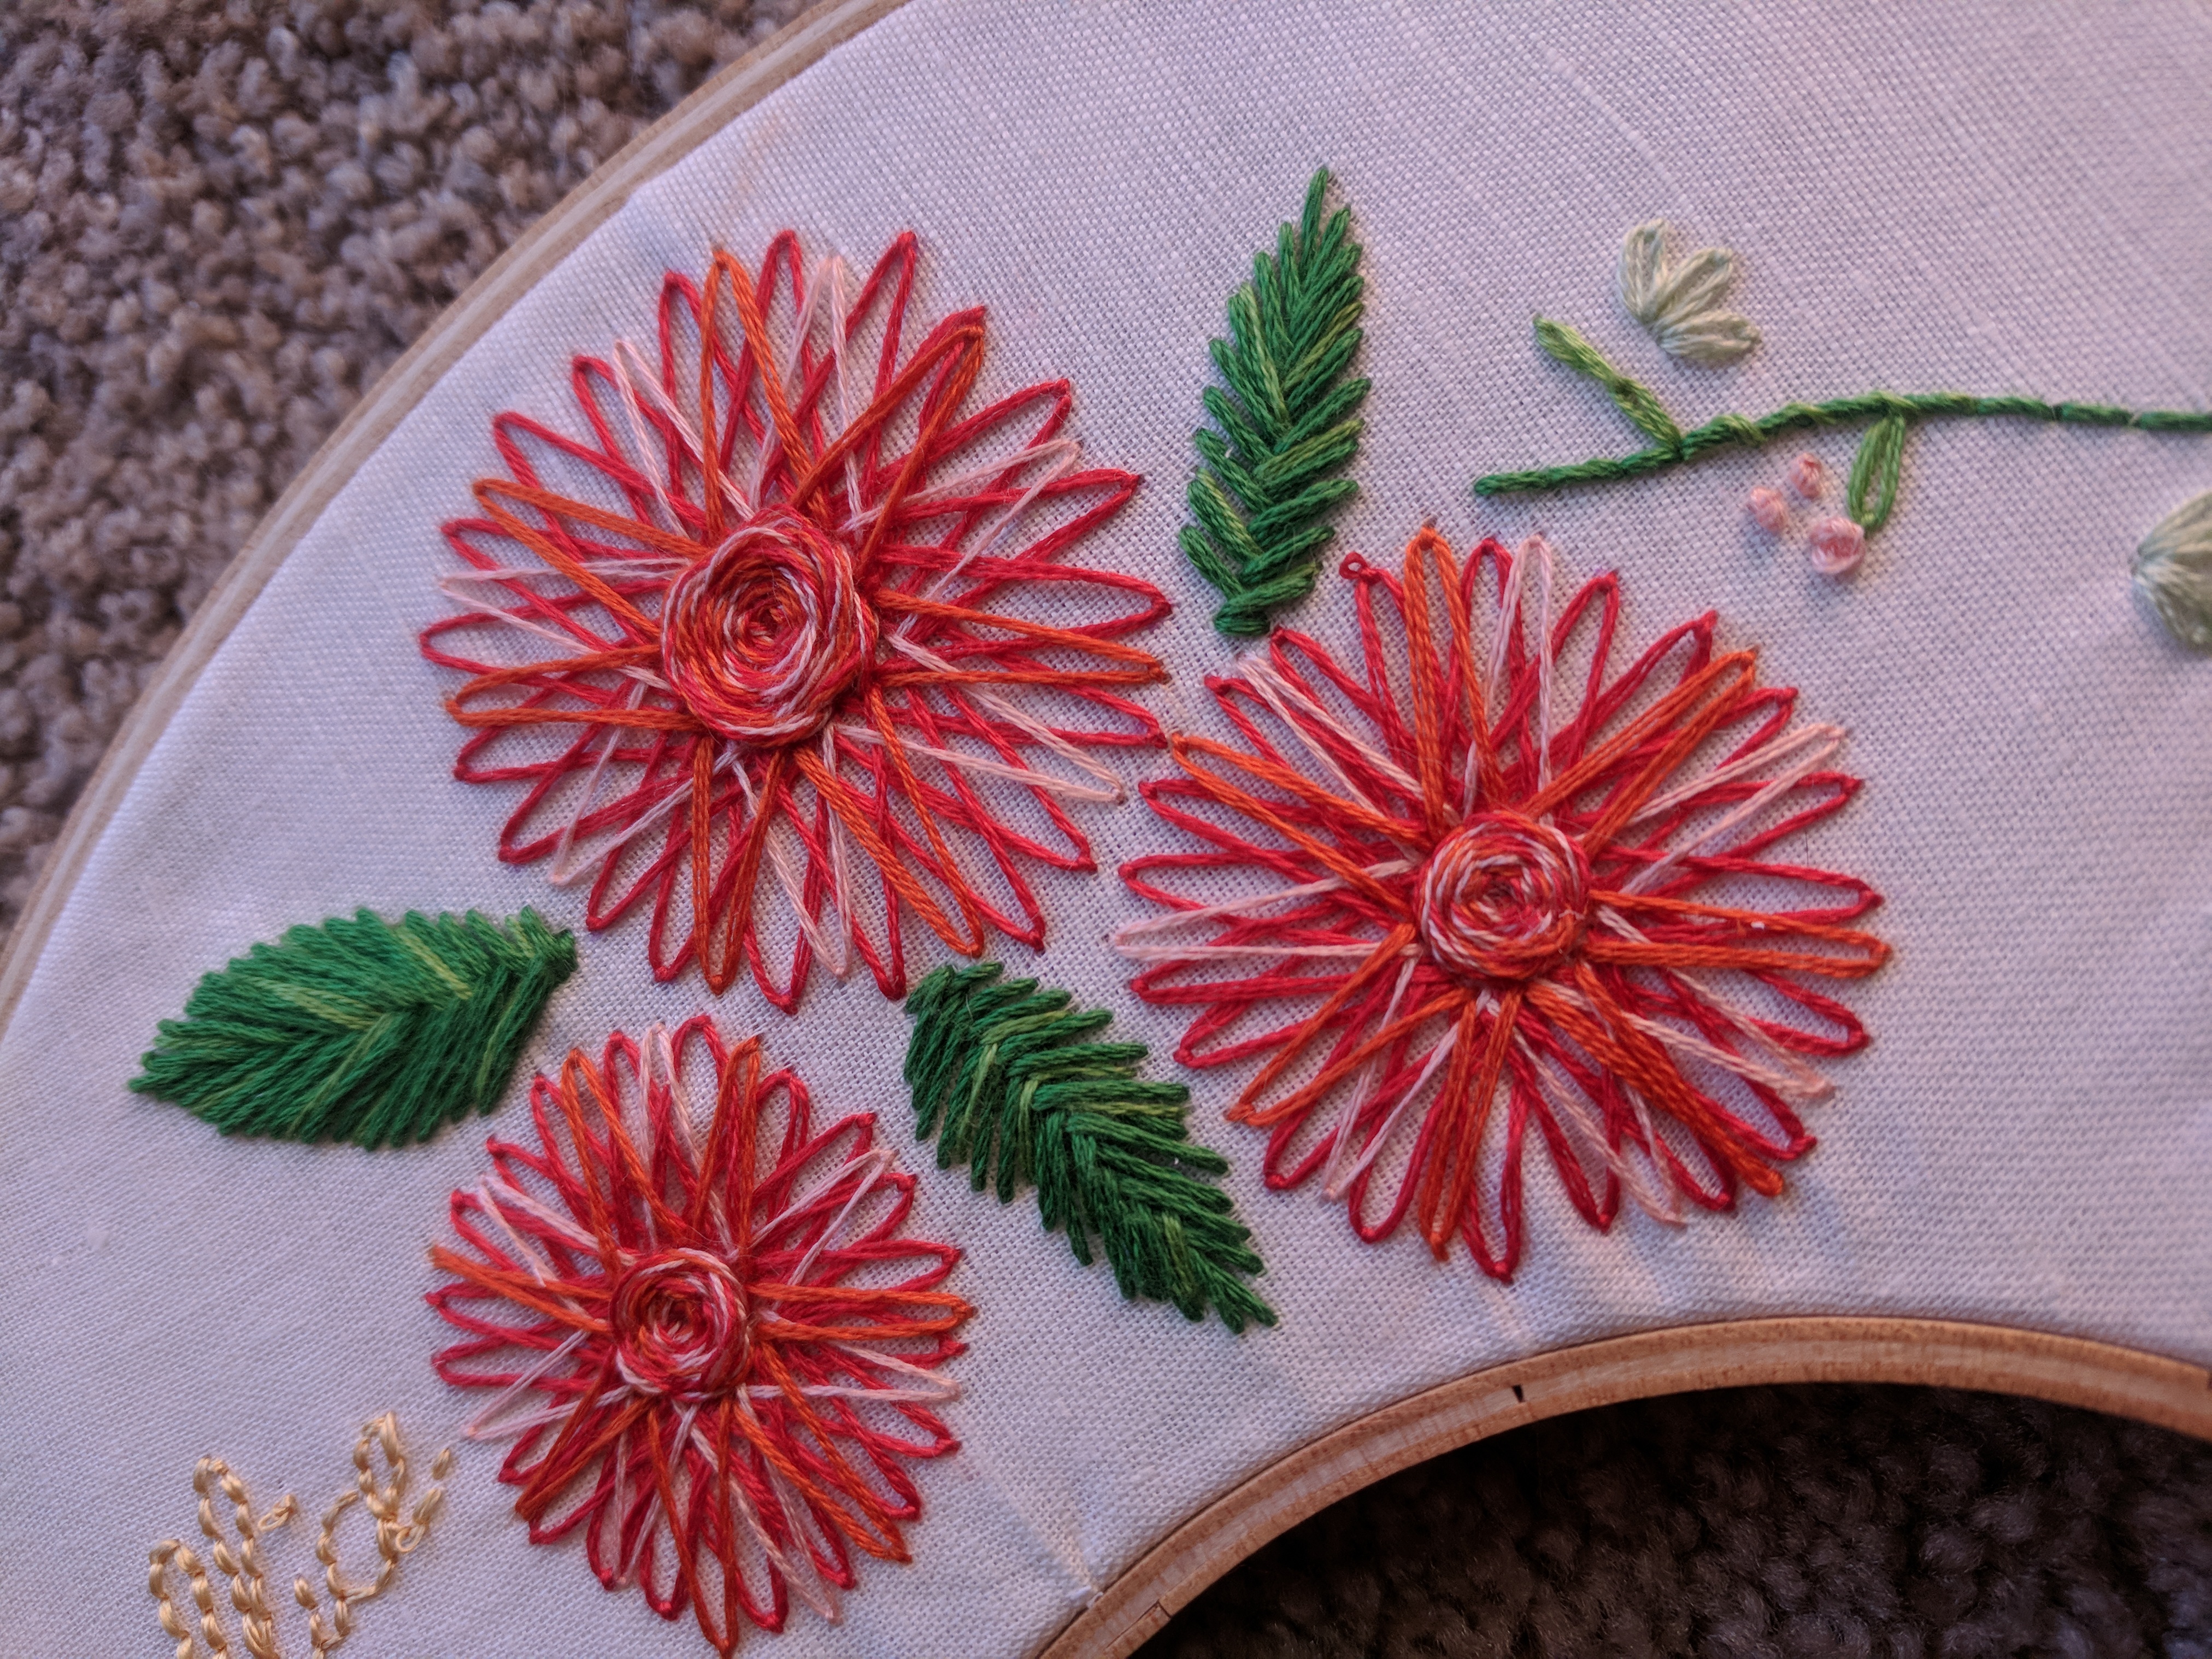
Modified lazy daisy stitch petals with wagon wheel centers and fishbone stitch leaves

I used stitches I had done before but in different ways – a lazy daisy stitch is usually used as a line or small petals with a common center (see off to the right, those light green petals and dark green stem are also lazy daisy stitch). I wanted to make bigger petals that were reminiscent of sunflowers, so I made the lazy daisy into more of a triangle shape. The wagon wheel is always a great flower center, and I stitched it by putting different colored strands together to make a new thread.

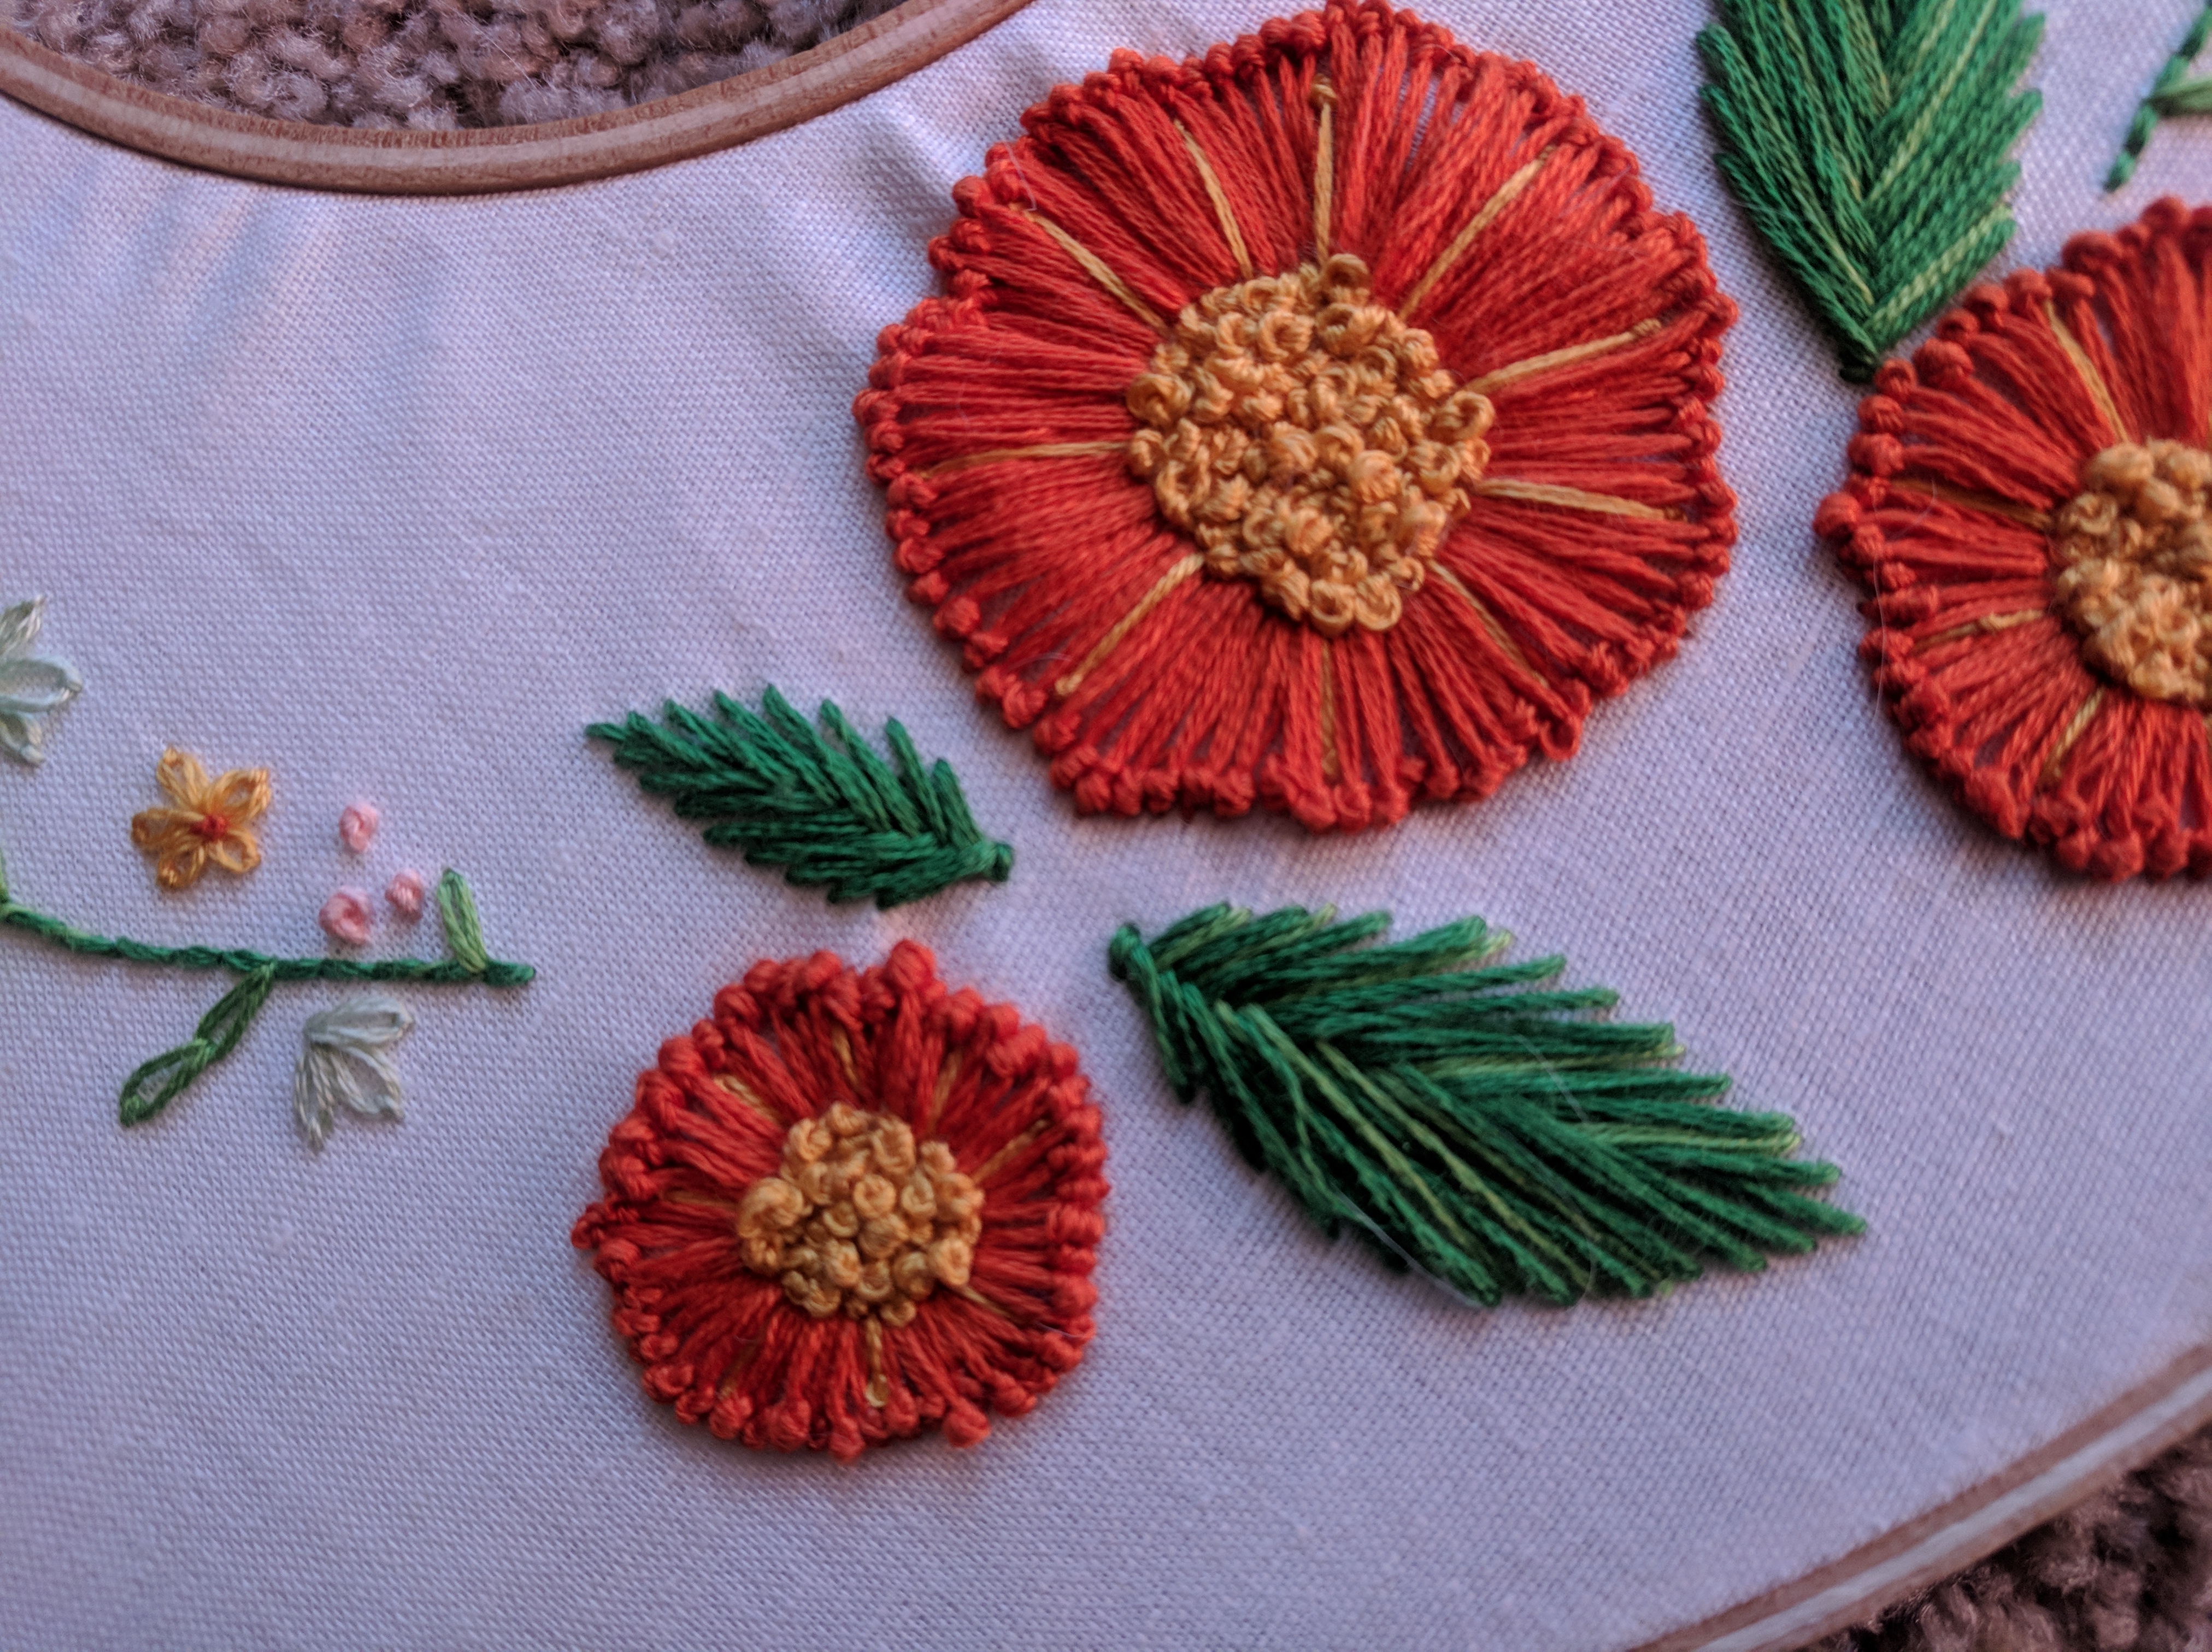
Elongated pistil stitch petals with french knot centers and fishbone leaves

I really like the look of pistil stitch, and I varied the number of french knots on the end throughout the petals. French knots have great texture and I liked using them in two different ways on these flowers.

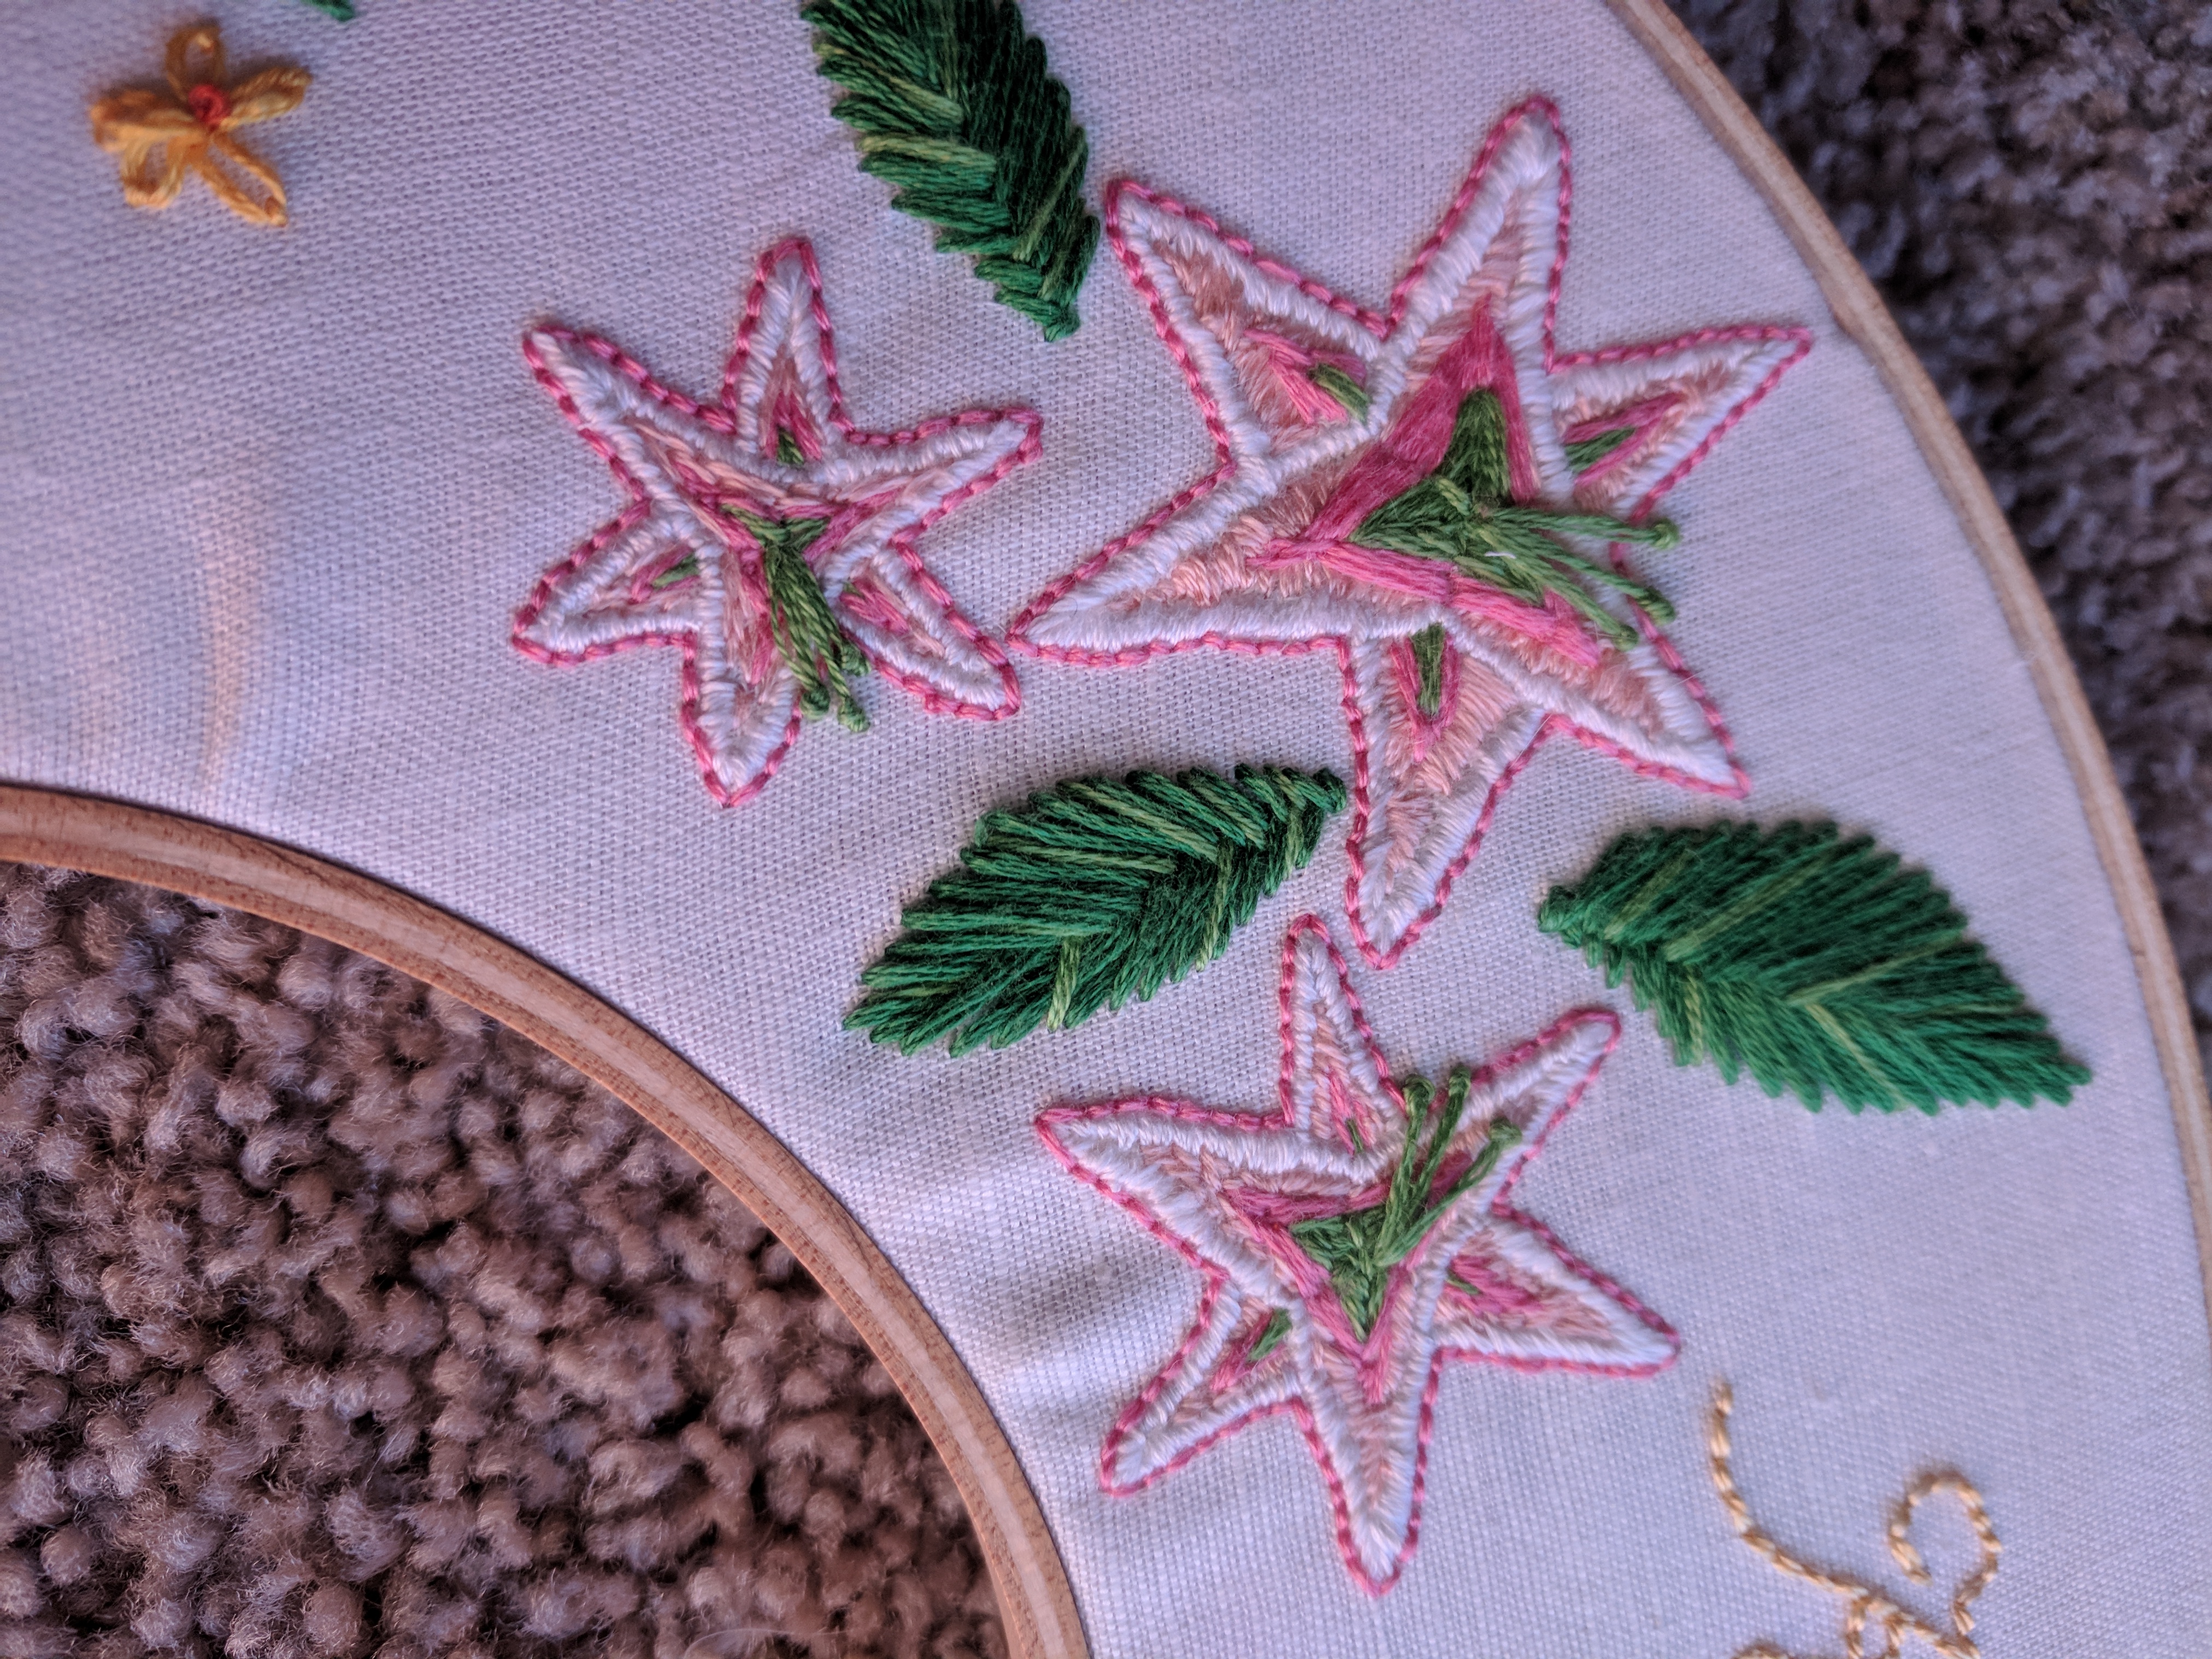
Satin stitch petals with pistil stitch and fishbone leaves

I like these flowers, but it was my first real usage of satin stitch. I think if I did it again, I’d use lazy daisy stitch or even backstitching with a larger thread size to fill in the space. It ended up being tedious, but it turned out nice.

Self-drafted design

Project completed March 2, 2018