After all this talk of what I do in the sewing room, I think it’s high time to show you some of the tools I use. Most of my tools are from Joann or MSQC, the iron and ironing board are from Target.
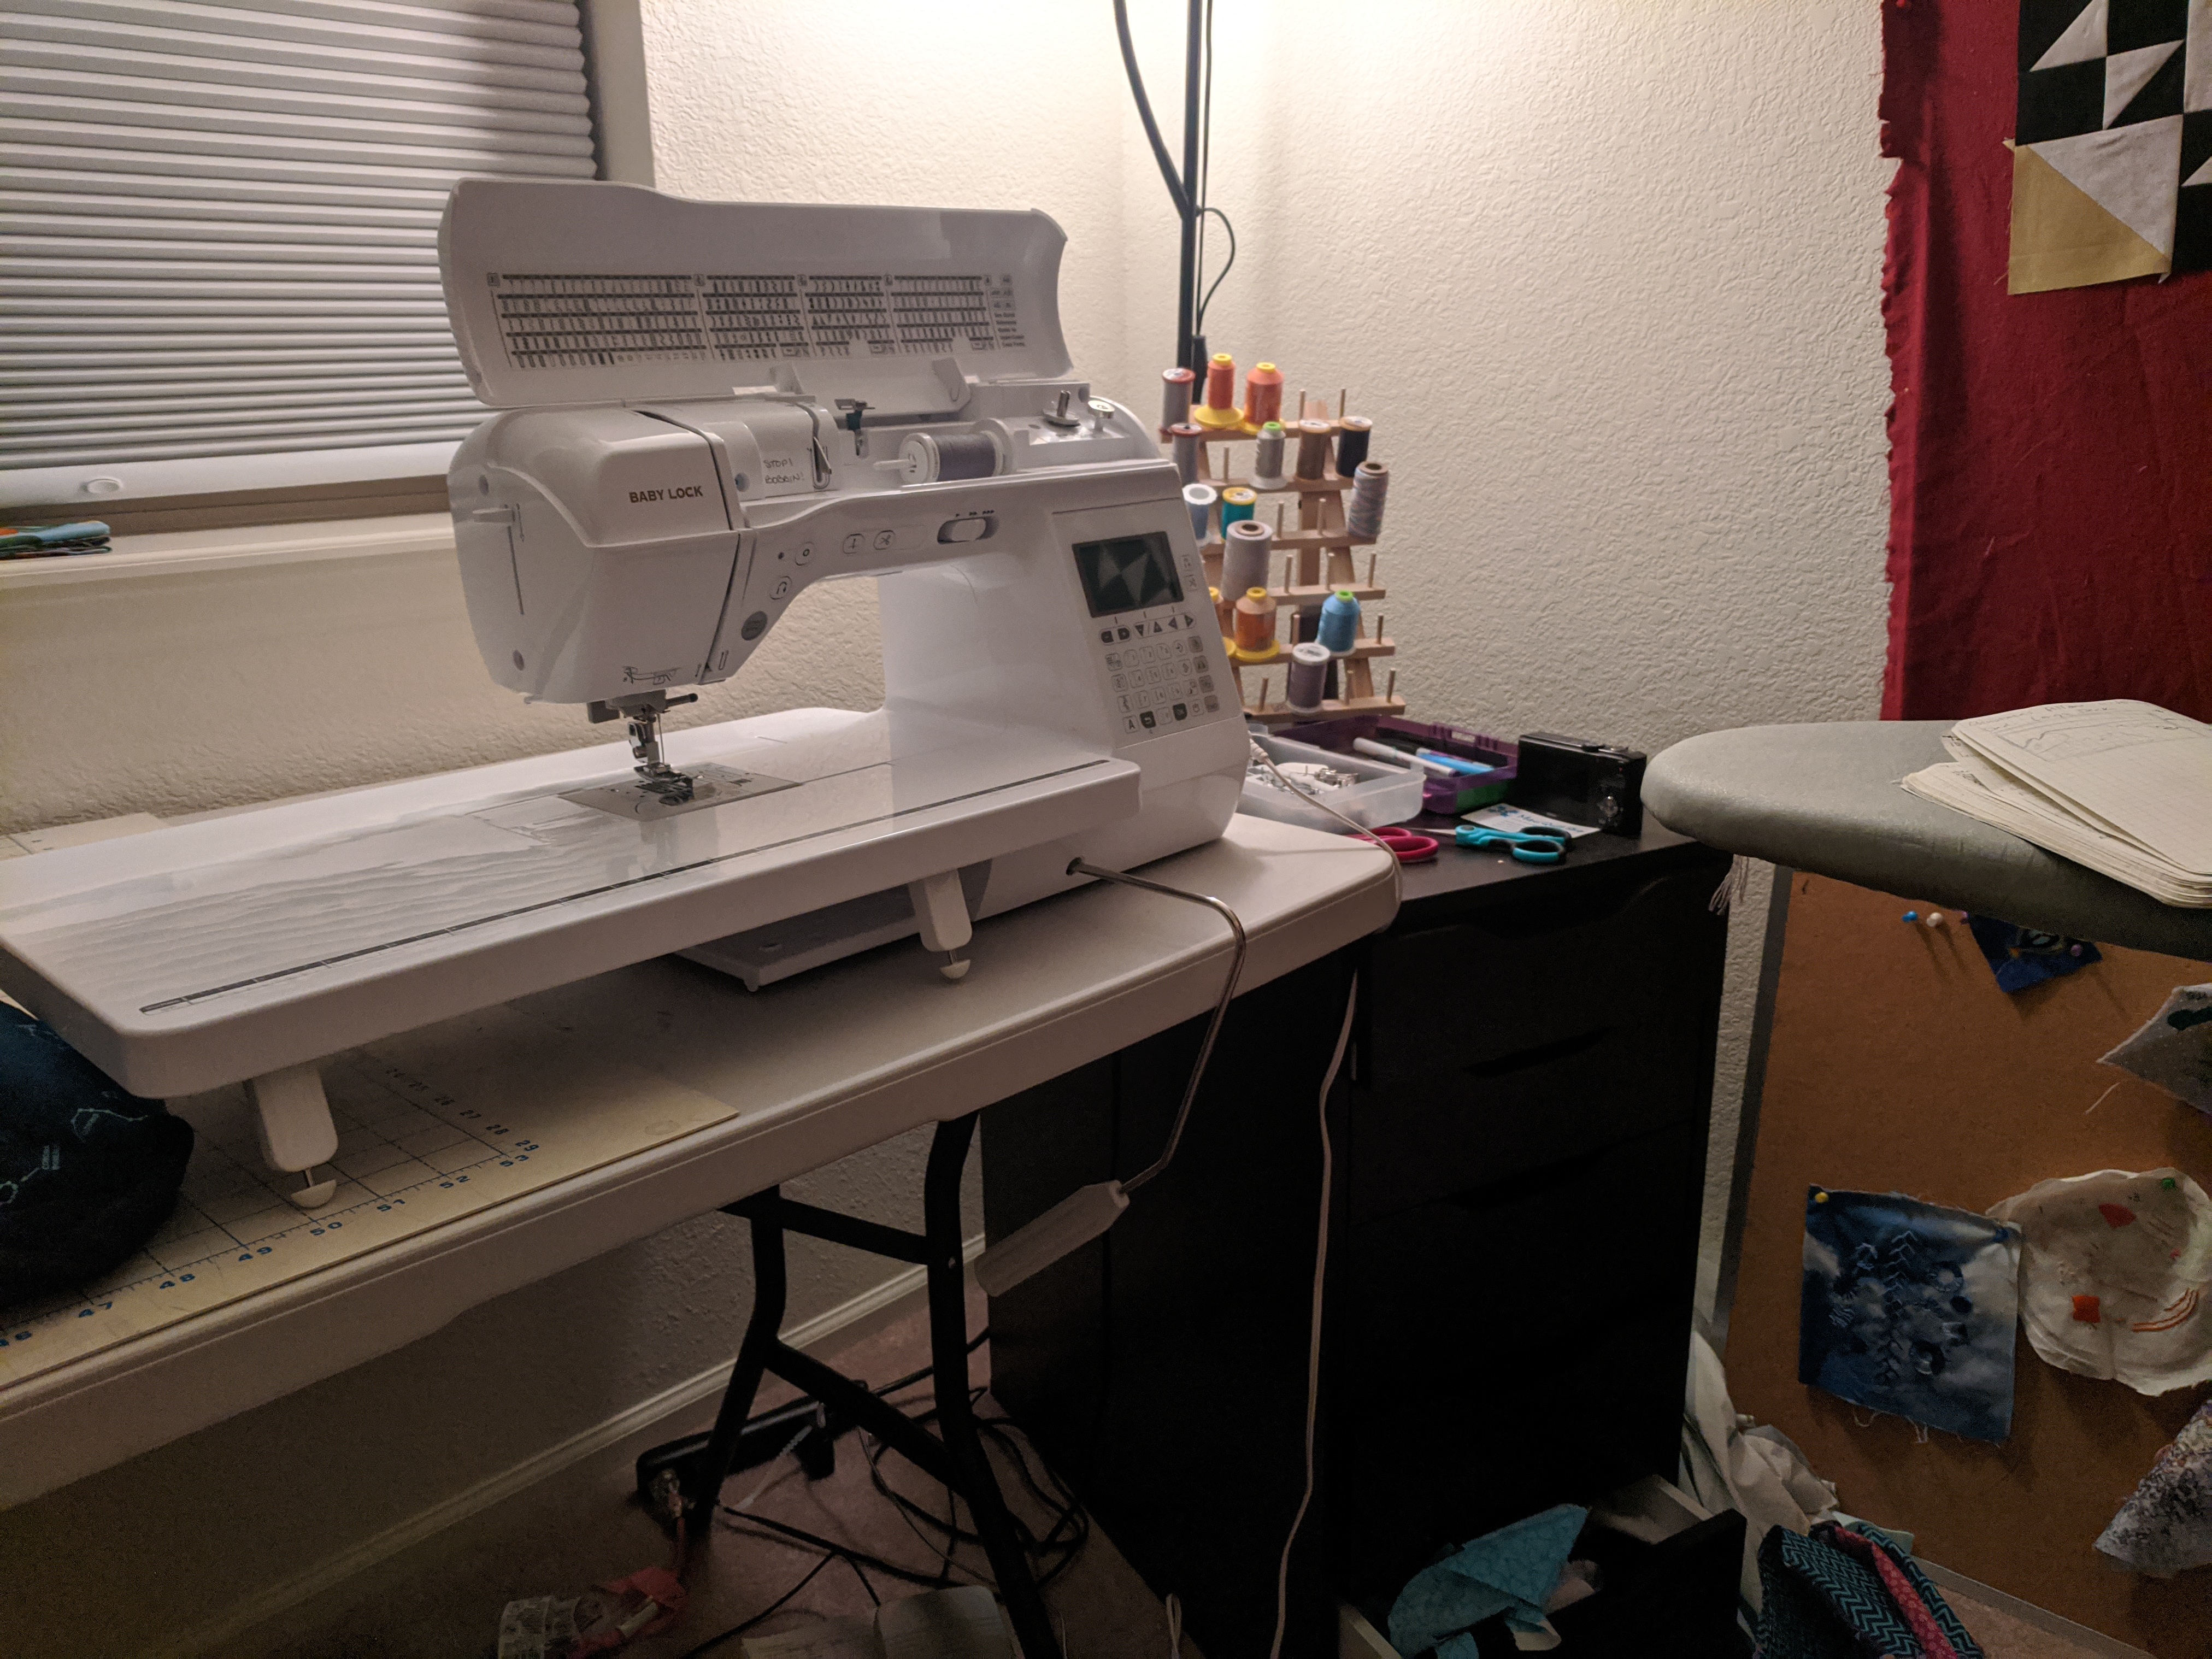
This is my sewing corner – the rest of the room is open and empty so I can lay out projects and fabric. I keep my ironing board right next to the machine because there is a lot of back-and-forth. Sometimes I’ll even put a cutting mat on the ironing board so I can go between cutting and pressing. The design wall is an old flannel sheet, and normal cotton will stick to it without pins, so I can look at layouts before committing to sewing them together. I have my large cutting mat on the table, but sometimes I’ll move it to the ground if I have a lot of fabric to deal with. Plus the table bends upward in the middle due to the weight of the machine on the right, so it’s not perfect.
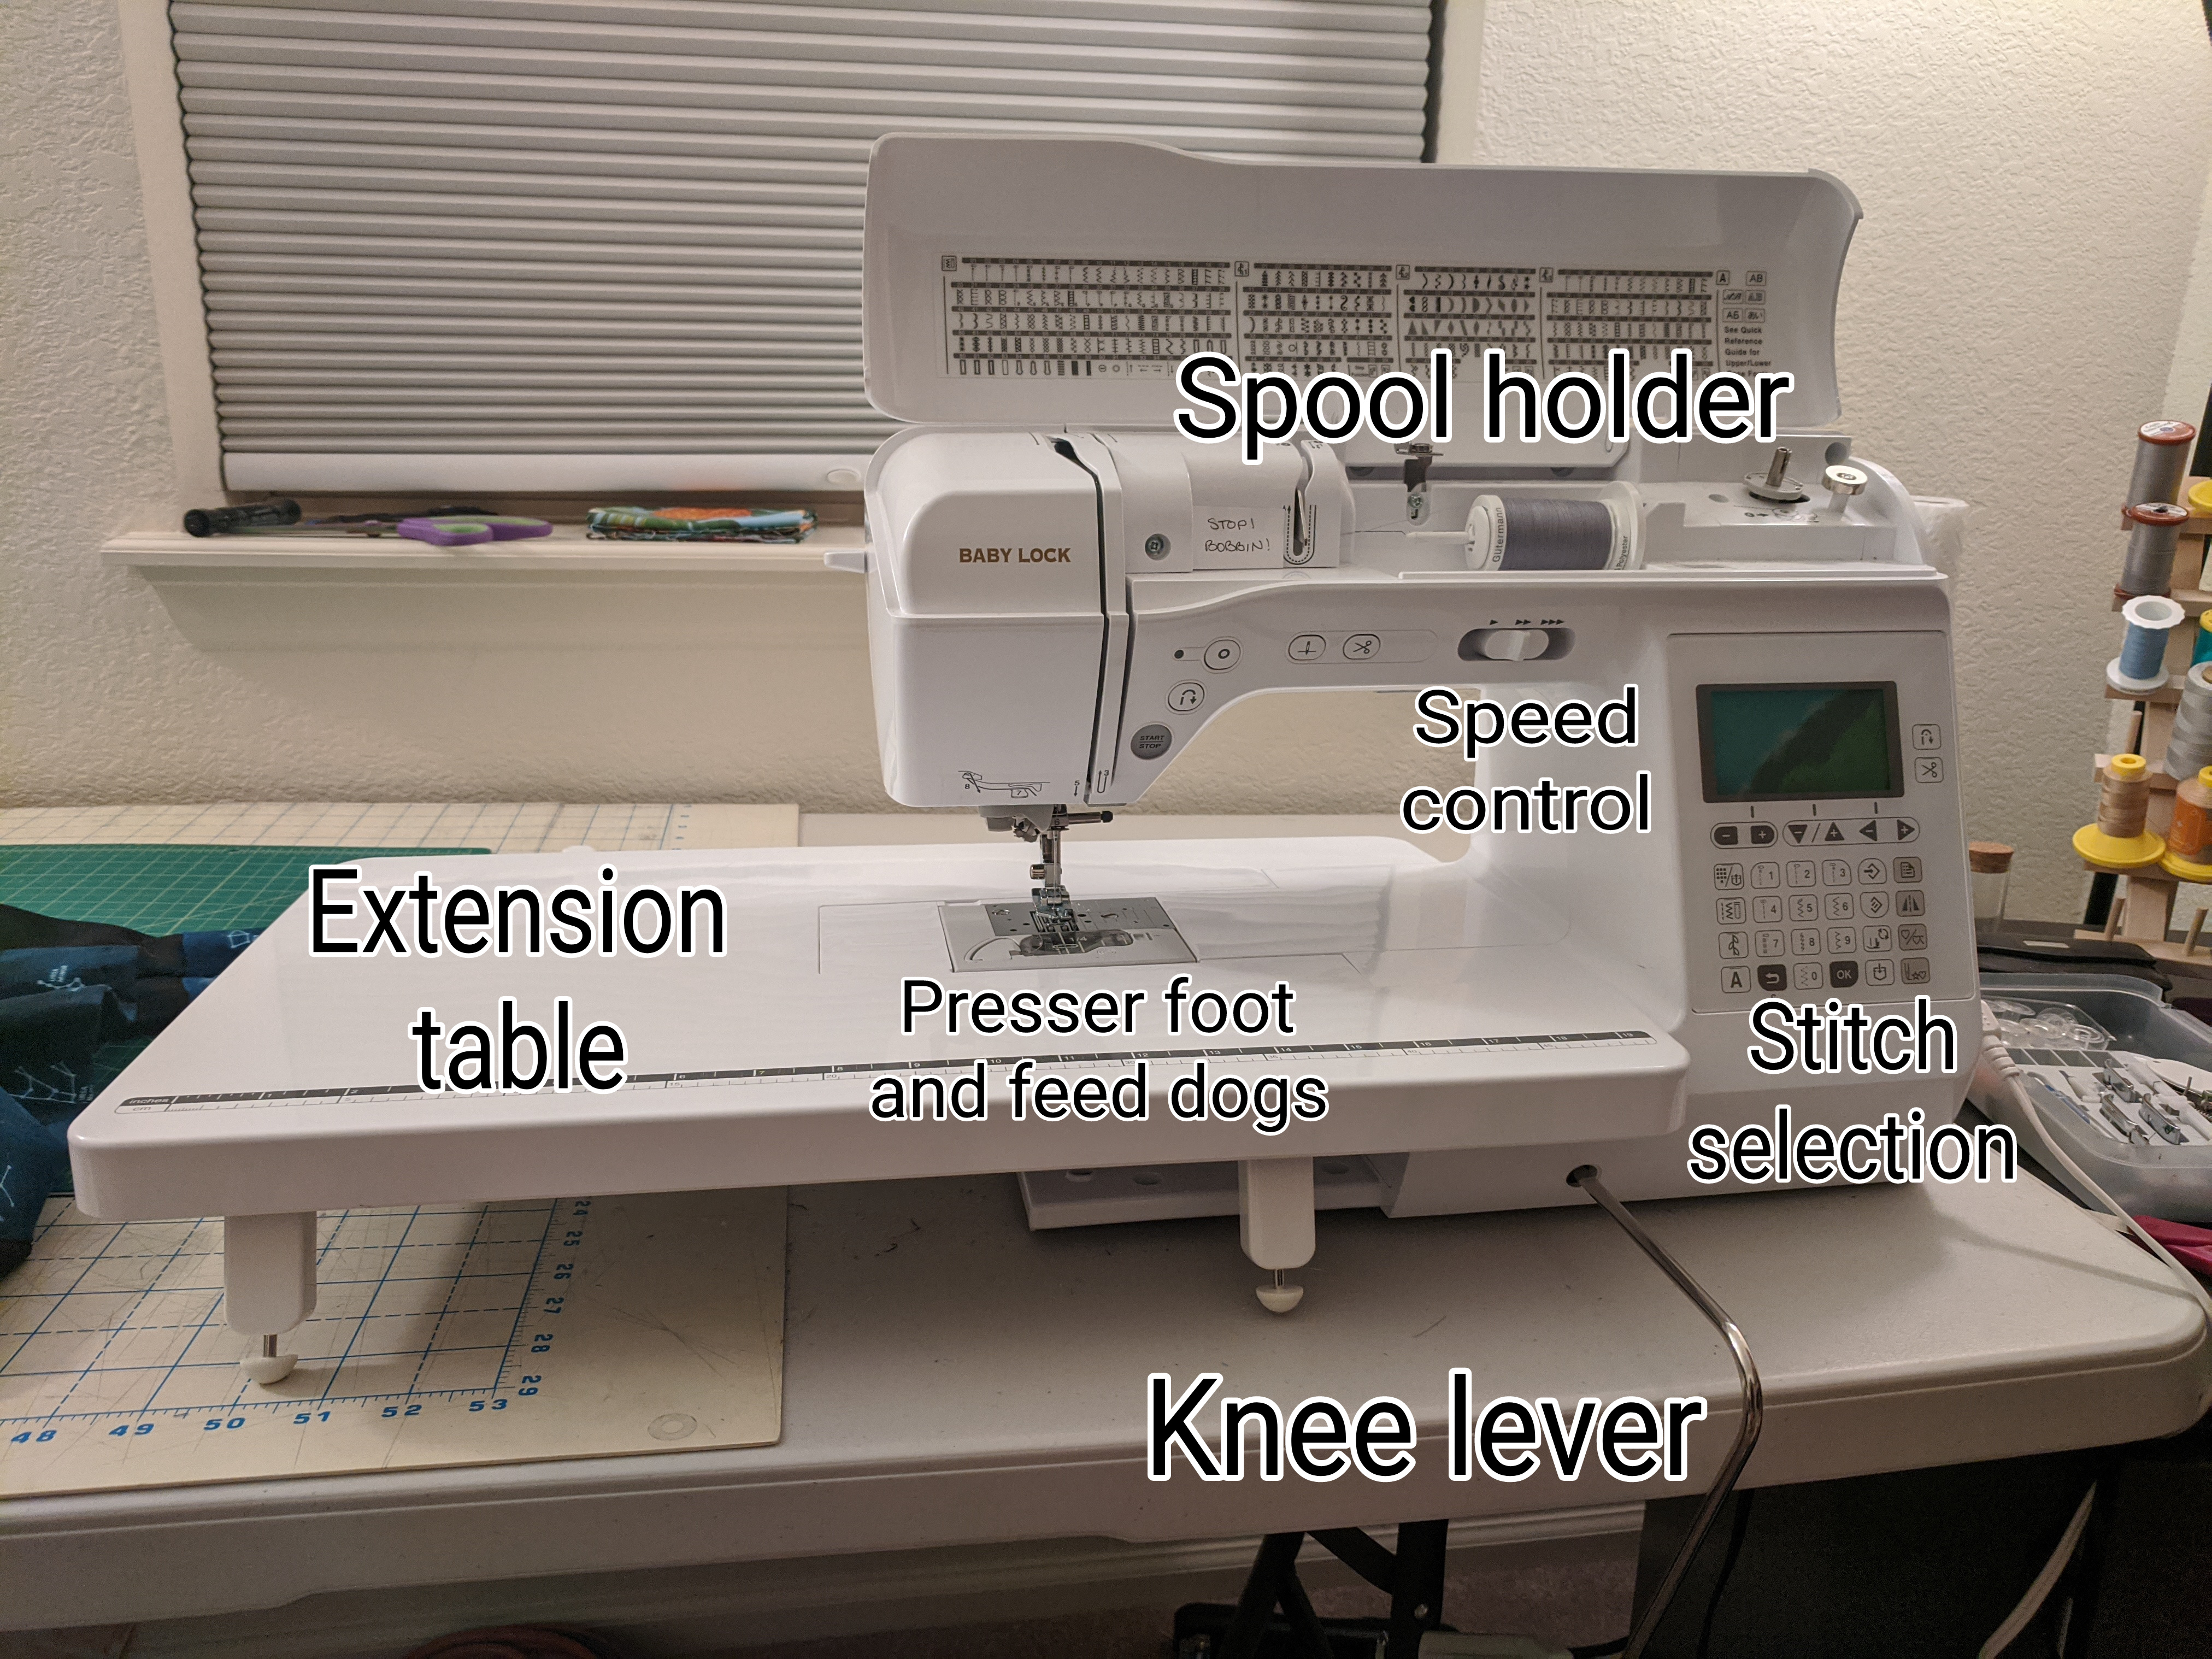
I own a Babylock Lyric, which I got semi-on-sale and semi-from-my-tax-return. It’s a computerized machine with lots of bells and whistles, but 95% of my sewing is a straight stitch on the default tension and length settings. I sometimes use an overlock or zigzag stitch to seal in clothing seams (professional clothes are finished with a serger, look at the inside of your shirt and you’ll see loops that hold in the raw edges of each seam) and I have the ability to do fun embellishments or letters if I wanted to. The machine is operated with a foot pedal, but it has a speed control switch so I can limit how fast it goes (I like to hang out at the middle speed).
It came with an extension table, which allows the fabric to lay flat as it gets sewn together; it makes it easier to guide the fabric through and prevents gravity from pulling the piece away from the needle. The extension table is near necessary for quilting, especially free motion since any gravitational pull will increase strain on the fabric and effort for me. Foot pedal controls the speed, spool holder holds the thread as it’s being used, and if I have a big spool I have a different attachment for it. You’ve seen the throat before in the Night Sky post, but this is where I have to stuff half the quilt as I quilt it. I’m always trying to quilt to my right so the fabric within the throat decreases over time. The knee lever allows me to raise the presser foot without using my hands, which is useful if I have to finagle something through the needle with both hands, or even if I’m just grabbing other stuff. The presser foot is the thing that secures the fabric to the table as it goes through the machine, so I raise the presser foot to turn corners or remove the fabric from the machine.

Here are some of those presser feet. They sit on the “ankle” of the machine and help the sewist guide fabric appropriately. The ¼” foot has a guide for where to put the edge of the fabric so the needle is ¼” away, which is the seam allowance most quilters use. The open toe foot allows you to see the needle as it goes down, and can be used for fancy stitches. The walking foot has its own ankle attachment and uses plastic pieces to guide the top of the fabric through the machine at the same rate as feed dogs on the bottom (more on that next). The free motion foot allows the fabric to move around easily, and the feed dogs are disengaged.
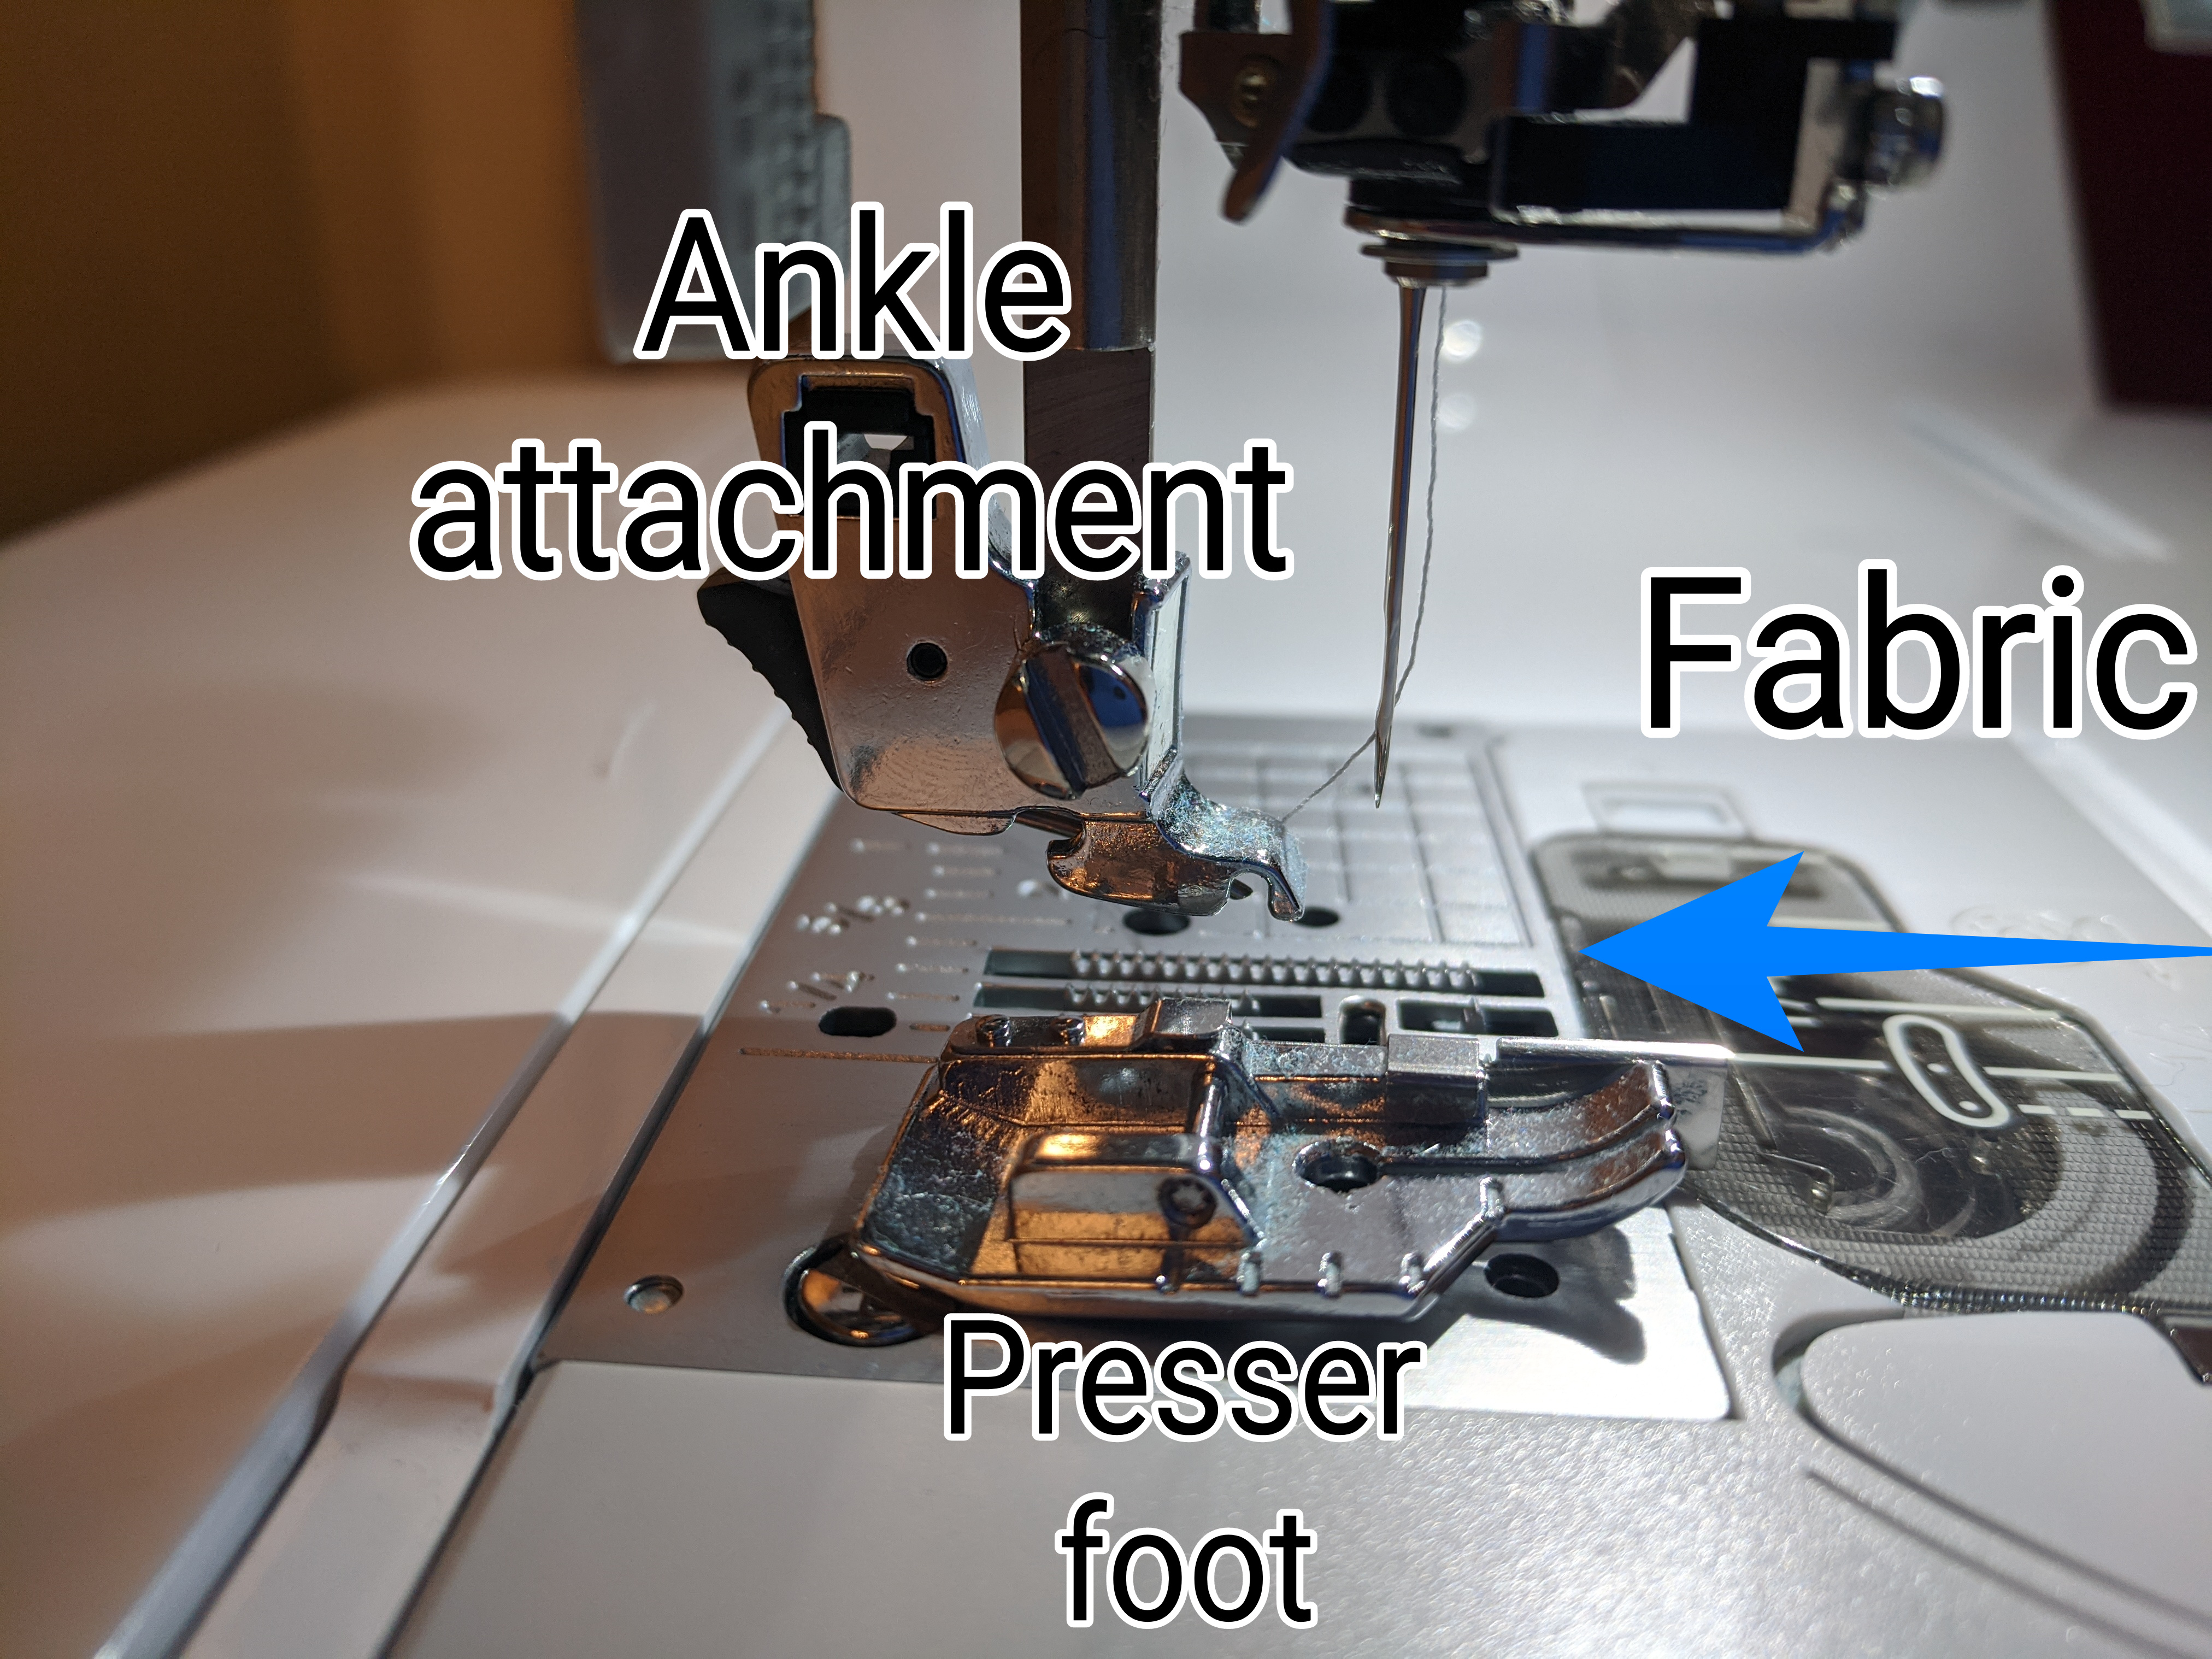
The feed dogs pull fabric through the machine. In a mechanical machine, they move via an elliptical gear on the same crankshaft as the needle. In a computerized machine, they move in a box pattern and therefore are completely flat as they move the fabric. This makes the motion very smooth and predictable, keeping the fabric flat and moving at a constant rate.
Most newer machines can wind the bobbin for you, which is neat. The bobbin holds the thread that is beneath the plate of the machine, and the thread from the top and bottom come together to create the stitches. In the above gif, the fabric is moving from right to left. Watch as the thread from the top (yellow) comes down, is caught by the hook, and in turn catches the thread from the bobbin (green). There are machines that can lay down perfect straight stitches like these at 1,000 stitches per minute, or 16 stitches per second.
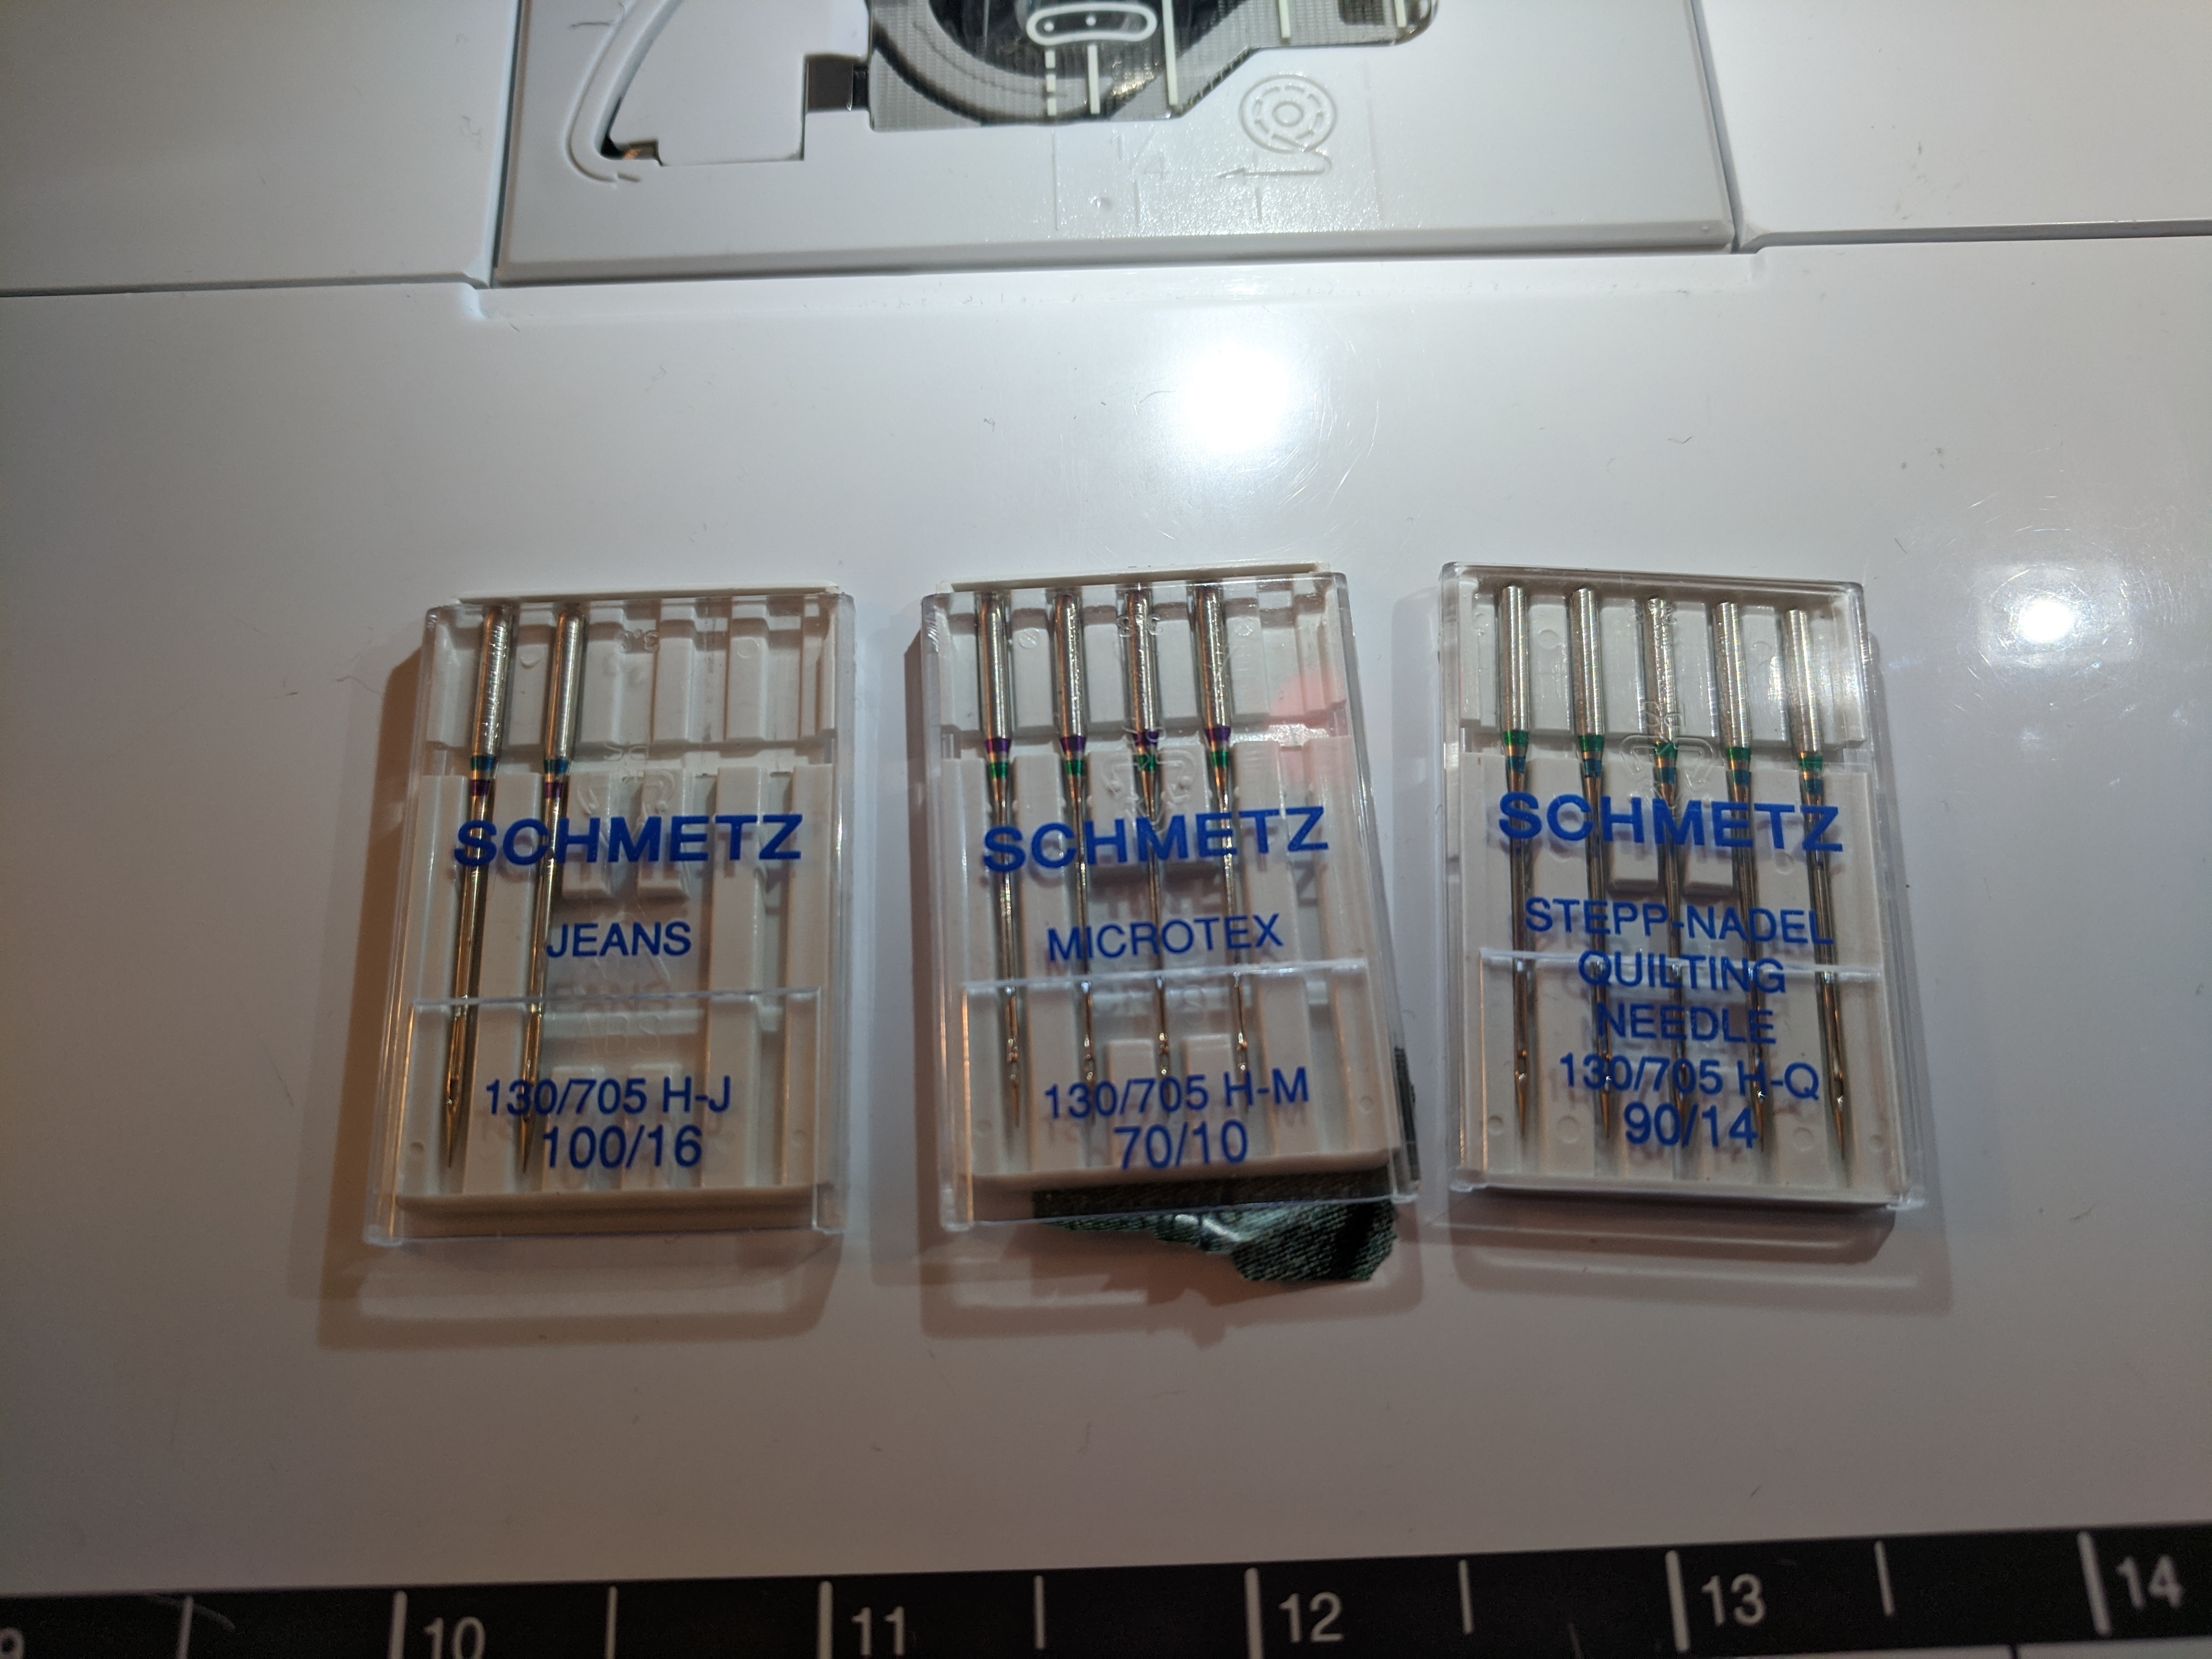
There are many different sizes and types of needles, I usually use a 70/10 for quilting and piecing, unless I’m using a thicker thread in which case I need a thicker needle. Microtex or sharps are useful for cotton, but they make ball point or duller needles for jersey and knit fabrics so the needle doesn’t break any threads. Over time, needles get dull, or I run over a pin and break them. They recommend using a new needle for every project, but it ends up being every two-ish projects for me.
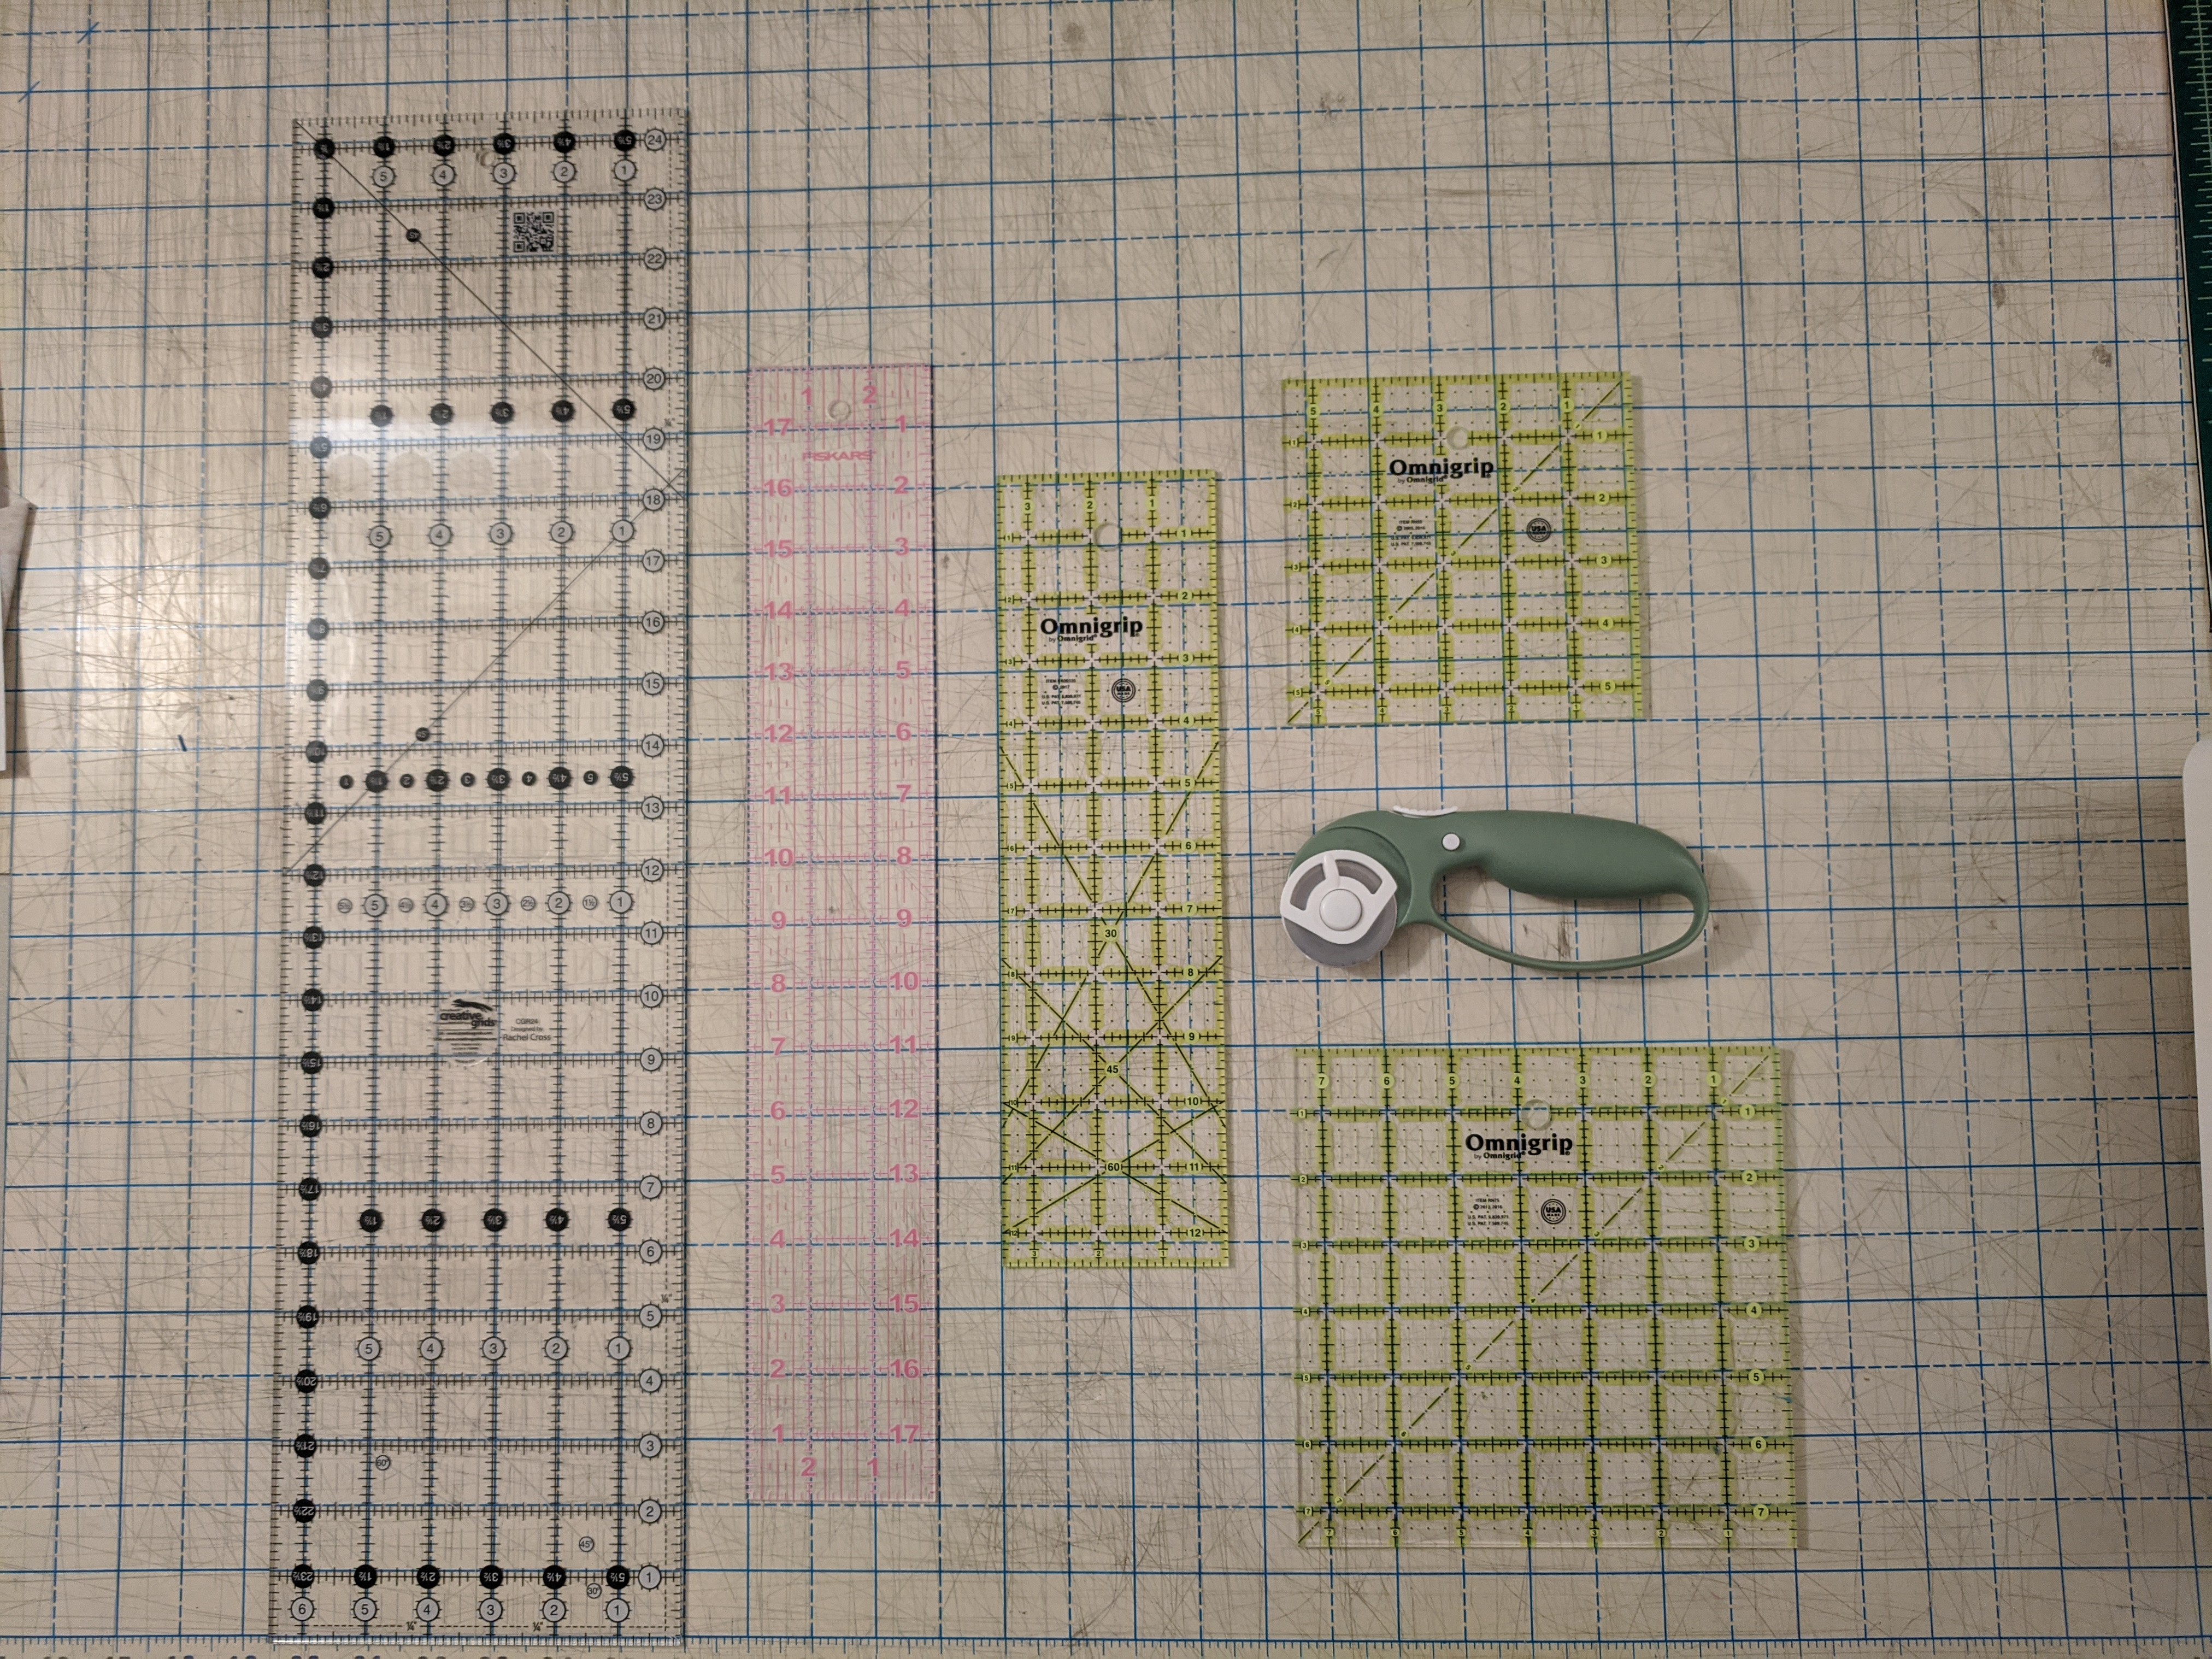
My rulers! So necessary for quilting, since everything is on a grid. Rulers are mostly used in conjunction with the rotary cutter and mats, which make cutting up fabric so easy. I have the big white mat that takes up half my table, and a few other mats that are smaller.
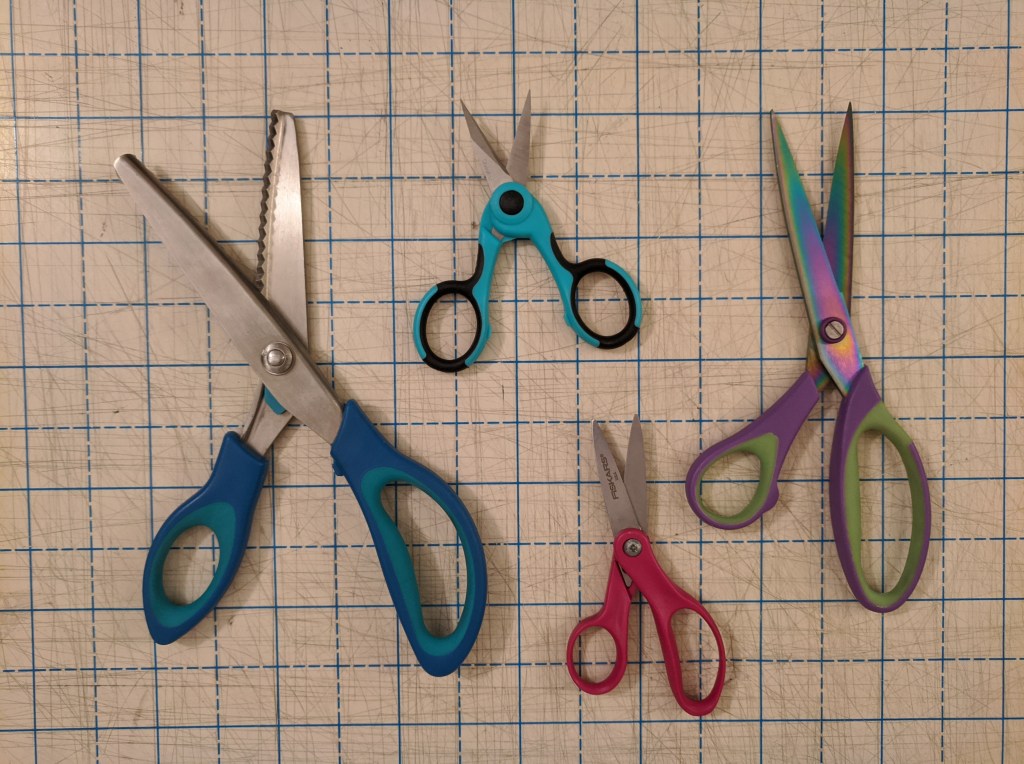
Scissors! 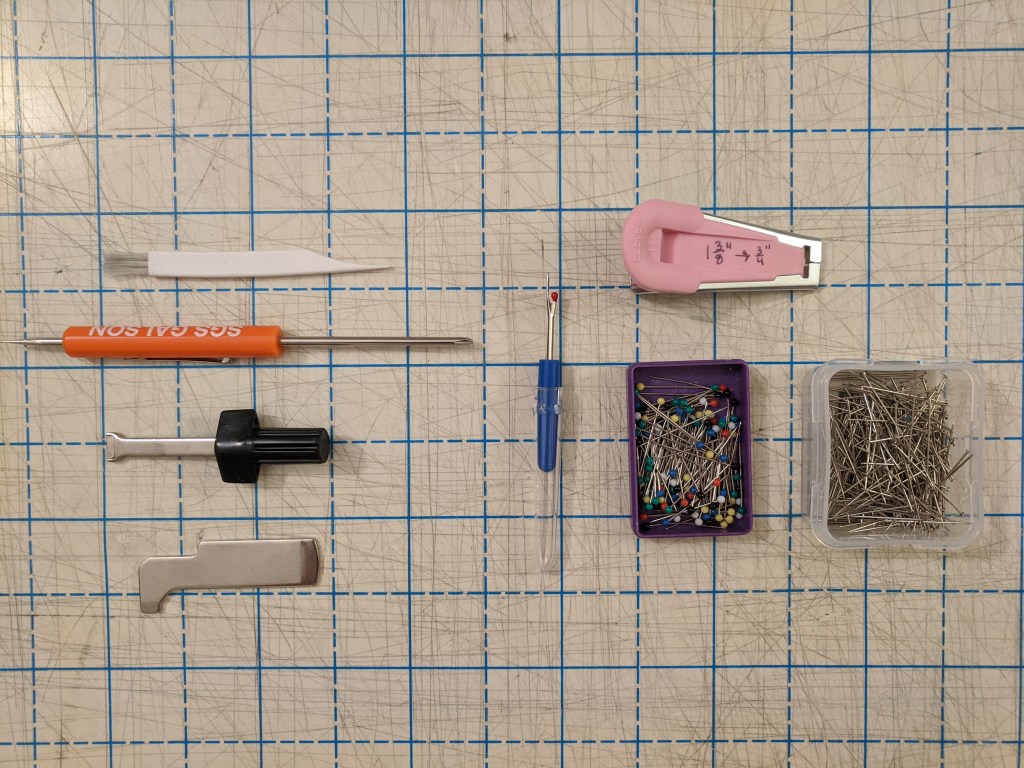
Random notions
As with rulers, there are many different scissors 🙂 I mostly use them for getting bits of thread and cutting batting. That said, paper dulls scissors very quickly, so fabric scissors are for fabric only! I use little ball head pins and satin pins (far right) to hold fabric together, usually for garments. I don’t usually pin when quilting. I also have my maintenance notions – the lint brush (top white) and various screwdrivers help me clean the inside of the machine from the lint that gets stuck in there. In the middle is my seam ripper, ever useful. The pink thing make bias tape, I can cut a strip, feed it through, and it folds the edges over for you.
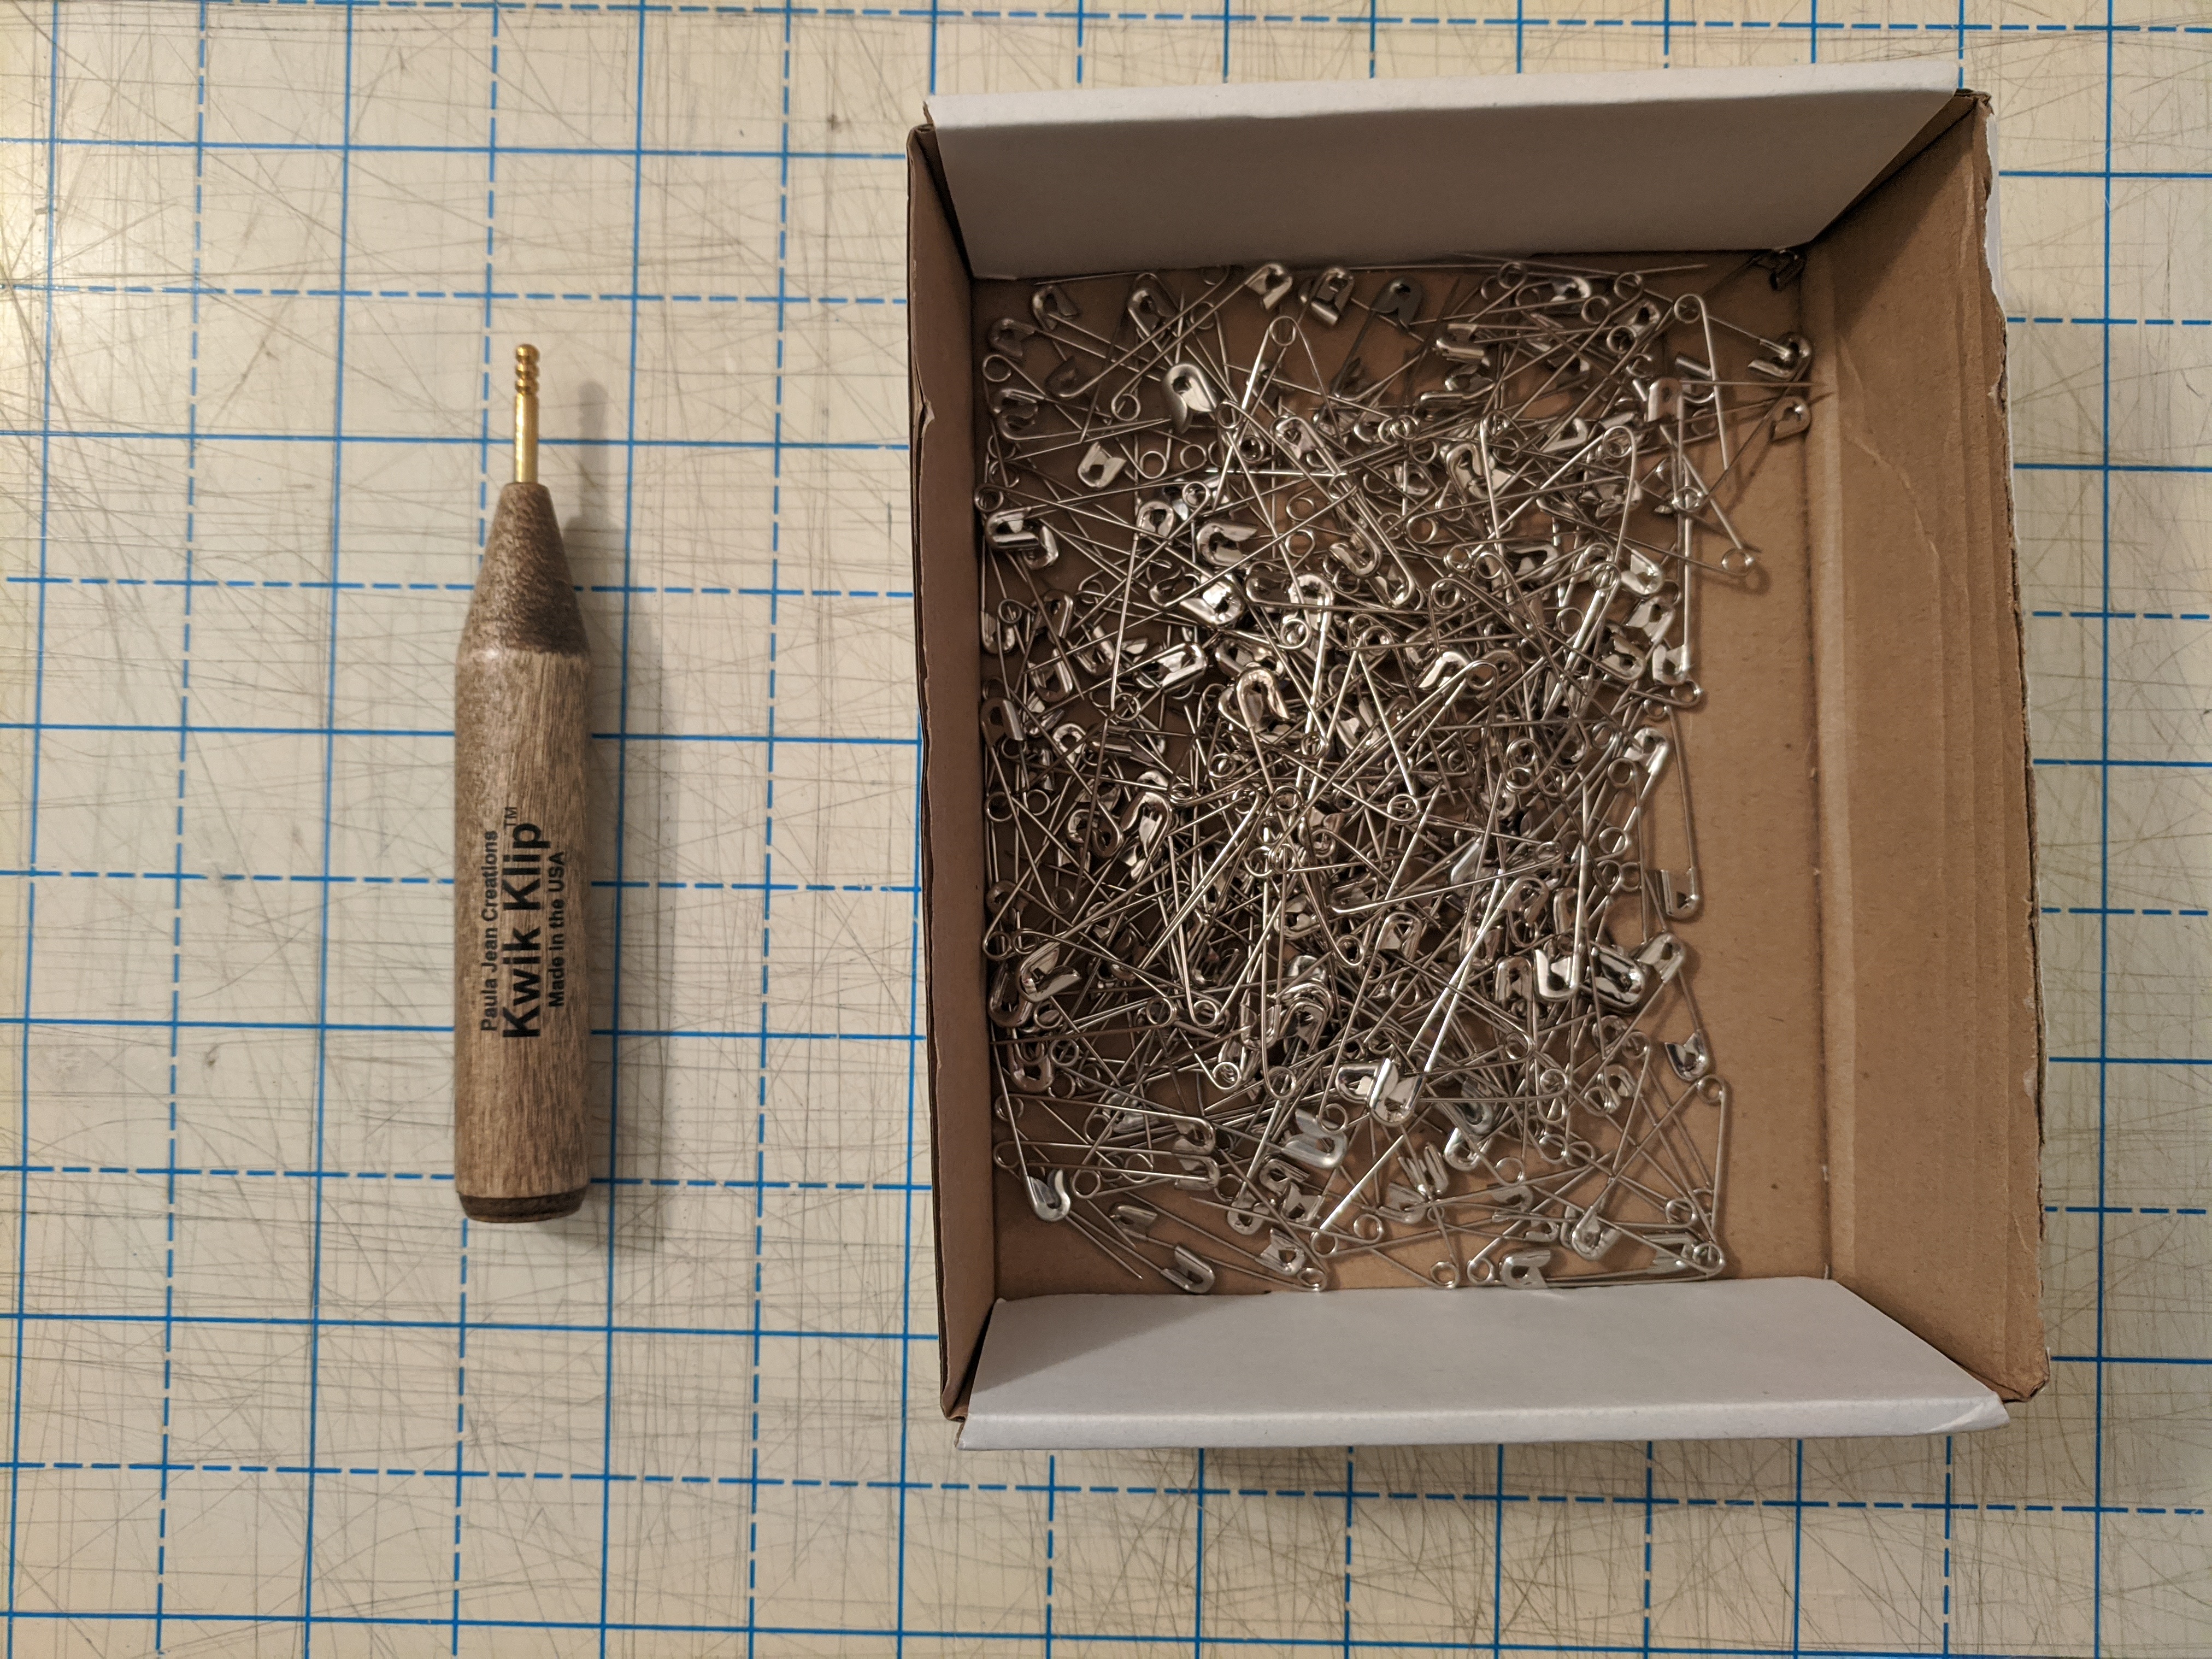
Safety pins and the Kwik Klip are used during basting to keep the quilt sandwich together. Spray basting is another way to keep the quilt sandwich together, but I haven’t used it yet.

And last but absolutely not least, my iron 🙂 the iron is critical in all sewing. The first press after sewing a seam helps the thread relax into the fabric, and reduces puckers – and in quilting, the idea is to have the top be as flat as possible. Most of the time, I’m on high heat with steam, since that’s the best for cotton. The iron can also be used for fusing interfacing or applique glue.