IT IS FINISHED!!!!! And oh, I do love it. When I look at it, I’m reminded of the hard work and enjoyment that sewing and quilting have given me, and that I’ve given myself. It reminds me that I enjoy hand sewing and machine sewing for different reasons, and they both have their place in my creative endeavors.
It was a lot of work, but it was spread out. And very worth it. This project brought me back to college when I was only doing hand sewing, since I didn’t own a machine. It was a slow and relaxing project, which was wonderful – I’d work on it whenever I felt like it, whether that was on the train to the city or sitting on the couch with my cat.
gluing fabric to hexagons
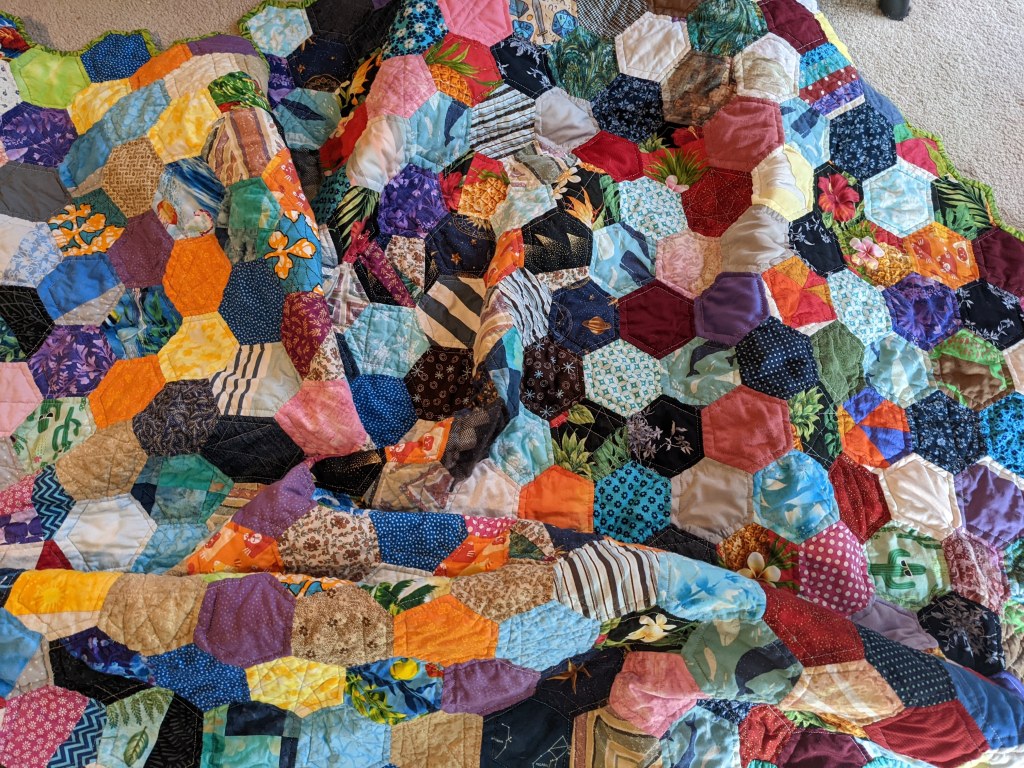
I wanted to keep the quilting really simple and highlight the fabrics themselves, since there are so many fun ones in this quilt! I decided to echo the hexagons, and made three passes across the quilt, echoing two sides at a time (three passes, two sides at a time – all six sides covered!). This allowed me to quilt long, uninterrupted lines, which is most effective. Quilting is pretty AND increases the structural integrity of the entire sandwich, so long lines are preferable to “isolated” designs that require cutting the thread. For a little fun, I added in my “random geometric” design in some hexagons.
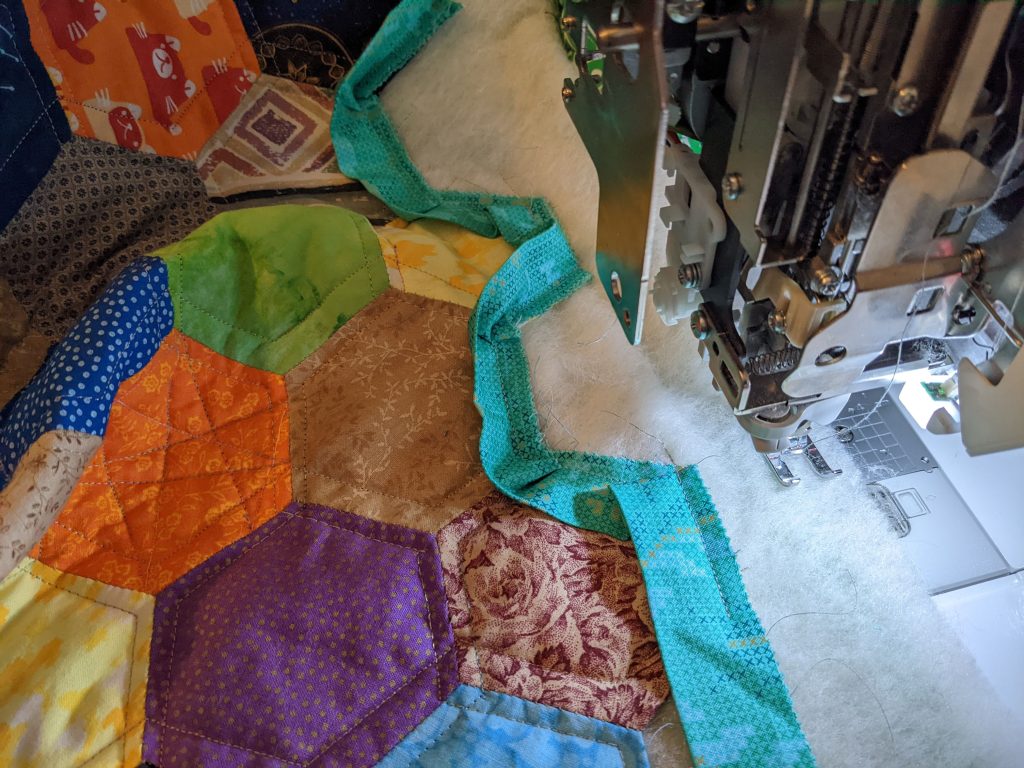
Quilting by aligning the ruler against the edge of the hexagon and following it, creating a quarter-inch echo line. You can see here that I’m on my third pass, four of the sides are already echoed and I’m following the last two sides (easiest to see in the light blue heart block or light pink on the left).
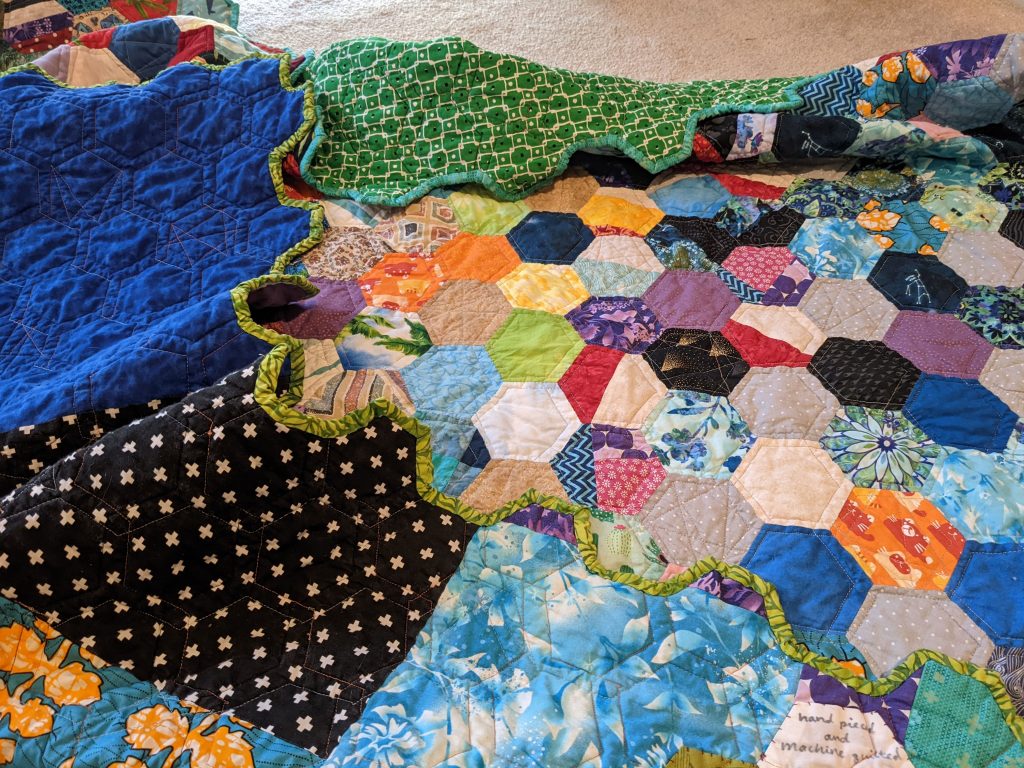
I decided that I would keep the hexagons on the border instead of cutting the quilt to rectangular, so I looked up how to apply binding to all the angles. It was a bit fussy, and I realized that I would have to then hand sew the binding to the back, but… it looks really cool. And it was nice to finish the quilt by hand, honoring the work I put in to the top.
Applying the binding with the machine
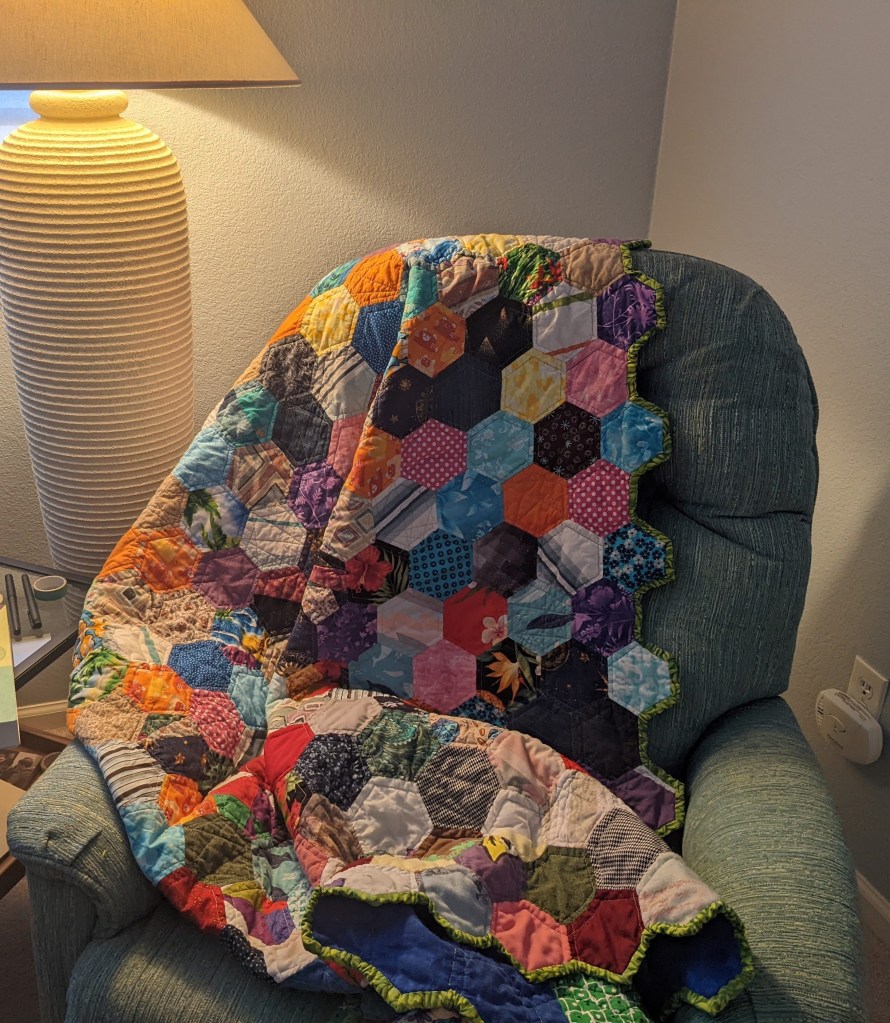
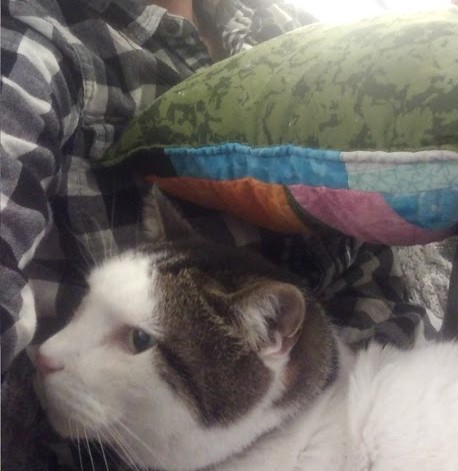
Hand sewing the binding to the back, with my friendly helper.scraps from the backThis quilt’s resting place – the analog room / reading chair ❤ It is wonderful and warm and cozy… and a project for me, of me, from me.
Project completed January 9, 2022.
Fabrics – so many. Sourced from MSQC, Joann, Bluprint, Etsy, eBay, thrift store, Spoonflower, memory quilt scraps
Batting – scraps, mostly cotton and cotton/poly blends
I didn’t buy any supplies for this quilt except machine needles. Which!! I figured out why my thread kept breaking all those times. Just need to use a bigger needle. 🙂 But it was a true joy to create something “for free”.
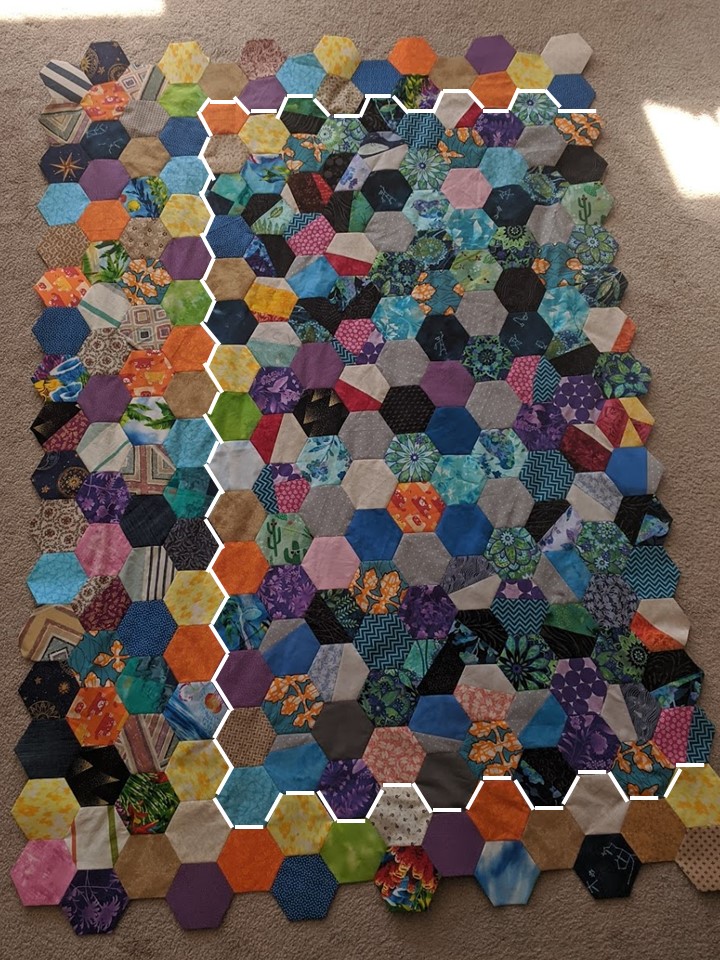
I’m still working on my scrappy hexagon quilt – it’s been a while since I laid it out, and I’m pleasantly surprised it’s so big now! Honestly it’s getting to the point where I should start adding to the sides so it doesn’t become too rectangular!
I’m still not sure what I want this quilt to be – a wall hanging? A couch quilt? I’m not sure. I started this back in January and it’s fun to see the scraps of my projects all in one place. It’s a sort of historical record, an archive of projects past.
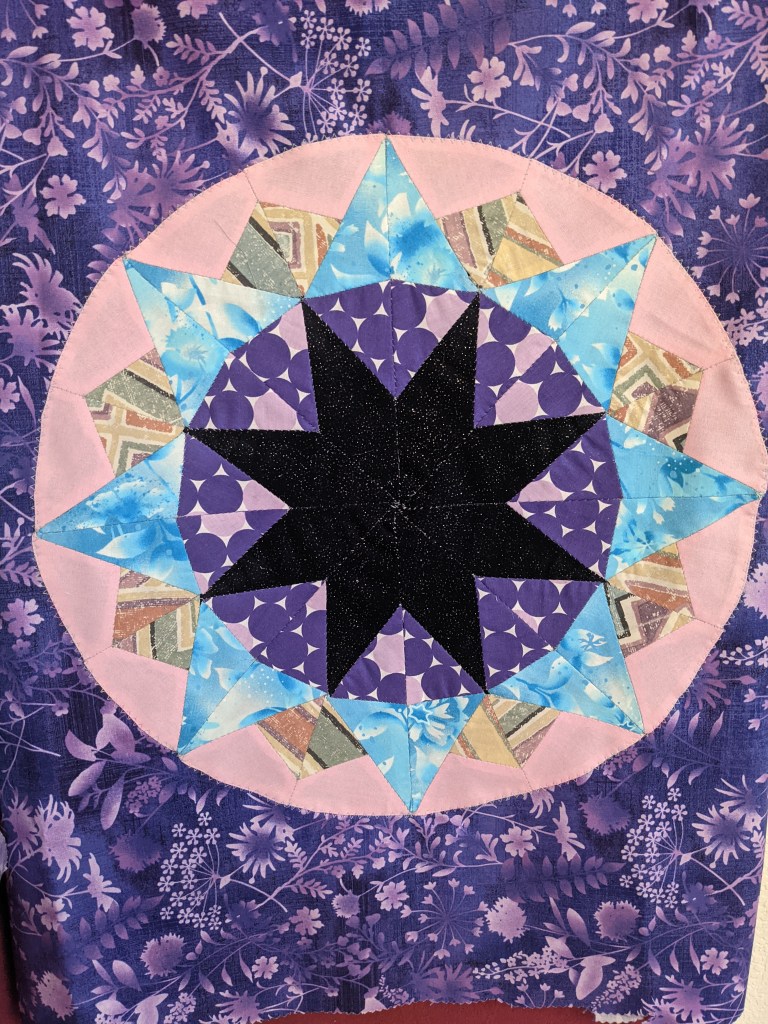
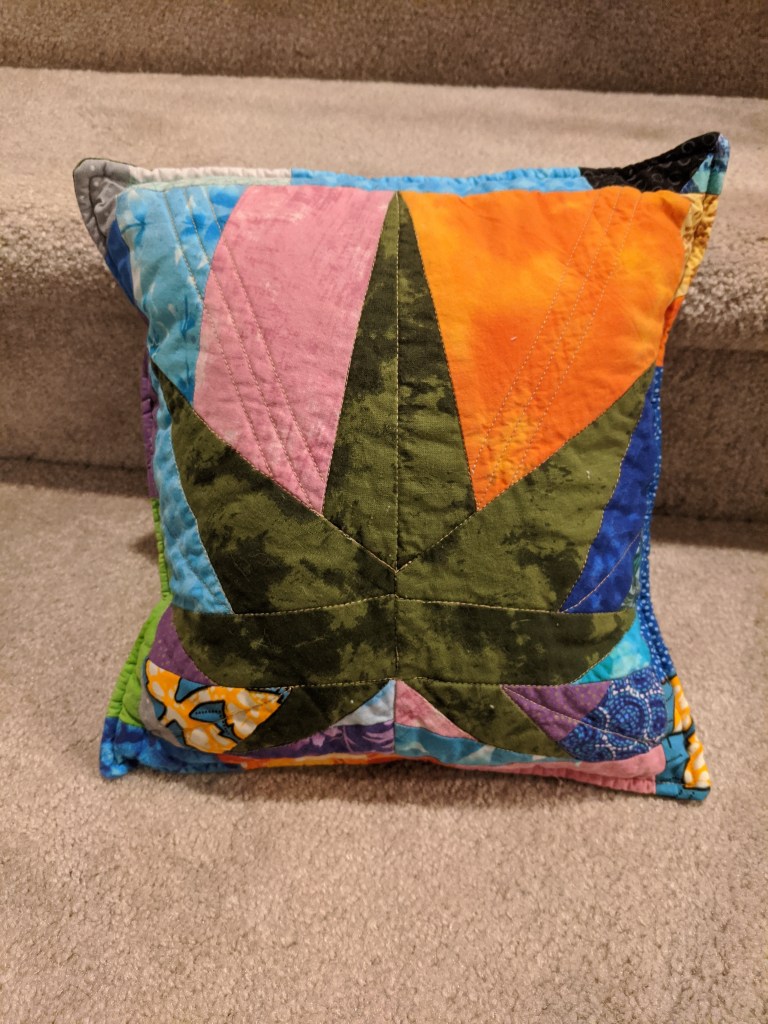
I also bought an English paper piecing kit for a star pattern, and whipped it up in a couple days. They provided the papers and plastic templates to make it easier to cut your fabric, which was nice.
Star has approximately 16″ diameter
It was weird to work with acute angles and smaller pieces, but I like how it turned out! This was my tester version, so I just used random scraps, but I think a sunset would be really cool, a nebula type shape, maybe fabric that looks more like stained glass? Some of the intersections aren’t perfectly aligned, so I want to work on that next time.
I went to the museum again! Their exhibition was all English paper pieced quilts, which are pieced by hand. Traditionally, only hexagons are used: a paper hexagon is cut out, the fabric is wrapped around it and basted (or glued), then each hexagon is sewn to the others. Mostly the older ones are cute flower designs, with the modern ones (as you’ll see below) branching out into all different directions with more shapes and sizes. The paper template (we use cardstock now because it’s reusable) helps all the seams to be perfect and sharp, and then the paper is removed before quilting.
I have great respect for the people who make these large scale hand pieced quilts! Now that I have a sewing machine, hand sewing is extremely low on my priority and desire list, and I can’t even imagine the work and time (and stabbed fingers, probably) necessary to get quilts like these finished. I’ve heard that people like to work on EPP on road trips or plane rides, which makes a ton of sense. Also, just the sheer organizational nightmare putting this together must be – all those tiny pieces! I suppose it would be a great way to get rid of tiny scraps – they make hexagon templates down to 1/4″ on each side.
Below is G’Ma’s English Garden by Beverly Miller, it’s a full grid of hexagons, but the center of each flower or star is a different color. This layout is not super interesting at first glance, but the quilting truly makes this quilt pop. The wavy lines give so much movement and texture, and take this colorful quilt to the next level. I also love the embroidered details on the top and bottom rows.
Long wavy lines and some pebbles in the quilting; here you can see the hexagons that have been pieced together (by hand, remember)
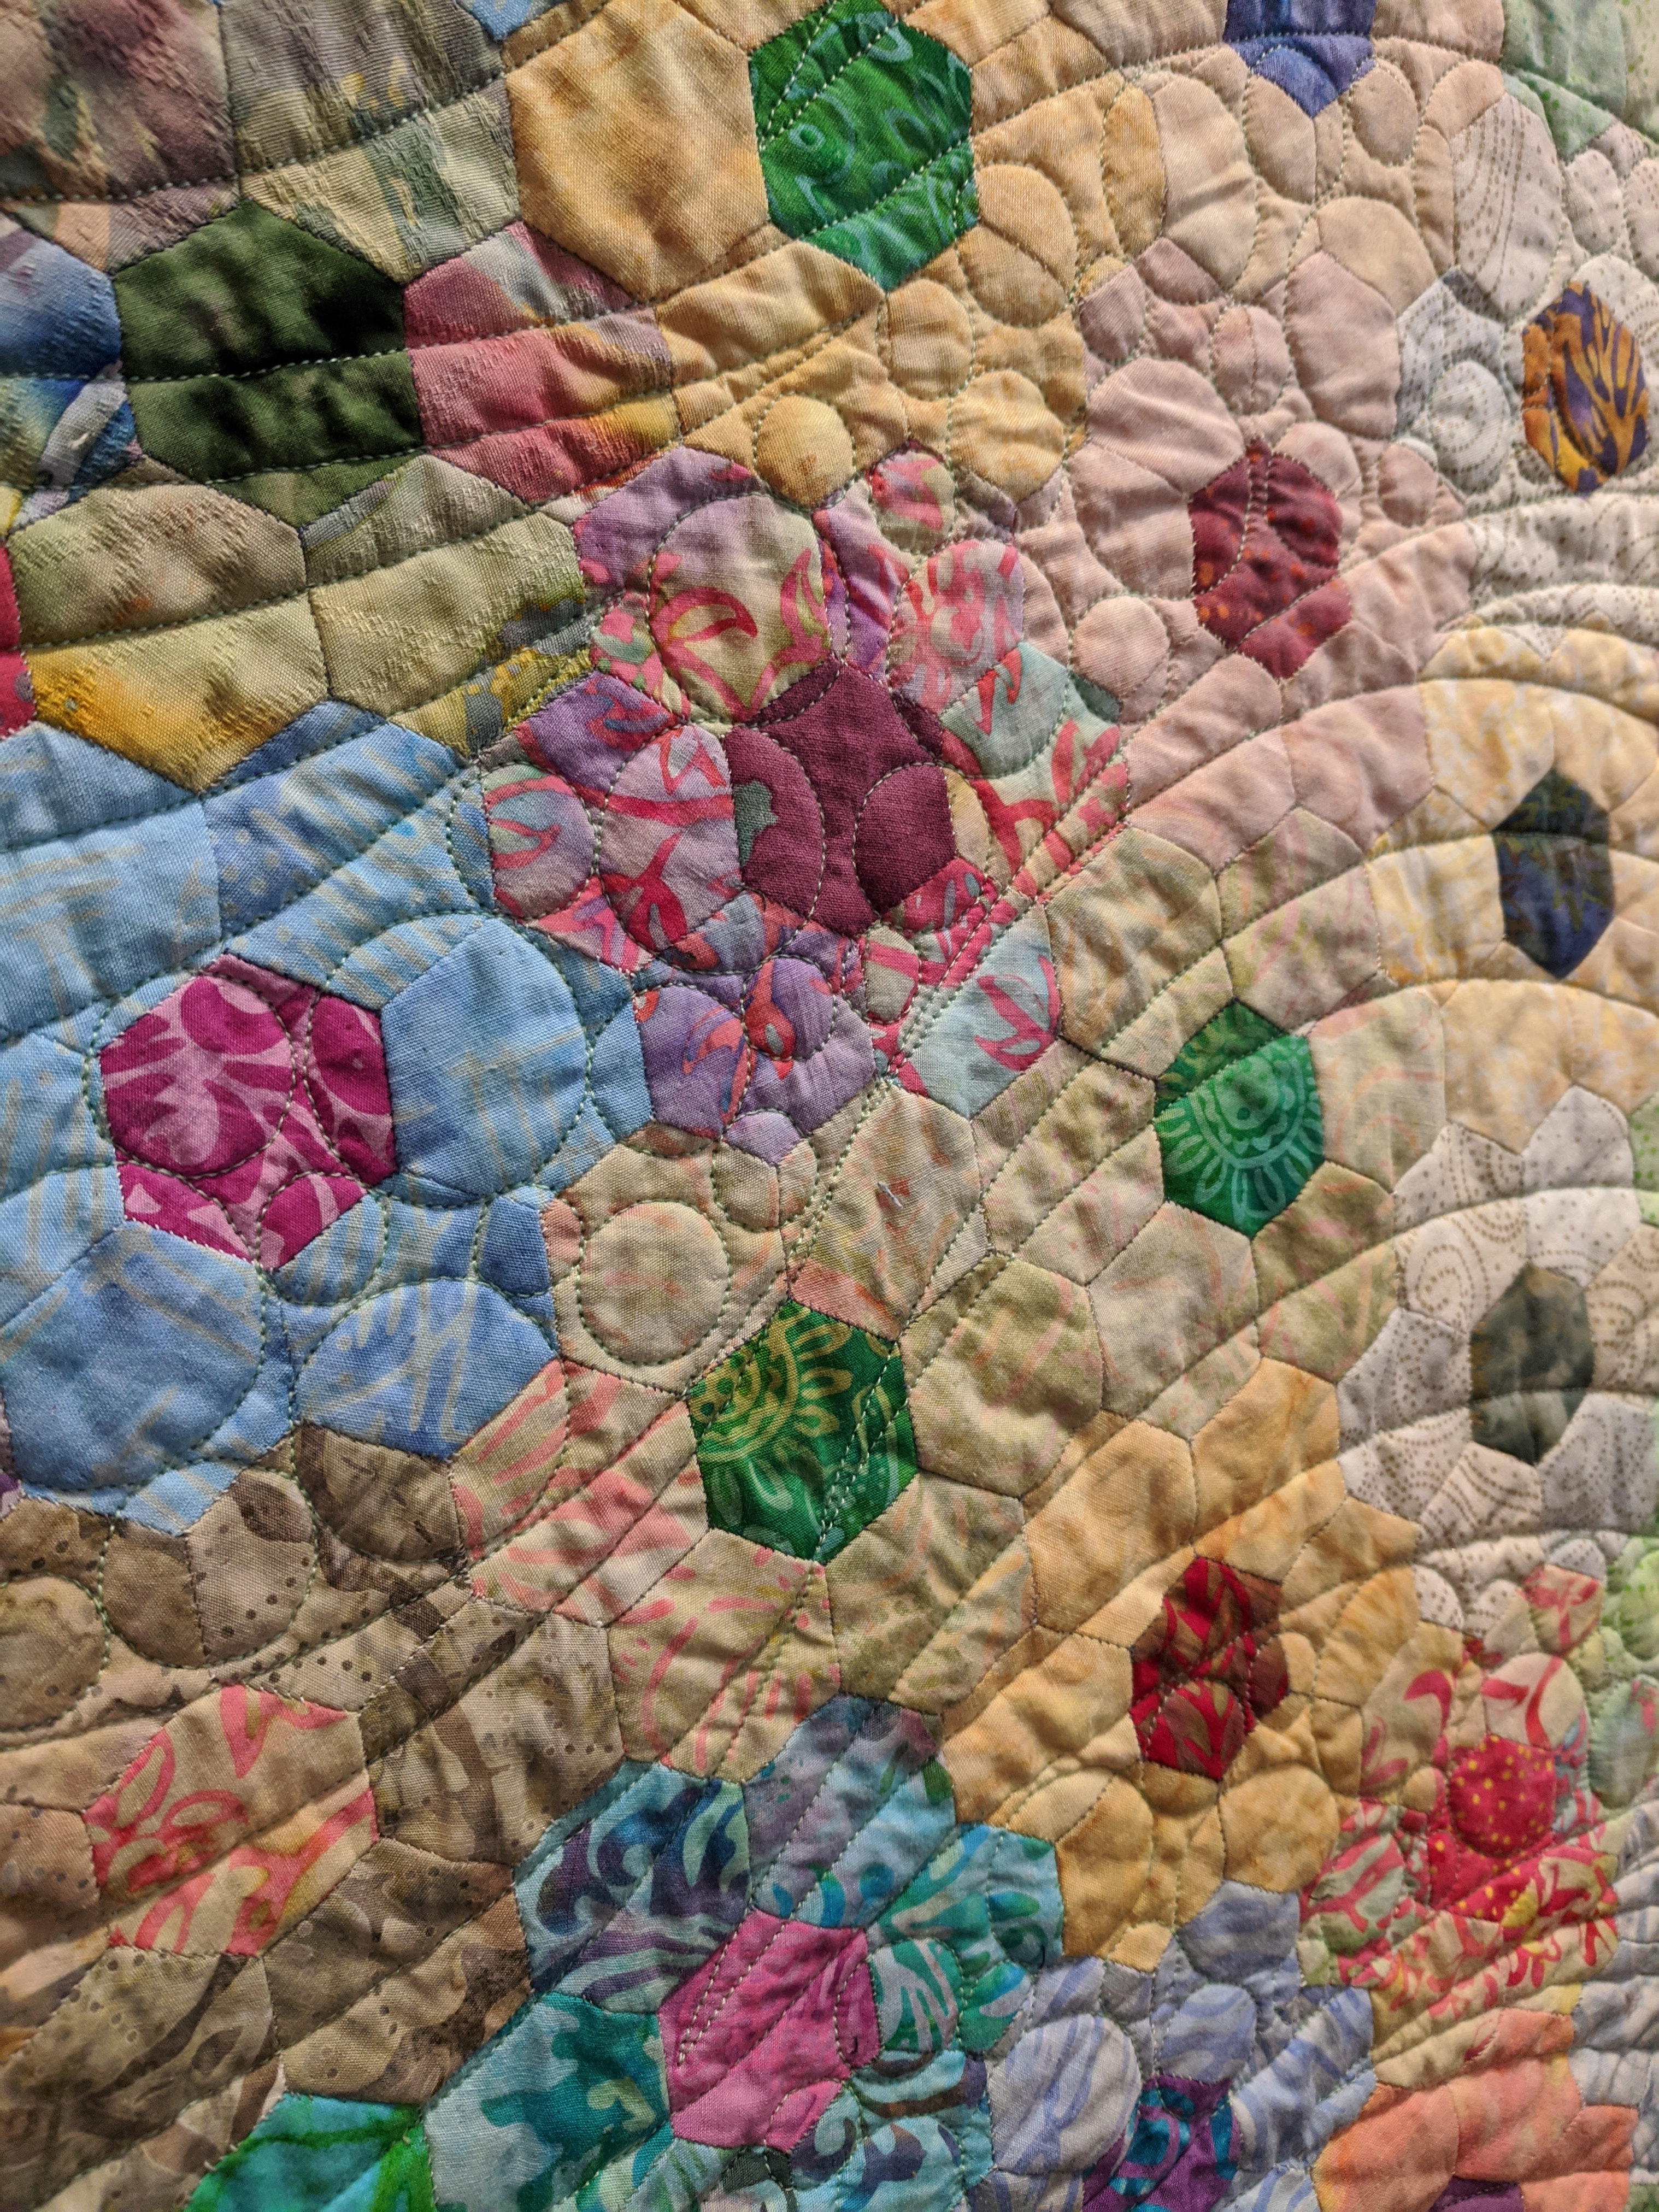
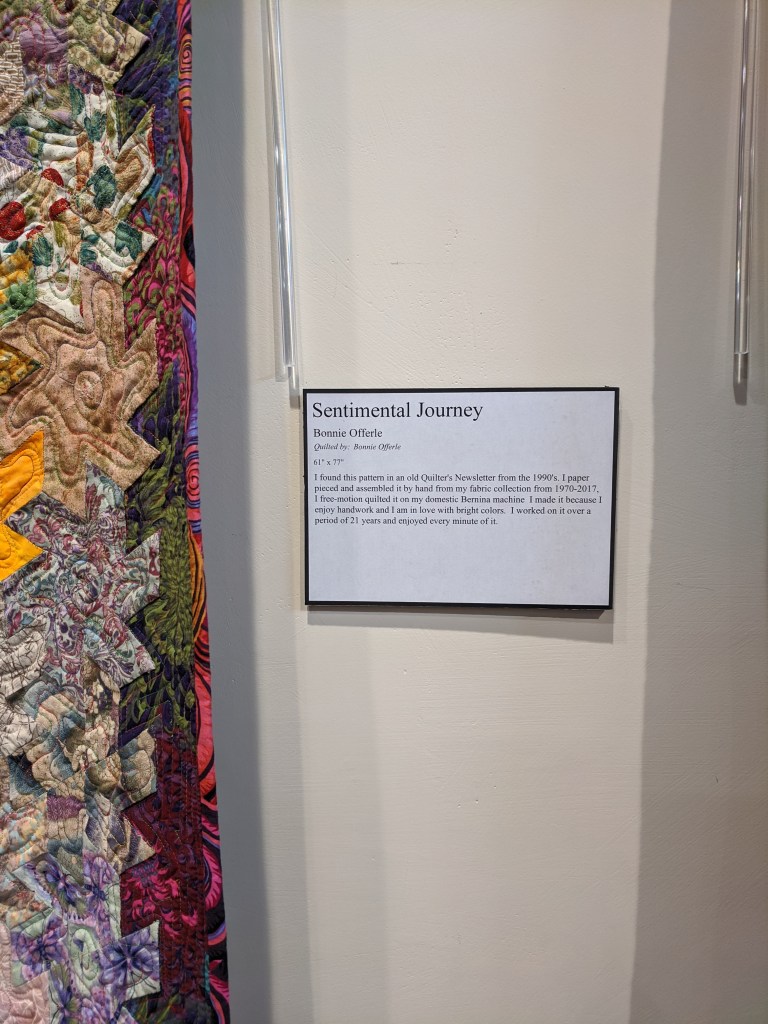
This next quilt, Sentimental Journey by Bonnie Offerle, features trapezoidal pieces instead of hexagons! I love the explosive star-like effect this creates, and she topped it off with swirly quilting.
Take a look at the trapezoidal pieces but also – she took 21 years to make this!! A great lesson to us all that you don’t have to finish things on anyone’s timeline but your own.
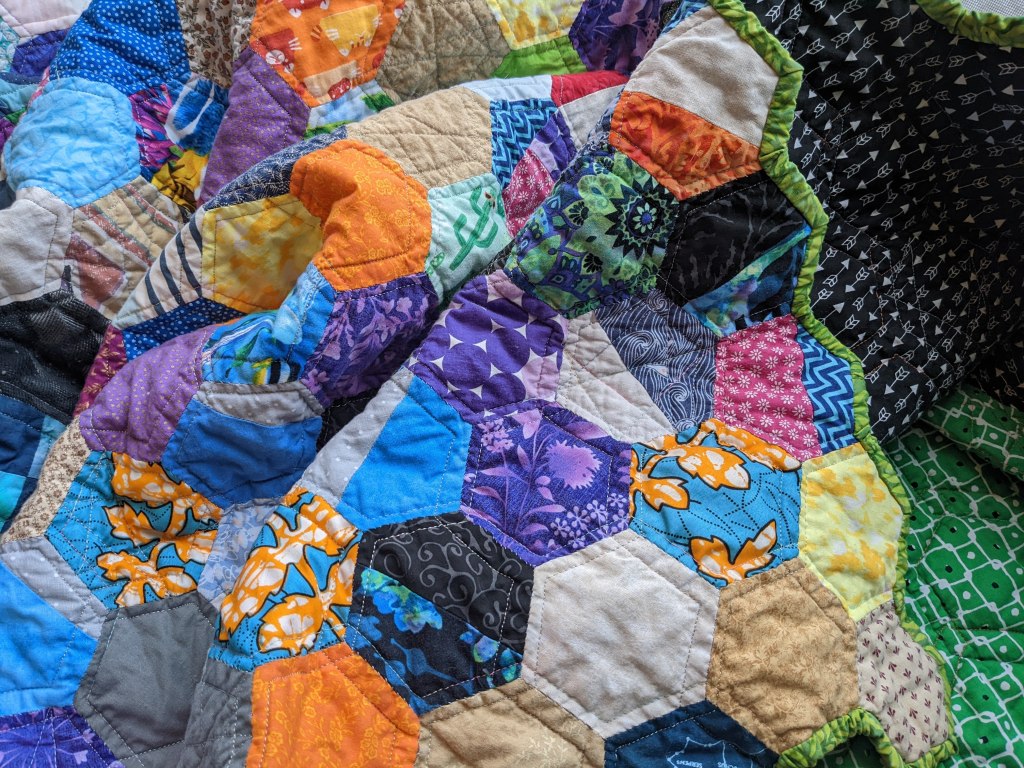
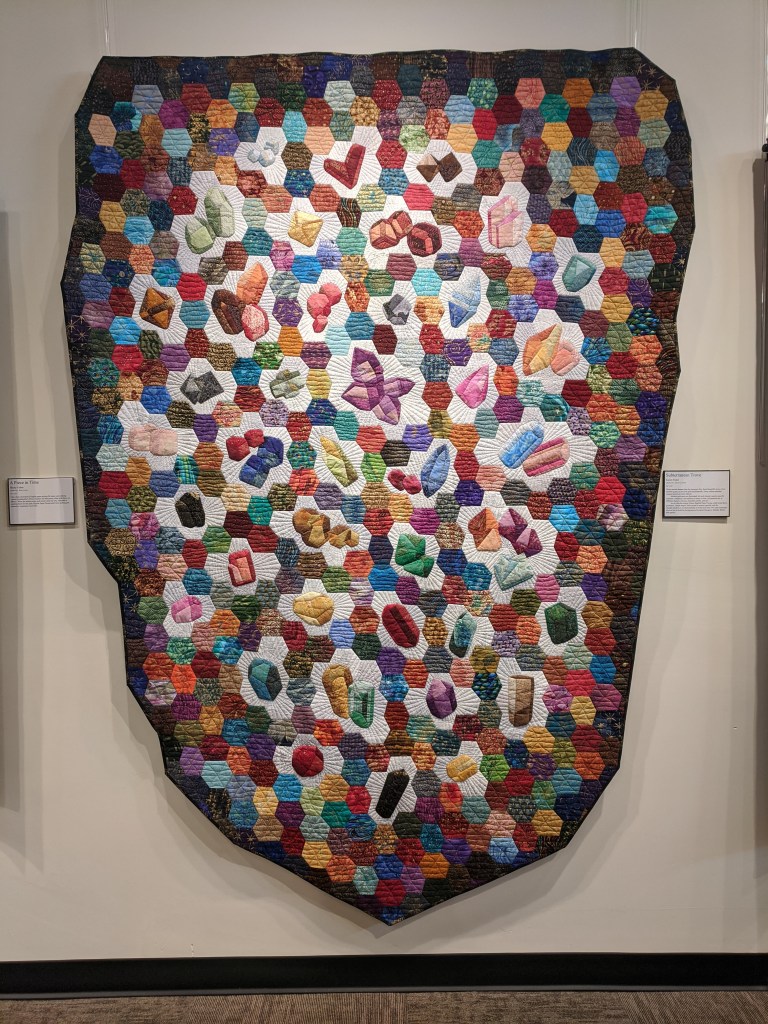
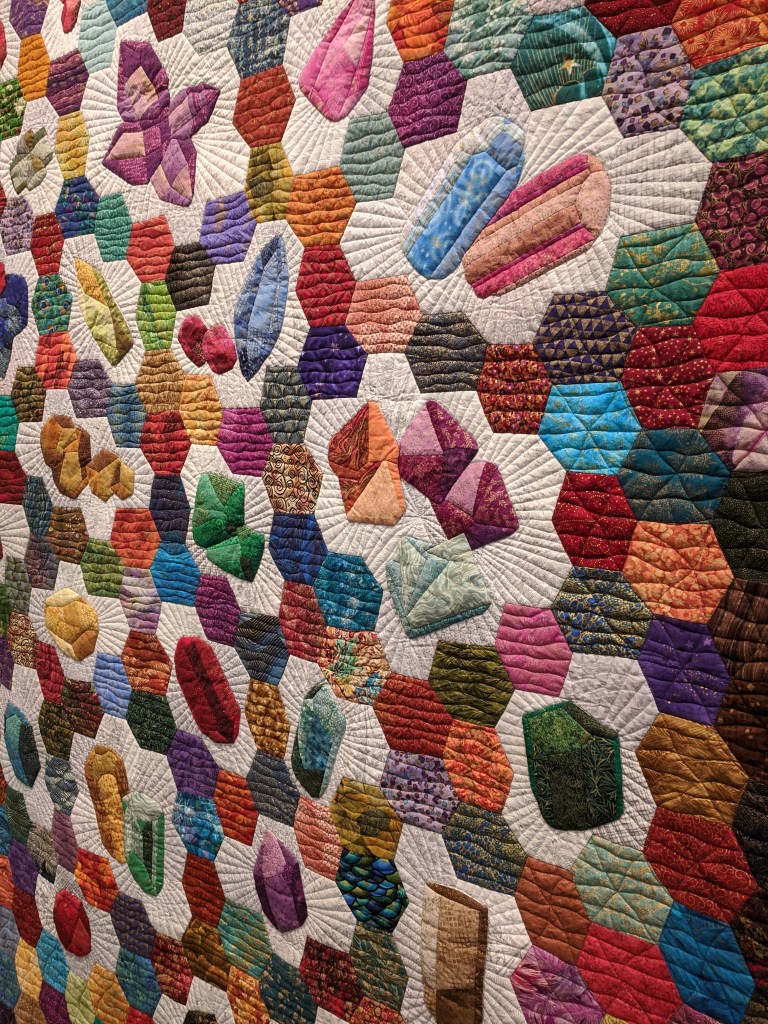
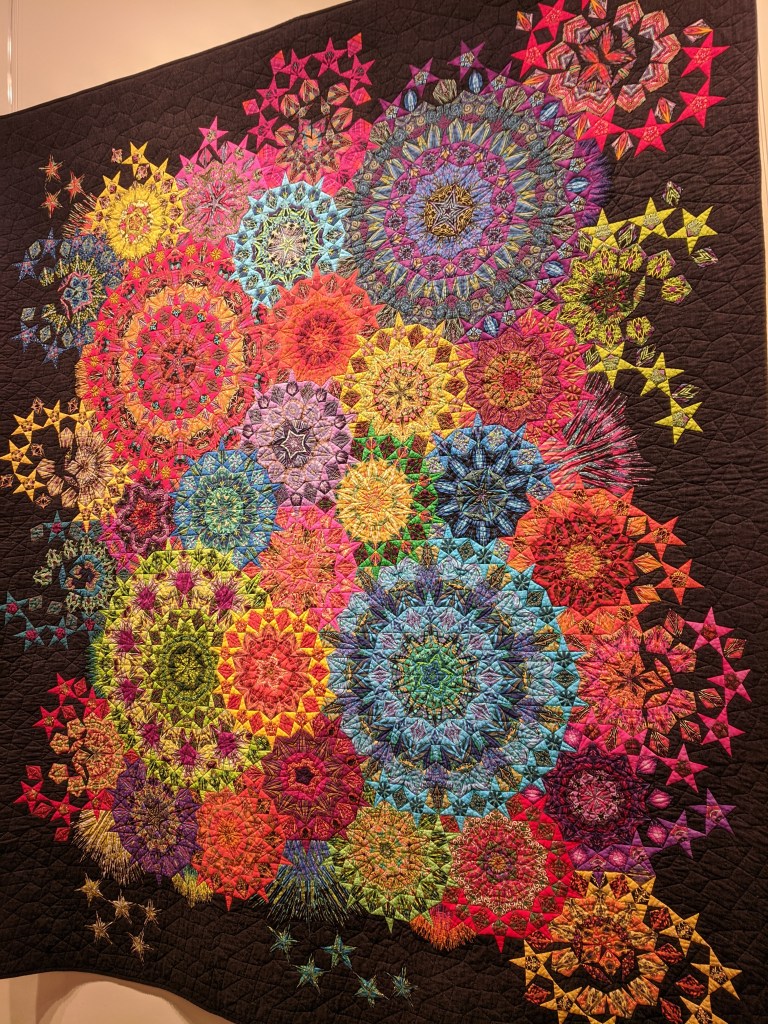
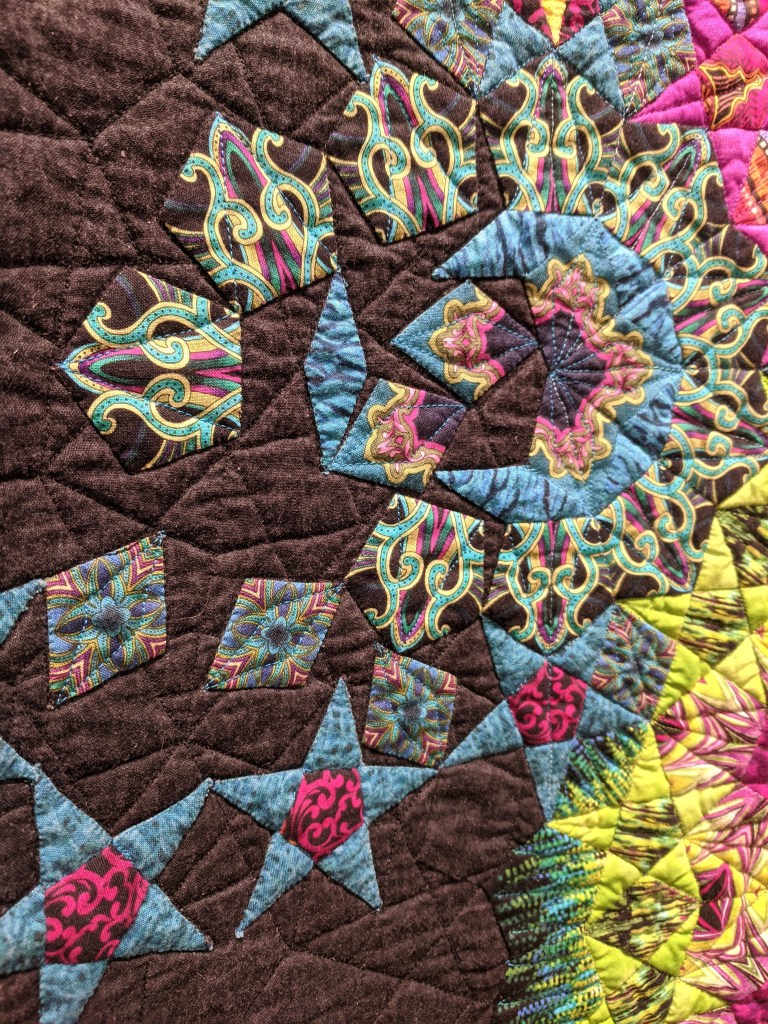
Subterranean Trove by Karen Fisher, below, totally captivated me. I love the bright colors, the fabrics are so bold and unique. It isn’t a squared up quilt, it has an organic shape. Even the hexagons aren’t perfect, some are tallish, some are fatter, but they all fit together. It’s so cool that the border is just as bright and bold as the “main body” of the quilt, I like that it is just as visually important. Each of the gems has many different fabrics that showcase the crystalline faces, and the quilting highlights every gem so much. The gems pop out of the texture because Karen used the trapunto technique to stuff each gem with more batting than the areas around it, plus she quilted those great lines that radiate from the gems to squish that batting down.
I spent a while with this quilt and met some other nice quilters in the process! We were all kind of drawn to the irregularities in this quilt together with the really fun crystals (especially the heart at the top!). One of the women suspected each of the gems might be based on a real mineral, but we were hard pressed to guess any other than the bluish quartz crystal towards the center right (and below).
Detail for the trapunto! Loved the texture so much.
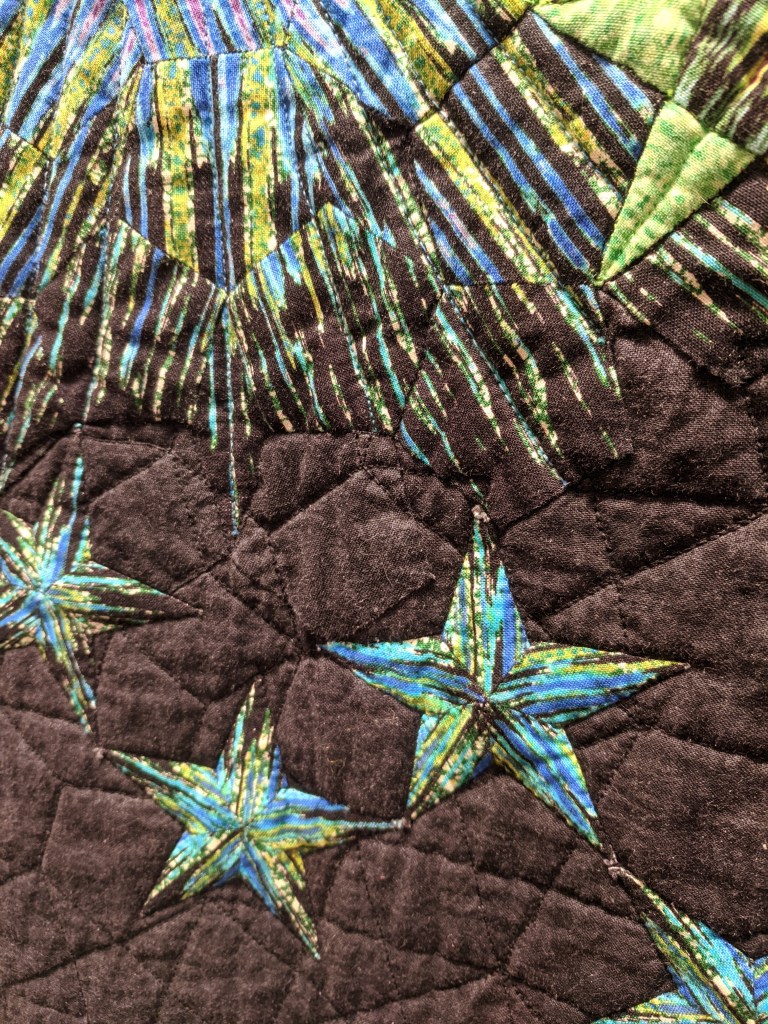
And finally, my favorite quilt of the exhibition – chaotic, wild, striped, and so, so bold: La Passacaglia Unravels by Randa Mulford. She writes that this was her first time doing English Paper Piecing, and she produced a truly incredible result. Passacaglia quilts are EPP in a circular design, using hexagons, triangles, parallelograms, and other shapes to make a symmetrical sort of radial design.
I love how she used striped fabric in such a brave way – it’s so much detail for the eye, but it really adds to the explosive “unraveling” or firework effect. We use the term “fussy cutting” to explain that she cut out her tiny pieces in very specific parts of the fabric, she didn’t just cut a row and divide it into pieces like we usually do. She targeted specific elements of the fabric design to include. This adds a ton of time while you’re cutting things out, as you have to cut each piece by itself instead of subdividing strips.
Yes, I’m telling you that she had to cut out each of those cute swirly pentagons by finding that element in the fabric and cutting the tiny pentagon out. Then she hand sewed each pentagon to each triangle, to each diamond…. and on and on…. 🙂
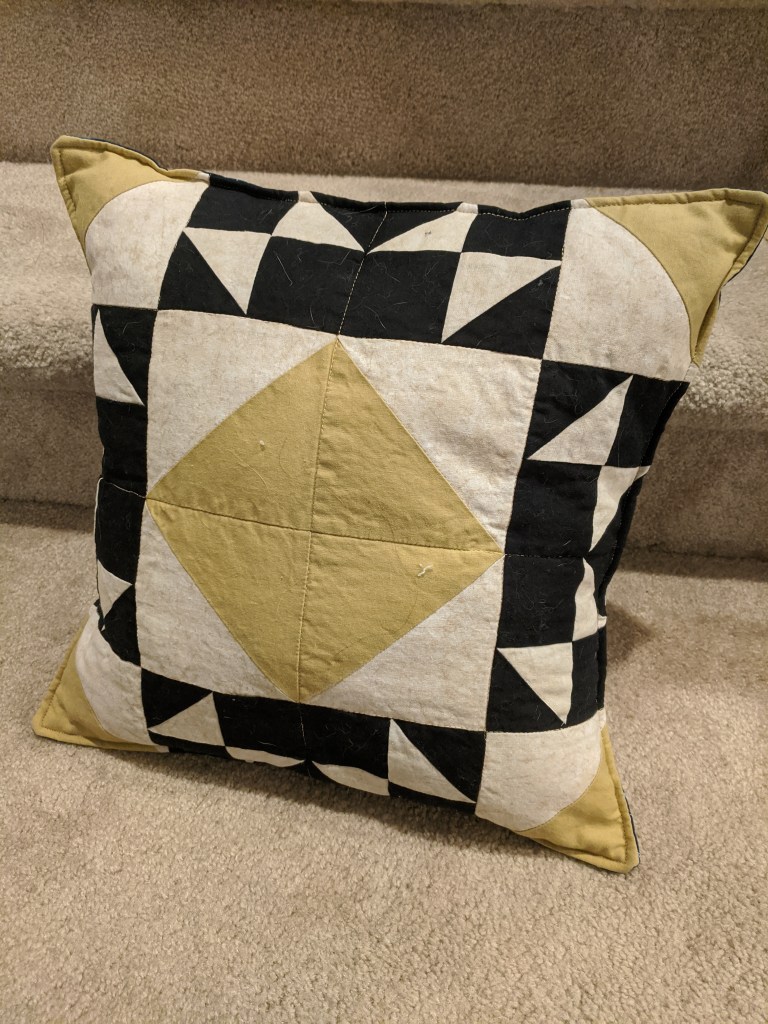
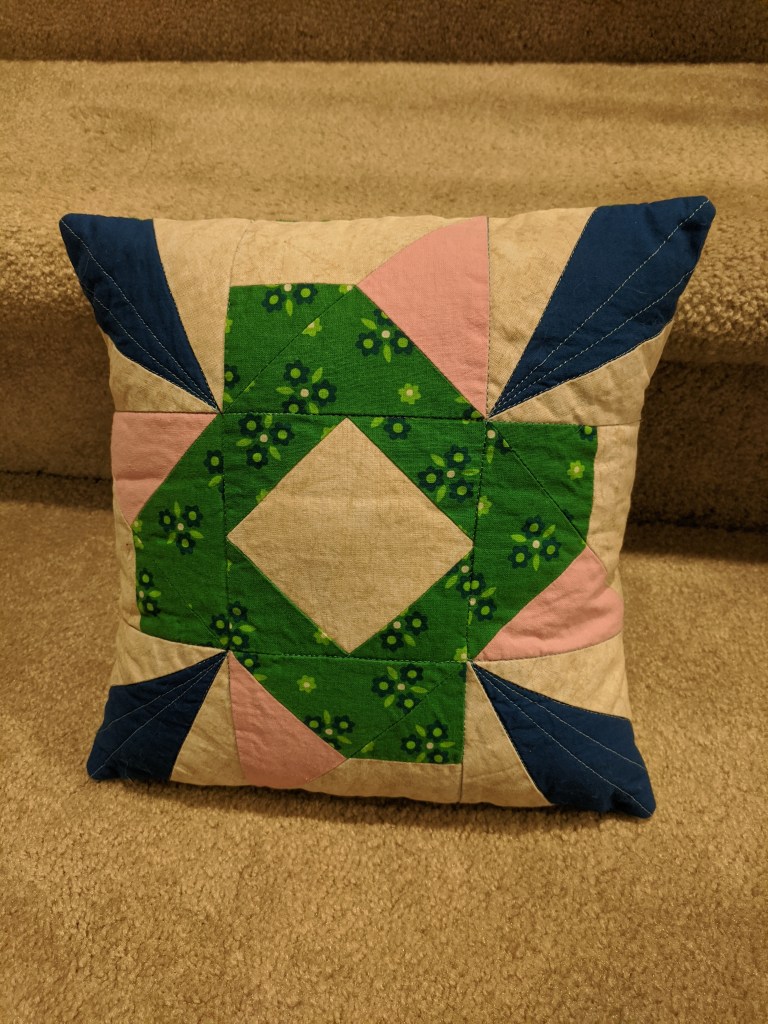
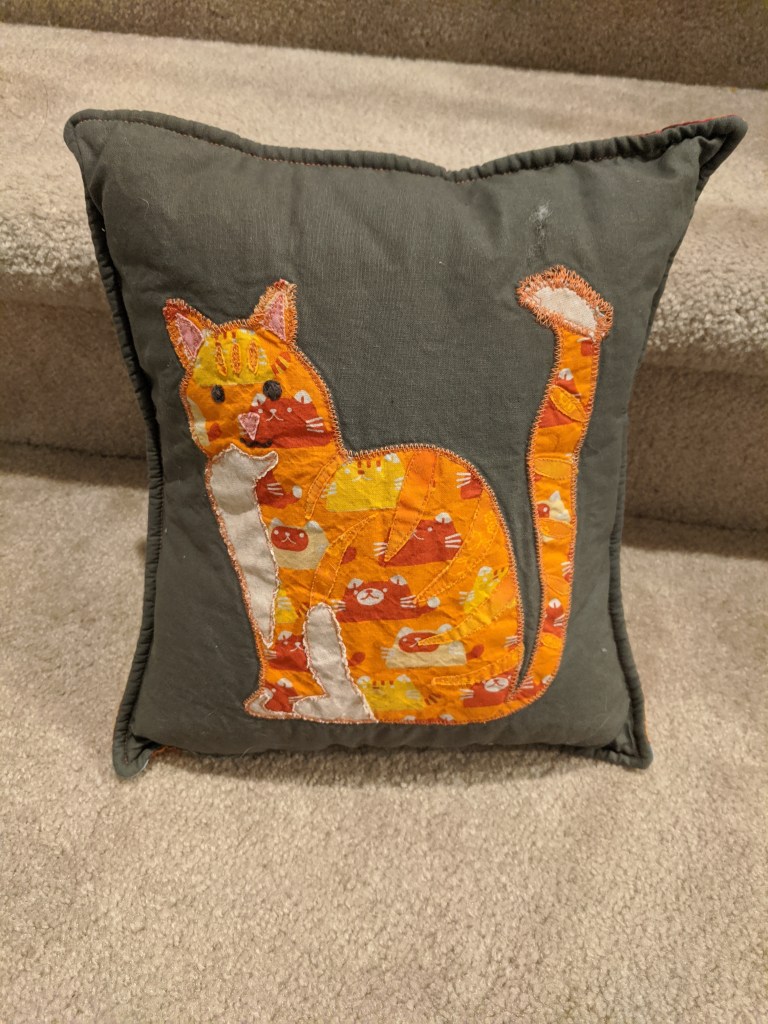
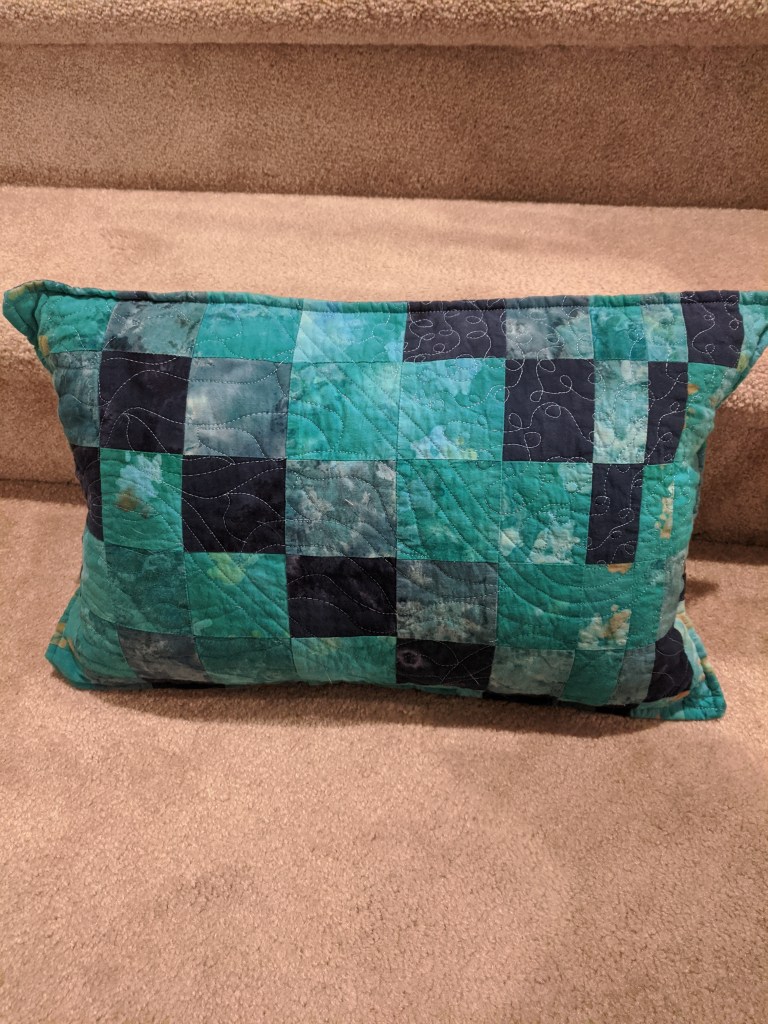
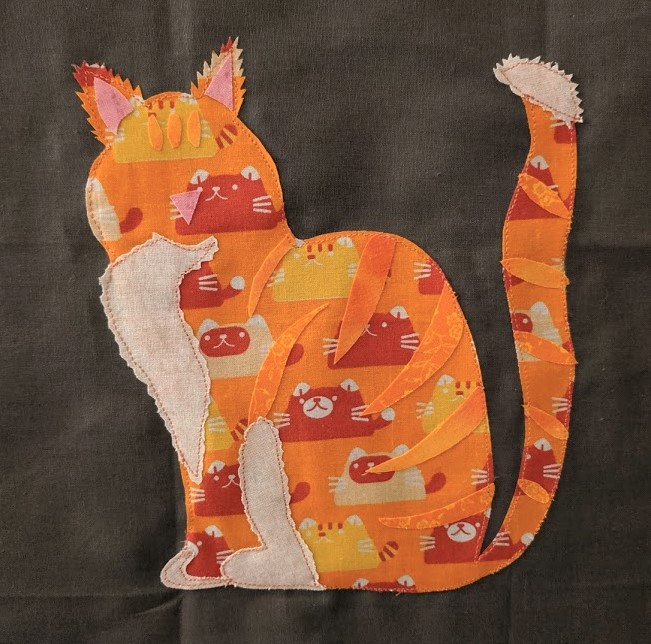
This year I did a bunch of little pillow projects for my friends and family 🙂 I got to learn some different techniques like fusible applique and paper piecing. I used lots of different fat quarters from Joann and scraps from previous projects. I generally used envelope backs and a little label to keep them closed. I stuffed them with some extra stuffing I had from pillows I’d bought previously, unfortunately none of them finished at a normal pillow form size.