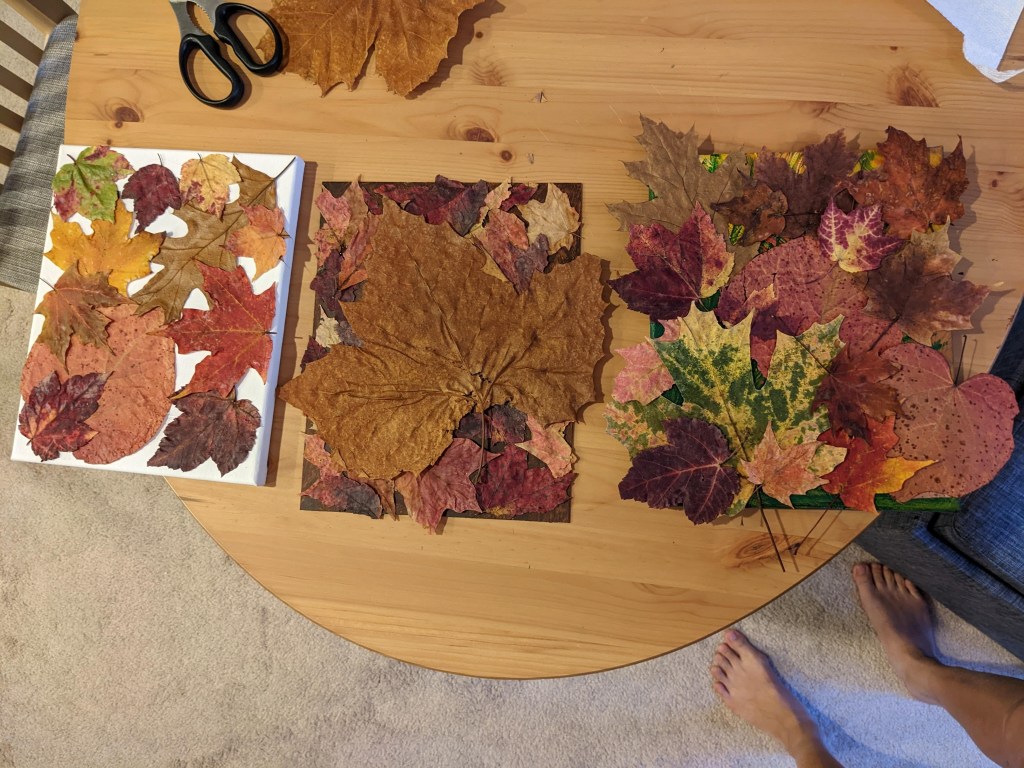
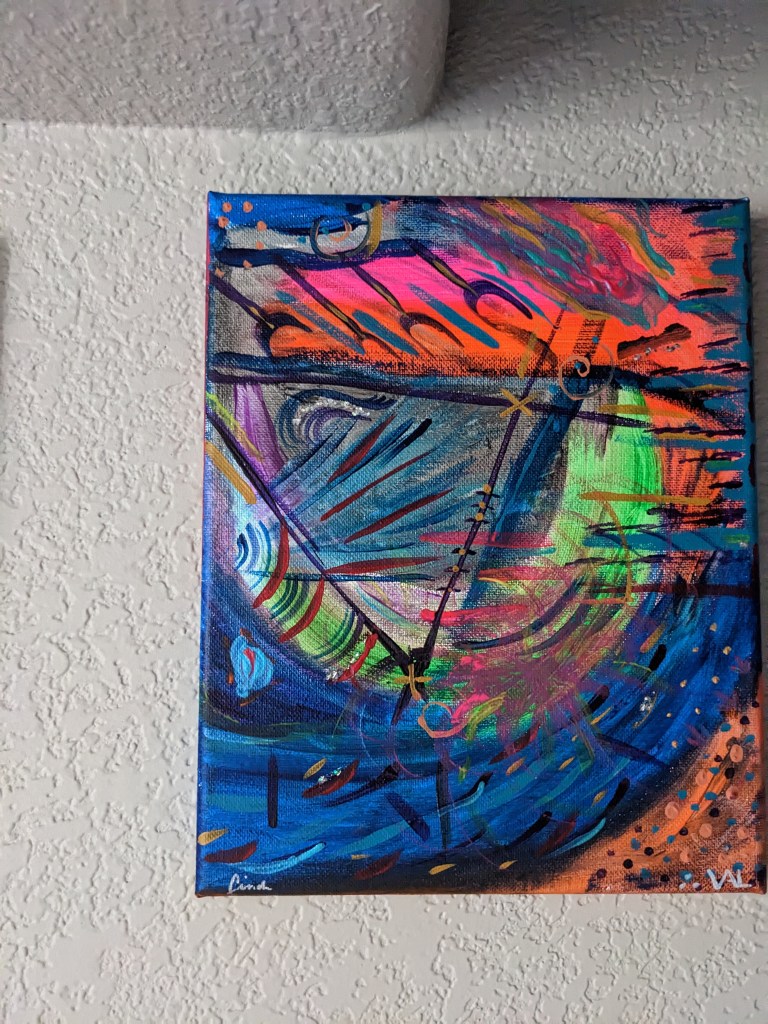
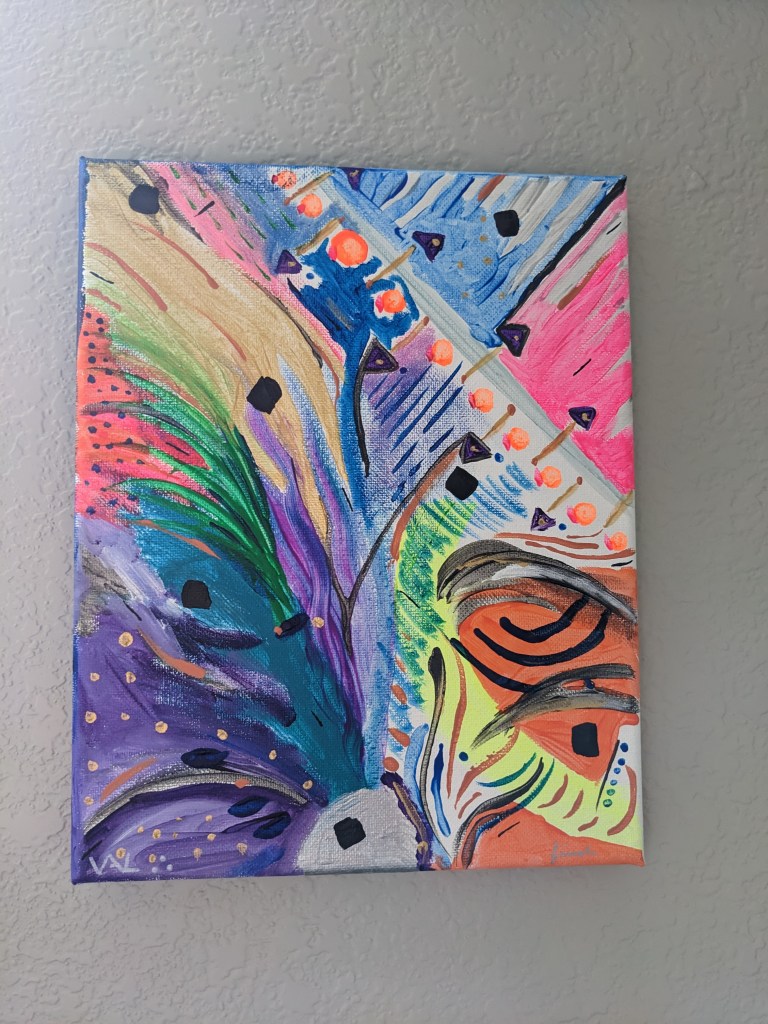
Been making a lot of different kinds of things! I’m reaching into multimedia and experimenting with new materials and techniques. 🙂
Been making a lot of different kinds of things! I’m reaching into multimedia and experimenting with new materials and techniques. 🙂

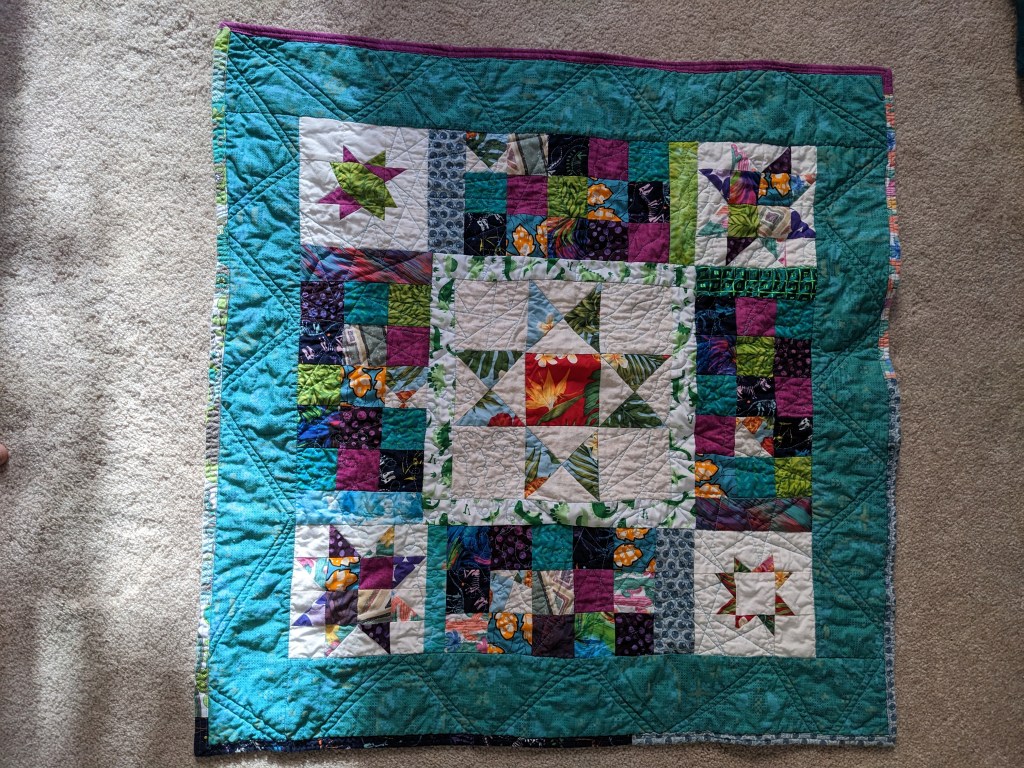
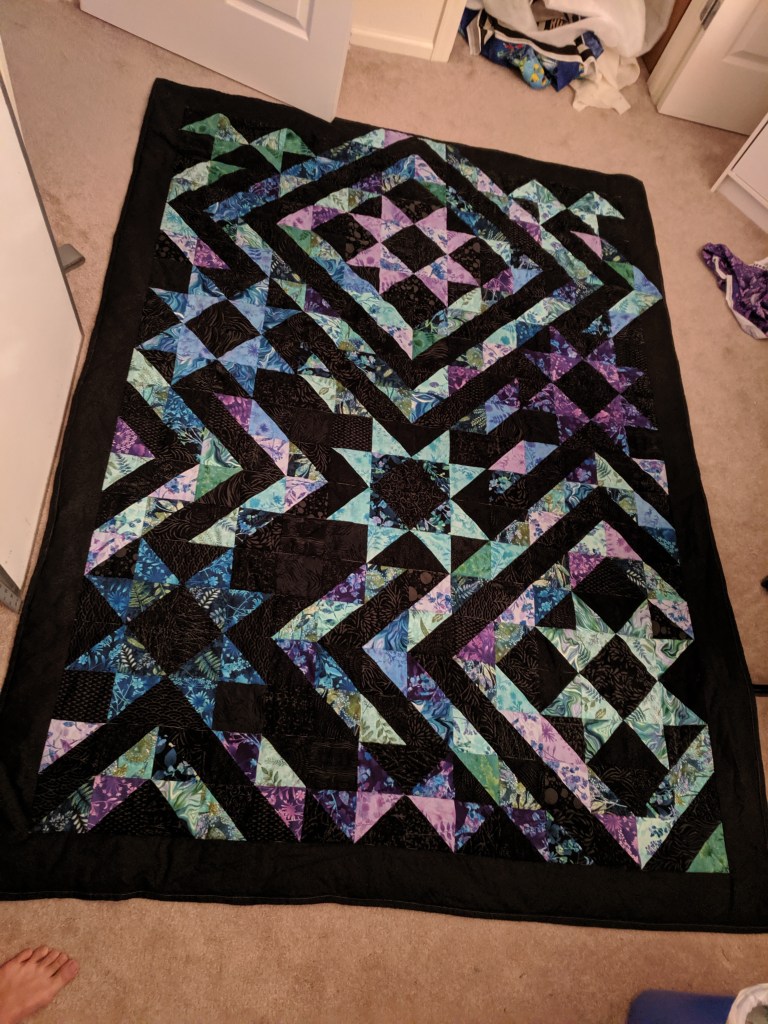
My third big quilt! With the puffy batting I mentioned in the rainbow bargello post. This quilt is based on the MSQC “Night Sky” pattern, but I changed the dimensions a bit to make it rectangular and added more borders.
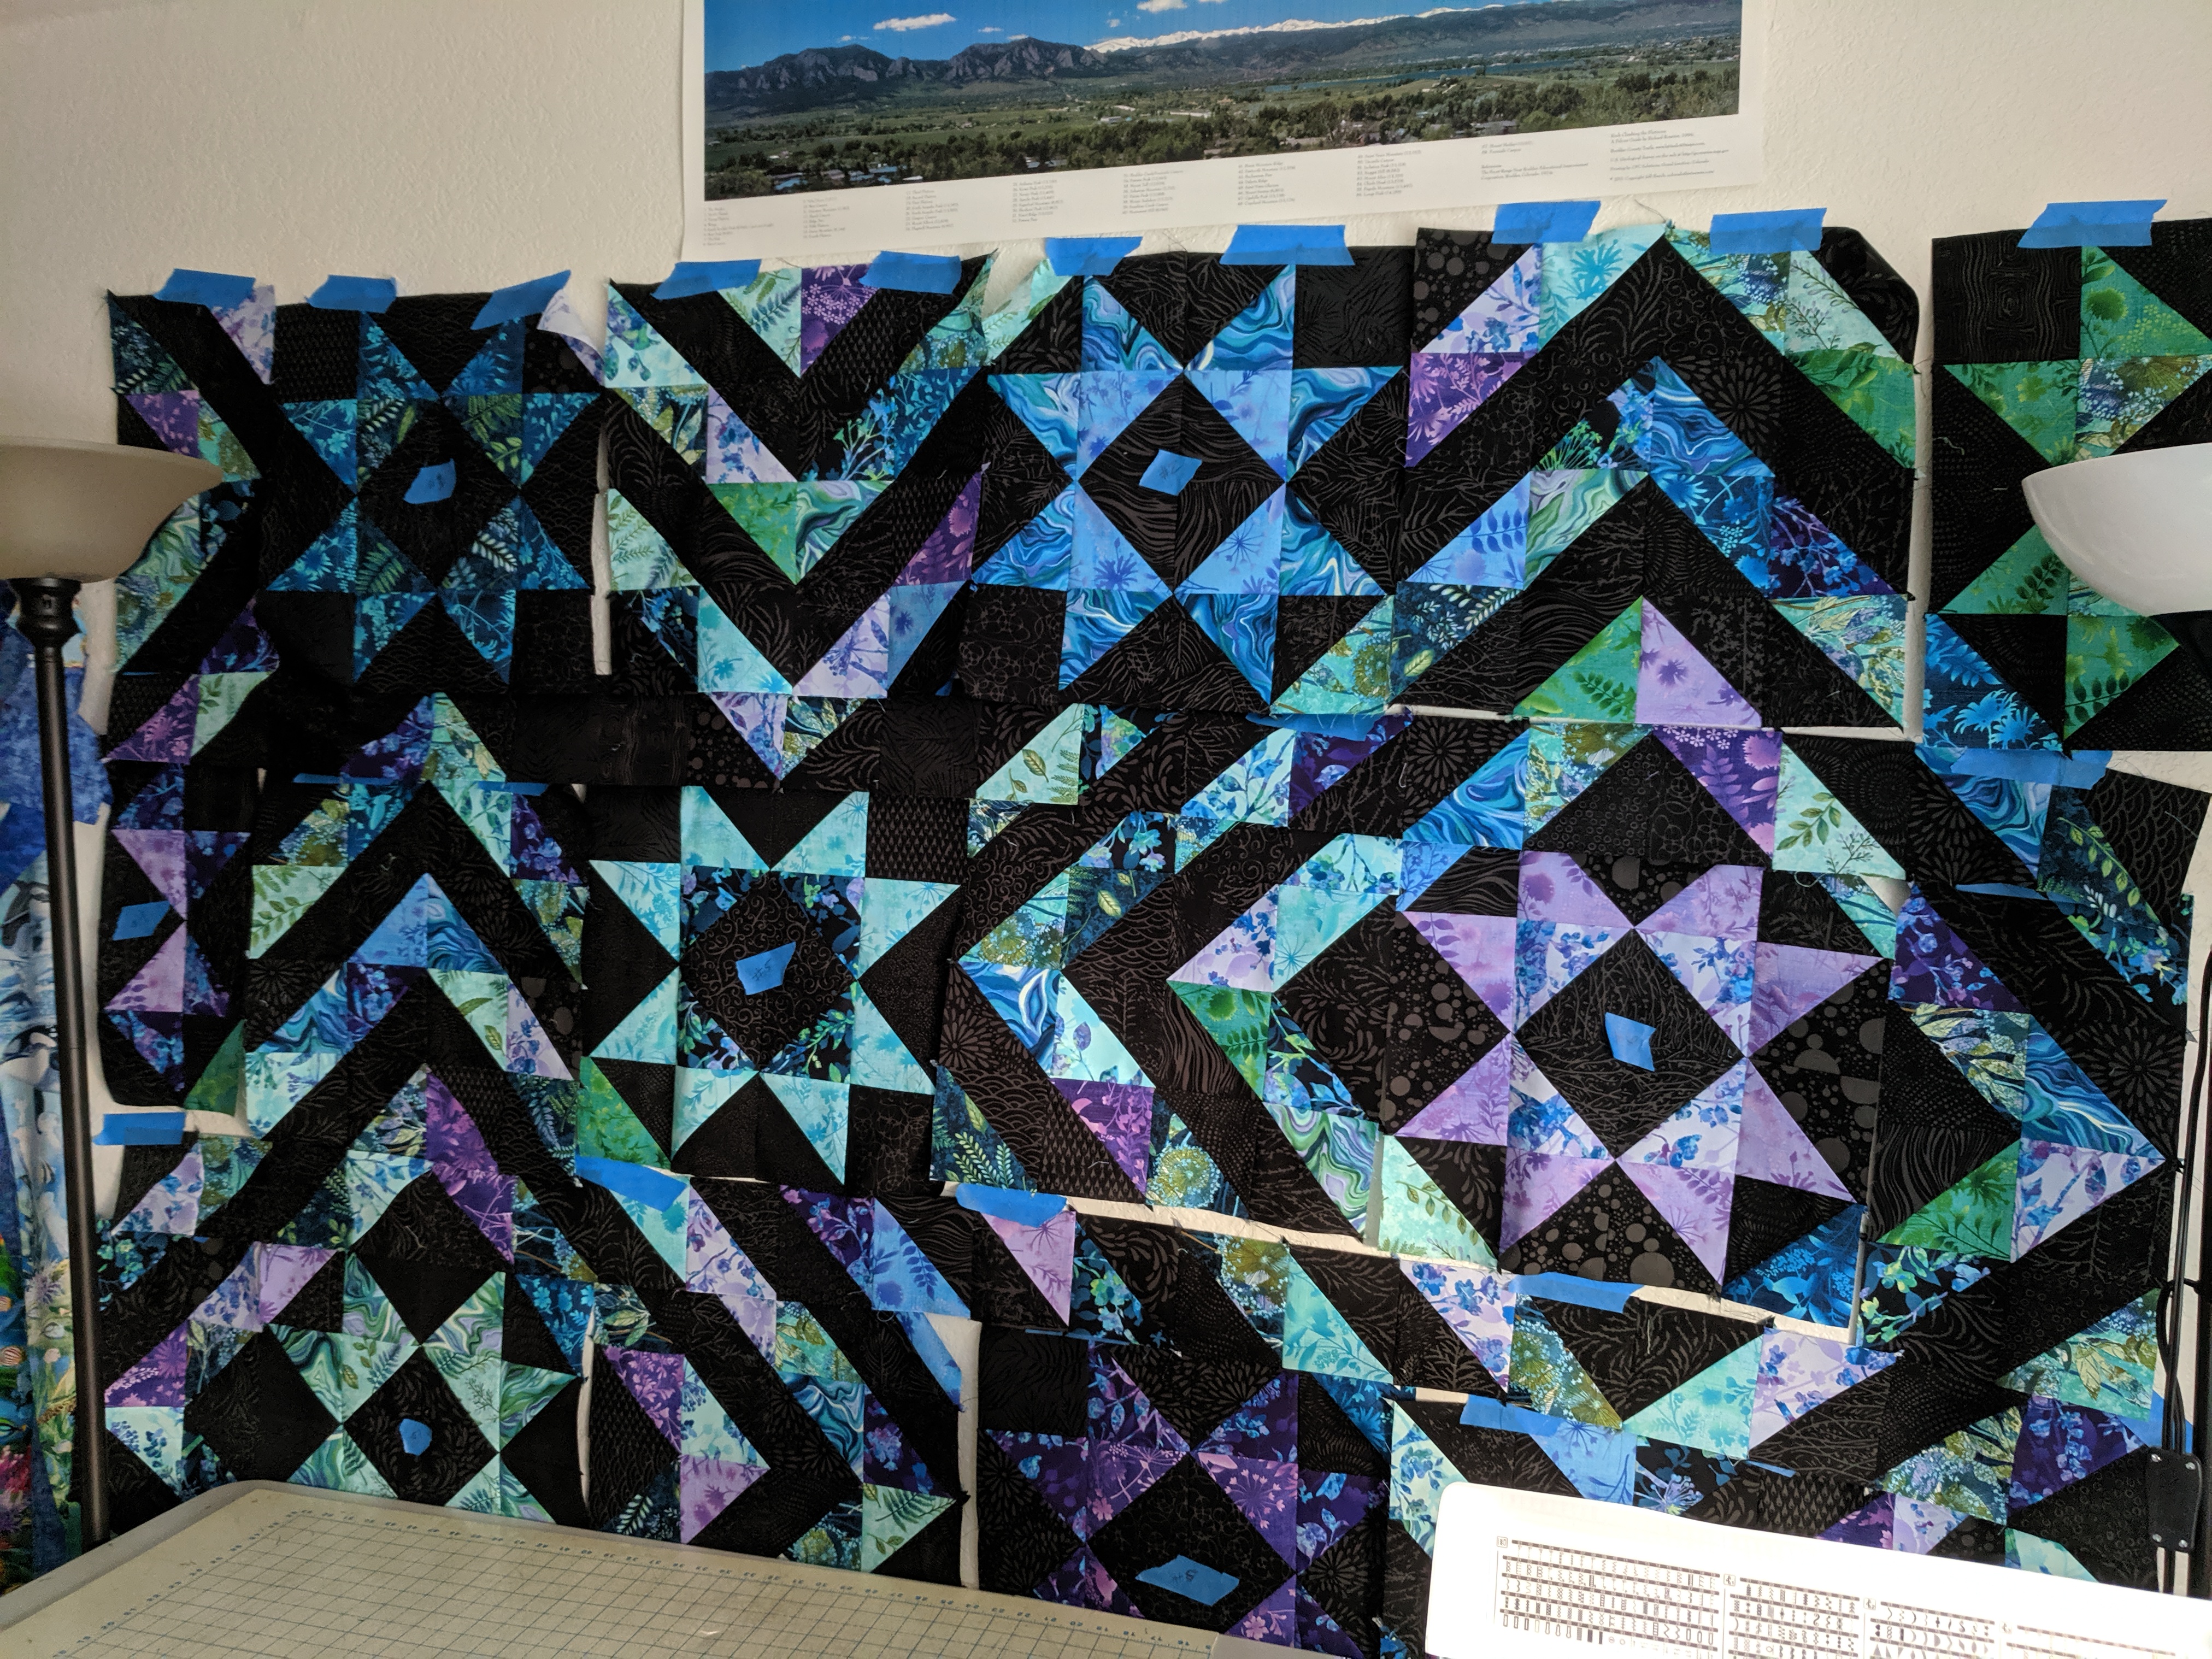
I bought two layer cakes (10″x10″ squares), one in Black Beauty Batik (hand printed high thread count cotton) and one in this whimsical Feather and Flora line from Studio E, and the backing is the Wildflower Toss Eggplant. I had bought the batiks for a different project that I didn’t end up doing, but I think they look great here. I love the black background to go with the stars 🙂 plus I was able to use the magic 8 method that grants you 8 HSTs from two 10″ squares and I didn’t have to cut as much fabric.
I made all the HSTs and squared them to 4.5″. I decided I wanted the insides of the star to be a different pattern than the outside points, like in the original pattern, and then the borders would be scrappy and random. I made a few stars and then figured out how many I would need to make the quilt big enough for my bed. It didn’t quite work, but I went with a general design that would be close enough and then I could add borders to increase the dimensions.
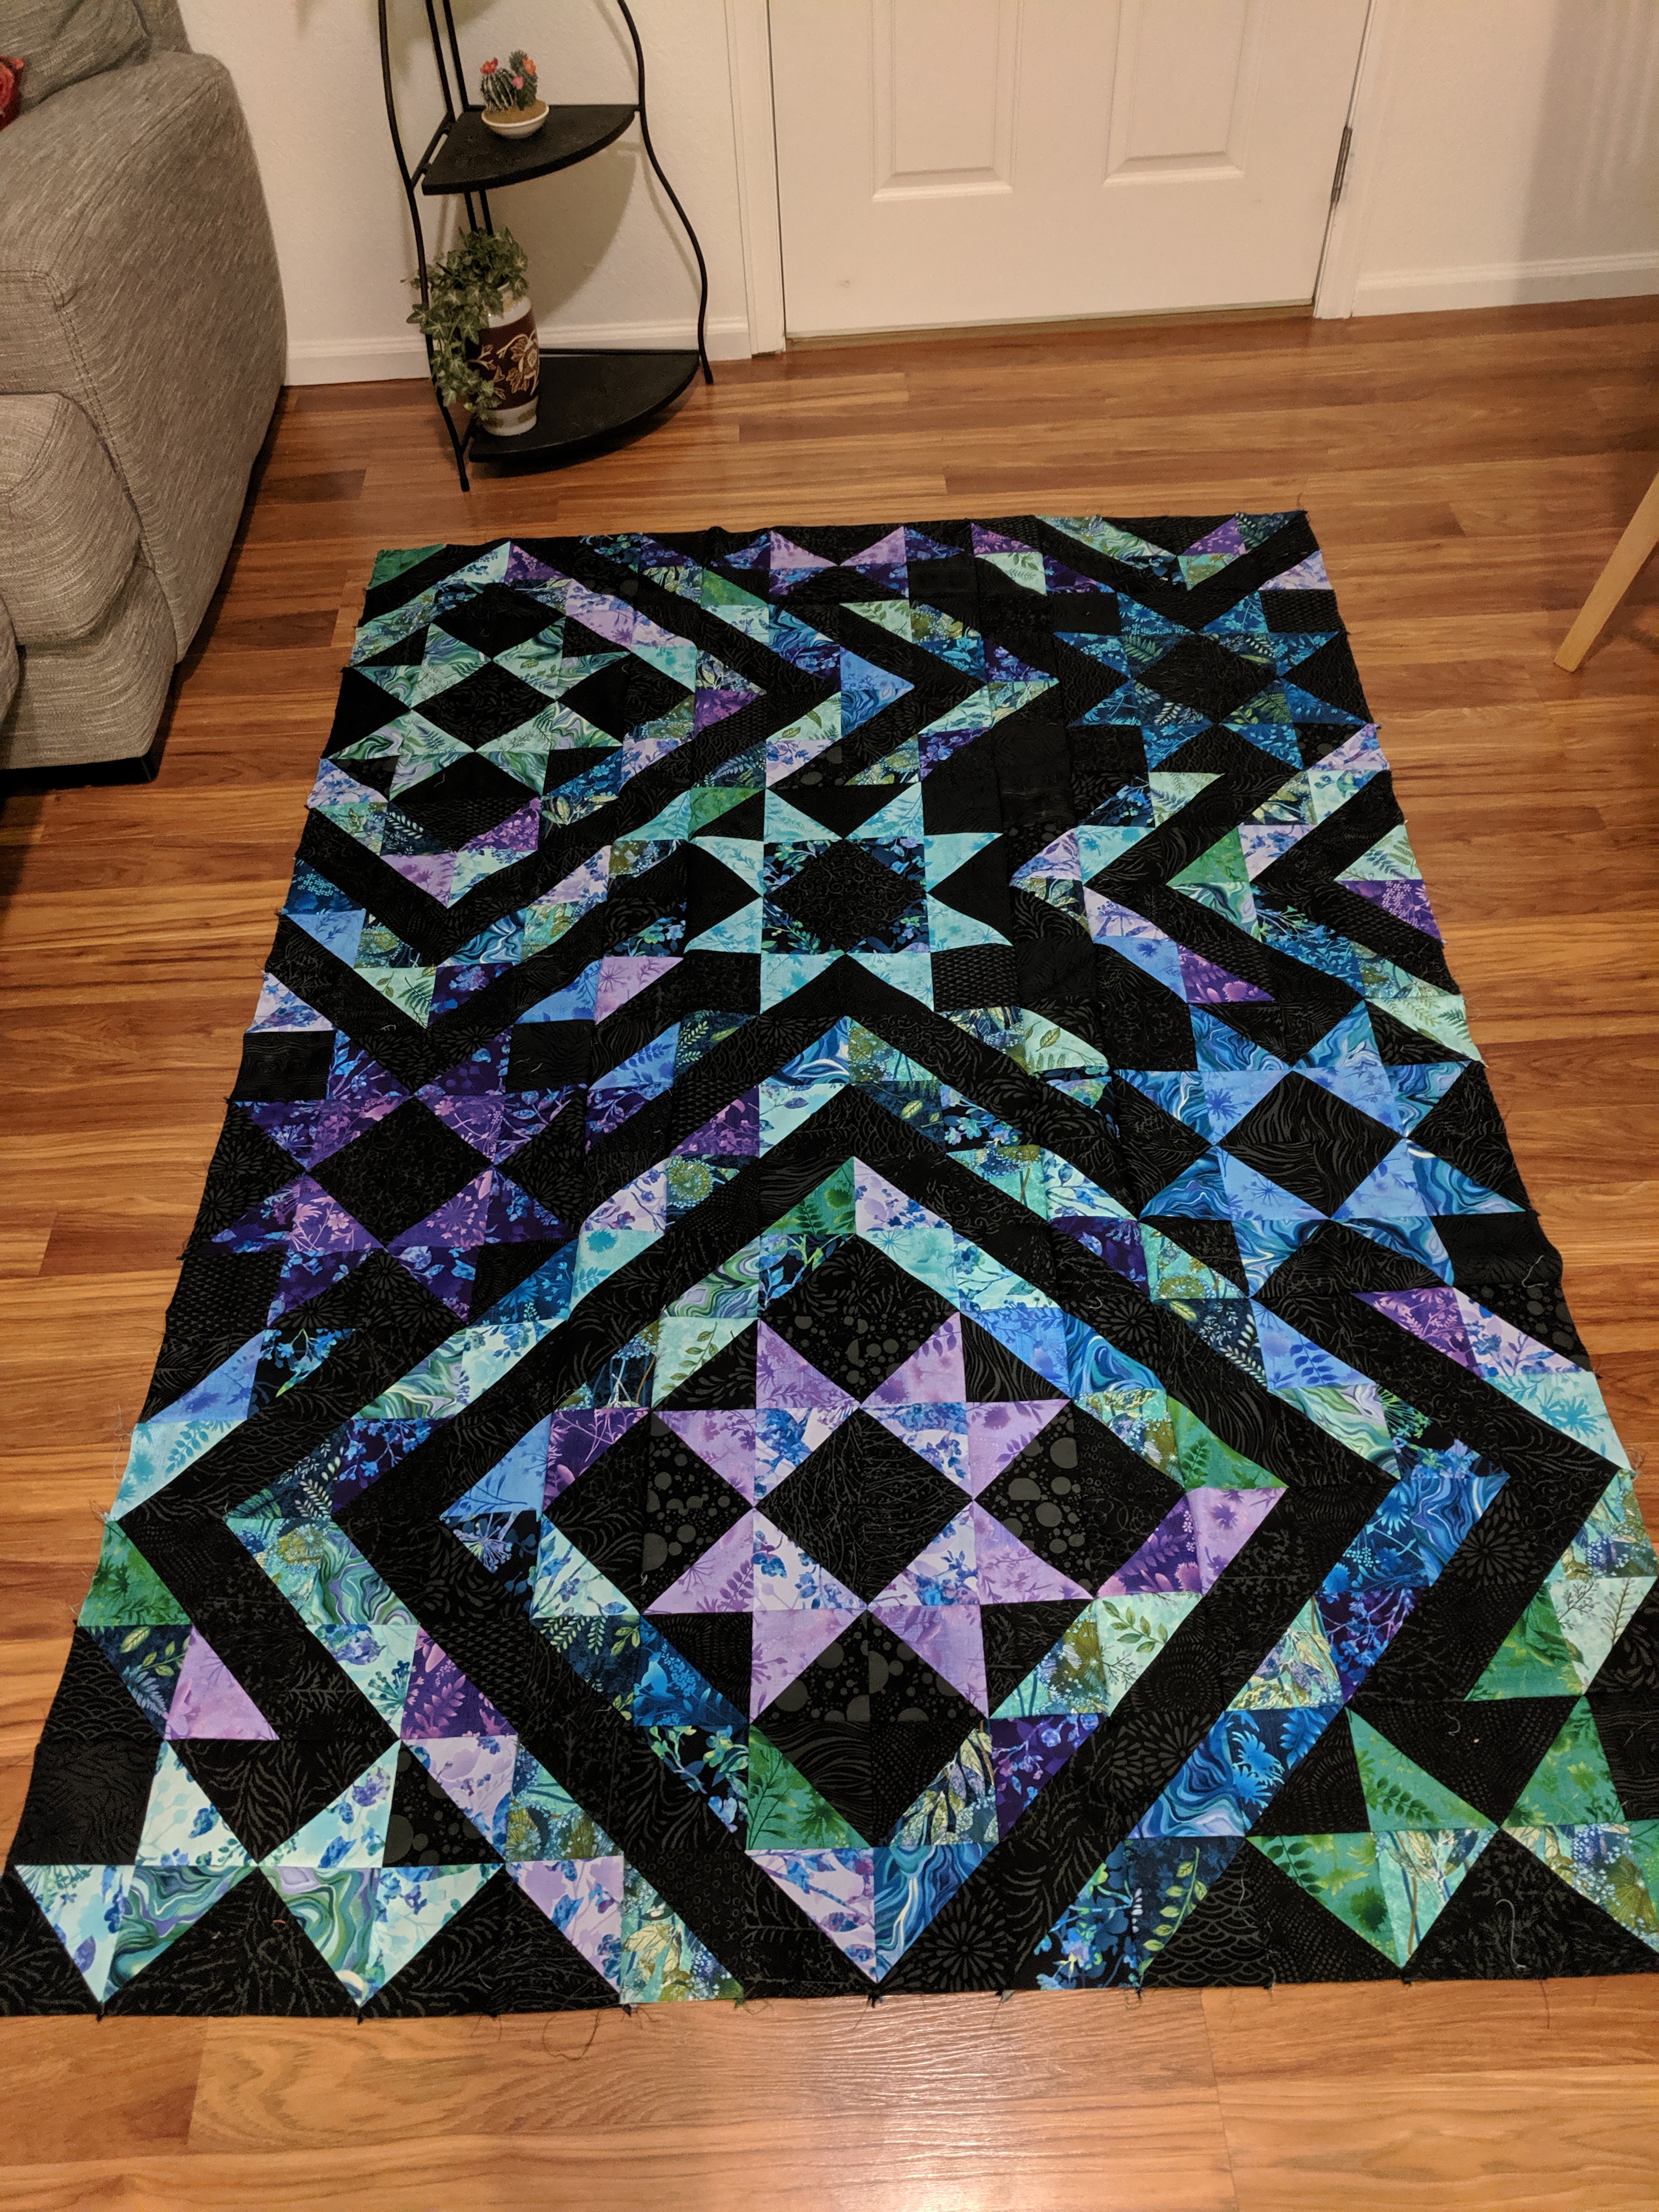
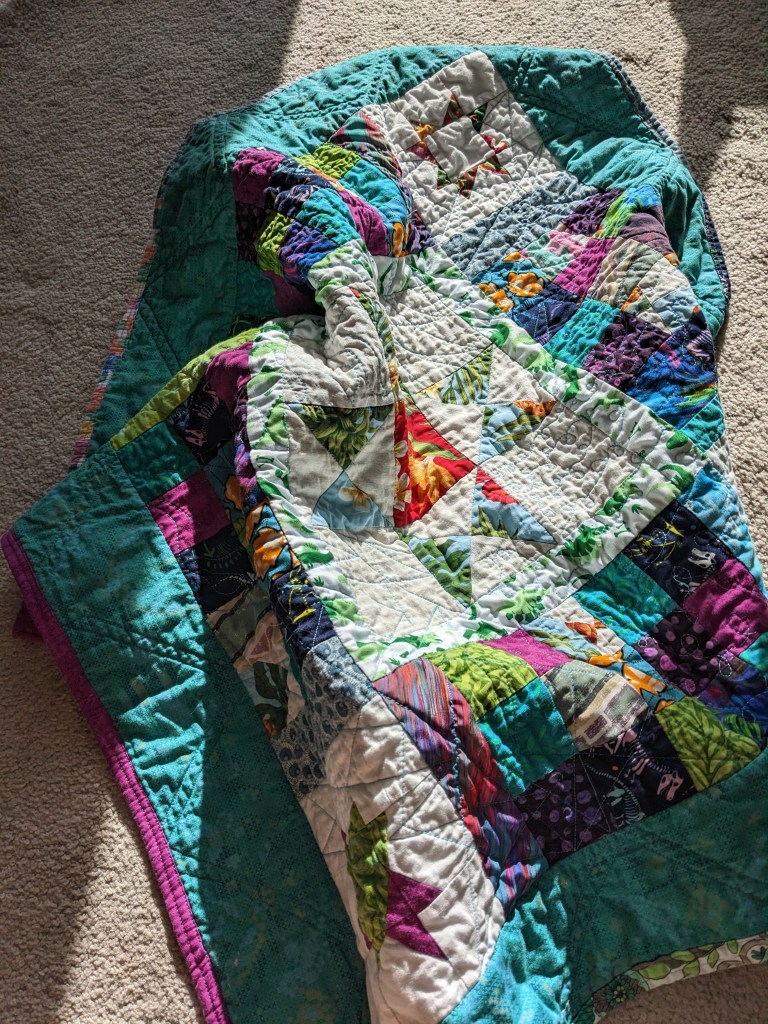
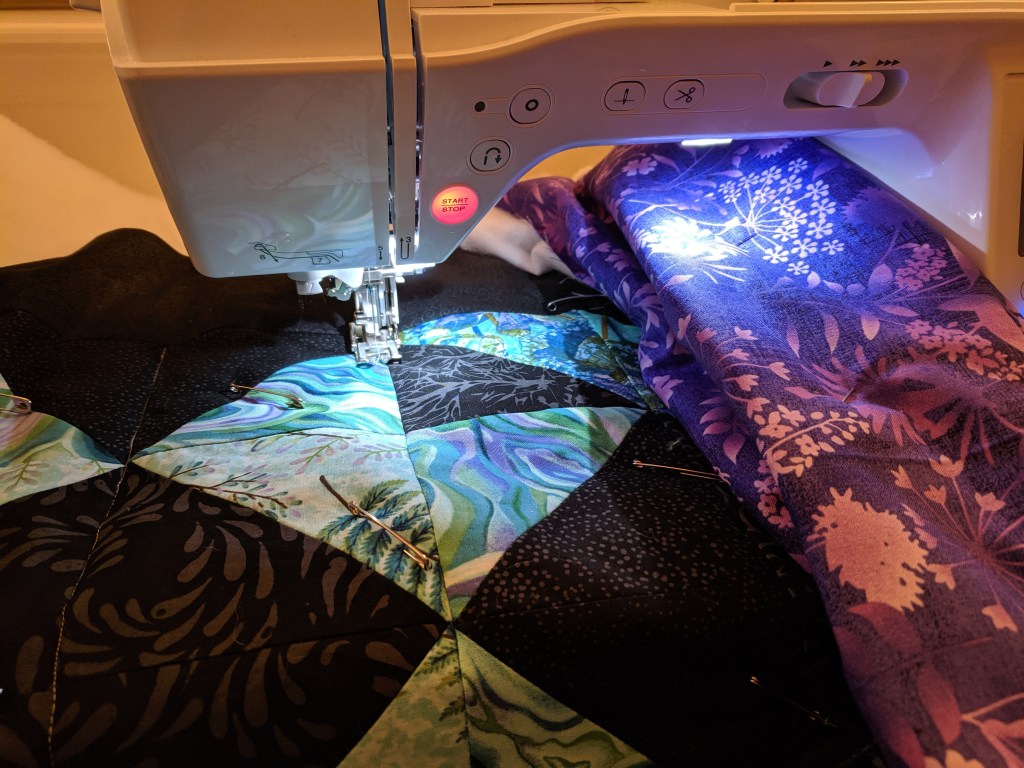
It kind of reminds me of ripples on a smooth pond, if you had dropped the stars in. I really wanted to take advantage of the new puffy batting I got, so I decided to quilt it in horizontal lines with my walking foot, which ended up being stitch in the ditch.
Time check: 5.5 hours to:


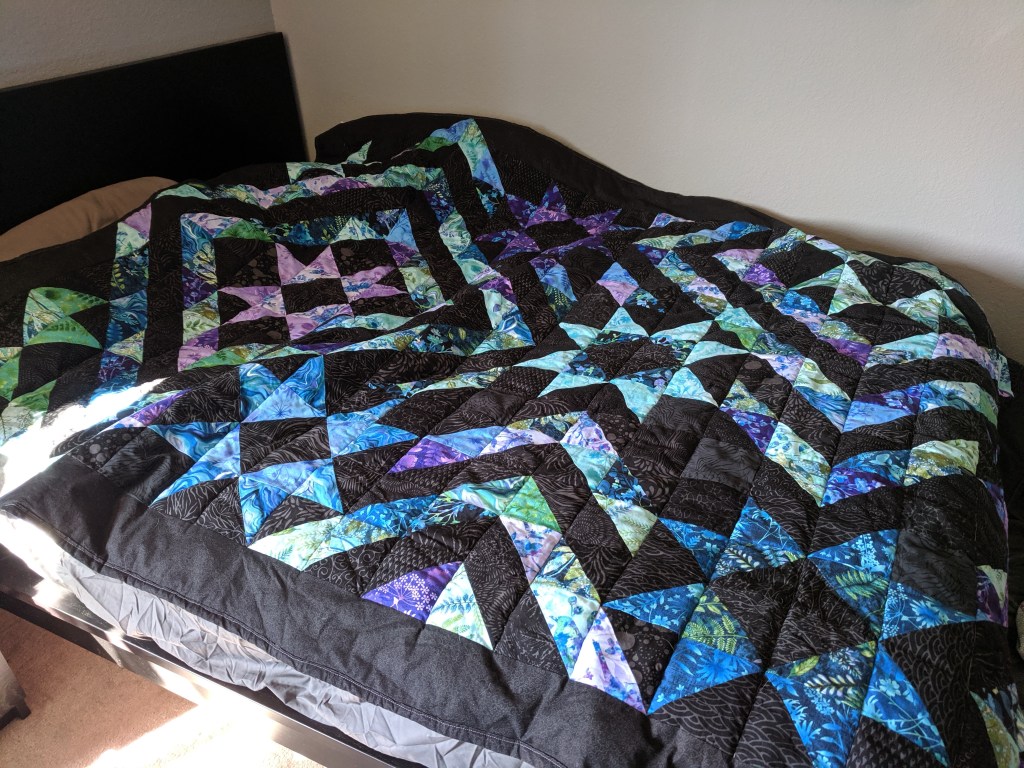
Project completed September 14, 2019.

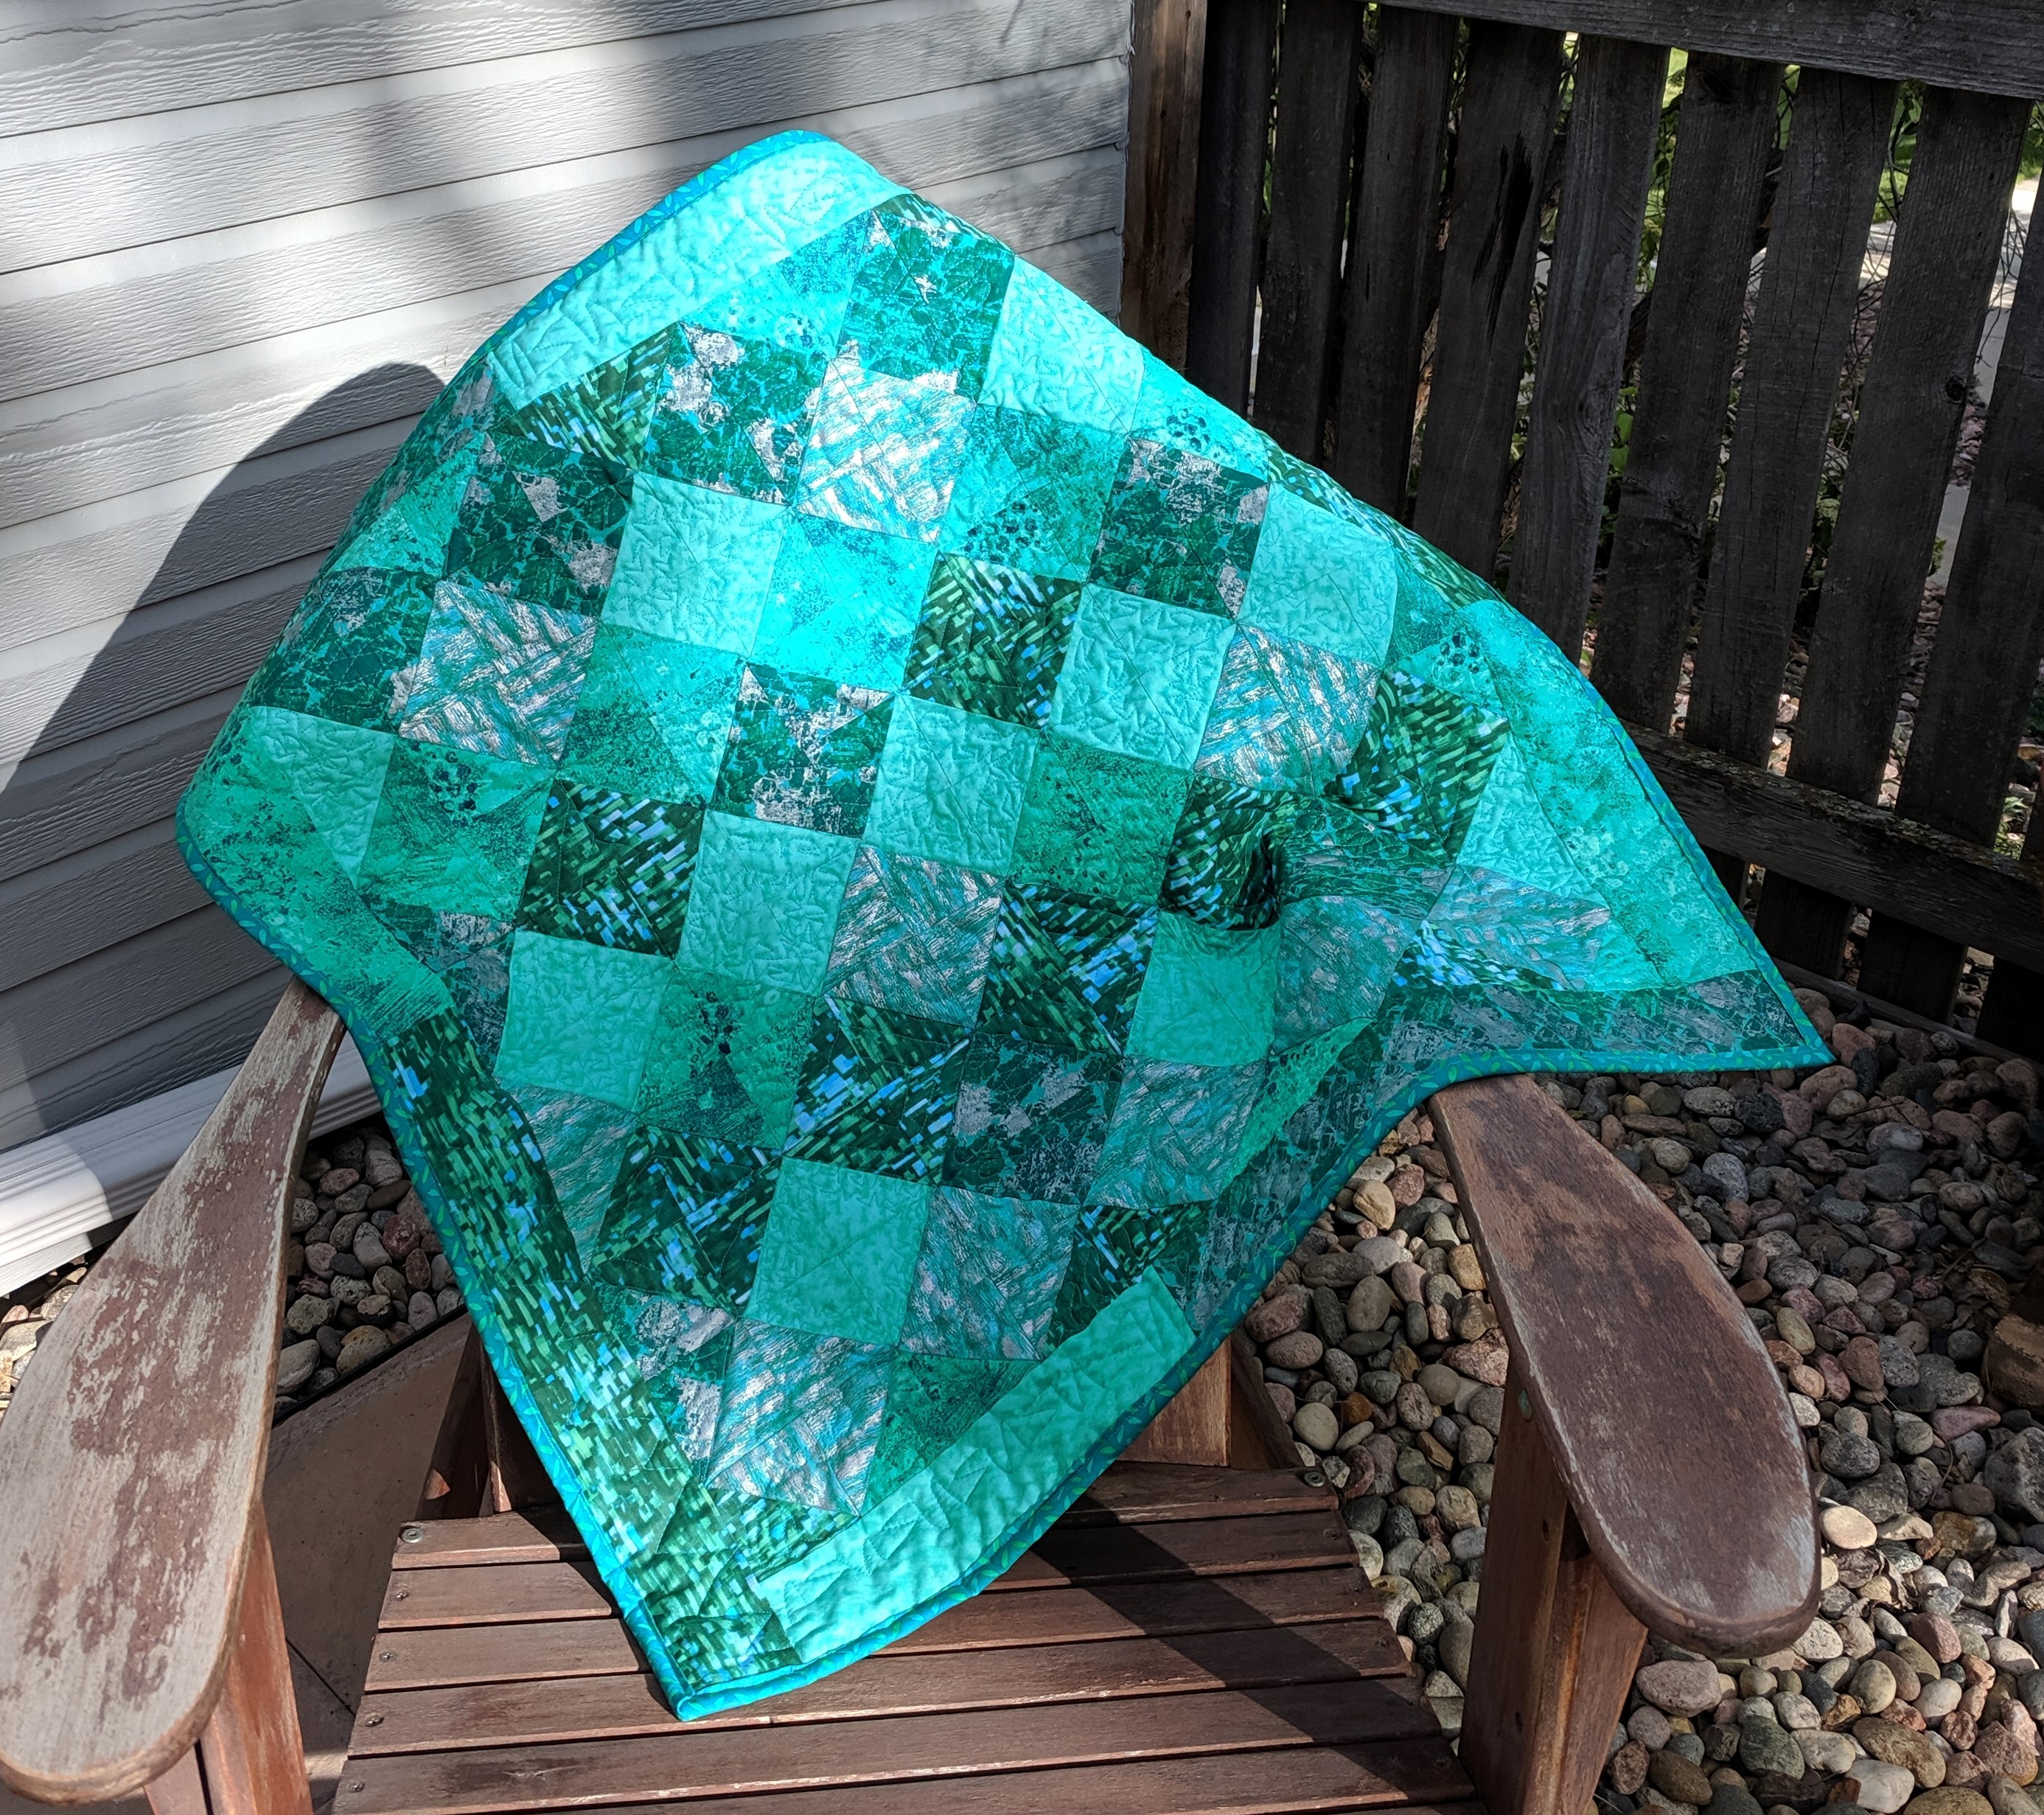
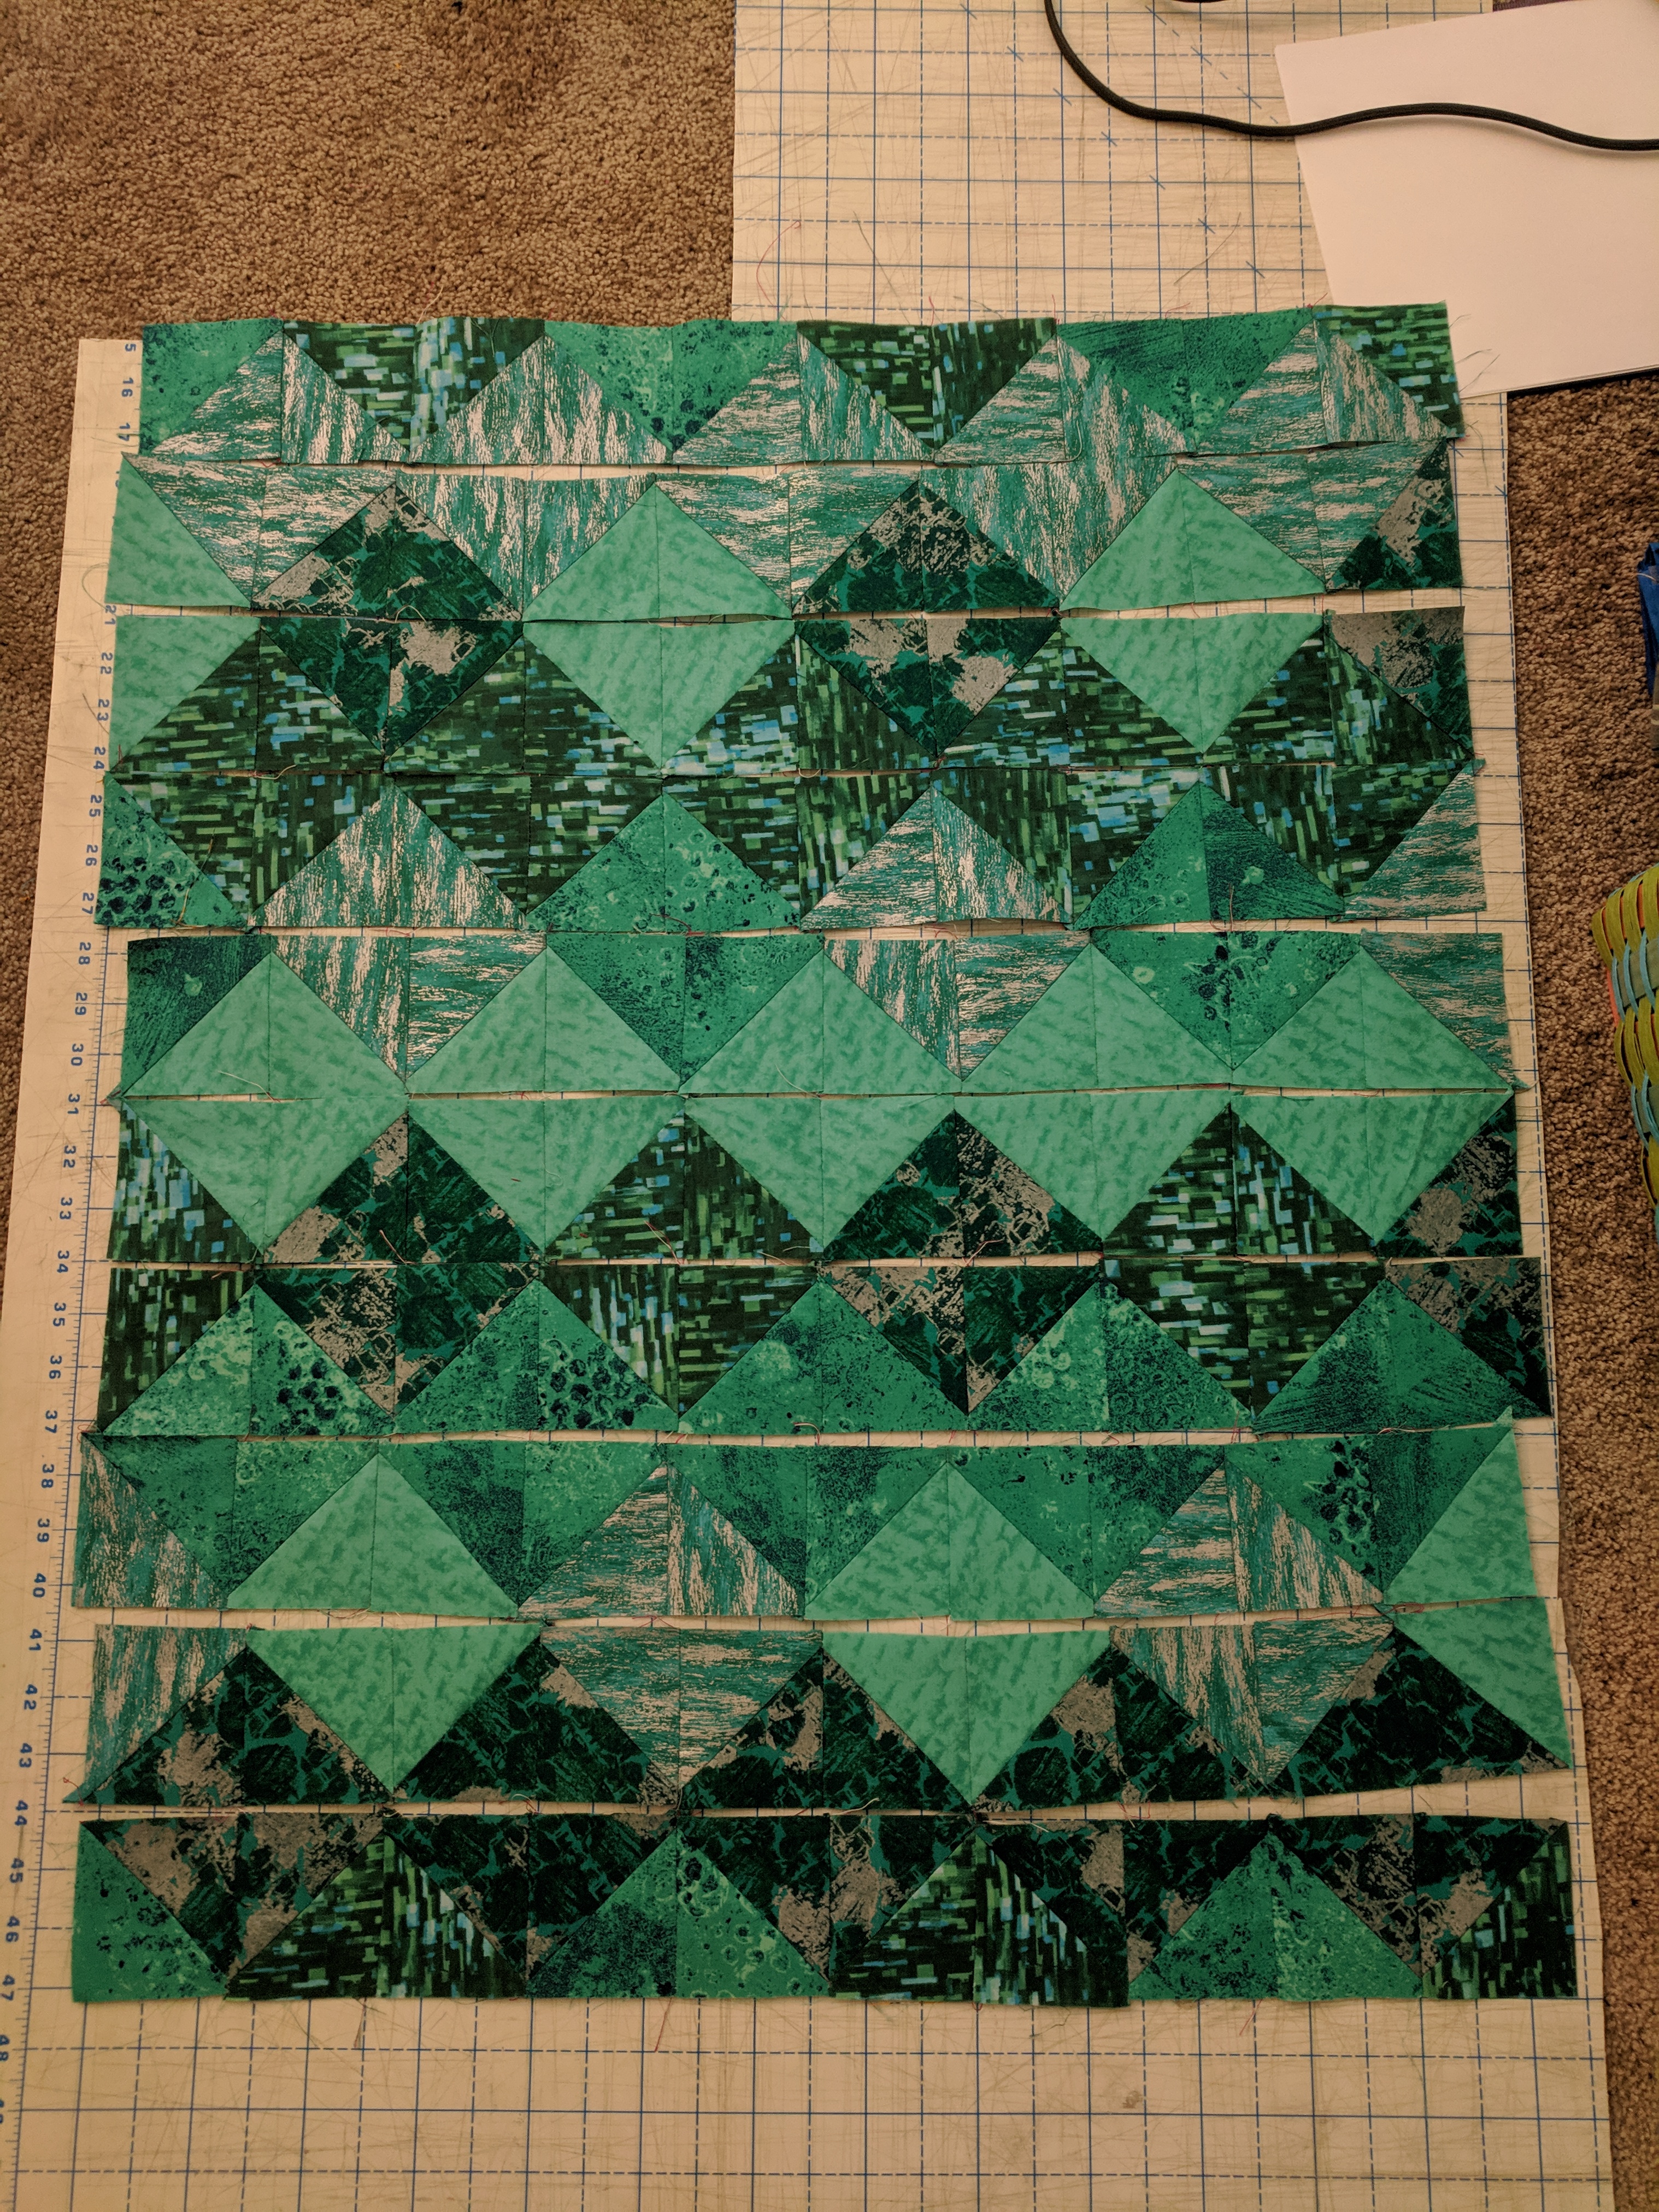
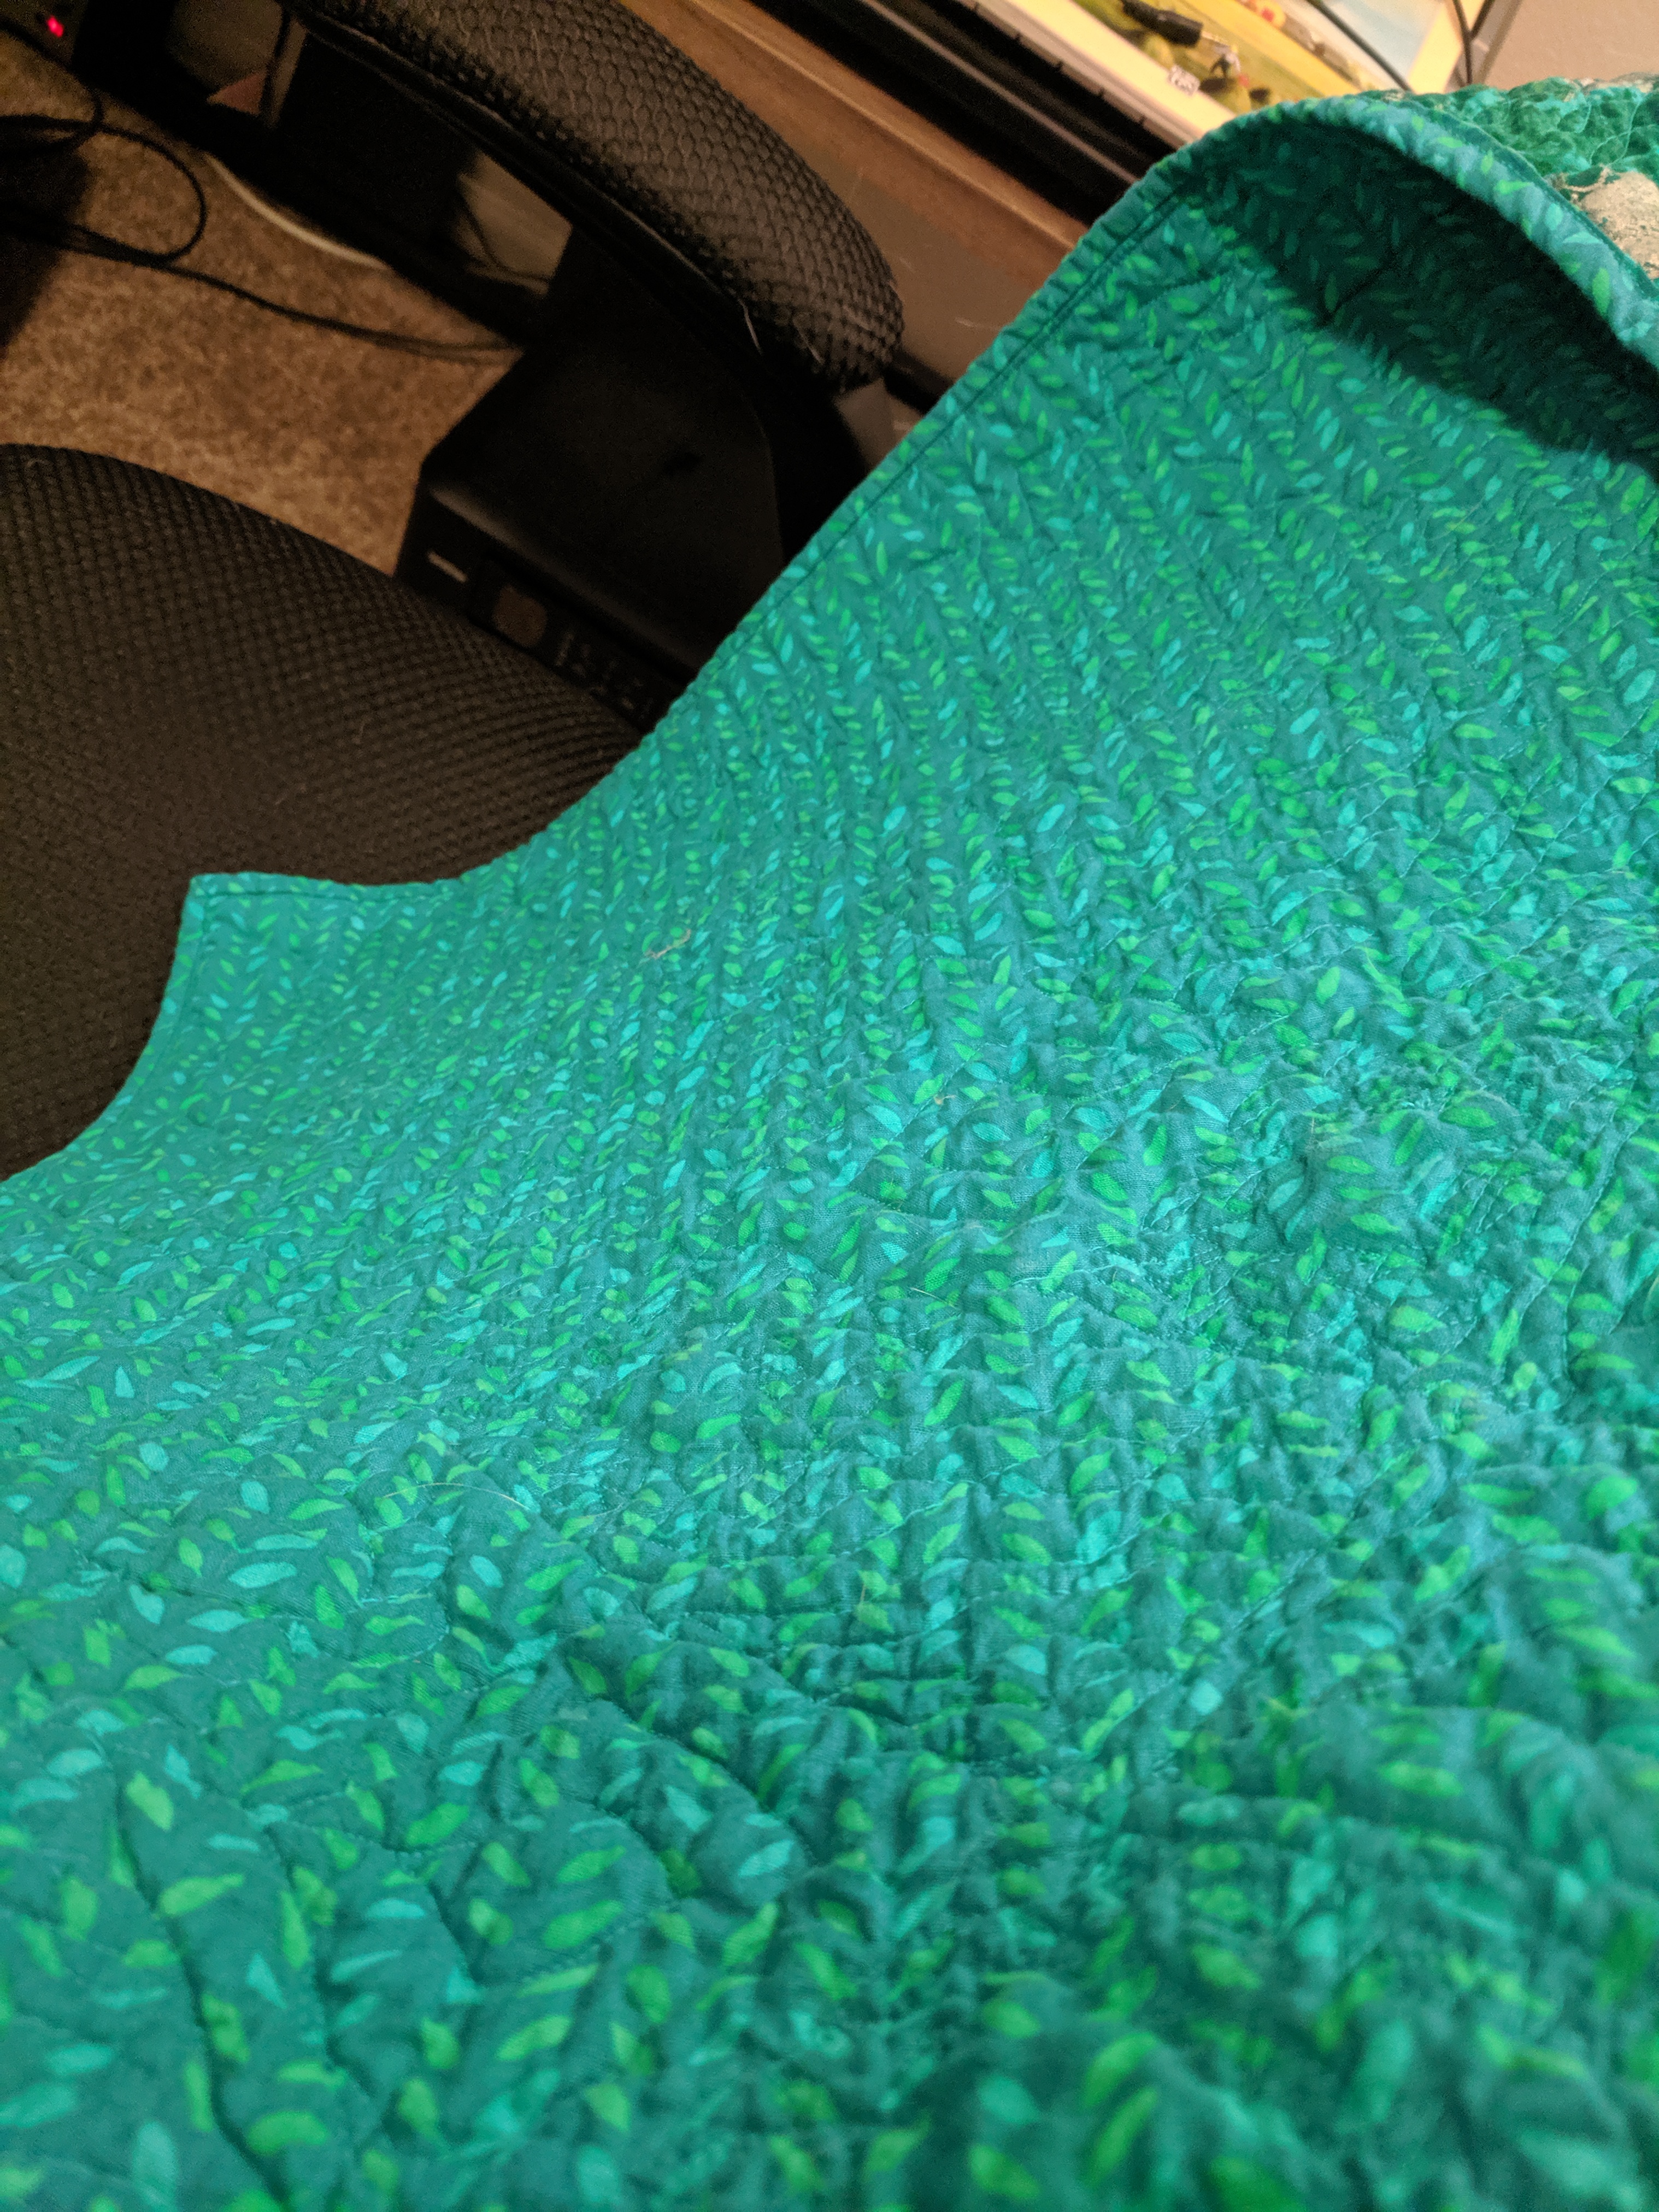
So the Green Diamonds was meant to be a trial “mess up” quilt before I attempted to quilt the rainbow bargello (see next week). I got a cheap 5-fabric fat quarter (18″x21″ piece) bundle from Joann, and cut each fabric into squares. I made half square triangles (HSTs) of each pair of fabrics – so each fabric had a set of HSTs with each other fabric. I decided to lay them out in a fake “on point” design, so that each fabric was represented by a row of diamonds. This created a secondary block, or pattern, between the rows of diamonds that’s diamonds of alternating fabric. I sewed these together in rows, then sewed the rows together. I used some excess fabric for the border.


Let’s take a second to talk about quilting. A quilt, by definition, is a piece of fabric (quilt top), a piece of batting, and another piece of fabric (backing), and at some point those three layers are held together by thread. For the most part, quilters these days use 100% cotton fabric for the quilt top and backing, and there are many different kinds of batting: cotton, polyester, cotton/poly blend, wool, etc. These three layers together are called the quilt sandwich, and the act of putting the thread through all the layers is called quilting. 🙂 Quilting can be done by hand or by machine.
So I knew I wanted to do free motion with this quilt. I did a lot of practice with pen and paper (surprisingly useful) and on scraps. In a fit of ambition, I decided that each fabric would have its own design. There is “dot-to-dot”, NZNZ, swirl with petals, wavy lines, and wishbone. Let me say this now: I didn’t practice enough on all of the designs. I’d done wishbone before on a pillow, so that one turned out pretty nice. And I surprised myself by having some very nice wavy lines, too. Dot-to-dot was the hardest – creating a straight line mid-fabric without any guides (I decided to forego drawing in water soluble marker on my fabric) is really hard.
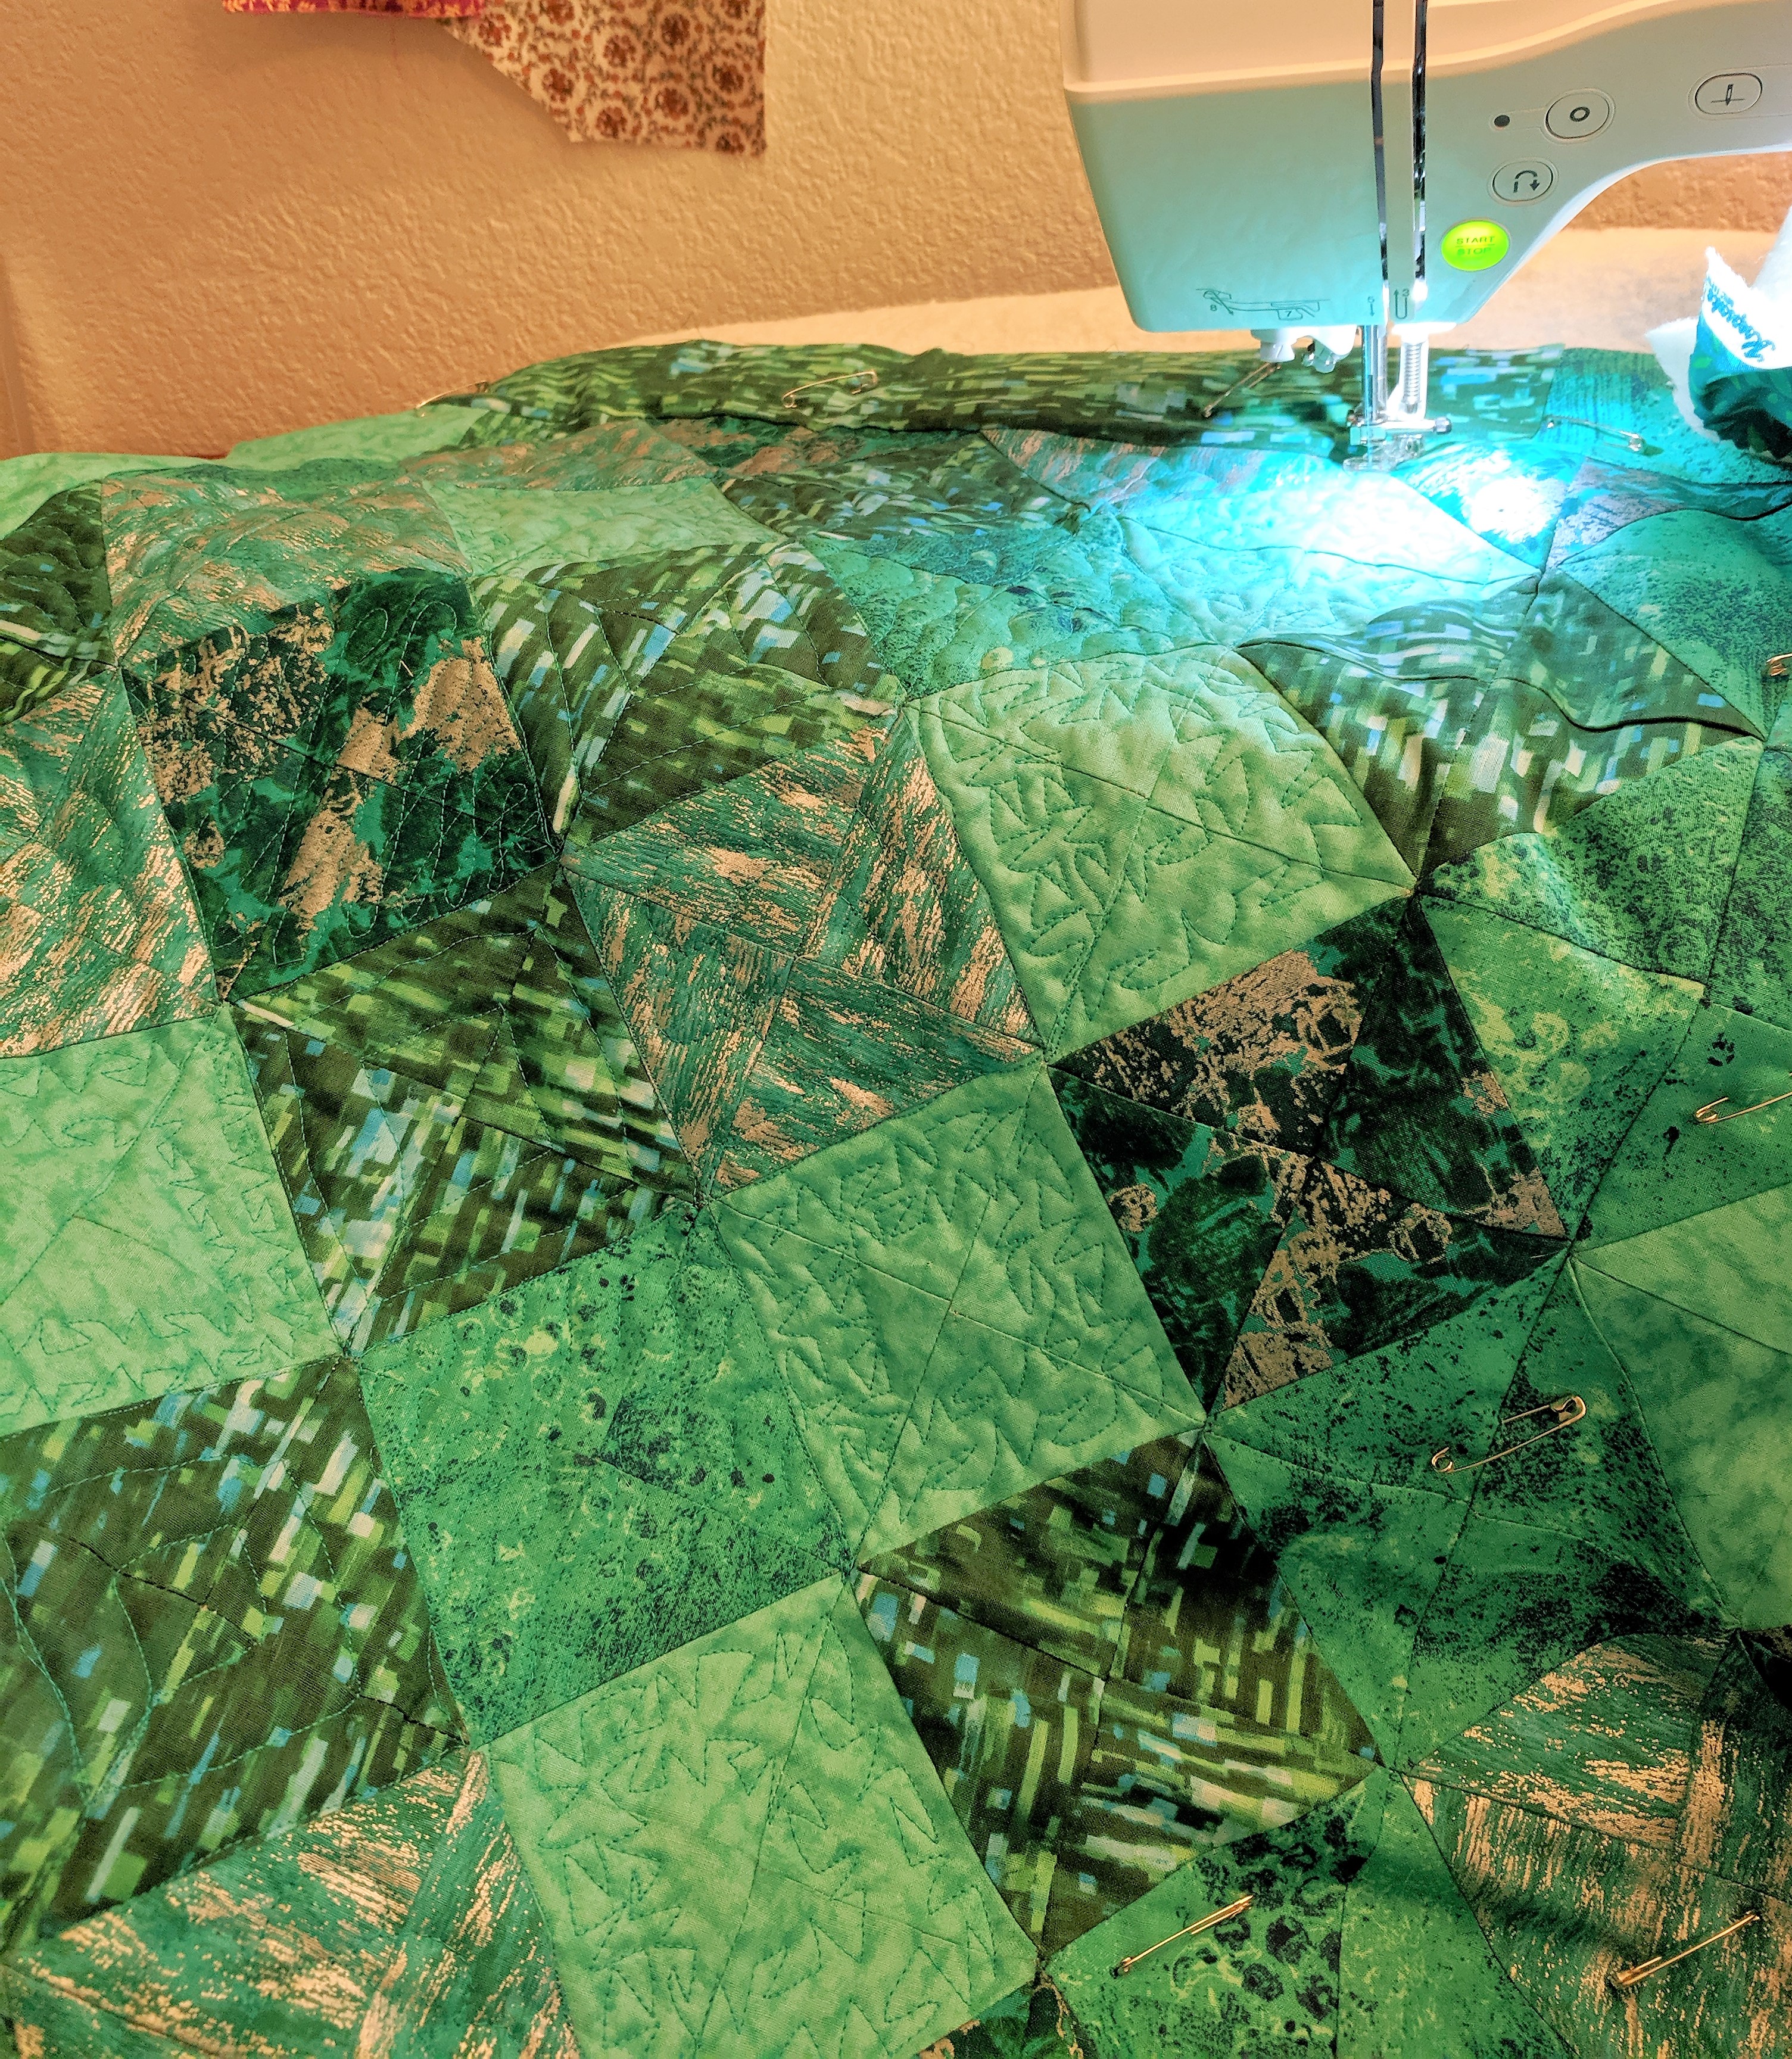
Before you quilt the sandwich, you have to baste it so that all the layers stay aligned and don’t move around while you’re quilting. You can hand baste with stitches, spray baste with adhesive, or safety pin (my chosen method). You lay your sandwich on a flat surface (preferably not carpet), and I like to tape down the edges of my backing so it doesn’t slide about. Then you start pinning in the center and move outwards, smoothing wrinkles as you go. This also makes sure that you don’t end up with weird wrinkles, pleats, or bunches in your finished product (but more on that later).
So anyway after pinning the living daylights out of my sandwich, I sat down to do some free motion. You always start in the middle and work your way out, just like basting. I decided to work down the rows so that I could keep doing the same design and keep it in my muscle memory. One of my issues with this quilt was moving from diamond to diamond – some of my designs didn’t bring me back to my starting point, or guide me into the next diamond. Also, since this was an HST design, there can be up to 8 layers of fabric at the intersections, which made it bumpy and hard to quilt near the centers and points of each diamond.
It took a bit, but I quilted this in a couple nights and put the binding on (strip of fabric wrapped around the edges of the fabric).
Now – about the wrinkles and bunches. I loved my finished product, but there’s one last step in quiltmaking. Washing and drying. No one likes something they can’t throw in the washer and dryer. I was extremely worried about threads coming loose, or the binding just spontaneously falling off (extremely unlikely), but I threw it in the washer anyway. And when I put it in the dryer, I didn’t even look at it.
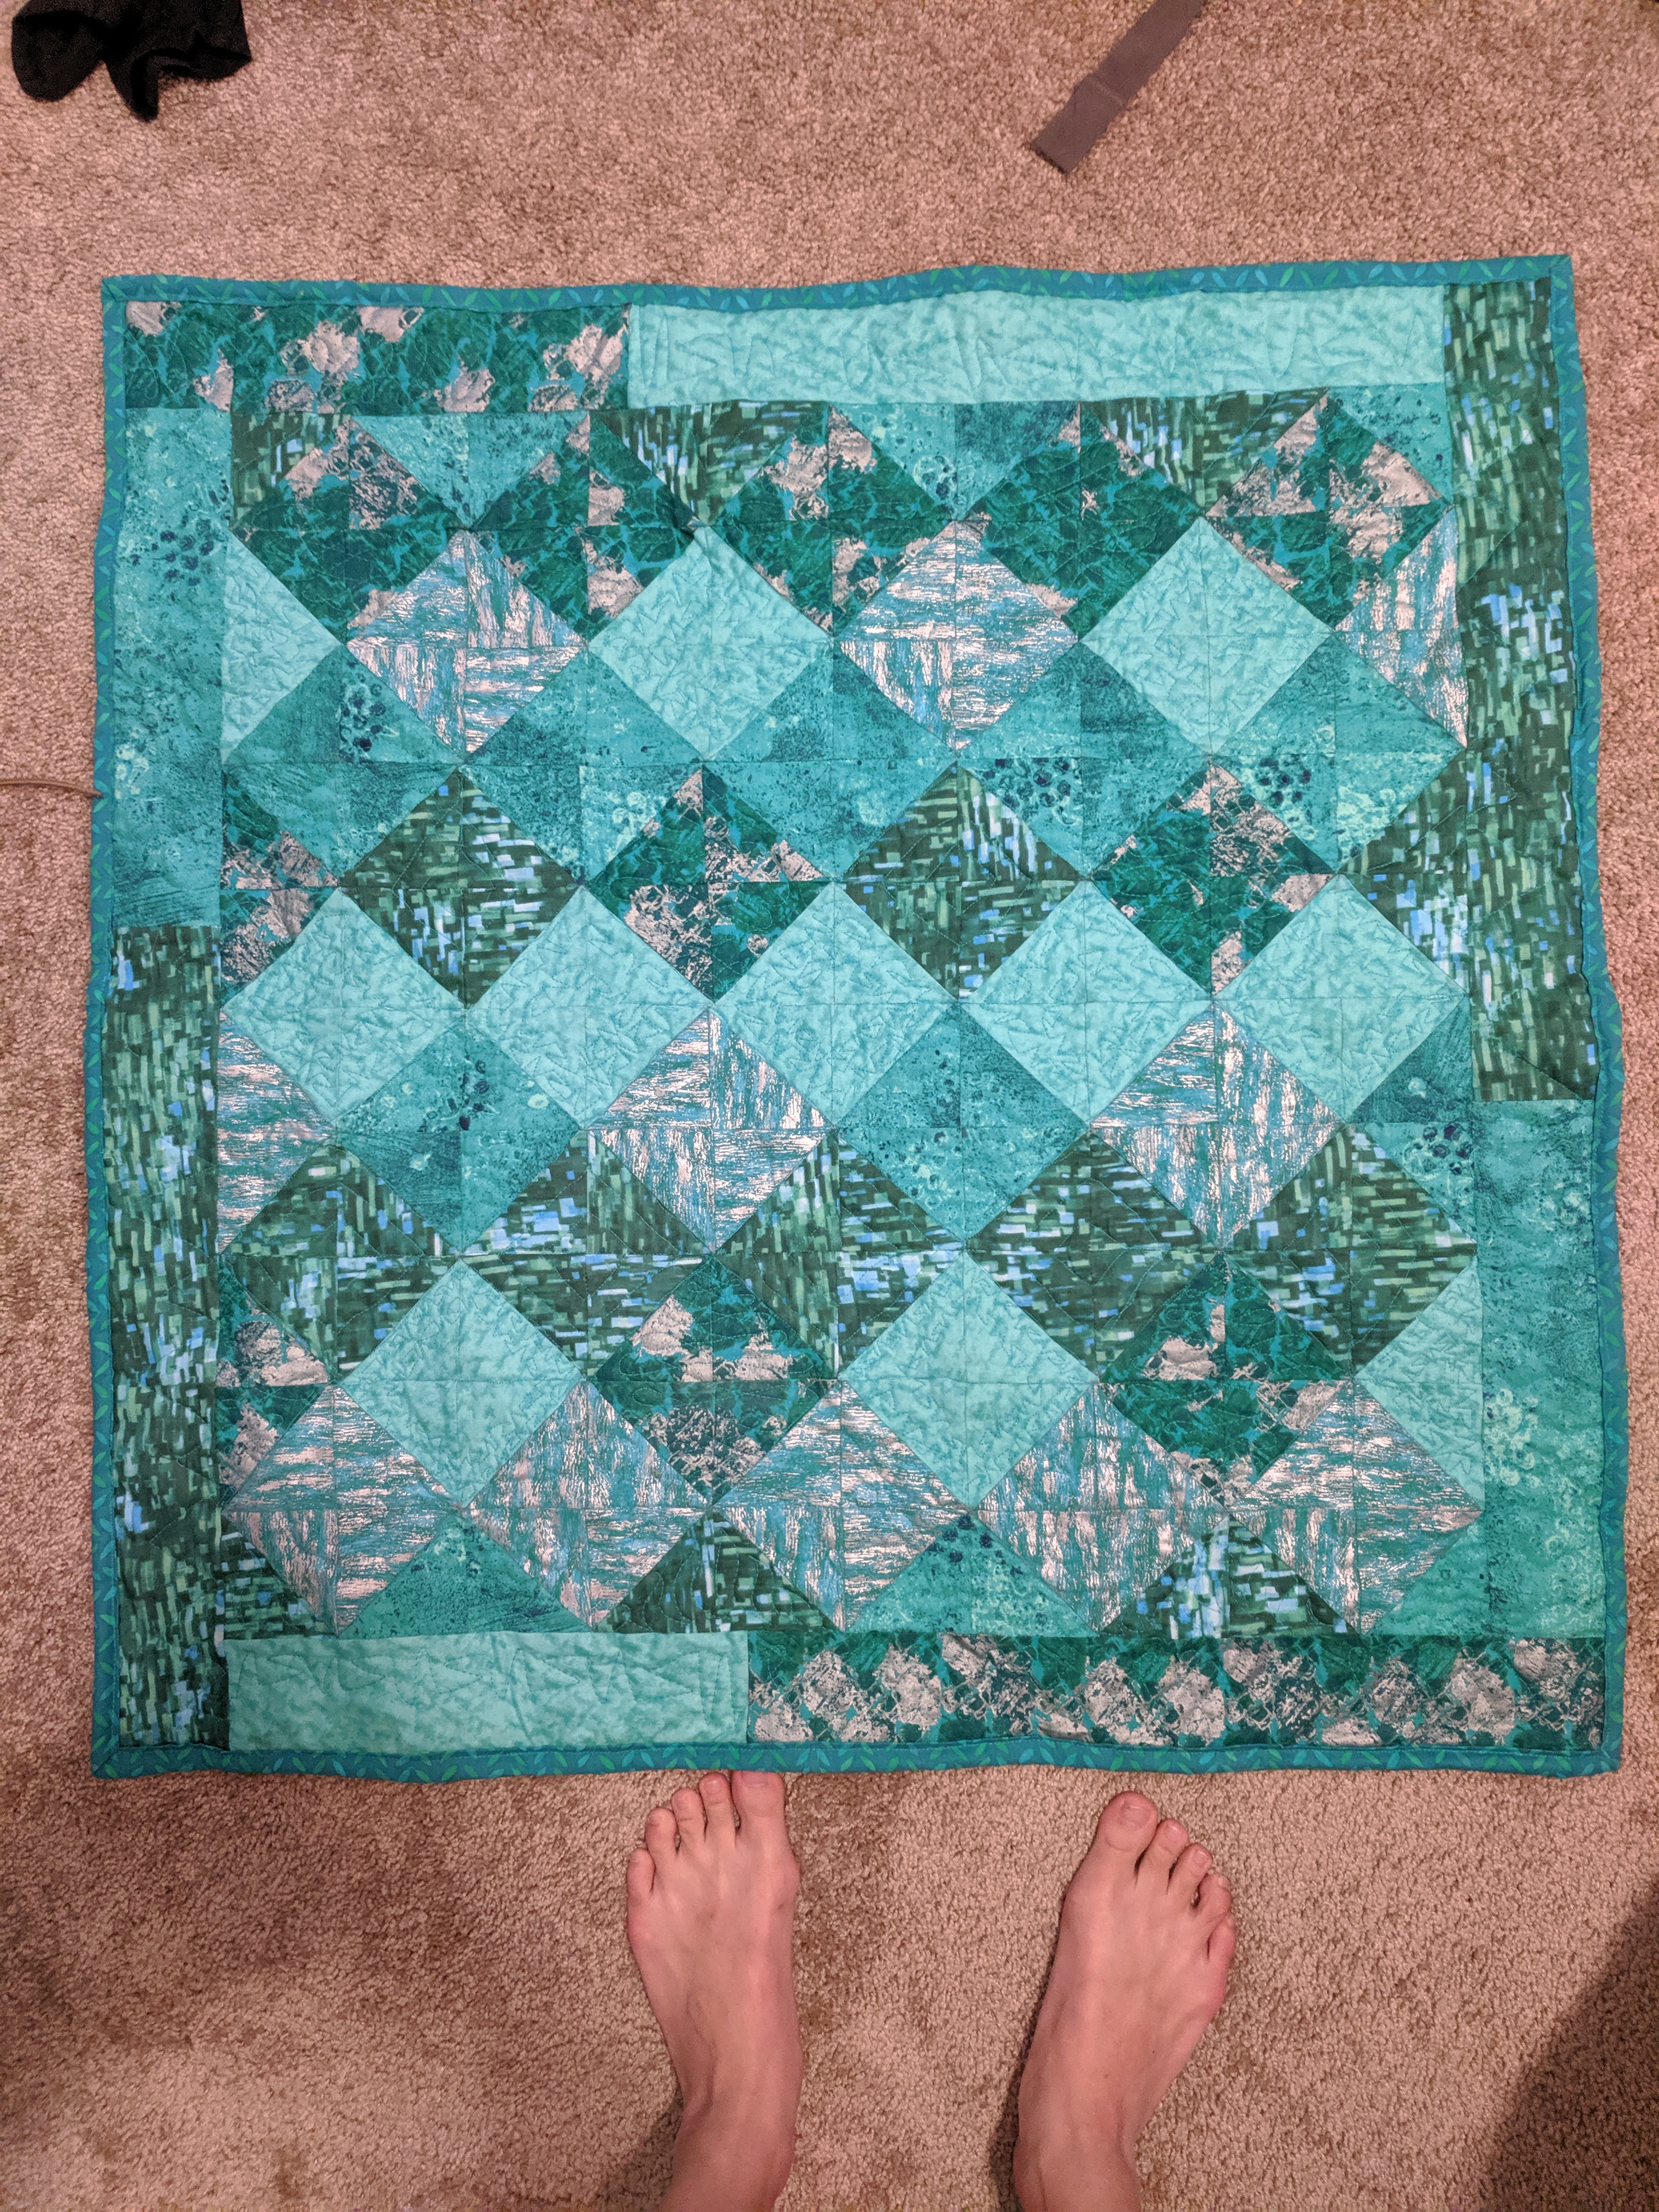
But then it turned out wonderfully crinkly and soft, and nothing bad happened 🙂 Washing your quilt helps the batting fluff up a bit, and the quilting sinks down, making a nice texture that hides mistakes (of which I made many) and bumps (of which there are many) and pretty much everything else. Plus it makes the whole thing soft and cuddly, which is what quilts are (for me) meant to be. I don’t think you’d wash an art quilt, or something with super detailed free motion, but for my purposes, I learned to stop worrying about the tiny things because I can’t even find them anymore when I look at the quilt. And as Angela Walters says, “better finished than perfect”.
Project completed May 24, 2019.
