Tag Archives: c2022

Celebratory T-Shirt Quilt

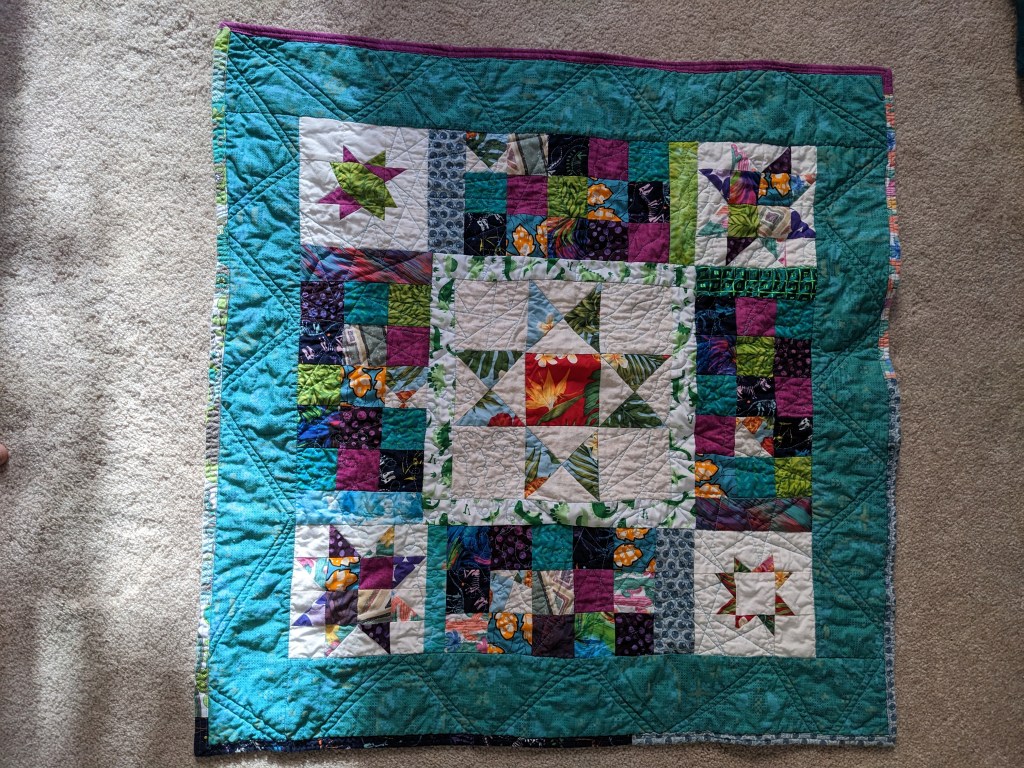
I made this quilt as a commission for my friend’s mom, for my friend 🙂 Their mom supplied me with a bunch of t-shirts from my friend’s childhood that otherwise weren’t being used, and I got to work!

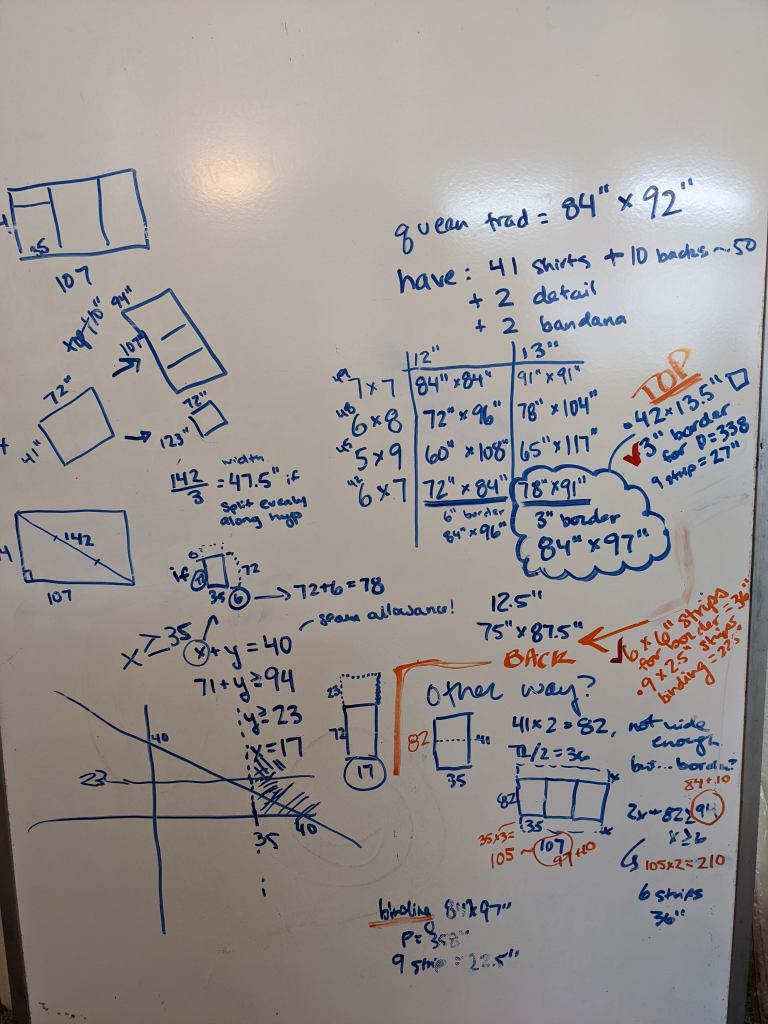
First, the idea was to have these shirts in a different format that my friend could actually appreciate and use. I did an inventory of the shirts, most of which only had designs on the front, but some had a front and back design. There were a couple repeats, so I figured I could put them in different areas on the quilt or exclude them, depending on how many squares I needed. Below I’ve included some of the calculations I did for this quilt – I had about 50 things I could make into squares, so I thought about different grids and calculated the dimensions for each. I settled on a 6 by 7 grid using 13.5″ squares, with a 3″ border for the quilt top (on the right of the picture).

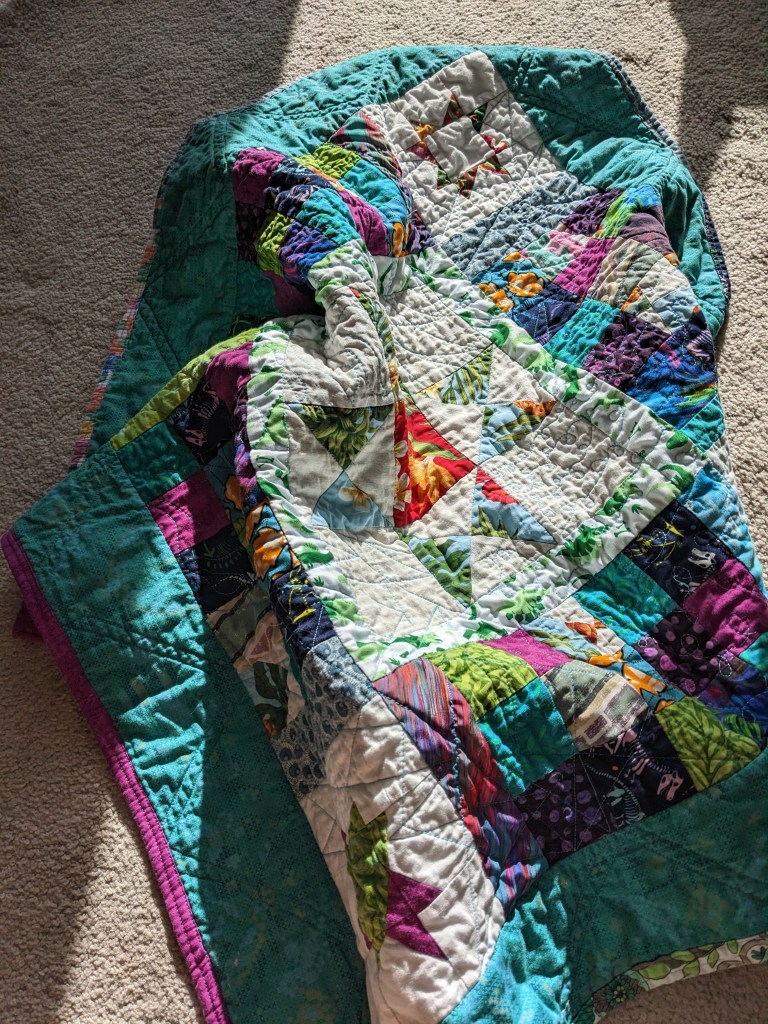
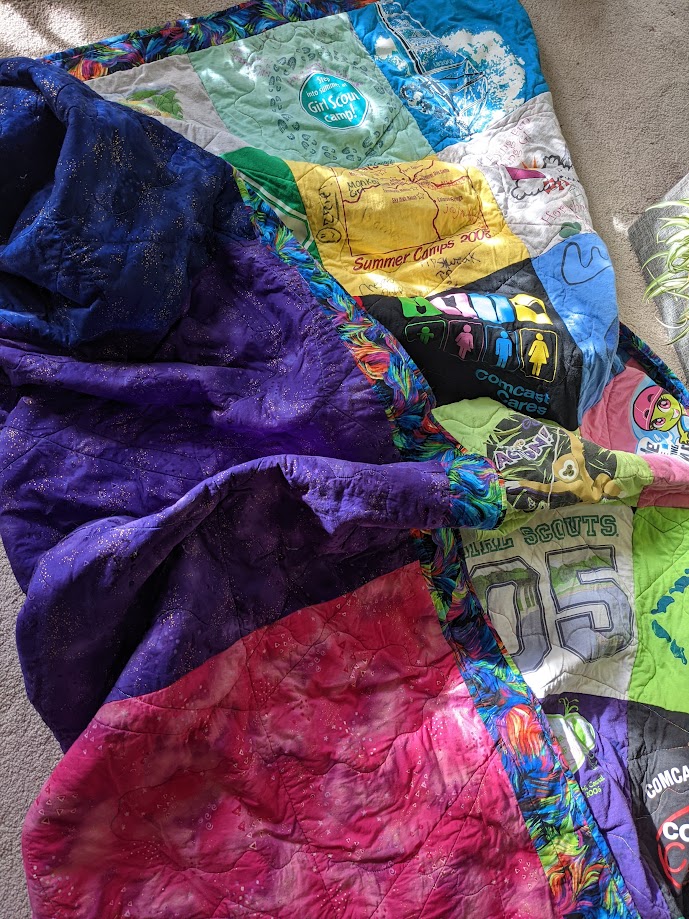
For the back, their mom and I decided on a three colors in a stripe format, and I had to figure out what the widths of each panel would be. I thought about doing the stripes on a diagonal, but the math just didn’t work out that way (bottom left). I ended up doing straight stripes with a 6″ border (bottom right), using the same fabric for all the borders and the binding.

I think one of the main calculations I do for quilts is trying to figure out the correct aspect ratio, based on the square shape, the desired size, and the border. I also wanted to make sure the three stripe colors were equally represented; I originally thought the seams could be diagonal but I found I wouldn’t have enough fabric.

Then it was time to start cutting squares! I cut them out and lined them up in the order I wanted to sew them into the grid; I sewed the squares into columns and then the columns into the entire quilt top.

Lined up squares and the friendly helper!

After constructing the quilt top, I added some borders – to add size to the quilt and to stabilize the entire thing. Most of the shirts were made of stretchy woven fabric (honestly, very difficult to sew, I had to use tissue paper to make the edges stay flat so I could piece them together) so I wanted to have that non-stretch cotton around the edges to lock everything together.

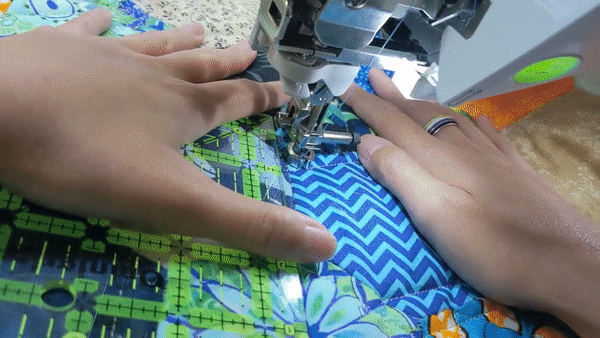
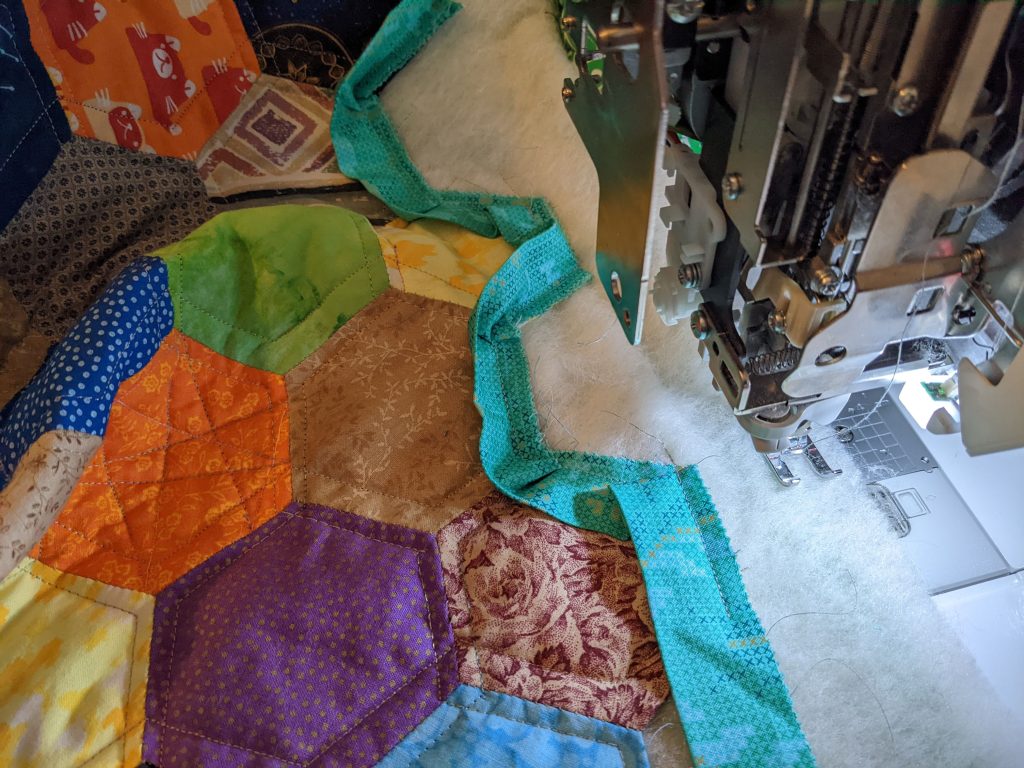
I quilted the whole thing with zigzags across the row seams, and then went back to do some wiggly lines up and down and around the different designs to stabilize and add some fun.

Project completed February 2022

Follow your art heart

Been making a lot of different kinds of things! I’m reaching into multimedia and experimenting with new materials and techniques. 🙂

… and then I learned to crochet!

After the most recent quilt I made, I didn’t spend much time in the sewing room for various reasons, and picked up crochet! I’ve been trending towards things that are more “by hand”, like English paper piecing, and embroidery, so it made sense for me to get into crochet or knitting. I chose crochet because it seemed easier to get into and has the capability for making three dimensional objects.

I started off as I usually do, on YouTube and with books from the library, and immediately gave myself tendonitis from crocheting for too long and holding the yarn too tight. Now, I try to cap crochet sessions at two hours, or else I’ll go on crocheting forever and hurt my hands and wrists.

I started off with granny squares and little flower motifs 🙂 and a catnip ball for my friendly helper
The three dimensional granny squares were really fun 🙂

Then I wanted to make a sweater, but a super easy one. This sweater is based off a blanket sweater pattern, which consists of a rectangle with the corners folded in to make sleeves 🙂 I used two yarns at the same time to create a textured/blended effect.

Closeup for the texture 🙂

Then I saw this TikTok and needed to make my own dinosaur sweater, so I did. The pattern was really straightforward, and it’s made to measure instead of a set row/stitch count. I started doing the back and (a) got nervous I would run out of yarn, which I did not and I have a lot left over, and (b) thought it would be fun to do some color changes for the aesthetic and for practice. Practicing the color changes and learning how different techniques (such as tapestry and intarsia) create different looks was very helpful in planning and executing the front. Also, now I know that I can crochet any colored design that can be made with a grid (some artists use crochet to do 8bit art, and a crazy dedicated artist is using crochet to make an early-2000s-wordart piece).

Crochet colorwork like this uses a grid to tell you what colors to use.

The color work wasn’t technically difficult, but required a lot of care to keep the different yarns in their own space and not tangled. I tried to weave in the ends as I went, but then I had to undo some of it because I forgot to adjust for the arm holes, and that didn’t go very well. After that, and in the future, I’ll keep the ends loose until I’m positive that everything is correct and I don’t have to undo anything.

I didn’t do ribbing, because I don’t like it, but I think the green border does add a little something. A finishing touch.

I think crochet has reopened the door to making my own clothes because it’s more forgiving than sewing, especially with non-stretch fabric. There’s much more precision and care necessary for sewing garments, and I enjoy playing with crochet’s many textures. Plus, there’s the “by hand” aspect, which is fun and compelling for me. And I do love a good sweater 🙂

Other crafts I’ve been up to recently:

EPP bag to celebrate my new job (front)
EPP bag (back)

EPP Update!

IT IS FINISHED!!!!! And oh, I do love it. When I look at it, I’m reminded of the hard work and enjoyment that sewing and quilting have given me, and that I’ve given myself. It reminds me that I enjoy hand sewing and machine sewing for different reasons, and they both have their place in my creative endeavors.

It was a lot of work, but it was spread out. And very worth it. This project brought me back to college when I was only doing hand sewing, since I didn’t own a machine. It was a slow and relaxing project, which was wonderful – I’d work on it whenever I felt like it, whether that was on the train to the city or sitting on the couch with my cat.

gluing fabric to hexagons

I wanted to keep the quilting really simple and highlight the fabrics themselves, since there are so many fun ones in this quilt! I decided to echo the hexagons, and made three passes across the quilt, echoing two sides at a time (three passes, two sides at a time – all six sides covered!). This allowed me to quilt long, uninterrupted lines, which is most effective. Quilting is pretty AND increases the structural integrity of the entire sandwich, so long lines are preferable to “isolated” designs that require cutting the thread. For a little fun, I added in my “random geometric” design in some hexagons.

Quilting by aligning the ruler against the edge of the hexagon and following it, creating a quarter-inch echo line. You can see here that I’m on my third pass, four of the sides are already echoed and I’m following the last two sides (easiest to see in the light blue heart block or light pink on the left).

I decided that I would keep the hexagons on the border instead of cutting the quilt to rectangular, so I looked up how to apply binding to all the angles. It was a bit fussy, and I realized that I would have to then hand sew the binding to the back, but… it looks really cool. And it was nice to finish the quilt by hand, honoring the work I put in to the top.

Applying the binding with the machine
Hand sewing the binding to the back, with my friendly helper.
scraps from the back
This quilt’s resting place – the analog room / reading chair ❤ It is wonderful and warm and cozy… and a project for me, of me, from me.

Project completed January 9, 2022.

  • Fabrics – so many. Sourced from MSQC, Joann, Bluprint, Etsy, eBay, thrift store, Spoonflower, memory quilt scraps
  • Batting – scraps, mostly cotton and cotton/poly blends
  • I didn’t buy any supplies for this quilt except machine needles. Which!! I figured out why my thread kept breaking all those times. Just need to use a bigger needle. 🙂 But it was a true joy to create something “for free”.