Category Archives: Uncategorized

Christmas Bags!

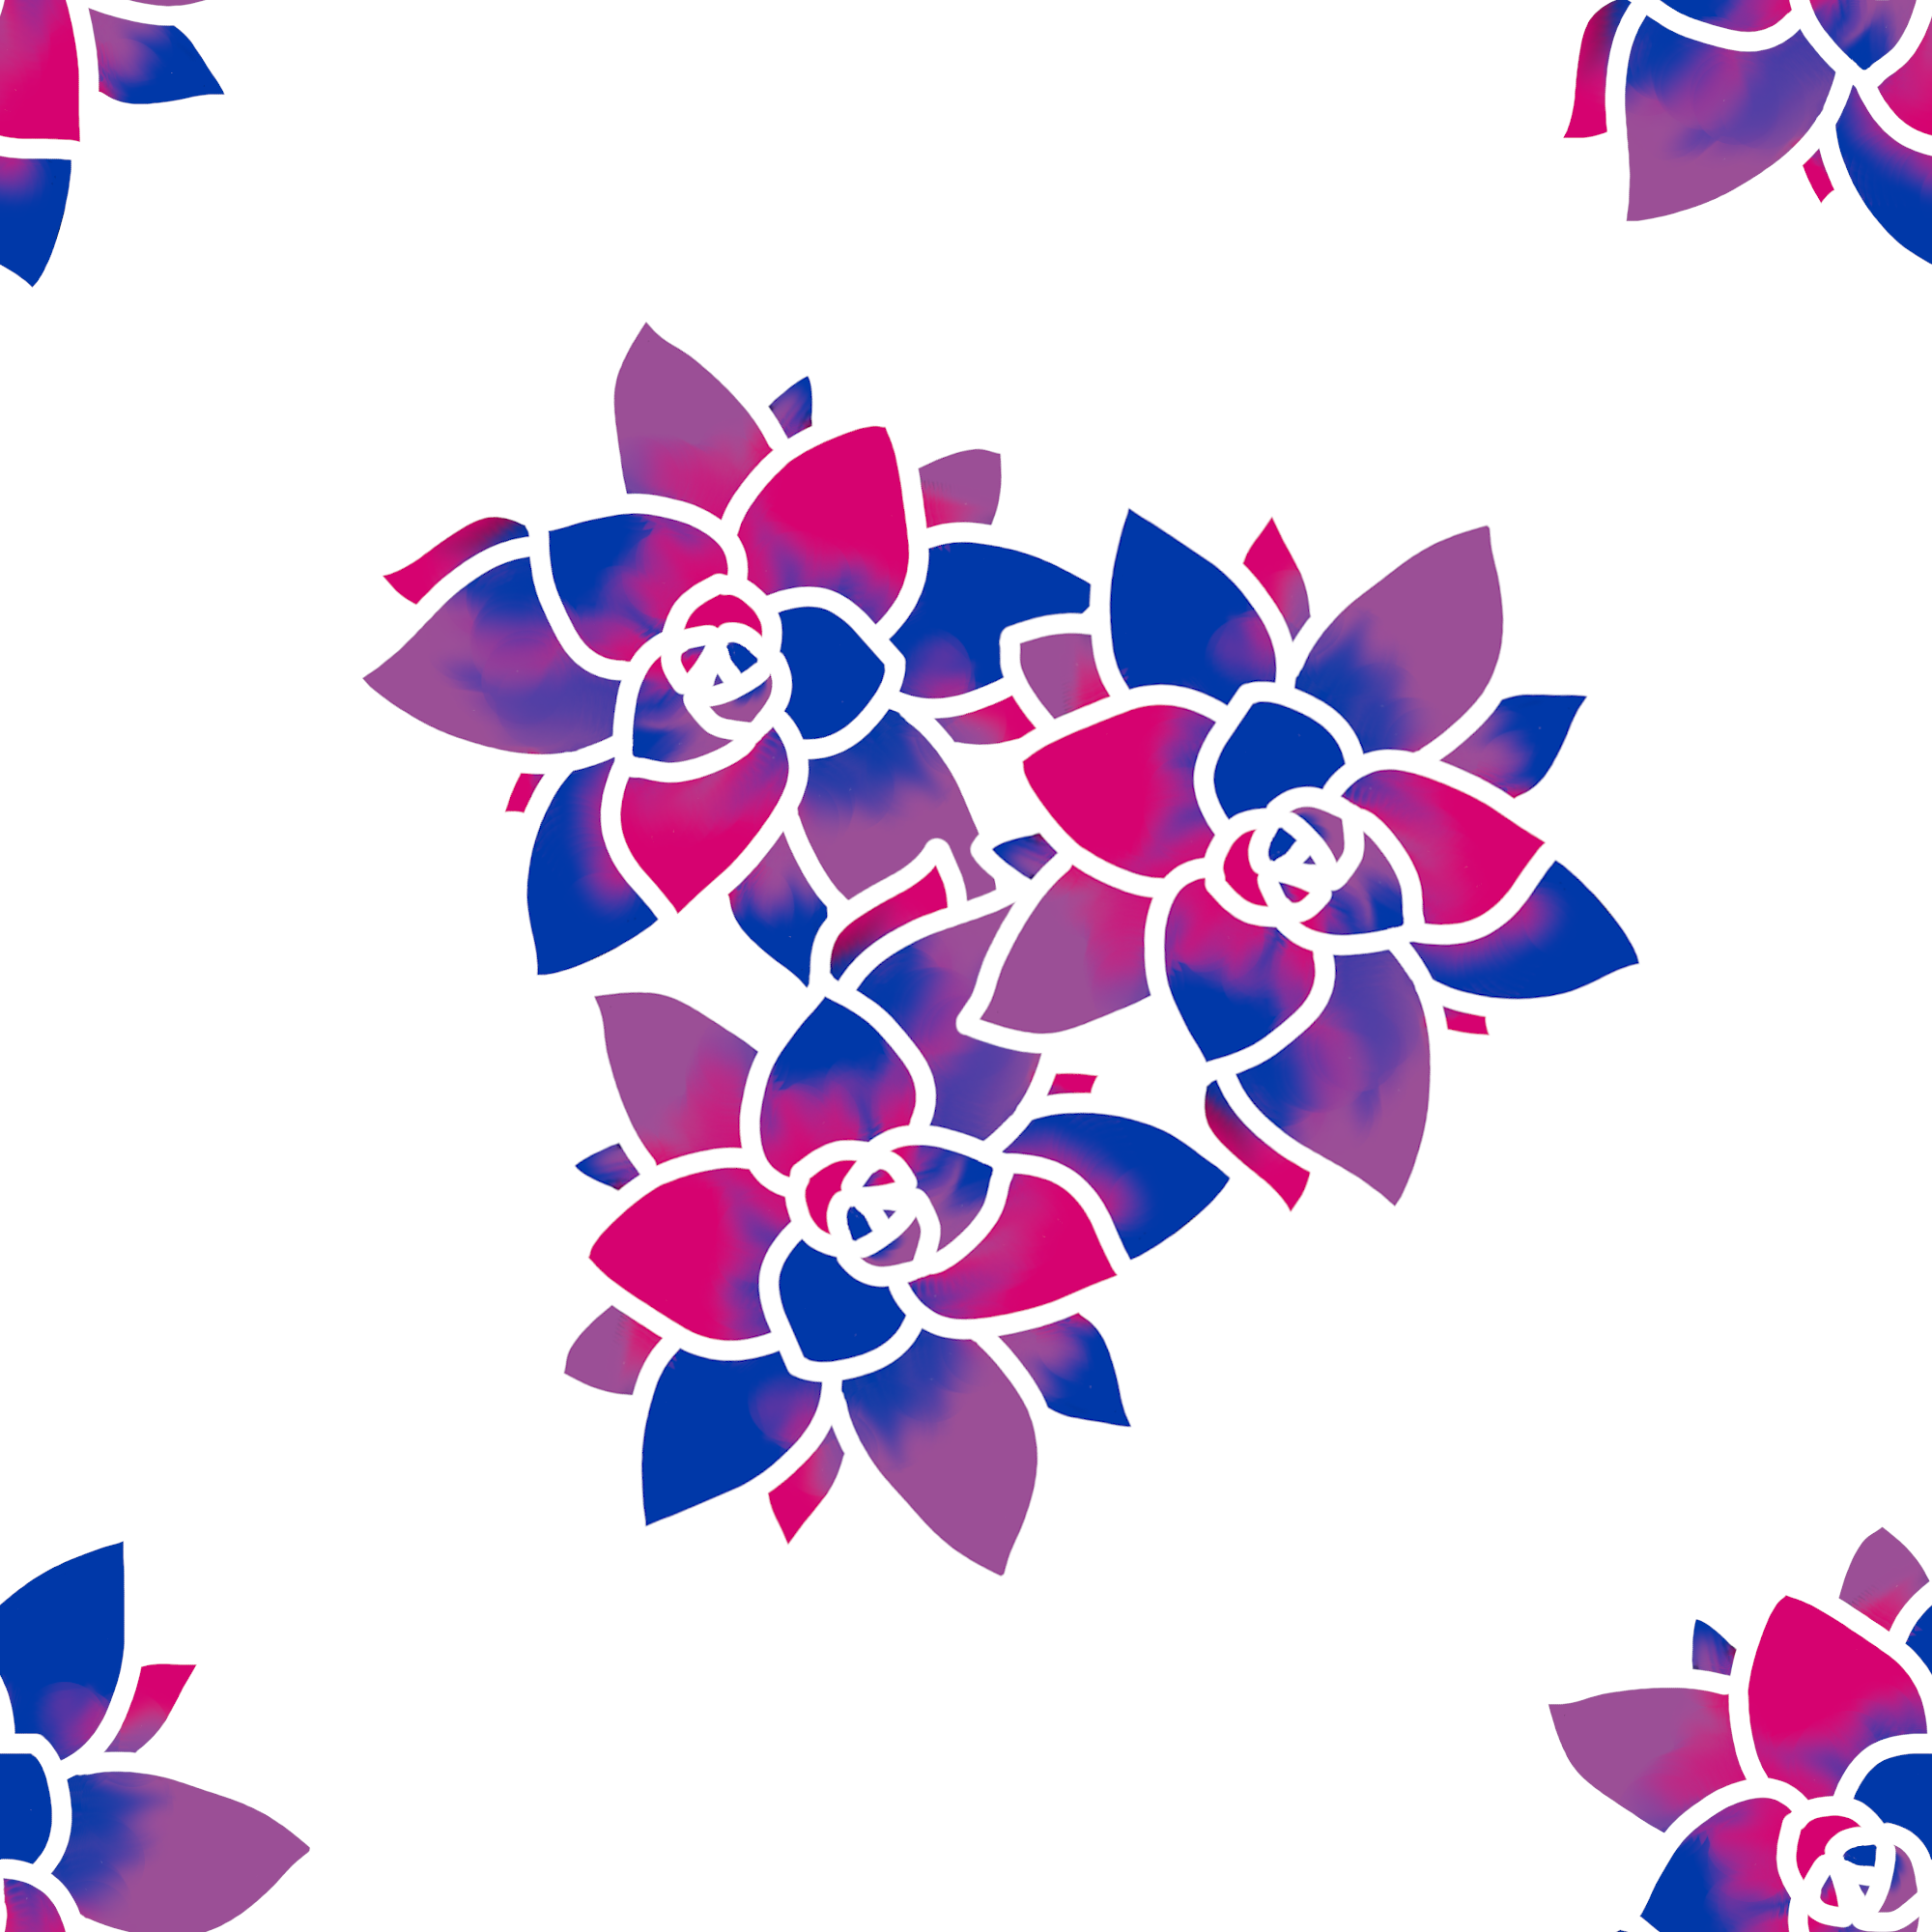
I decided to use the same website for my Christmas gifts as I did for my purple geode dressSpoonflower, but making my own designs to be printed on the fabric.

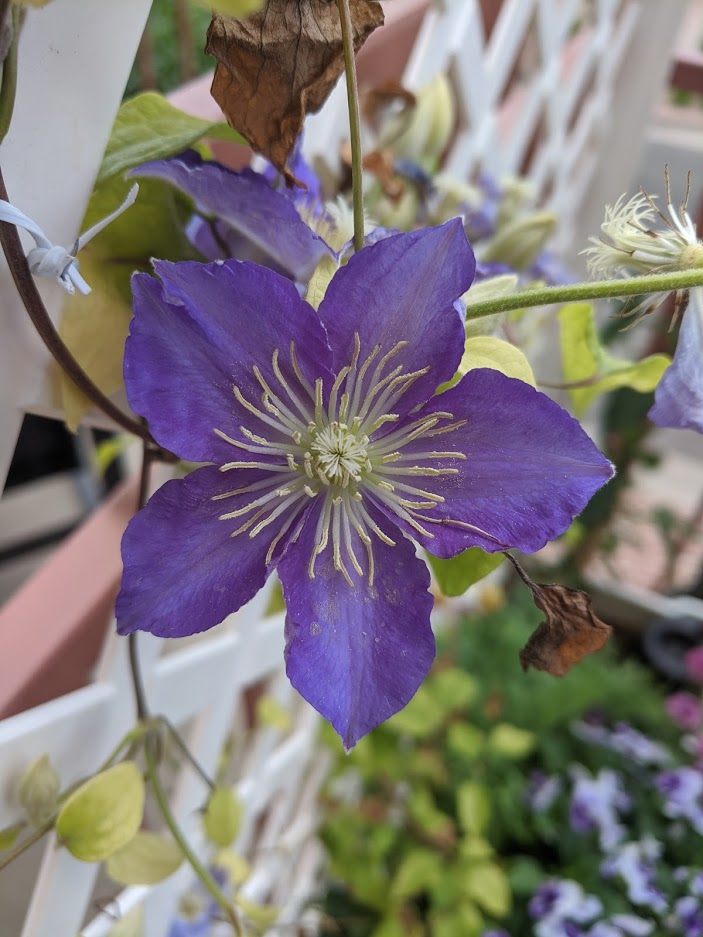
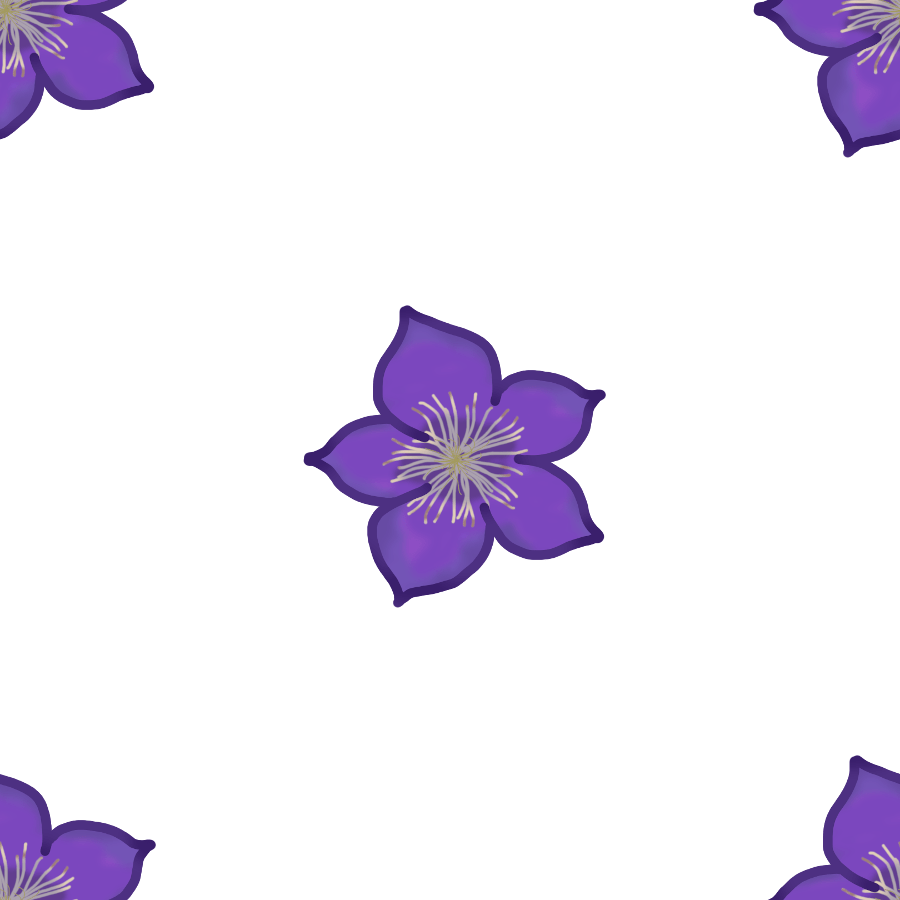
I used GIMP, a photo editing software, to trace some of my own pictures and clip art to make the designs. I used a picture of a clematis flower on my porch to do some tests.

Original clematis flower on my porch
Traced clematis, plus a diagonal repeat
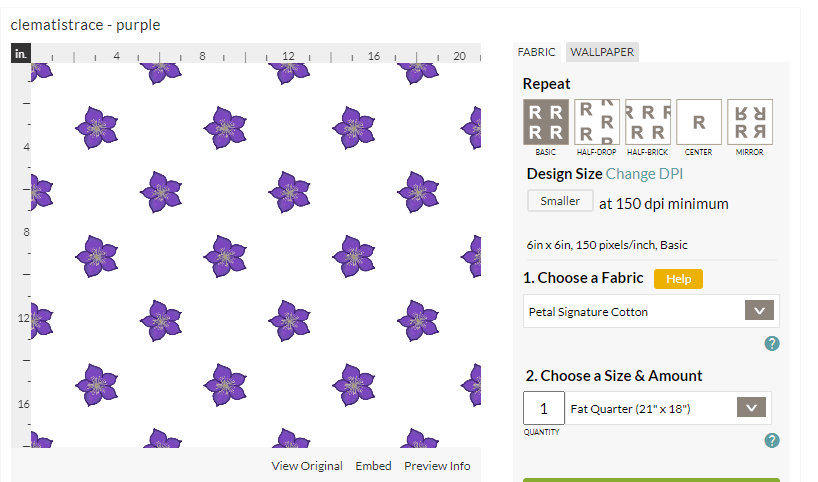
Spoonflower selection – you can choose the type of repeat and the size of the design

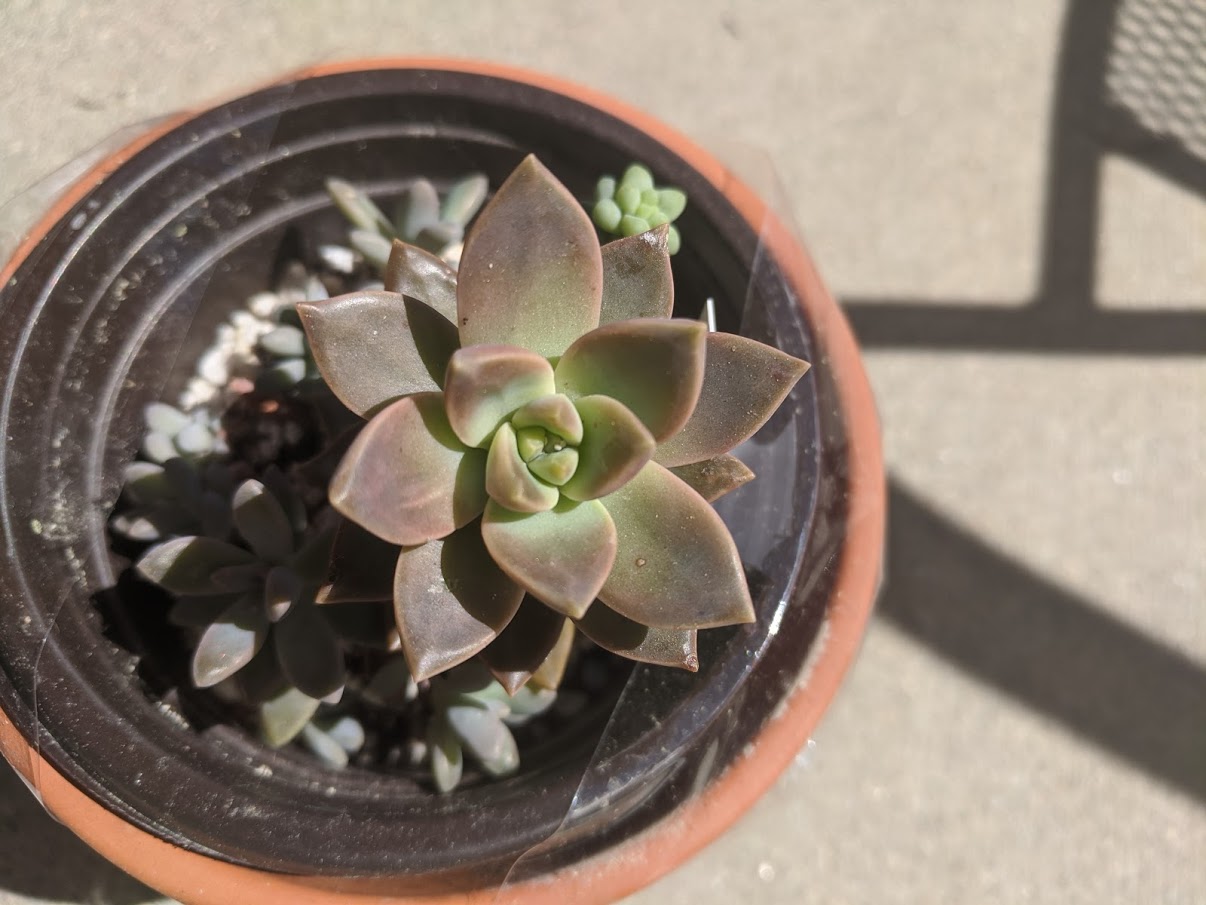
And I did a little abstract design of the graptosedum california sunset succulent I had over the summer, too.

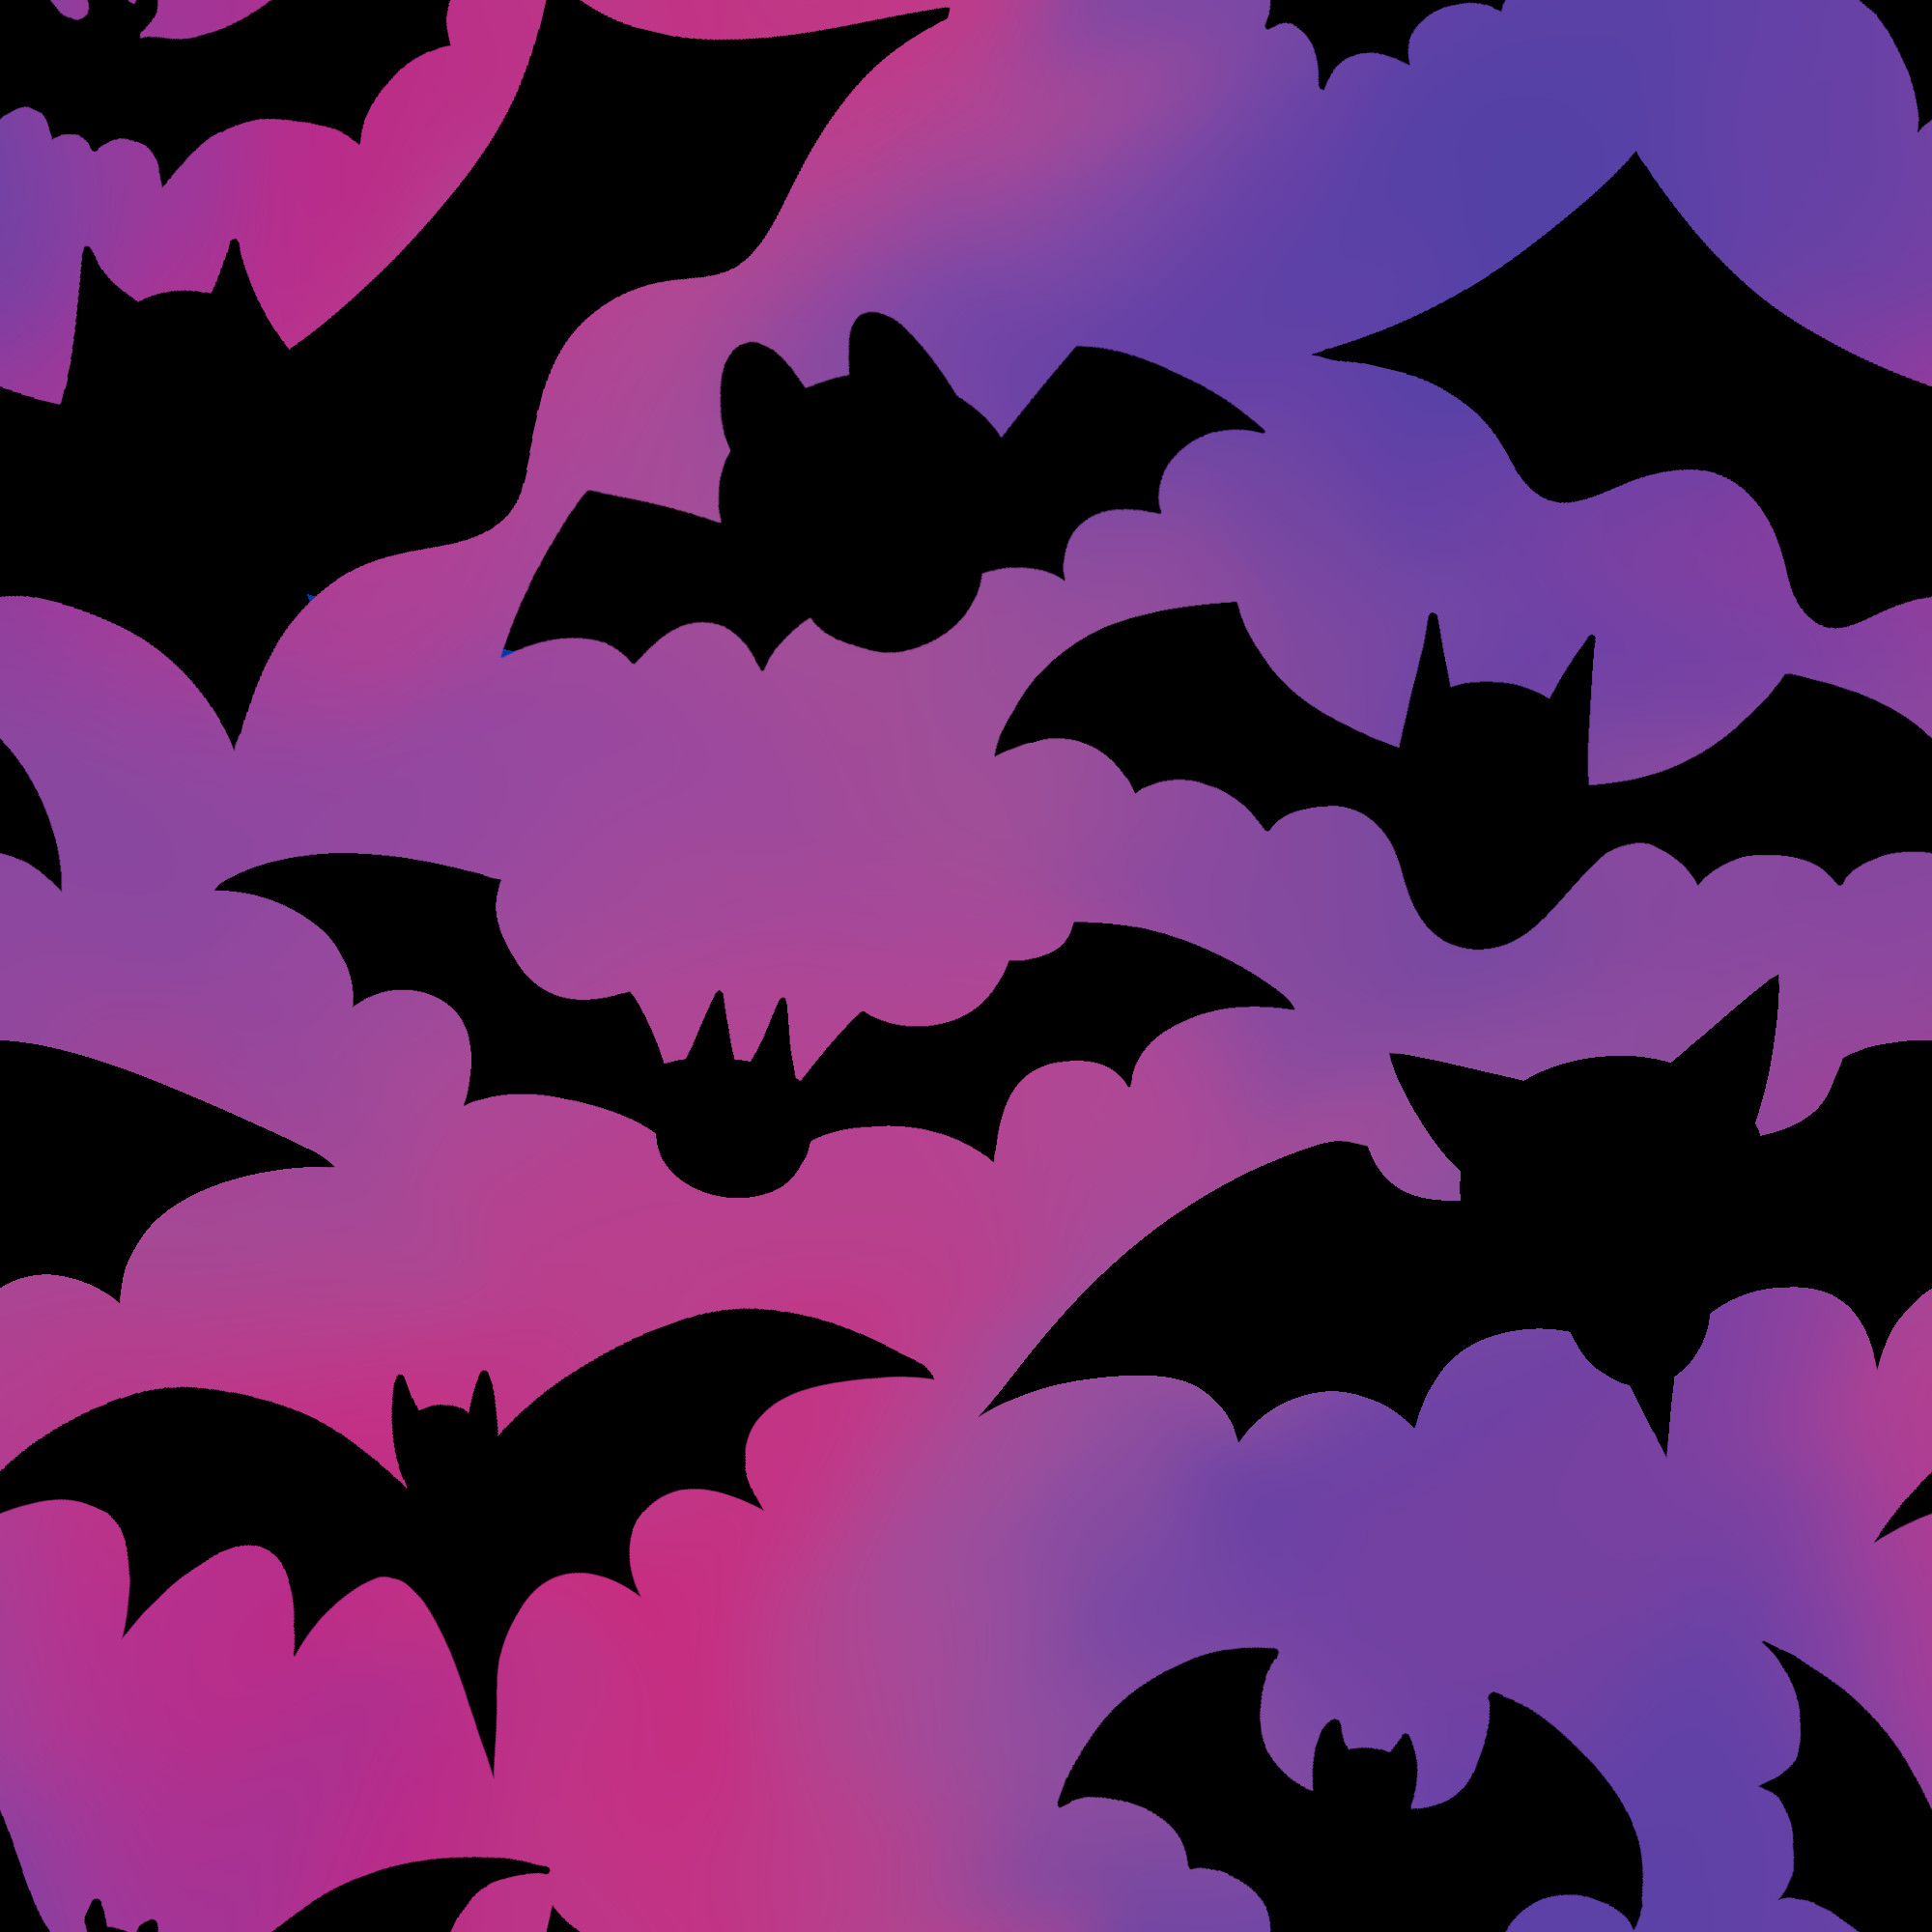
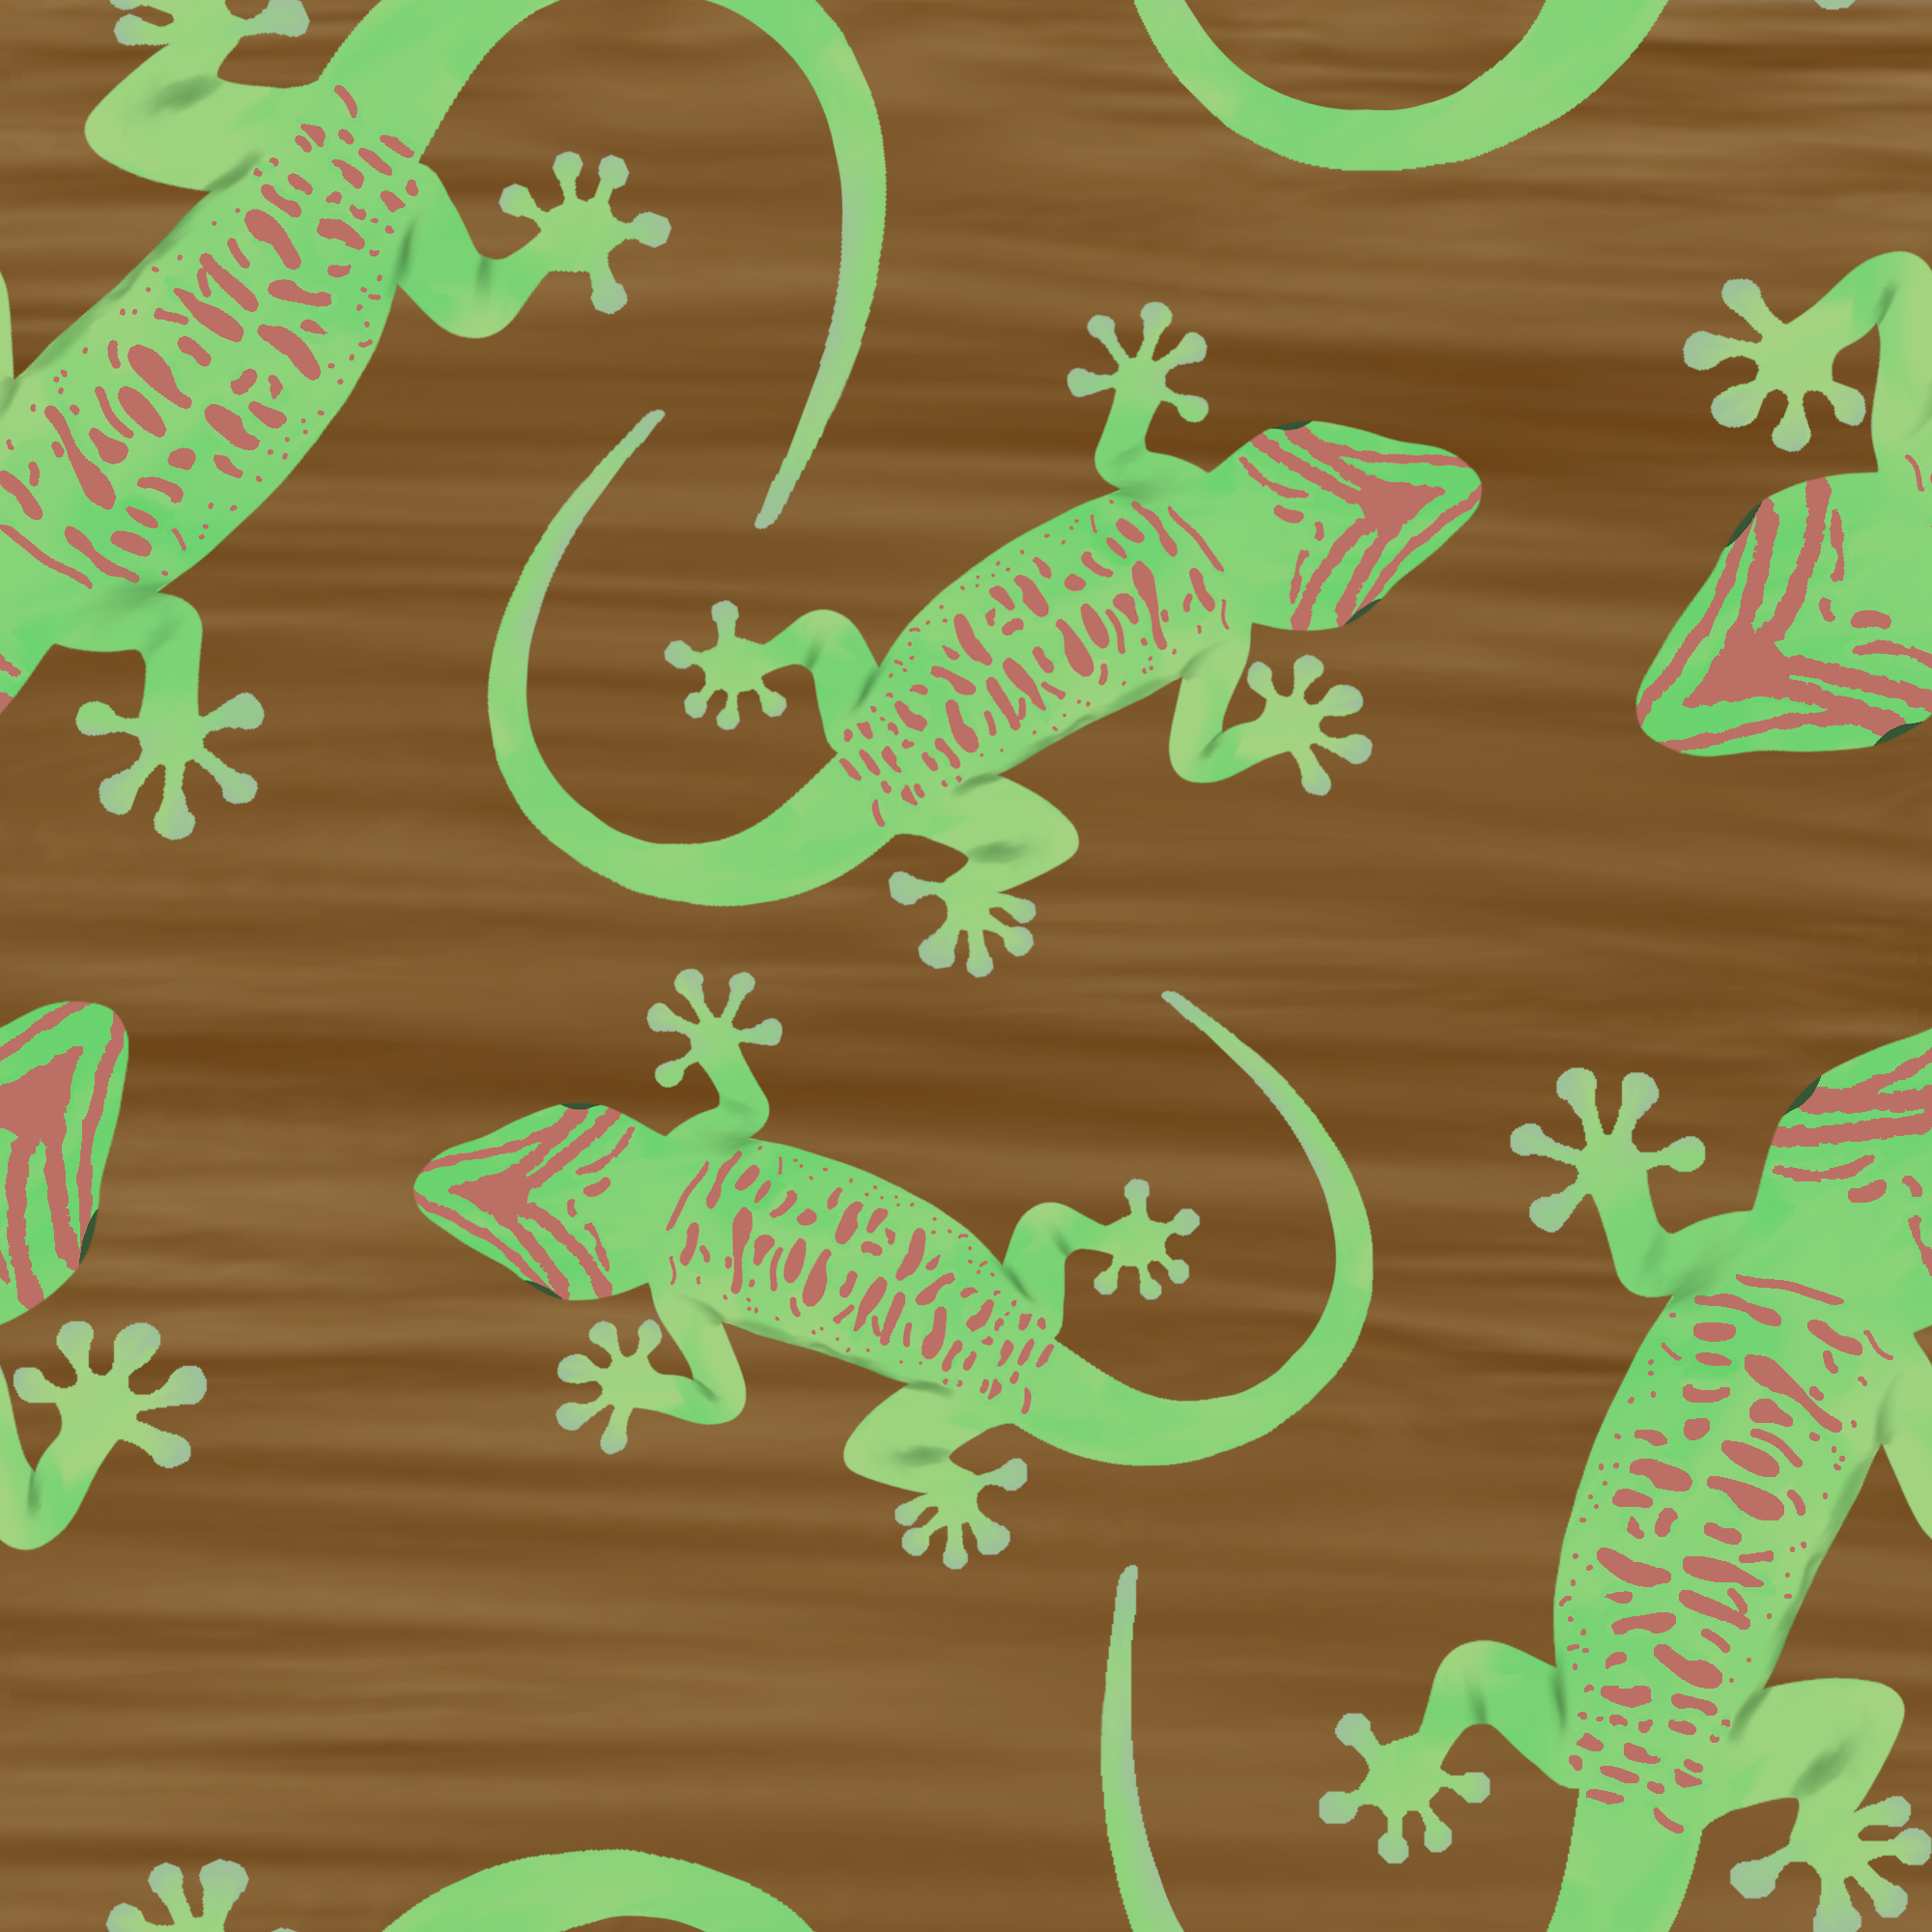
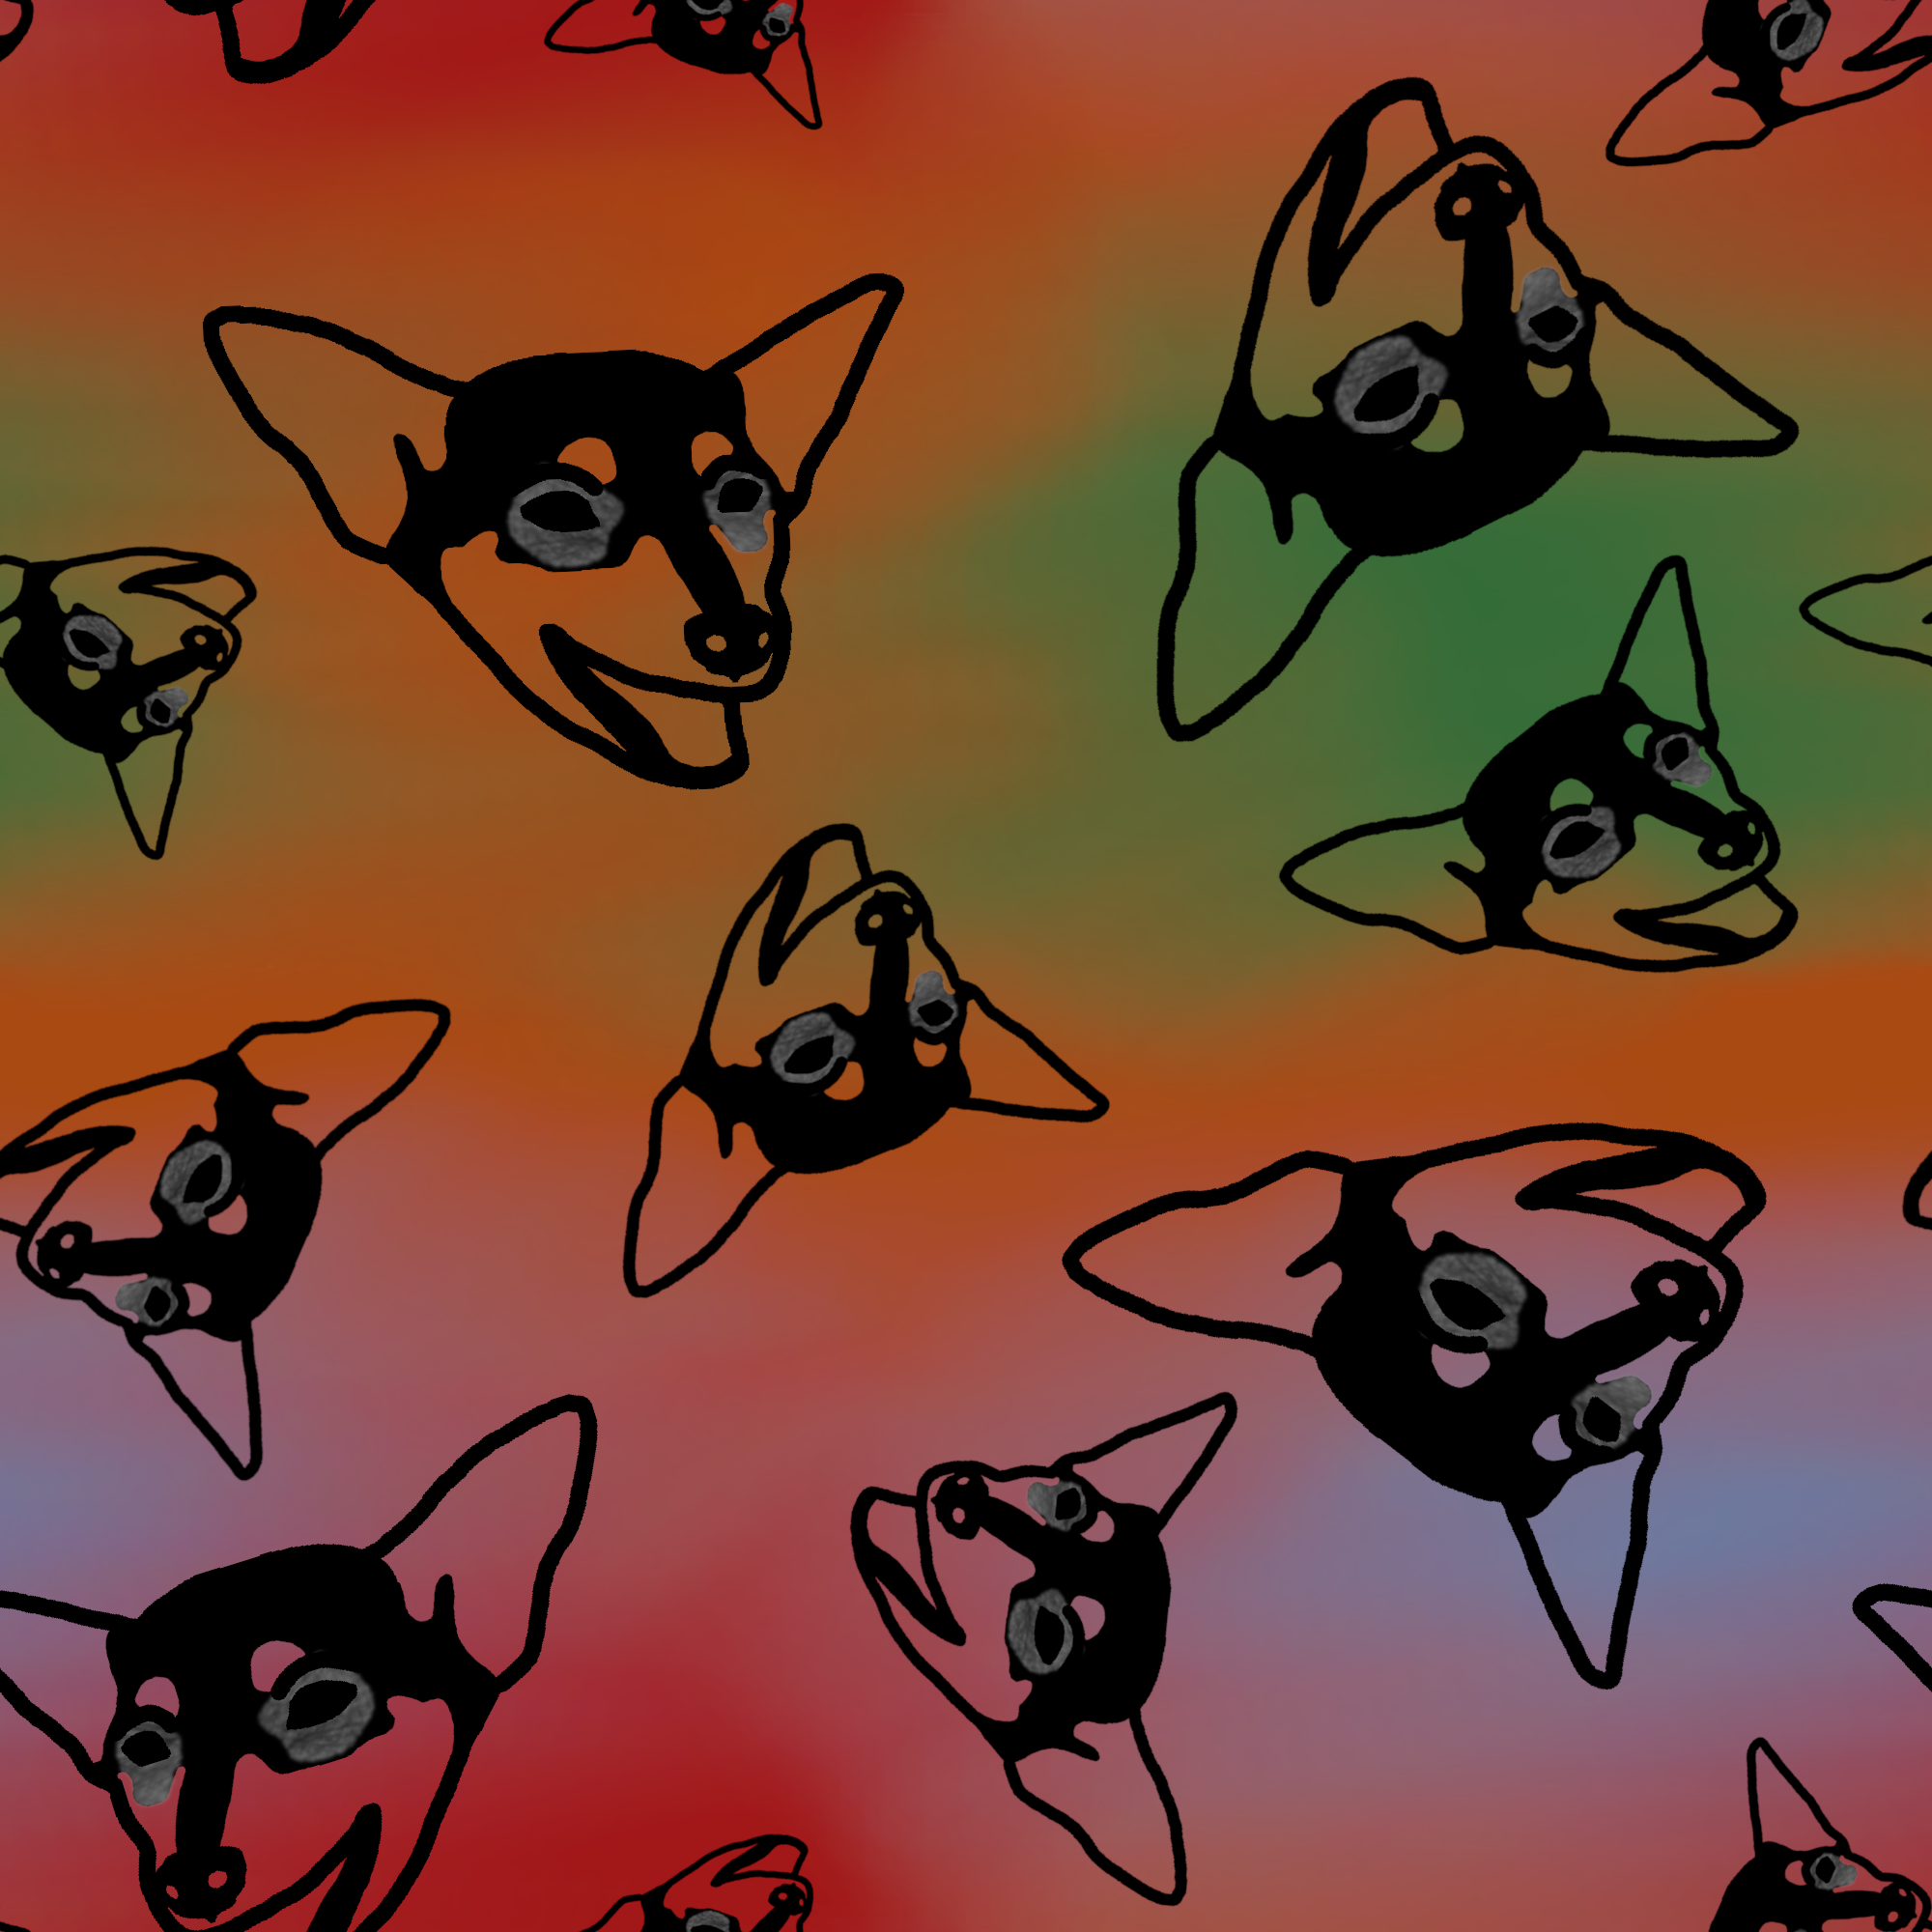
I decided to spend the majority of my time on the designs instead of the construction, so I made some simple zipper bags out of the fabric I printed. I have a drawing pen with a tablet that connects to my computer, so I don’t have to draw with the mouse. I start out by tracing a thin outline of the shape, then a thicker and smoother outline. Then I color in the subject and do a background, usually very blurry so that there aren’t any apparent lines when it repeats. GIMP has a feature to offset the design so it will tile, so I use that and make sure that there aren’t any weird empty spaces that would be obvious in the fabric.

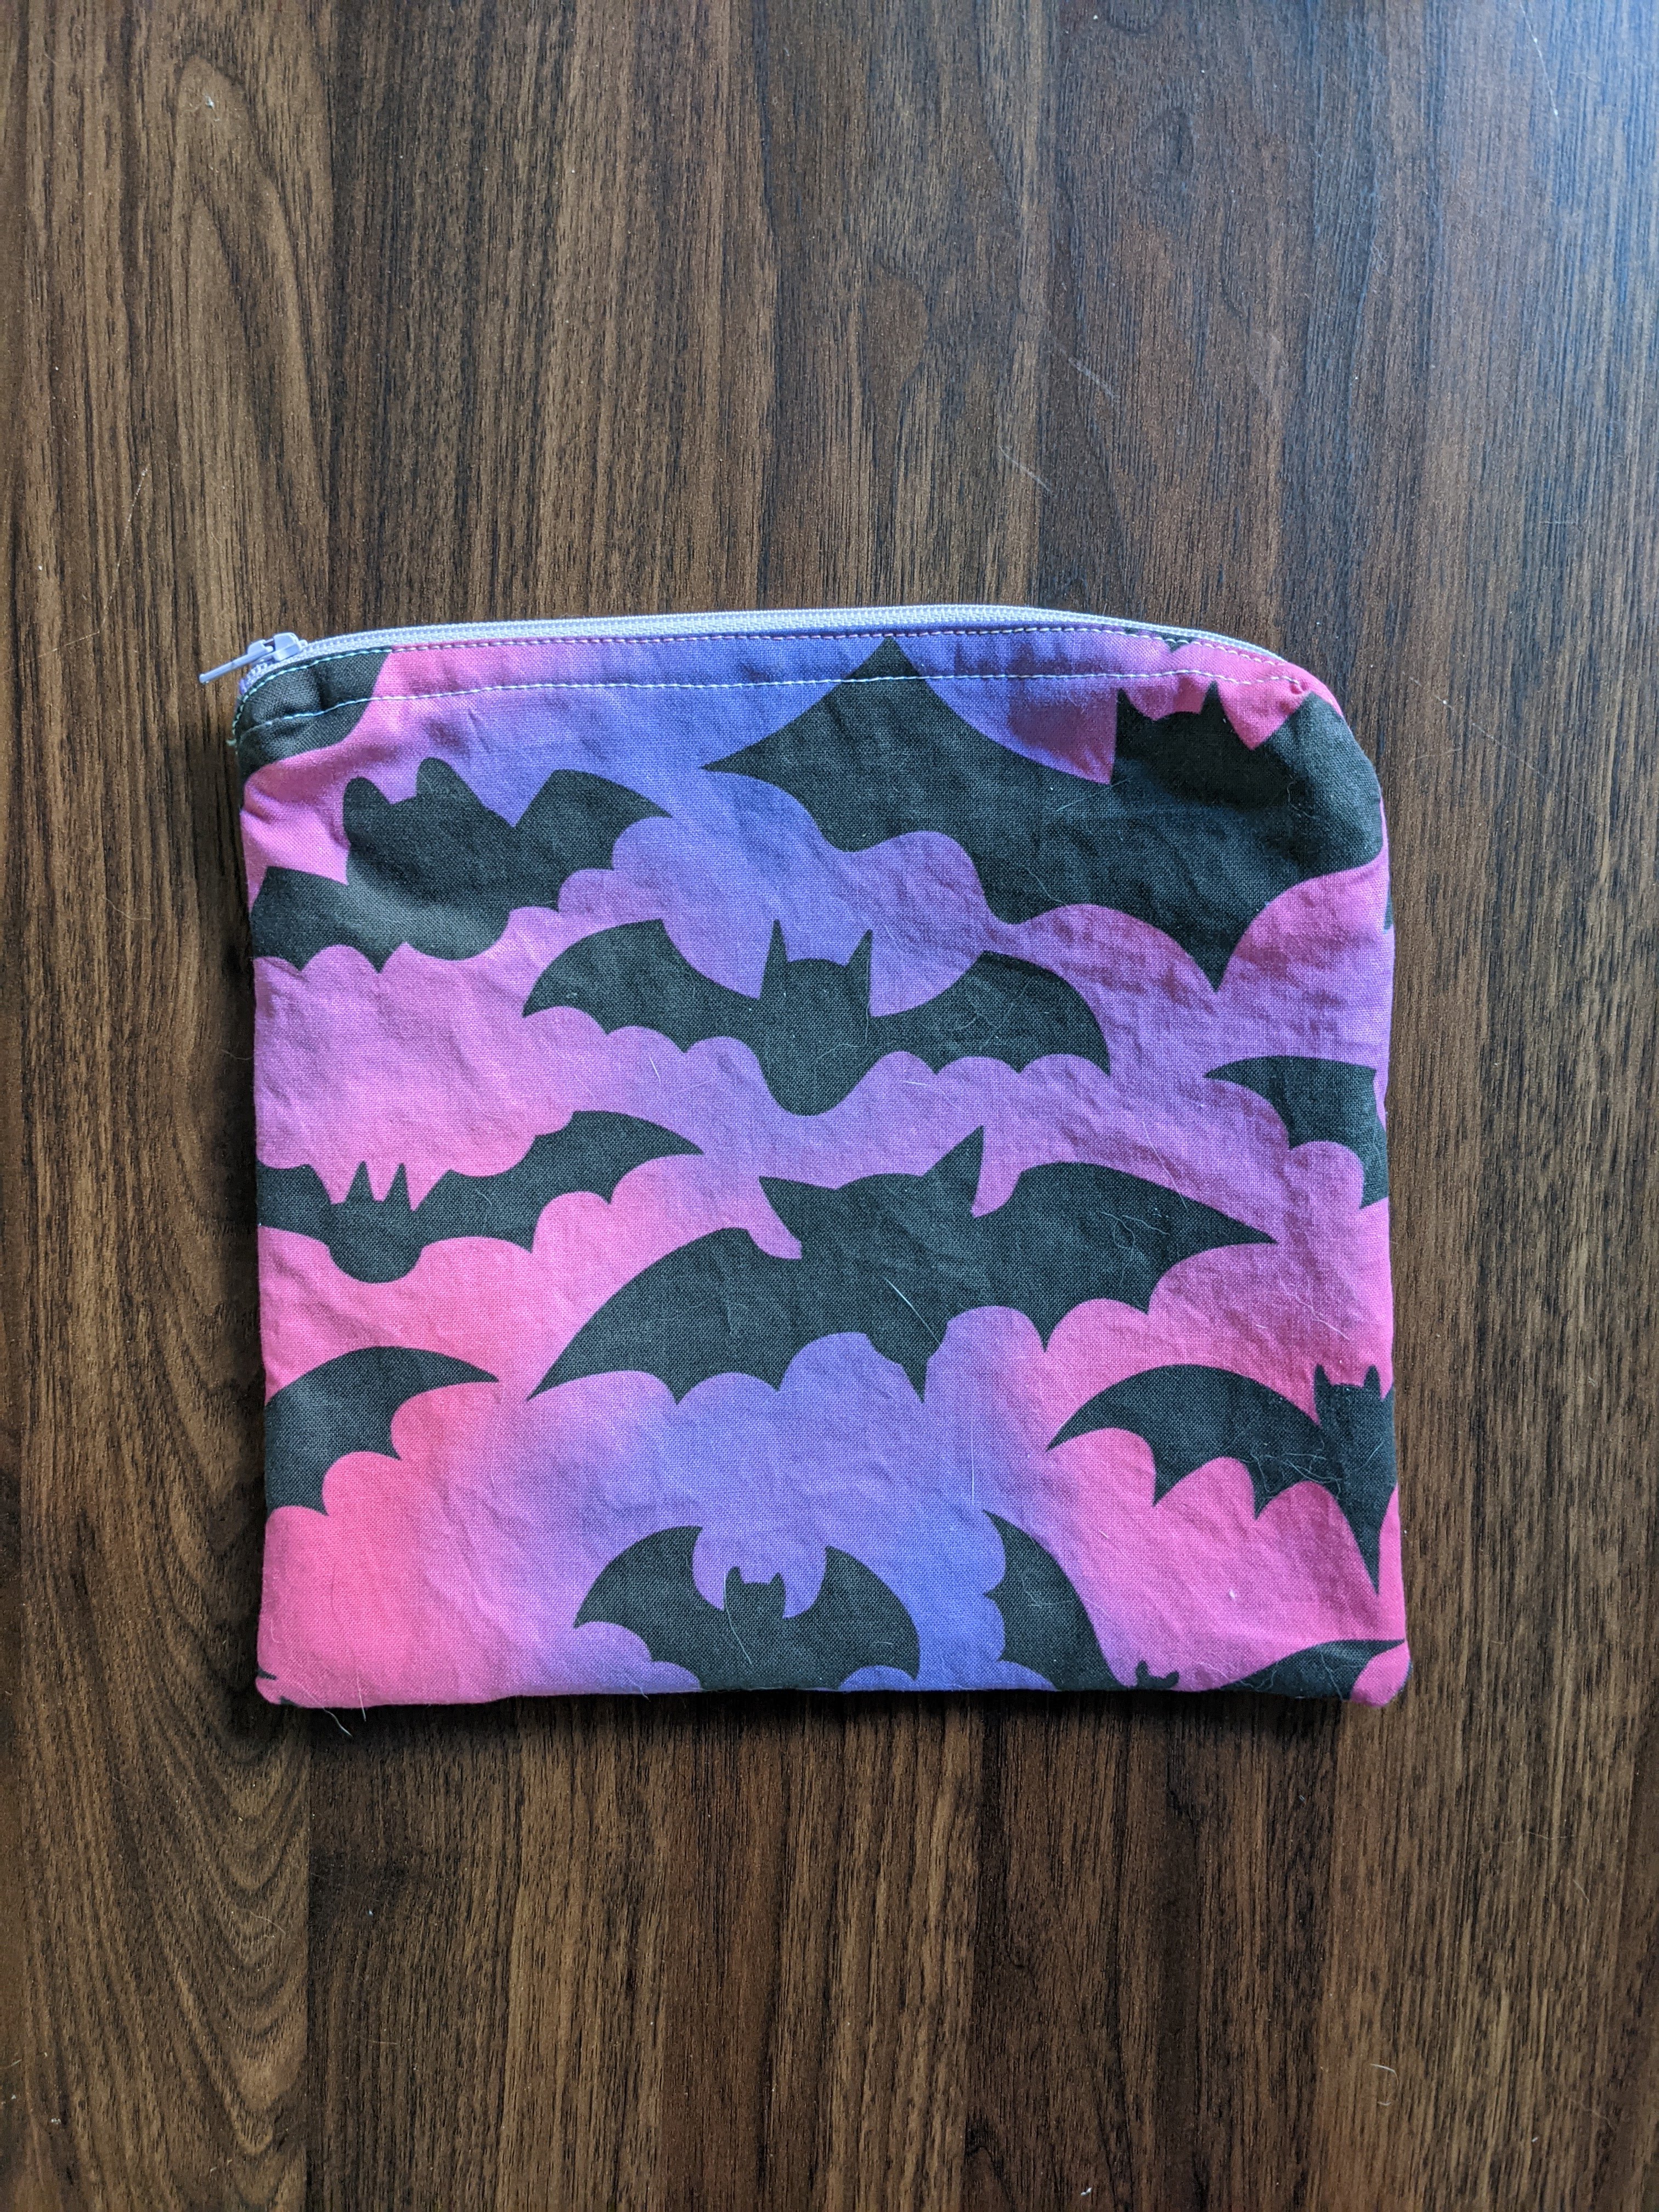
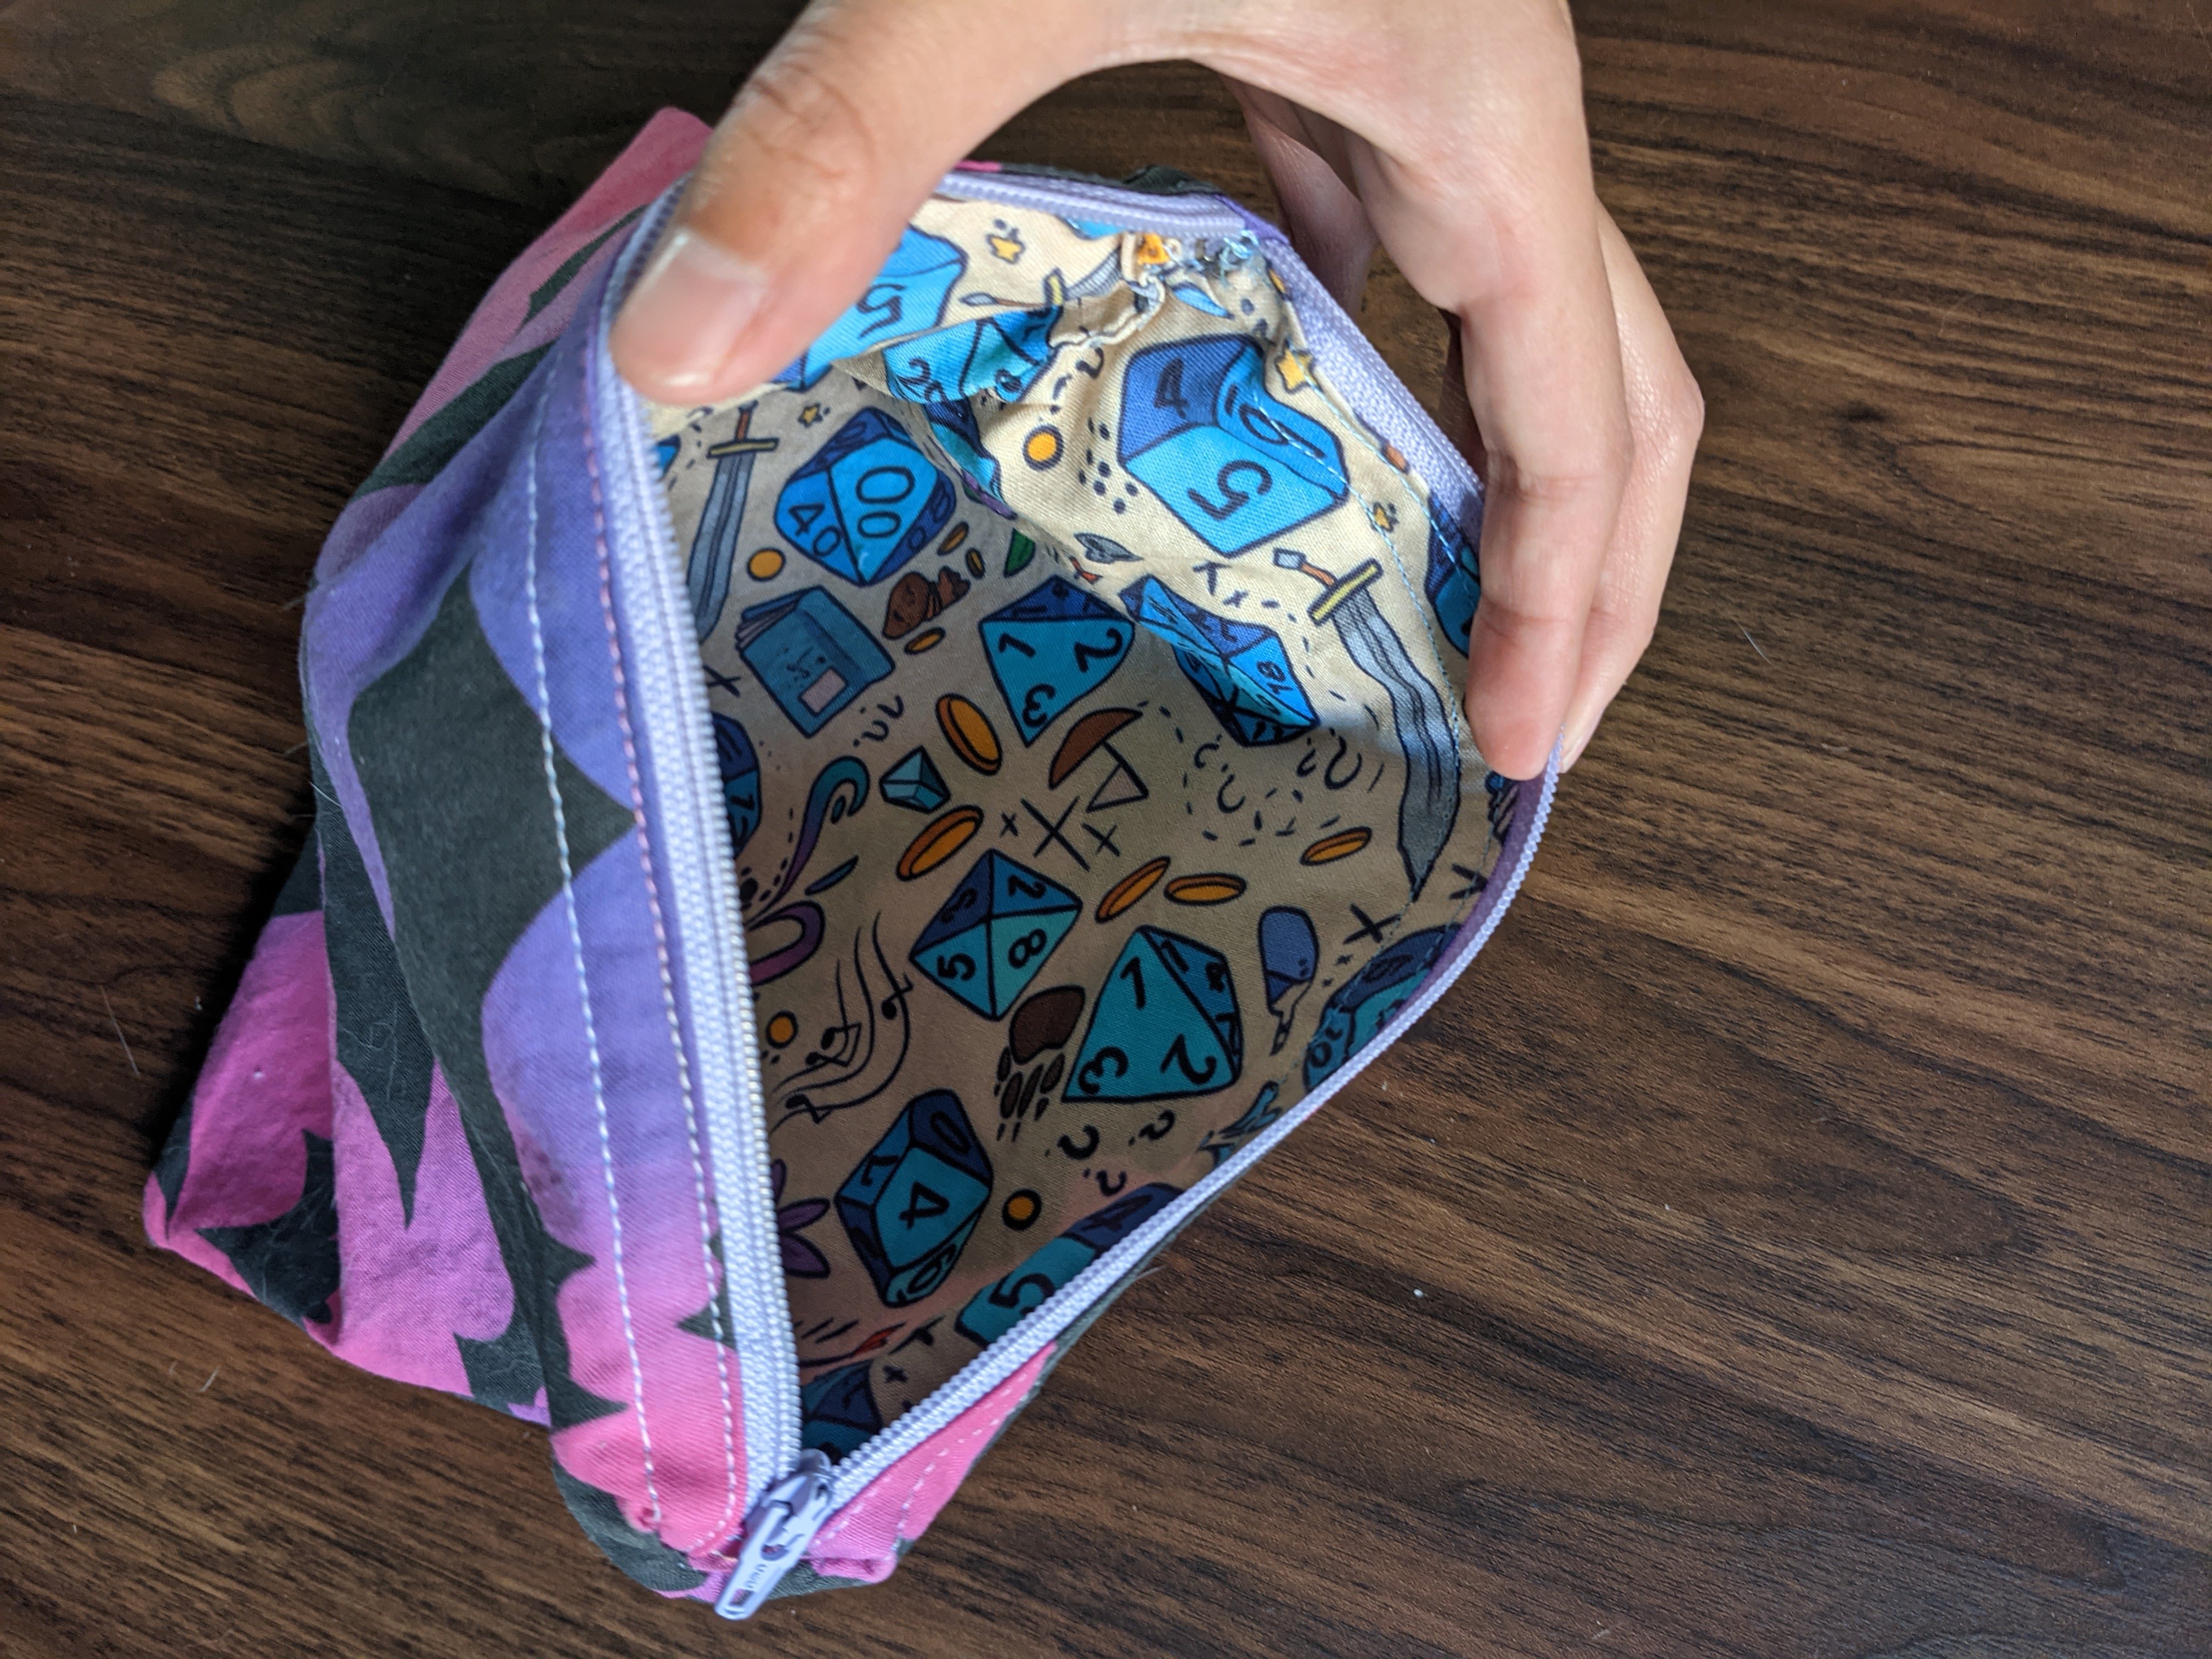
I did a design of bats for one of my friends, and lined the bag with a Dungeons and Dragons inspired fabric that someone else designed.

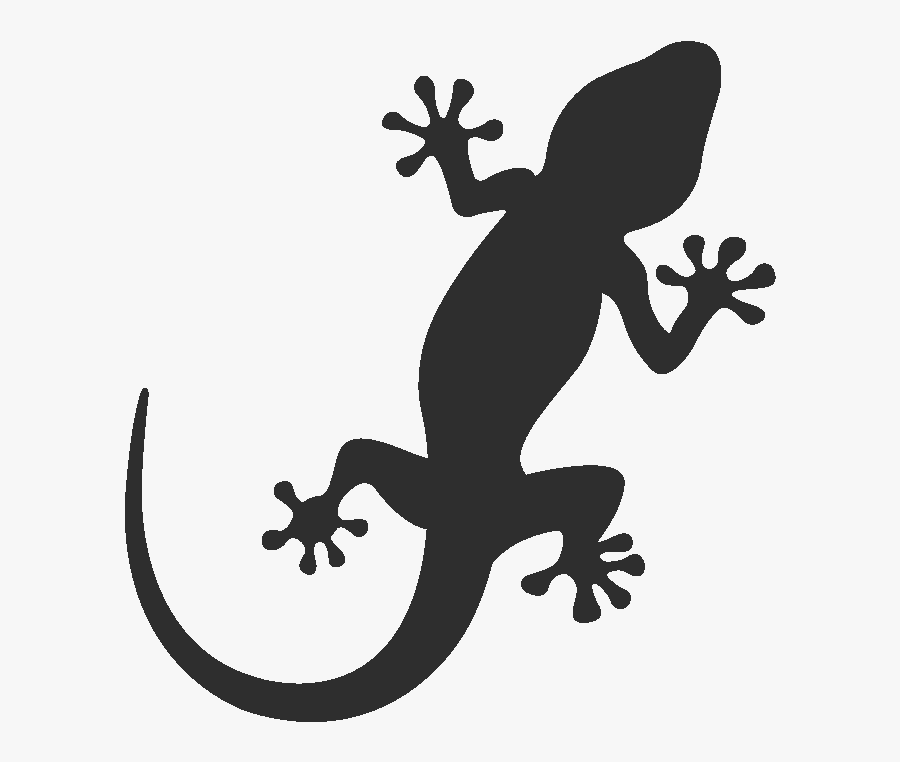
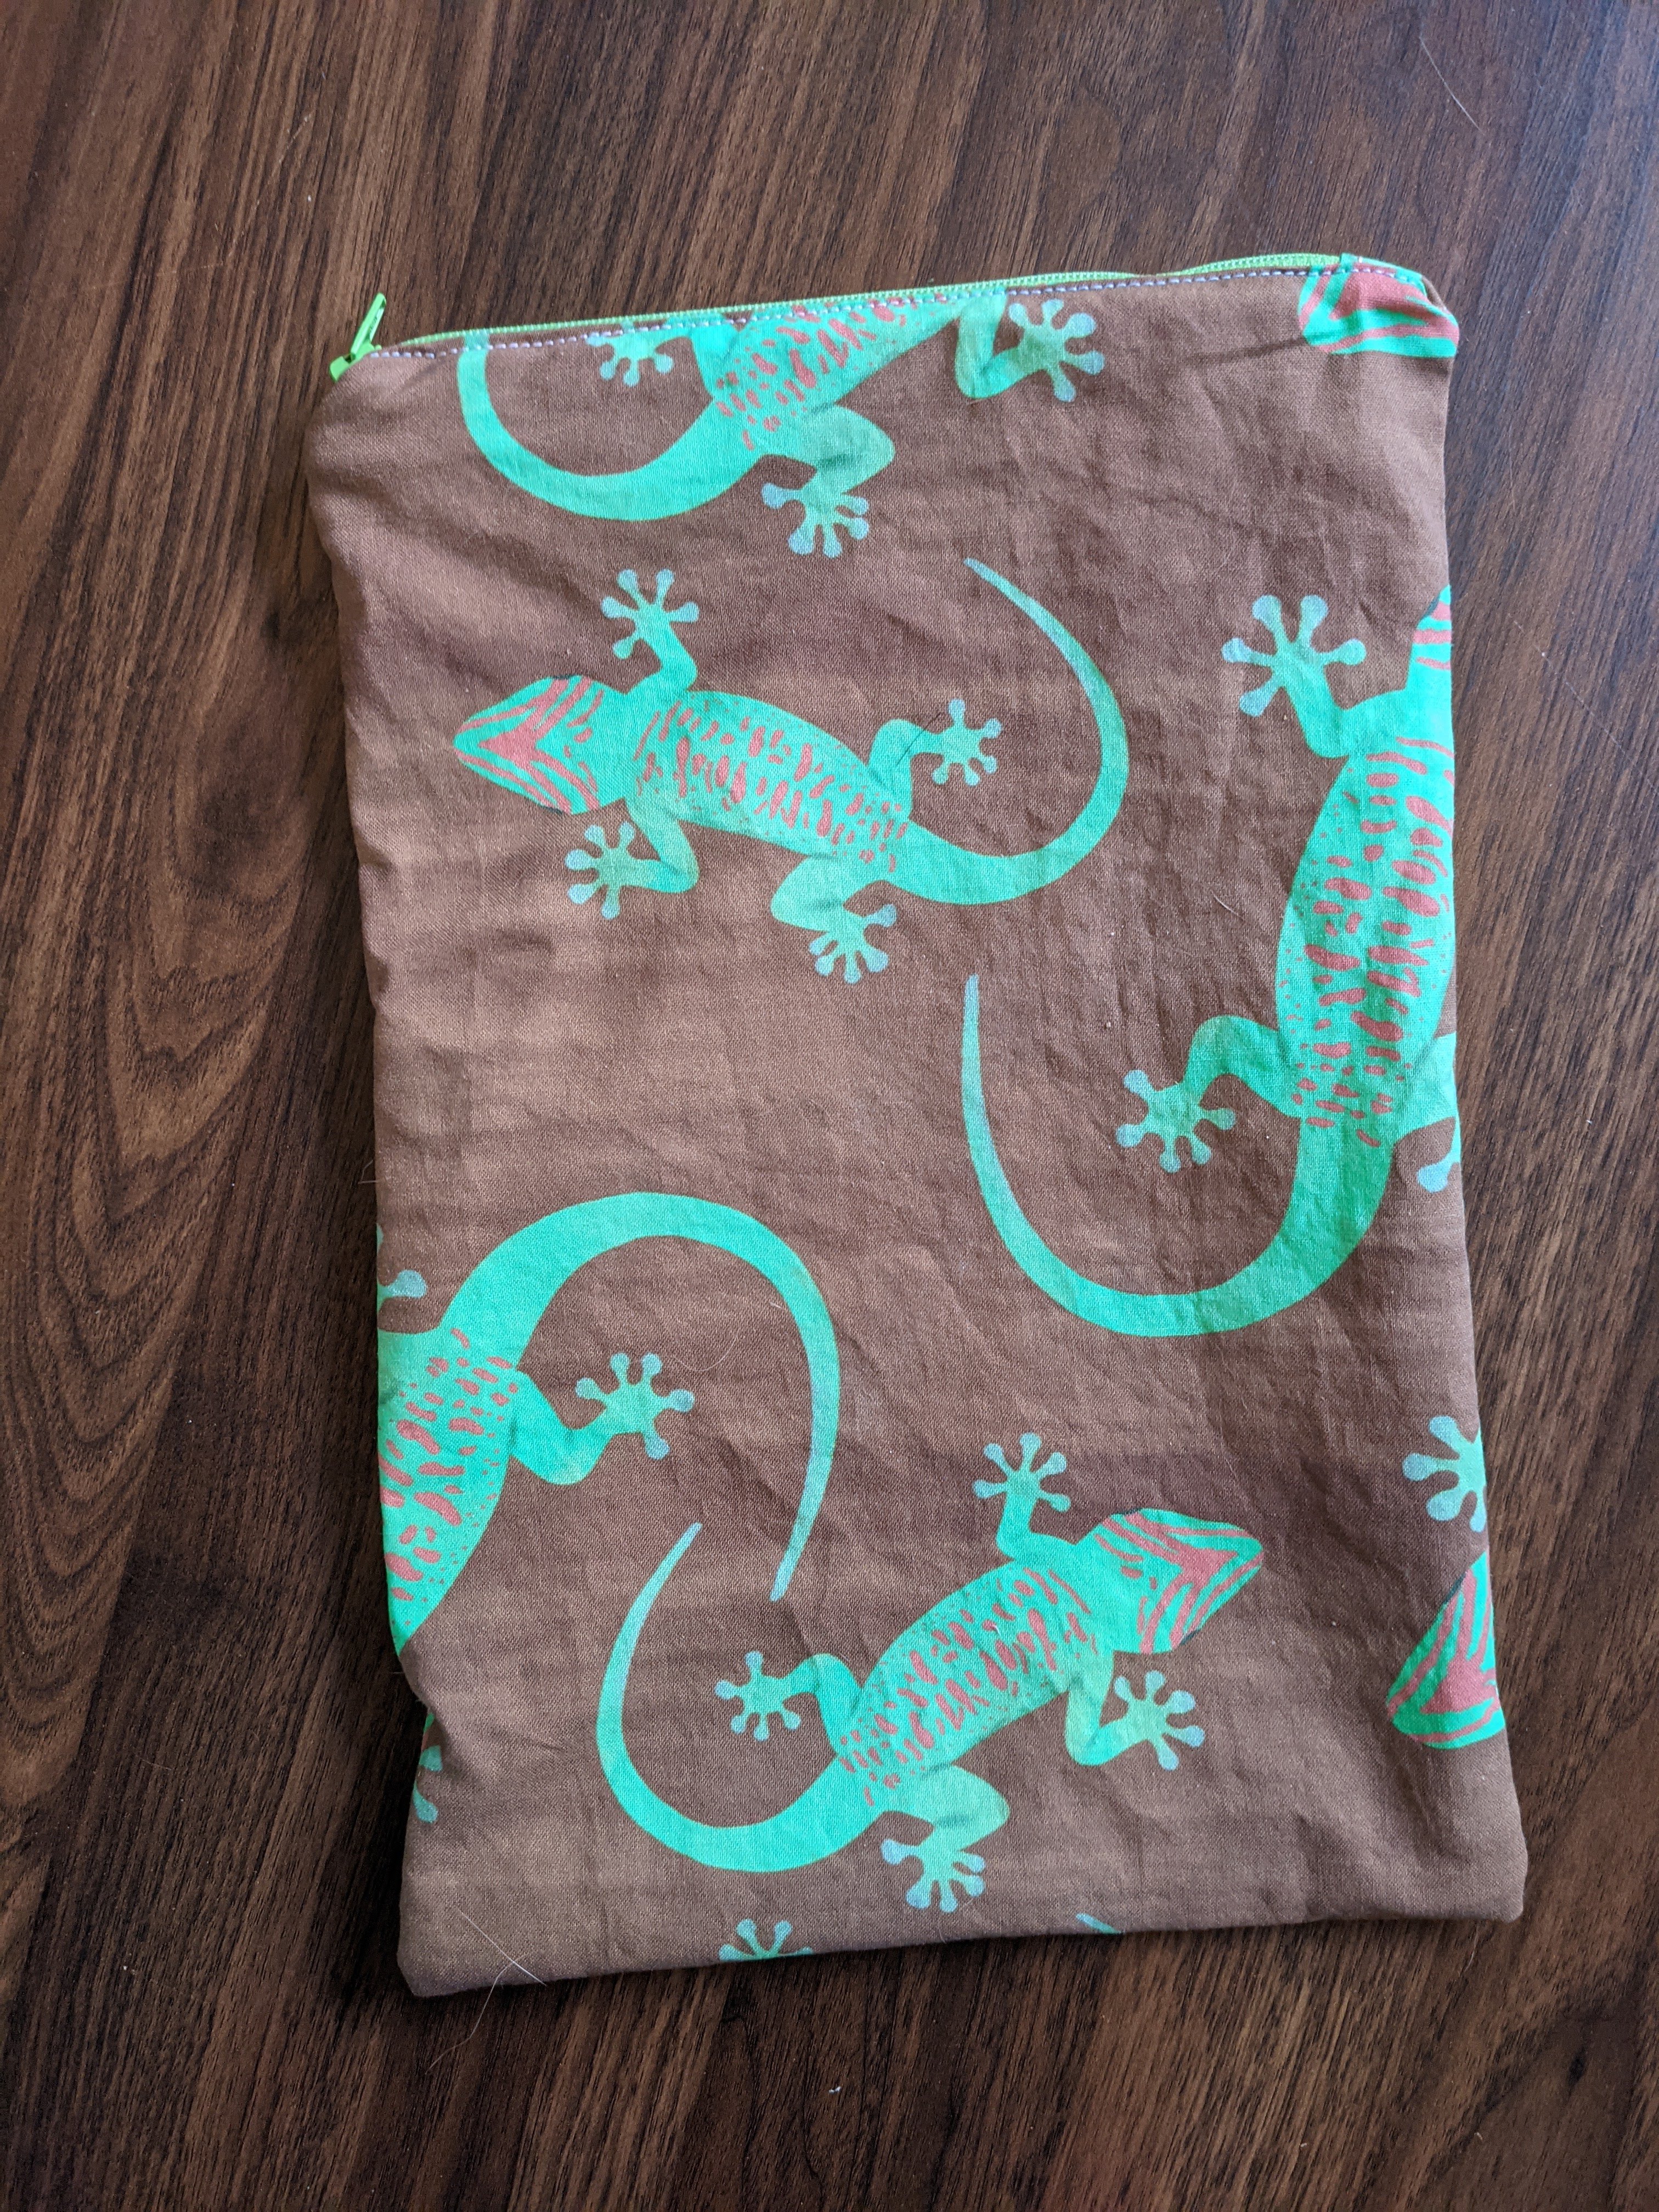
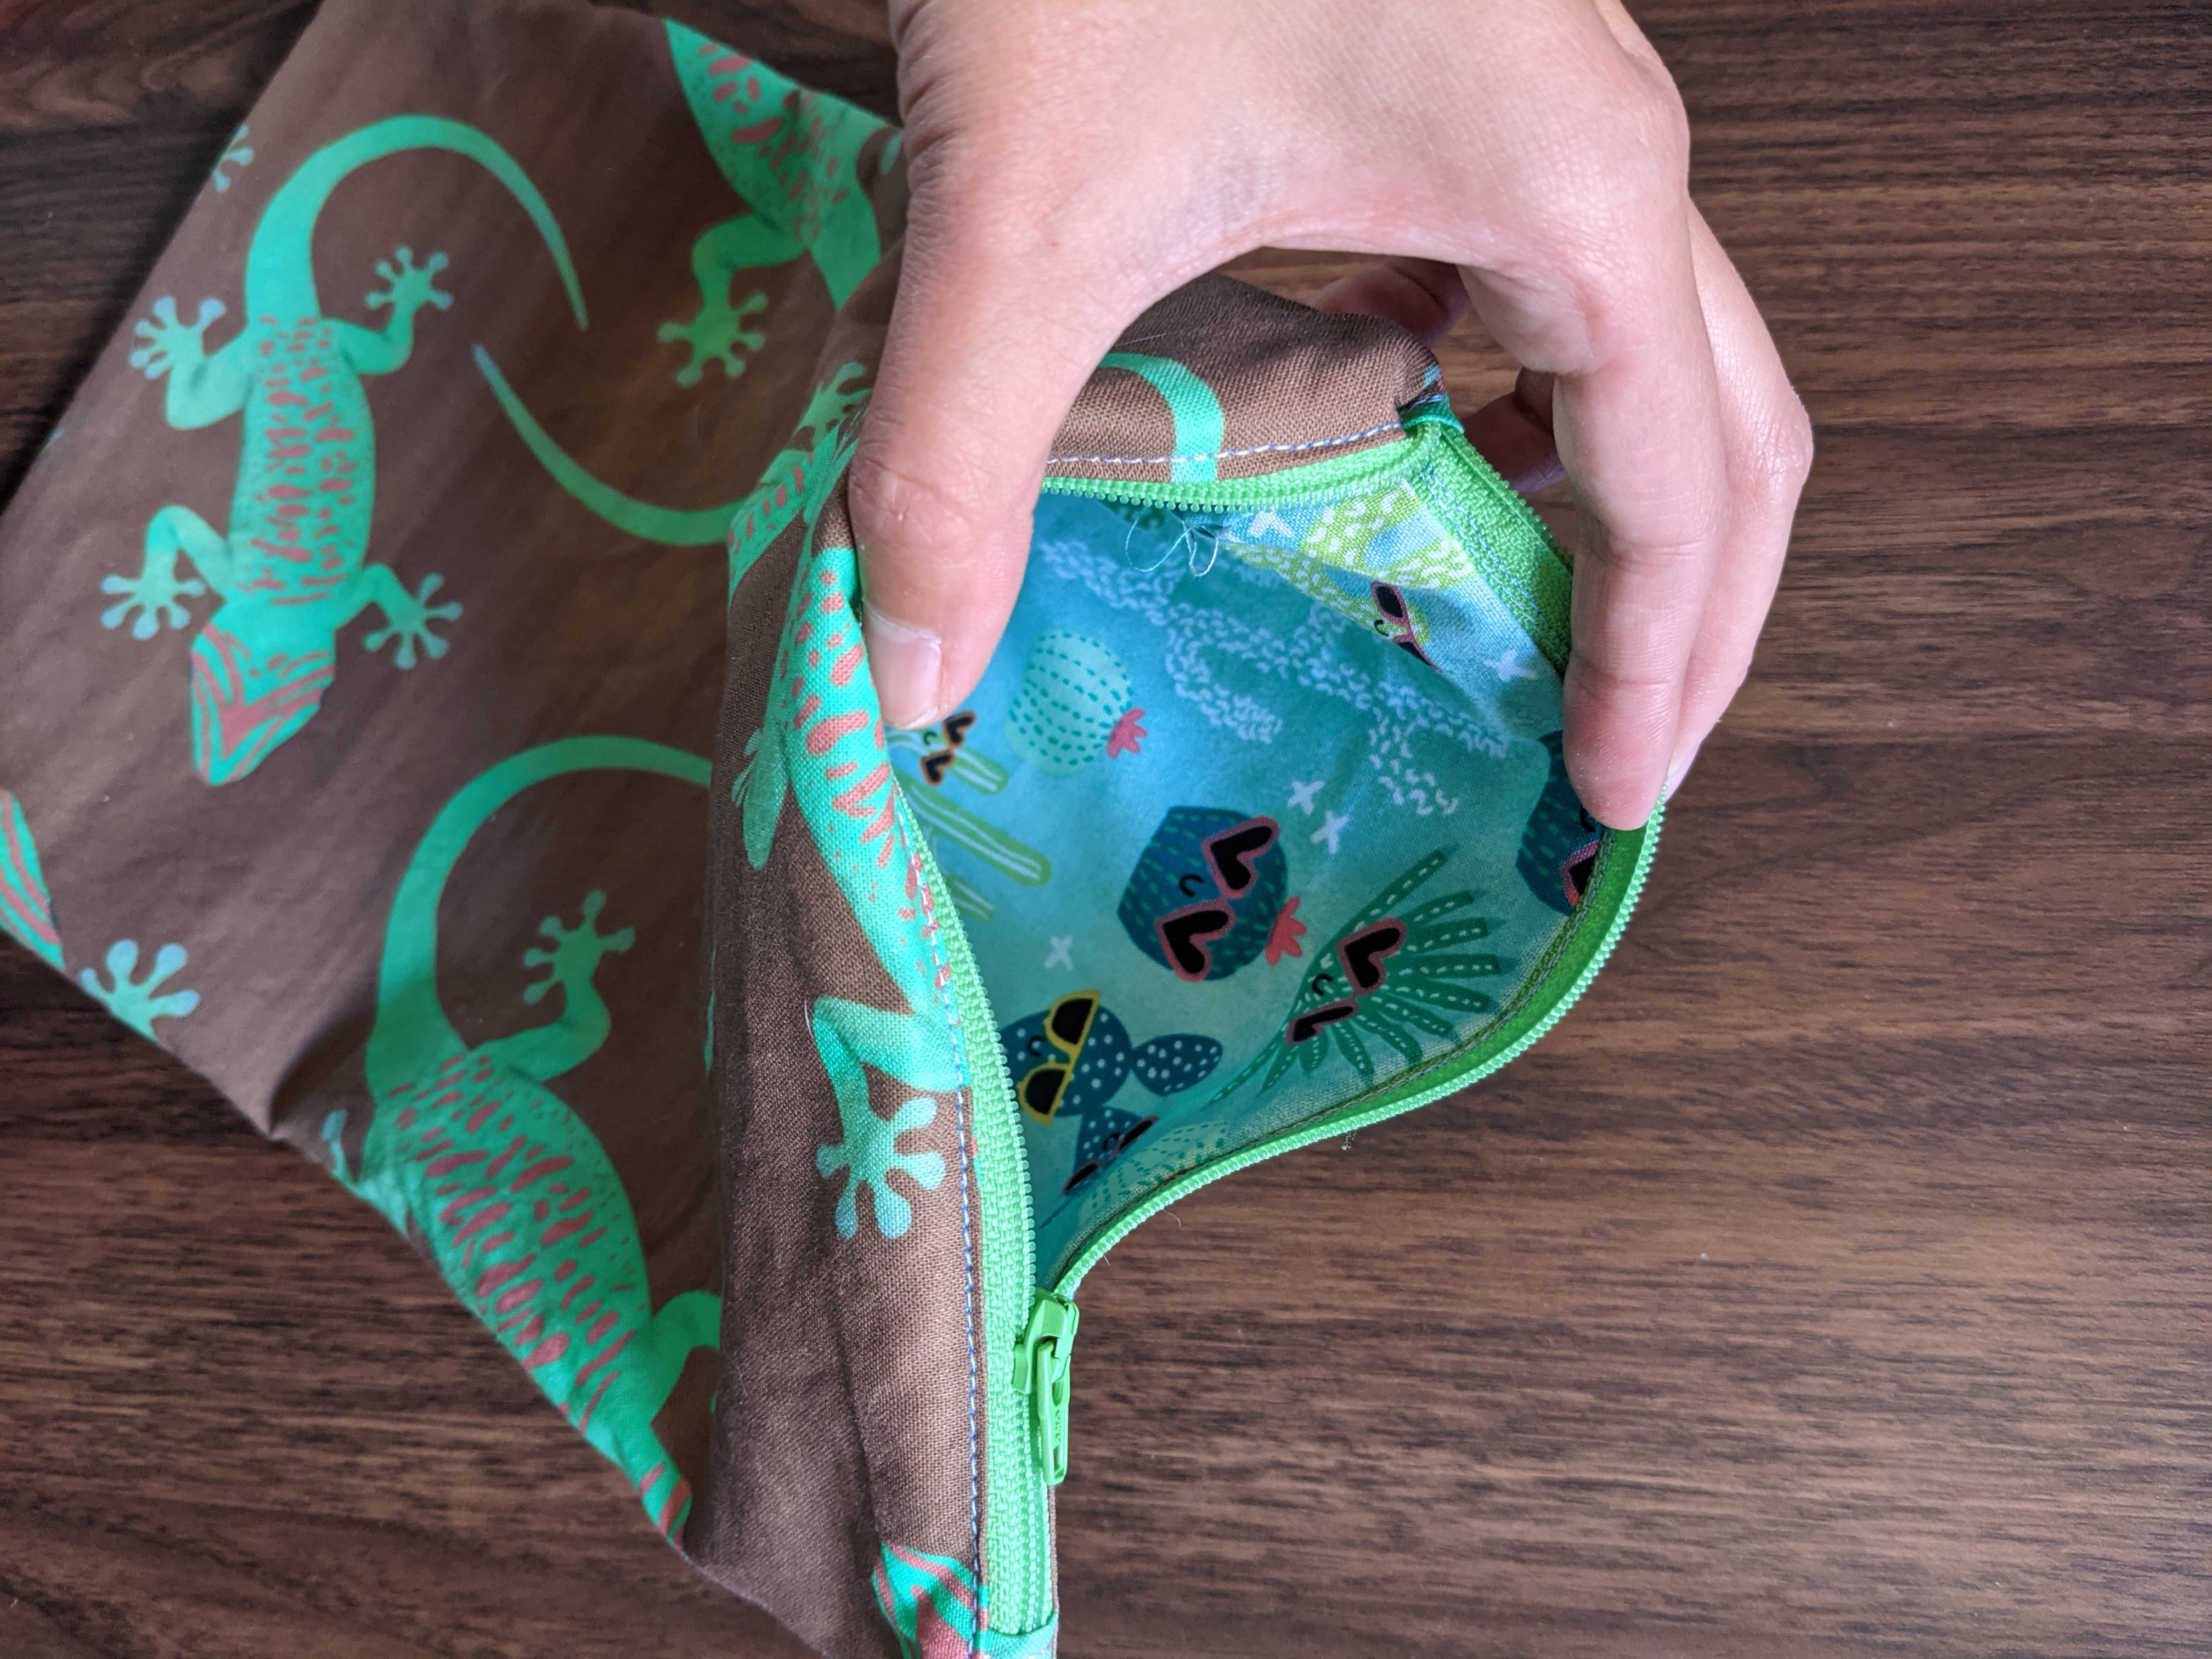
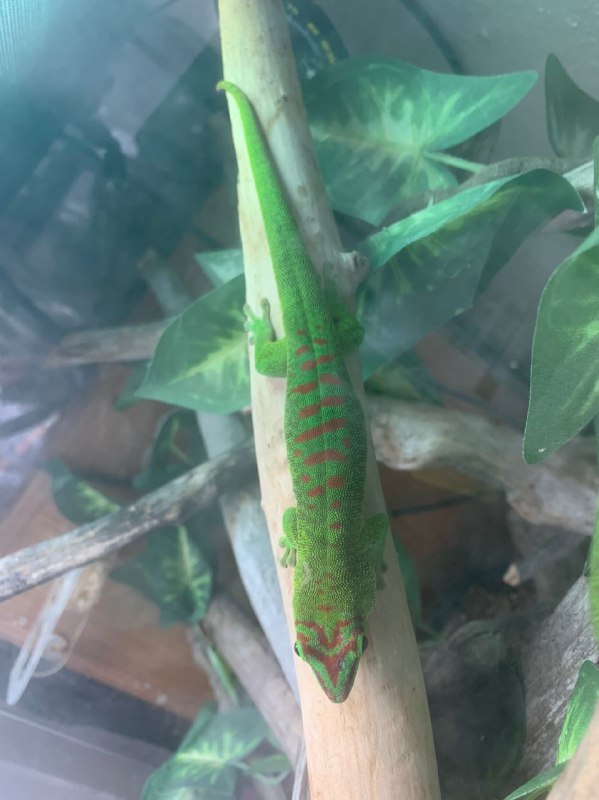
My other friend has a ton of cat themed stuff, but she also owns some geckos! So I wanted to do a bag with some geckos on it. I used a clipart picture of a gecko and made the markings match her specific gecko 🙂 I blurred out some wood clipart for the background. I used some old cactus fabric for the inside, since we’re both plant parents 🙂

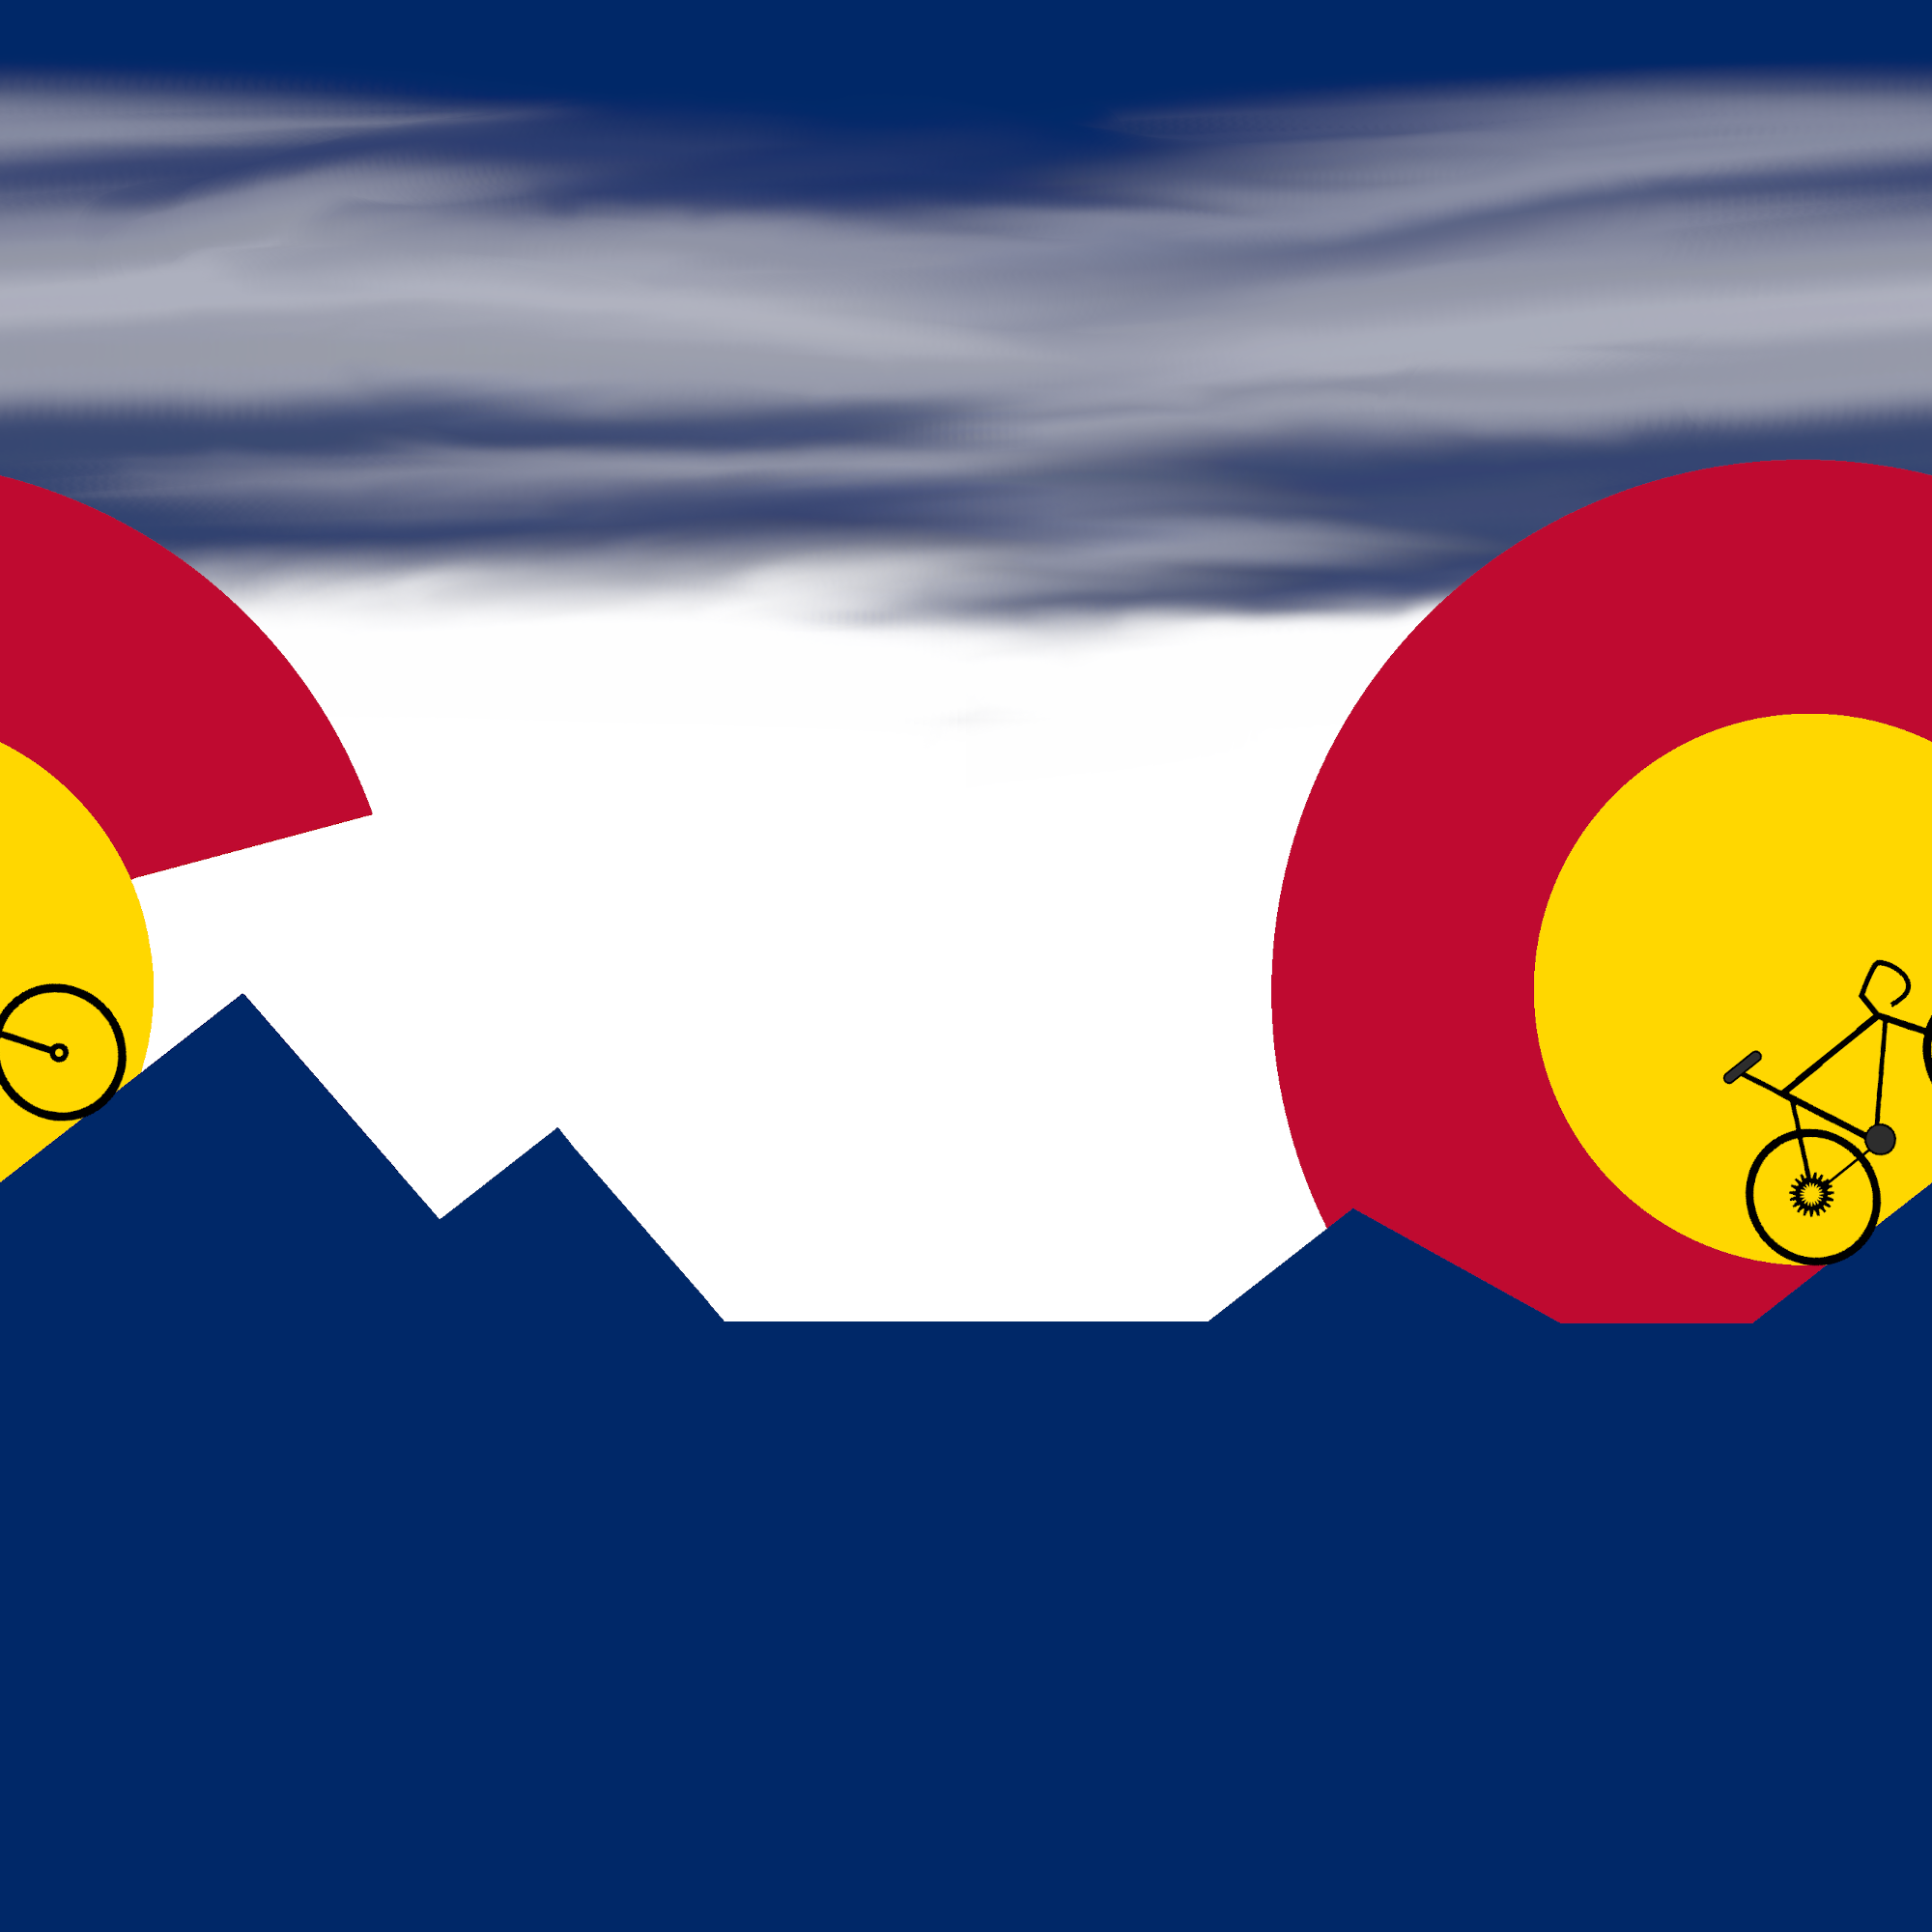
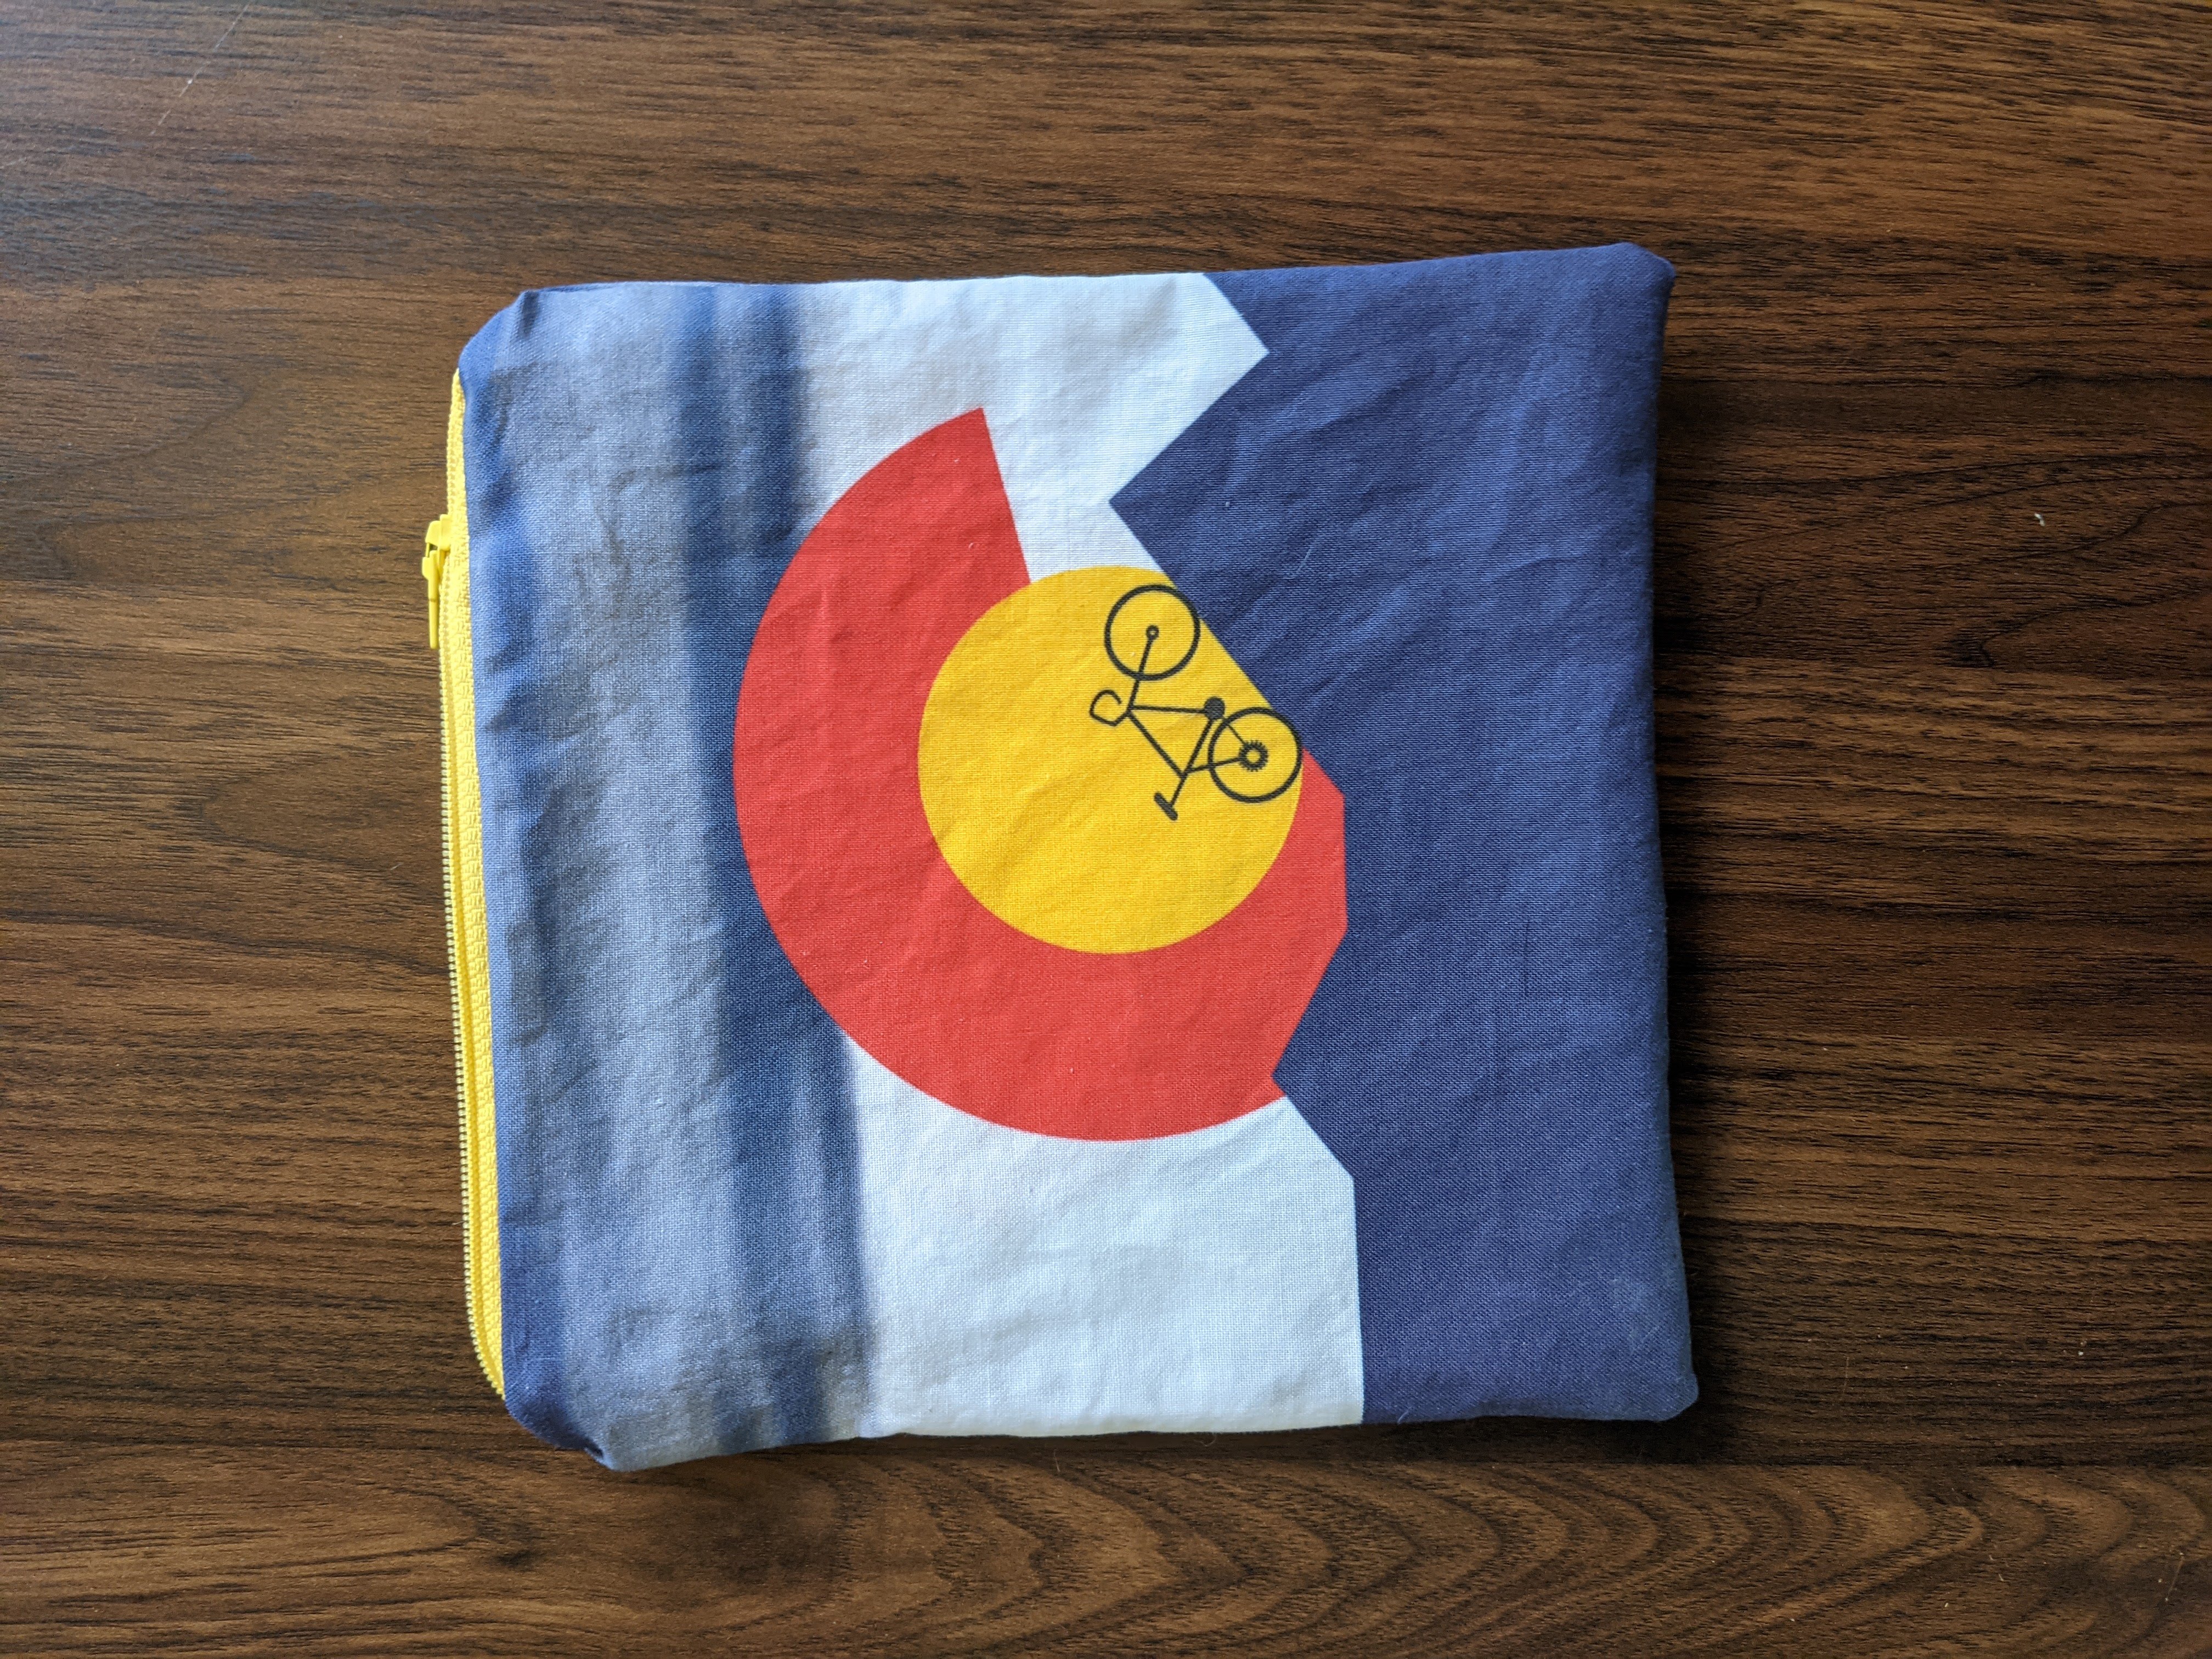
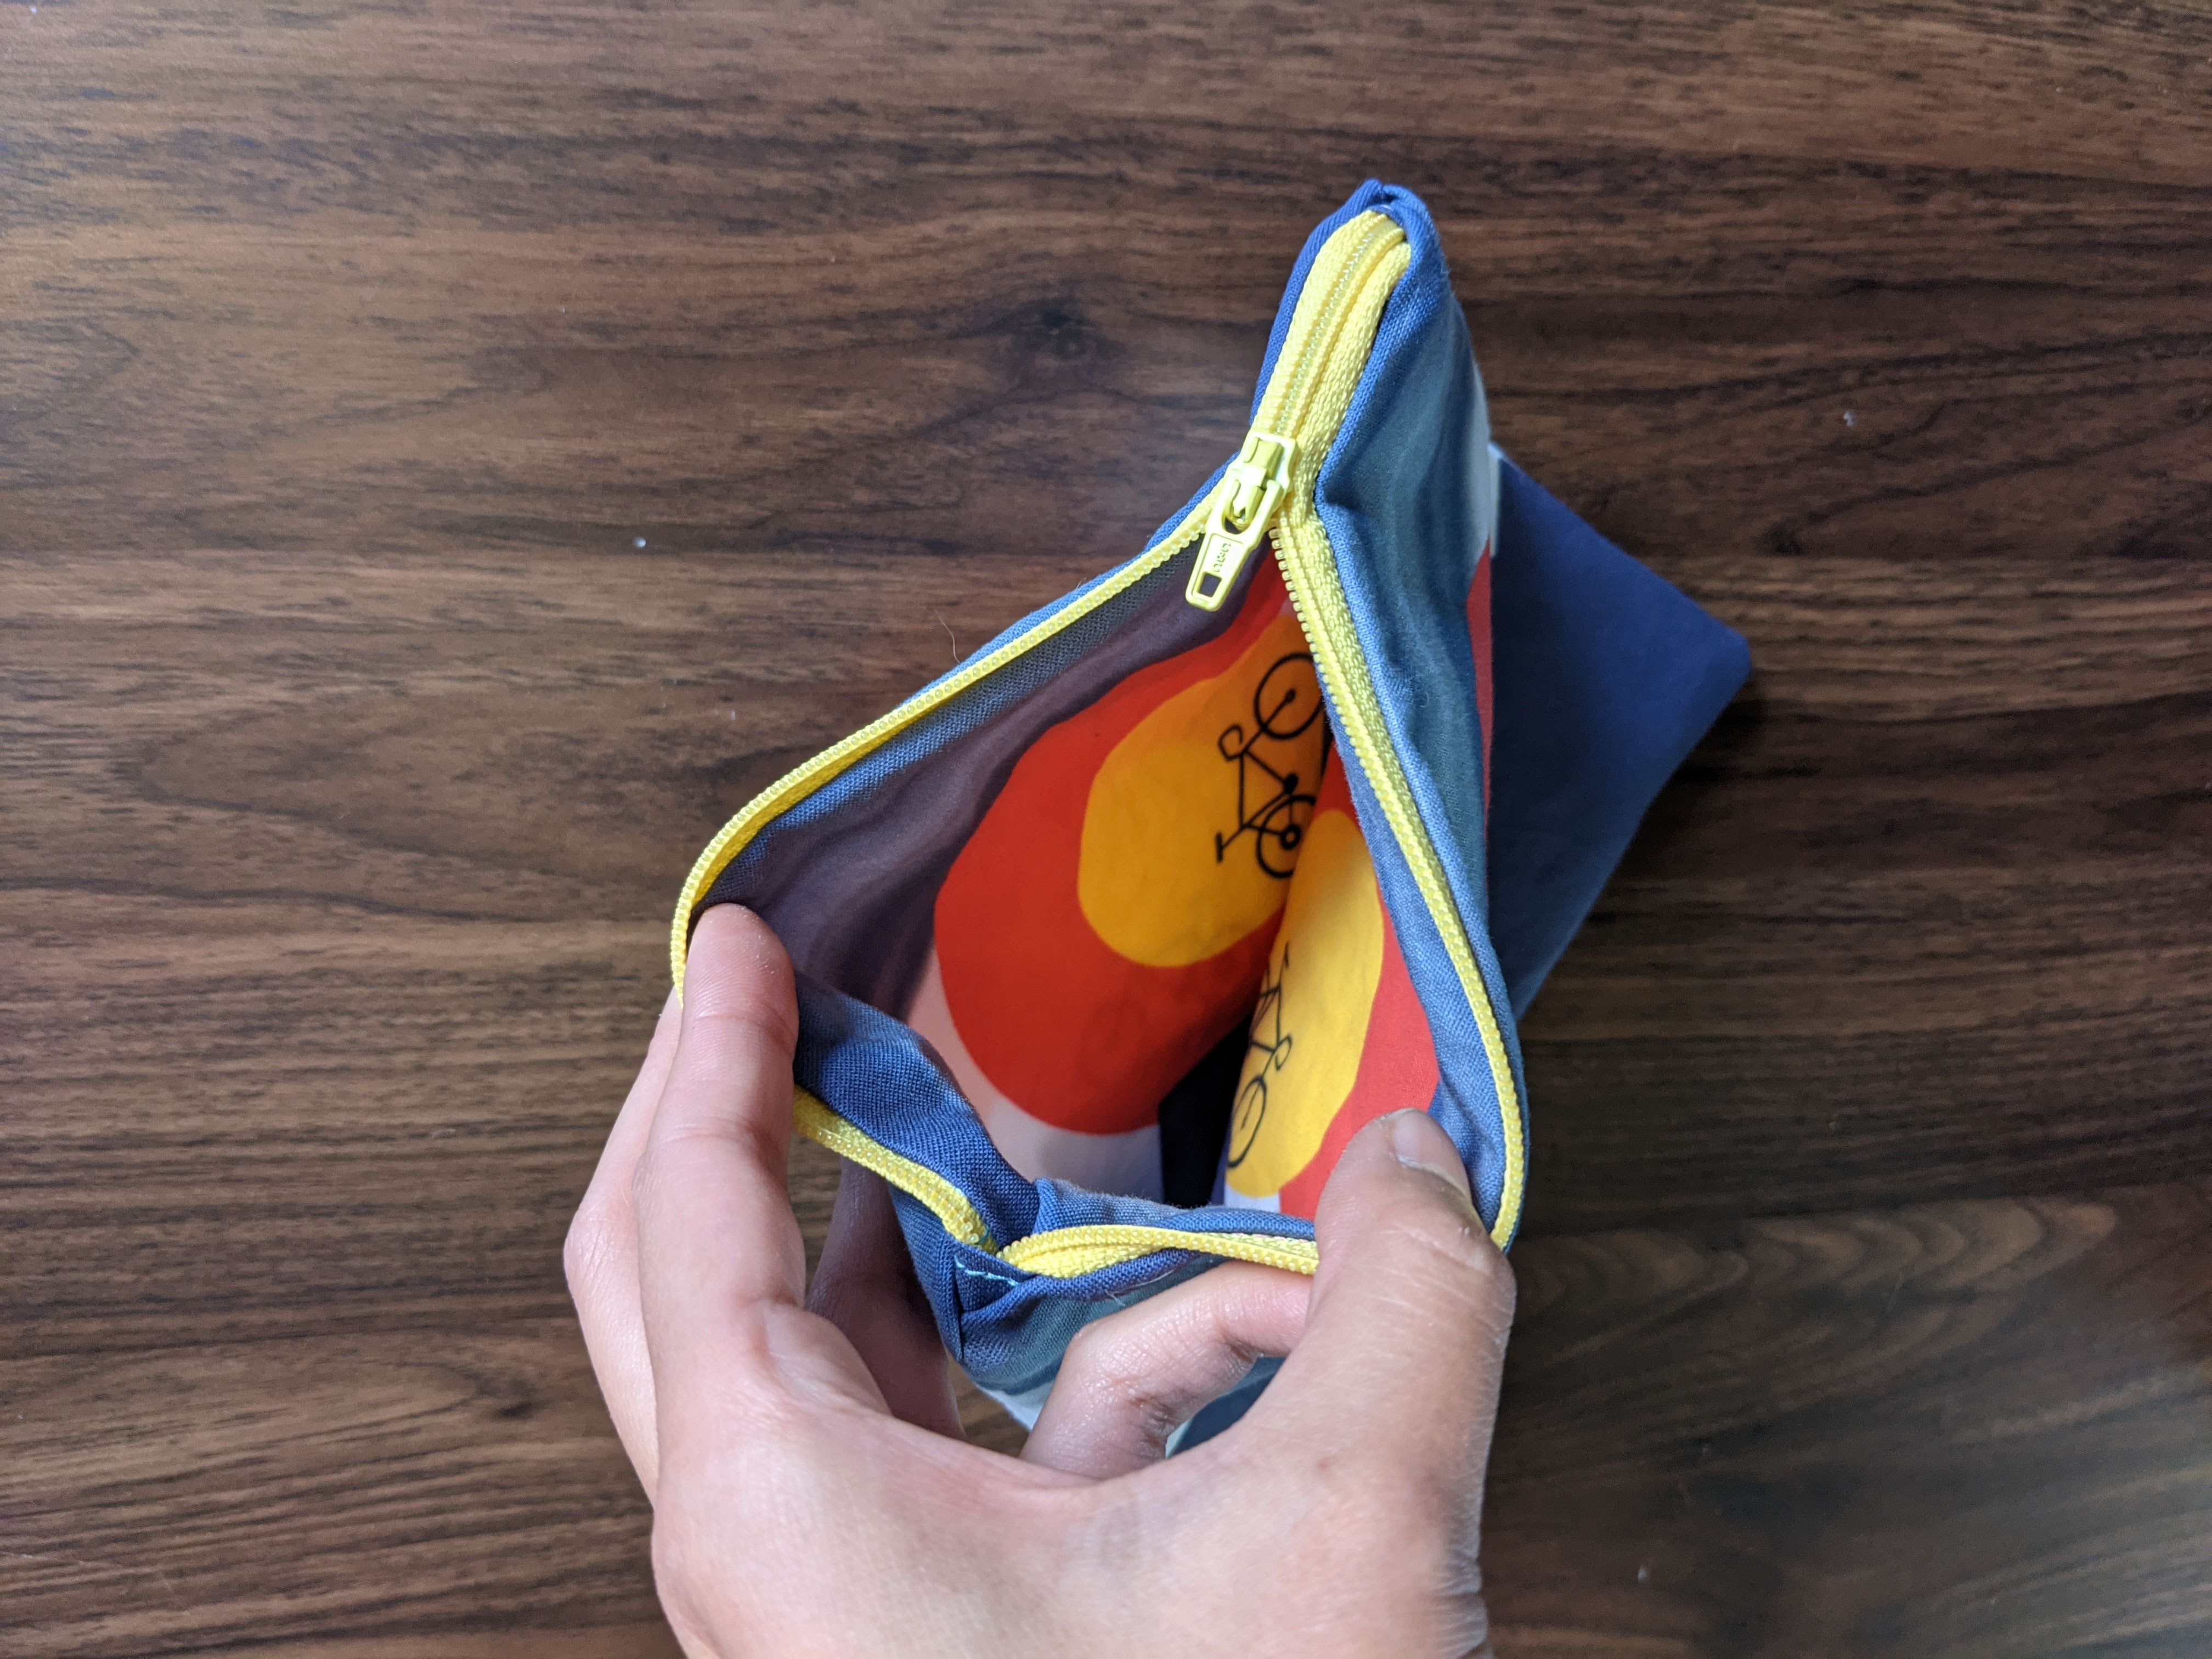
One of my friends lives in a different state and I wanted to make her something Colorado themed, so I made some mountains on the Colorado flag and added a bike.

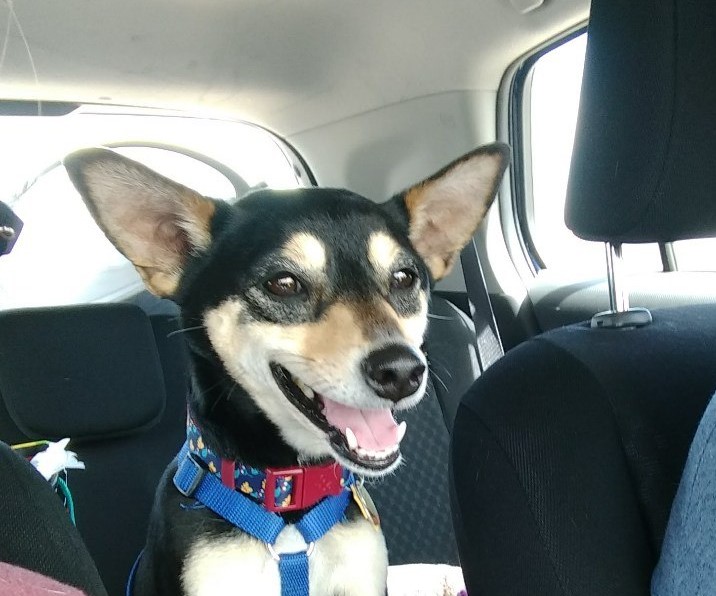
For my secret santa gift in my friend group, I used a picture of my friend’s dog to make two different prints for the exterior and interior of the bag.

Projects completed December 2020.
EPP Update!

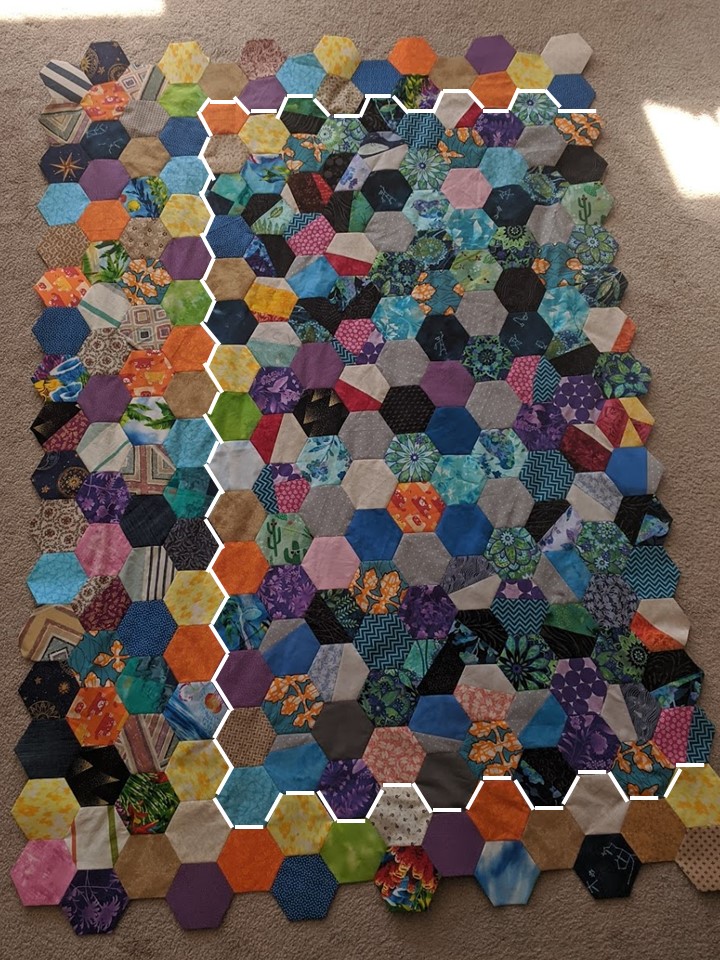
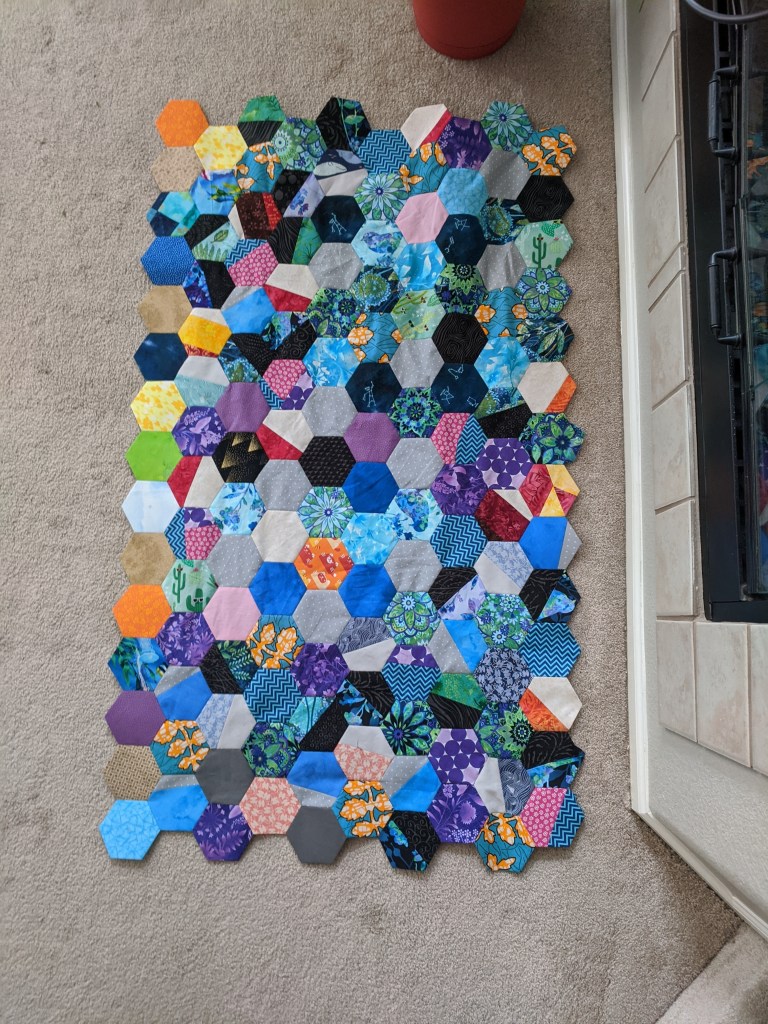
I’m still working on my scrappy hexagon quilt – it’s been a while since I laid it out, and I’m pleasantly surprised it’s so big now! Honestly it’s getting to the point where I should start adding to the sides so it doesn’t become too rectangular!

I’m still not sure what I want this quilt to be – a wall hanging? A couch quilt? I’m not sure. I started this back in January and it’s fun to see the scraps of my projects all in one place. It’s a sort of historical record, an archive of projects past.

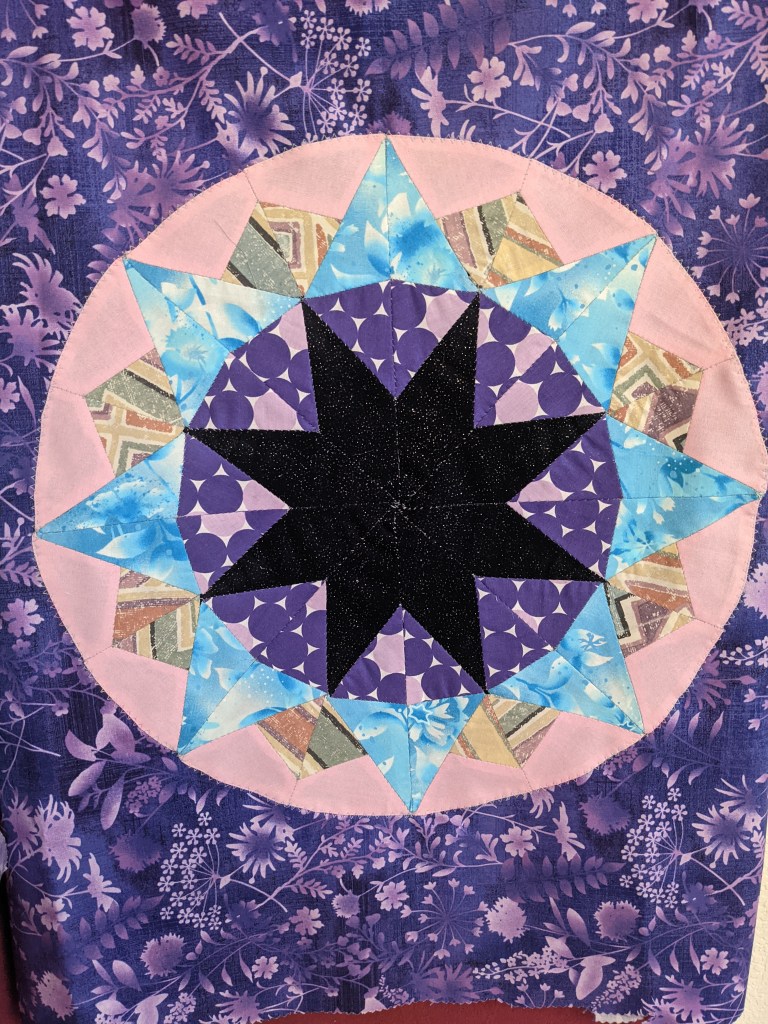
I also bought an English paper piecing kit for a star pattern, and whipped it up in a couple days. They provided the papers and plastic templates to make it easier to cut your fabric, which was nice.

Star has approximately 16″ diameter

It was weird to work with acute angles and smaller pieces, but I like how it turned out! This was my tester version, so I just used random scraps, but I think a sunset would be really cool, a nebula type shape, maybe fabric that looks more like stained glass? Some of the intersections aren’t perfectly aligned, so I want to work on that next time.

Cleaning!

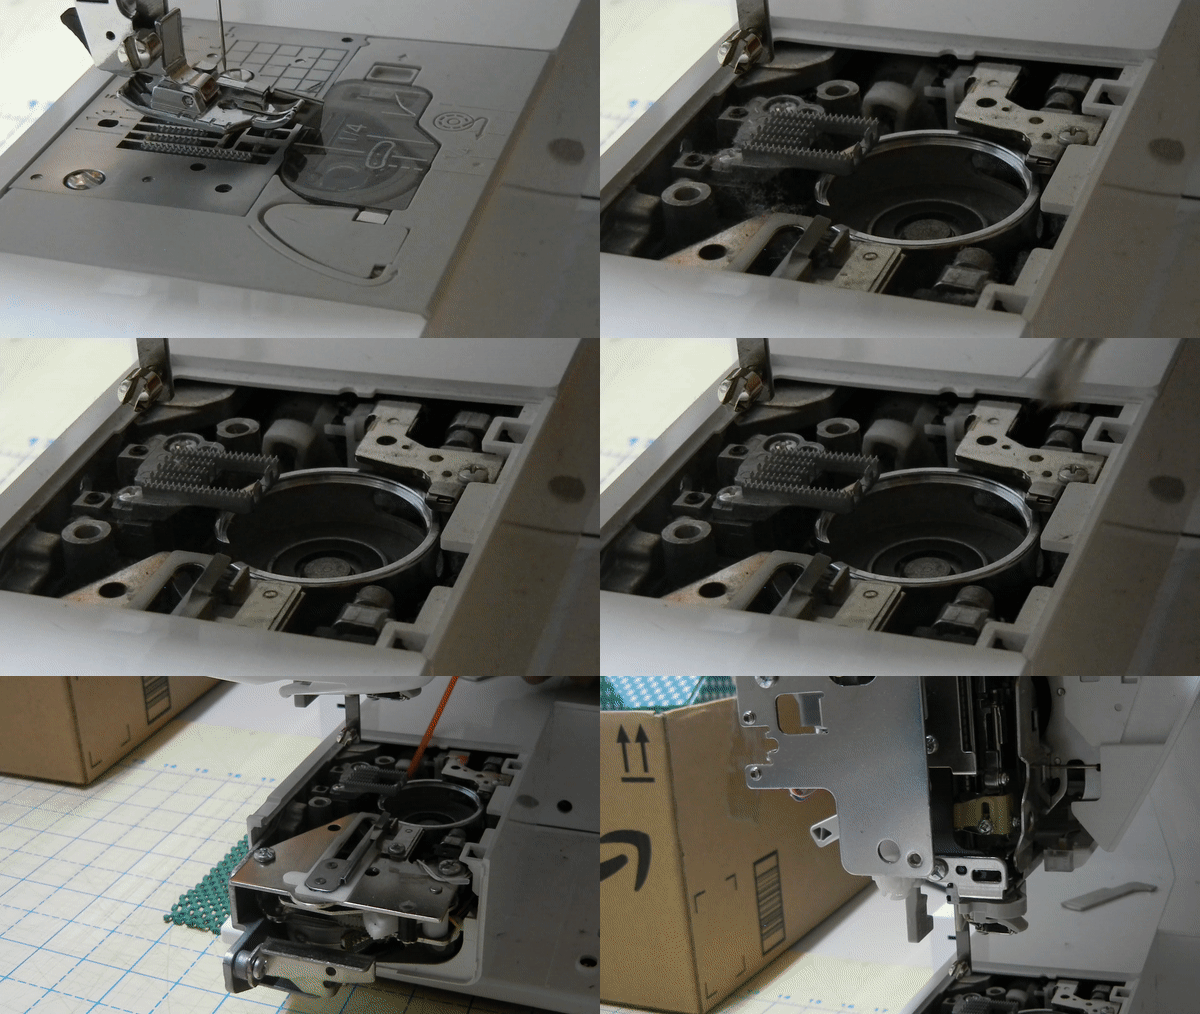
It’s not very exciting, but I do have to do this every couple of projects. Tiny pieces of fabric and thread accumulate in the guts of the machine and have to be cleaned out!

First I take off the needle (it does not go well if you do not do this) and the presser foot and ankle. Then I take off the needleplate and expose the guts! I use a lint brush to dig out all the lint, and then take off the side of the machine. Then I use compressed air to blow out the excess lint, always pointing the air out the exposed side, not deeper in. I can also take off part of the top, where the thread comes through, and clean that out as well.

Humu Humu Embroidery

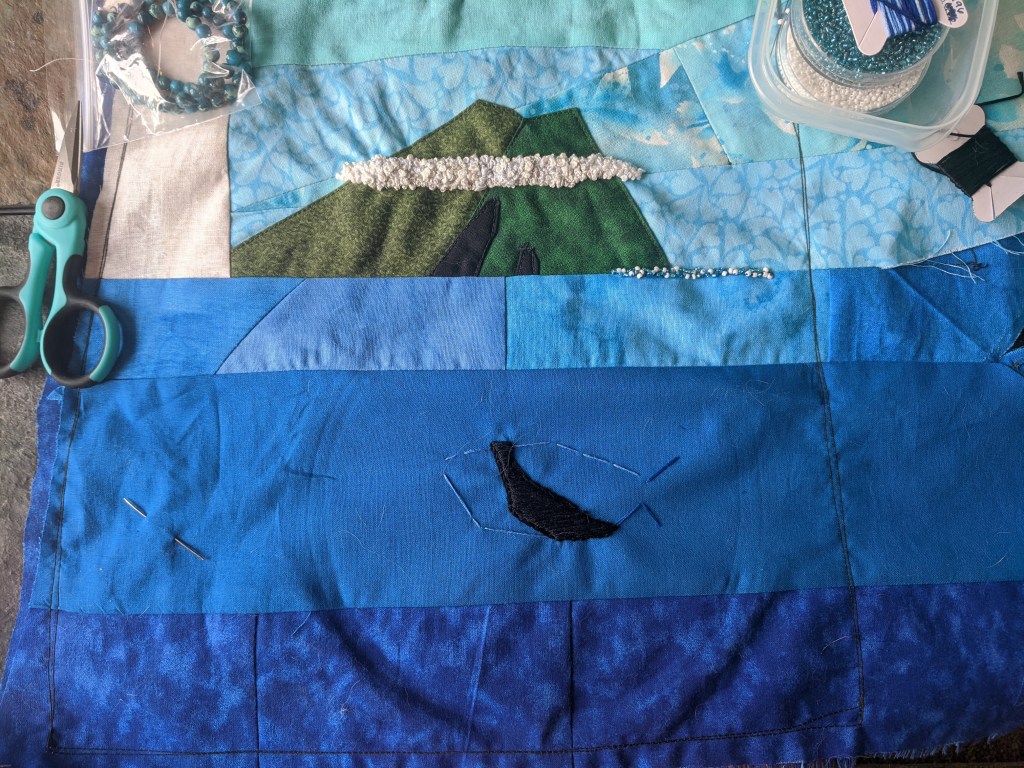
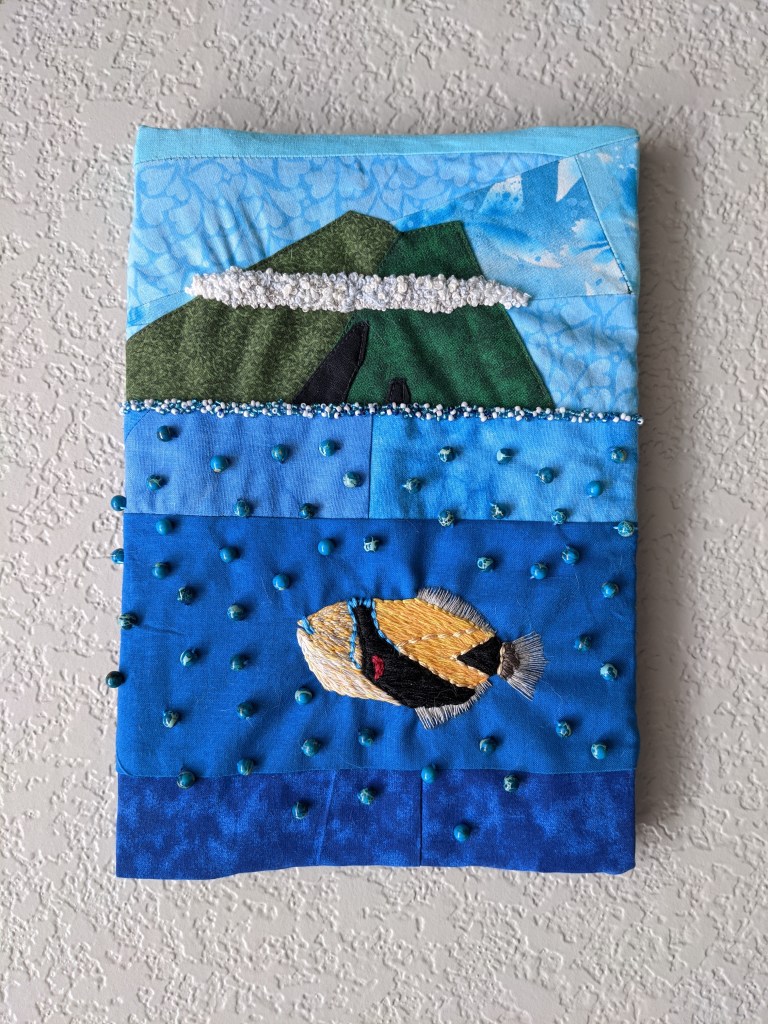
A year ago, some friends and I went to Hawaii and I bought these really cool ocean beads for an embroidery project. I wanted to have a humuhumunukunukuapua’a with Maui in the background to honor all our snorkeling adventures 🙂

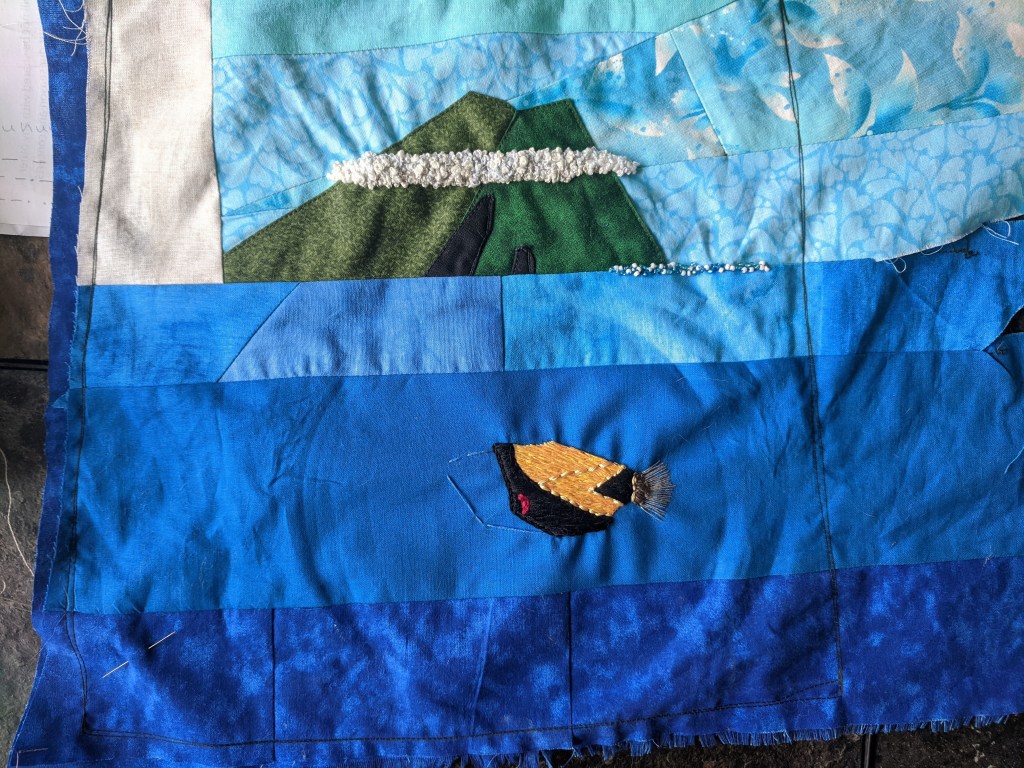
I pieced some scraps together to make the background, and appliqued the black lava flows on. Using lots of layers made the whole thing a bit thick, plus I sewed a backing stabilizing layer onto the back to help with limiting stretch from the embroidery hoop. Luckily I didn’t have to do much embroidery over the thickest parts.

This was my first time doing beadwork, and it was very labor intensive but fun. I used blue and white beads to make seafoam. For whatever reason, I have a stockpile of random beads that’s lived in my craft box forever, so it was nice to use some up. Plus, since I used scraps and thread I already owned, the only cost of this project was the beads themselves.

I used French knots for the ever-present cloud layer around Haleakala, mixing some white and gray threads.

Once upon a time I bought some gradient thread, which finally came in handy for giving the humuhumu texture in the orangey-yellow portions.

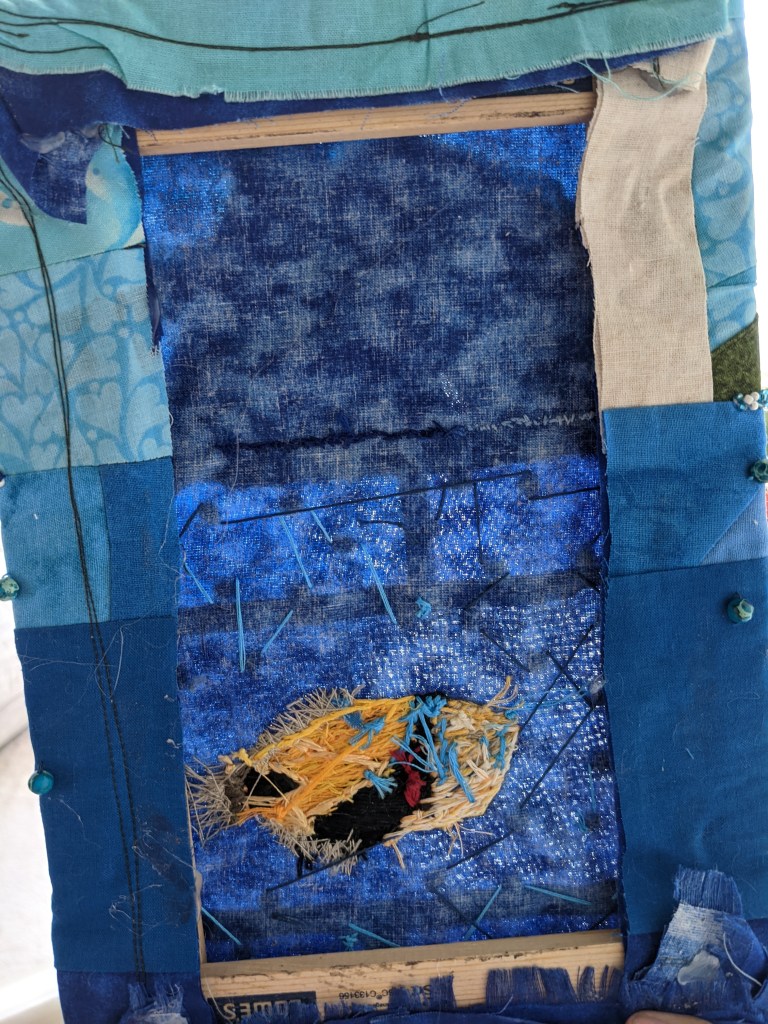
And then I added all my ocean/bubble beads! I tried to be as random as possible and the back of this looks like complete chaos 🙂 I cut some yardsticks to size and glued them into a frame. Embroidery often gets displayed in a circle hoop, but I knew from the beginning this piece was meant to be a rectangle. It sits next to my bird embroidery on my stairwell 🙂

Project completed September 2020.
This is what the back looks like! Thread tie offs, criss crosses, and chaos 🙂

Red Fall Skirt

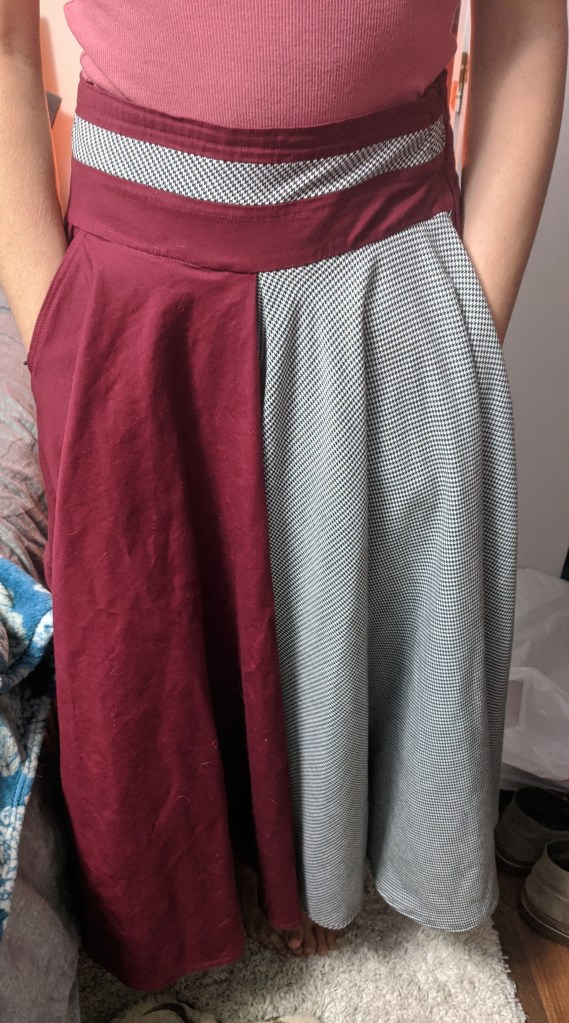
This was my first clothing project for someone besides myself! The same friend who I made the bird backpack for asked me to make a swishy, flowy skirt for her. We went to Joann’s together and picked out the main fabric and the accent fabric.

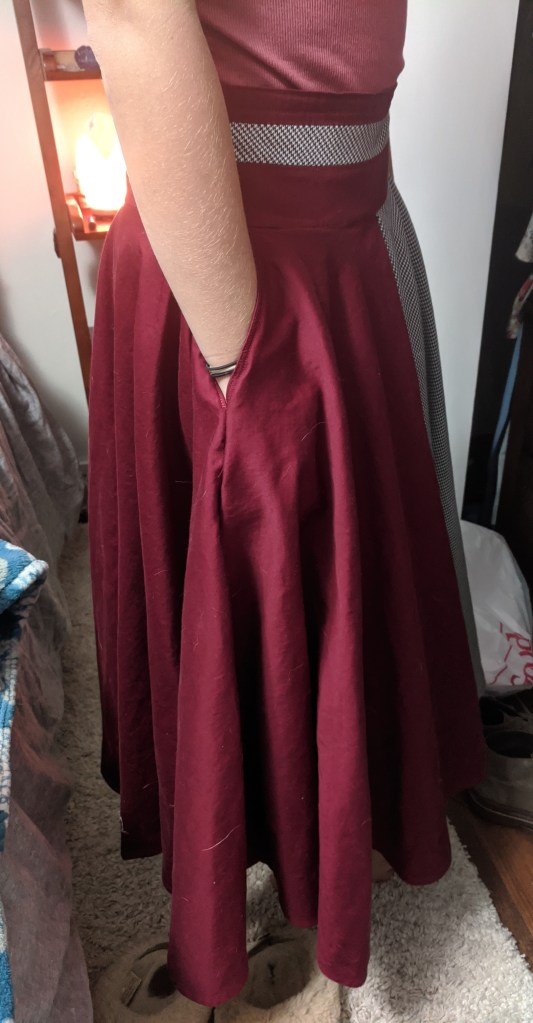
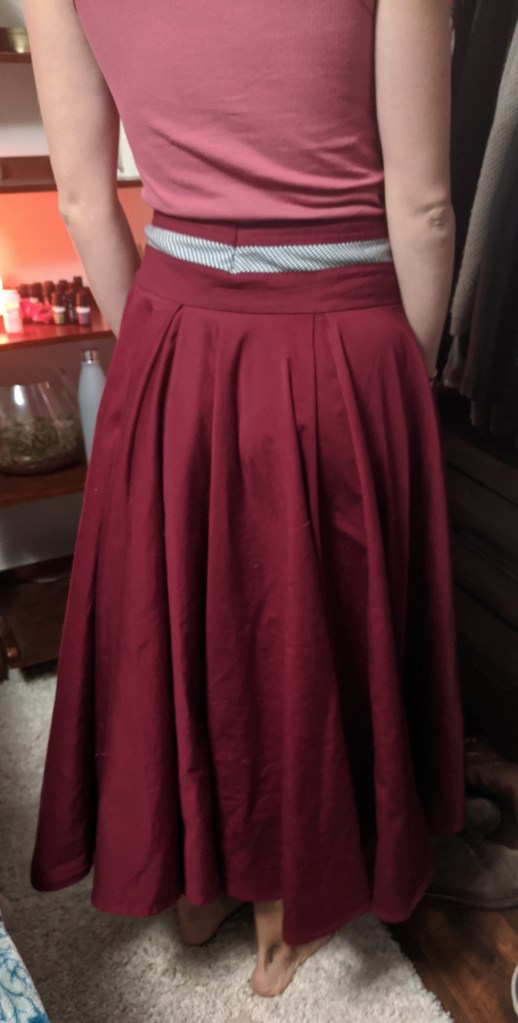
Since she wanted it to be swishy, I decided I’d make a pleated circle skirt, including even more fabric than a regular circle skirt. And including the waistband and pockets, I used up almost all of the main fabric we purchased, which was cool.

I used the accent fabric for a panel about 1/4 to 1/3 of the total skirt, and included a stripe of it in the waistband.

I know that pockets make any skirt at least 10 times better, so I included two huge pockets 🙂 I used a long zipper for the closure and did a double turn hem. I considered doing a lining, but I used so much of the main fabric that it was already a heavy and warm skirt, so any lining would make it a little leg-oven. This way, it can be worn by itself in the fall and with tights in winter. 🙂 I did include a lining in the waistband for additional structure and making sure the seams and raw edges weren’t itchy.

We did a first fitting where we found out the waist was almost perfect… without the seam allowances for the zipper. I inserted a small triangular panel and at the second fitting we got the waistband circumference right and added some small darts so the waistband is flat to her body. Then she graciously made me dinner and I sewed the last seam up afterwards.

Overall it was a bit unnerving to make a piece of clothing without being able to make sure it fit continuously along the way. But it was a good challenge and it turned out great! As usual I used the machine for most of the construction, with hand sewing for the zipper and the last seam. I like having a bit of hand sewing in each of my projects for a bit of an imperfect element.

Project completed October 5, 2020.
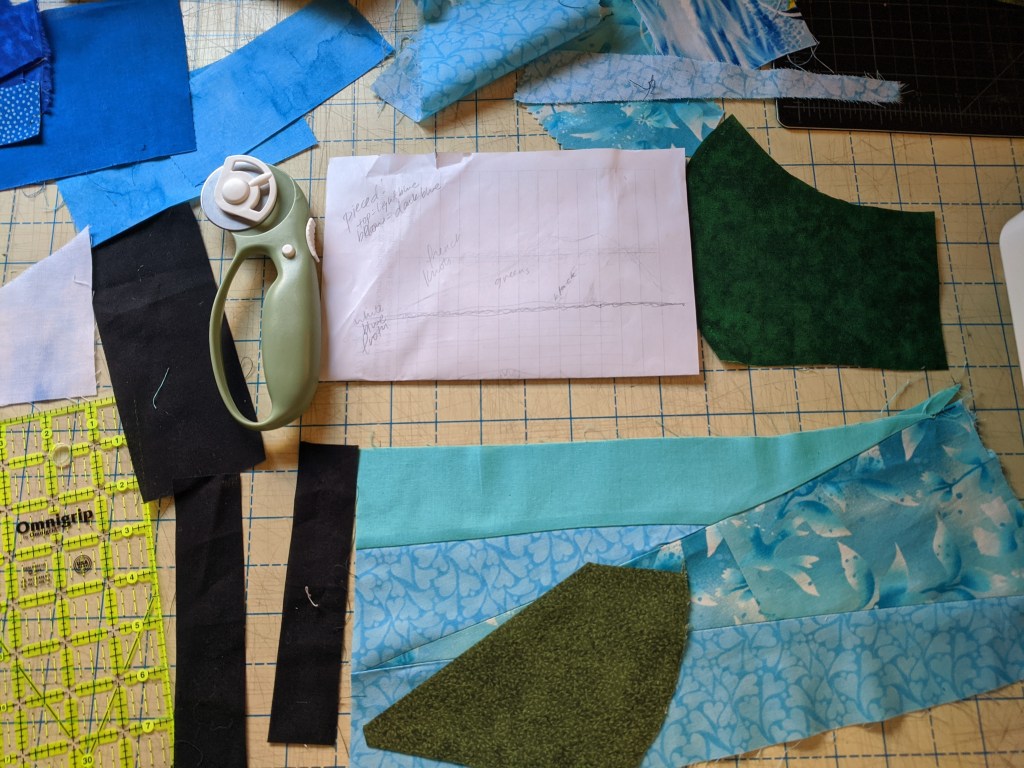
Random Updates!

With COVID-19, I’ve struggled to get into the sewing room as often as I’d like, but I wanted to share some of the things I’ve worked on / am working on right now.
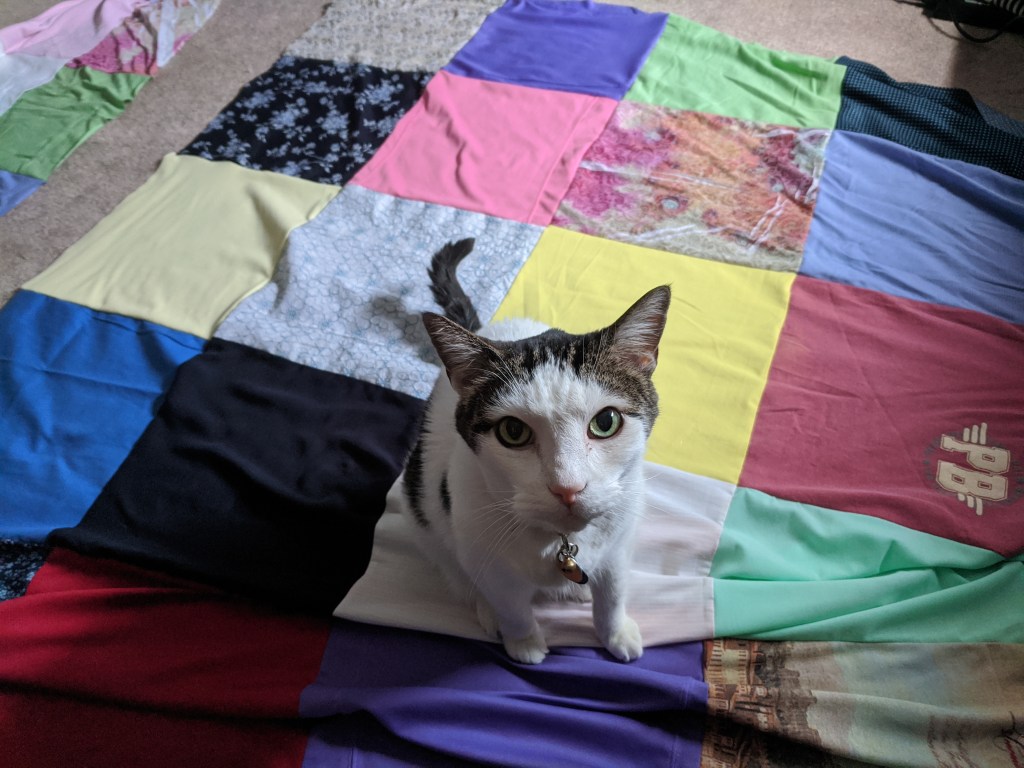
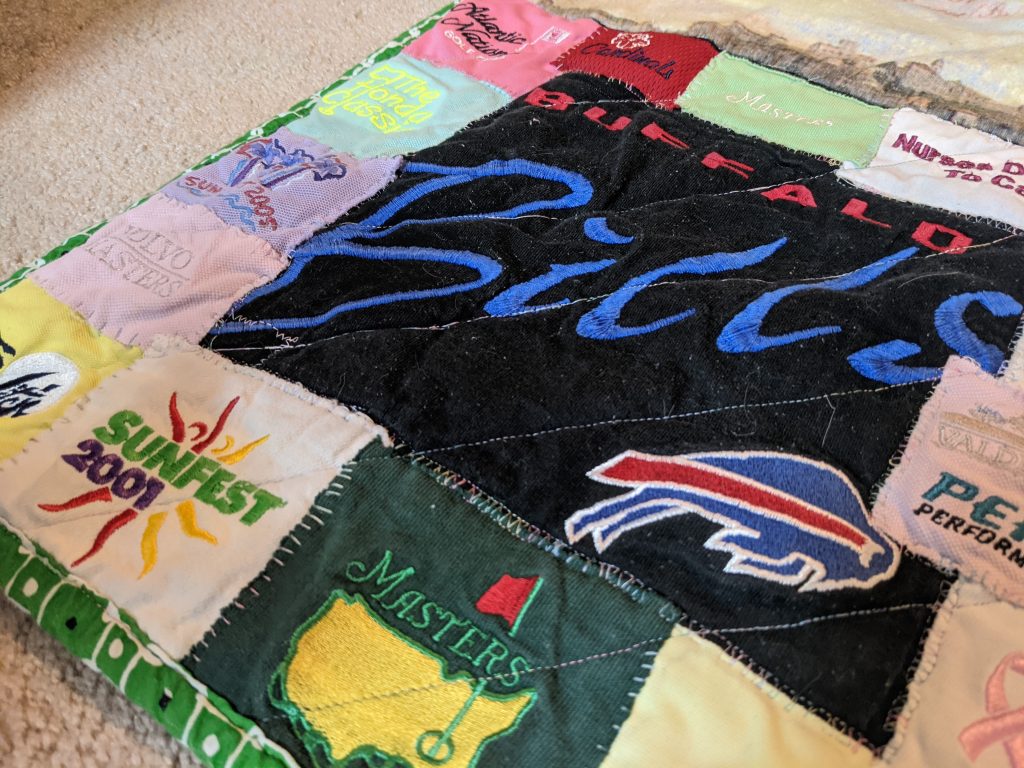
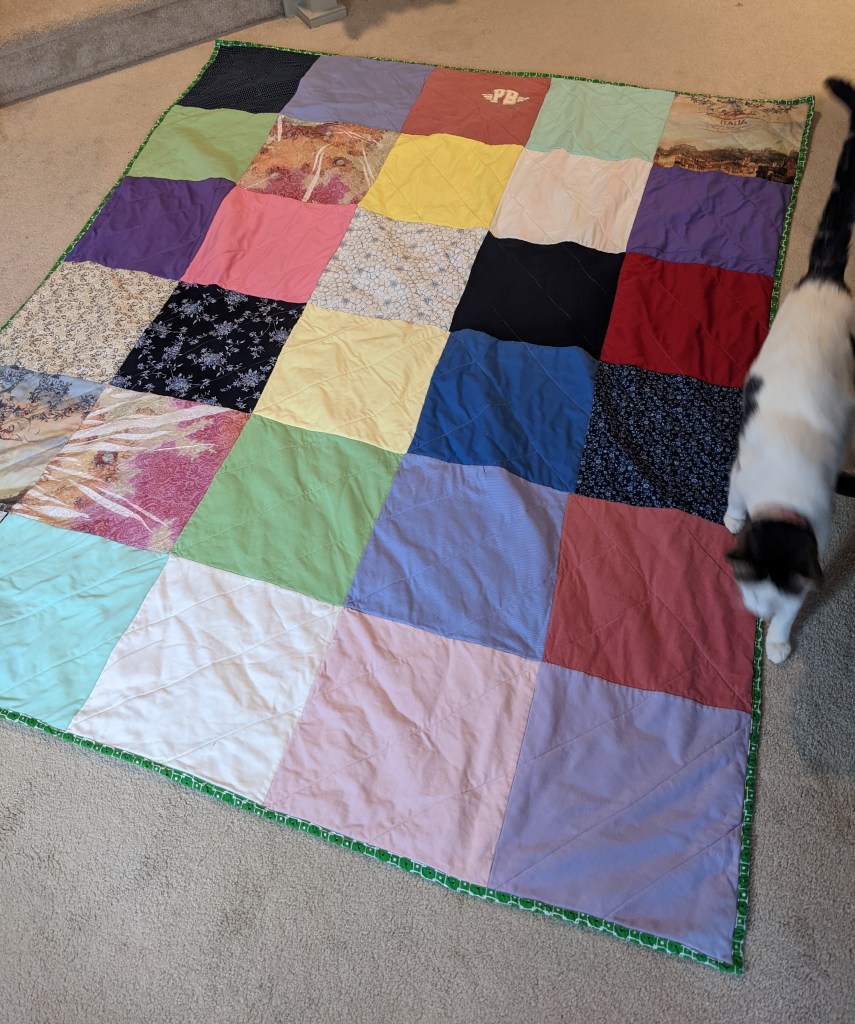
Currently in progress: 3 memory quilts for family and a skirt for a friend.

Fabric bought but project not started: another spiral rug and a cactus quilt.

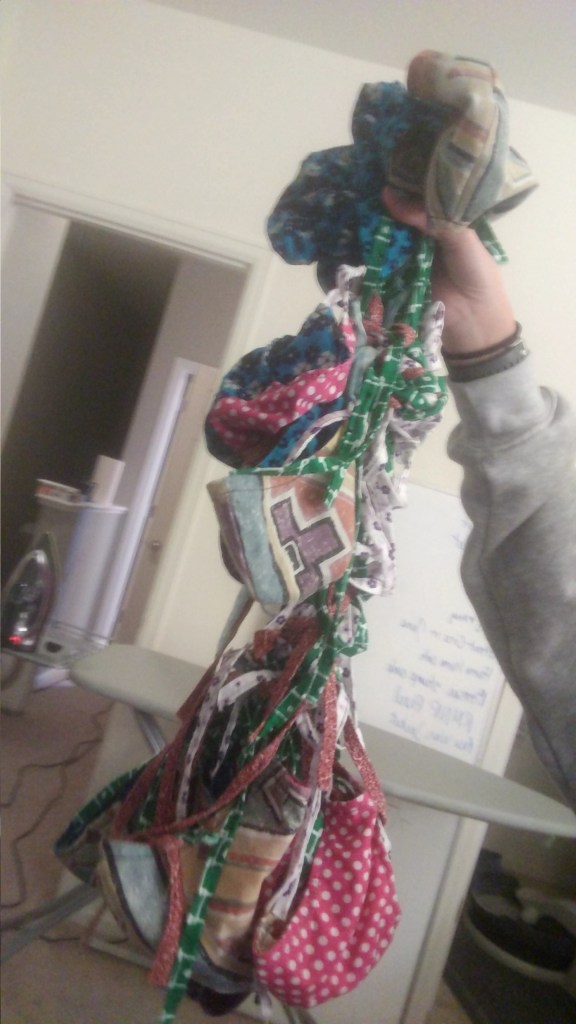
Tangled masks straight out of the dryer before I discovered you can use hair ties to tame the strings, PLEASE COMMENT OR EMAIL ME IF YOU WANT MASKS, I WILL SEND THEM TO YOU
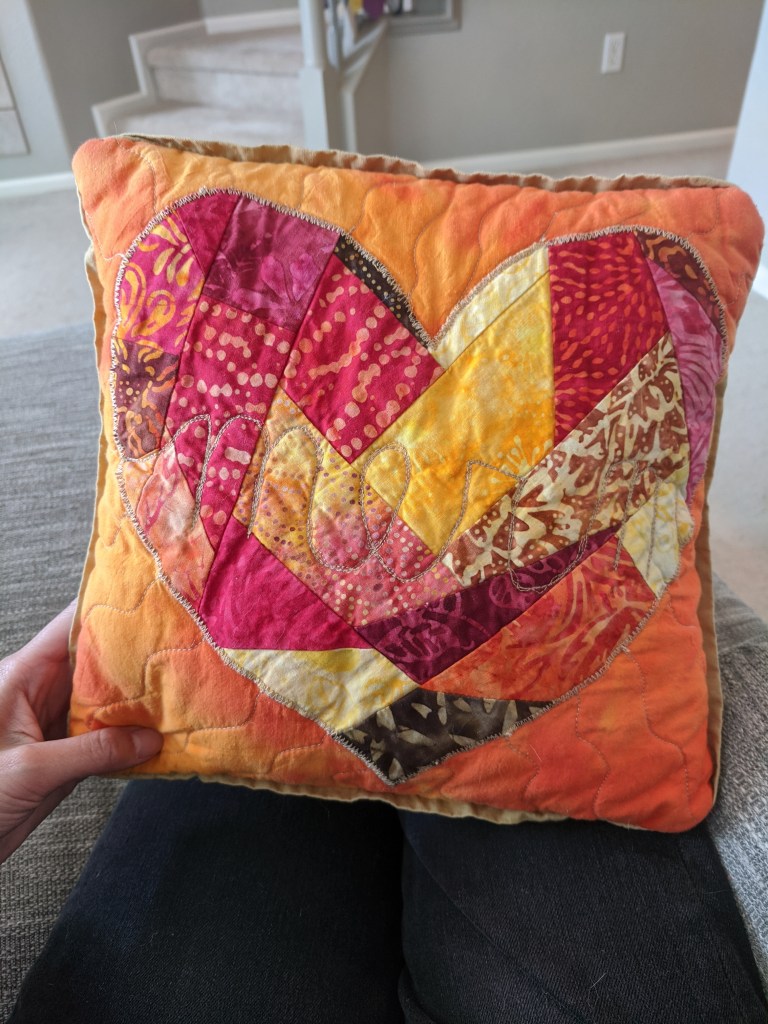
Pillow for my mom for her birthday using scraps from the bed runner I made her
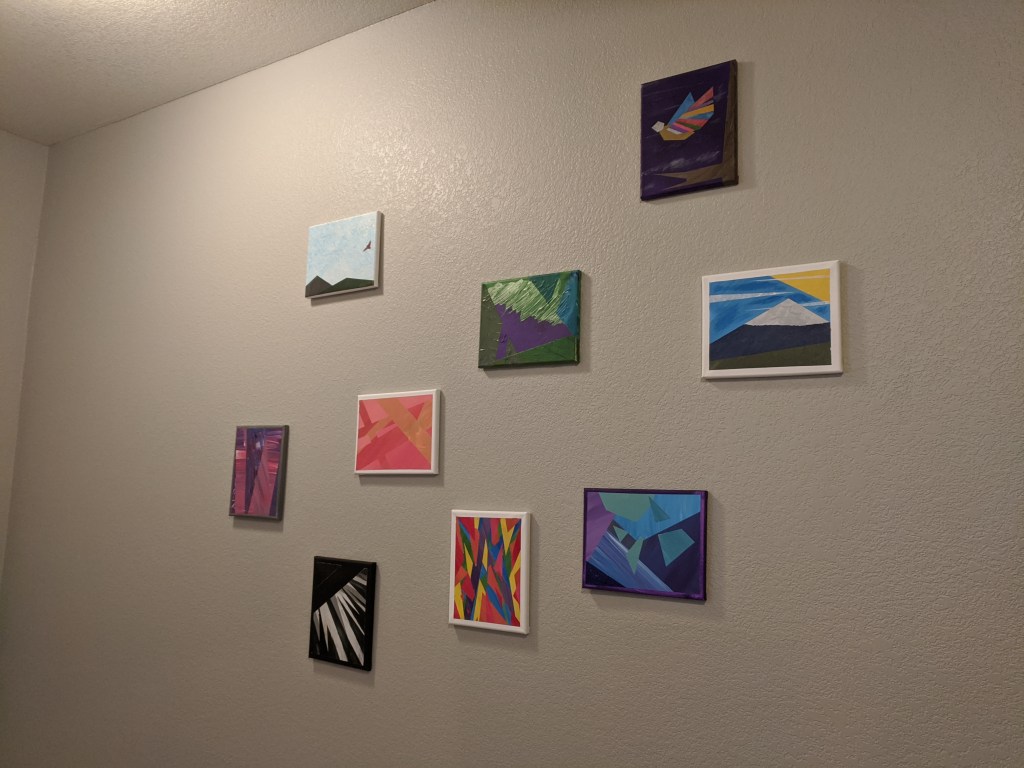
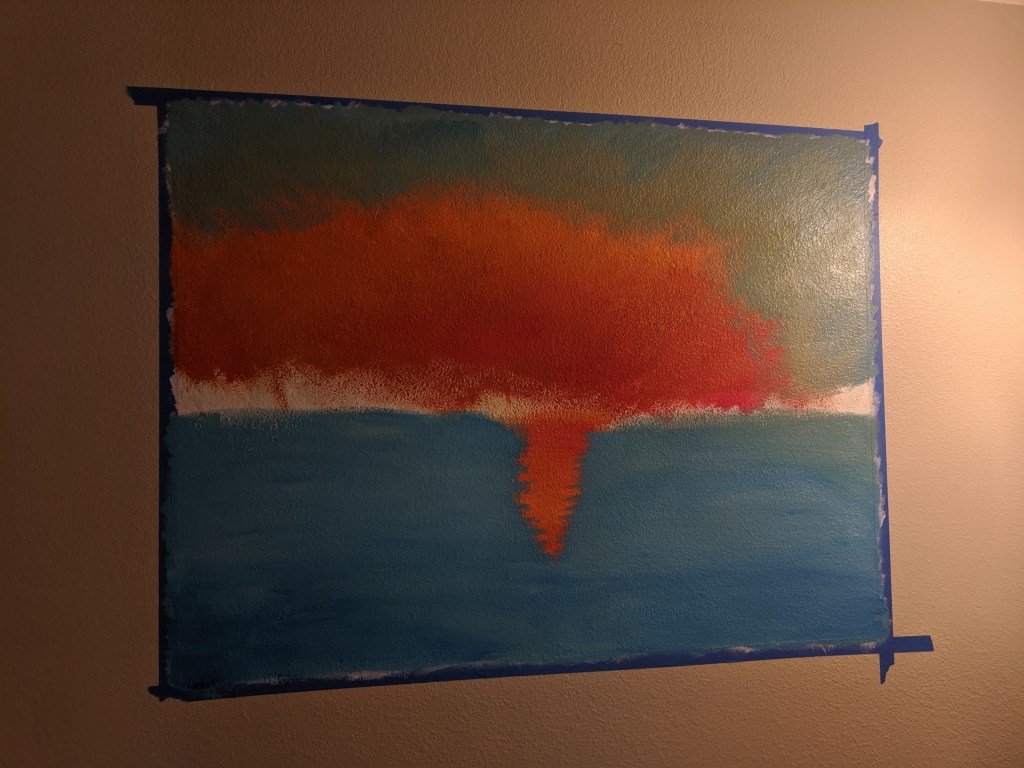
Entryway paintings made with masking tape and acrylic paint

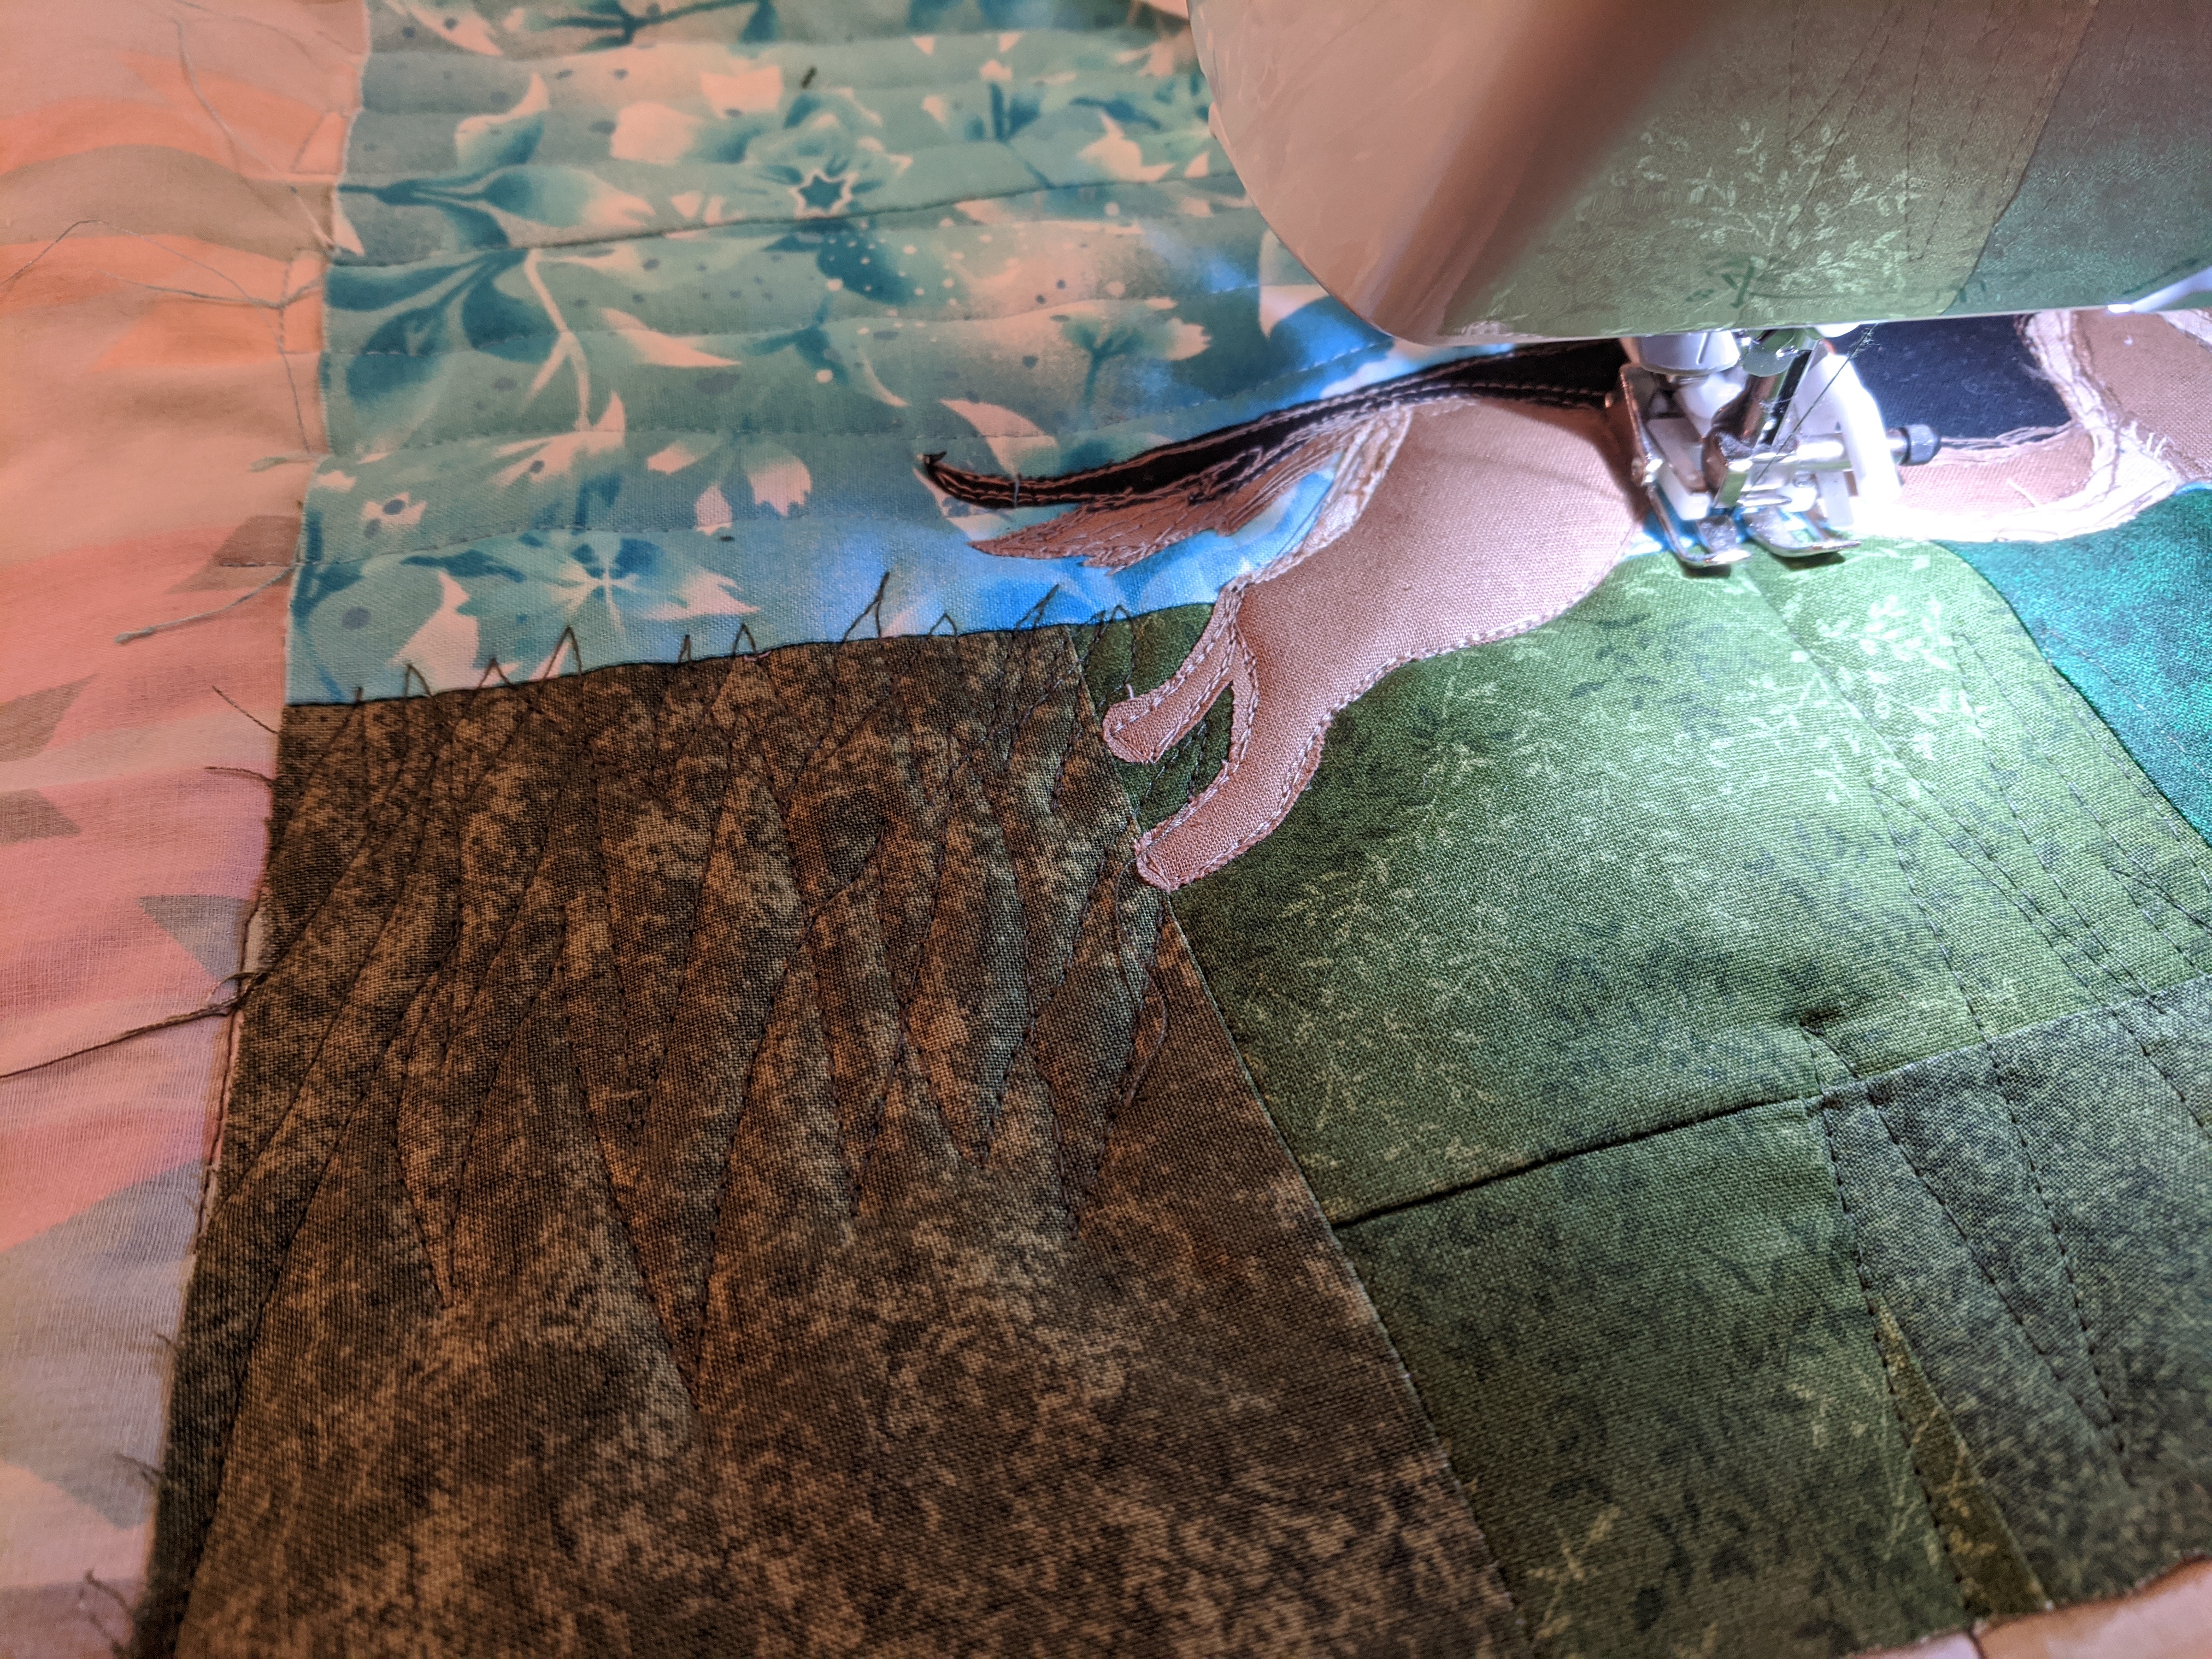
(above): Wall hanging of my mom’s dog for Mother’s Day, I used applique for the dog and FMQ to make grass texture which was really fun.

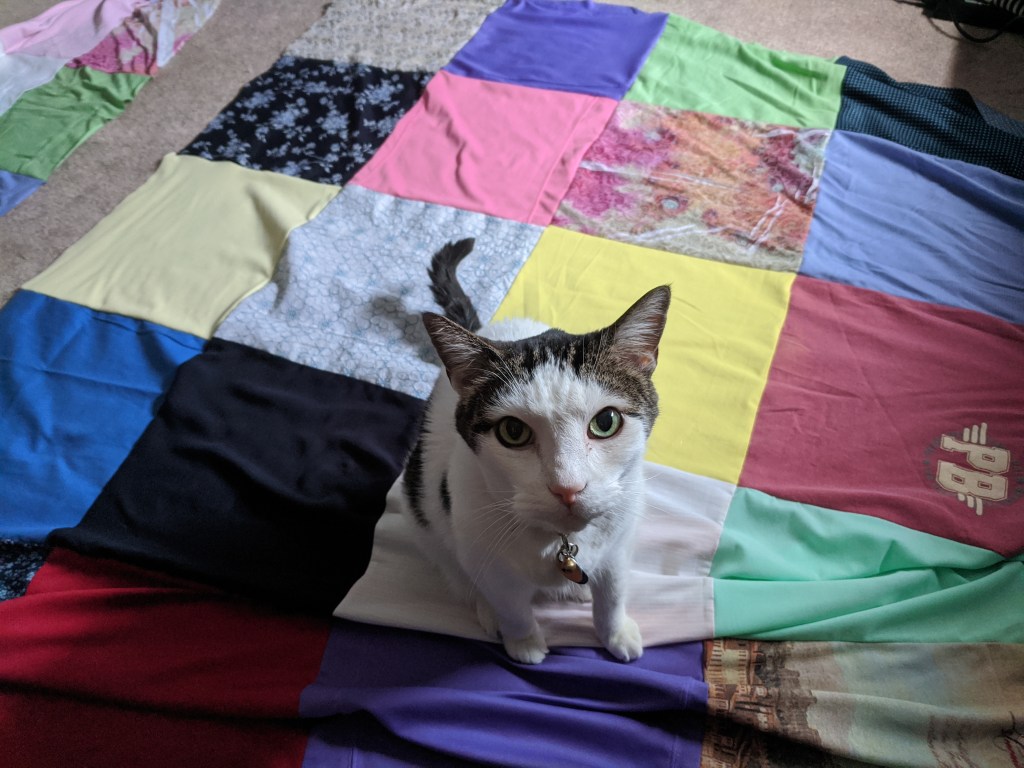
Friendly sewing helper blessing one of the memory quilts
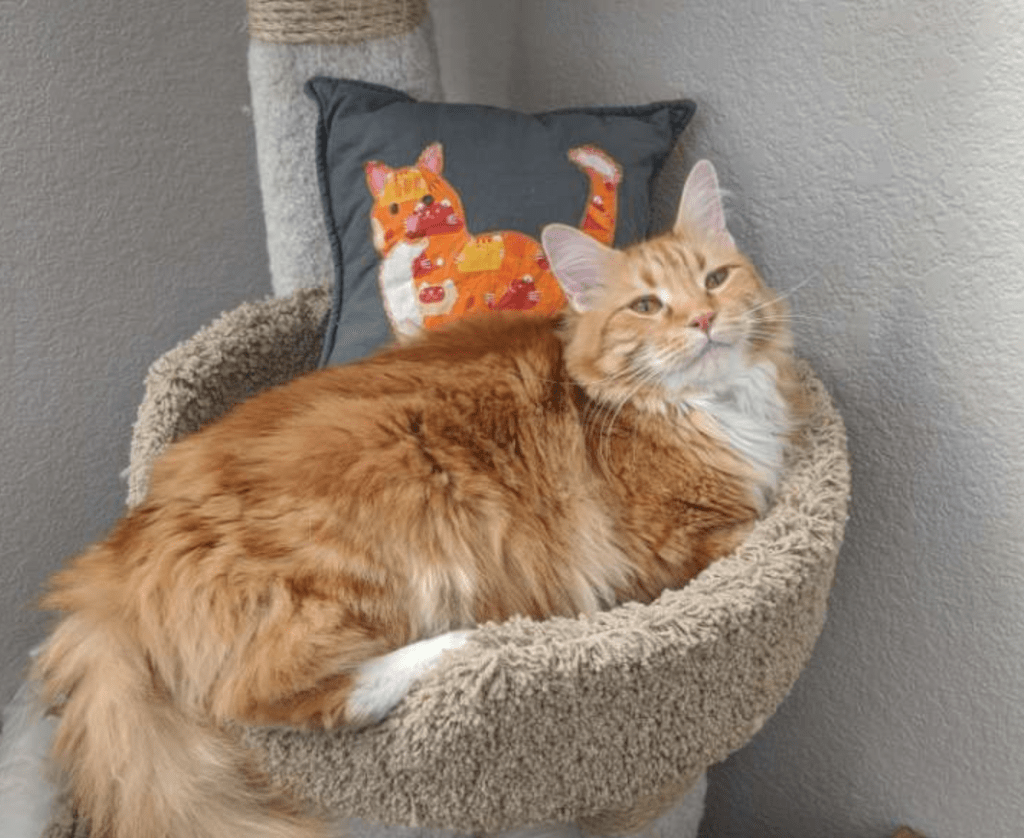
Update of my Christmas cat pillow with the cat who inspired it!

Update!

So I think I’m going to take a short break from this blog, I don’t want to keep posting every week just to have a post. 🙂 I want to dedicate my time to actually making the things! There will definitely be more posts in the future, I’m busy sewing just working on longer term projects right now.

I might just post an updated picture of my EPP project though 🙂

Rocky Mountain Mural

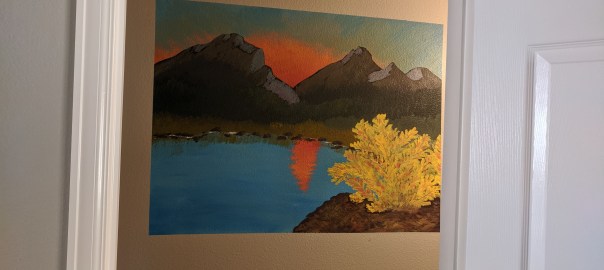
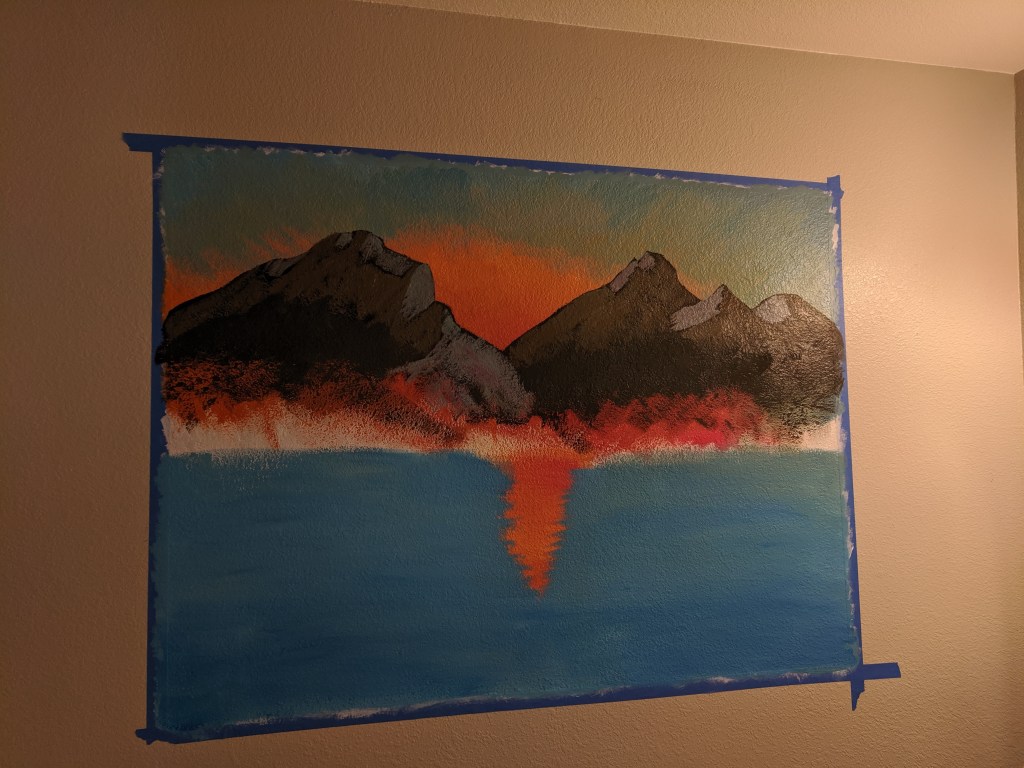
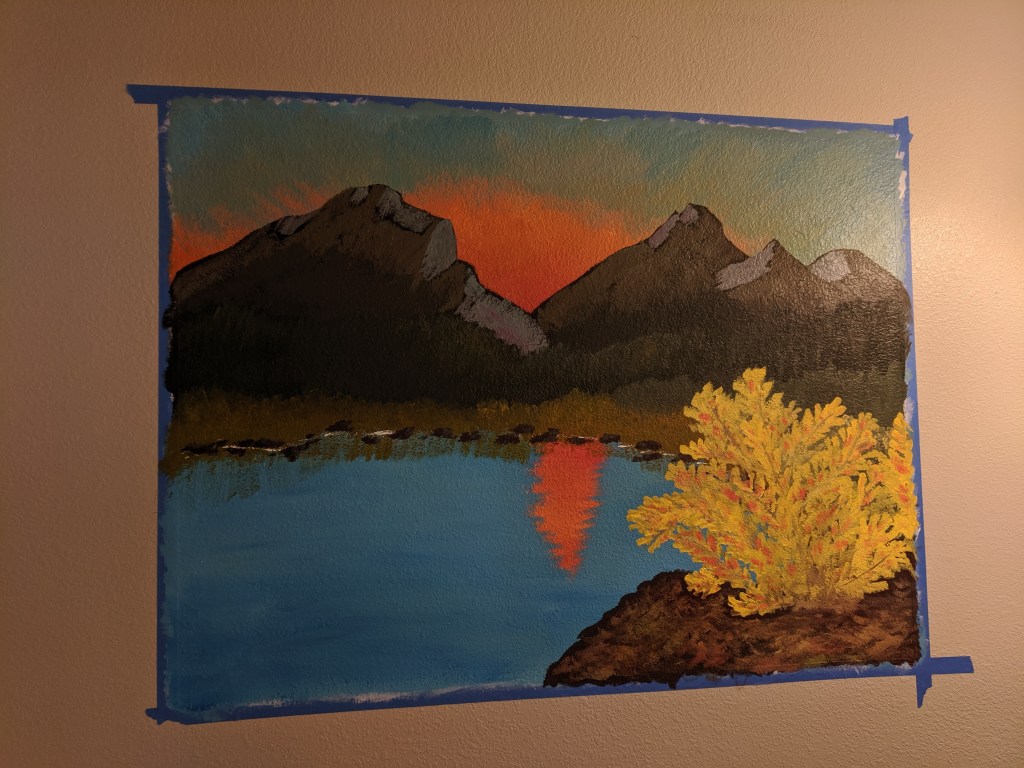
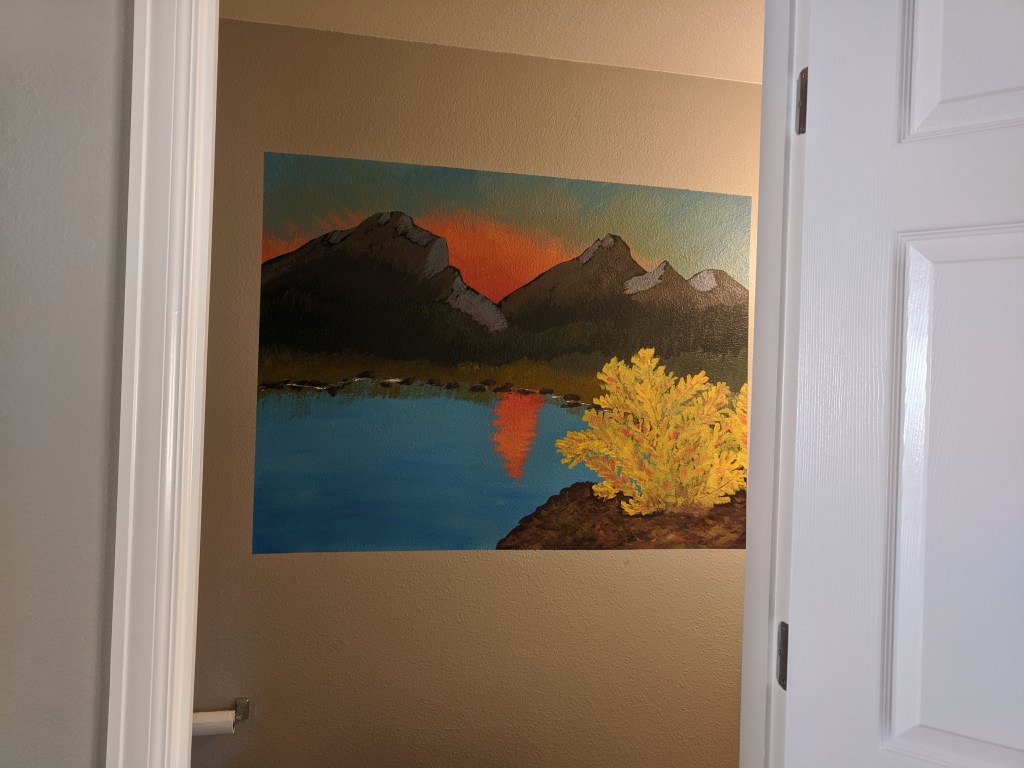
I painted this mural as a combination of a Bob Ross / Rocky Mountain National Park / Glacier National Park homage 🙂 My downstairs bathroom used to be a total gray box and I wanted to fill the space without spending a ton of money. It finished up at about 43″x47″. I used acrylic paint and paintbrushes from Michael’s and some painter’s tape.

I watched a bunch of Bob Ross tutorials before embarking on this painting, and I knew I wanted a mountain and sunset scene.

The mountains on the left are a big Glacier NP inspired, and the ones on the right RMNP inspired.
I also added this autumnal bush for interest and fun!

Project completed October 12, 2019.

Whoops! I got inspired

And now I’m working on my own English Paper Piecing project. 🙂 I was just so in awe of the projects at the museum, and although I’m not doing tiny pieces – just 2″ hexagons, which are actually bigger than the size of my palm. I like the idea of an on-going project that uses up scraps over time, truly a quilt of projects past. I have a bunch of scraps that I want to get rid of, so I’m also hoping this will help me with that.

I also have a habit of getting places very early, so I’m thinking this could be my “I’m waiting in the car” project or “I’m on the train” project, stuff like that. It’s definitely very satisfying to put together and I’m surprised at how fast it goes!

I bought a pack of 50 precut cards to start. It took me about an hour to rough cut and glue 50 hexagons to their cards, and the cards are reusable so I’ll just add more hexagons as I pull them out. I’m not concerned with fabric placement as long as no fabric touches another of the same, so it’ll be scrappy and wild and random!! I love the idea of not over-designing this like I usually do and just letting it happen.

Little stitches!! Just grabbing a couple threads on each pass. I’m thinking of using some variegated thread because you do see some thread on the front, and I think it would be fun to have that little rainbow.
Progress after about 2 hours.
One week later – keys for scale and previous picture outlined. I started cutting up excess blocks too, hence the multiple fabrics in one hexagon off to the left. It’s been super enjoyable. I had a doctor’s appointment and since I had something fun to do, I didn’t even care that I had to wait. I find myself spending less time scrolling on my phone too which is nice. I did order more cards because you have to keep the cards in until all six sides are sewn, so more and more cards have to stay in as the perimeter grows.

My upcoming project list includes: quilt made out of ties, red and white skirt, turtle applique, embroidered and pieced Hawaiian fish, memory quilt, mountain panel, jacket repair, blazer… I’ve got a lot in my queue so keep an eye out 🙂